CLASS ANNOUNCEMENT #7 (July 5, 2018): BC3-1806 is officially over! The Class Wrap stream recording is available to watch and the closing post is on page 63. Please take a minute to fill out the Questionnaire 🙇🏻♂️
CLASS ANNOUNCEMENT #6 (June 20, 2018): Week 4's stream recording has been edited together - curse you computer freeze! - and is available to watch. This is the final week of the class! Spend some time sculpting a wild and crazy vehicle design and let's finish strong 💪
Also a reminder that we will be having a 5th stream to wrap up the class on July 3rd, so don't miss that.
CLASS ANNOUNCEMENT #5 (June 20, 2018): Check out Week 3's stream recording if you missed the broadcast! I also updated Week 3's homework for those of you that want to finish your vehicle exterior.
CLASS ANNOUNCEMENT #4 (June 13, 2018): Week 2's stream recording is now available to watch if you missed the broadcast. Also the additional timelapse video mentioned in the stream is available here.
CLASS ANNOUNCEMENT #3 (June 11, 2018): Week 1 is done! Thanks for getting your homework submitted on time. Here's a link to the report card if you'd like to keep track of your grades throughout the class. Onward to Week 2!
CLASS ANNOUNCEMENT #2 (June 6, 2018): Week 1's stream recording is now available if you missed it. Also I've secured a concept car blueprint thanks to the talented 2D/3D artist, Milen Ivanov (see page 9 of this thread to download it). This is the vehicle I'll be modeling and you're welcome to model it as well if you don't want to find your own!
CLASS ANNOUNCEMENT #1 (June 4, 2018): Class is in session! Today officially begins the BC3-1806 class. Please check the syllabus below for Week 1's focus and assignments. Begin watching the pre-recorded courses if you haven't already and begin searching for a cool vehicle you want to model. The first Live Event is tomorrow at 2pm EST - SEE YOU THERE! 😎
Vehicle model by Chris Kuhn on blendwap.com
Welcome to the CGCookie Class: Vehicle Modeling with Blender! Here by popular demand, this class is designed to be a holistic learning experience about the art of modeling vehicles. If you’re diligent in watching all content and hitting homework deadlines, by the end of the class you'll be prepared to build digital vehicles to your heart's content! This is an intermediate-to-advanced class which means you’ll do best by having some experience with Blender and 3D modeling before committing to this class.
This is the third "Class" format where Citizen members are invited to focus together on a particular topic/skill for a month. Participation looks like this:
WHEN? The class will take place from June 4th through July 2nd (ish)
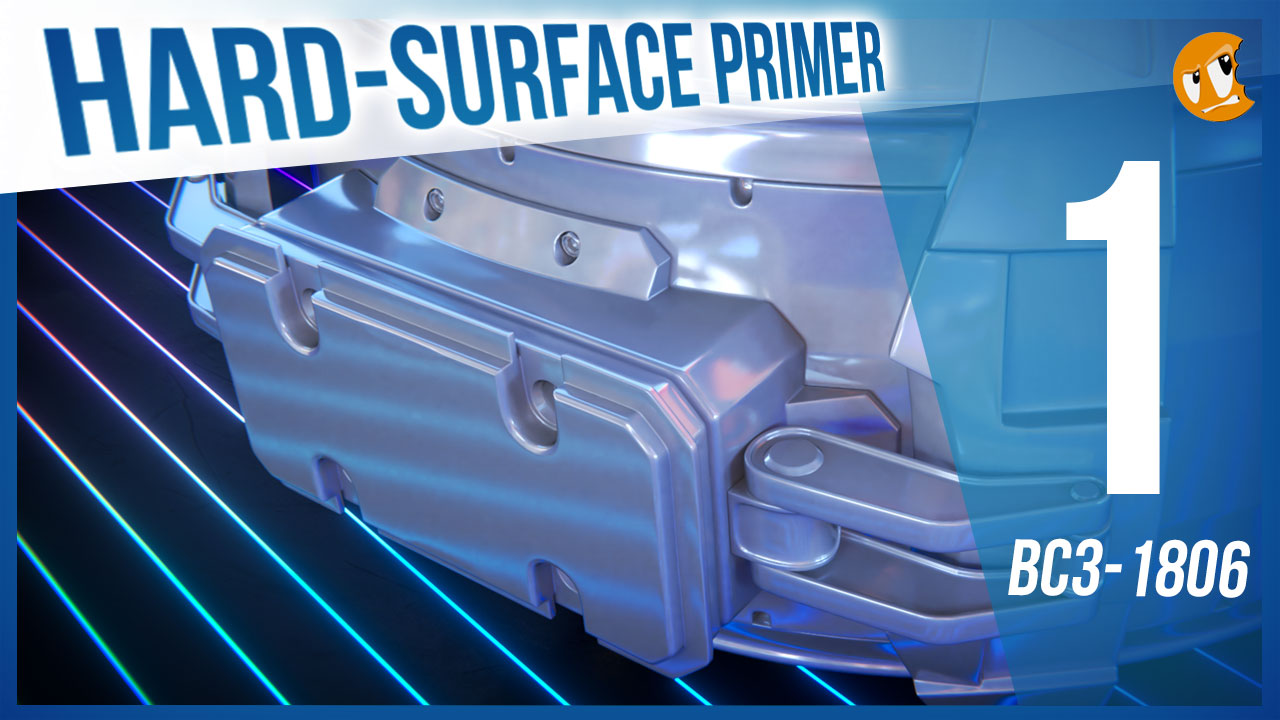
Abstract: Vehicle modeling is pure hard surface modeling. Therefore it's important to be proficient with general polygon modeling techniques. This first week we're ramping into this particular modeling skillset to prepare us for the vehicle modeling extravaganza to come!
Goal of the Week: Level-up and/or dust off your hard-surface modeling skills.
Pre-recorded course to watch:
Week 1 Live Event (Remember to RSVP!)
Homework:
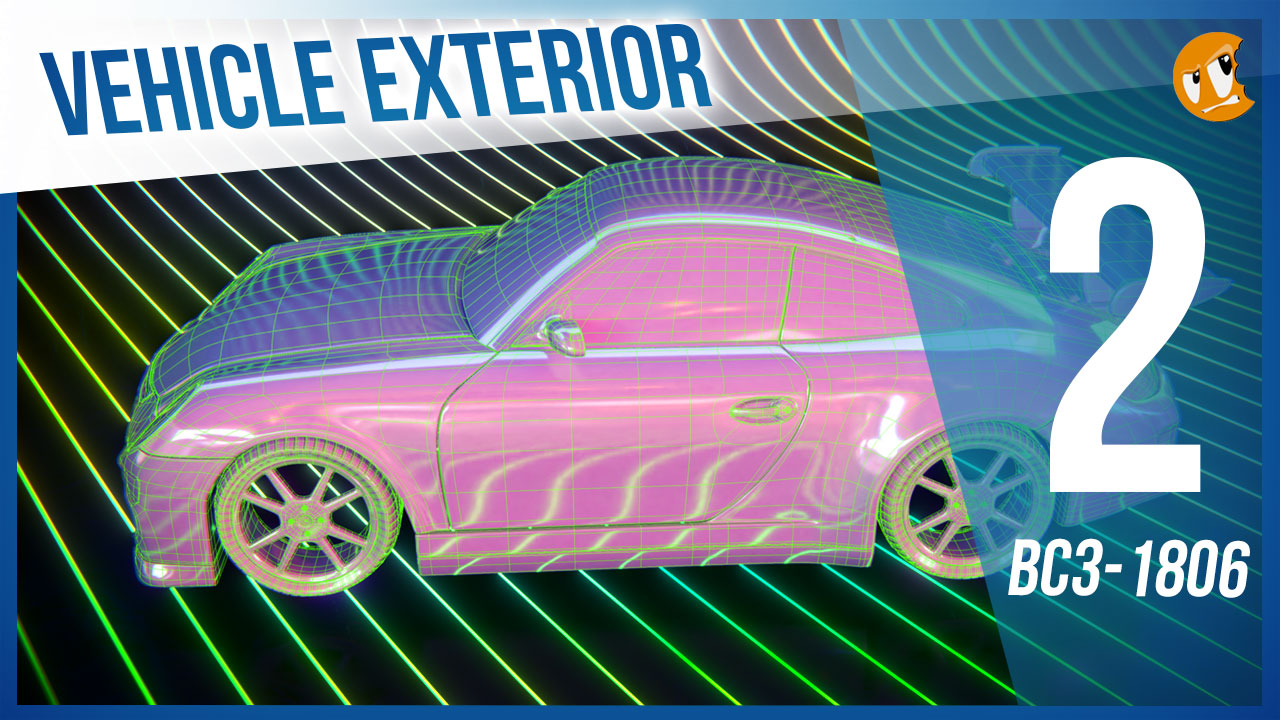
Abstract: When I say "Imagine a vehicle" I'll bet a million dollars you're thinking about the exterior. And that's why the exterior is important. It defines everything about a vehicle's visual perception: Style, utility, purpose. This week we're going to build a vehicle exterior based on concepts like building to scale and building from blueprints.
Goal of the Week: Build the exterior of your chosen vehicle based on blueprints. This will be good practice in strict adherence to orthographic front/side/back/top view modeling.
Pre-recorded courses to watch:
Week 2 Live Event (Don't forget to RSVP)
Homework:
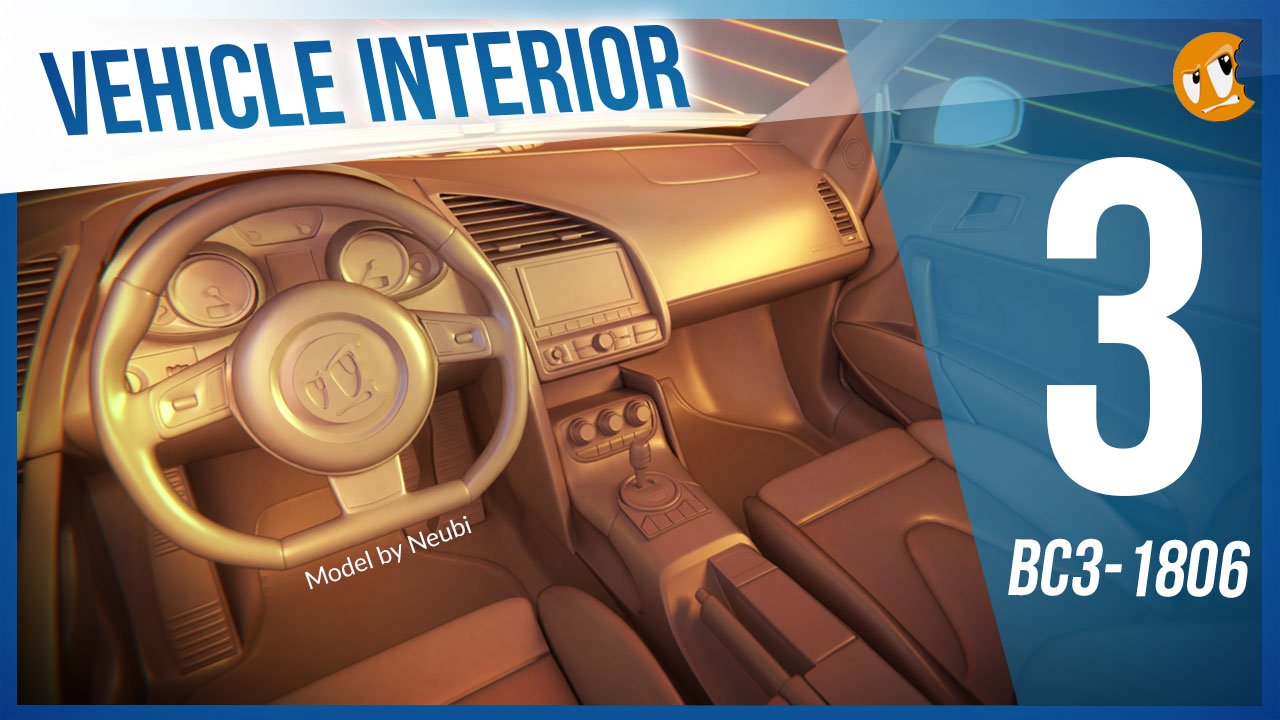
Model by Neubi on blendswap.com
Abstract: The insides of vehicles involve more organic, soft shapes as well as opportunity for lots of fine hard surface details. Often vehicles renders focus on the exterior where the interior can be hidden or approximated. But not in this class!
Goal of the Week: Model the interior of your chosen vehicle to gain experience with fine hard-surface details in a confined space.
Pre-recorded courses to watch: Admittedly we don't have much in this context specifically...
Week 3 Live Event (Don't forget to RSVP)
Homework:

Abstract: There's another facet of vehicle modeling that doesn't involve strict adherence to blueprints. Instead, Concept Sculpting is about designing a vehicle from scratch using the artistic approach of digital sculpting. This can be an extremely fun, experimental method for creating unique vehicles.
Goal of the Week: Sculpt a vehicle exterior from scratch; Practice hard-surface sculpting techniques.
Pre-recorded courses to watch: Again we don't have much in this context specifically, but we have a couple courses that cover hard-surface sculpting in general:
Week 4 Live Event (Don't forget to RSVP)
Homework:
This thread is reserved for CG Cookie Citizens that are participating in the "Vehicle Modeling with Blender" class. Its purpose is to serve as central communication for all participating Citizens (excluding Hobby plan Citizens) to ask Kent and fellow participants questions and to post homework. As the instructor of the class, Kent will be monitoring this thread on a daily basis (especially Mon-Thurs) throughout the month of June to review homework and answer questions.
Free members are welcome to observe the thread but please respect that communication is reserved for Citizens.
Homework Submission Week 2 - I guess?
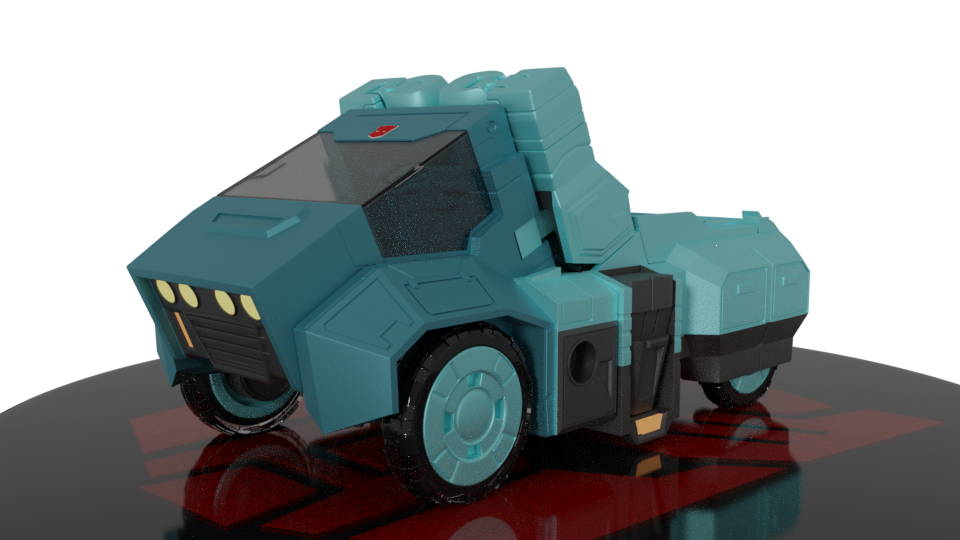
I finished the exterior of my vehicle so I thought, why not just submit it?
I learned a very important lesson while making this car: Always be sure all the details are complete before starting work with the subsurf modifier.
I'm not a 100% happy with some of the meshes, you may be able to tell which ones I started with by how messy they are. But to be fair, there's so many details in each piece of the real toy, you can see the artifacts from putting too many edges close to each other, on the actual thing!
I'll probably use the remaining days to see if I can do something about it, but again, there's so many details that touching the wrong edge pinches everything. Also my body hurts. Now, let's say I want to make it game ready, would this be okay to bake normals to a simplified mesh?
What I'm actually 200% happy with is the look of the end result. Especially the hands, I found myself just looking at them for an hour, I'm so proud of them!
I miss embeds 😢
@theluthier How did you instantly turned on and off the wireframe for all the parts for your model at the same time?
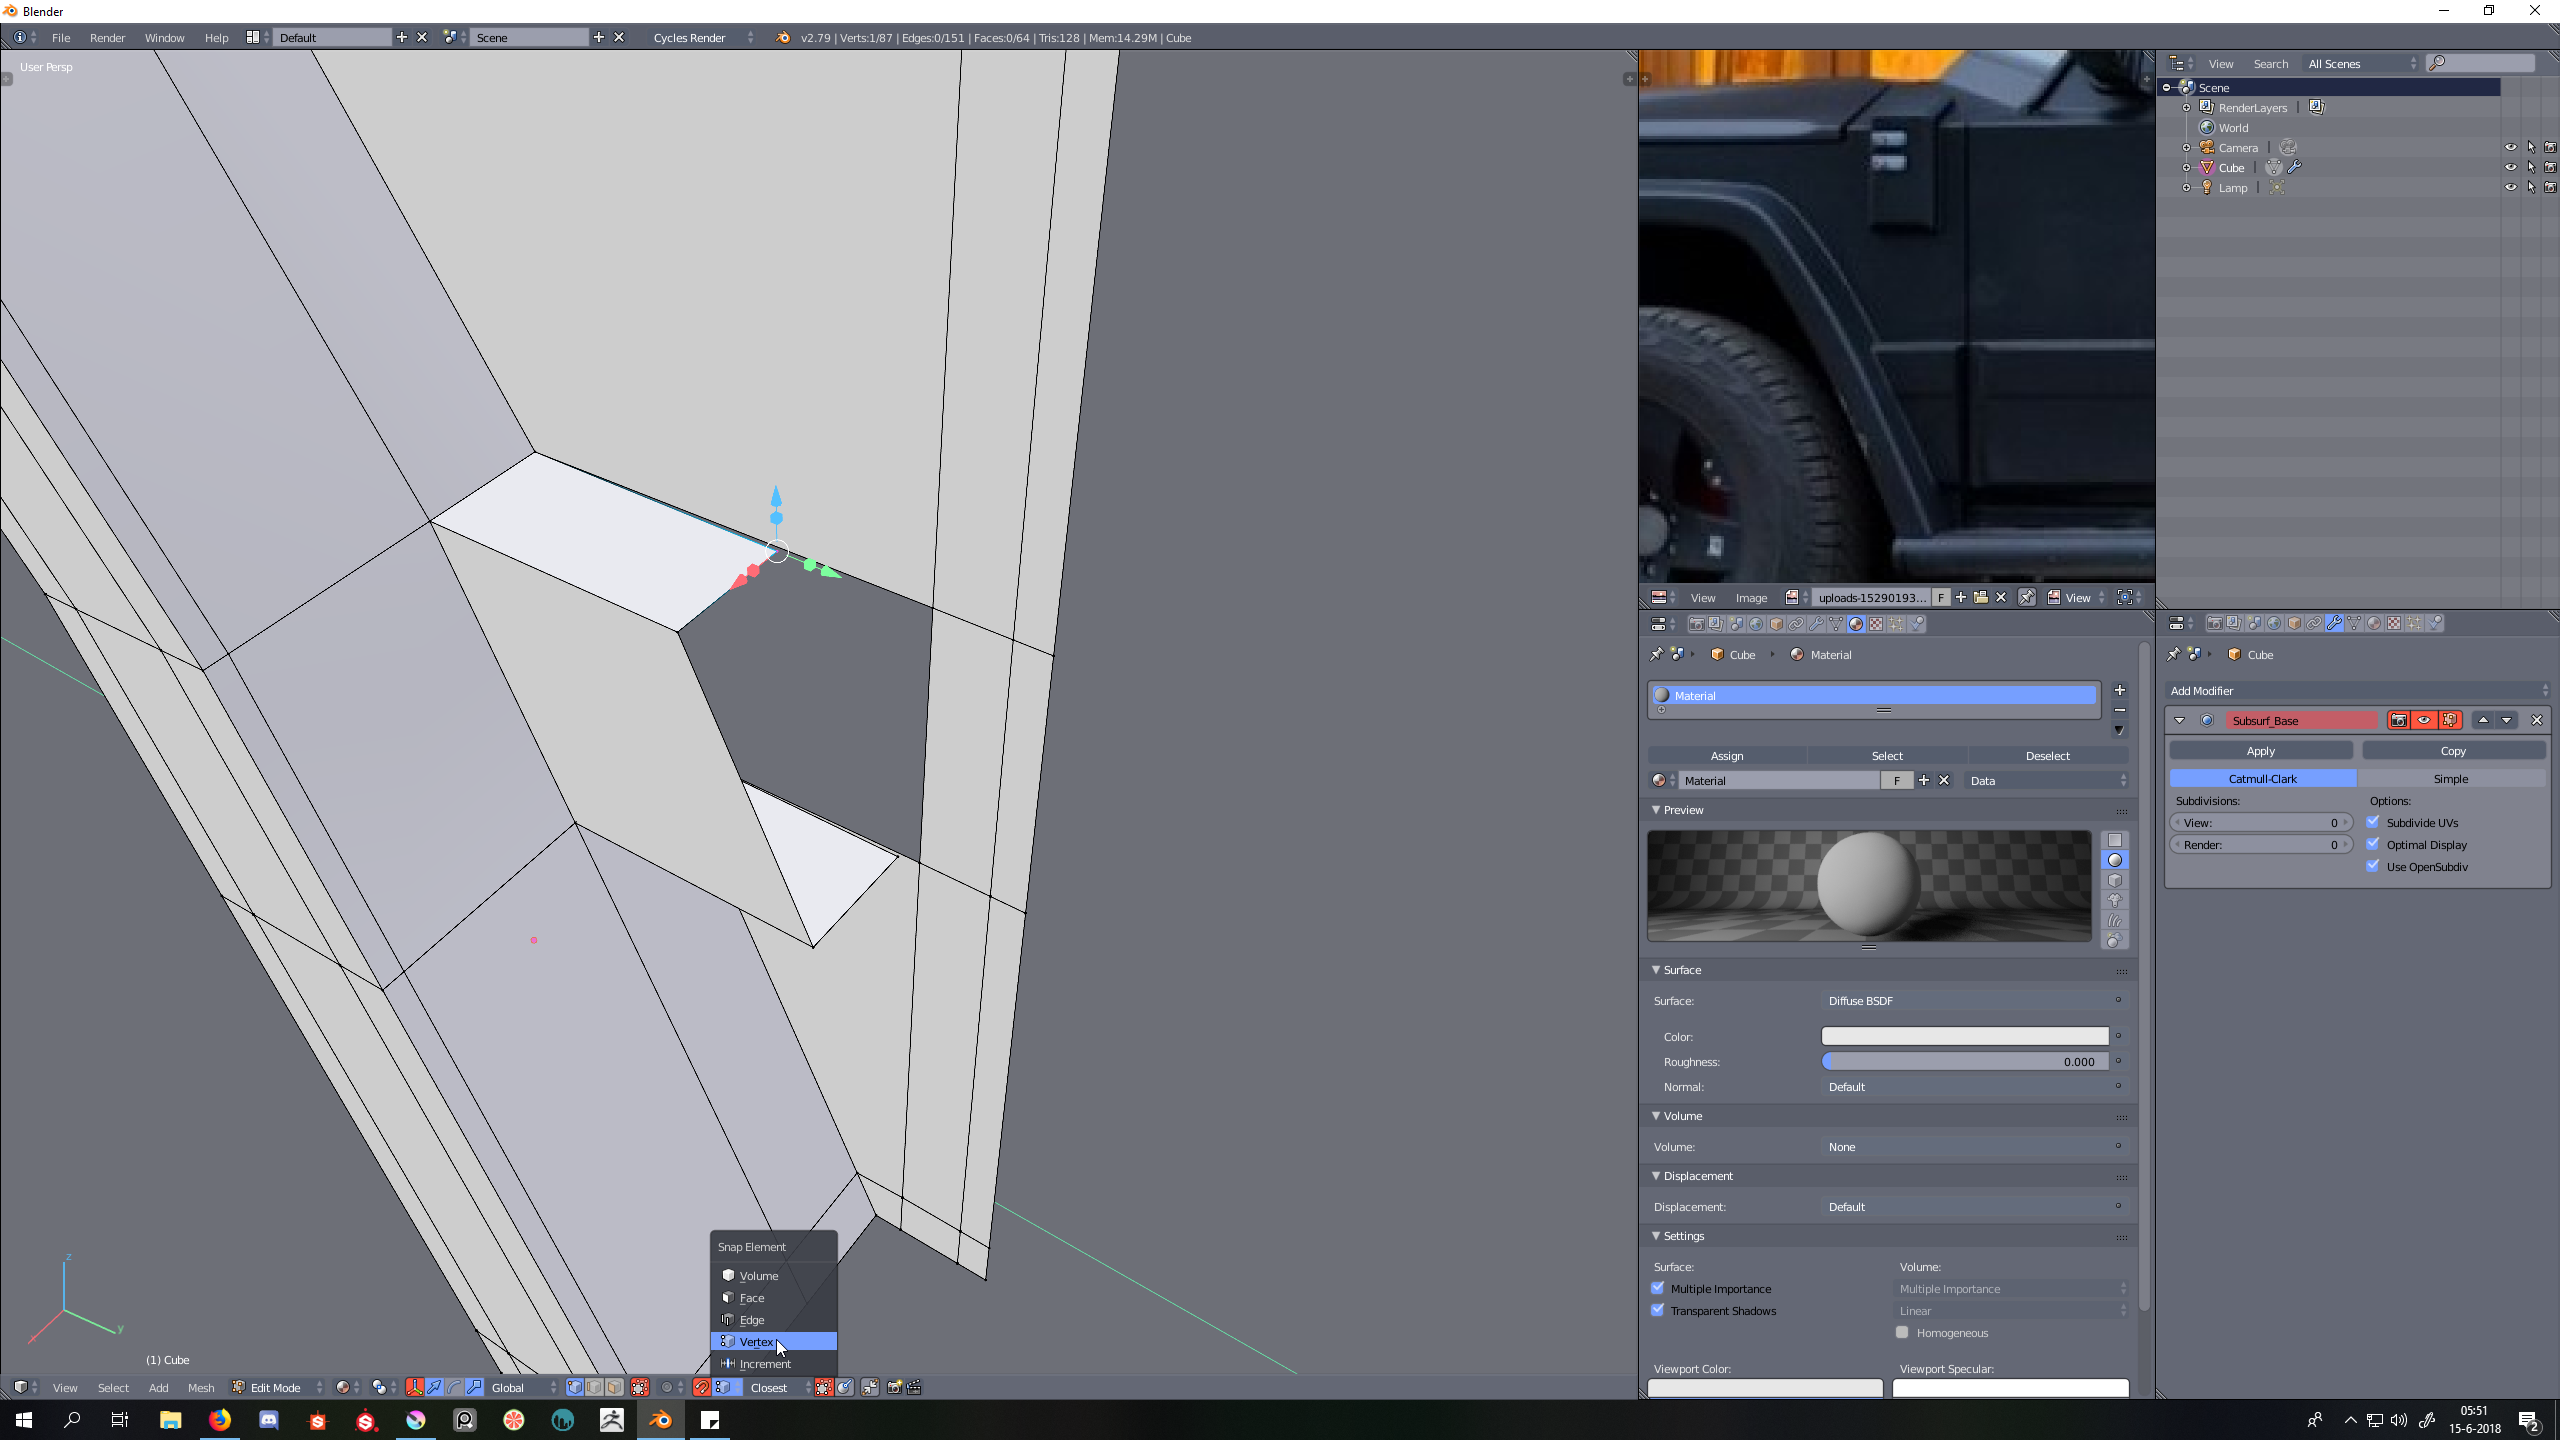
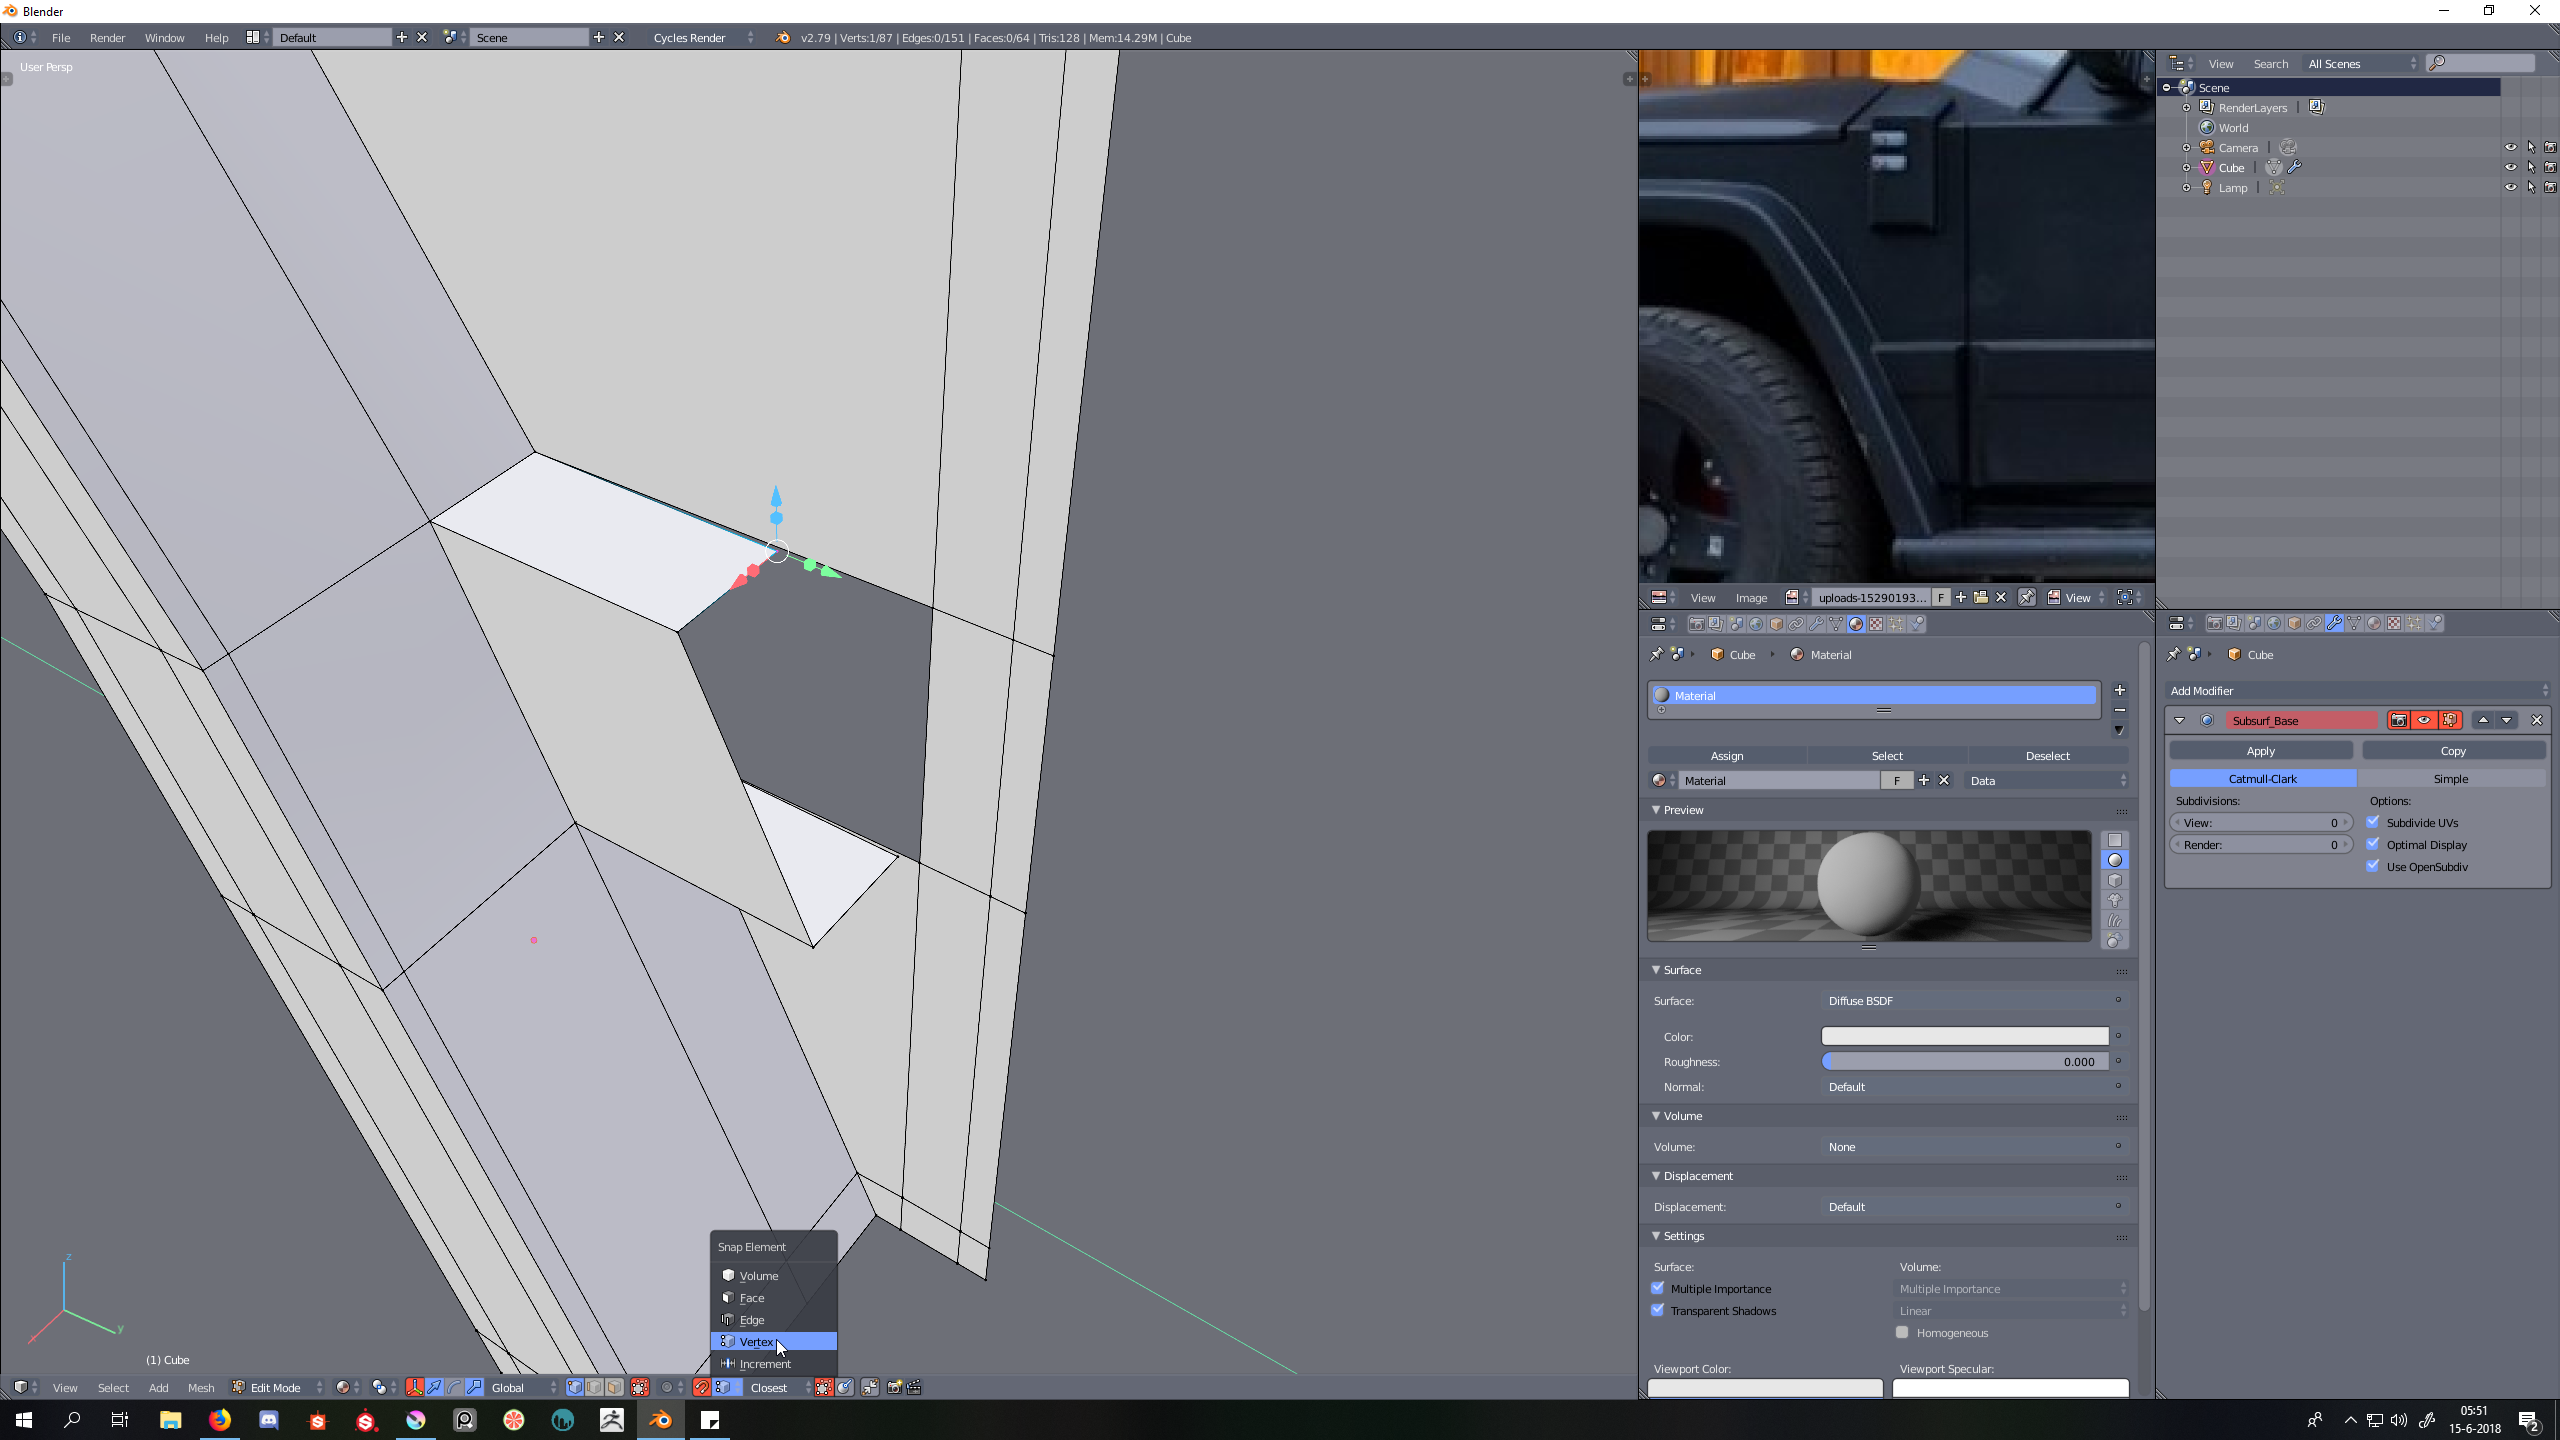
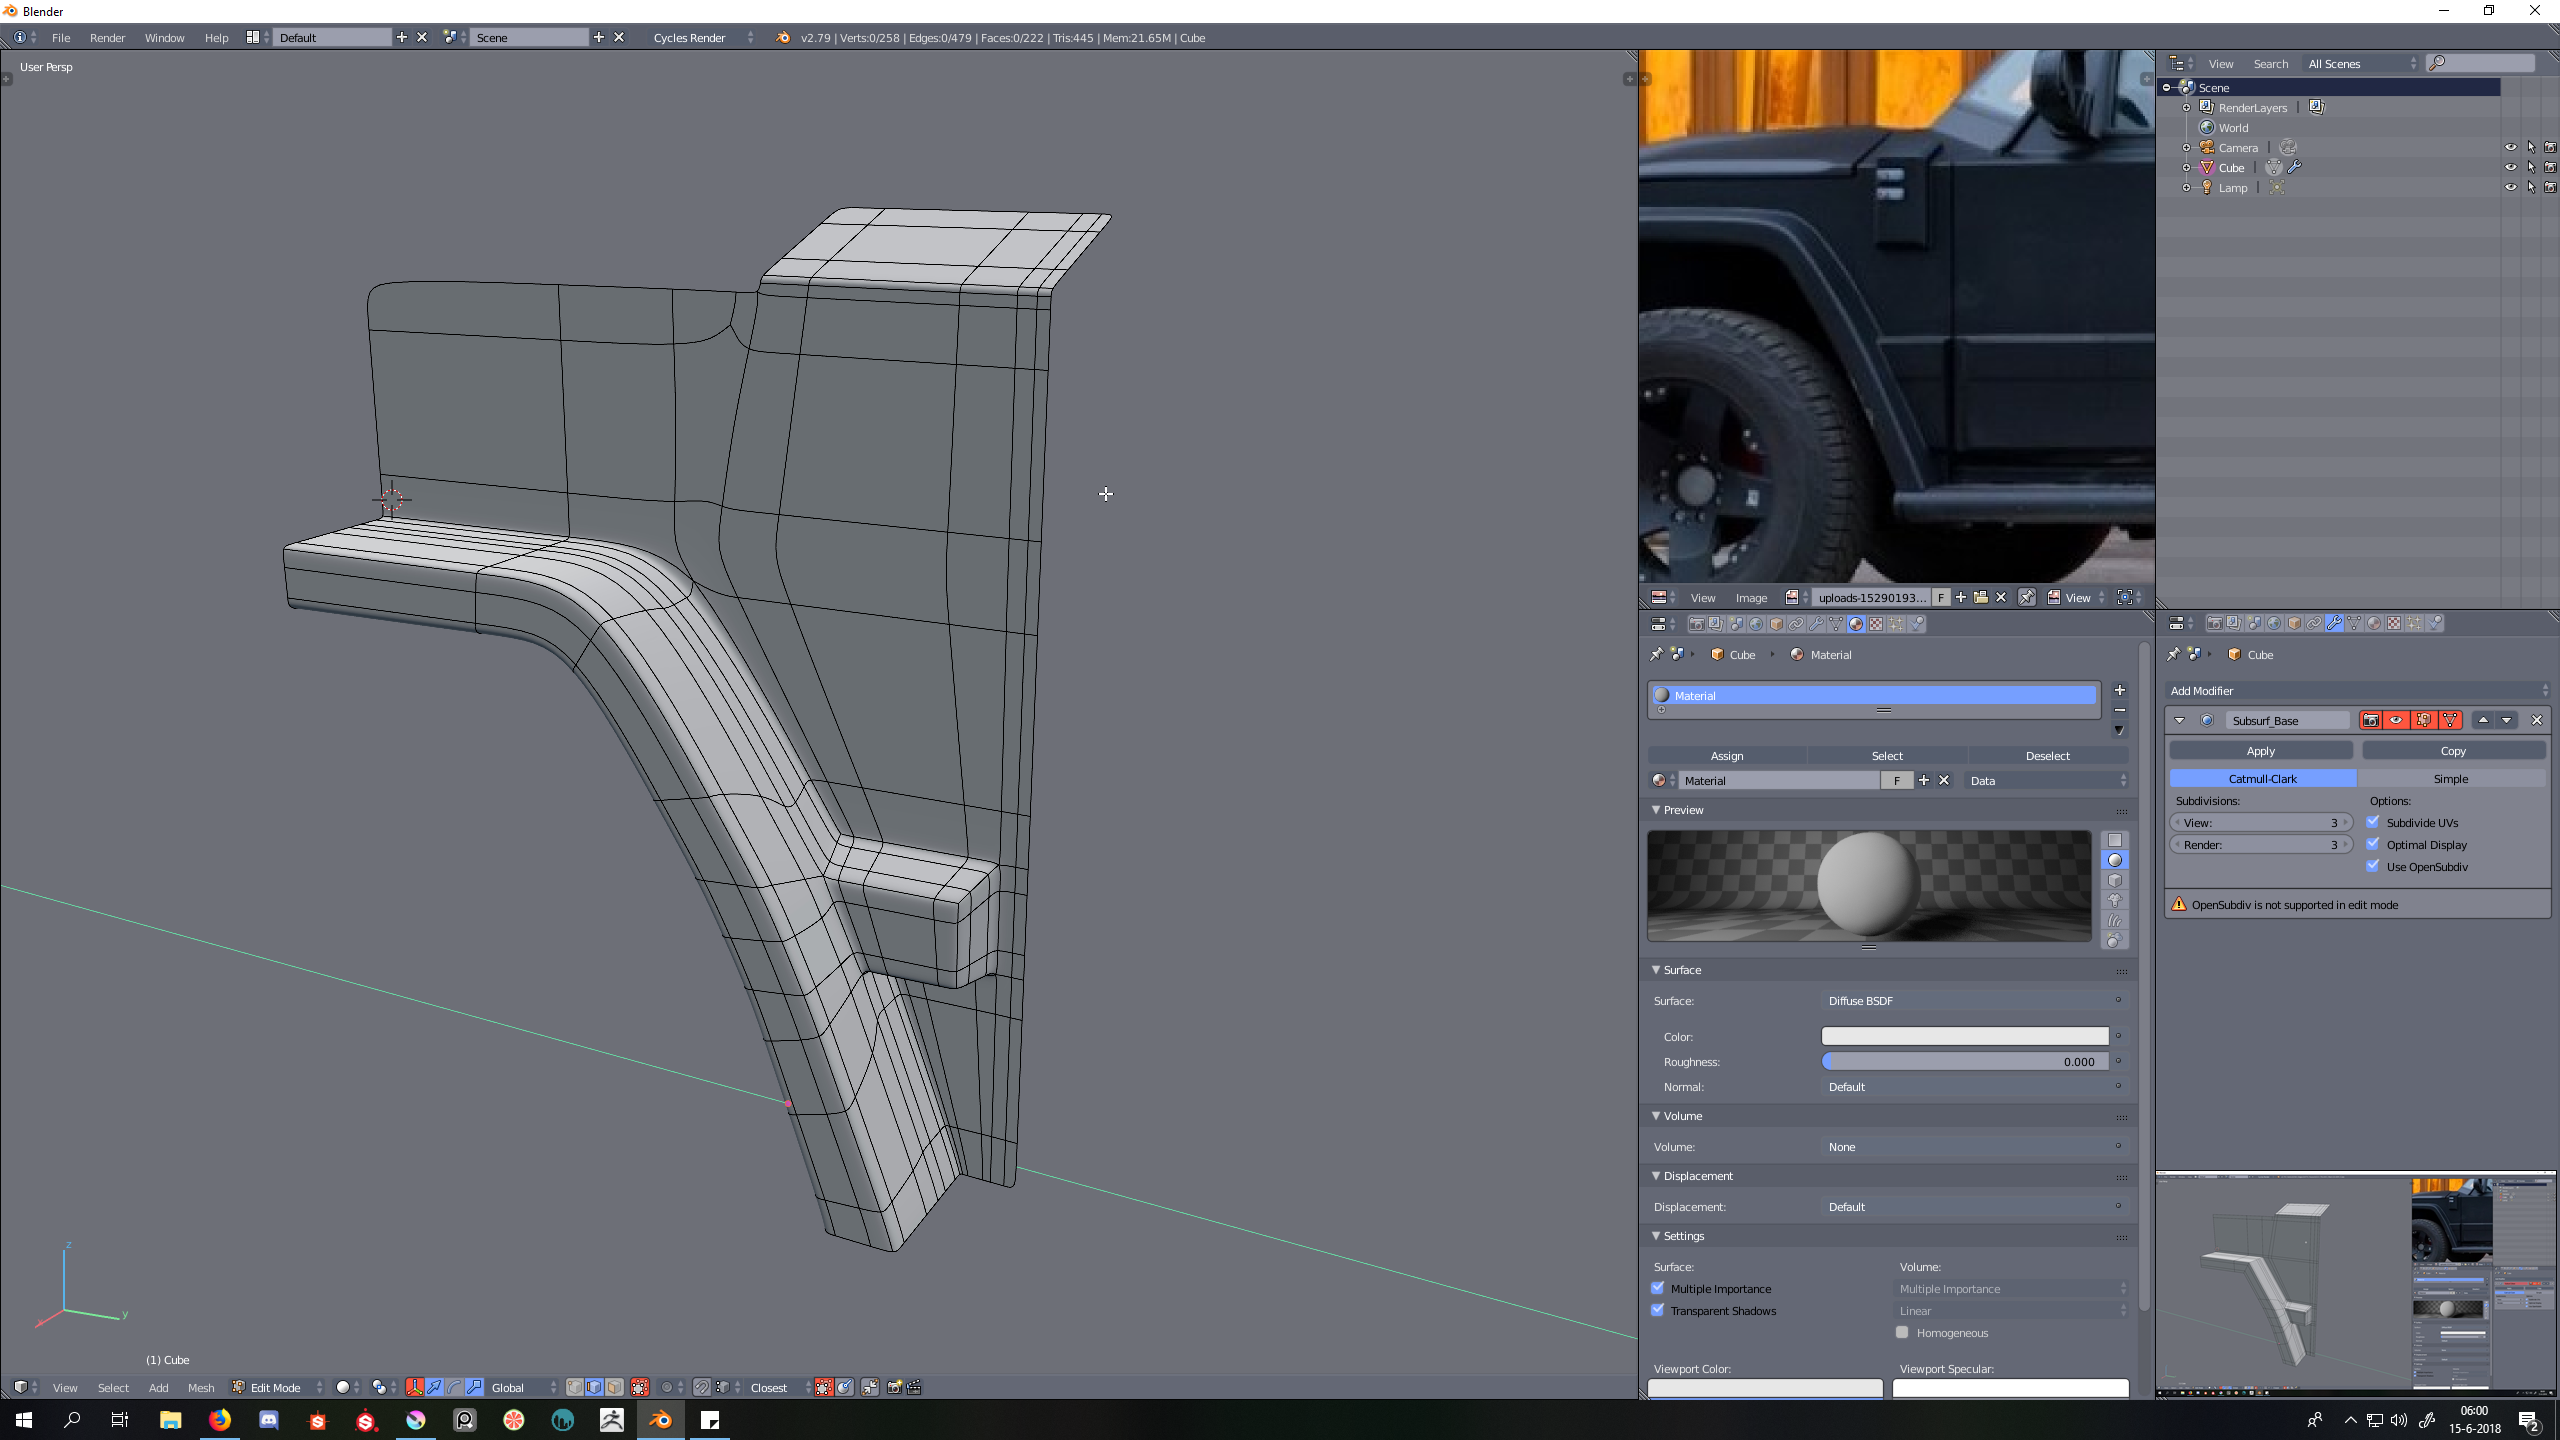
Something like this ? 1. establish curvature 2. extrude simple box shapes and Snap vertices (weld them after).
3. add supporting loops but spread them out so they do not distort your curvature.

![]() baukepost As far as I know, there's no shrinkwrap function in Maya. It's been a few years since I used it, though, so maybe they added it.
baukepost As far as I know, there's no shrinkwrap function in Maya. It's been a few years since I used it, though, so maybe they added it.
![]() michallis Maybe you could try adding holding edges really close to where you want the pinch, then spread out the other verts along that holding edge to round out the form.
michallis Maybe you could try adding holding edges really close to where you want the pinch, then spread out the other verts along that holding edge to round out the form.
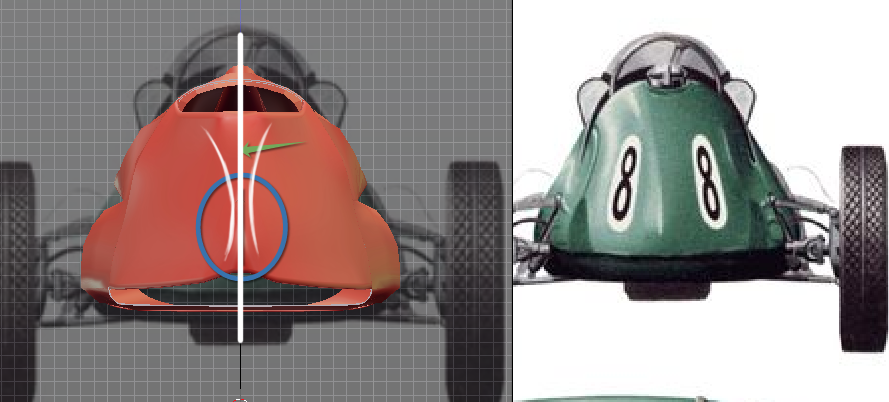
![]() michallis so you might try adding 2 edgeloops from the center and spreading them out accordingely to get the right spacing of the pinch.
michallis so you might try adding 2 edgeloops from the center and spreading them out accordingely to get the right spacing of the pinch.
I did a really quick test to show you (not in any case perfect lol):
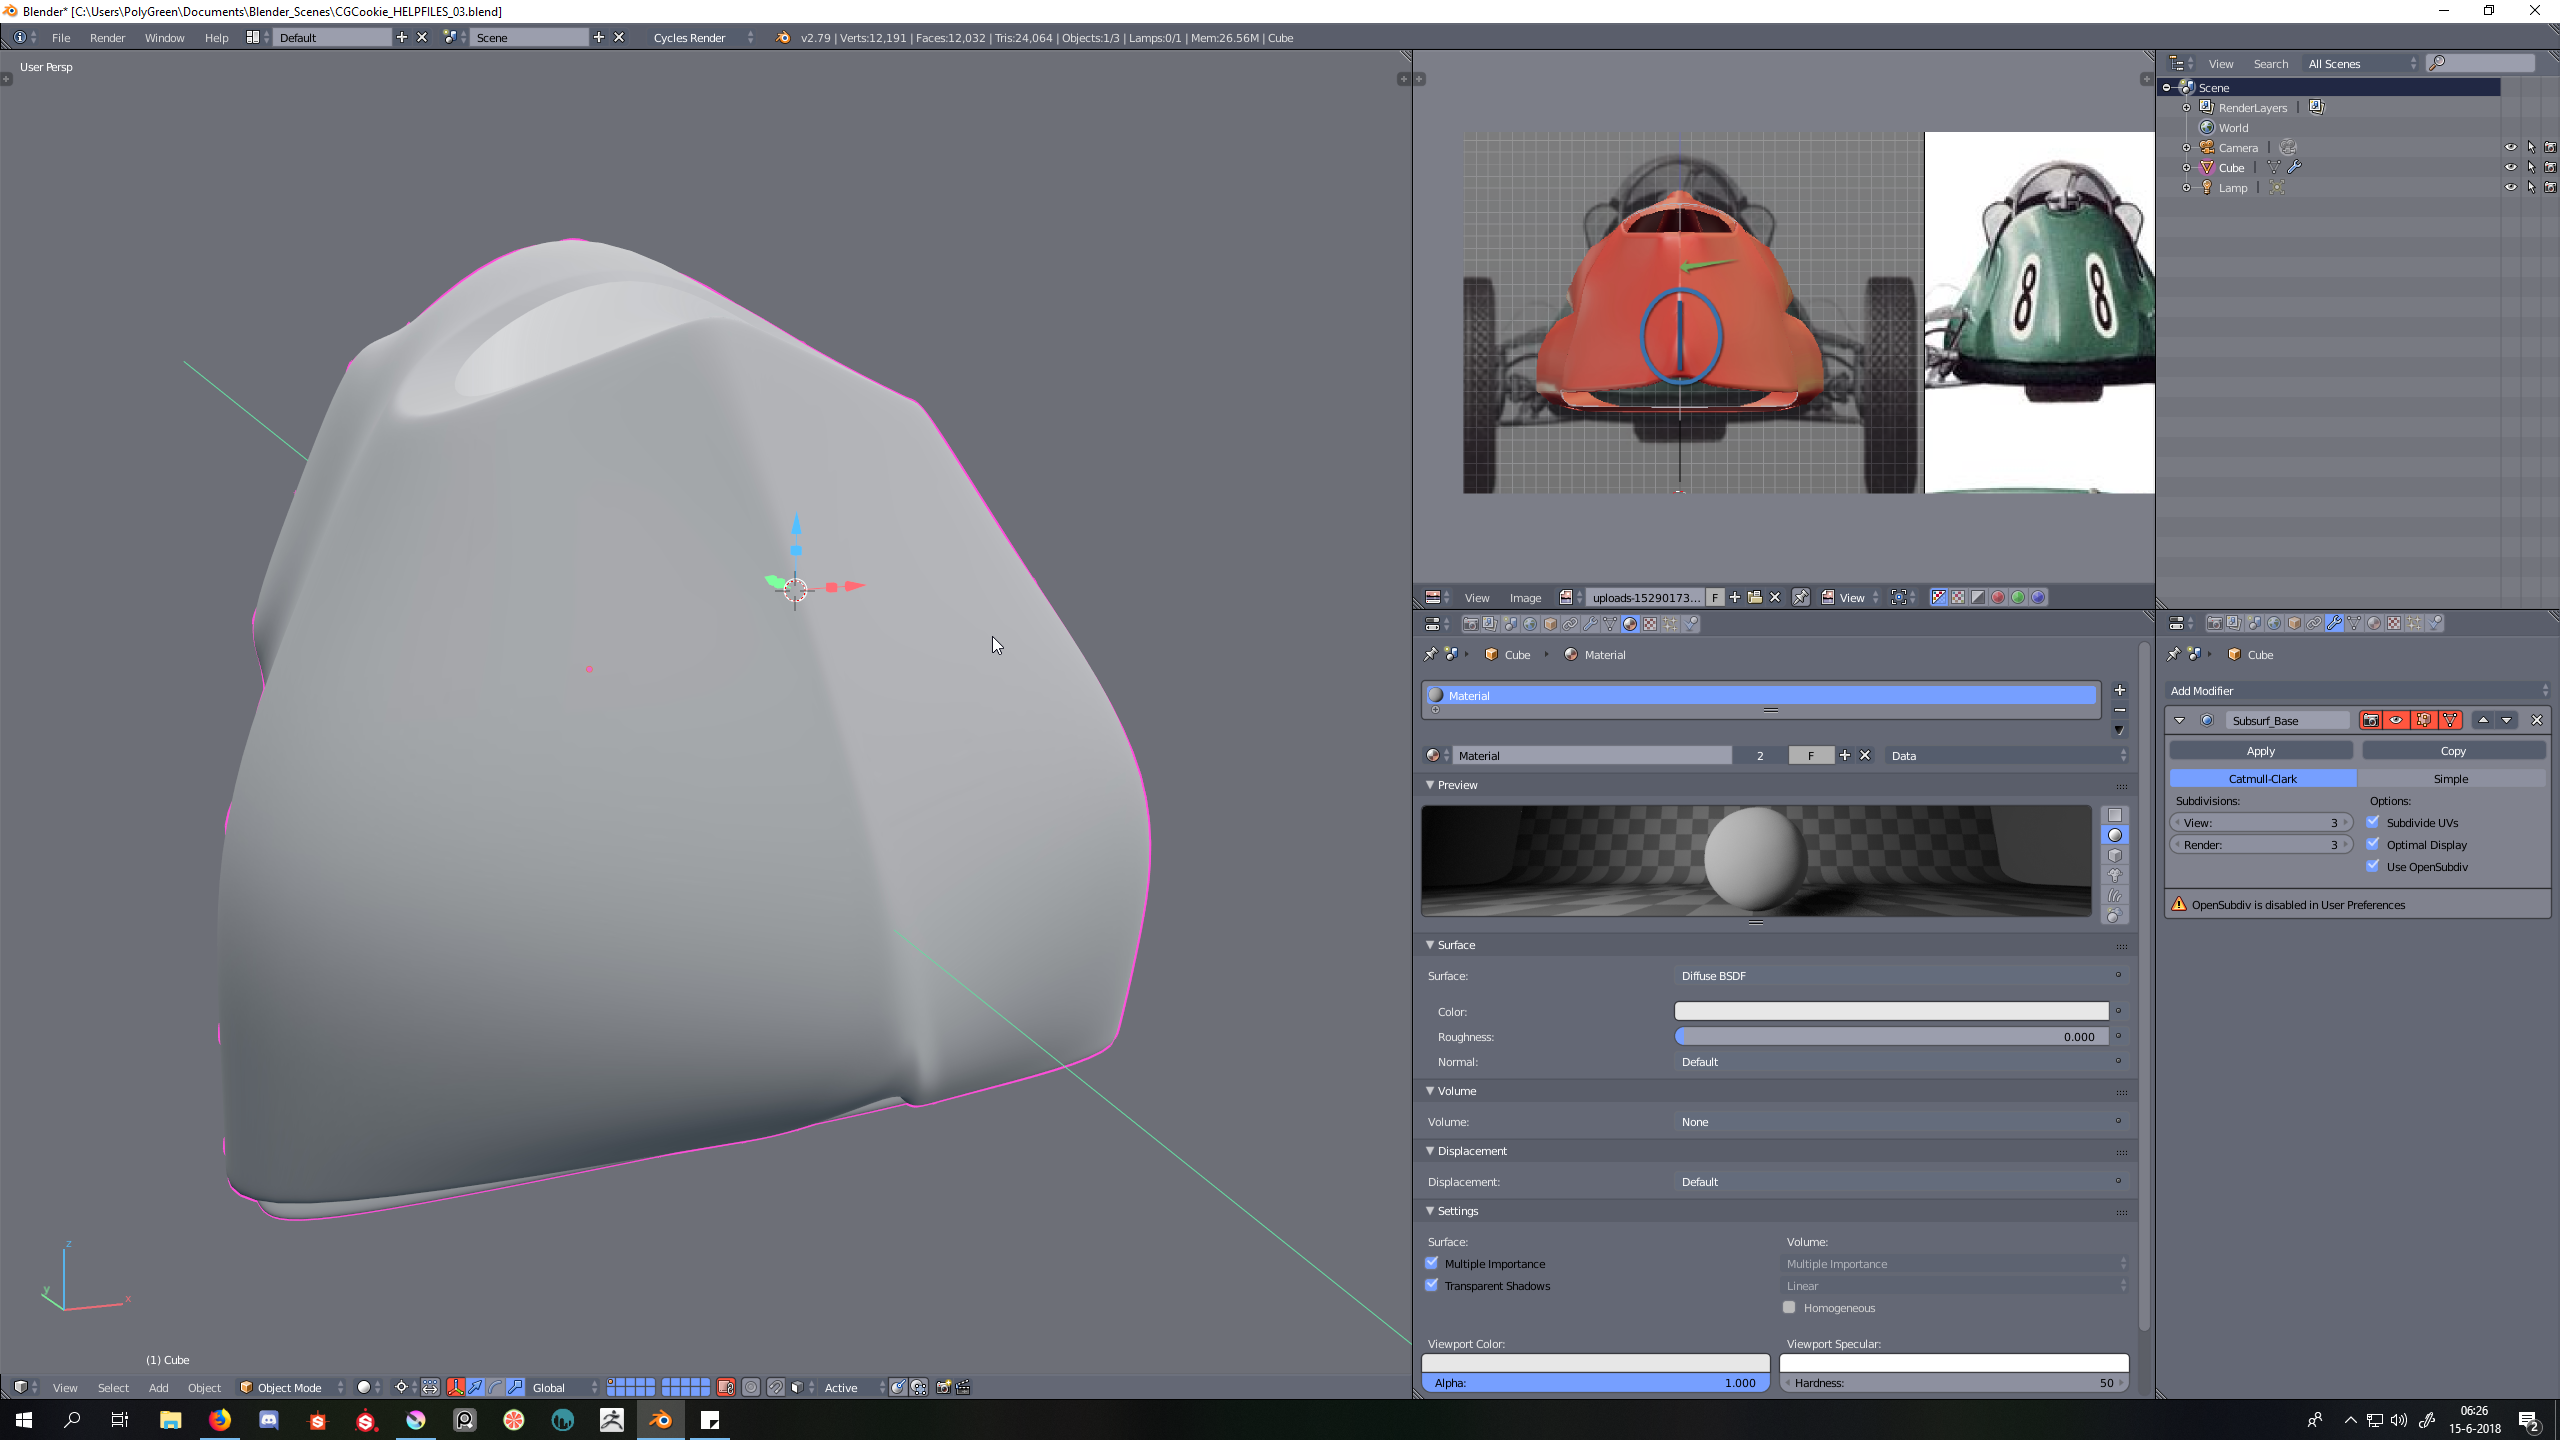
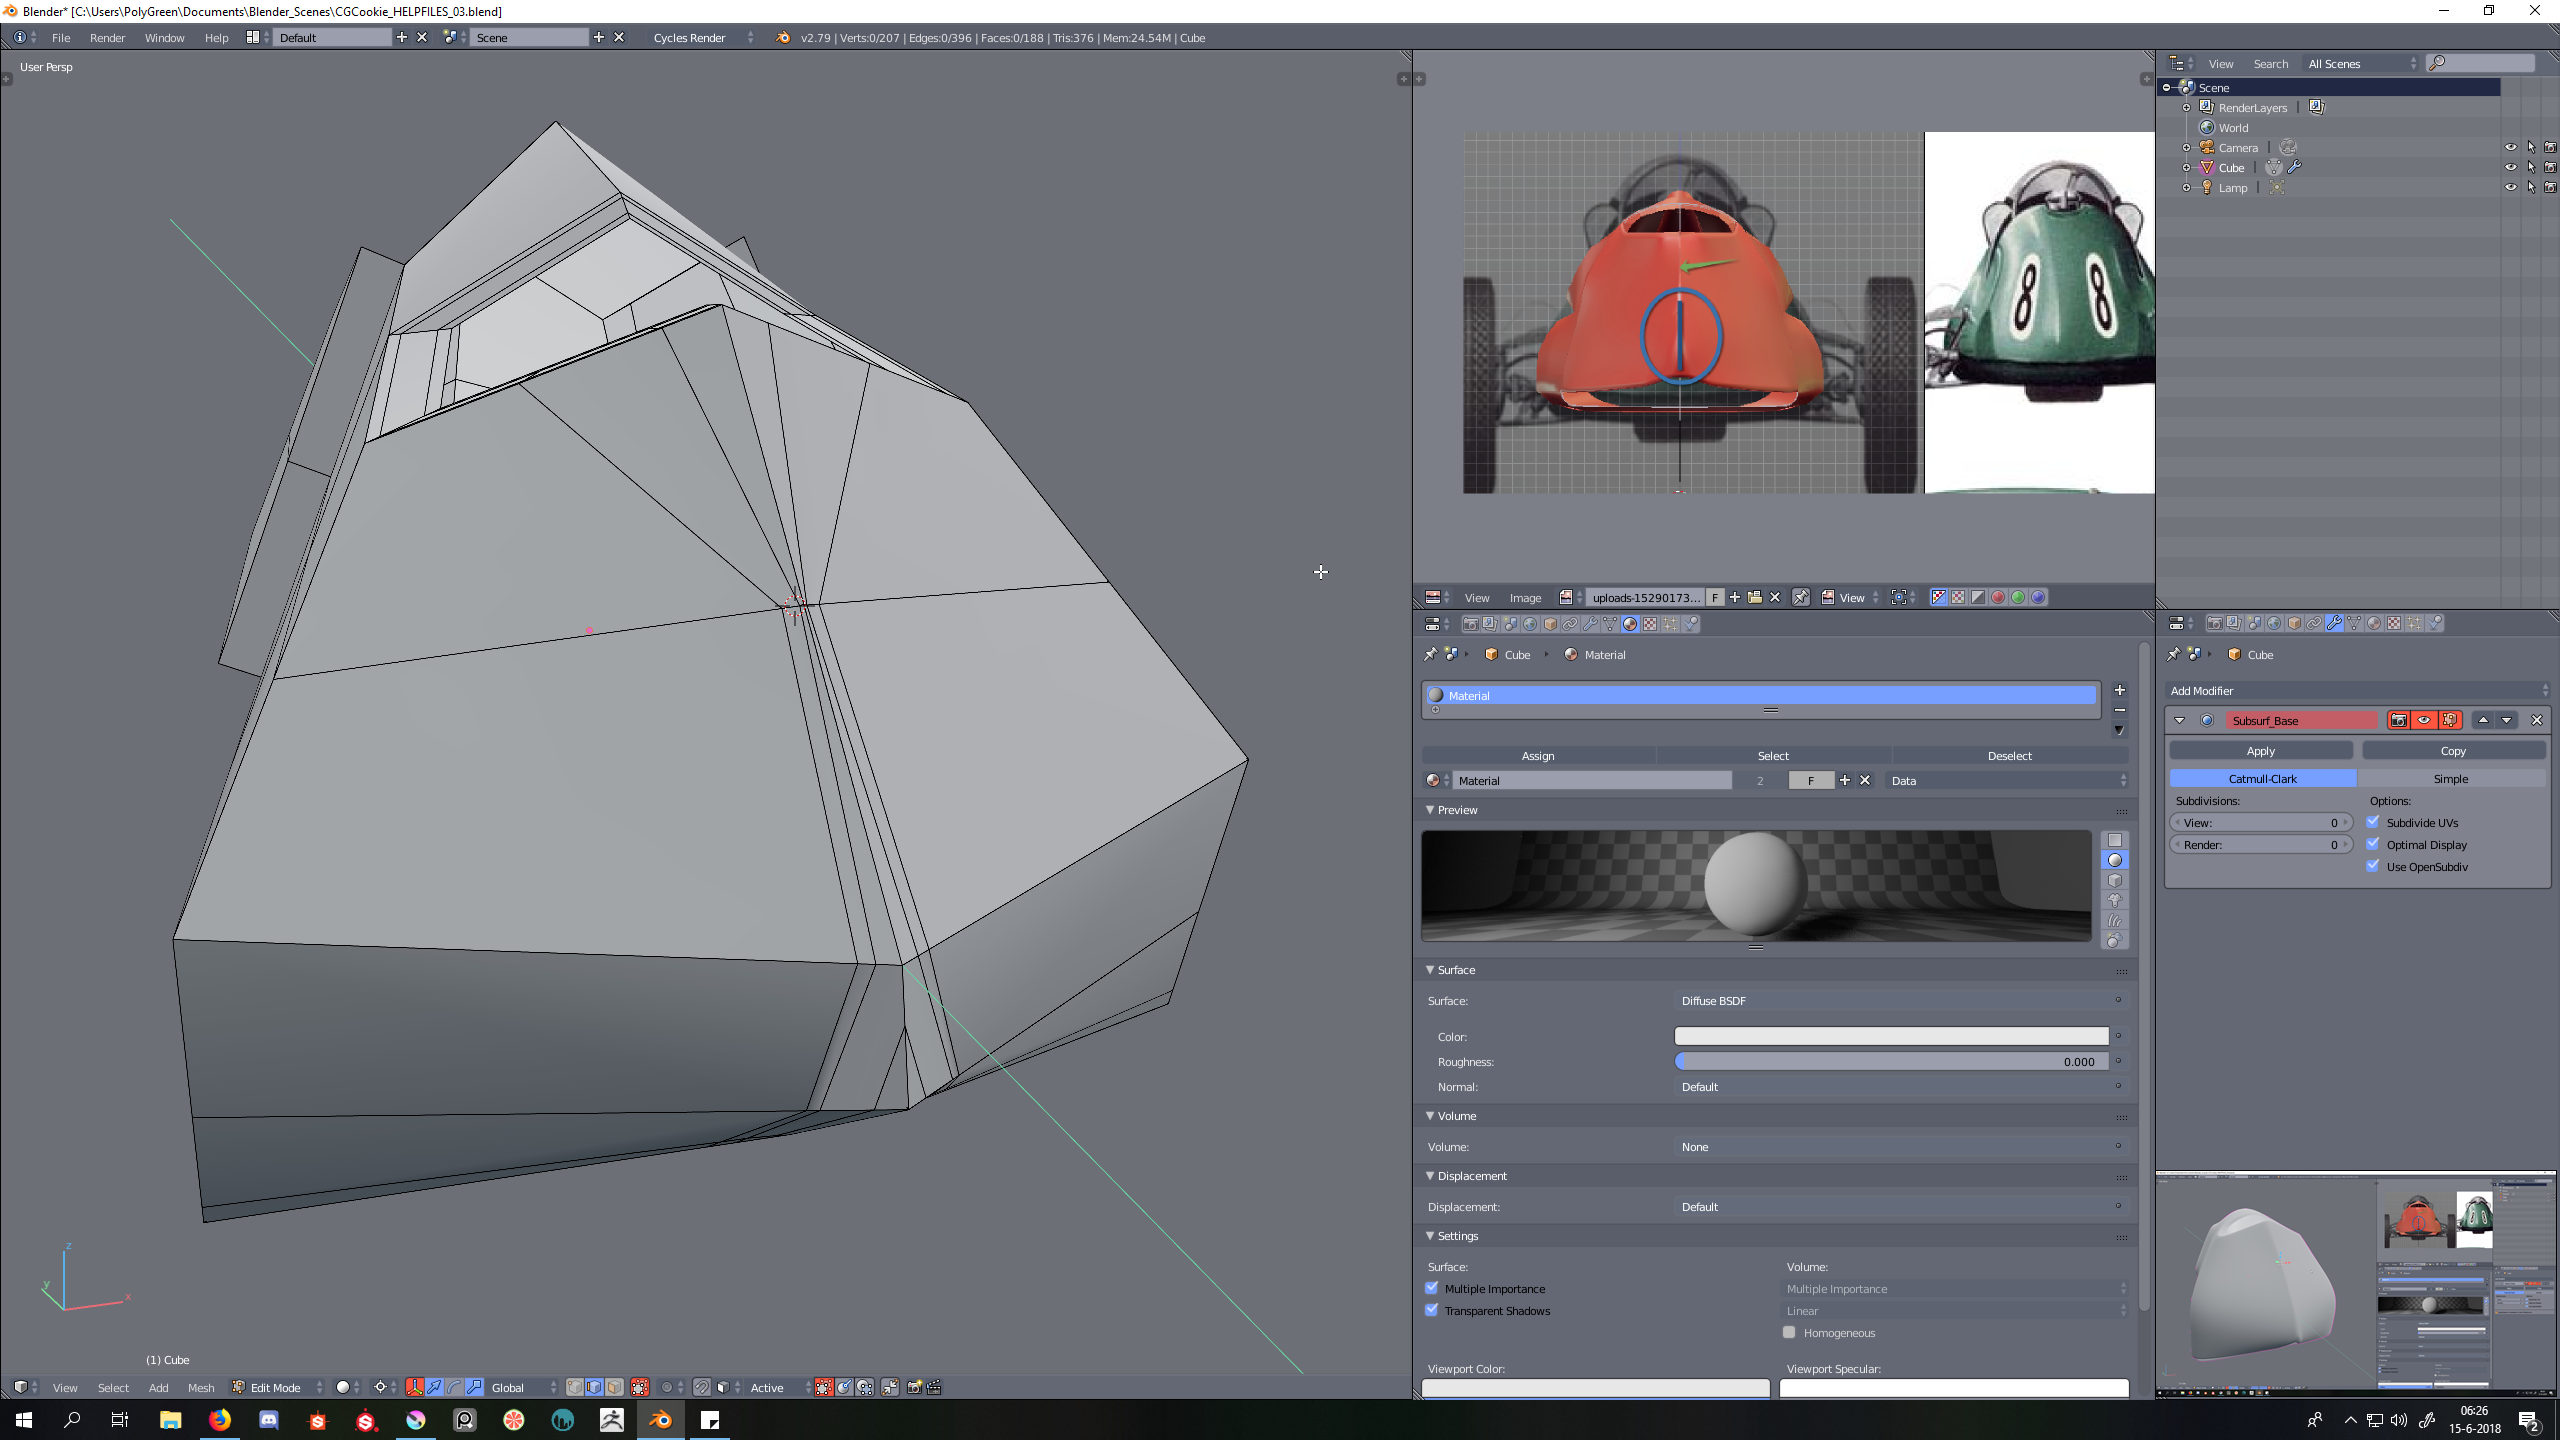

of course you can also try the "EDGE CREASE" and pinch the middle edge with +- 0.8 and the edges beside it to a lower value (0.5 +-) to fan out but its not easy to get it "smooth".
![]() jakeblended yes exactly that is the expression, DIFFICULT-surface modeling :D
jakeblended yes exactly that is the expression, DIFFICULT-surface modeling :D
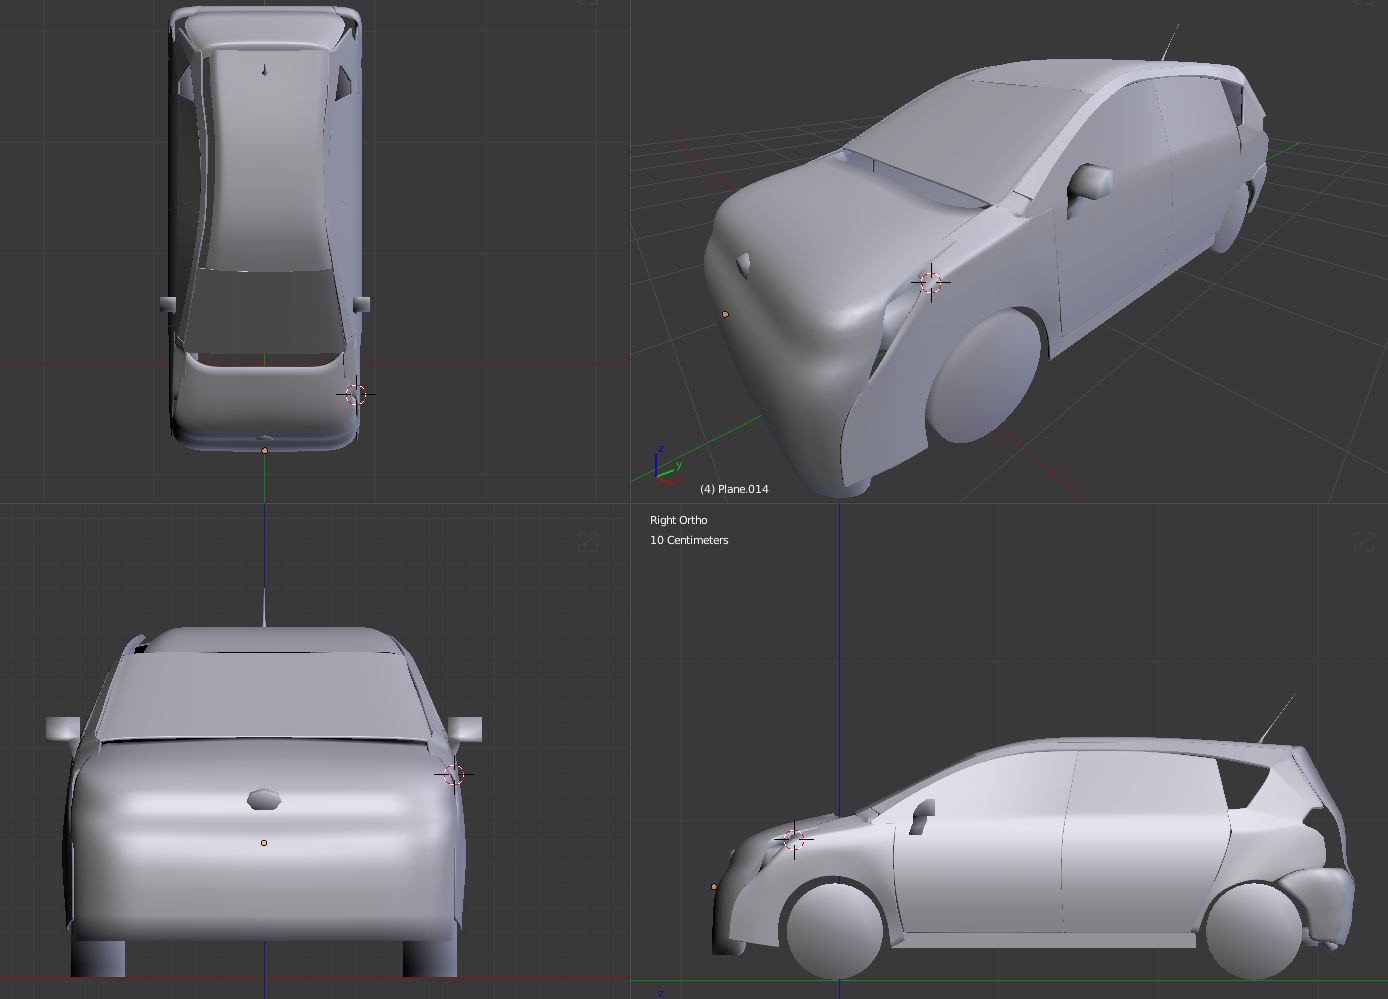
Work in progress, focus on the chassis components. The exterior (cabin, that is) was already in advanced stage when the course began, so it maybe should not be evaluated, so it's fair to those who started tuesday
Here's some picture with/without mesh of the whole vehicle, the rear transmission gear and the front one:
The engine is one hell of a part to do ...
I'm having some pinching. Here's what it looks like.
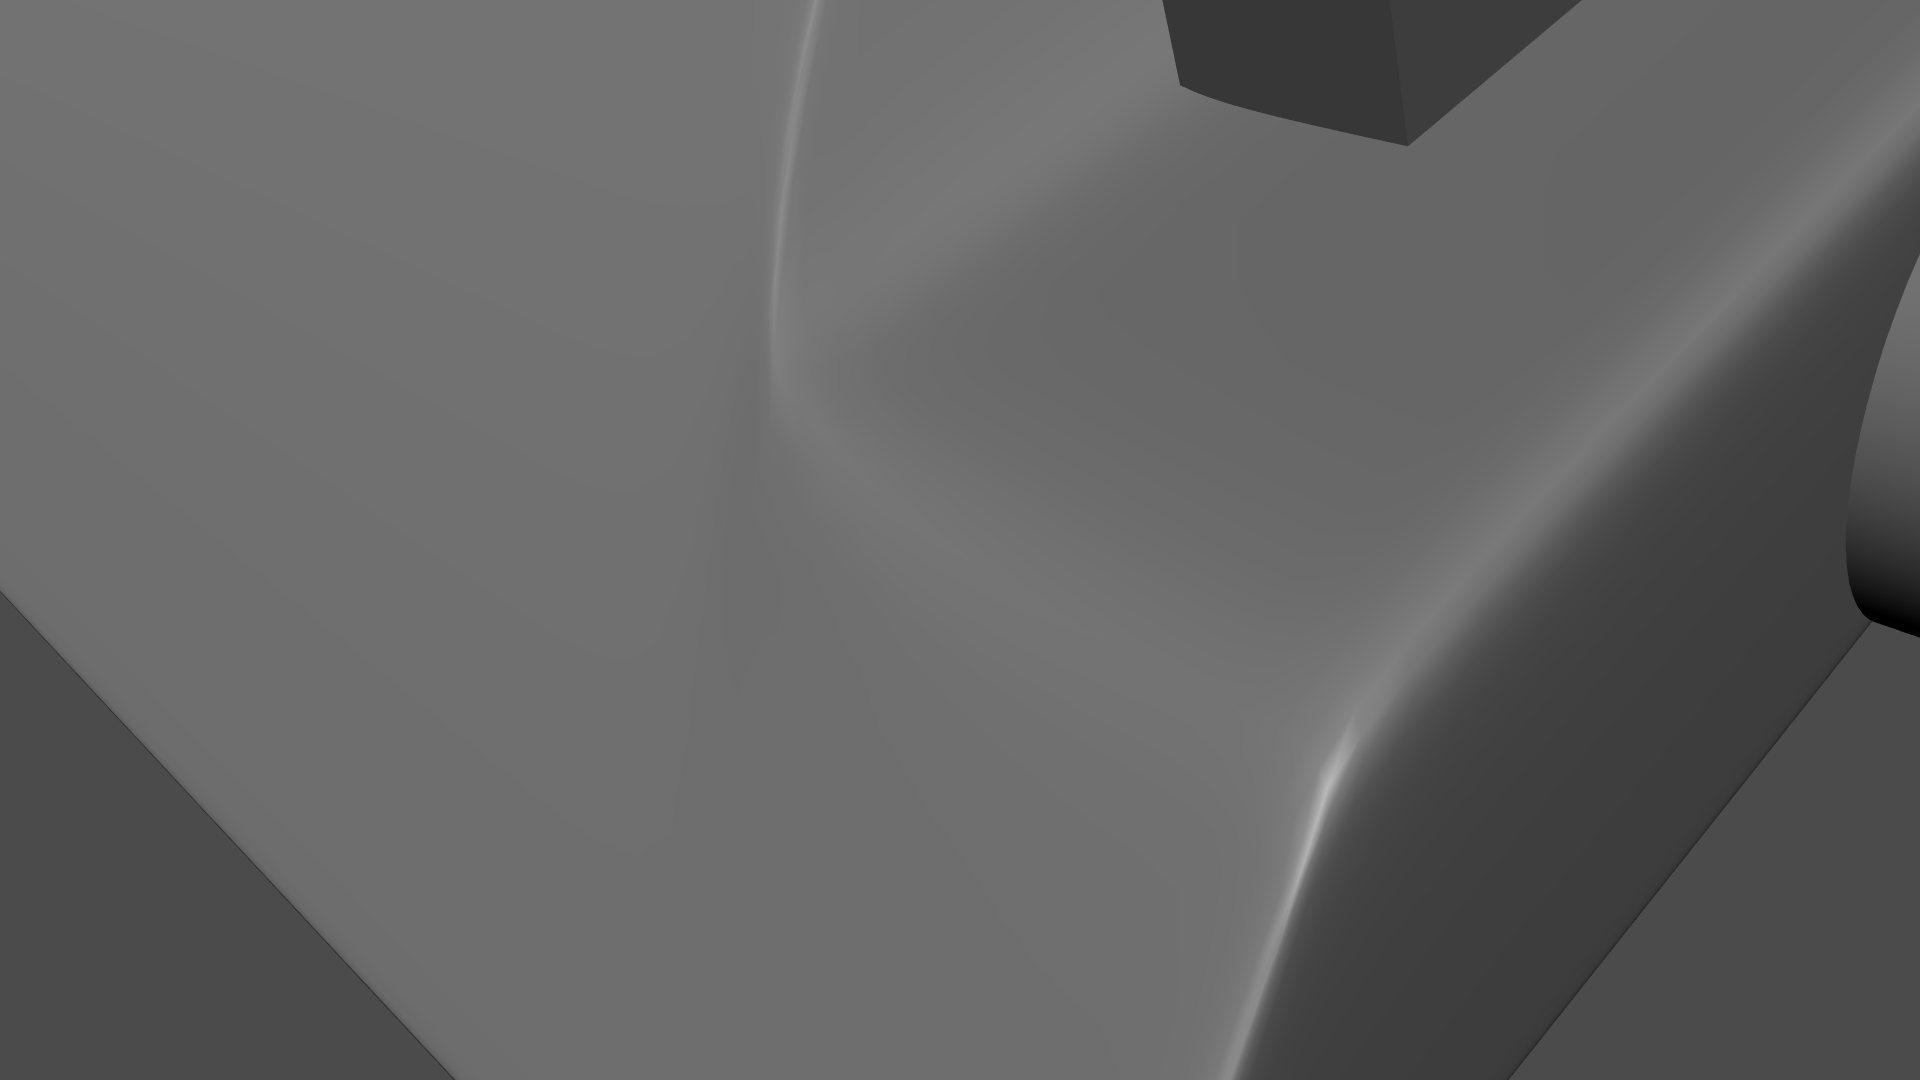
Here's what the (subdivided) topology looks like.
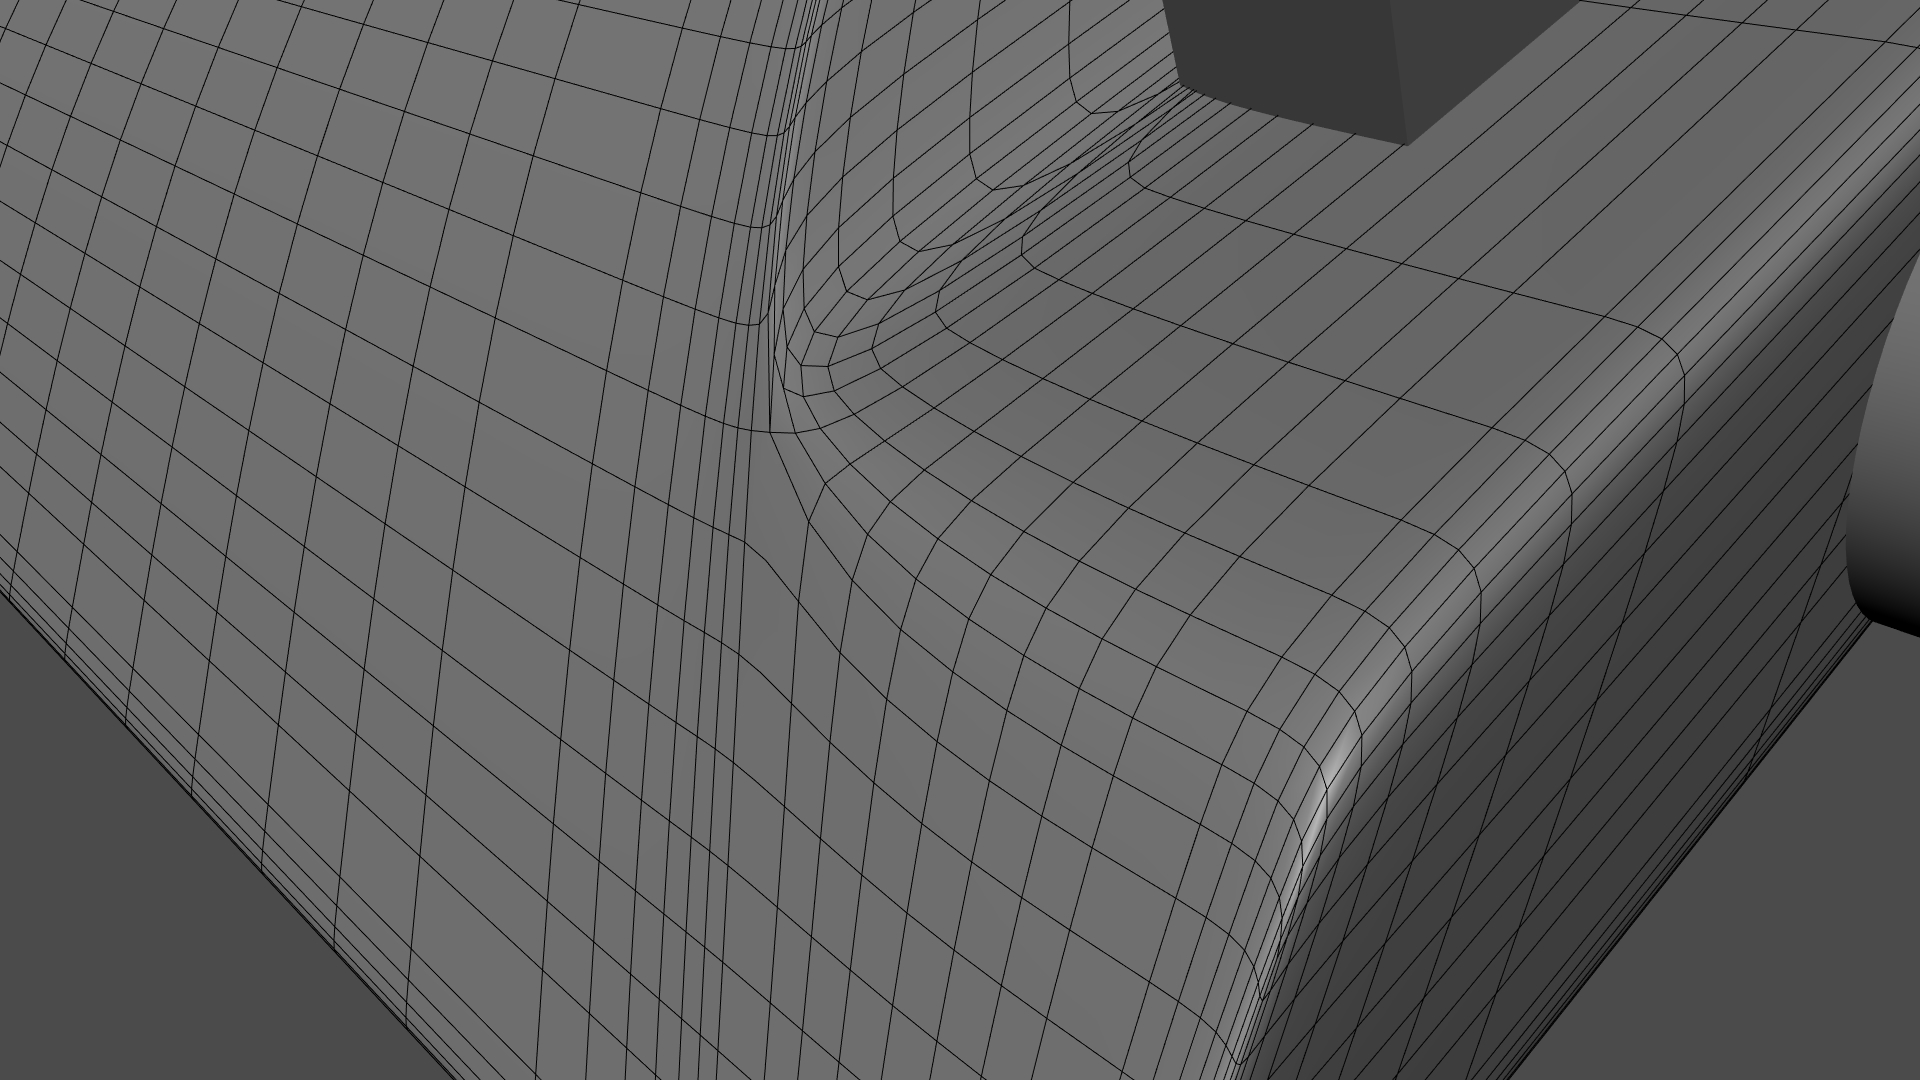
Here's what it looks like with optimal display turned on.
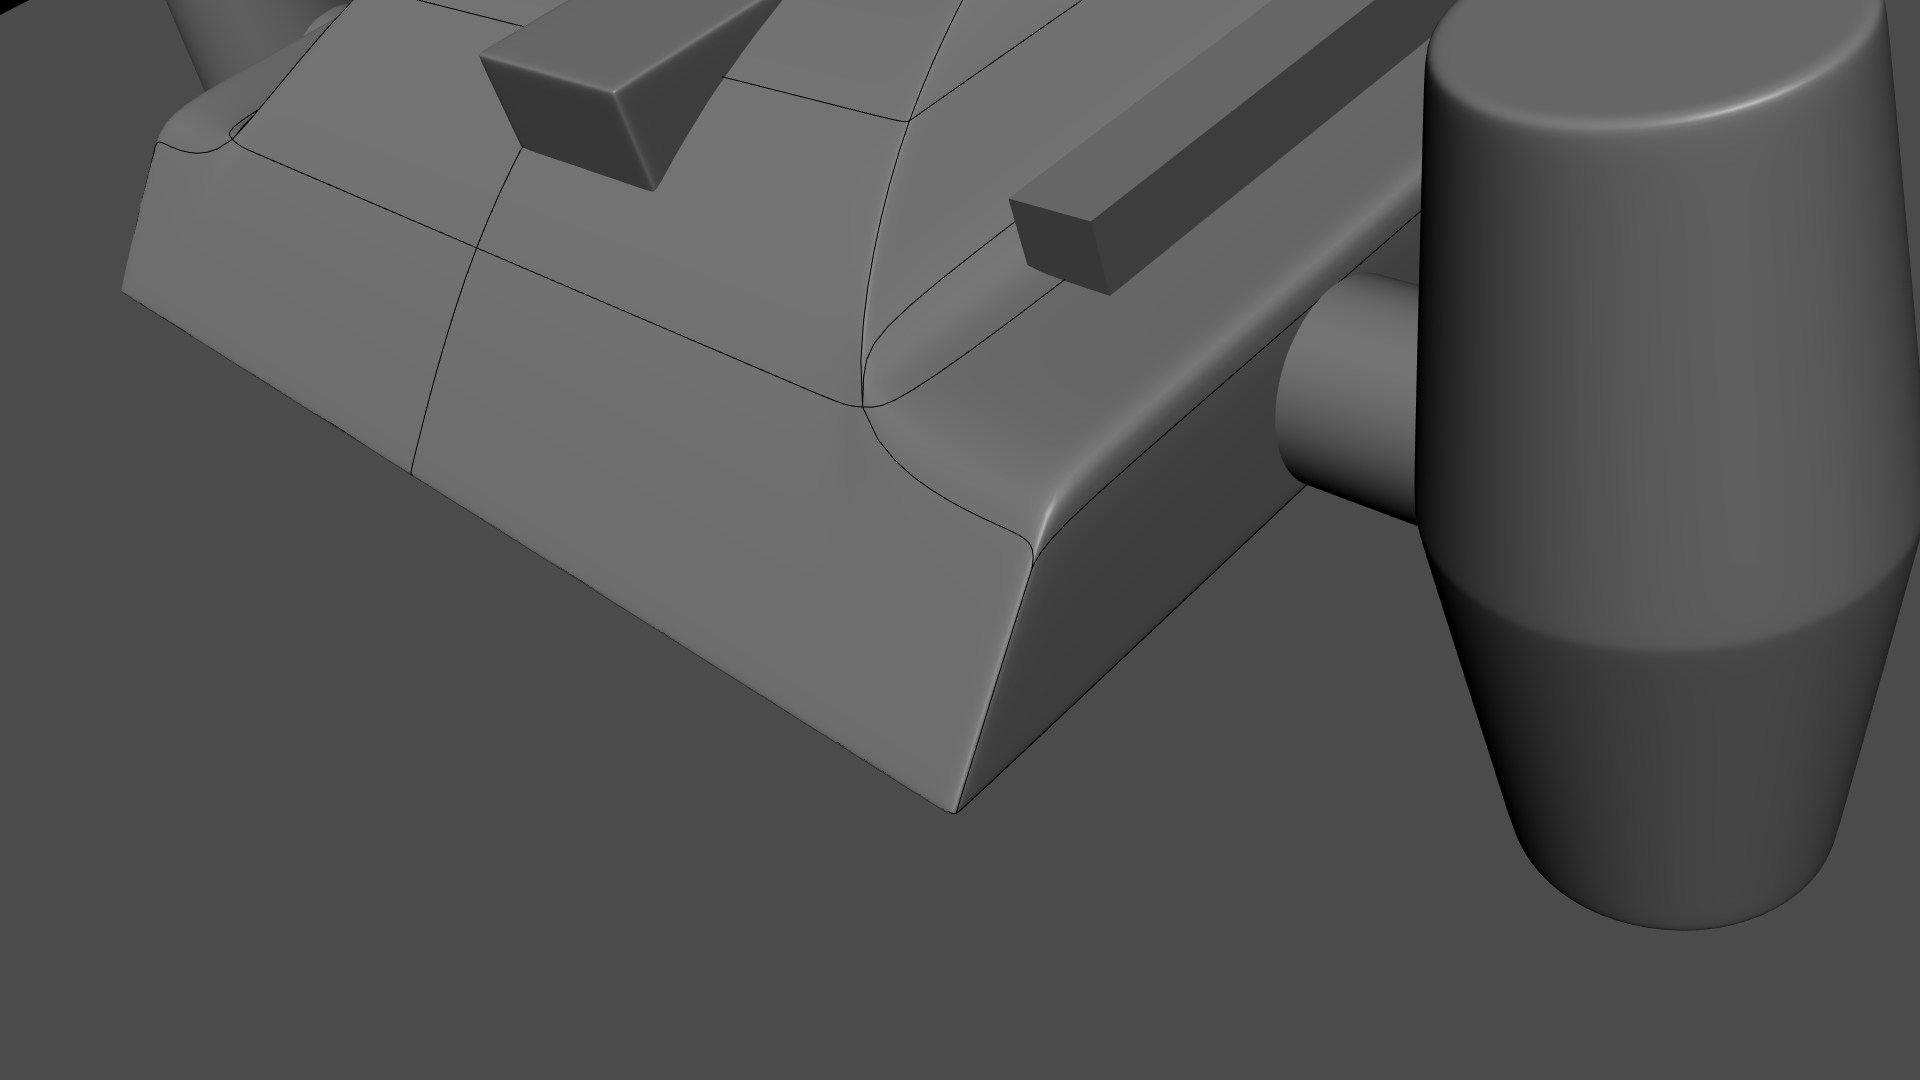
![]() williamatics Can you post the .Blend file? That would make it a little easier to look at the situation.
williamatics Can you post the .Blend file? That would make it a little easier to look at the situation.
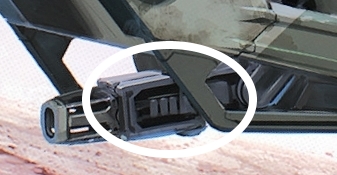
Hey guys! I'm working on the middle part of this gun, but my my 3d blockout looks a bit uninteresting and just not good. I'm trying do it a bit differently than the concept, instead of straight up copying that part. I imagine it is some kind of laser generator of some sorts, but I can't seem to get it looking cool and futuristic. Do you have any advice on the design?
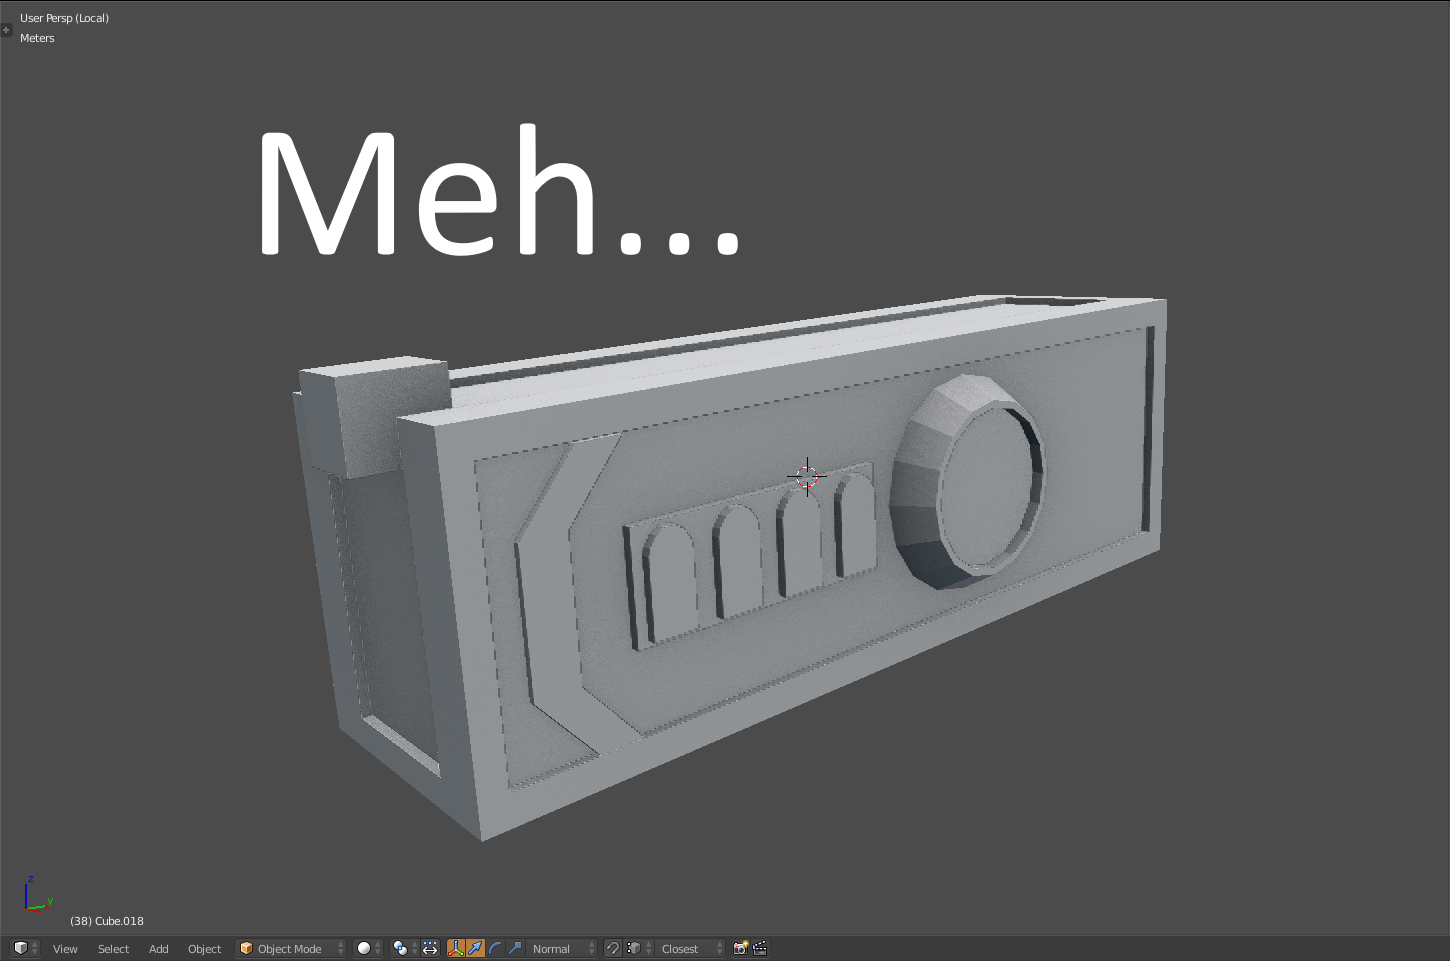
hello guys is this part ok? i don't quite like it personally... is there any other way to fill it such that it maintains the number of edge loops on the back?
![]() baukepost It looks like the inset is deeper in the concept art. You should also add more wires and stuff.
baukepost It looks like the inset is deeper in the concept art. You should also add more wires and stuff.