CLASS ANNOUNCEMENT #7 (July 5, 2018): BC3-1806 is officially over! The Class Wrap stream recording is available to watch and the closing post is on page 63. Please take a minute to fill out the Questionnaire 🙇🏻♂️
CLASS ANNOUNCEMENT #6 (June 20, 2018): Week 4's stream recording has been edited together - curse you computer freeze! - and is available to watch. This is the final week of the class! Spend some time sculpting a wild and crazy vehicle design and let's finish strong 💪
Also a reminder that we will be having a 5th stream to wrap up the class on July 3rd, so don't miss that.
CLASS ANNOUNCEMENT #5 (June 20, 2018): Check out Week 3's stream recording if you missed the broadcast! I also updated Week 3's homework for those of you that want to finish your vehicle exterior.
CLASS ANNOUNCEMENT #4 (June 13, 2018): Week 2's stream recording is now available to watch if you missed the broadcast. Also the additional timelapse video mentioned in the stream is available here.
CLASS ANNOUNCEMENT #3 (June 11, 2018): Week 1 is done! Thanks for getting your homework submitted on time. Here's a link to the report card if you'd like to keep track of your grades throughout the class. Onward to Week 2!
CLASS ANNOUNCEMENT #2 (June 6, 2018): Week 1's stream recording is now available if you missed it. Also I've secured a concept car blueprint thanks to the talented 2D/3D artist, Milen Ivanov (see page 9 of this thread to download it). This is the vehicle I'll be modeling and you're welcome to model it as well if you don't want to find your own!
CLASS ANNOUNCEMENT #1 (June 4, 2018): Class is in session! Today officially begins the BC3-1806 class. Please check the syllabus below for Week 1's focus and assignments. Begin watching the pre-recorded courses if you haven't already and begin searching for a cool vehicle you want to model. The first Live Event is tomorrow at 2pm EST - SEE YOU THERE! 😎
Vehicle model by Chris Kuhn on blendwap.com
Welcome to the CGCookie Class: Vehicle Modeling with Blender! Here by popular demand, this class is designed to be a holistic learning experience about the art of modeling vehicles. If you’re diligent in watching all content and hitting homework deadlines, by the end of the class you'll be prepared to build digital vehicles to your heart's content! This is an intermediate-to-advanced class which means you’ll do best by having some experience with Blender and 3D modeling before committing to this class.
This is the third "Class" format where Citizen members are invited to focus together on a particular topic/skill for a month. Participation looks like this:
WHEN? The class will take place from June 4th through July 2nd (ish)
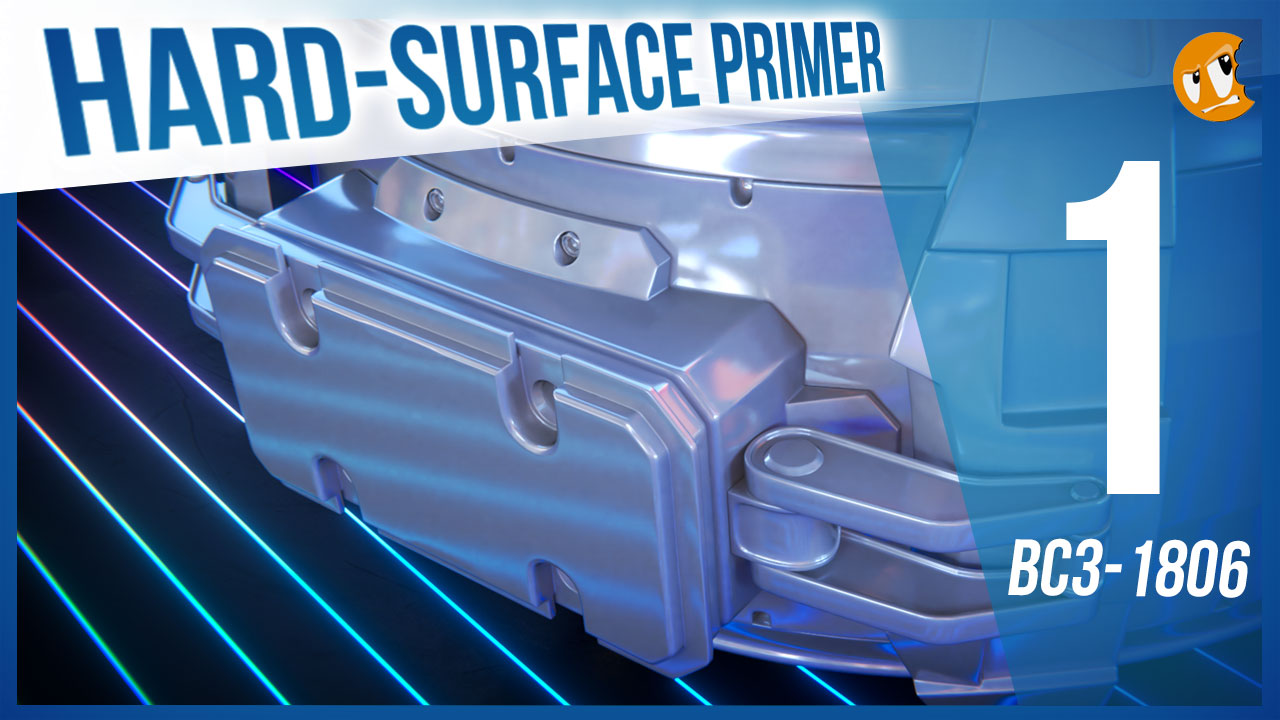
Abstract: Vehicle modeling is pure hard surface modeling. Therefore it's important to be proficient with general polygon modeling techniques. This first week we're ramping into this particular modeling skillset to prepare us for the vehicle modeling extravaganza to come!
Goal of the Week: Level-up and/or dust off your hard-surface modeling skills.
Pre-recorded course to watch:
Week 1 Live Event (Remember to RSVP!)
Homework:
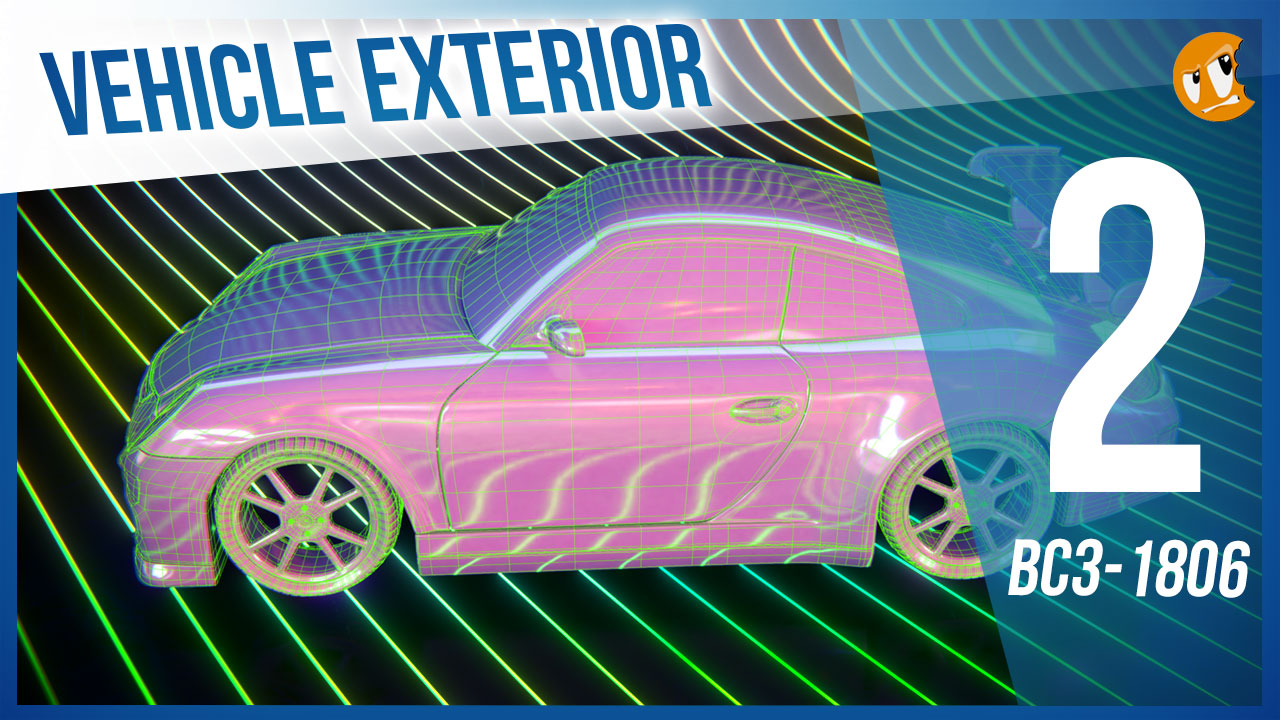
Abstract: When I say "Imagine a vehicle" I'll bet a million dollars you're thinking about the exterior. And that's why the exterior is important. It defines everything about a vehicle's visual perception: Style, utility, purpose. This week we're going to build a vehicle exterior based on concepts like building to scale and building from blueprints.
Goal of the Week: Build the exterior of your chosen vehicle based on blueprints. This will be good practice in strict adherence to orthographic front/side/back/top view modeling.
Pre-recorded courses to watch:
Week 2 Live Event (Don't forget to RSVP)
Homework:
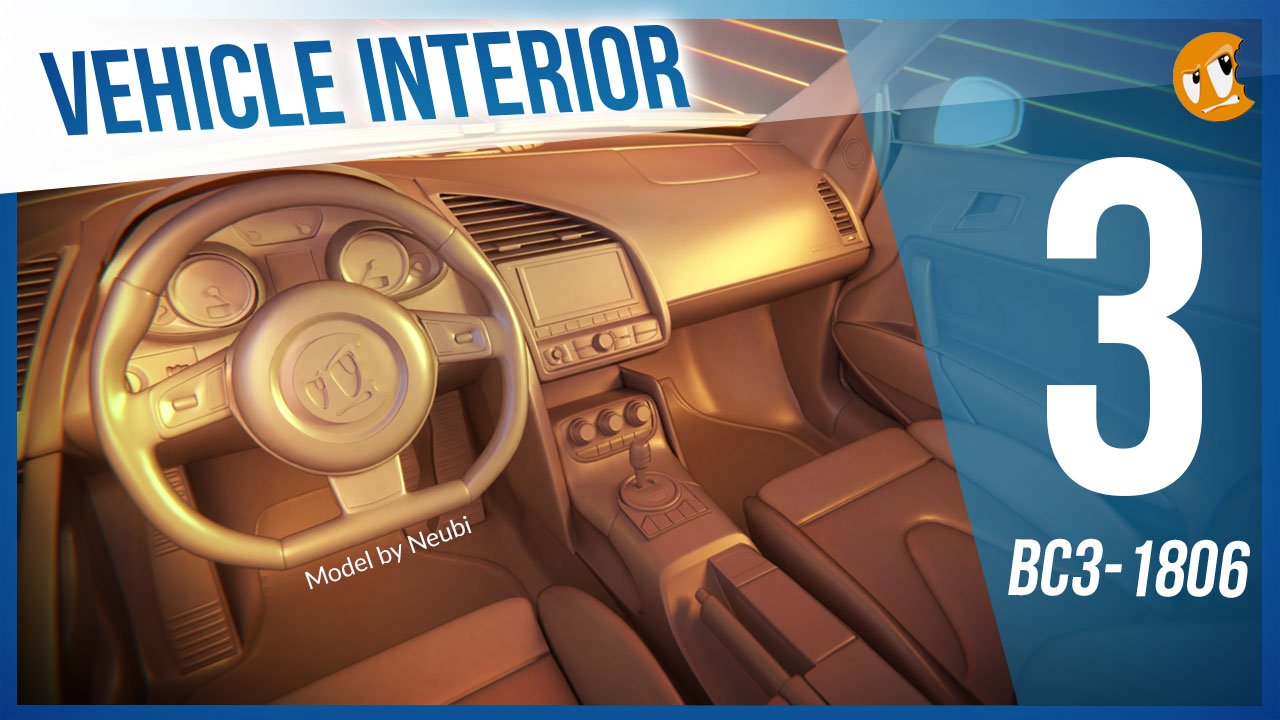
Model by Neubi on blendswap.com
Abstract: The insides of vehicles involve more organic, soft shapes as well as opportunity for lots of fine hard surface details. Often vehicles renders focus on the exterior where the interior can be hidden or approximated. But not in this class!
Goal of the Week: Model the interior of your chosen vehicle to gain experience with fine hard-surface details in a confined space.
Pre-recorded courses to watch: Admittedly we don't have much in this context specifically...
Week 3 Live Event (Don't forget to RSVP)
Homework:

Abstract: There's another facet of vehicle modeling that doesn't involve strict adherence to blueprints. Instead, Concept Sculpting is about designing a vehicle from scratch using the artistic approach of digital sculpting. This can be an extremely fun, experimental method for creating unique vehicles.
Goal of the Week: Sculpt a vehicle exterior from scratch; Practice hard-surface sculpting techniques.
Pre-recorded courses to watch: Again we don't have much in this context specifically, but we have a couple courses that cover hard-surface sculpting in general:
Week 4 Live Event (Don't forget to RSVP)
Homework:
This thread is reserved for CG Cookie Citizens that are participating in the "Vehicle Modeling with Blender" class. Its purpose is to serve as central communication for all participating Citizens (excluding Hobby plan Citizens) to ask Kent and fellow participants questions and to post homework. As the instructor of the class, Kent will be monitoring this thread on a daily basis (especially Mon-Thurs) throughout the month of June to review homework and answer questions.
Free members are welcome to observe the thread but please respect that communication is reserved for Citizens.
![]() thecabbagedetective Yeah, I'm working on it. Fixed the blueprint a little bit, but I'll just have to wing it slightly in those murky areas lol
thecabbagedetective Yeah, I'm working on it. Fixed the blueprint a little bit, but I'll just have to wing it slightly in those murky areas lol
tthepainter Progressing nicely, Palo 👌
![]() baukepost Clever solution to the pinching! That's smooth as a baby's bottom.
baukepost Clever solution to the pinching! That's smooth as a baby's bottom.
mmartinlisen You're nailing the complex curvature. And with such efficient topology. Great work 👏
![]() thecabbagedetective Looking crispy! By 'crispy' I mean precise details 👍
thecabbagedetective Looking crispy! By 'crispy' I mean precise details 👍
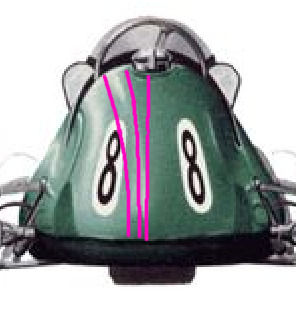
![]() michallis Definitely getting there! As far as I can tell, it looks like the topology needs to be like the image below, where the edges start further apart and gradually pinch in closer toward the bottom:
michallis Definitely getting there! As far as I can tell, it looks like the topology needs to be like the image below, where the edges start further apart and gradually pinch in closer toward the bottom:
![]() jack07 Phenomenal job. You absolutely should be 200% happy with the end result. You've clearly put a lot of work into this model and it shows! If I had one tiny critique it would be that the edges feel a little on the sharp side. The closer I get I can certainly tell it's all smoothed via subsurf, but from the distance in the render, it could almost be mistaken for lo poly. But it's a minor note. You earned an A this week easily!
jack07 Phenomenal job. You absolutely should be 200% happy with the end result. You've clearly put a lot of work into this model and it shows! If I had one tiny critique it would be that the edges feel a little on the sharp side. The closer I get I can certainly tell it's all smoothed via subsurf, but from the distance in the render, it could almost be mistaken for lo poly. But it's a minor note. You earned an A this week easily!
Now, let's say I want to make it game ready, would this be okay to bake normals to a simplified mesh?
Yes you can bake very good normals from your subsurfed model down to a lo poly version. In fact that's arguably the highest quality technique for hard-surface game models. You can find a lot of examples by looking for Halo 5 assets on artstation like this one.
![]() dostovel You can select all objects and go to the object properties and in the "Display" section, enable Wire and Draw All Wires while holding ALT. This will enable those settings for all selected objects simultaneously.
dostovel You can select all objects and go to the object properties and in the "Display" section, enable Wire and Draw All Wires while holding ALT. This will enable those settings for all selected objects simultaneously.
![]() benkroft Good progress, Tobias! It's definitely coming along. Perhaps a bit on the boxy side right now. A top view would have been helpful for that. Also matching photo-reference will be helpful. Keep up the good work!
benkroft Good progress, Tobias! It's definitely coming along. Perhaps a bit on the boxy side right now. A top view would have been helpful for that. Also matching photo-reference will be helpful. Keep up the good work!
![]() tbrbn I'm drooling over that tire tread 😍 Wow. Those details are major eye candy. Excellent work
tbrbn I'm drooling over that tire tread 😍 Wow. Those details are major eye candy. Excellent work
![]() baukepost I agree with
baukepost I agree with ![]() williamatics that the extrude inward could benefit from being deeper. You could angle the walls of the intrusion so it's beveled rather than 90 degrees all around.
williamatics that the extrude inward could benefit from being deeper. You could angle the walls of the intrusion so it's beveled rather than 90 degrees all around.
@theluthier Thanks! I started adding some beveled edges to break a little the boxy look!
That armor 😍
![]() panboy That's crazy that the blueprint was missing a major feature in the front view. Sounds like a "you had one job" situation.
panboy That's crazy that the blueprint was missing a major feature in the front view. Sounds like a "you had one job" situation.
Should i be trying to make it all one solid mesh? I know that's better for video games, but not sure if its the best way to go for Blender renders.
No you shouldn't worry about making it one solid mesh. That would be way more difficult for no reward. I suggest modeling in separate pieces. Even game models can be made of separate geometry combined into one object.
Keep up the good work! It's coming along 👍
![]() yoddathehunter I love that you submitted "Title + Image" and that's it. It's like you dropped the mic.
yoddathehunter I love that you submitted "Title + Image" and that's it. It's like you dropped the mic.
And for good reason! This turned out really well. I love the unique take with the lighting and pseudo 'infinity-mirror' wheels. Just...striking. Great job: A+
Can you post a clay image and wireframe too?
aarev A technique I like to use deals with layer visibility. So let's assume your model is on layer 1, as is the default active layer. If you select another layer in your scene - preferably an empty one - your model will disappear while the background image is still visible. At this point you can hit the tilde key (above the TAB key) which enables all layers and bring back your model.
With this setup you can simply toggle on and off the tilde key to show and view your model in shaded view over top of the background image. This way you have an alternative to wireframe view and can avoid being confused by the front of the model overlapping with the back and vice versa.
![]() jack07 Geez, that's next level advice for making a model more interesting. You literally modeled a slick version and shared the render as a suggestion. Next. Level! 👏
jack07 Geez, that's next level advice for making a model more interesting. You literally modeled a slick version and shared the render as a suggestion. Next. Level! 👏
![]() dieedi Your car is turning out great! I loved the comment about this being a victorian batmobile. It's a little on the dark side as far as previews go. Makes it a little hard to appreciate the glorious modeling!
dieedi Your car is turning out great! I loved the comment about this being a victorian batmobile. It's a little on the dark side as far as previews go. Makes it a little hard to appreciate the glorious modeling!
![]() williamatics Sure I'd give you a + (5 extra XP) for modeling the underside of the vehicle. It's not necessary as most of the time the underside will never be seen. I'm not doing the underside details on my vehicle..
williamatics Sure I'd give you a + (5 extra XP) for modeling the underside of the vehicle. It's not necessary as most of the time the underside will never be seen. I'm not doing the underside details on my vehicle..
![]() thecabbagedetective I really like how this is turning out. Still a crisp model. I love a good crisp model.
thecabbagedetective I really like how this is turning out. Still a crisp model. I love a good crisp model.
Almost there. Almost there!
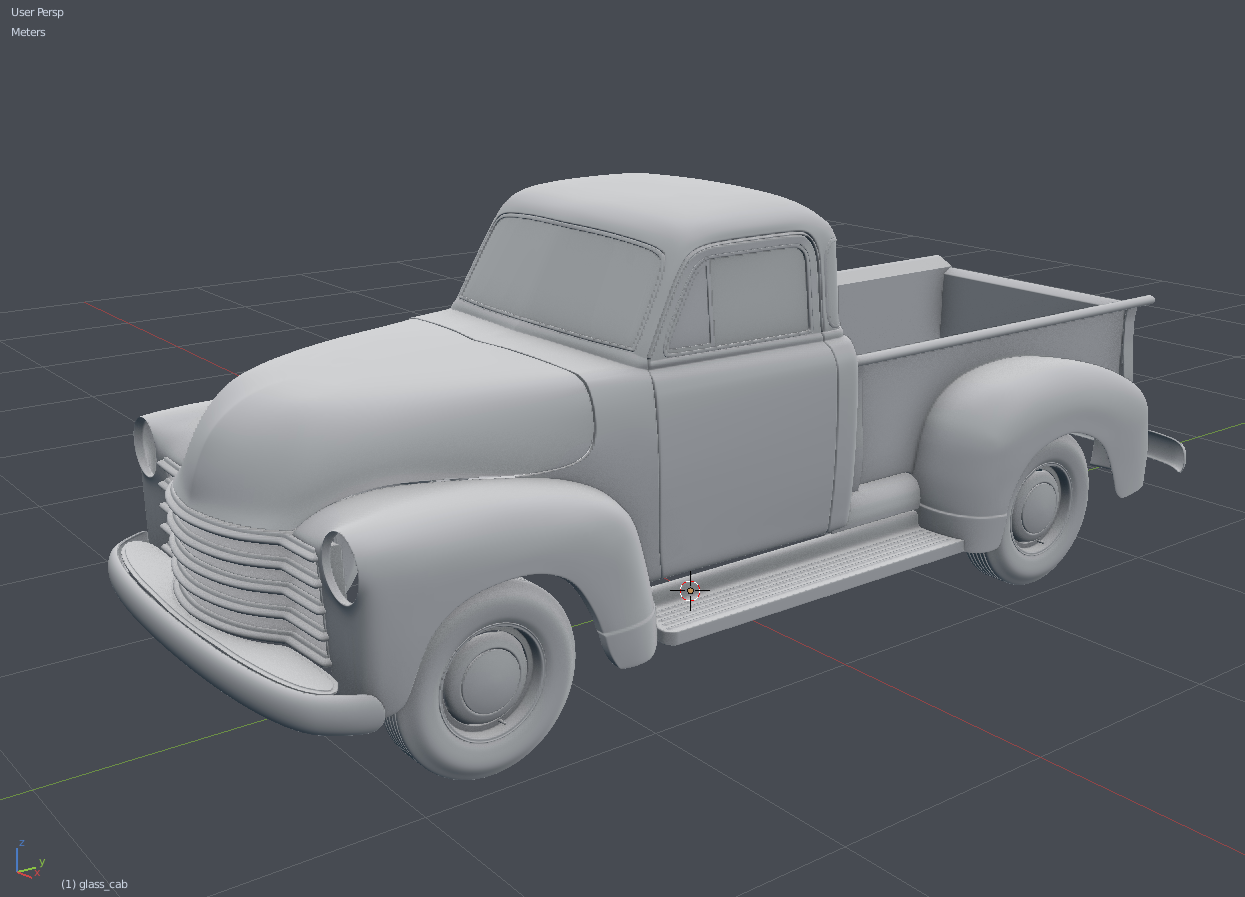
Tomorrow I have to do a few remaining fine details - lamps, door handles, hood ornament, and a little more undercarriage I think, if I have time. And the materials of course. I might have to sacrifice the underneath stuff in order to finish by tomorrow night, I'll see how quick the work goes.
![]() williamatics It's really coming down to the wire. This is the hardest I've ever worked in Blender so far.
williamatics It's really coming down to the wire. This is the hardest I've ever worked in Blender so far.
![]() jakeblended Me too man, I'm quite concerned if I'm gonna make it in time. Still fun regardless though!
jakeblended Me too man, I'm quite concerned if I'm gonna make it in time. Still fun regardless though!
Day 4 done, majority of the body is now built. Whoda thunk the bits of metal separating the glass from the doors would be the biggest pain in the backside to complete?
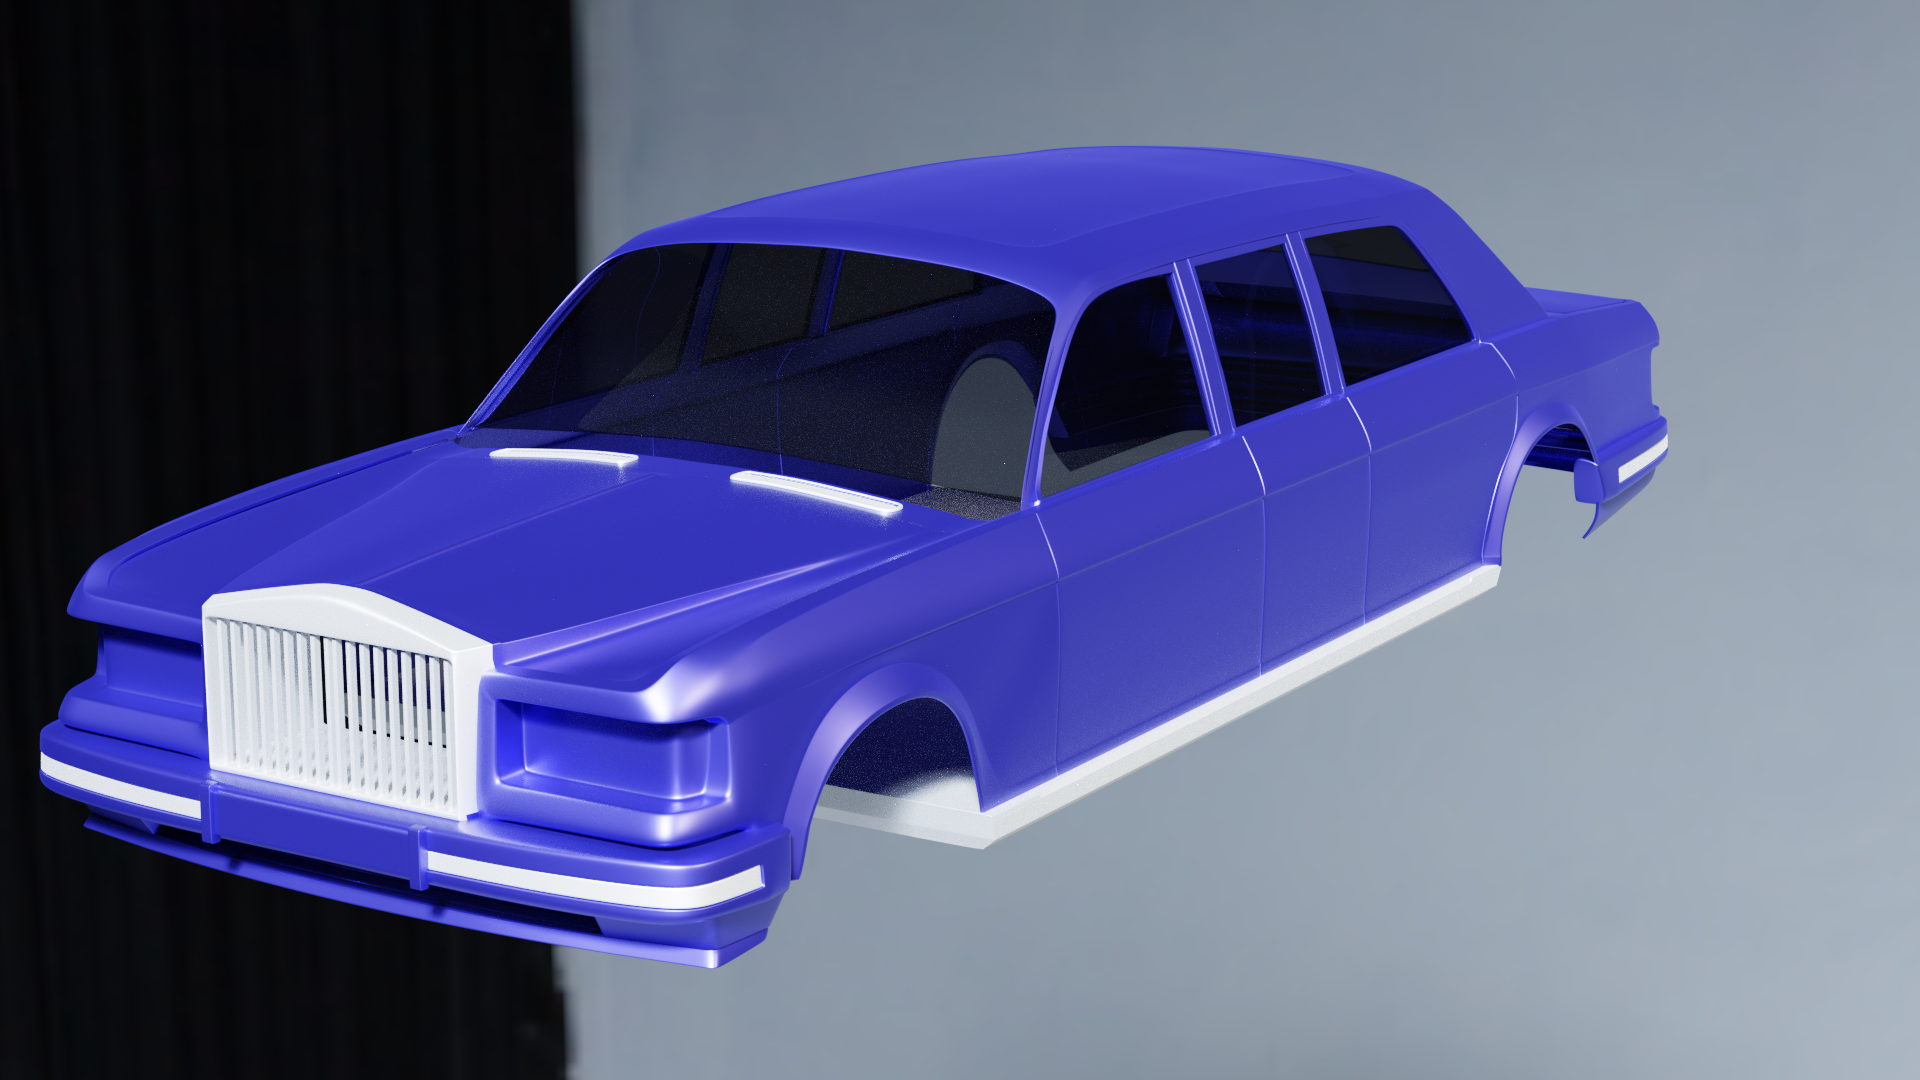
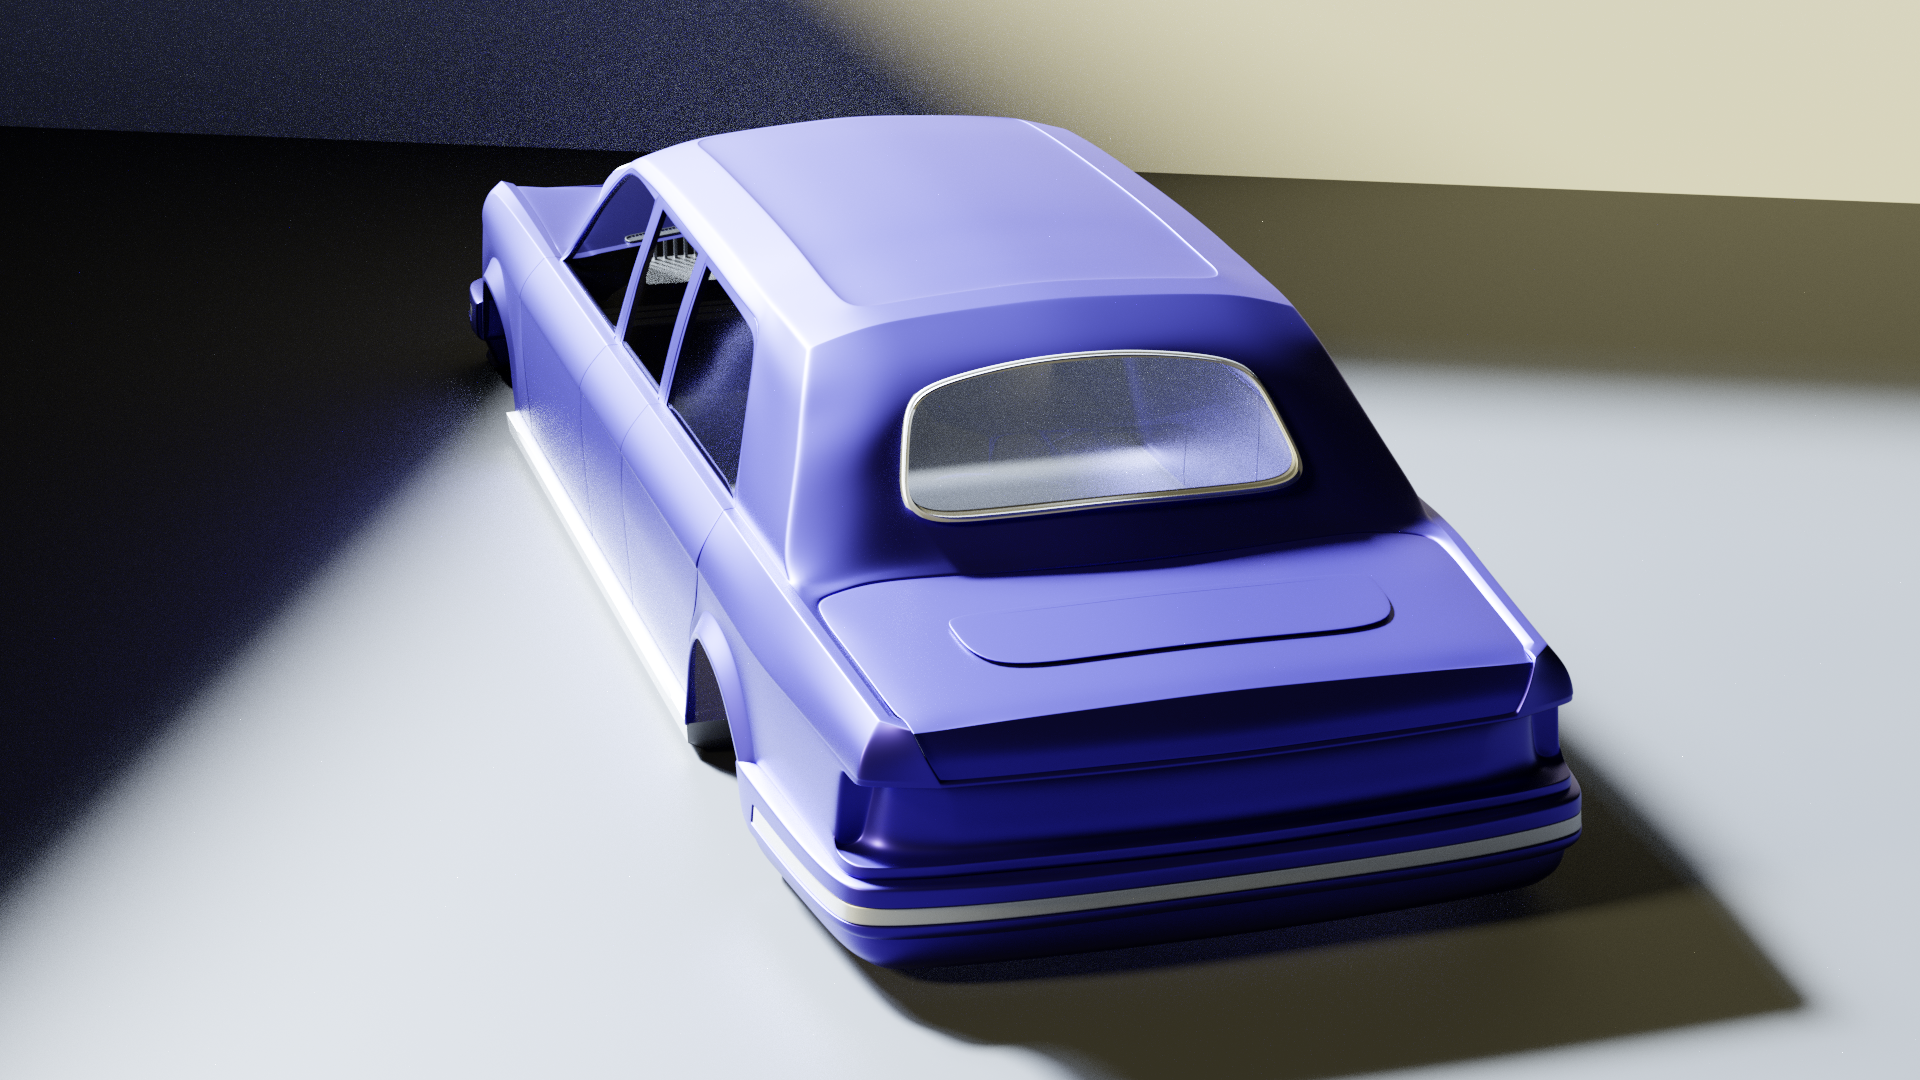
The boot (trunk for the Americans among us) looks a little wonky to me but nothing that 20 minutes of fiddling with won't cure. As always criticisms are greatly appreciated, maybe someone could show me where to learn how to make a fantastic glass material? Now if you'll excuse me it's 6AM and I'm shattered so have a good day all and I wish you the best of luck!