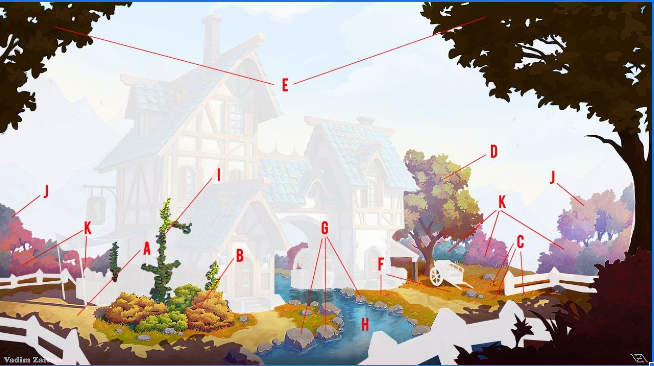
Fore- and middle-ground nature Assets:

B: FG Bushes ** G: Rocks *
C: FG Flowers * H: Creek **
D: FG Tree A *** I: Ivy **
E: FG Tree B *** J: MG Trees ***
F: FG: Grass *** K: MG Bushes ***
This is a safe place to ask your questions and, if you are lucky, get answers.
Jokes allowed. Suggestions welcome.
![]() blanchsb created a Discord channel; it is a join at will and use at your own risk situation.
blanchsb created a Discord channel; it is a join at will and use at your own risk situation.
These invites expire in 7 days. Should be enough time for all who wish to join. Other invites should be available afterwards if there are stragglers.
Invite to the Rules Channel: https://discord.gg/w2HJ76bR
Text Channel Invite Link: https://discord.gg/PEEKK44h
AV Channel Invite Link: https://discord.gg/HkUgUcnK
What we see in the image is the classical painters approach, you only need to paint Grass where color changes and where it influences the silouhette.
It depends heavily on the Camera Where you need some Grassblades and where not. But maybe its just as simple as turning the numbers down, for example using 100 instead of 5000 in the density settings.
My current idea is to use weight painting for populating the ground plane just on the spots where we need it to be populated. So you basically place everything else and then simply paint grass in where needed. Combined with some Ground Texture this could be a solution at least in my head.
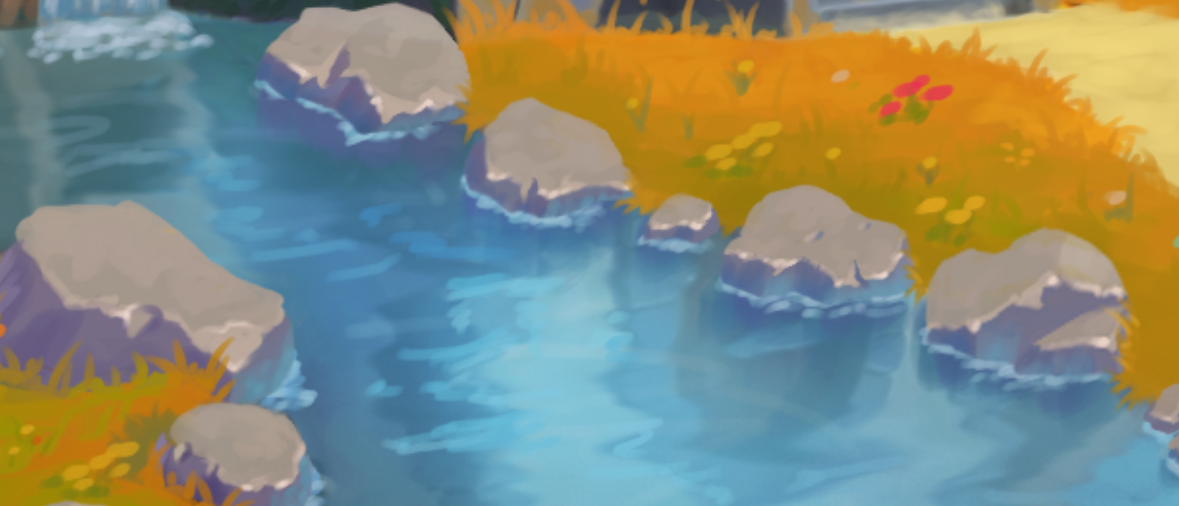
When looking at the artwork, it seems to me that the rocks have slightly imperfect flat surfaces, and that most fine details are on the edges:

in my humble opinion you need sharper edges. It looks a little bit like these are bulges followed by a dent instead of edges.
Stones have usually sharp edges unless they are formed by the Waterbut then the surface is very clean.
You get it on some places maybe you just got carried away.
![]() benkroft aartifact
benkroft aartifact ![]() danitufi
danitufi ![]() frenchman
frenchman ![]() brzostek
brzostek ![]() ullreym
ullreym ![]() notcastanza
notcastanza ![]() stickdonkey
stickdonkey ![]() wardred
wardred ![]() ketre
ketre ![]() dyoc ppfbourassa
dyoc ppfbourassa ![]() tijnkroon
tijnkroon
I said that I intend to spend some time exploring leaf techniques this week. I don't know if I'll find the time to test such techniques myself, but I did research some vids and wanted to post them here before I forget. The techniques below look promising though they're not all in Blender. To apply some of them would take some creative thinking:
for FG trees:
For MG / BG trees:
for Bushes:
Looks like we have some fun homework. Get out the popcorn and notebooks. Ha ha
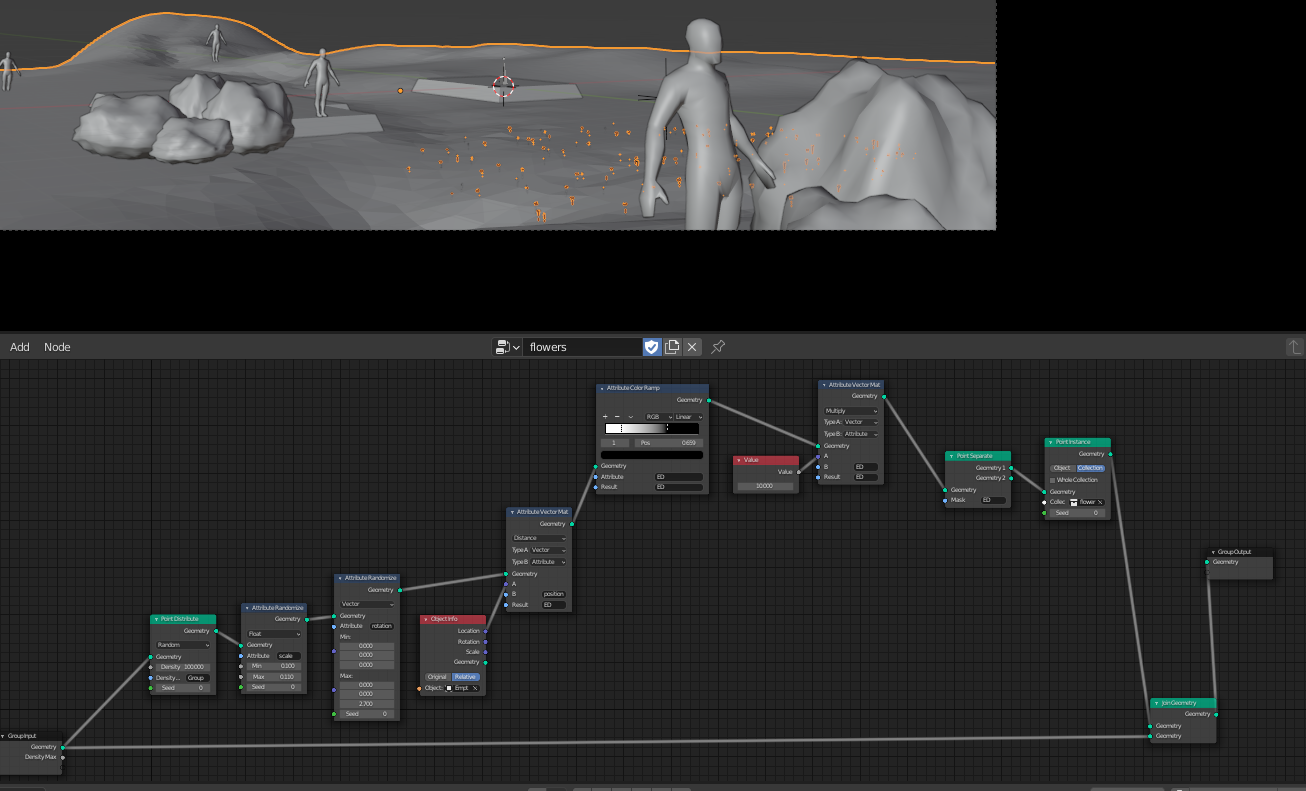
Grass & flower people, has anyone figured out adjusting point density locally in with geometry nodes?
My goal is to have flowers located only near this empty.

For particles you can use weight paint, and I saw that in 2.93 you can use attribute sample texture. But since we're working with 2.92, does anyone know? In the CG cookie youtube tutorial I saw that it is possible to get the location of each point from this empty. I just don't know how to delete a point once the location is too big.
Try the Vertex Weight Proximity Modifier before the Geometry Nodes Modifier, Daphne
Thanks! I tried your setup but the location of the object isn't doing anything. is there some setting I'm missing? I guess that normal weight painting is a fine option as well.

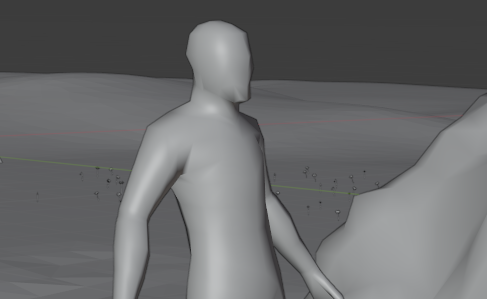
sspikey Just wanted to check as after the stream i got slightly confused, are we creating fully sculpted version and a low poly version, or are we sculpting with the mind set that we retopo to a low poly version later?
Or are we creating a displacement map from the sculpted version (that one's a guess i have no clue what i'm talking about).
I got it working in just geometery nodes :) The attribute color ramp controls the size of the spot and the Empty the location of the spot. Would probably have been less effort in figuring out why the other modifier wasn't working, but I just needed to finish this puzzle. 
![]() daphne2 sorry, I was at Kent's livestream :)
daphne2 sorry, I was at Kent's livestream :)
Yes, that definitely works, how you did it!
The reason I used the Modifier, is, because it can also use the surface of a Mesh, not only the position, which I need for placing grass blades around the rocks for instance.
The Vertex Weight Proximity Modifier is great, but you need to get everything right...which is tricky the first time...but then again that is true for a lot of things in Blender (and in 3D in general, I guess).
I'd say, make a low poly basemesh, that has the shape (silhouette) you want and then you can make a duplicate and sculpt on that, so you can later bake the sculpted details on the (UV map of the) low poly version.
Or, if you use the Multiresolution Modifier to sculpt the details, you could Bake from Multires...but I've never done that and would even then save a low poly copy, just to be sure.
@theluthier
I used the Ghibli metod, but instead spawn blob shapes, I switch it with a plane in a shape of a leaf, and gave it random rotation.
The material is the same as before, shader to rgb that gives it that uniqe look.
I still need to adjust the colors and shades to much the art more...
sspikey Thanks really helpful, i'll get to it. On another note would you say retopo original sculpt then duplicate and sculpt detail onto the retopo duplicate OR retopo, save that to one side, then sculpt detail on the old sculpt?