This thread is dedicated to the wheels and the rear axle of the backhoe project.
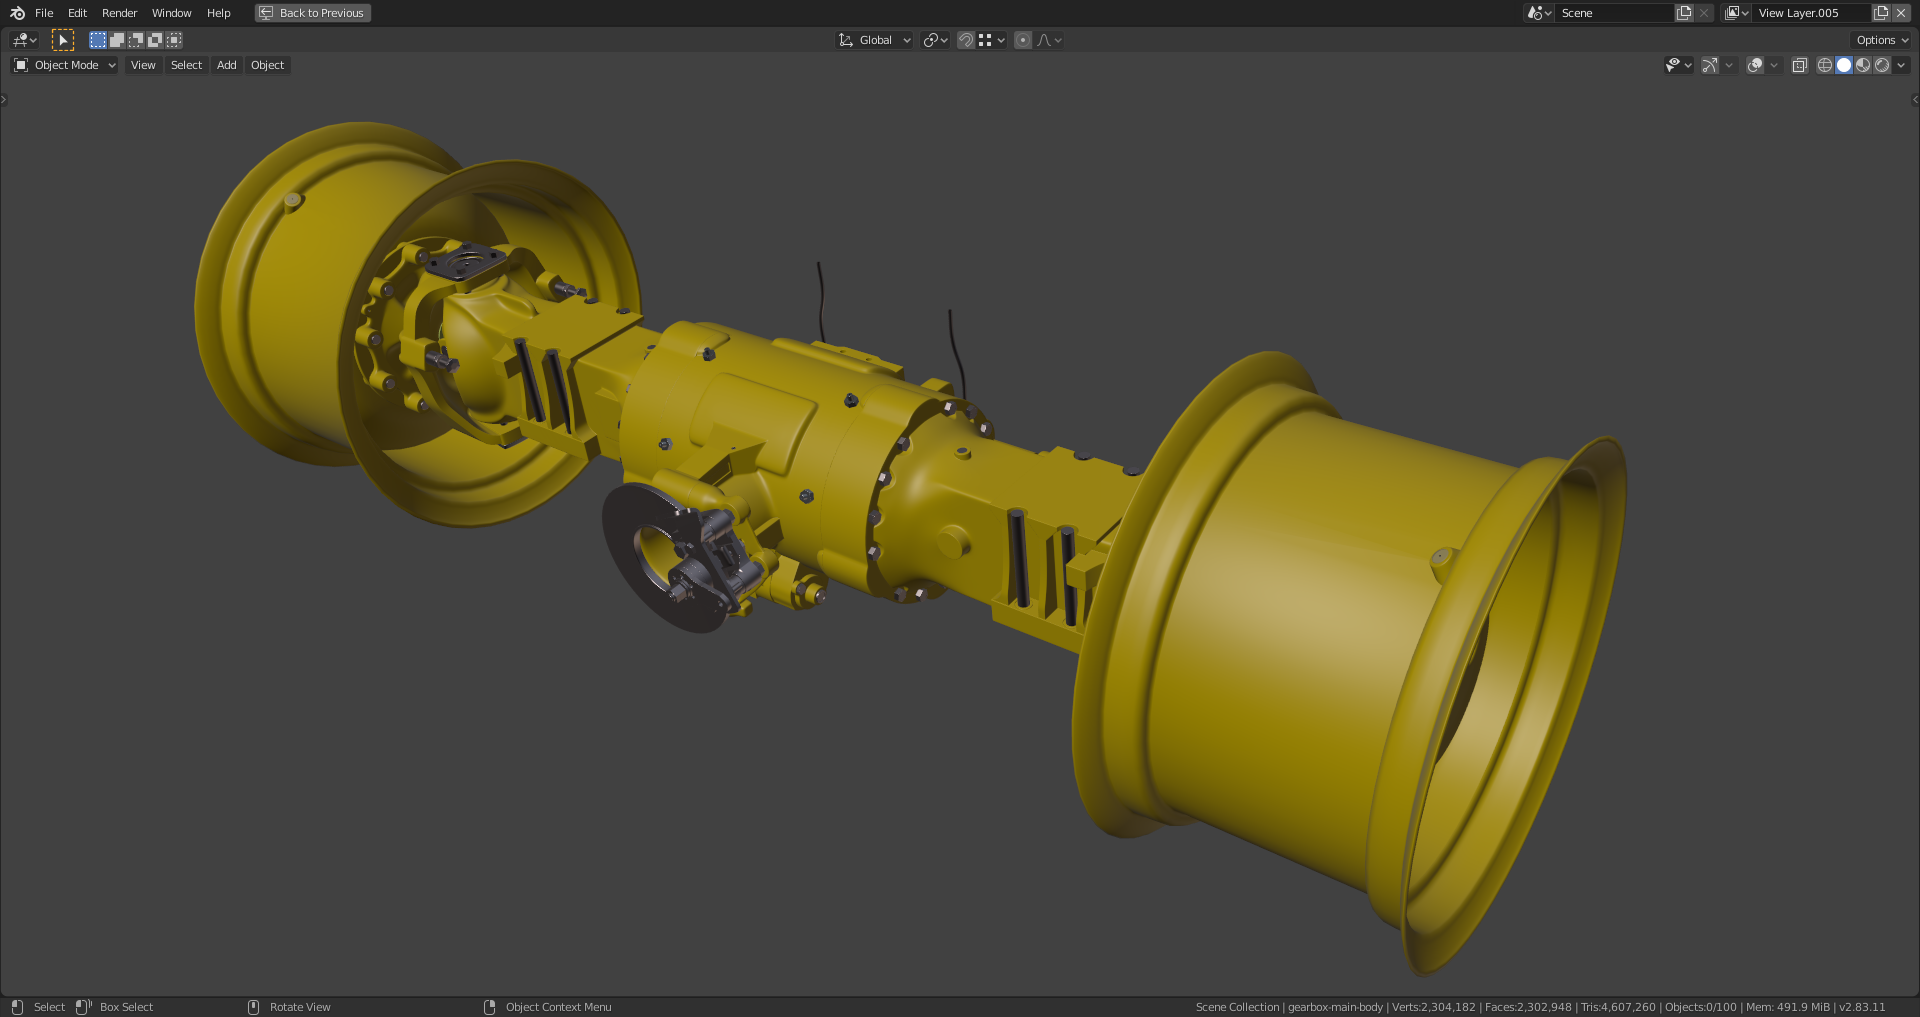
Finished:
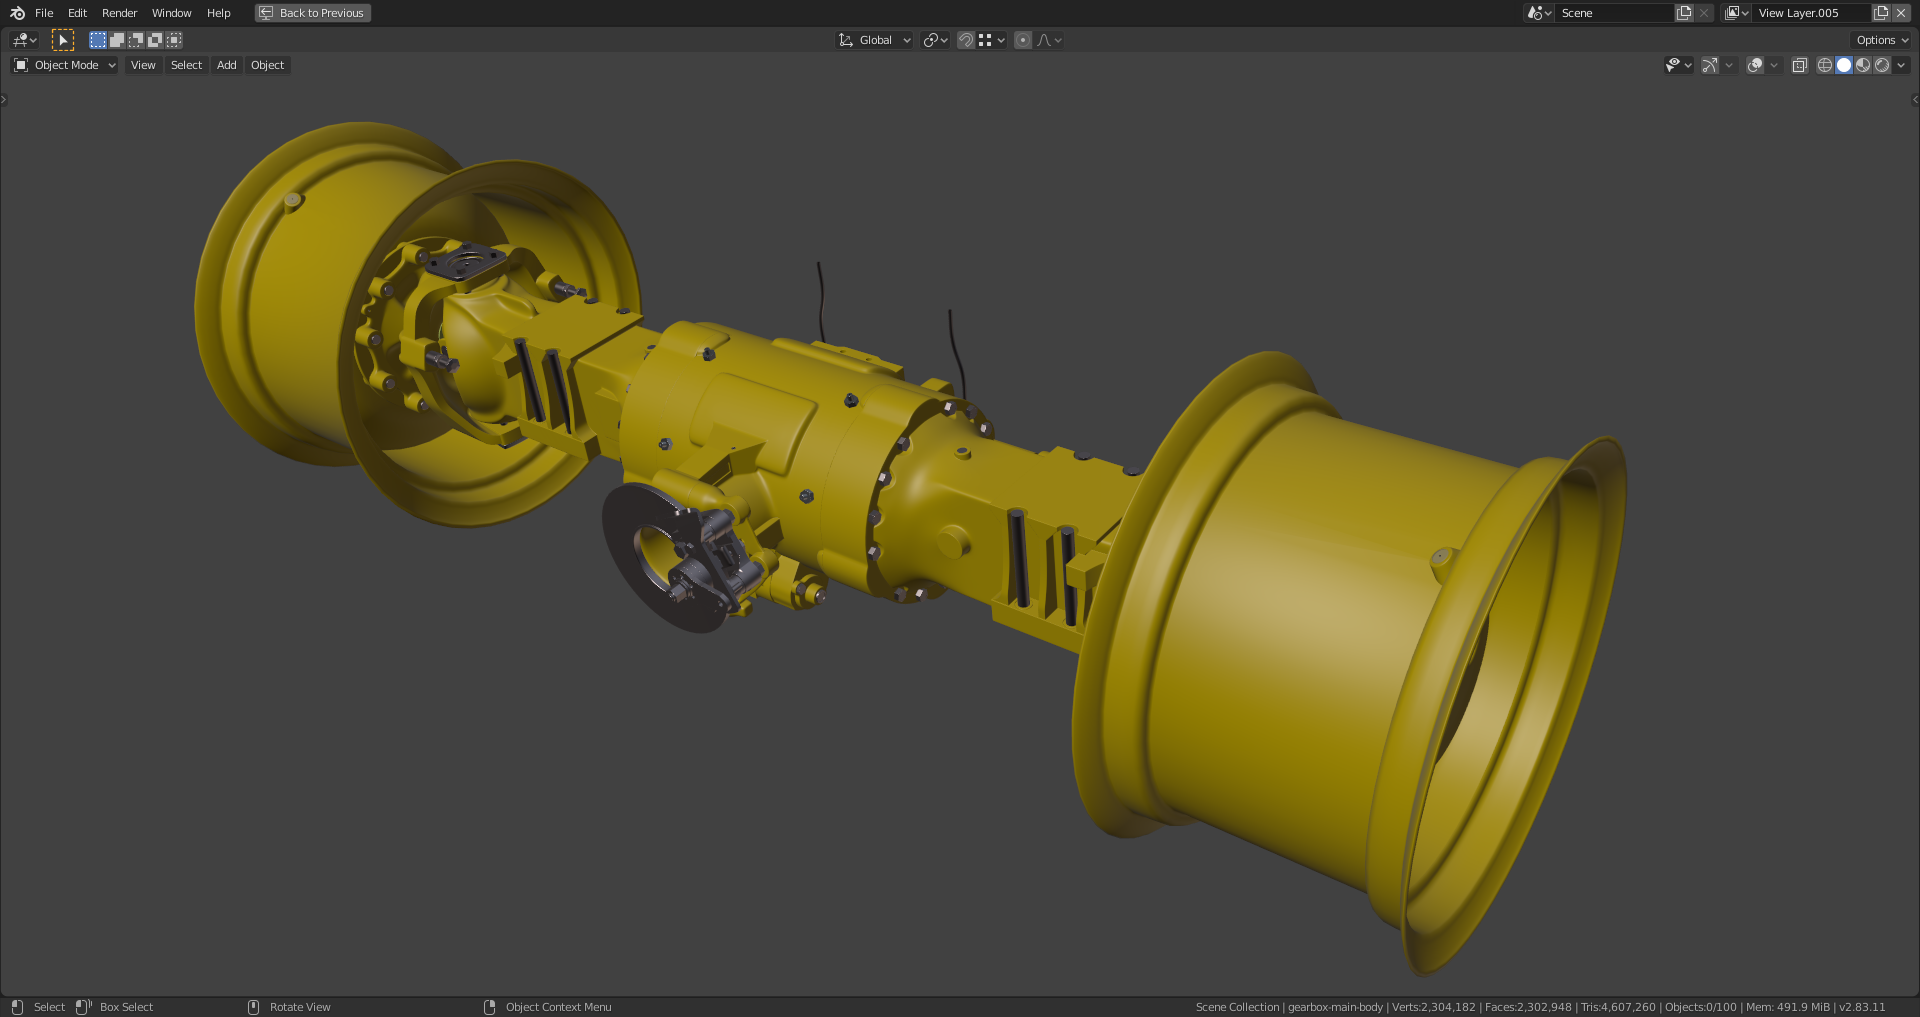
I've smoothed some edges, as proposed by ![]() spikeyxxx and collapsed the modifier stacks (with subsurf level 1) on the gearbox and its direct side parts (the latter two beeing one object in my file). Both objects now only have each one "Subsurf Modifier" level 1 and one "Shrinkwrap Modifier" for smoothing out slight grooves in the tube parts. File is here.
spikeyxxx and collapsed the modifier stacks (with subsurf level 1) on the gearbox and its direct side parts (the latter two beeing one object in my file). Both objects now only have each one "Subsurf Modifier" level 1 and one "Shrinkwrap Modifier" for smoothing out slight grooves in the tube parts. File is here.
This is my first Cycles test rendering of the backhoe's rear axle:
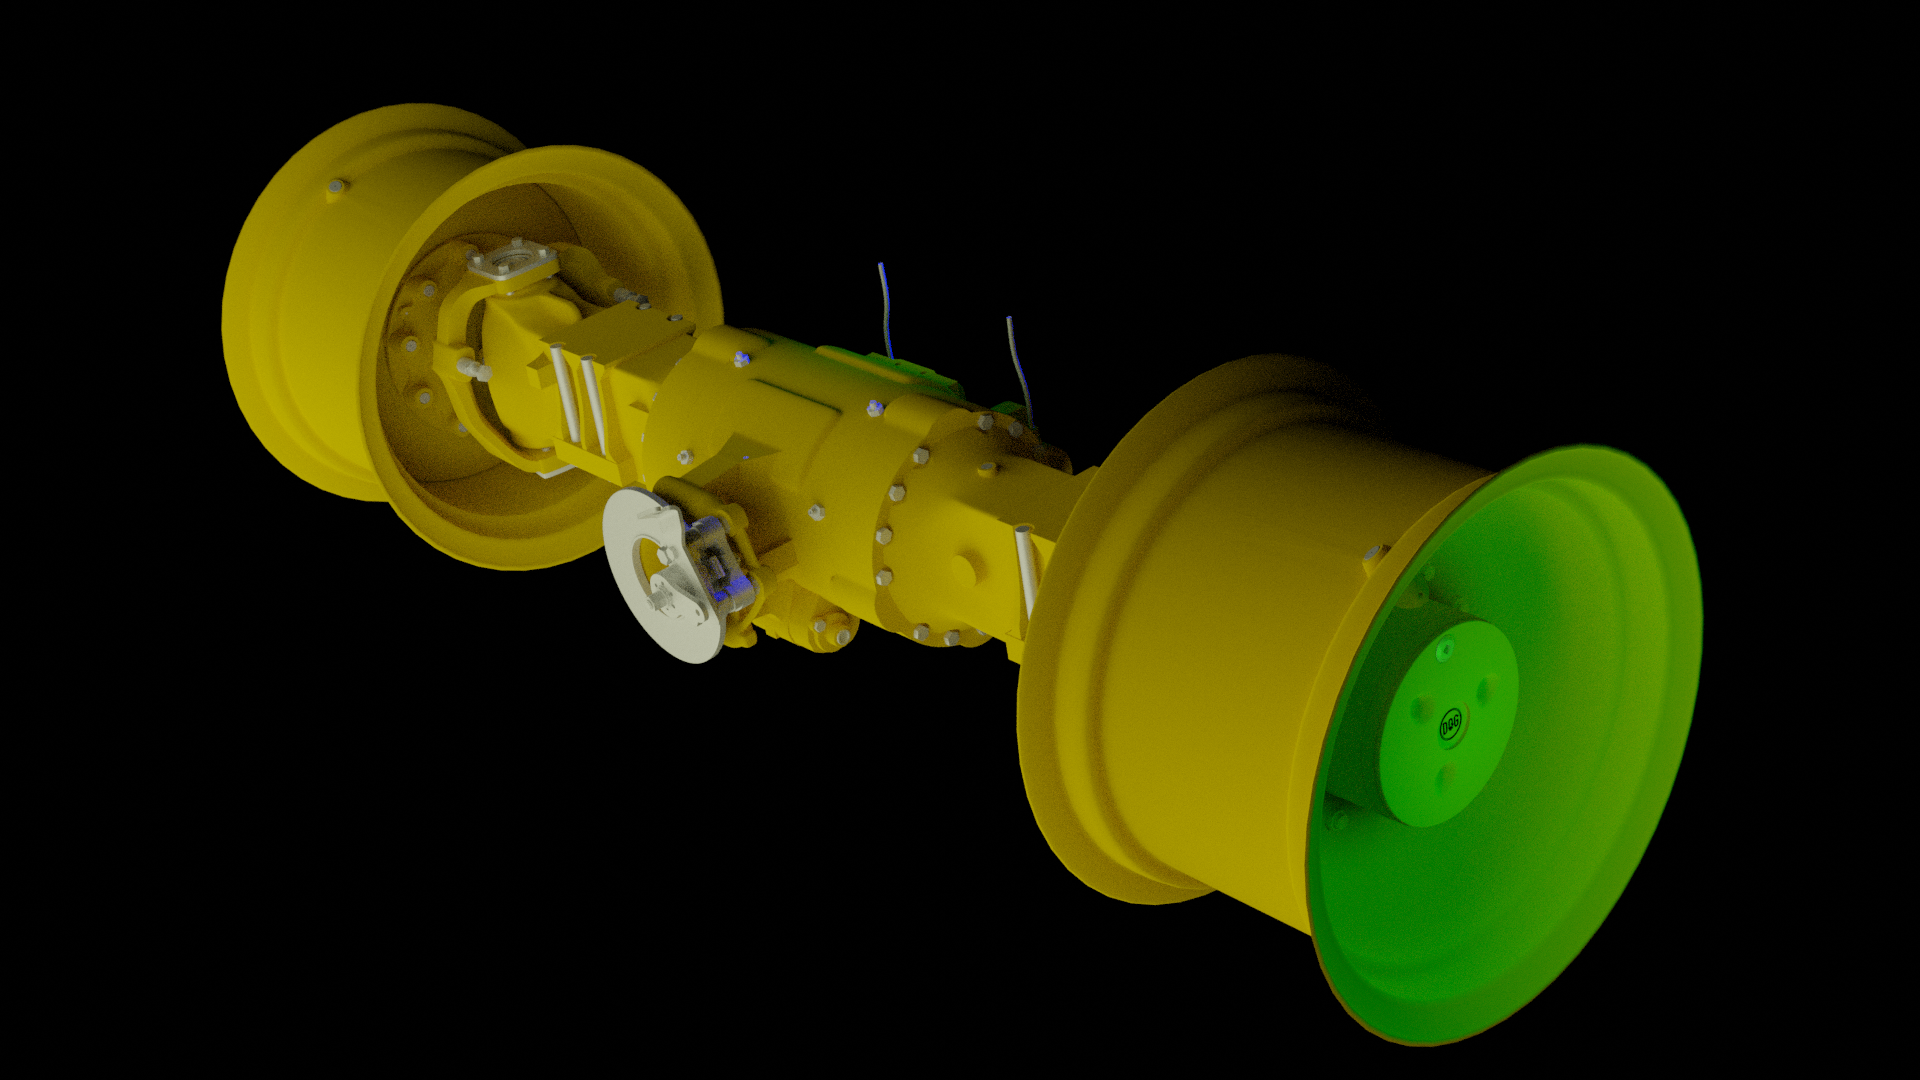
The blue cone light seems to go through the axle and if I switch to "View Layer_Old", the preview rendering as well as the final rendering turn completely black although the rendering symbols are activated.
File is here.
Thanks, ![]() spikeyxxx, for the solution 😀! In my "Filter" panel in Blender 2.83.11 is the leading word "Include" missing so that one could think that checking one of those boxes excludes that element from rendering. But I even can't remember having unchecked this. I definitively need to address the rendering process in Blender 2.8 and 2.9 more.
spikeyxxx, for the solution 😀! In my "Filter" panel in Blender 2.83.11 is the leading word "Include" missing so that one could think that checking one of those boxes excludes that element from rendering. But I even can't remember having unchecked this. I definitively need to address the rendering process in Blender 2.8 and 2.9 more.
Indeed: 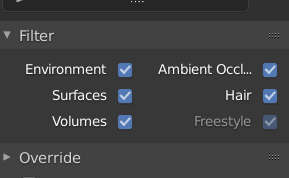
Definitely an improvement in 2.9...
It is possible that there are shortcuts for that. Not very likely, I think, but for the Holdout in the Outliner...wouldn't surprise me....
something like CTRL+M to hide the Mask Overlay in Sculpting...most people don't realise that.
Oh, the shortcuts can sometimes really be in the way. I can't count how often I pressed the numbers 1, 2 or 3 for point, edge or face selection while being "Object Mode" and having an object in "Local" view. After noticing that I was in the wrong mode, I tabbed into "Edit Mode" and tried to select vertices what I wasn't able to do.
The solution: The object that I tried to edit was in a collection that I had turned invisible with my number pressing in "Object Mode" . But the display of objects in "Local View" isn't affected by this contrary to the possibility of editing! Very confusing!
I solved this by holding CTRL and left clicking twice on the eye symbol of an invisible collection in order to turn all collections visible again (the first left click only made that invisible layer visible).
File is here.
I'm currently checking what has to be done so that my rear axle fits properly to the adjacent parts:
1) The gap to the front has to be closed
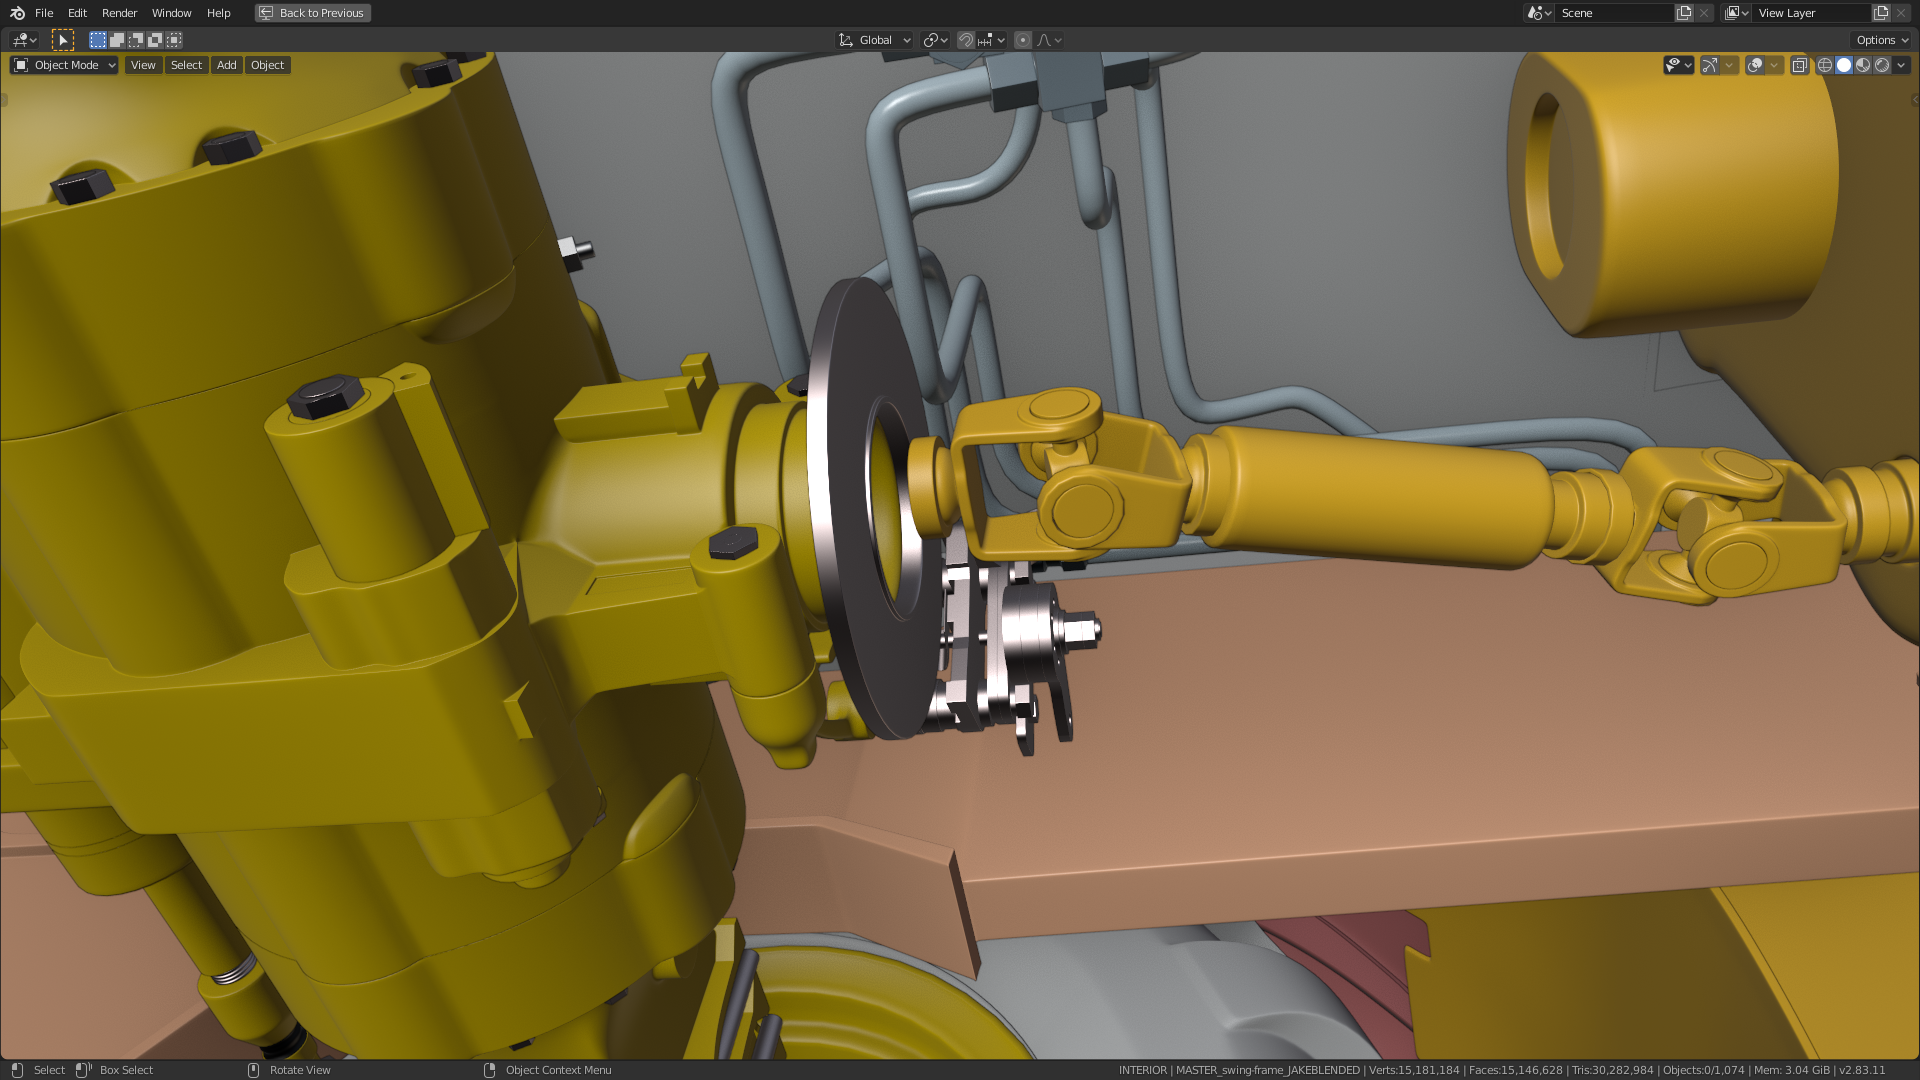
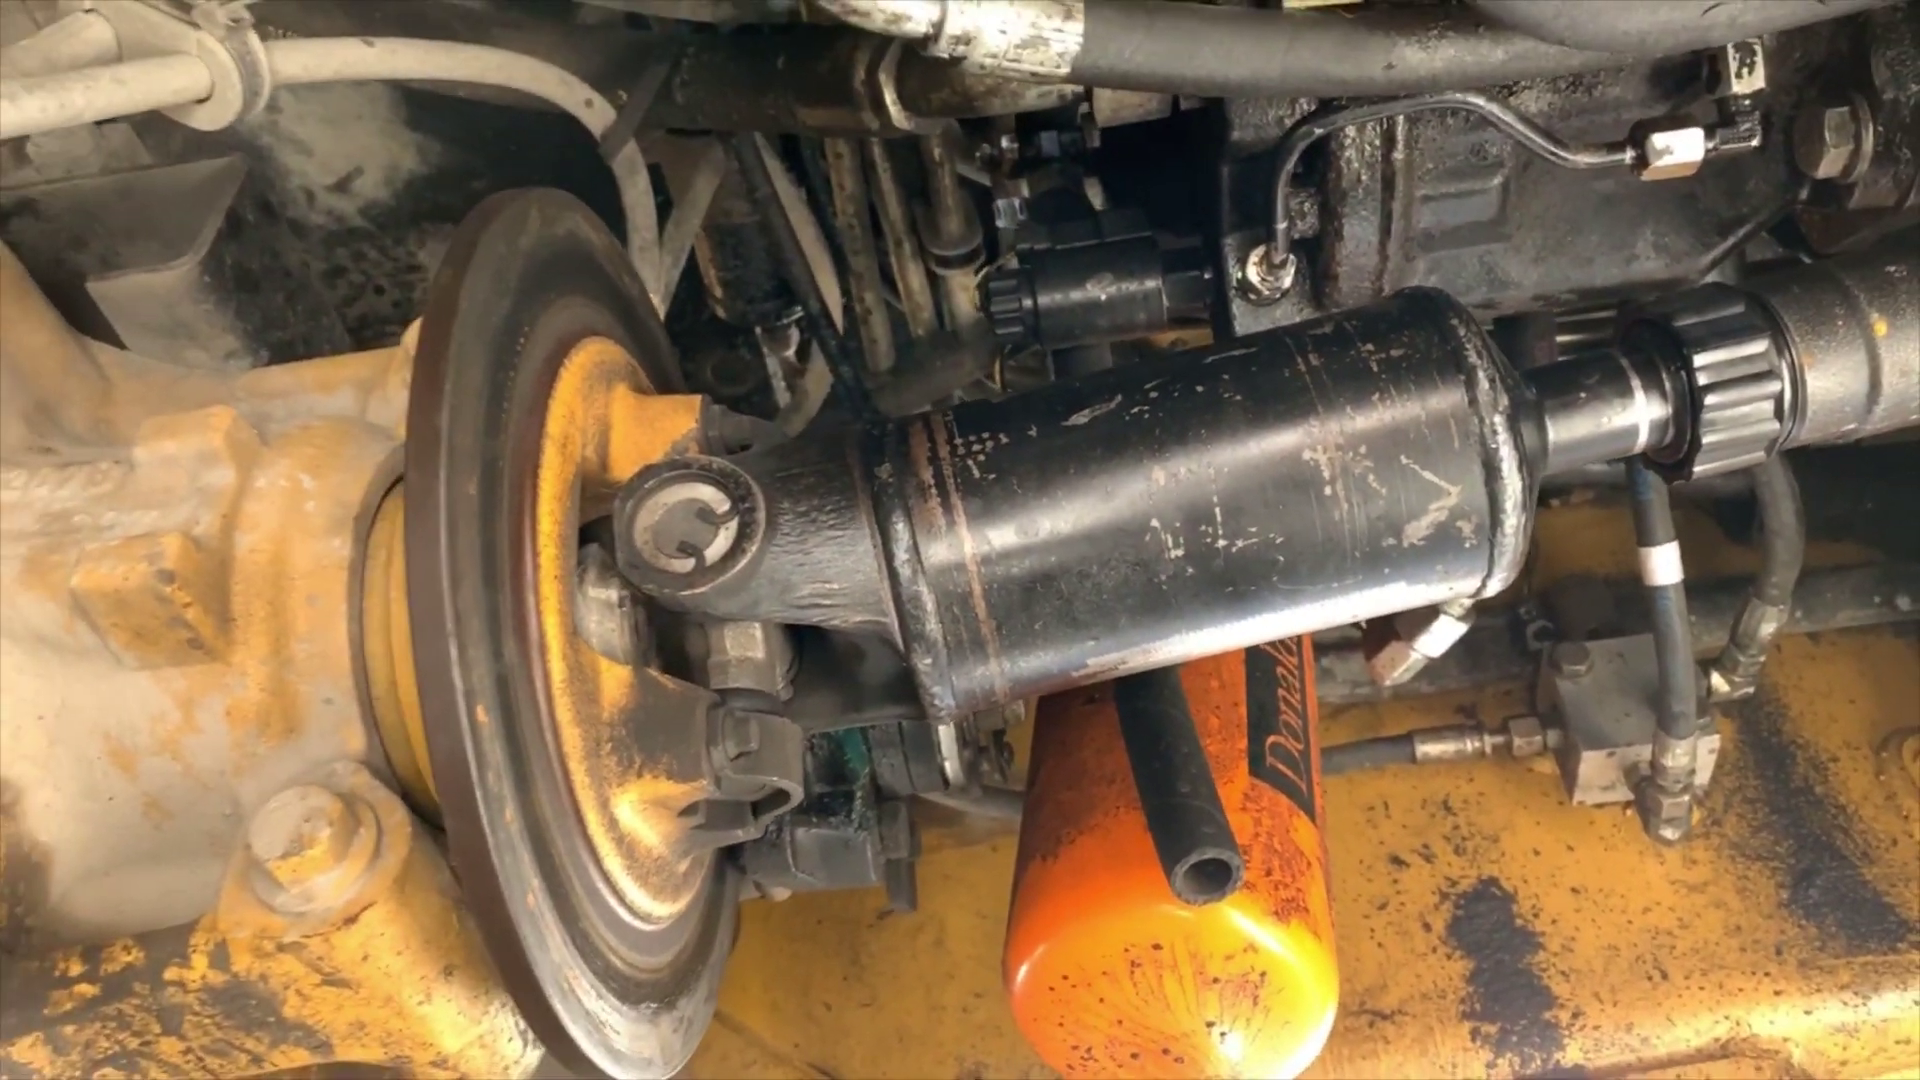
A screenshot from the video that ![]() spikeyxxx has found shows that connection:
spikeyxxx has found shows that connection:
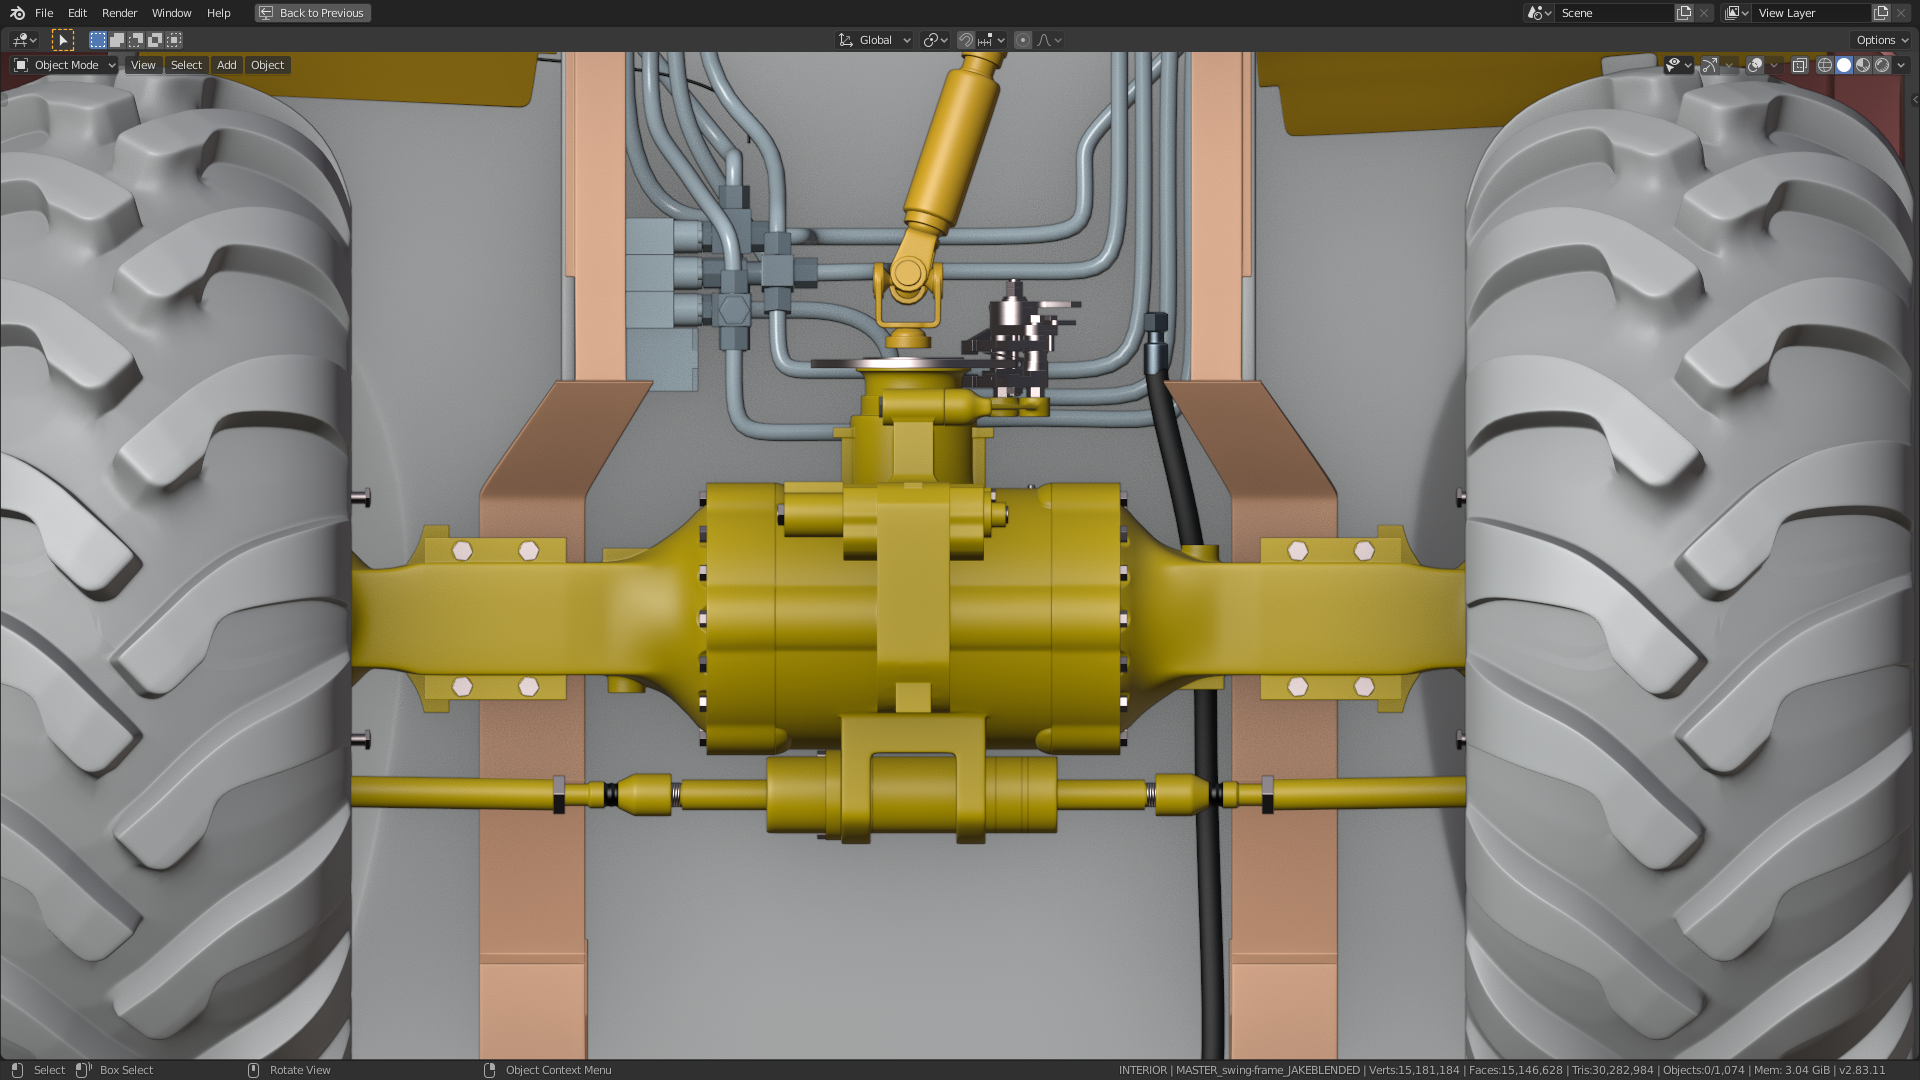
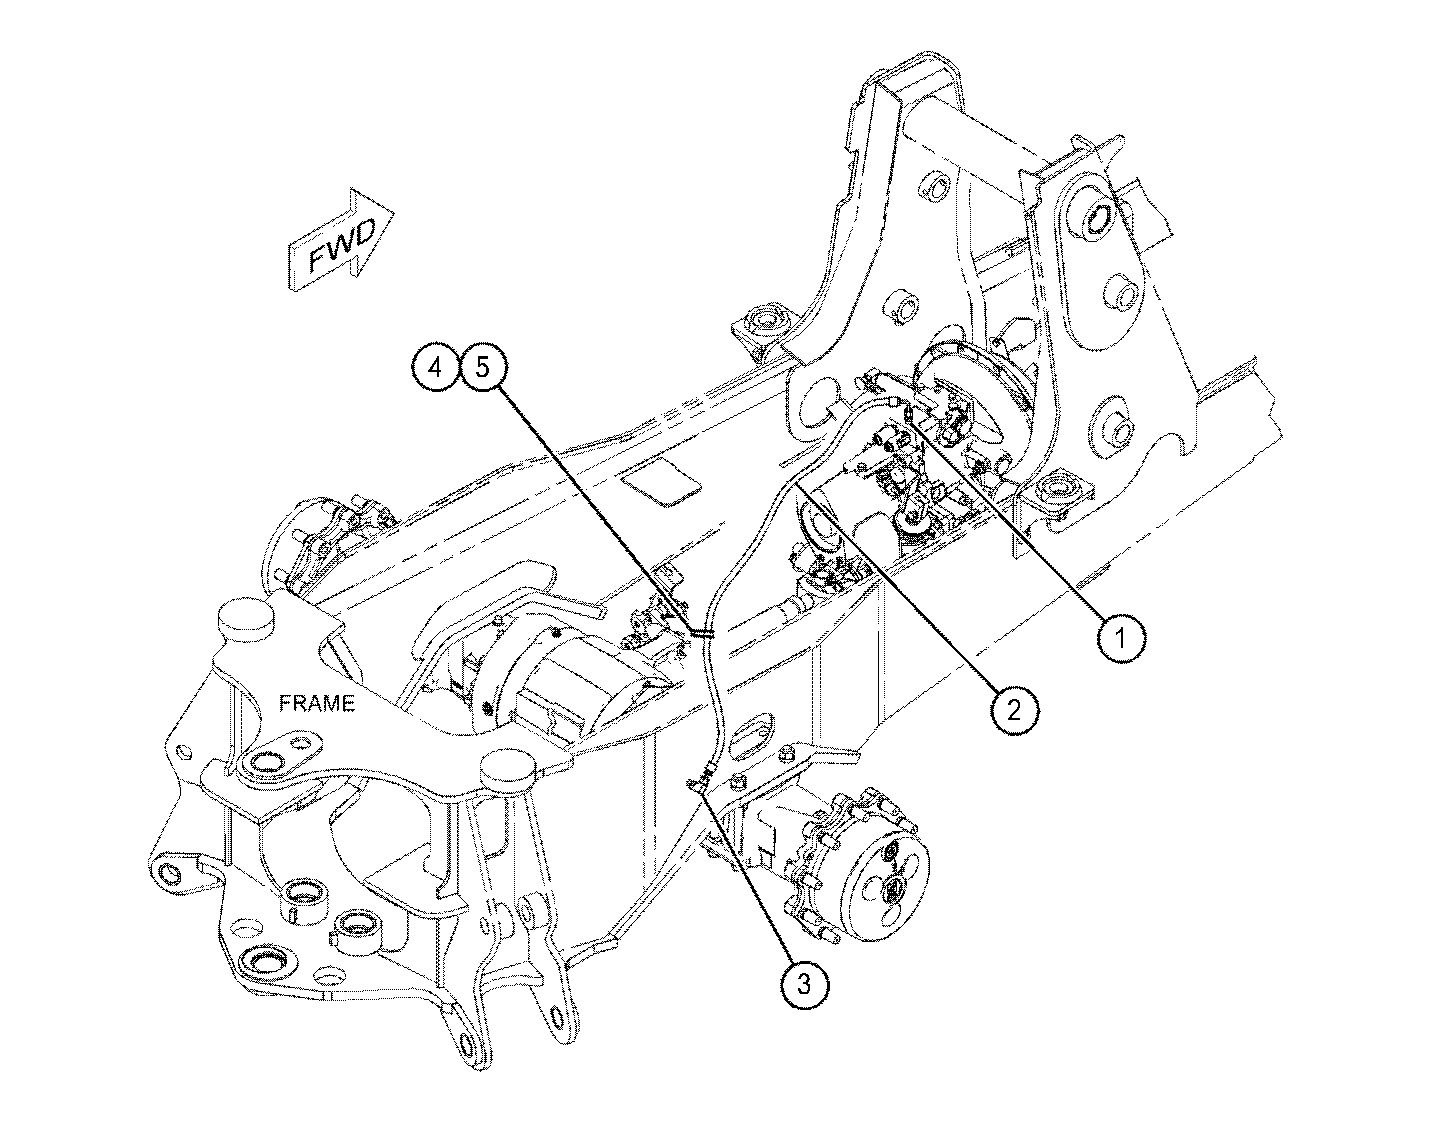
2) The bolts that connect the rear axle to the chassis aren't yet in the correct position relative to the chassis:
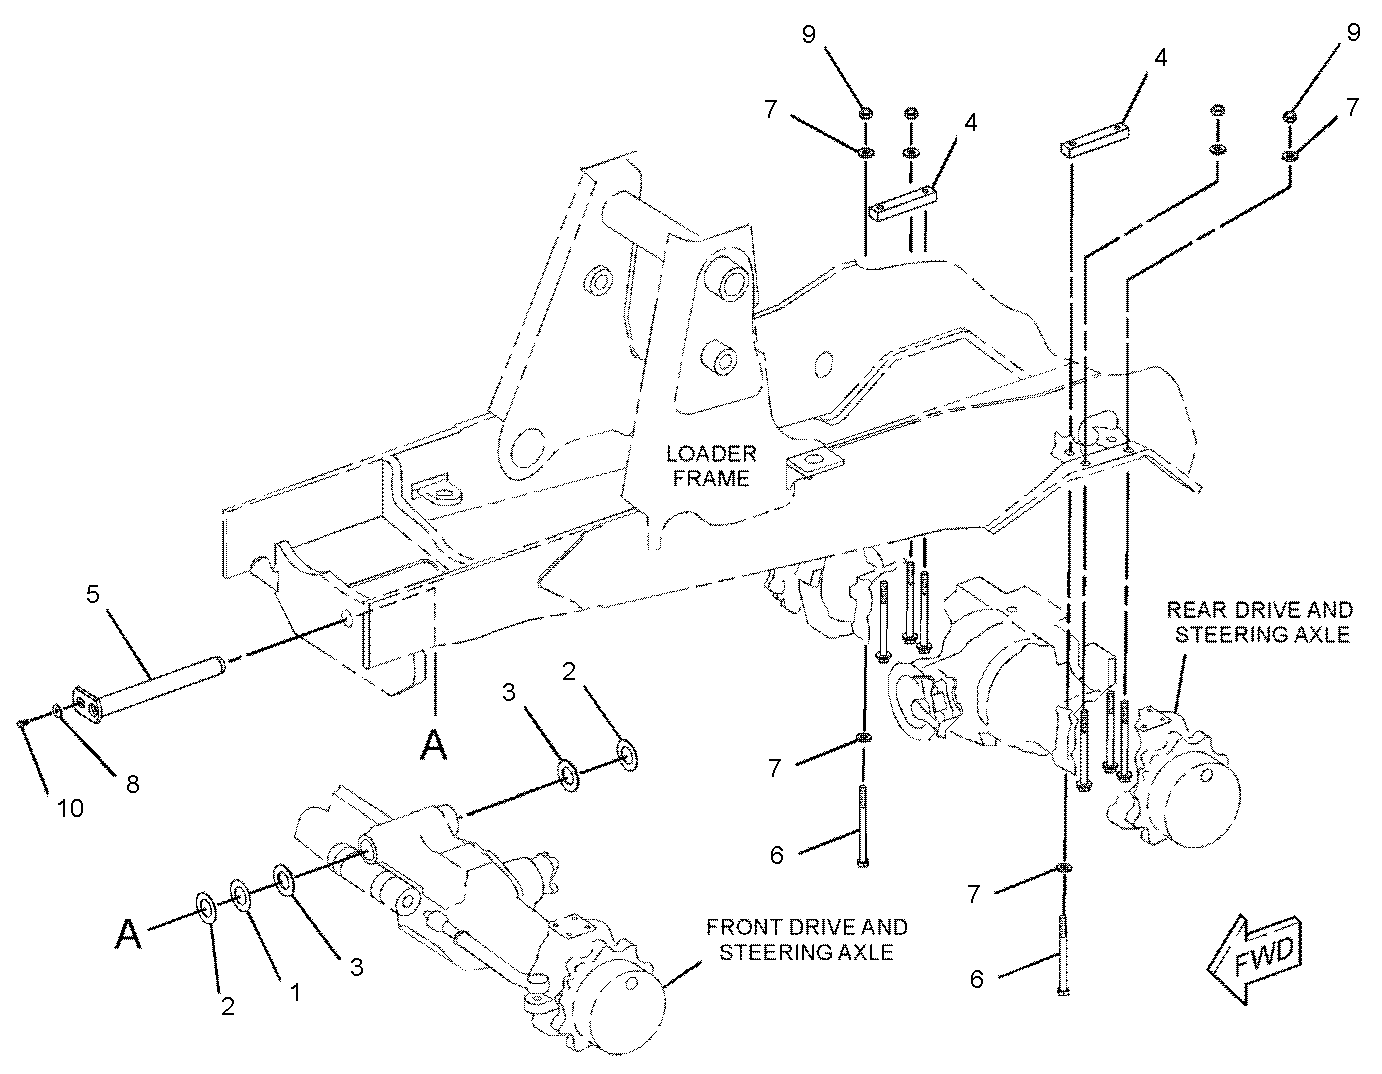
That's how it should be:
3) The tires by rryzen7 and both axles have to be aligned:
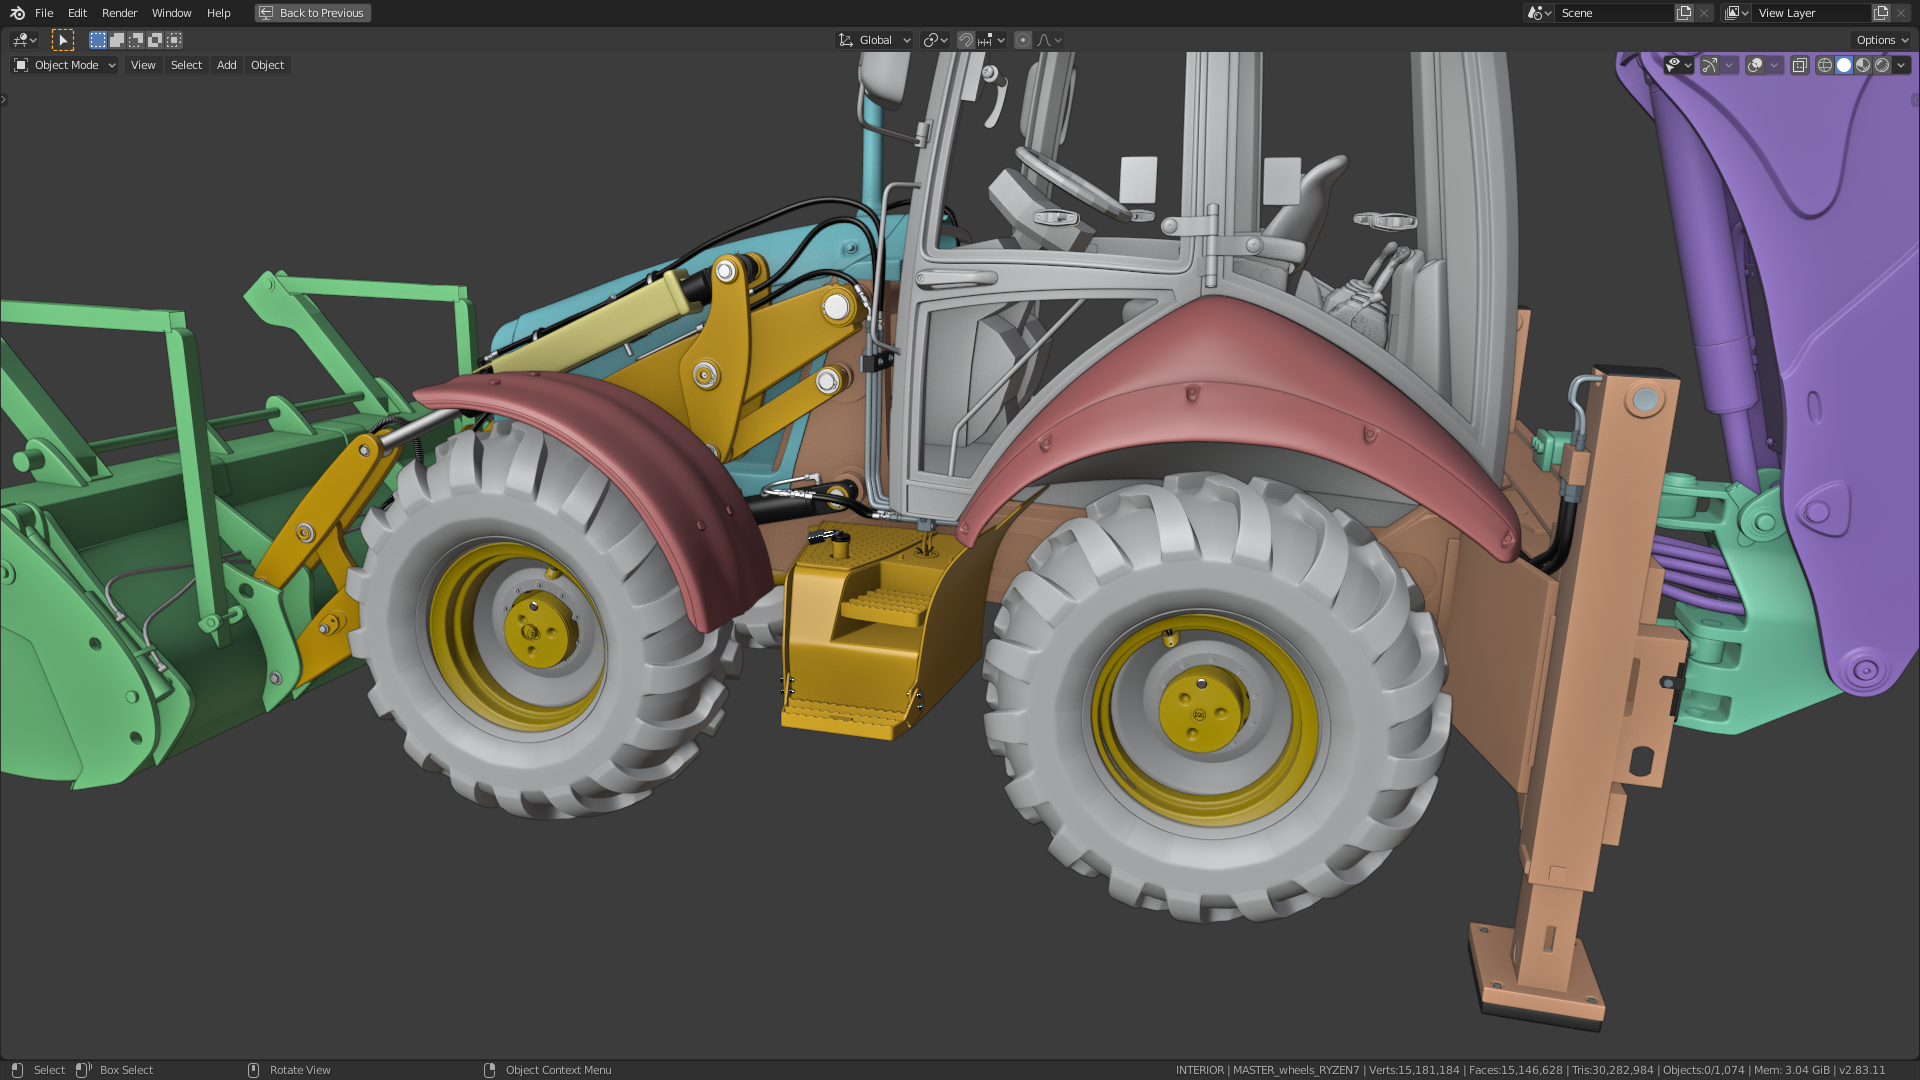
I had my rear axle and the hubs aligned to ![]() spikeyxxx 's tires:
spikeyxxx 's tires:

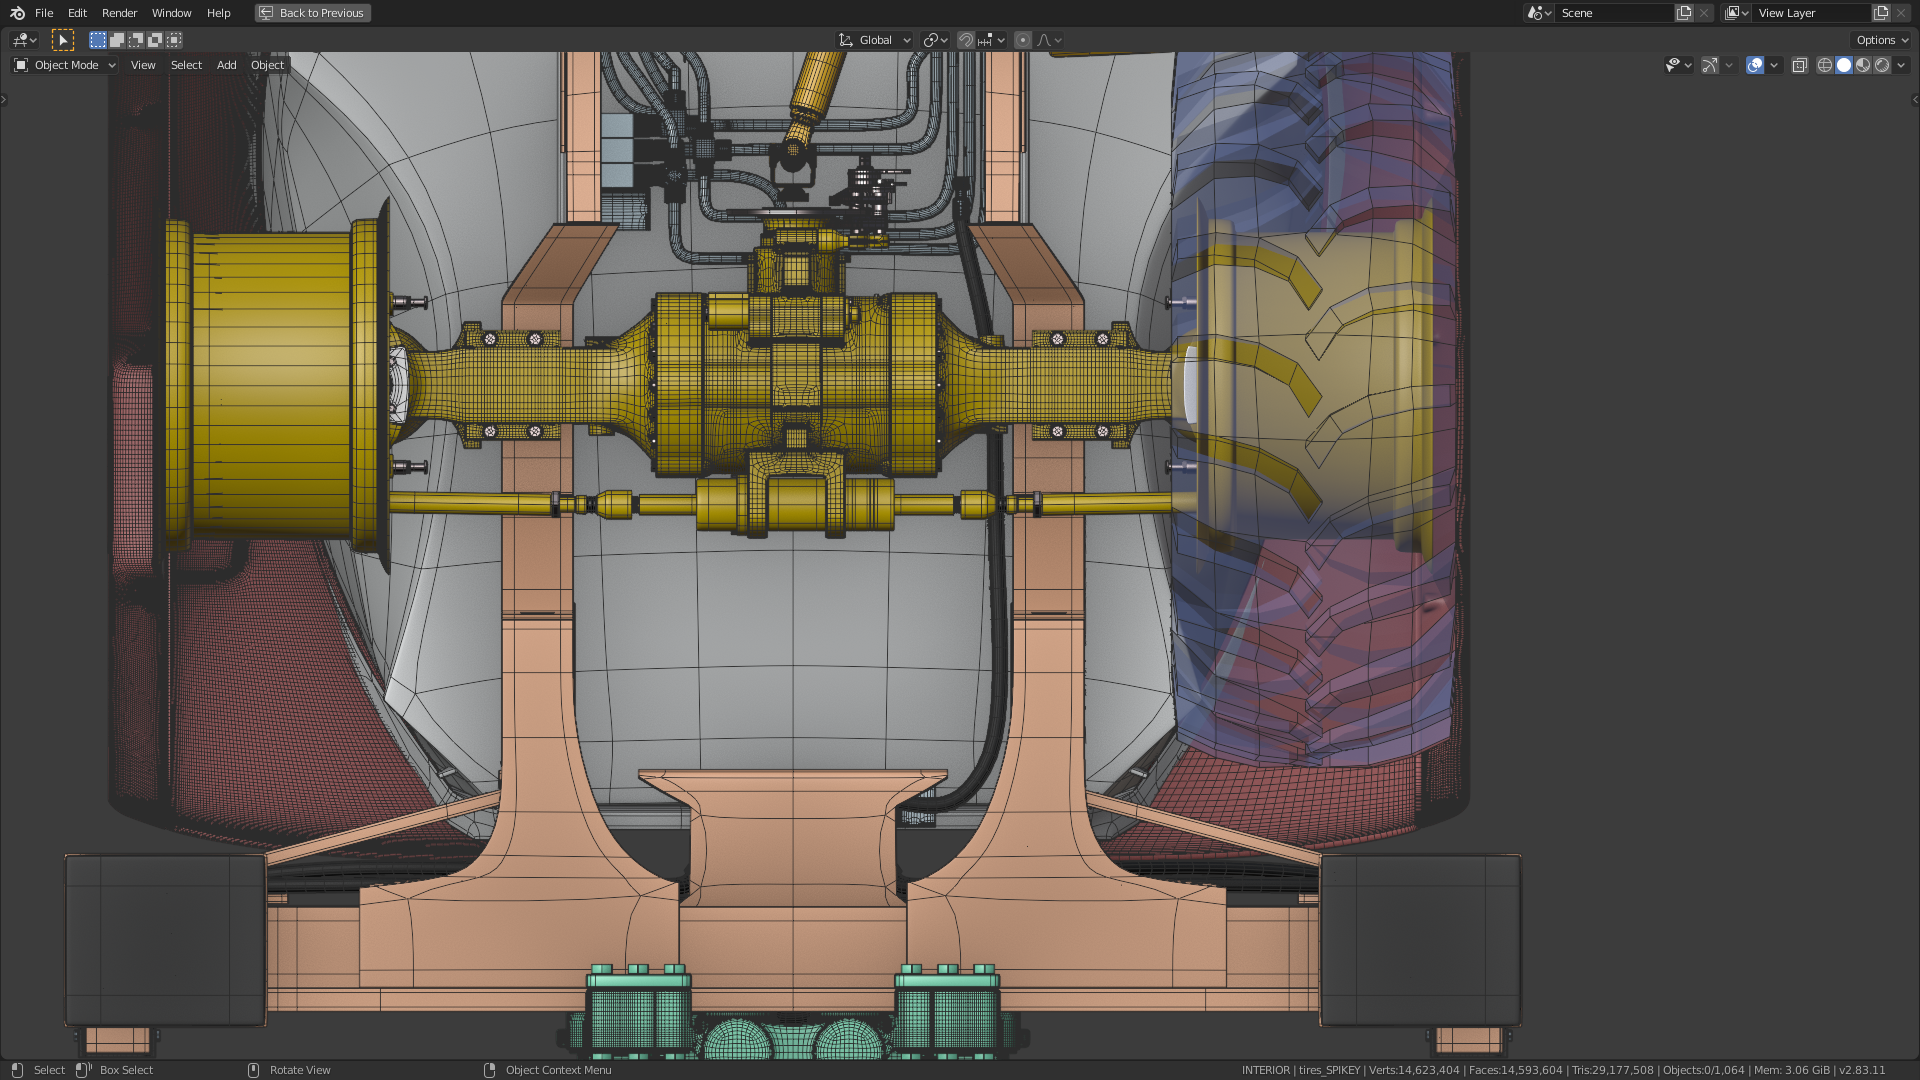
The gaps between the tires and the fenders seem to be a little bit too big compared with one of Kent's reference images:
I will fix that gap between your axle and the drive shaft, I left it until you finished that part as I was unsure of position and size until now.
Not sure the gap between the tyres and the fenders are as big as it looks in that image, a little deceiving in x-ray mode.
@adrian2301 Thank you for the adjustment and thank for your awesome work on this backhoe as well as to the whole team making this possible 😀! I already looks great 👍! I often spend minutes just orbiting around our model🦅! We have run a marathon and are only a few meters away from the finish🏆.
Just a test where the hydraulic lines could run along:
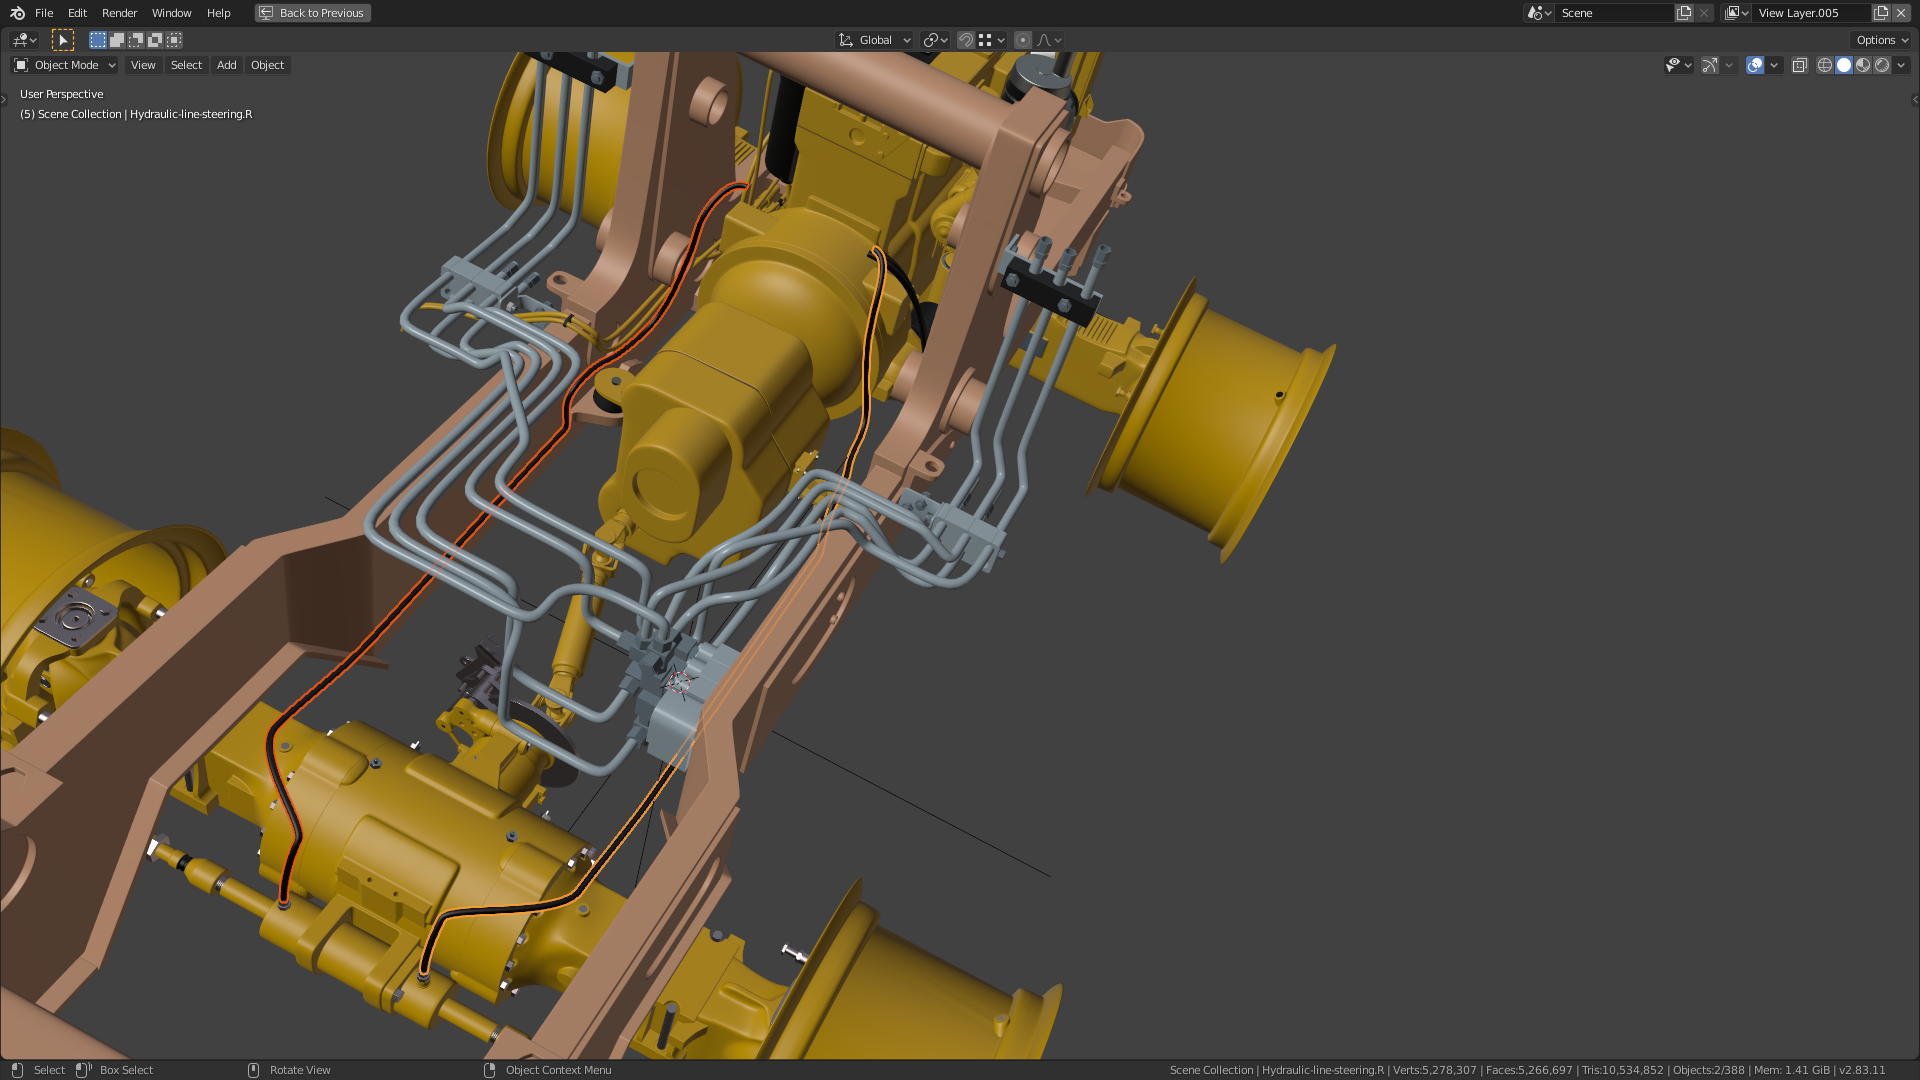
@adrian2301 Do you have any reference for this?
I've just seen that the wheel hubs and rims at the front axle need to be aligned with the front axle's rotation axis:
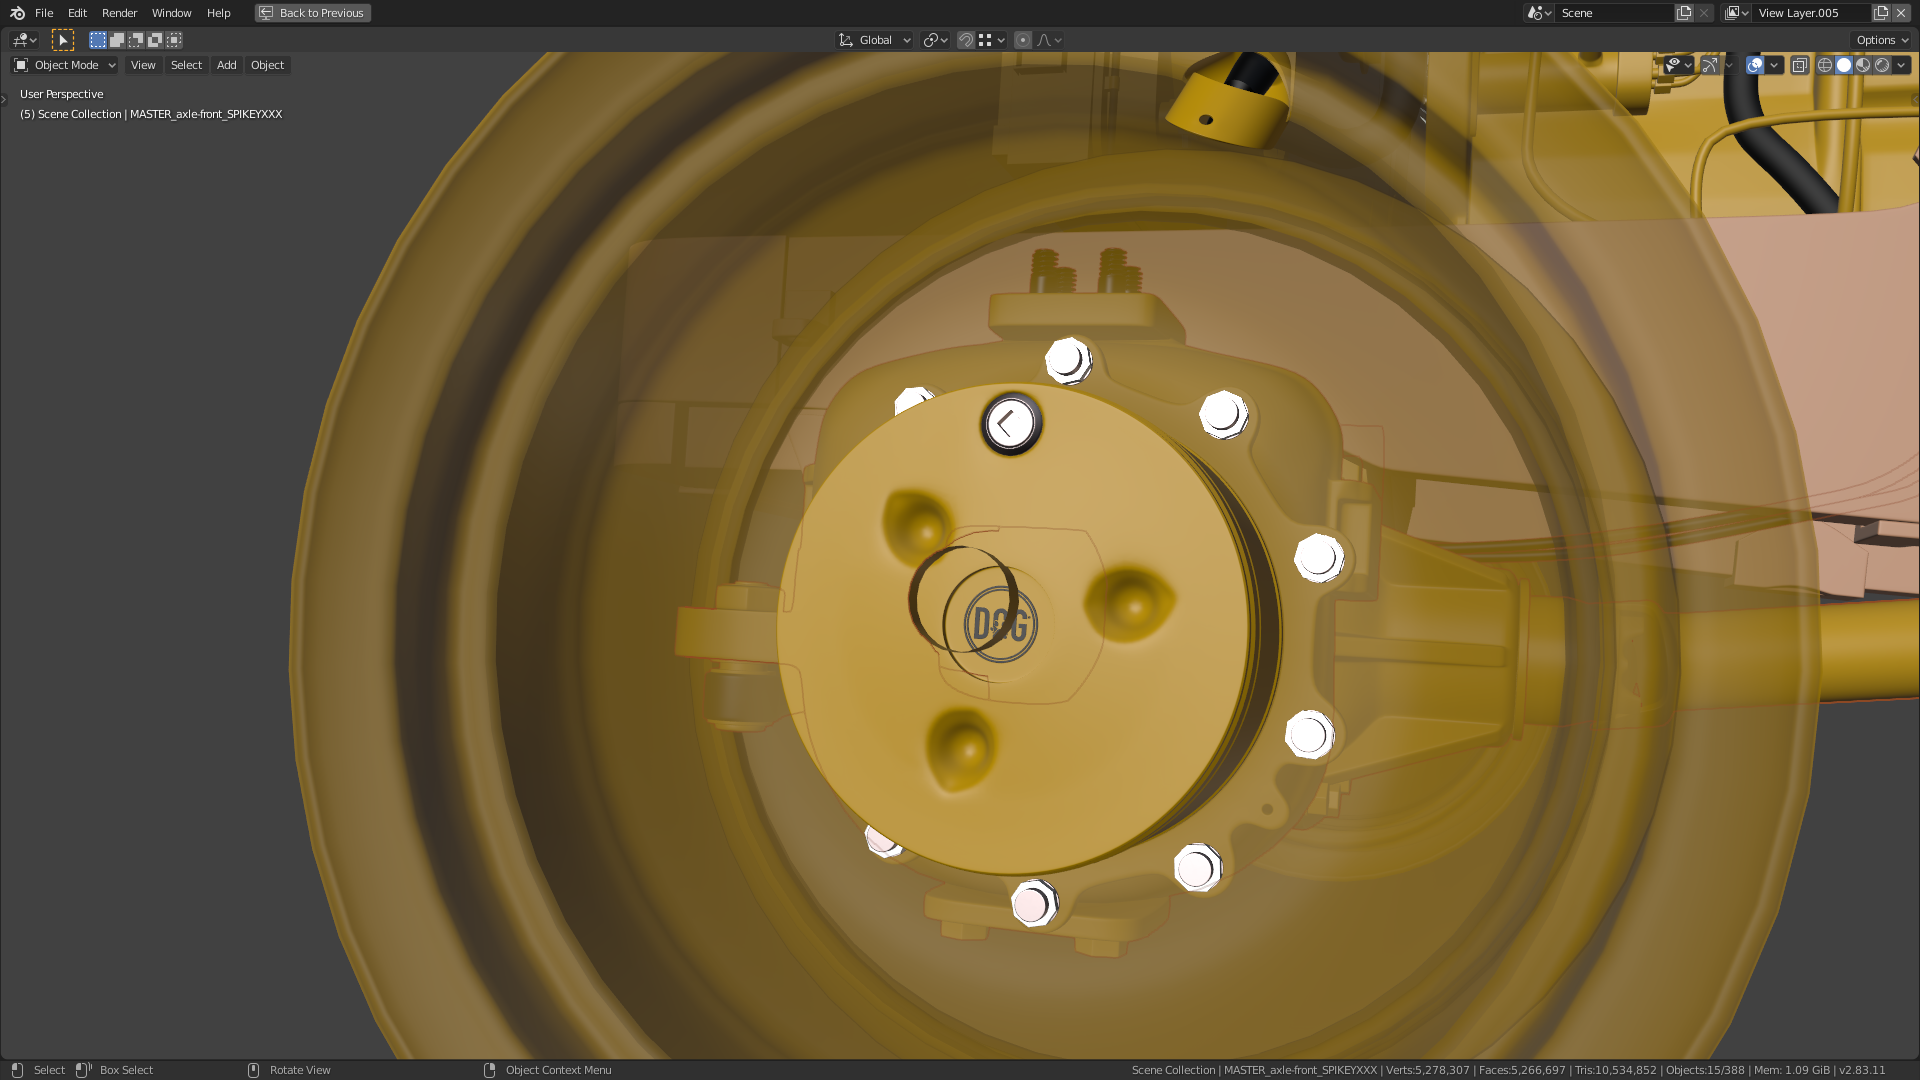
I totally agree, ![]() spikeyxxx ! Looking forward to the completion of our DOG 😀 !
spikeyxxx ! Looking forward to the completion of our DOG 😀 !
So, the highlighted part in the image below together with the bolts has to be moved towards the axle center in order to fit to the chassis and the axle ends have to be moved further outwards in order to fit to the wheels:
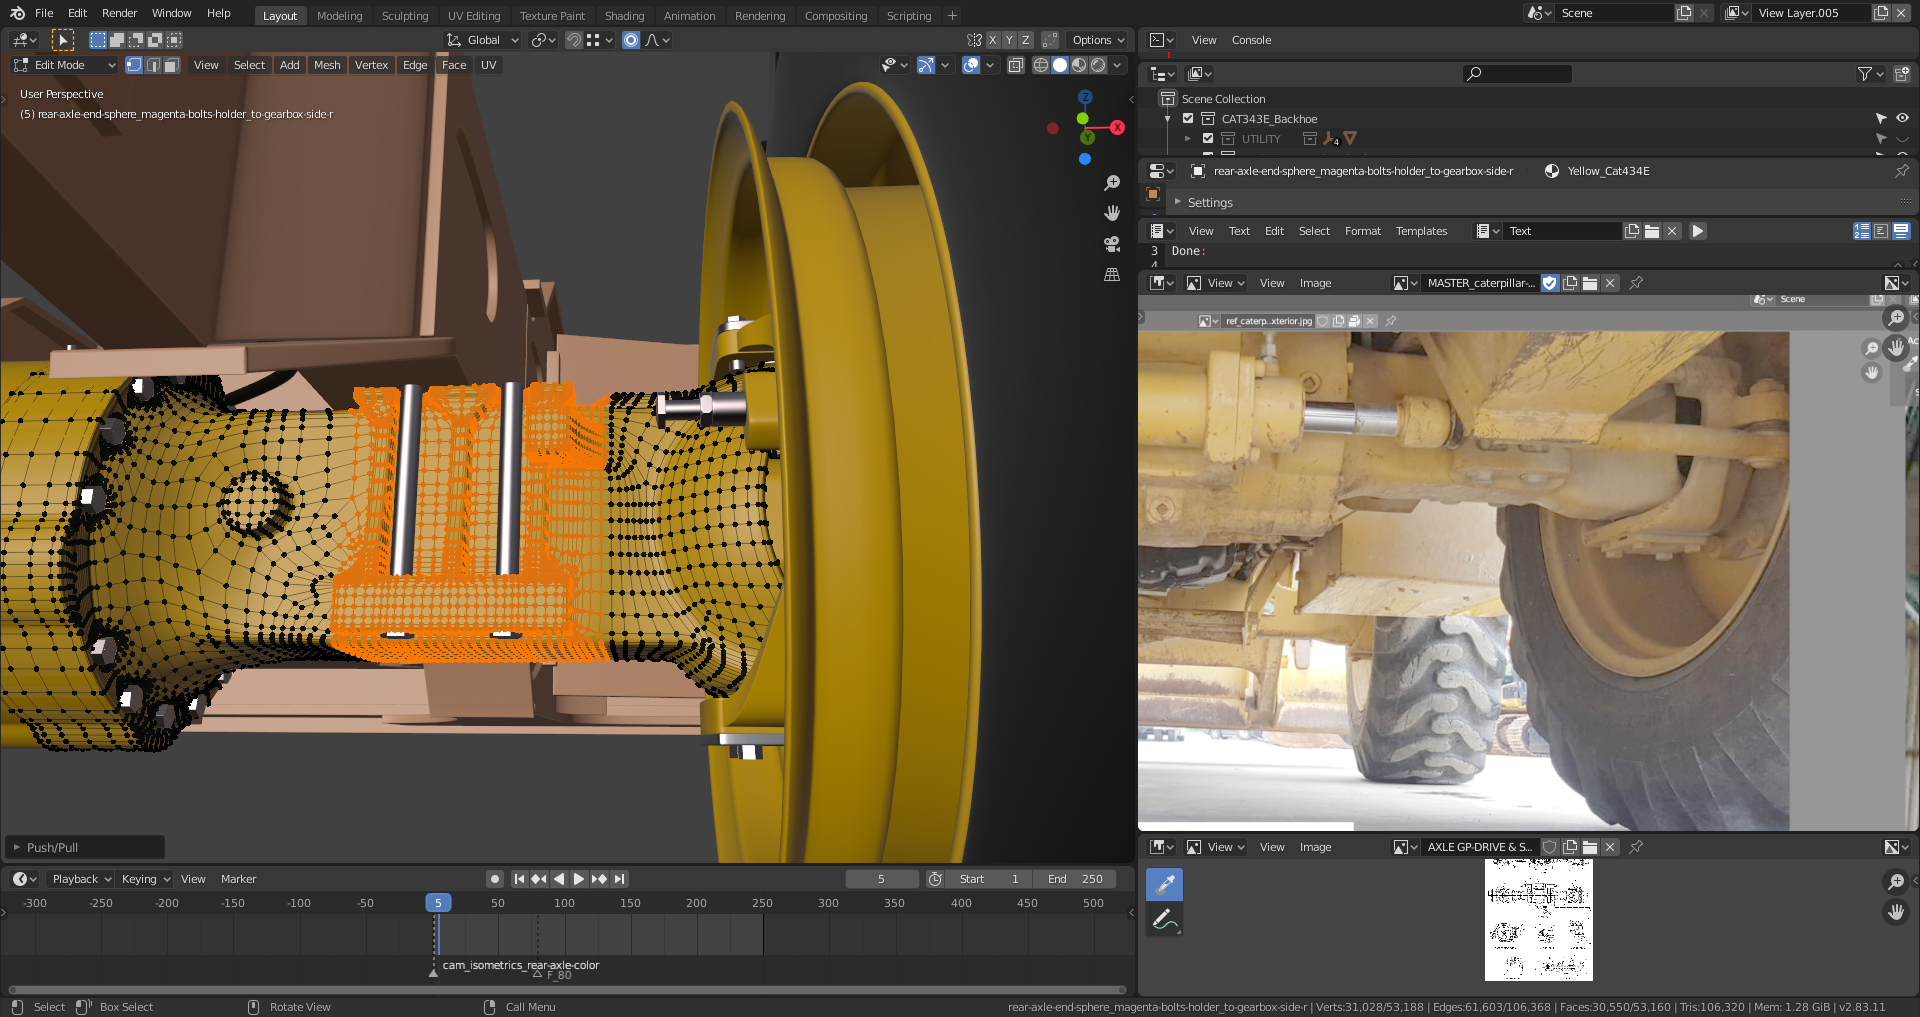
But this would distort the proportions of the rear axle's outer parts as can be seen in the direct comparison with Kent's reference image. Does anybody have an idea on how to solve this?
Thank you, @adrian2301 , for your chassis modifications👍! This makes the axle-to-wheels-alignment a lot easier for me😀.