Starting in March 2020, I began a large stream project to model a comprehensive, highly-detailed Caterpillar 434E backhoe. Please watch the first stream (first 3 minutes of abridged version at least) for an overview.
It's a straight-forward project of building a complex model over an extended period of time. The spin on the project is that I want your help to accomplish it! If I build some parts and you build some parts, we will finish this thing much quicker. Plus the contribution format will include reviews, the potential of having your piece(s) assimilated into the final model. Not to mention large quantities of XP are at stake 🤑
NOTE: This is an involved project reserved for Citizen members.

The general idea is that I kickoff stages of the project via live stream, which is typically once per month. For the time in between streams, you choose a piece of the backhoe and apply what you learned from the stream to that piece. For example, the first stream covered initial block out. So between stream 1 and stream 2, your job is to pick a piece and block it out.
This is the repeating protocol for each Assignment Period (between-streams):
I will reply to this thread after each stream with a [big] assignment post denoted by a 📣 emoji in the title. There I will clarify instructions about each Assignment Period.
We will centralize our collaborative communication between the streams and this thread. Ask any and all questions pertaining to the Backhoe project here.
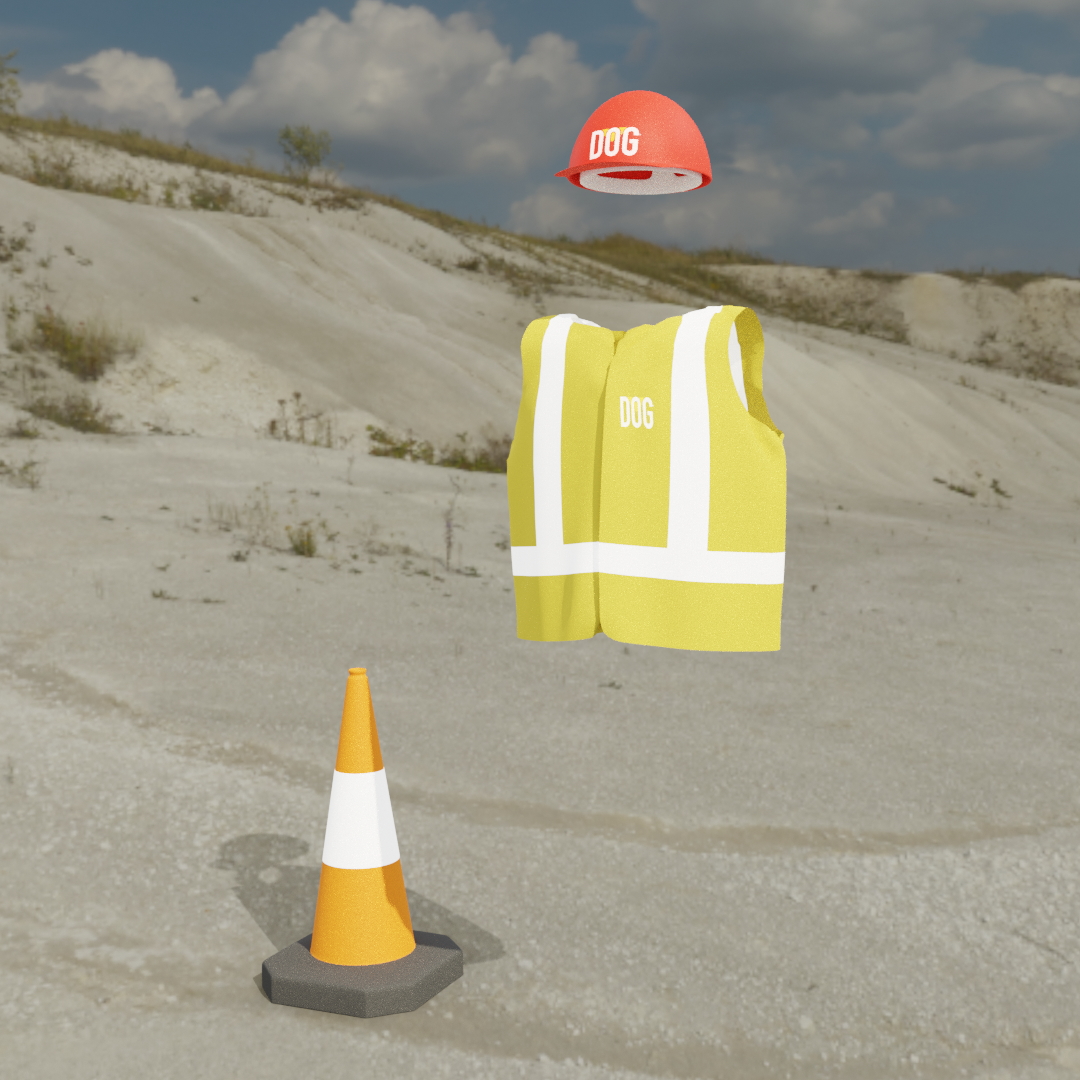
Ok everyone, There is so much going on in the DOG Pound it's getting a little unsafe around here, so I have managed to come up with some safety gear for everyone.
@theluthier ![]() dostovel
dostovel ![]() blanchsb
blanchsb ![]() jakeblended sshanr
jakeblended sshanr ![]() ketre
ketre ![]() spikeyxxx rryzen7 ddoulos4iesou
spikeyxxx rryzen7 ddoulos4iesou ![]() duerer
duerer ![]() hellosudeepsingh ppfbourassa aartifact
hellosudeepsingh ppfbourassa aartifact
I'm just trying to align the rear axle with the chassis and the wheels, but I can only make it fit with the one or the other. The red element of the rear axle has to be attached with 4 bolts on both ends to the chassis where 4 bolt holes are needed: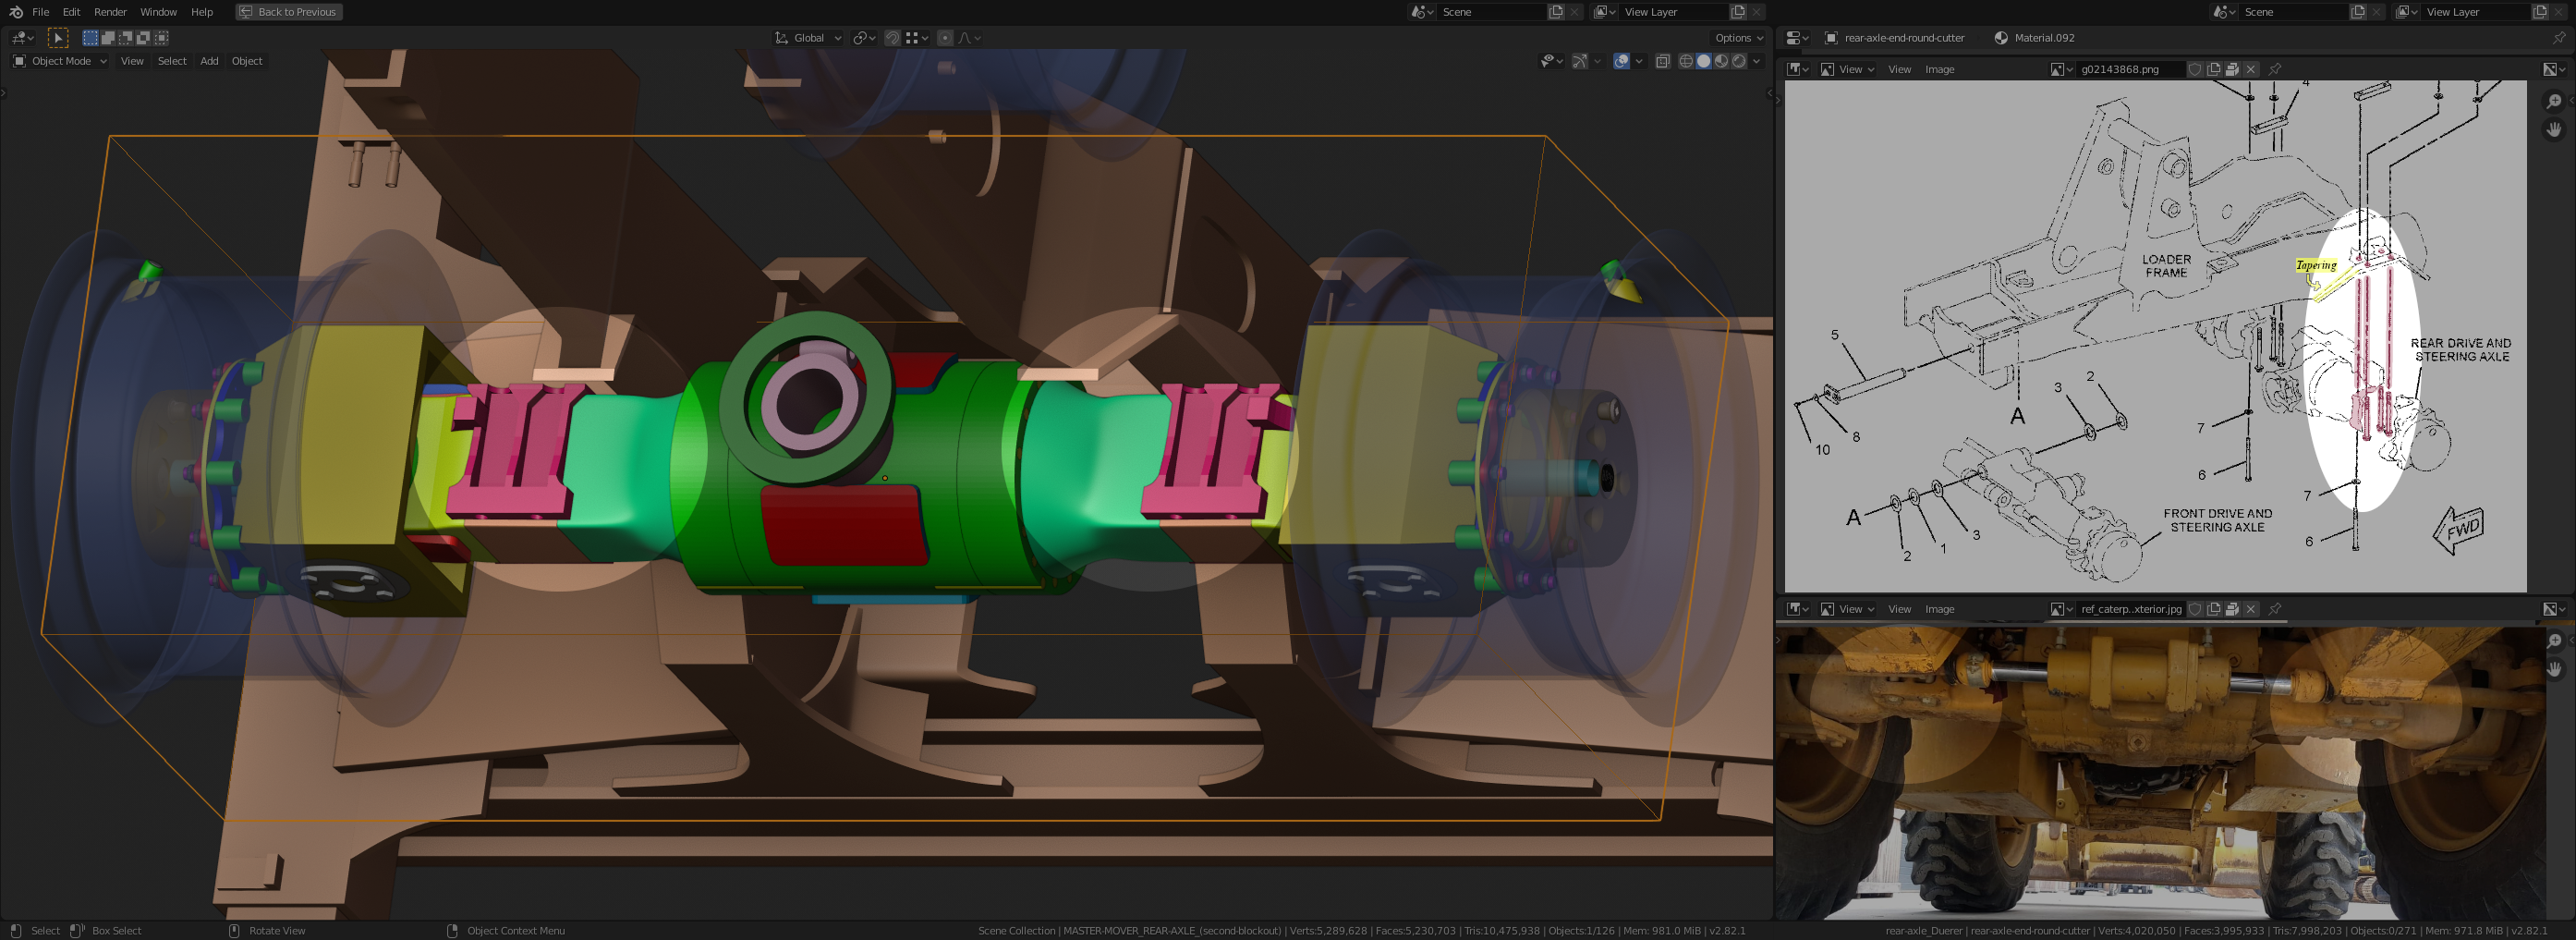
I've created a smaller file with just the chassis, the rims/hubs and the rear axle here.
I've updated it. You can find it below this post in the next reply section.
I can adjust the chassis as needed no problem, if its lower, higher, left or right I can adjust accordingly.If you sort your wheels out and best guess the location of the bolt positions in relation to the axle and I can then adjust the chassis to fit. Probably the best approach, as the chassis will hardly be visible when done, as long it doesn't interfere else where not an issue. If we still have a problem then we can solve it then. The chassis has few images, only drawings that are not really clear, so it is more a task of align to other parts.
The inner part of the rim is a little bit of eyeballing since I only have photos of them but no construction drawings. The rear axle itself is based on isometric and orthographic plans but I don't have any precise measurements. And the connection with the front axle will be another tricky task.
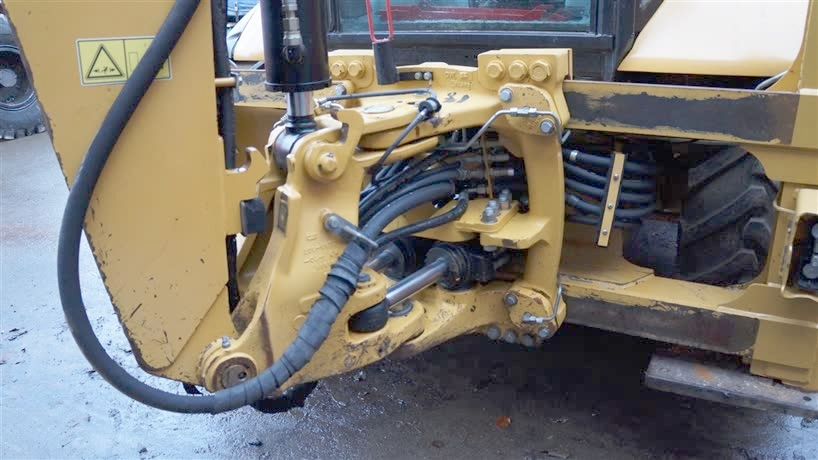
This is the connection between front and rear axle on a Cat 434F:
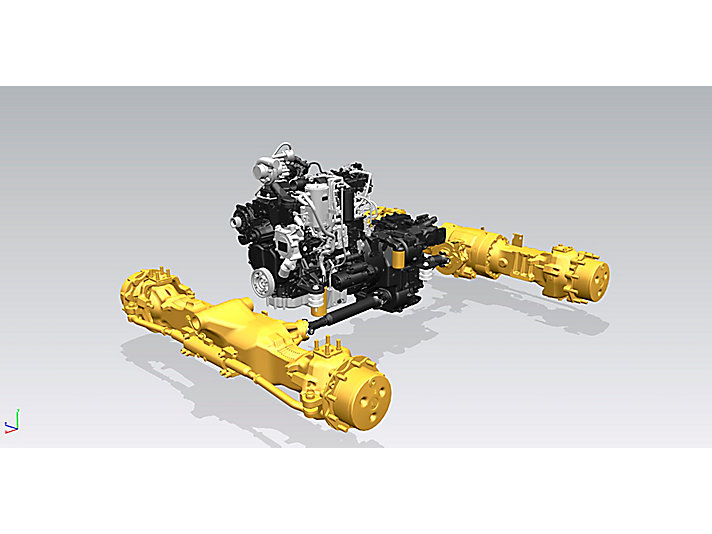
I don't know whether there'are differences between the E-version and the F-version of the Cat 434 in that part of the backhoe.
Made a DOG TAG for the front of our Puppy, or we can hang it on the gate of the Pound.
Thank you @adrian2301 for the adjustment. Now it intesects with the battery boxes:
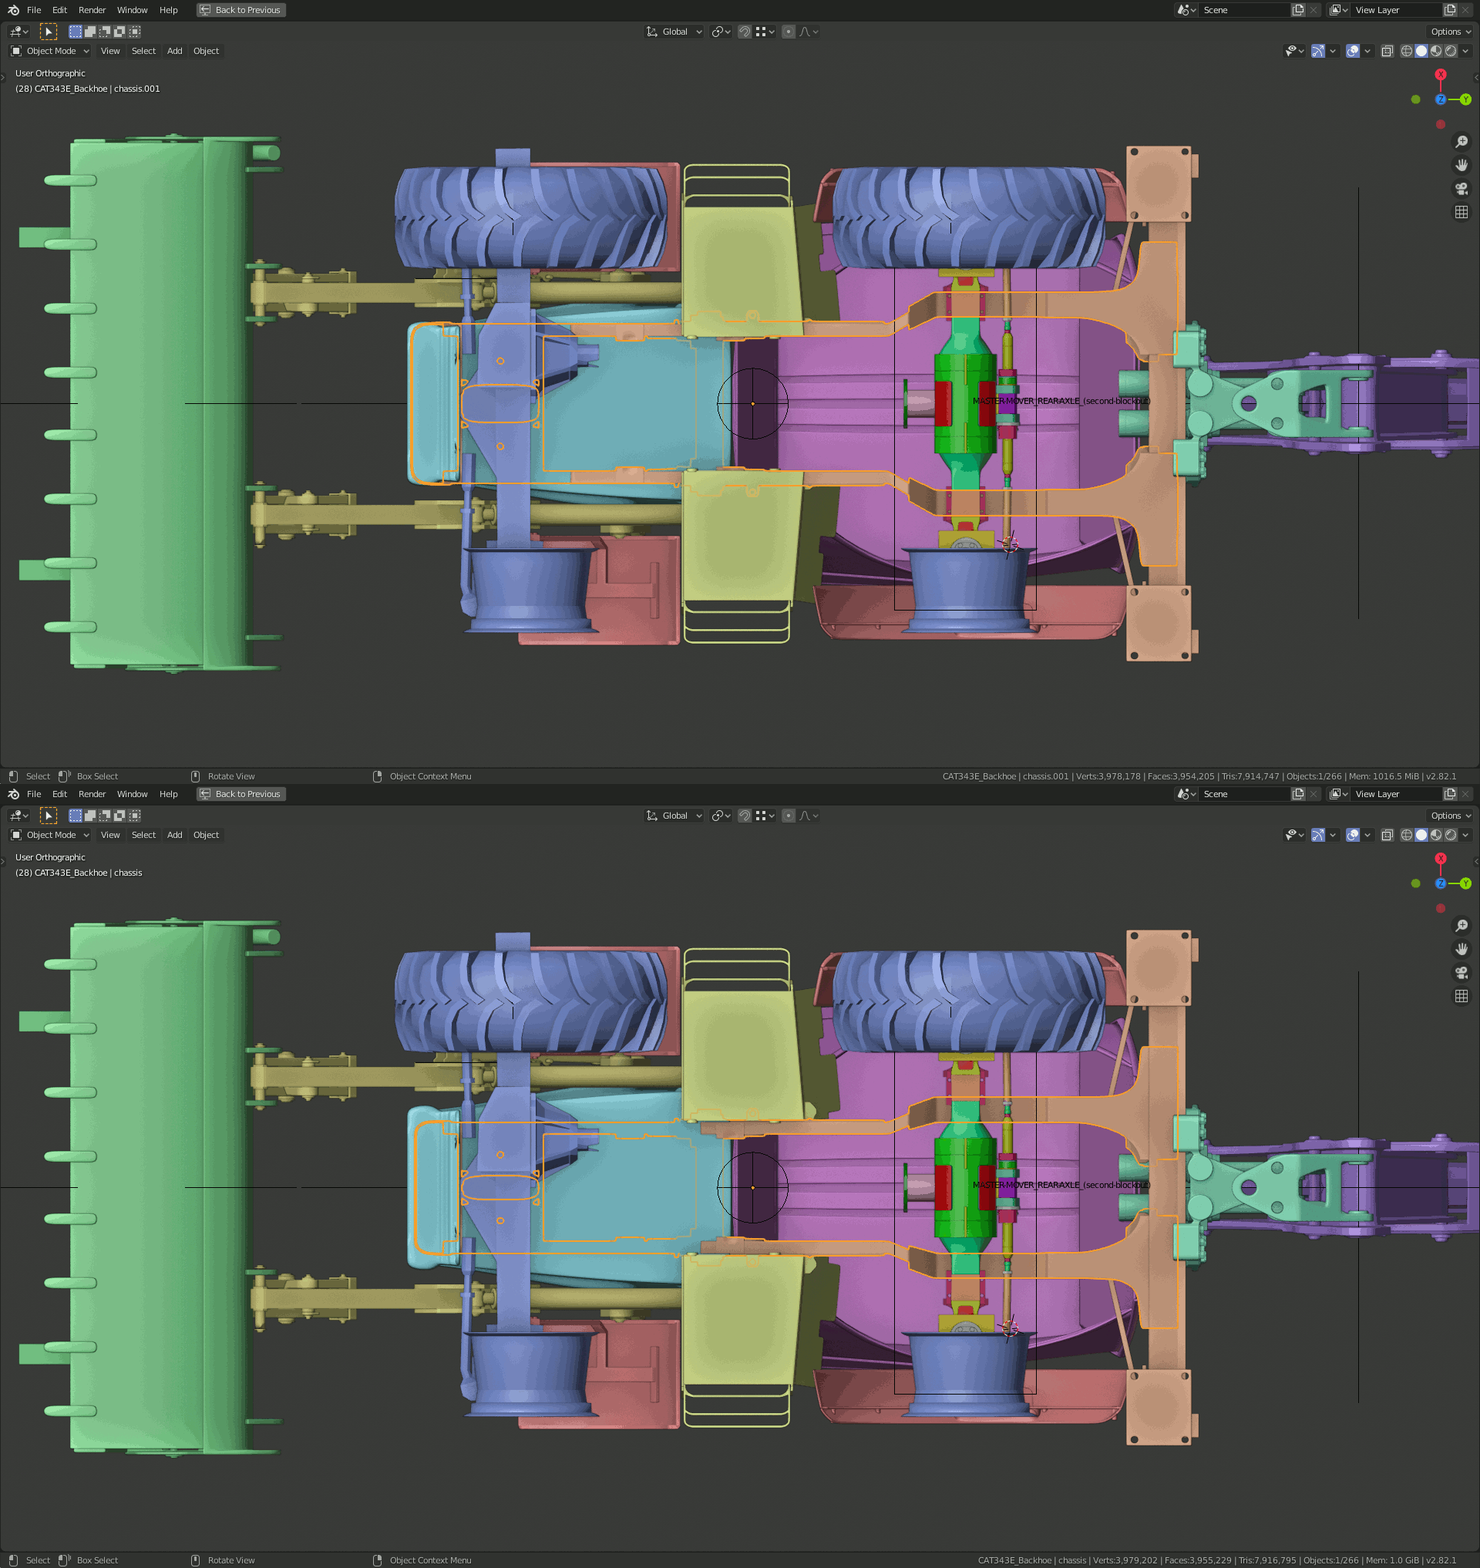
It's maybe best that you keep your chassis as it was since we first have to ensure that both axles are properly connected via the parts in between.
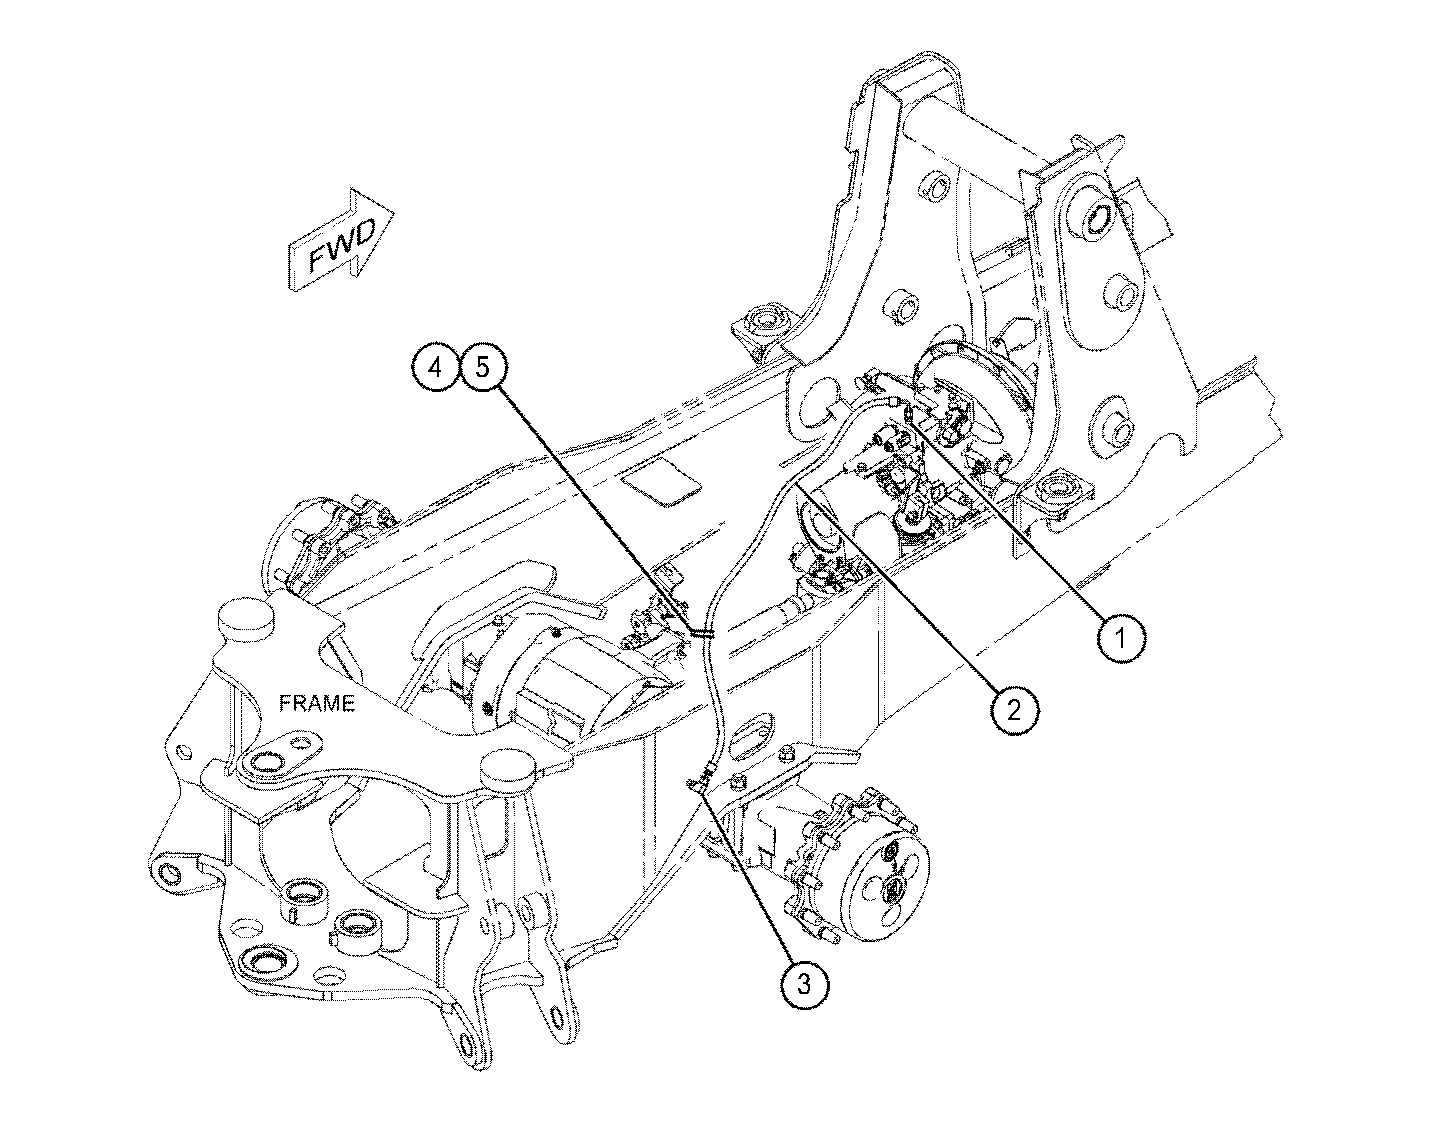
I have found some higher resolution drawings of the chassis:
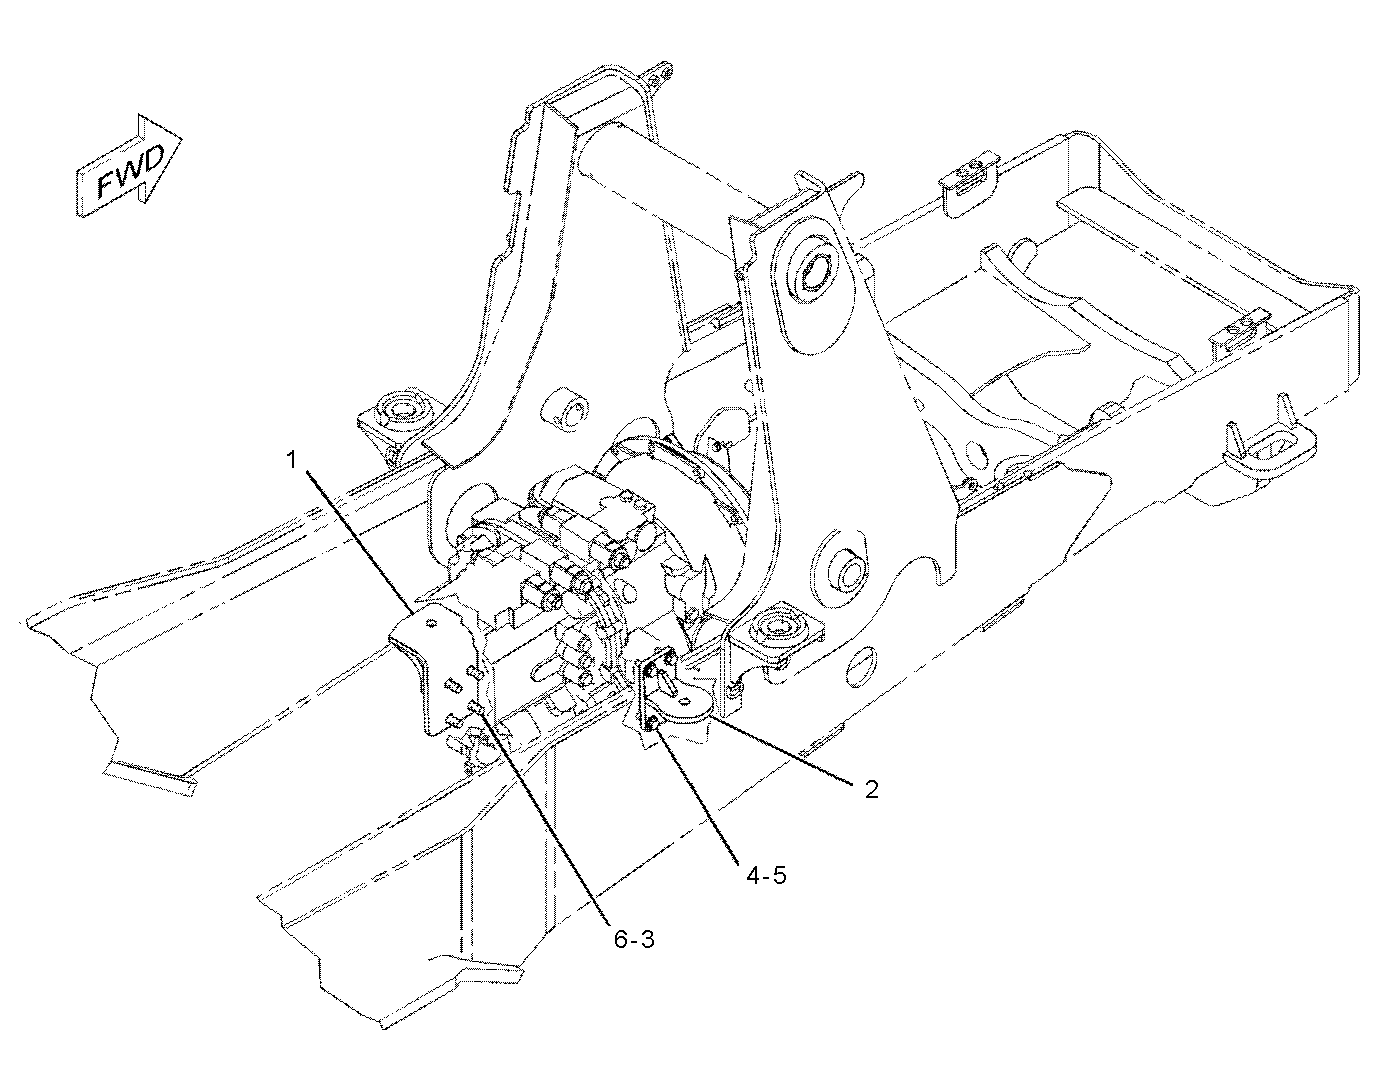
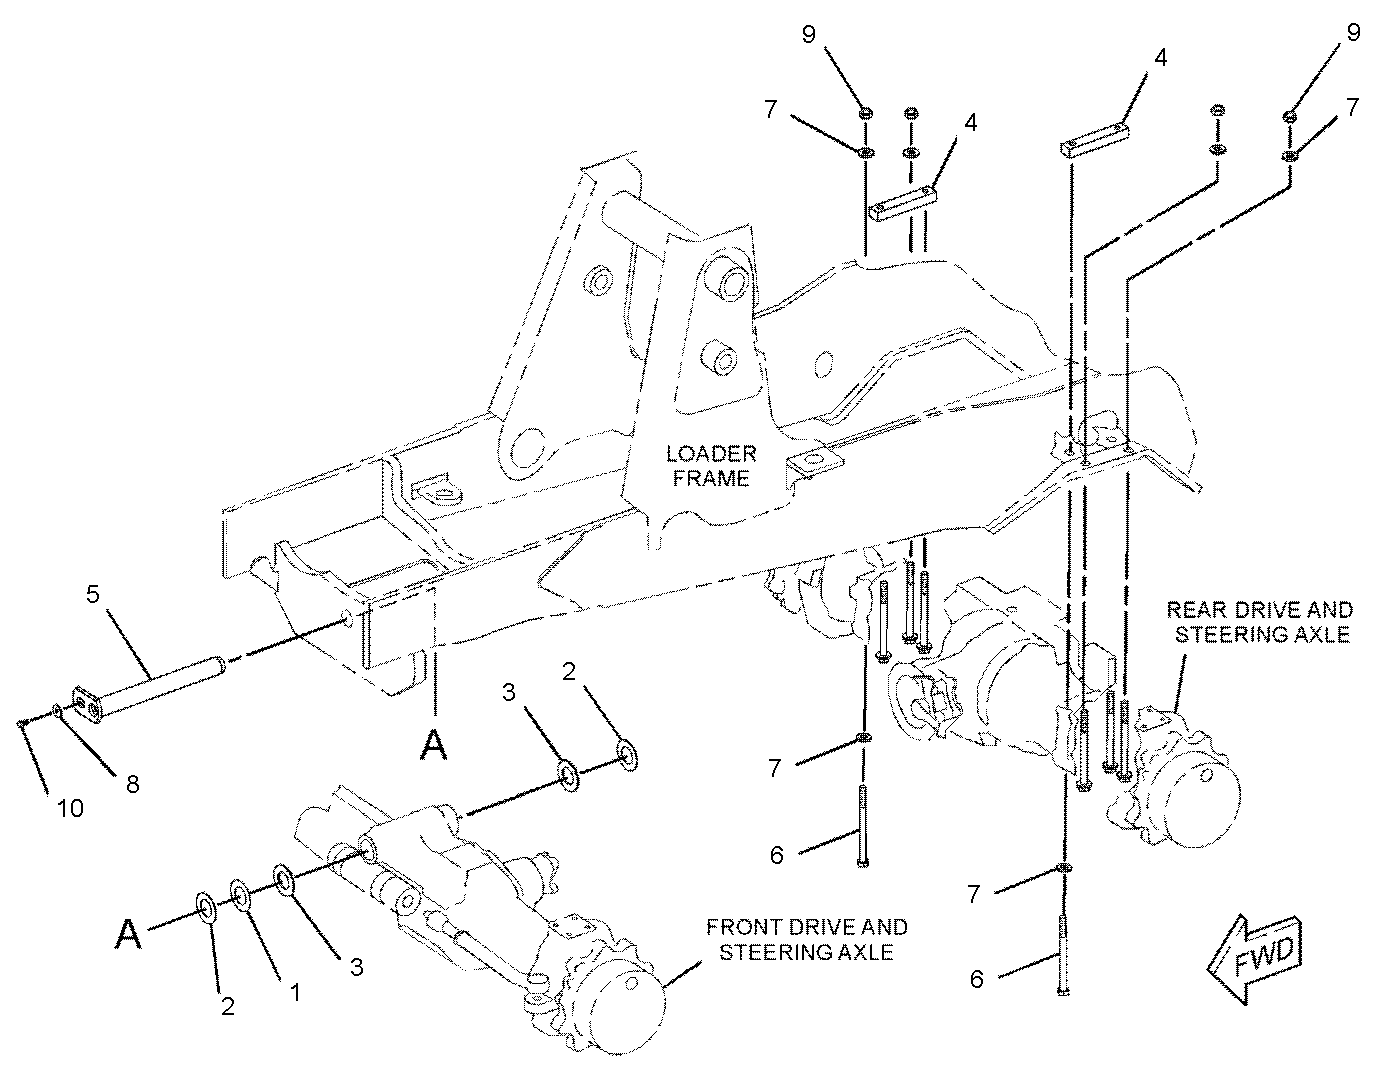
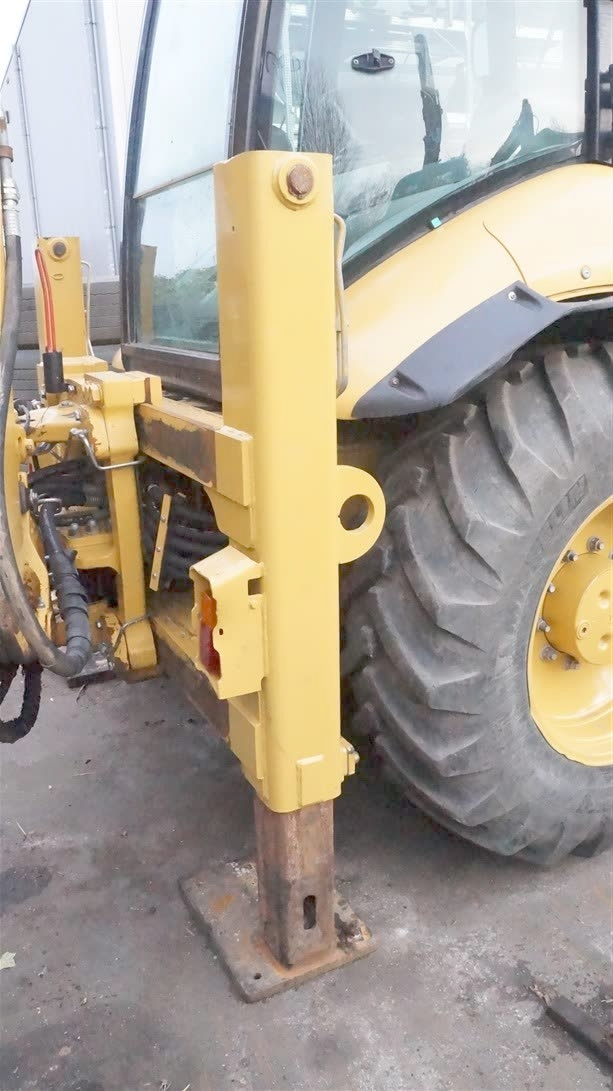
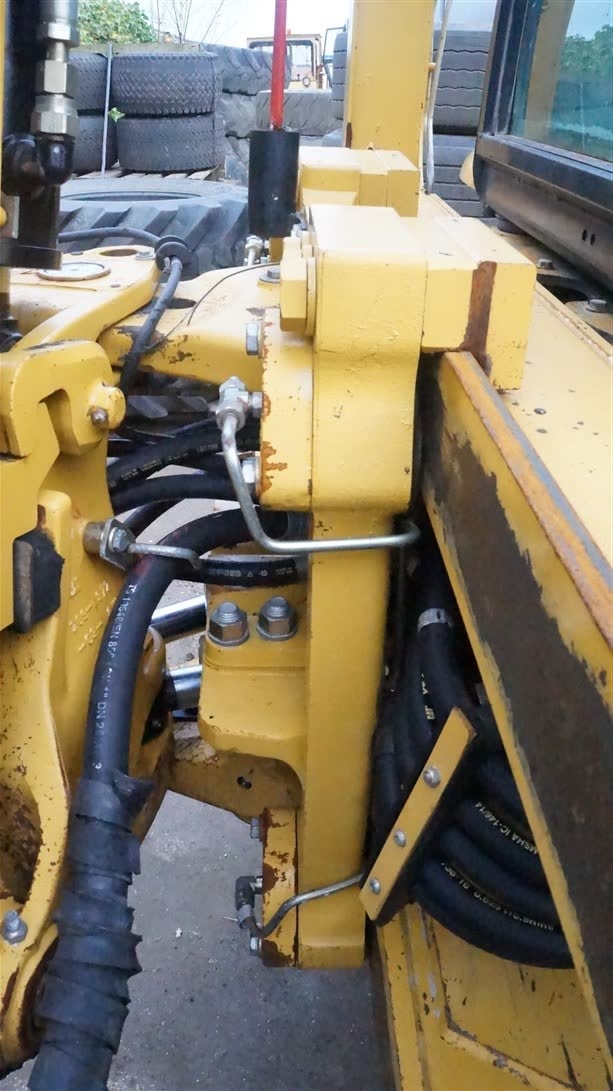
I've also found some close-ups of the rear side:
