Starting in March 2020, I began a large stream project to model a comprehensive, highly-detailed Caterpillar 434E backhoe. Please watch the first stream (first 3 minutes of abridged version at least) for an overview.
It's a straight-forward project of building a complex model over an extended period of time. The spin on the project is that I want your help to accomplish it! If I build some parts and you build some parts, we will finish this thing much quicker. Plus the contribution format will include reviews, the potential of having your piece(s) assimilated into the final model. Not to mention large quantities of XP are at stake 🤑
NOTE: This is an involved project reserved for Citizen members.

The general idea is that I kickoff stages of the project via live stream, which is typically once per month. For the time in between streams, you choose a piece of the backhoe and apply what you learned from the stream to that piece. For example, the first stream covered initial block out. So between stream 1 and stream 2, your job is to pick a piece and block it out.
This is the repeating protocol for each Assignment Period (between-streams):
I will reply to this thread after each stream with a [big] assignment post denoted by a 📣 emoji in the title. There I will clarify instructions about each Assignment Period.
We will centralize our collaborative communication between the streams and this thread. Ask any and all questions pertaining to the Backhoe project here.
![]() ketre it told me that the discord link is no longer active.
ketre it told me that the discord link is no longer active.
@theluthier Blender Support is here! Okay I got bligify working properly. I had the wrong zip file installed. The install and readme is on GitHub: https://github.com/doakey3/Bligify/releases
It did everything for me: render a blender animation sequence and then converted the images to a gif. I just had to wait an extra minute while it plugged and chugged away after the render was completed!!!! so cool.......just make sure to Read the Freaking Manual before starting, unlike me.
Here's my Sand Dune tire gif from his tutorial: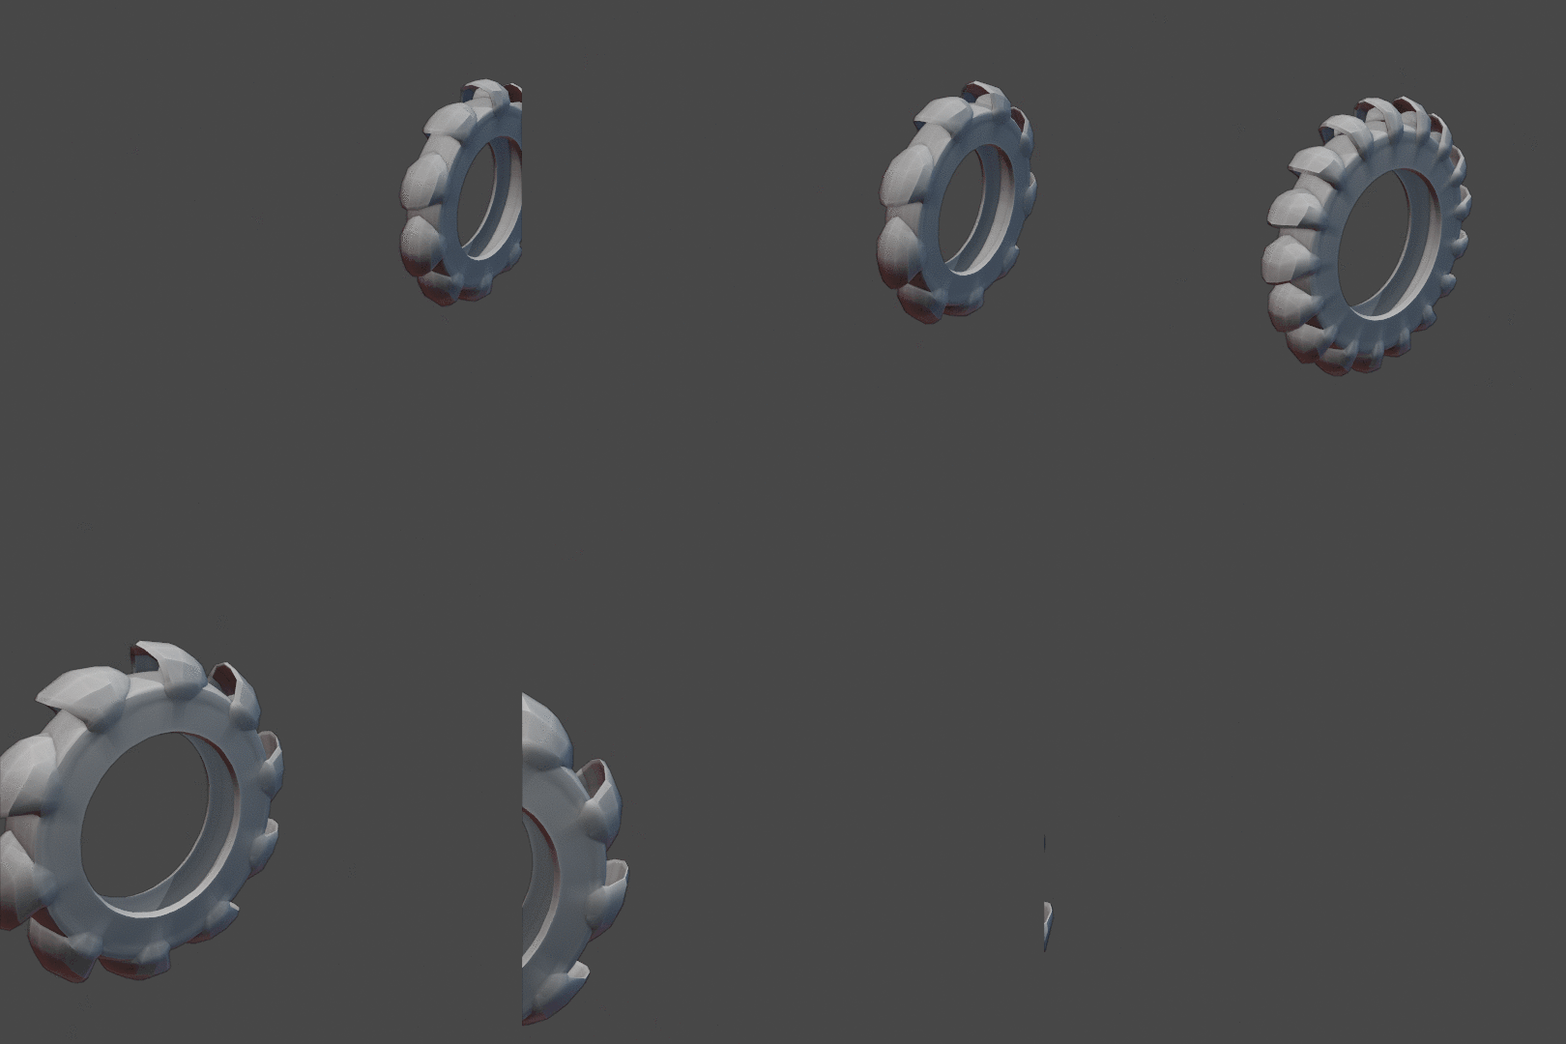 Made with the help of Spikeyxxx and the Blender Add-on: Bligify
Ok now back to "brass tacks". I'll go get some relevant gifs to show off regarding the problem areas.
Alright, here's the skinny: I uploaded my Angle Bracket Clash on my own Forum posting here https://cgcookie.com/questions/12127-backhoe-contribution-blanchsb-loader-arms![]() dostovel, GREG-MCKIM (sorry I don't know your at mention name) aartifact: see these two reference images:
dostovel, GREG-MCKIM (sorry I don't know your at mention name) aartifact: see these two reference images:
GREG-MCKIM and ARTIFACT your comments are in Purple. The loader arms and engine enclosure are intersecting: Clash of the Blendz
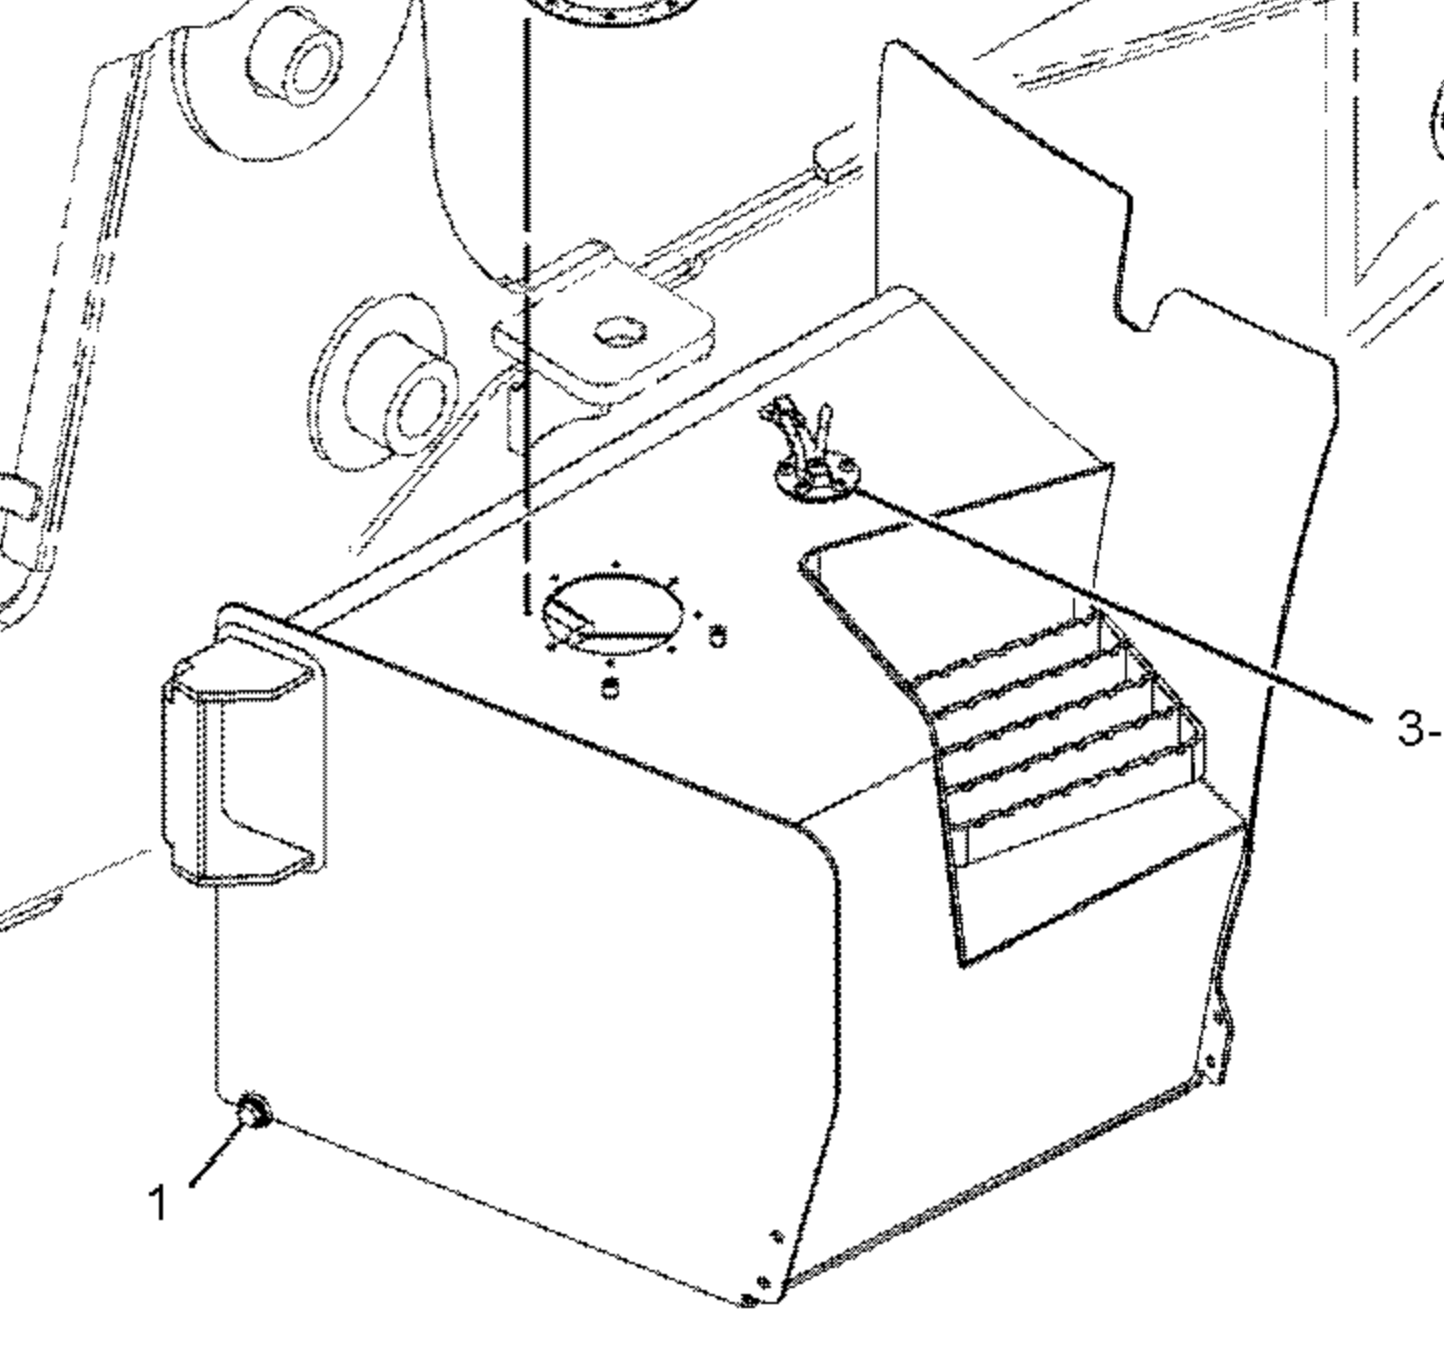
Omar your comments are in red and light blue. Lower hydraulic is intersecting with fuel fill: Clash of the Blendz Vol. 2.
And Battery Box heights appear inconsistent (notice the snipped battery wires are lower on the X-ray image).
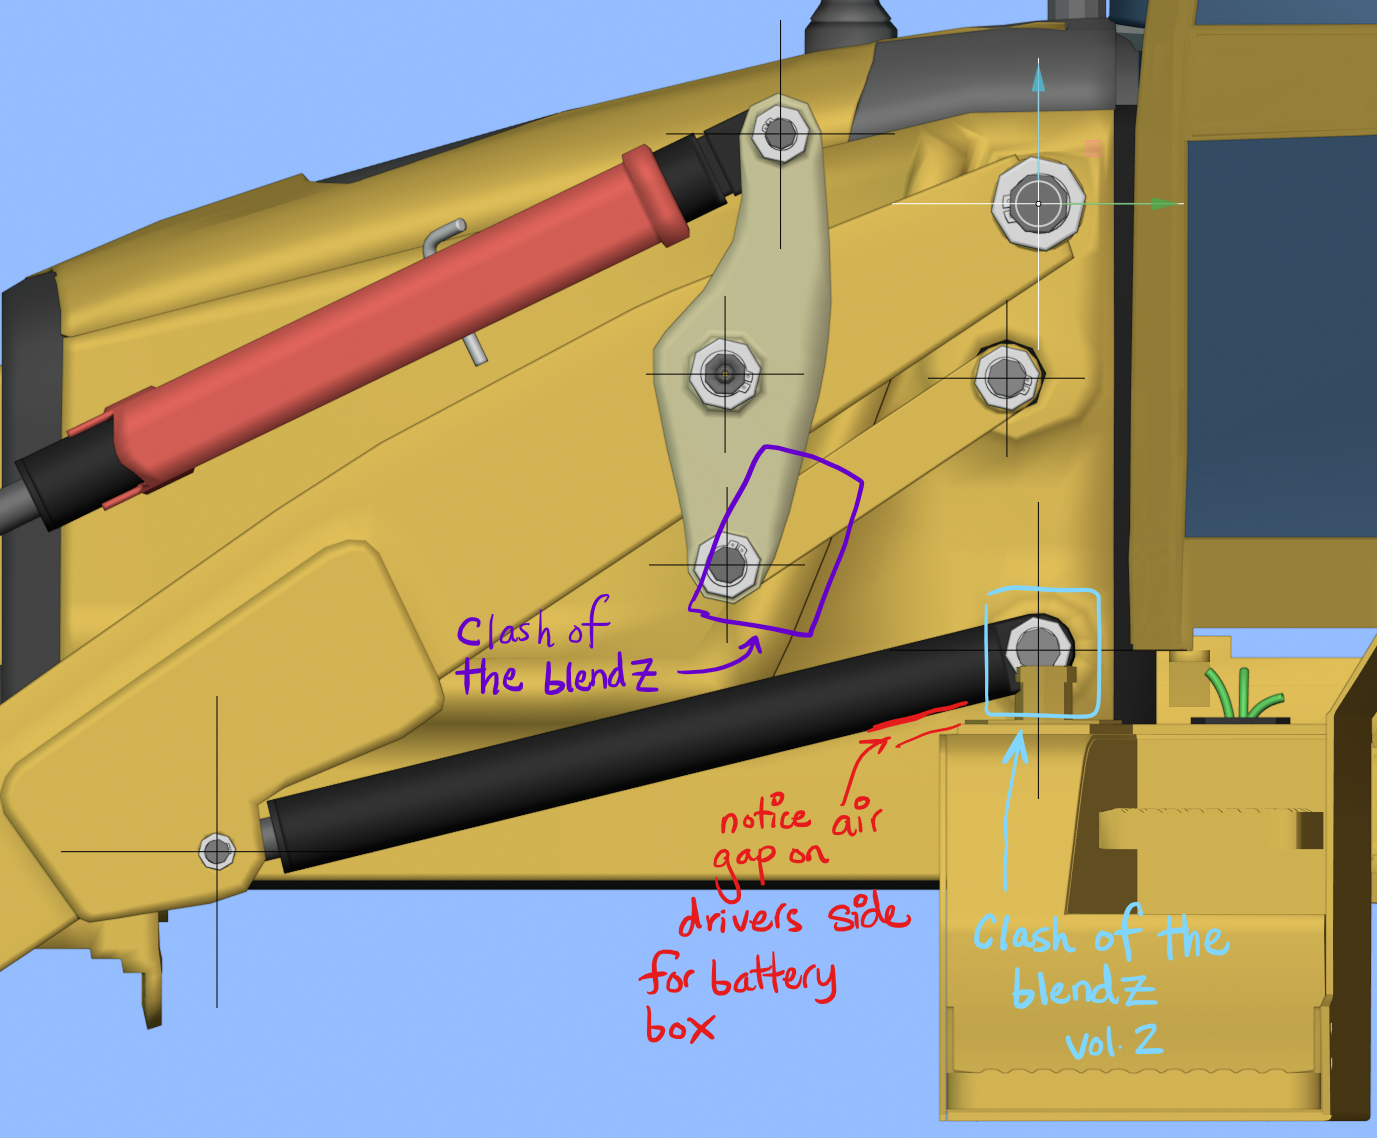 Omar: Air Gap and Clash of Blendz Vol. 2 (red AND light blue)
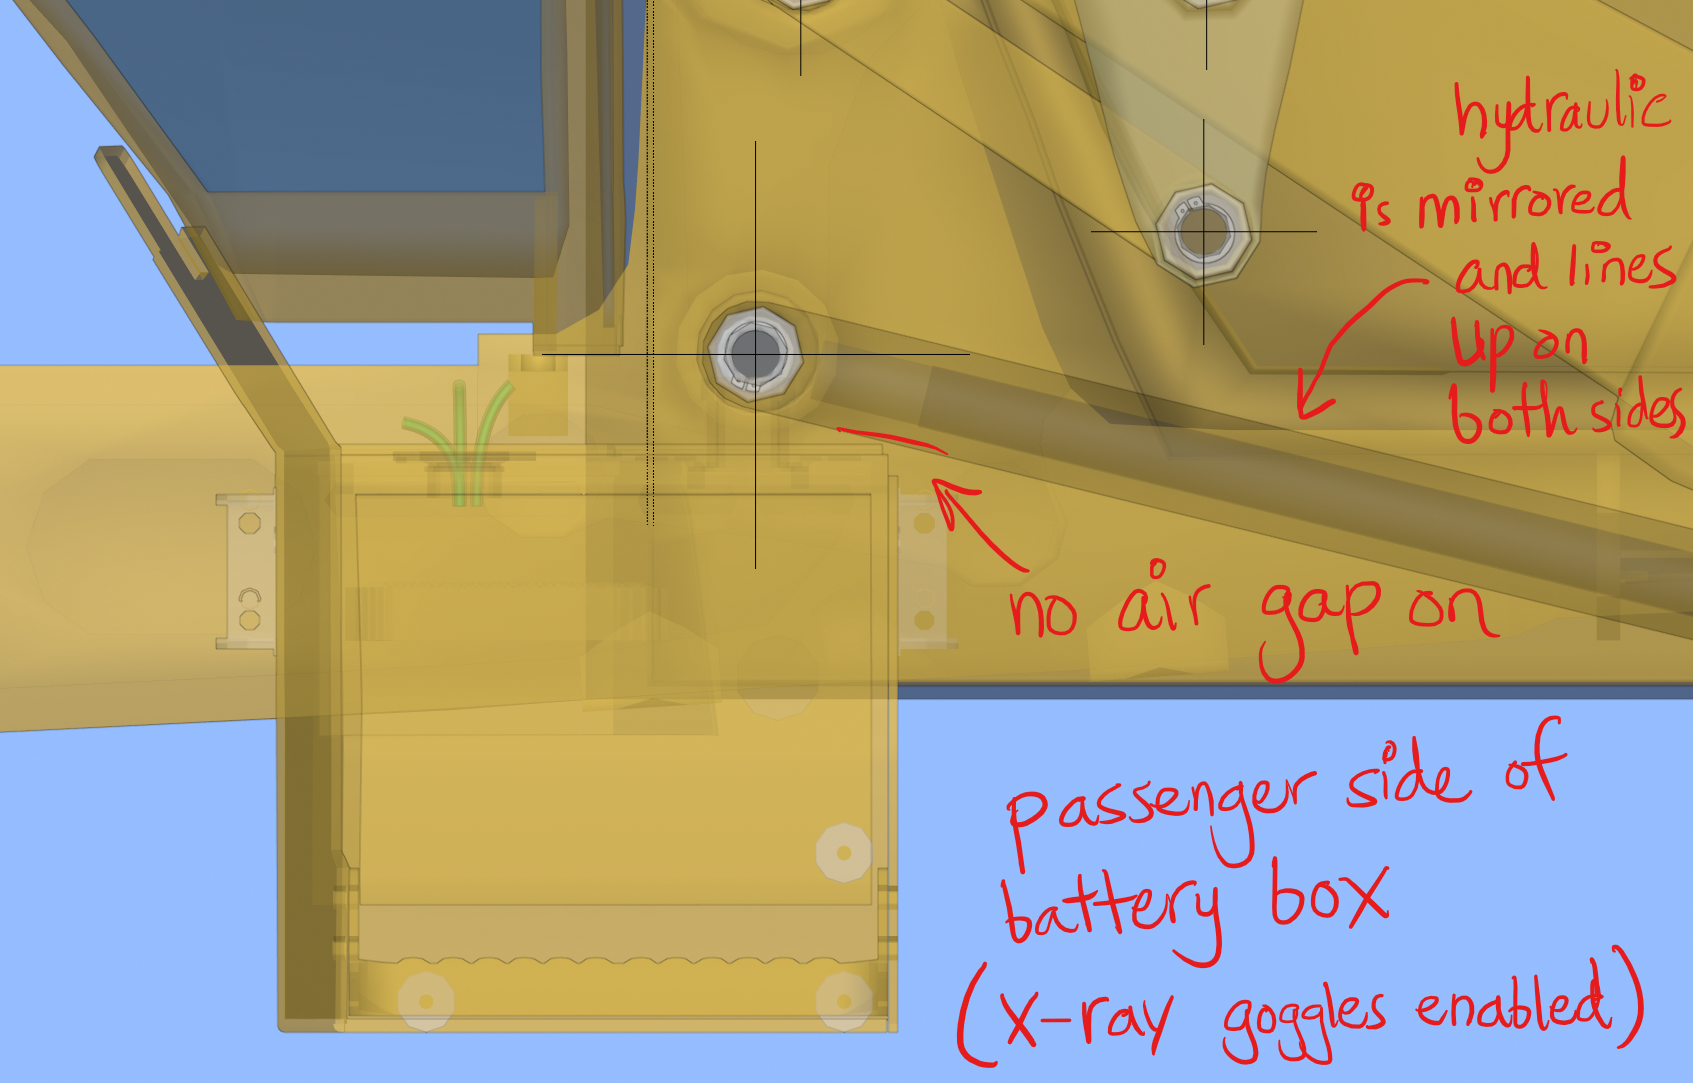 Omar: No Air Gap
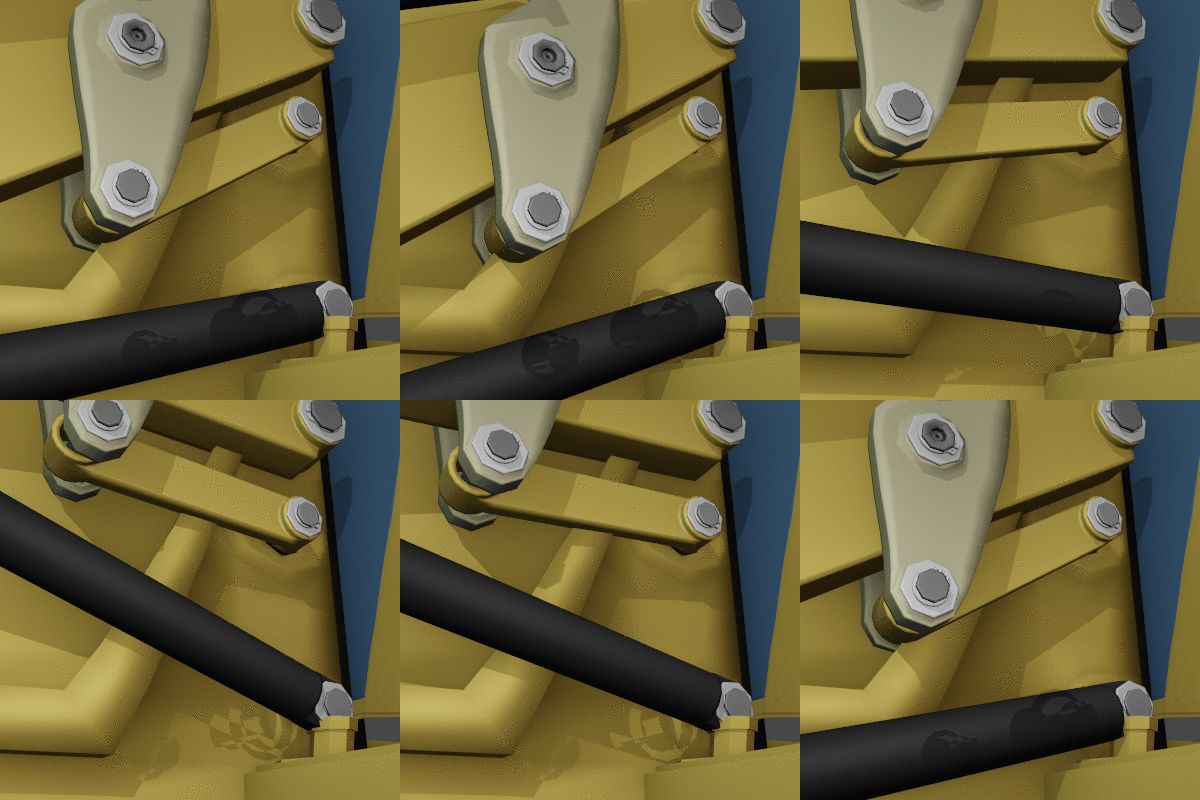 Couple of intersecting points
Does anybody else see the Cookie shadow, or is it just me???
Weird I set it to never expire. ok trying again https://discord.gg/M8CeM9B I sent you an invite personally
I see it, the funky shadows.
ddoulos4iesou (Greg McKim) , aartifact , with reference to ![]() blanchsb problem with the clash of the engine enclosure, I think the engine enclosure is actually slightly narrow at the cab end or at least the same, doesn't get wider, I think I remember @theluthier mention it in one of the live streams.
blanchsb problem with the clash of the engine enclosure, I think the engine enclosure is actually slightly narrow at the cab end or at least the same, doesn't get wider, I think I remember @theluthier mention it in one of the live streams.
This image shows a good view, lens distortion probably not helping but the pistons and the loading arm will be as straight as a die, with that as reference it looks fairly straight, maybe narrower as it rounds over the top.
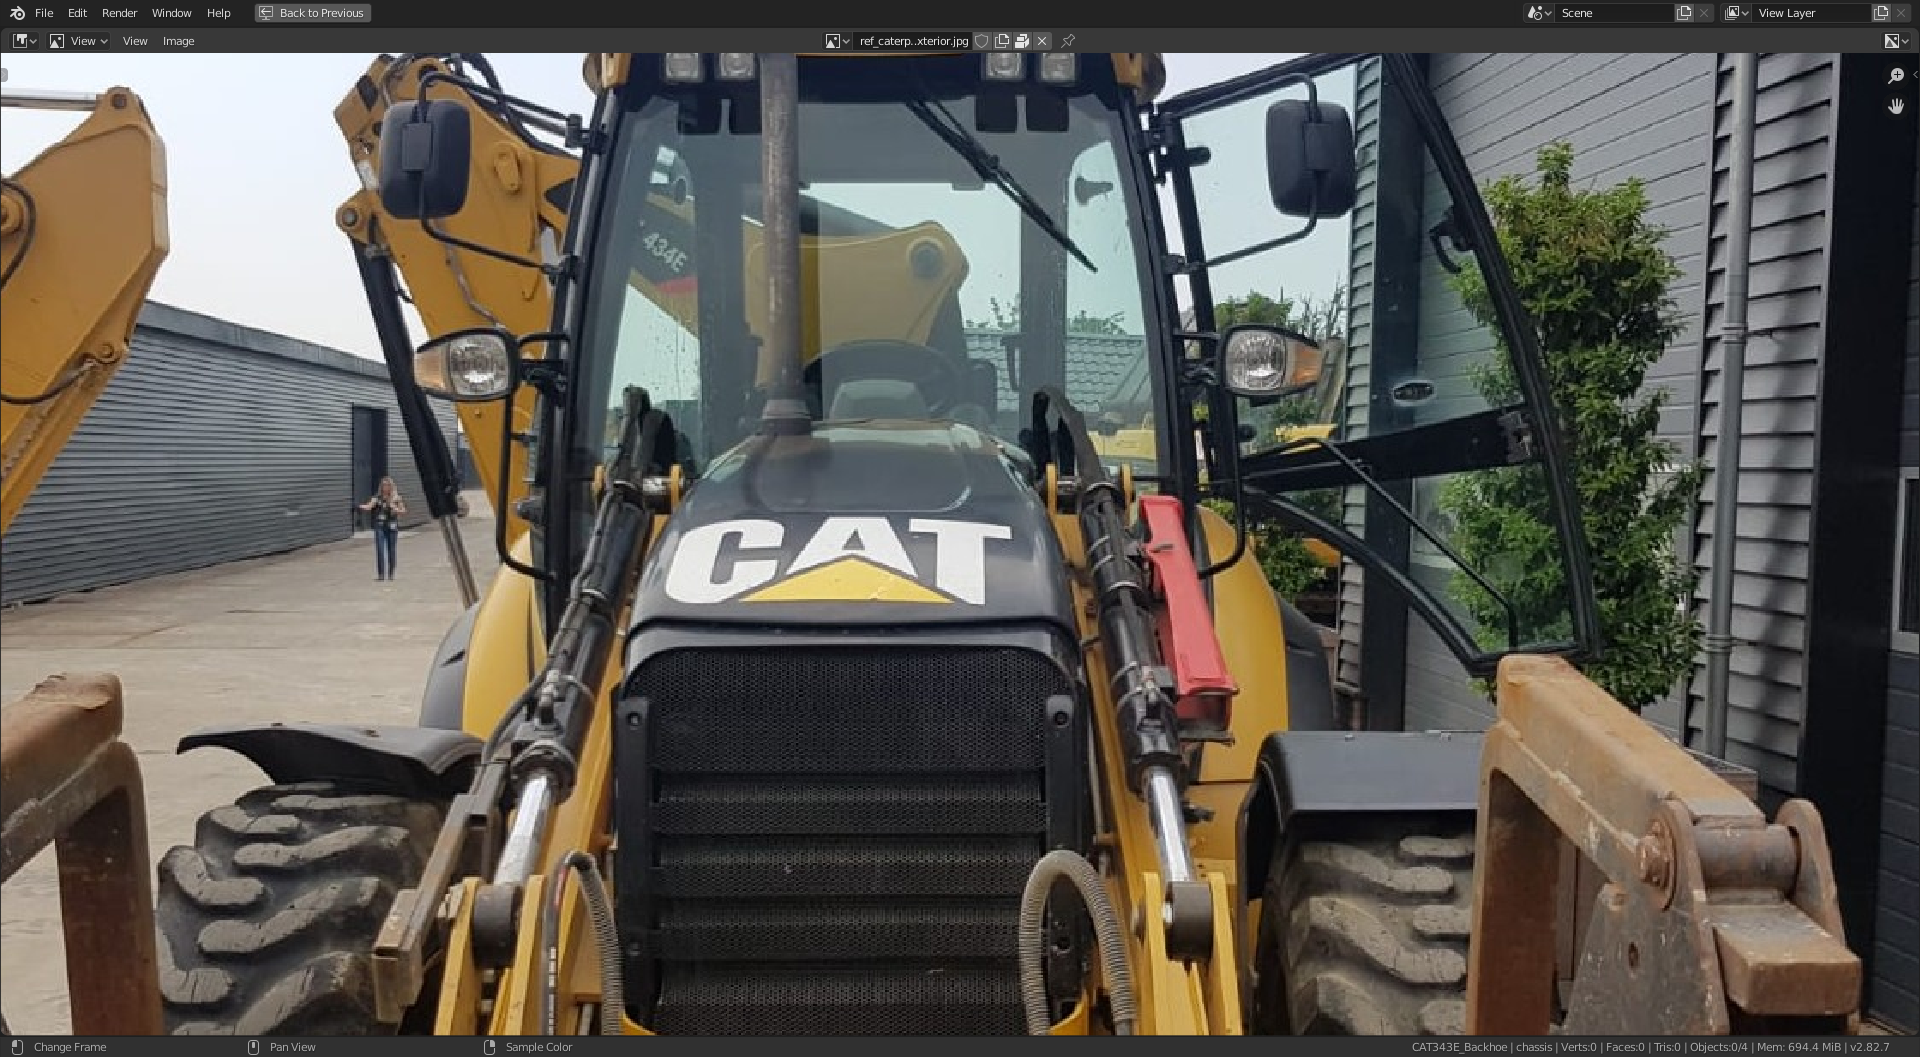
![]() dostovel with reference to the battery box the scale may need to be checked, remember the reference image has been scaled according to other sources. Also I think they need to be moved back an inch or two in the Y axis.
dostovel with reference to the battery box the scale may need to be checked, remember the reference image has been scaled according to other sources. Also I think they need to be moved back an inch or two in the Y axis.
And I noticed an angle to one side of your boxes, I cant seem to line up the rear fenders with it. Looking at the image below the angle maybe the other side (1), also they need to move forward in the X axis for the step to line up better with the cab (2) and the rear (right in this image) side needs more of a curve (3). This would help me with the fenders as well as ![]() blanchsb with the loader arm.
blanchsb with the loader arm.
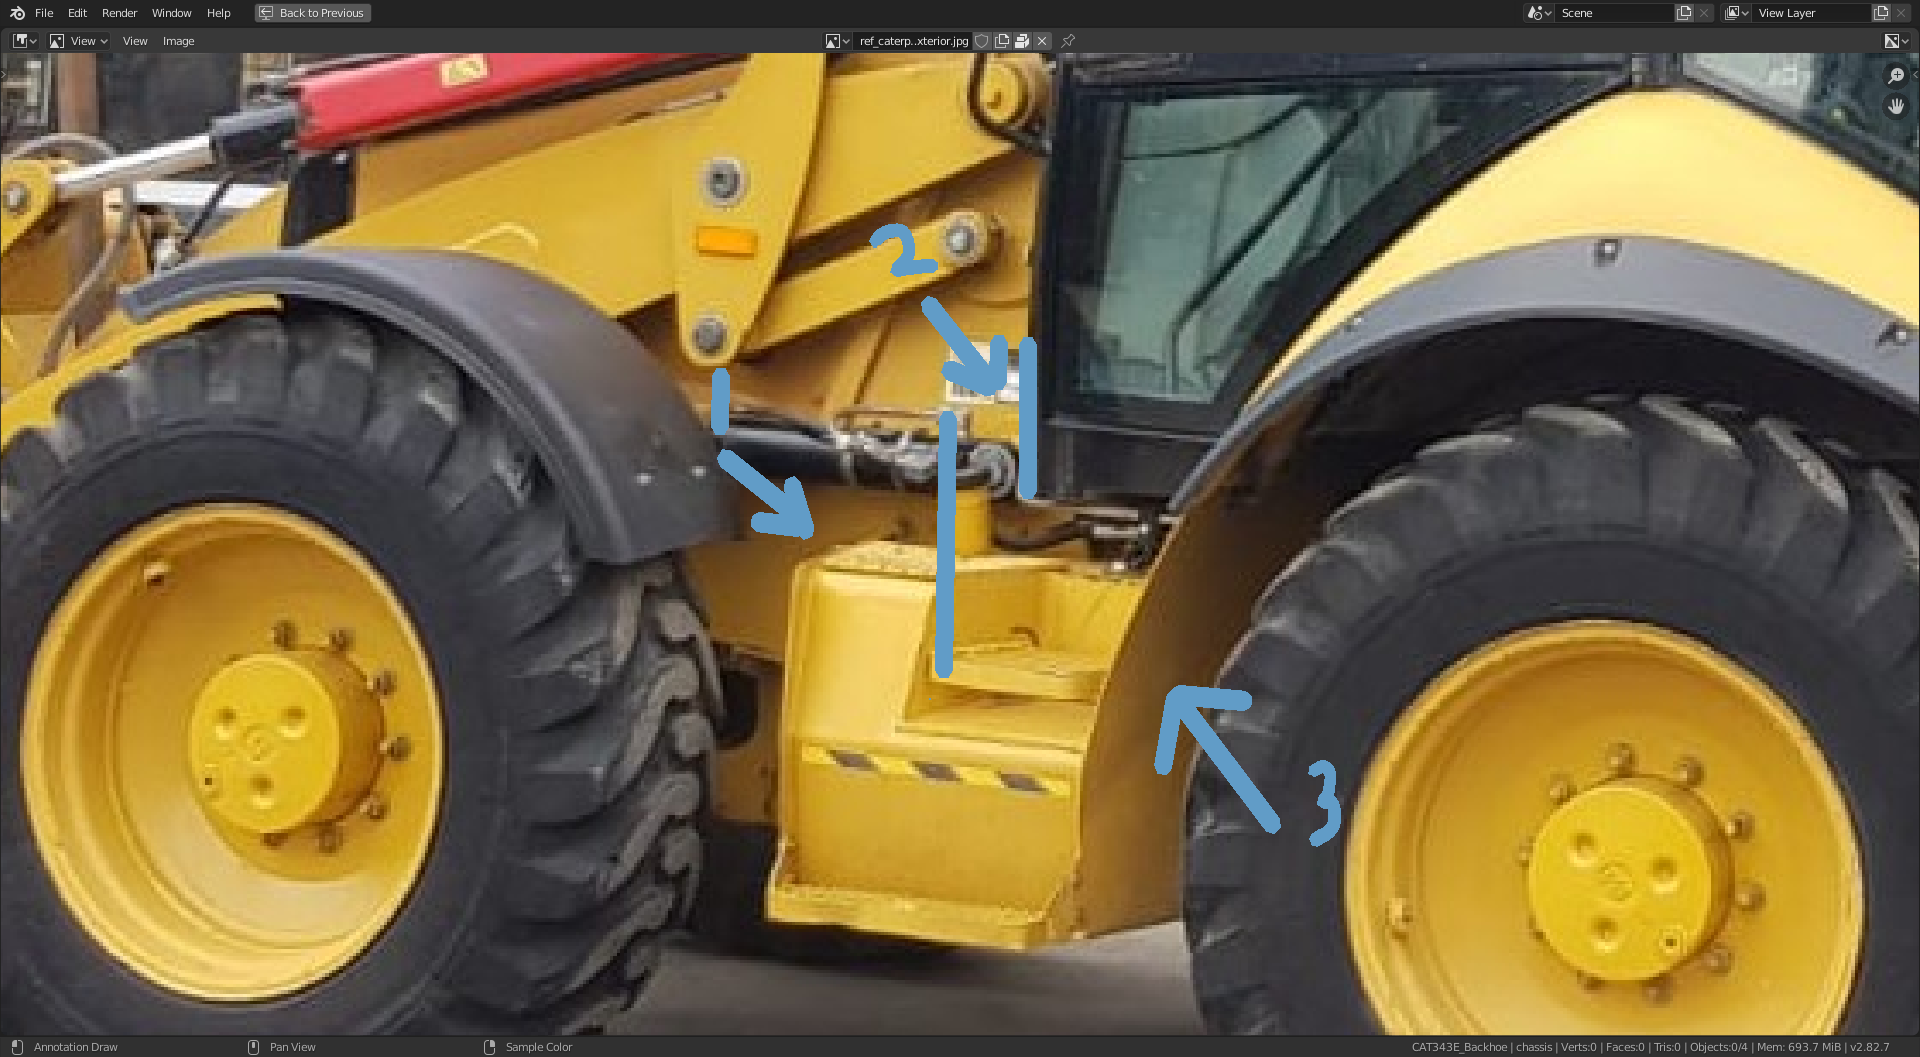
Found an Image for the pound.
Top view, shows the shape of cab or at least the roof. ![]() ketre
ketre ![]() hellosudeepsingh rryzen7 @theluthier
hellosudeepsingh rryzen7 @theluthier
Also the shape of the engine towards the cab does indeed narrow. ddoulos4iesou aartifact
The battery box also slightly back and forward ![]() dostovel
dostovel
Maybe of use for the bucket as in width in comparison to the rest. Probably about the same width as the stabilizers ppfbourassa
No use for the wheels though, the front looks like a gokart wheel. Sorry ![]() spikeyxxx
spikeyxxx ![]() duerer sshanr rryzen7
duerer sshanr rryzen7
Definitely 434E in the top right corner
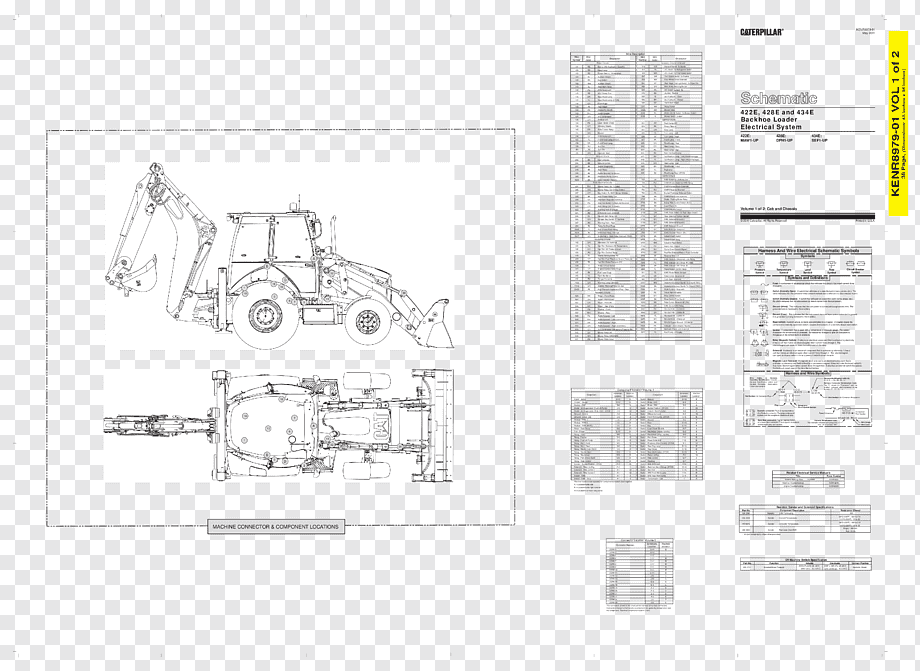
Yeah I don’t believe that is our DOG. If it is it must be the older 434E.
i believe our design is the newer pilot model, correct me if I am wrong. Most things looks semi-similar though, but I know there are definitely loader arm differences.
Does the Pound think that I should spread the loader arms out a little as they go from the engine to the bucket? Reference top-down view of the image.
Ok I will do my part. The angle they have I took it from this images, after you stare at them for long enough you start noticing those kind of things.

Some of us have already joined a server on Discord that was created for the Backhoe Collaboration
come and join us, mute it if you don't wanna be disturbed and look in when you want. This is a great way to trade pictures even share screen or talk about what's going on with your part of the project.
https://discord.gg/tFkvCZ
@theluthier
@adrian2301
If I missed anyone just come on in and let us know who you are.
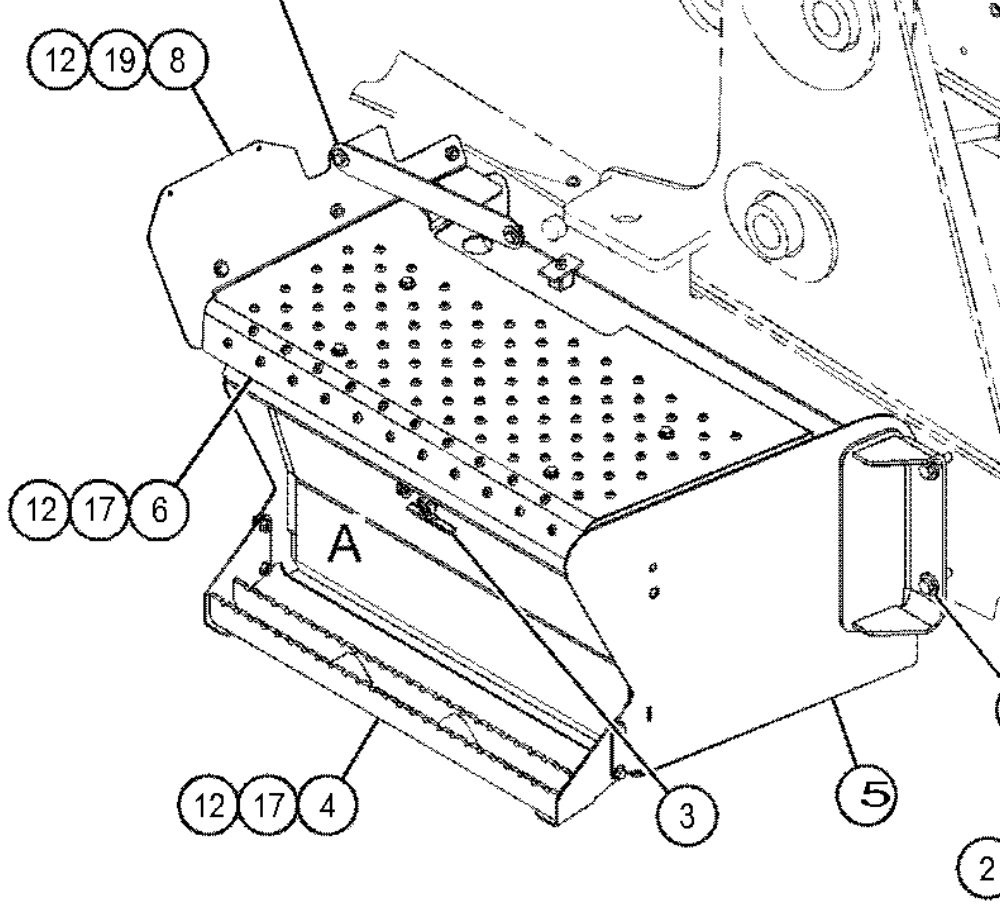
OK here's the thing, one of them thingies is curved while the other is stepped.

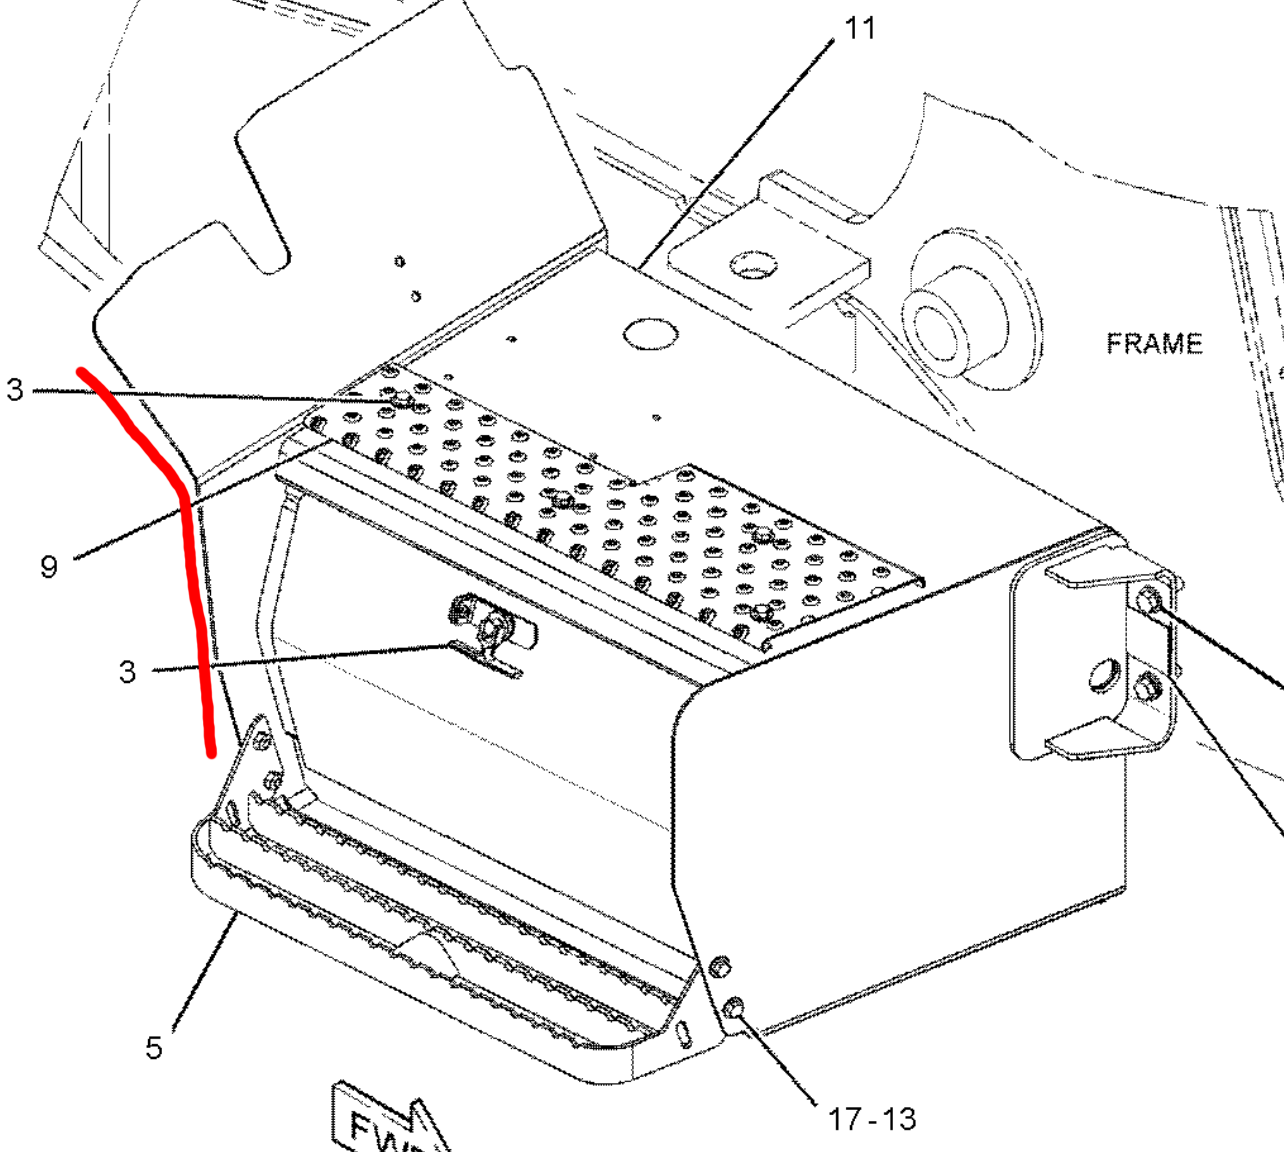
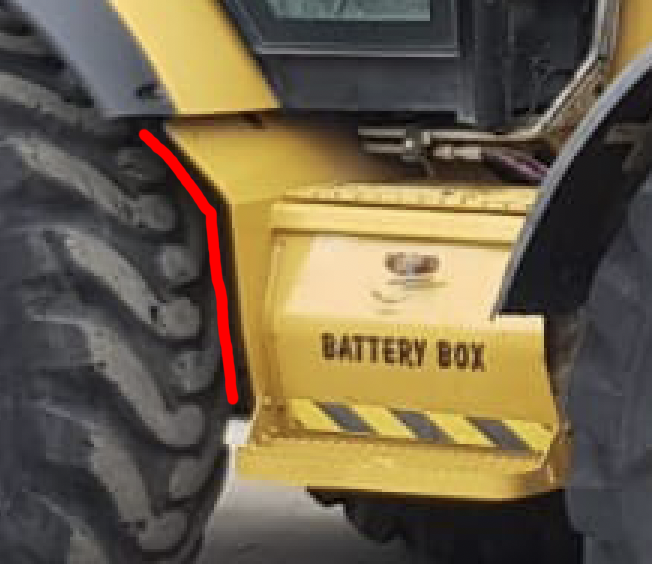
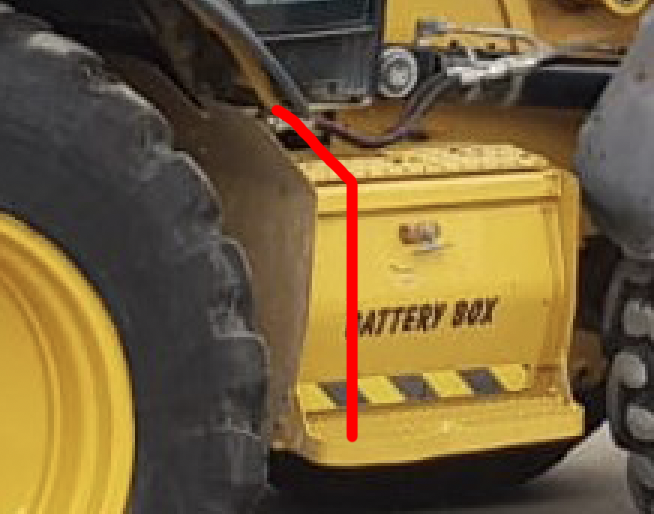
Oh that's great! Just when I was about to loose hope;) Thanks a lot ![]() duerer !
duerer !
My biggest problem is not enough pictures.
Although this one is a little different from the other picture, it still very helpful, because this show it from the other side and the close-up of the differential is also fantastic!
Again, thank you!
Dude this helps a lot, thanks, I can see further details that before I could only guess.... aaaand that thing on the side is welded, that's going to be a nightmare.
I don't think you'll have to spread the loader arms out much further. I believe the problem lies with my initial extrusion to a detail I should have inset instead. I've highlighted the offending extrusion in red below at the 1st clash of the blends point.
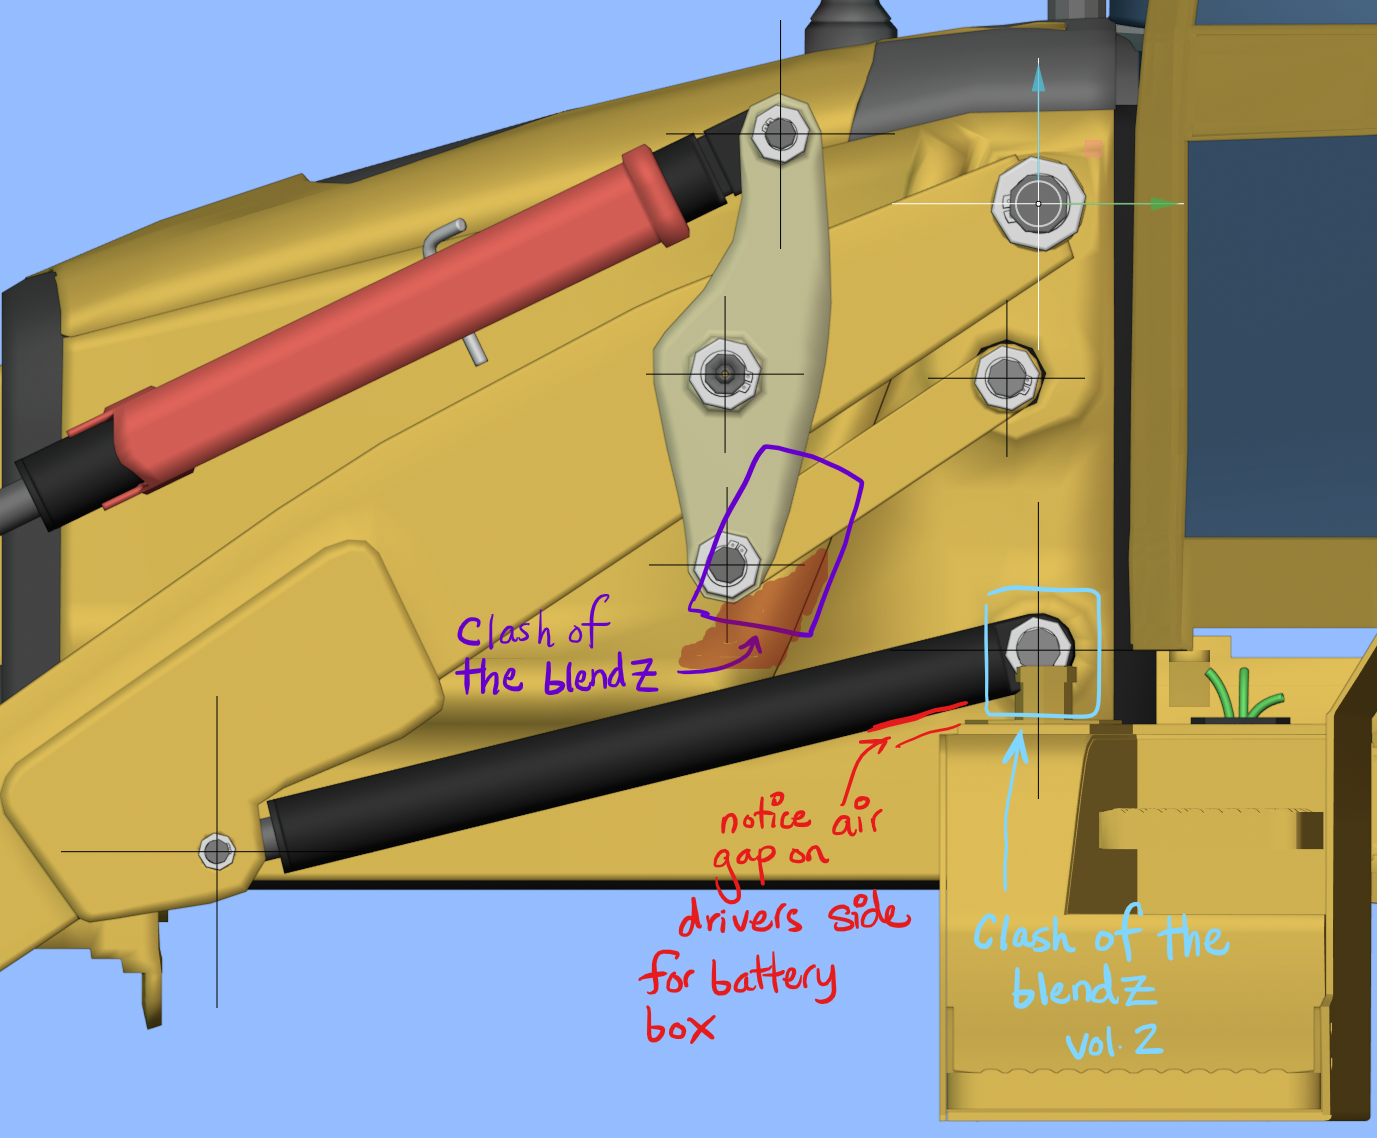 Insetting that detail plus narrowing the engine enclosure by a hair towards the back should sort that problem right out. Unfortunately I'm unable to work on the model until this weekend.
@adrian2301 Thanks for the top view find. The taper lluthier had talked on the stream about was towards the front of the enclosure instead of towards the cab. Still, from the top view reference you found, it does seem that the part of the enclosure with that inset seems a bit narrower than the rest of the enclosure towards the back.