Starting in March 2020, I began a large stream project to model a comprehensive, highly-detailed Caterpillar 434E backhoe. Please watch the first stream (first 3 minutes of abridged version at least) for an overview.
It's a straight-forward project of building a complex model over an extended period of time. The spin on the project is that I want your help to accomplish it! If I build some parts and you build some parts, we will finish this thing much quicker. Plus the contribution format will include reviews, the potential of having your piece(s) assimilated into the final model. Not to mention large quantities of XP are at stake 🤑
NOTE: This is an involved project reserved for Citizen members.

The general idea is that I kickoff stages of the project via live stream, which is typically once per month. For the time in between streams, you choose a piece of the backhoe and apply what you learned from the stream to that piece. For example, the first stream covered initial block out. So between stream 1 and stream 2, your job is to pick a piece and block it out.
This is the repeating protocol for each Assignment Period (between-streams):
I will reply to this thread after each stream with a [big] assignment post denoted by a 📣 emoji in the title. There I will clarify instructions about each Assignment Period.
We will centralize our collaborative communication between the streams and this thread. Ask any and all questions pertaining to the Backhoe project here.
@theluthier
Kent I added my optimization report in google drive. So three files: Tractor_Normal .blend, Tractor_Optimized .blend and finally the Optimization report .jpg
https://drive.google.com/drive/folders/1Nc7P0RQ3lAdfU4bSq2YwdZDZqd9wYUHo?usp=sharing
You'll see the battery box differ in size in the before and after report, but it was basically making it wider. That was because when I finished optimizing Blanch posted some pictures and a video where I could see what the blueprints didn't show, so I had to decide where to make the adjustment, in the optimized version or in the old way too much poly version, so I committed to the optimized version, even though it is now harder to make any edit. I hope I don't have to make major changes because it is much harder now.
Here's a better view since we already have it (wink wink):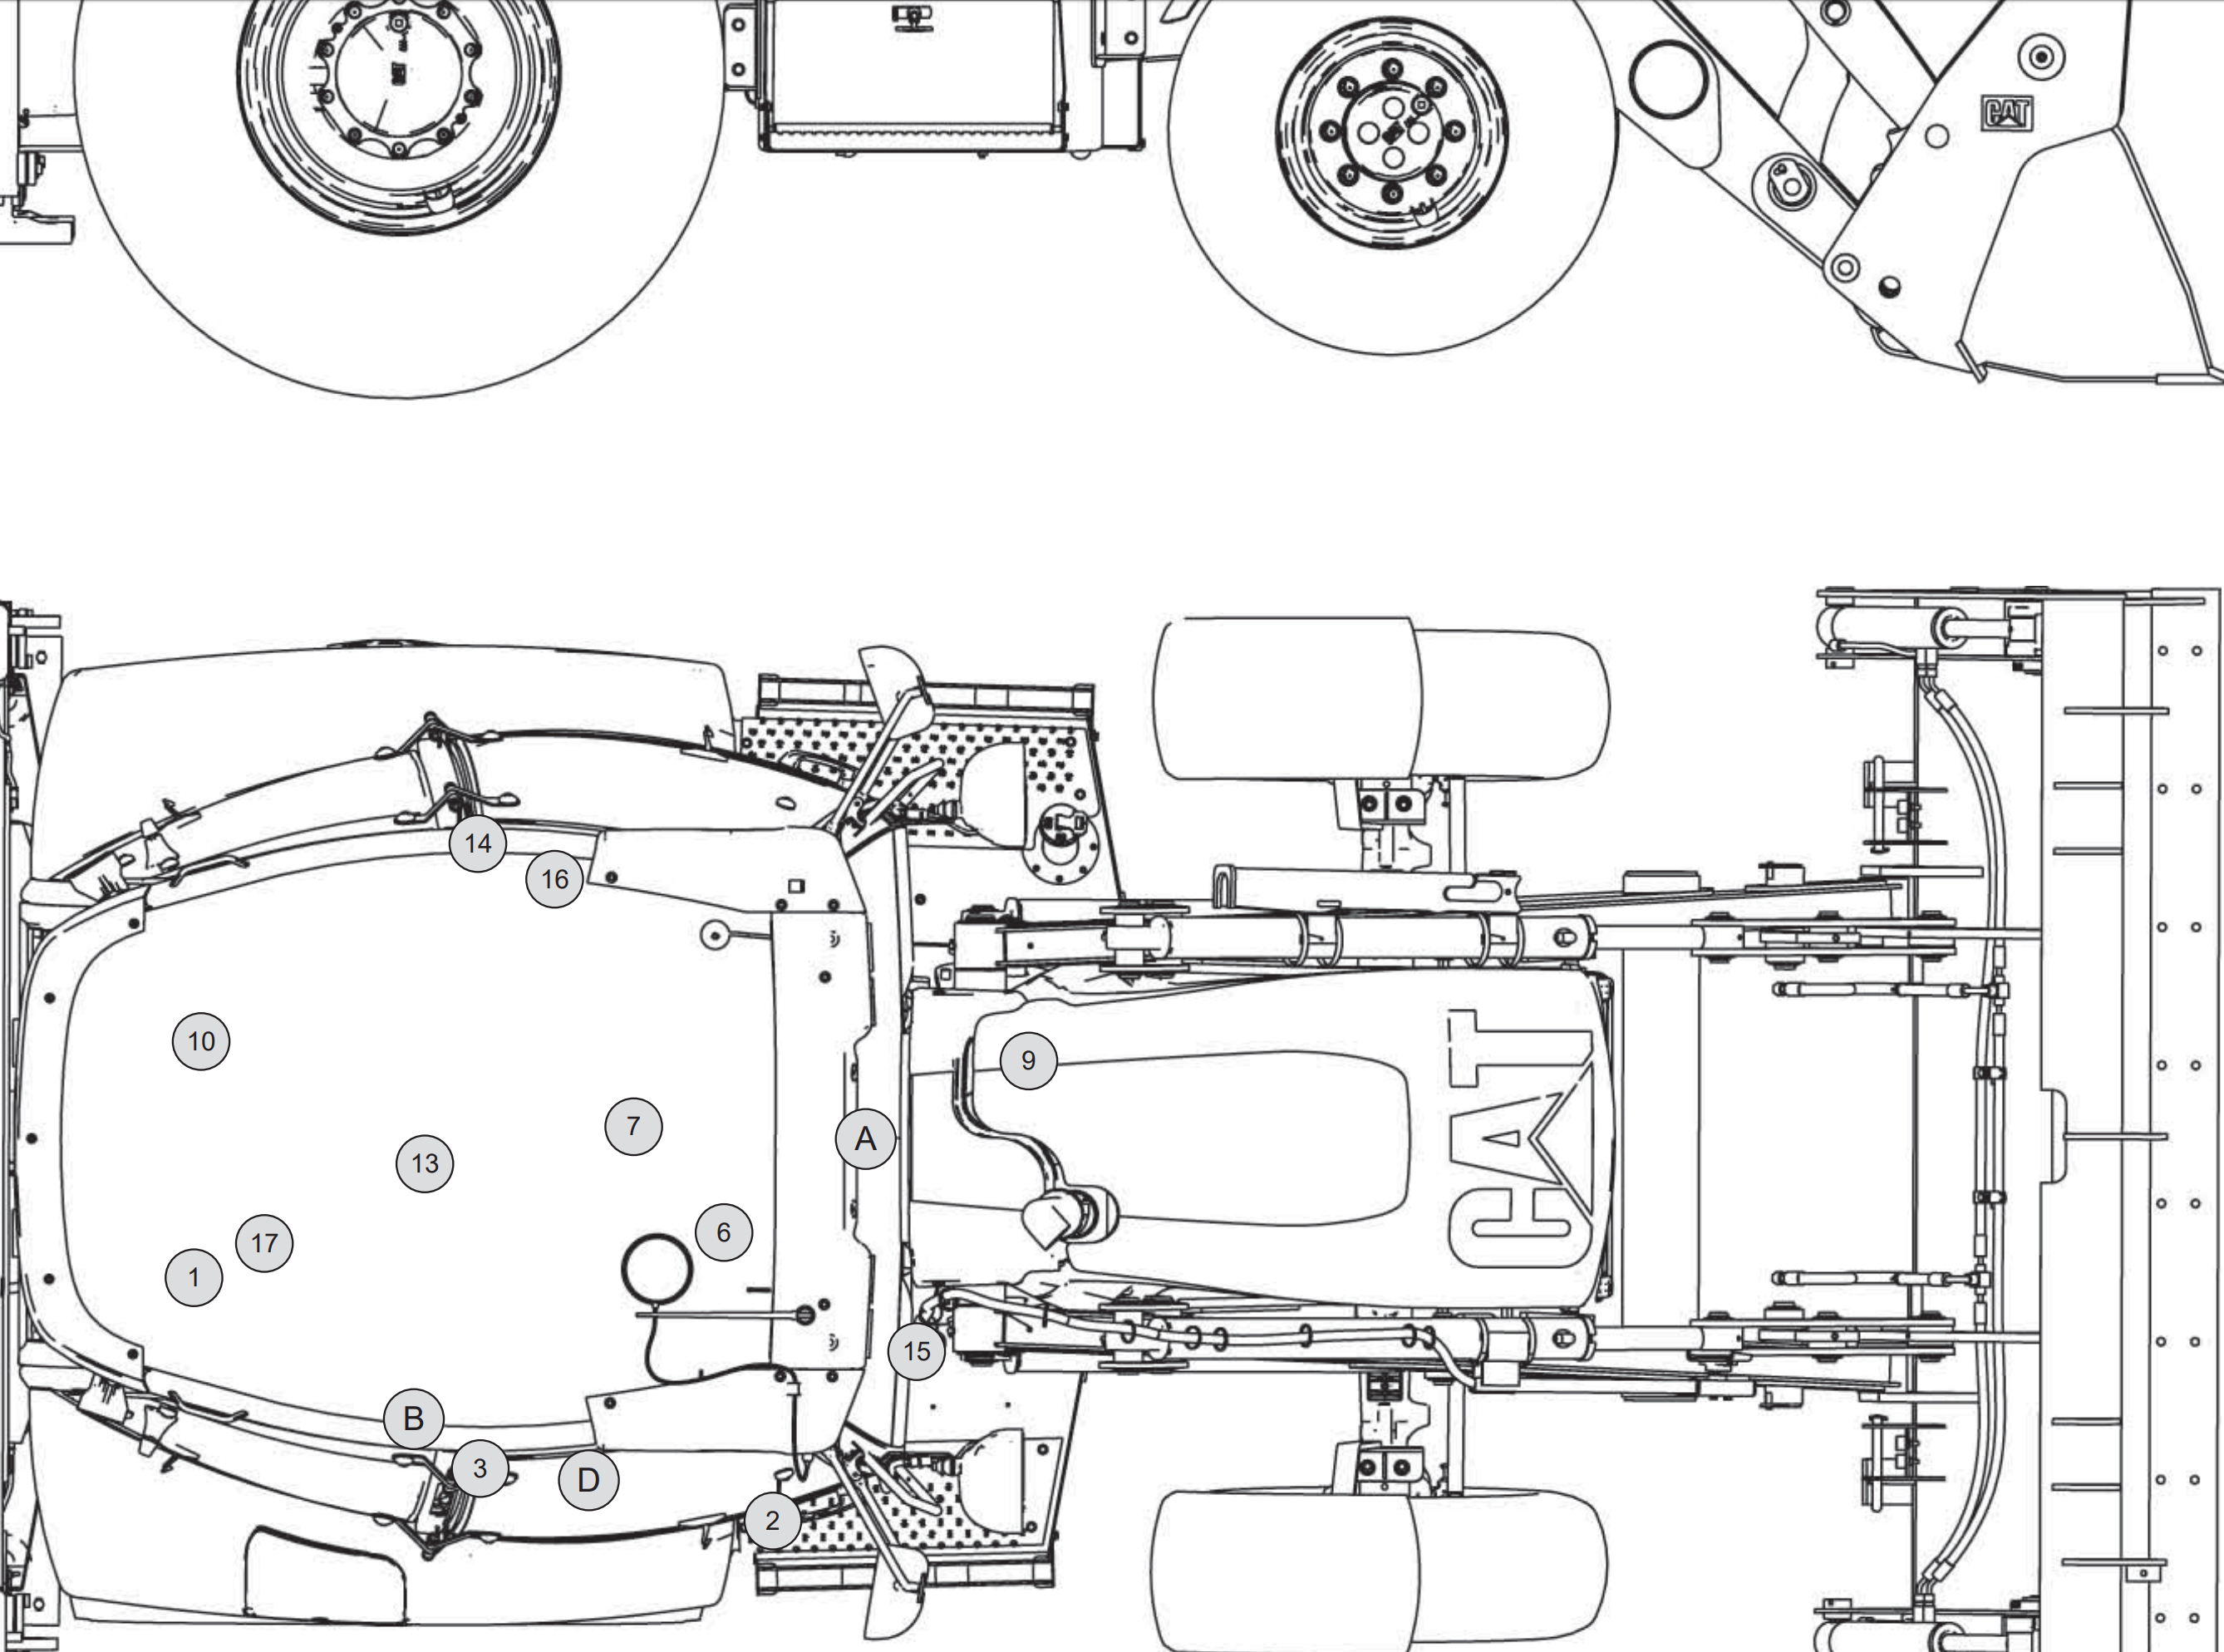
Keep in mind this is not the EST Model Backhoe Loader that we are using. But it is the same style of Backhoe loader. EST stands for Equal Size Tires. The loader arms on this one are an older model too, not sure what else may be older.
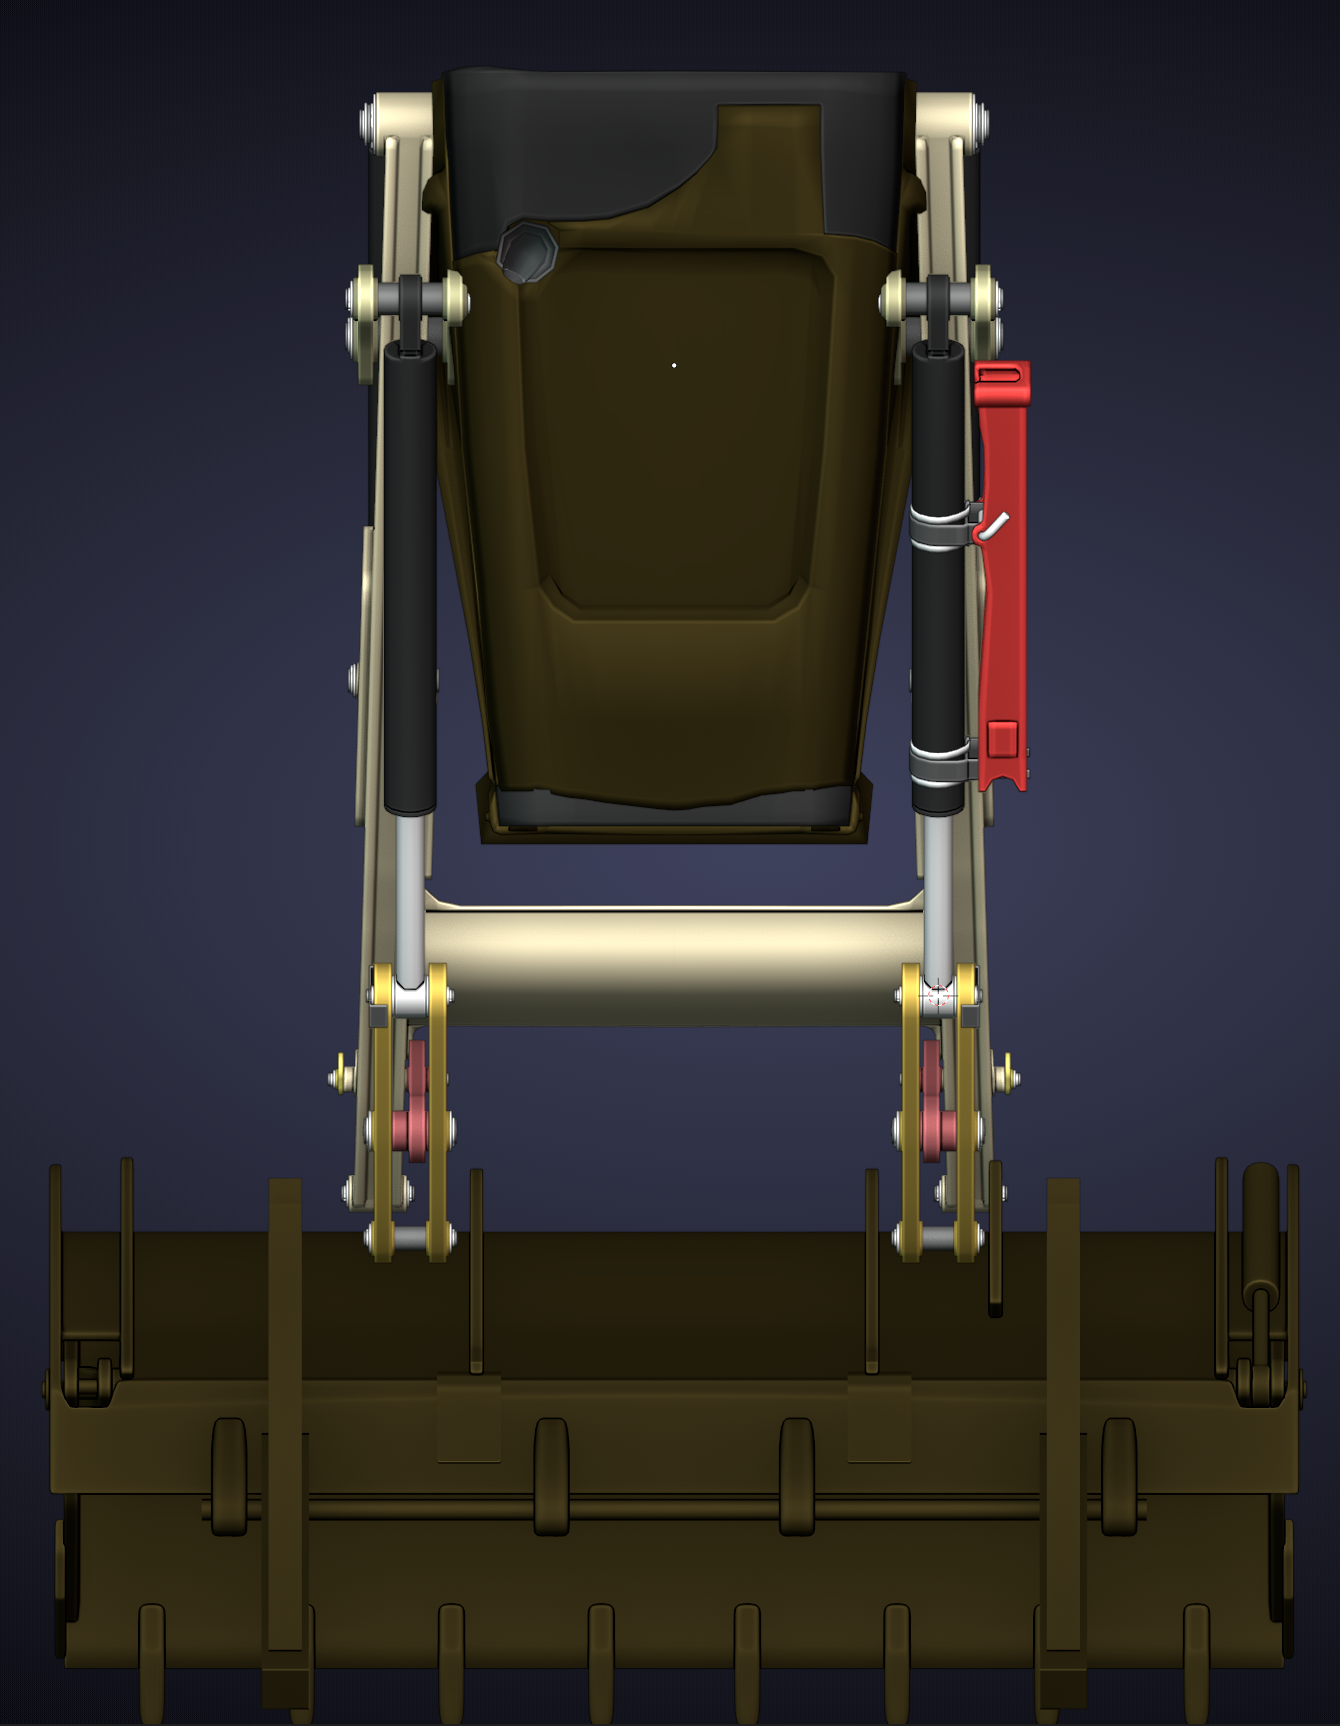
I'm a little late on the fix, I just resubmitted with the proper loader arm width correction. Should be worth looking over now. I saw that nothing was marked as resolved so far, so hopefully I am not too late.
It took a while to angle the flat long faces with details coming out while also maintaining straight connection points in the x-direction that do not angle with the rest of the part........whew! It's not perfect but it's good enough for judging.
Loader arms are angled the top lift supports and hydraulics are straight. Man that was a doozy.
Yes I can still scale in the Shift+X Axis but I can't make it smaller.
did you put everything you want to append in 1 Collection and then Append that Collection? That should bring in all Objects you need...
yes it worked .
Well here is another problem when I Try to rotate the tyre in the Z axis And This is The result.
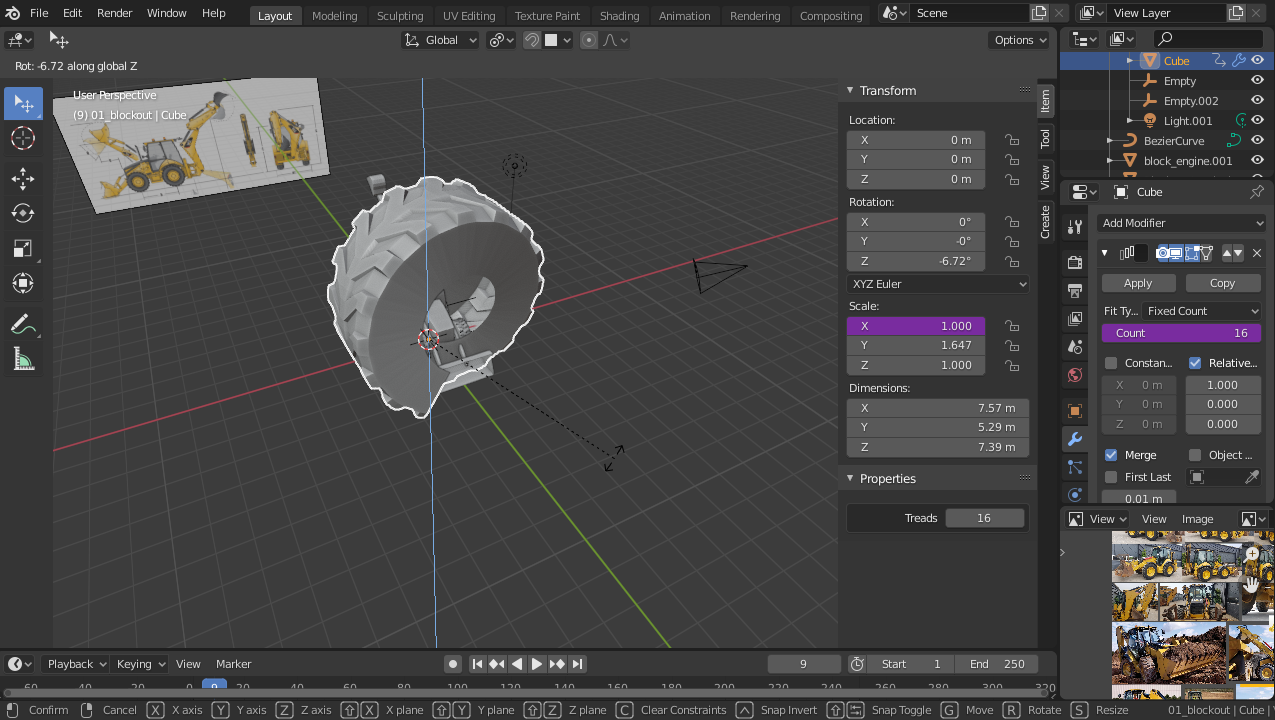
sshanr You will need to rotate this Empty at the same time:
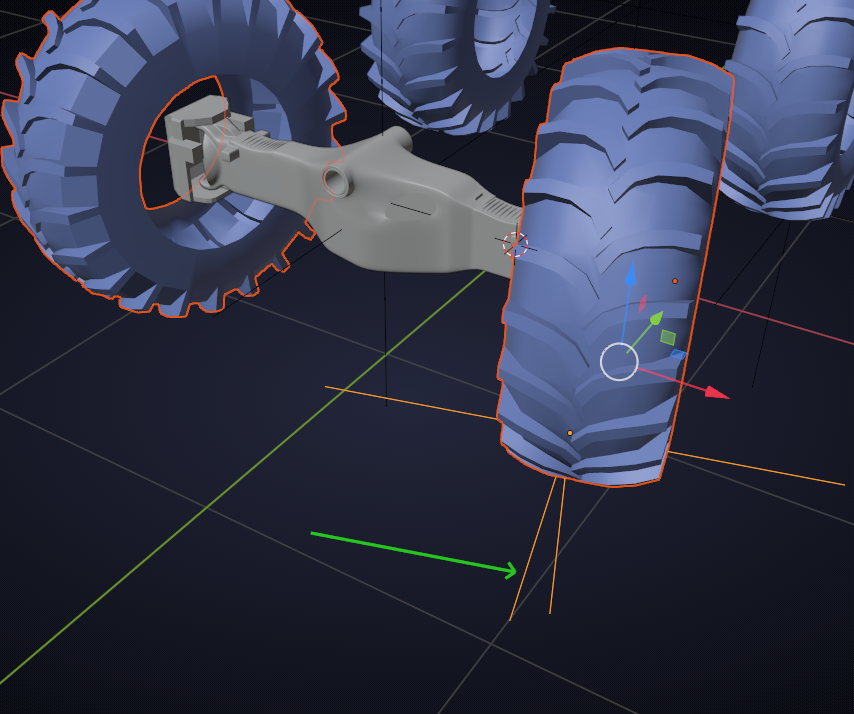
If you want the right wheel to turn in the same direction, you will need to Apply the Mirror Modifier and Duplicate the Empty to the other side and use that as the control in the Simple Deform Modifier...
At some point we will just have to Apply all the Modifiers and then there wouldn't be any problem with Transformations any more, but I'd leave that until you are absolutely sure that all the modelling is done (on the wheel/tire!).
Great comment, @theluthier Thank You. I love that series. Oh and speaking of the "little details" I had a question:
I didn't forget to add the Zerk fittings yet. I put them off until the next assignment intentionally. I have one already made now I just need to replicate and add them everywhere.
Do you suggest adding the "bolt hole" wherever these Zerk fittings are going to be placed? It will slow things down on my assembly workflow and these "little details" may not be seen from afar, but on the flip side they will make it more believable. Not sure if we are in the "selling fake" or "selling real even when no one can see it" workflow.
Perhaps you can take a quick minute to just share this in the next stream. The mechanical engineer in me wants to add the bolt holes everywhere but the artist in me says a common viewer perspective will most likely not be focusing on the details behind the bolt holes for Zerk fittings when there is so much more to appreciate in our DOG
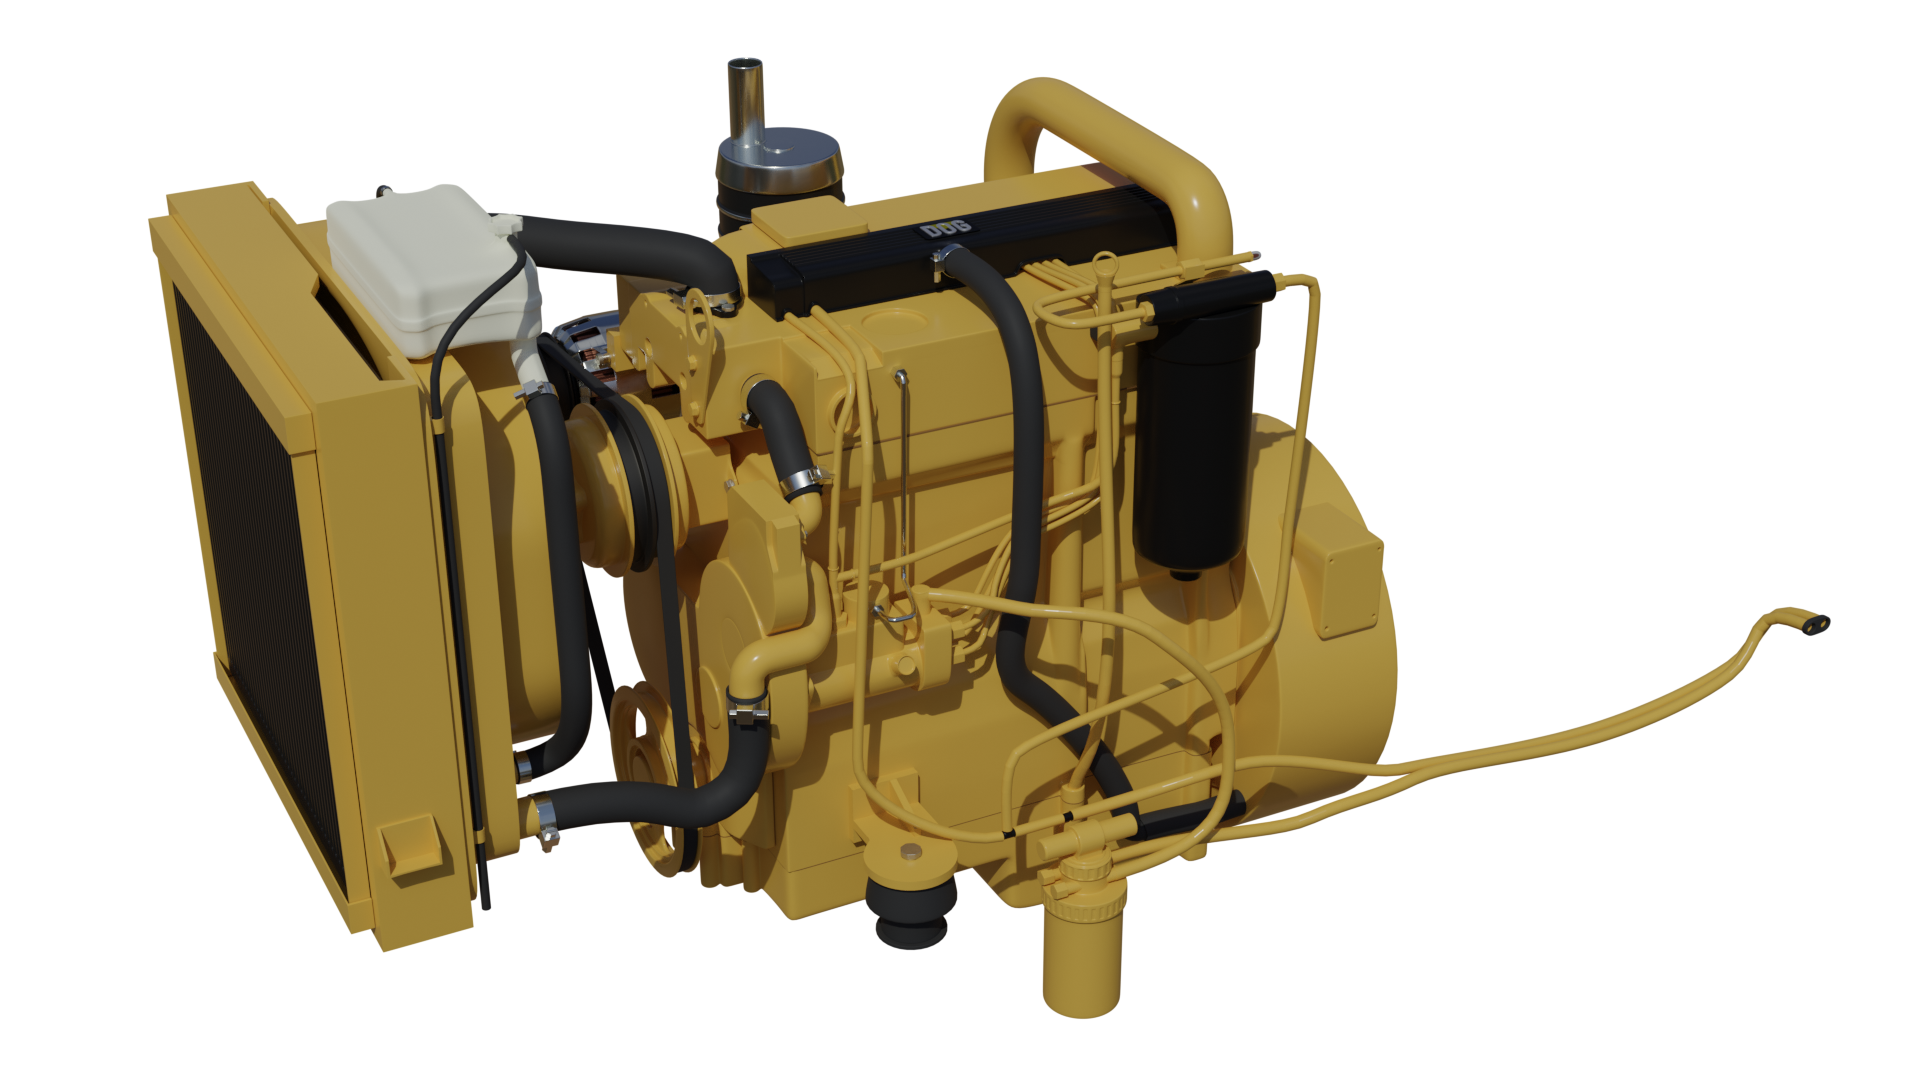
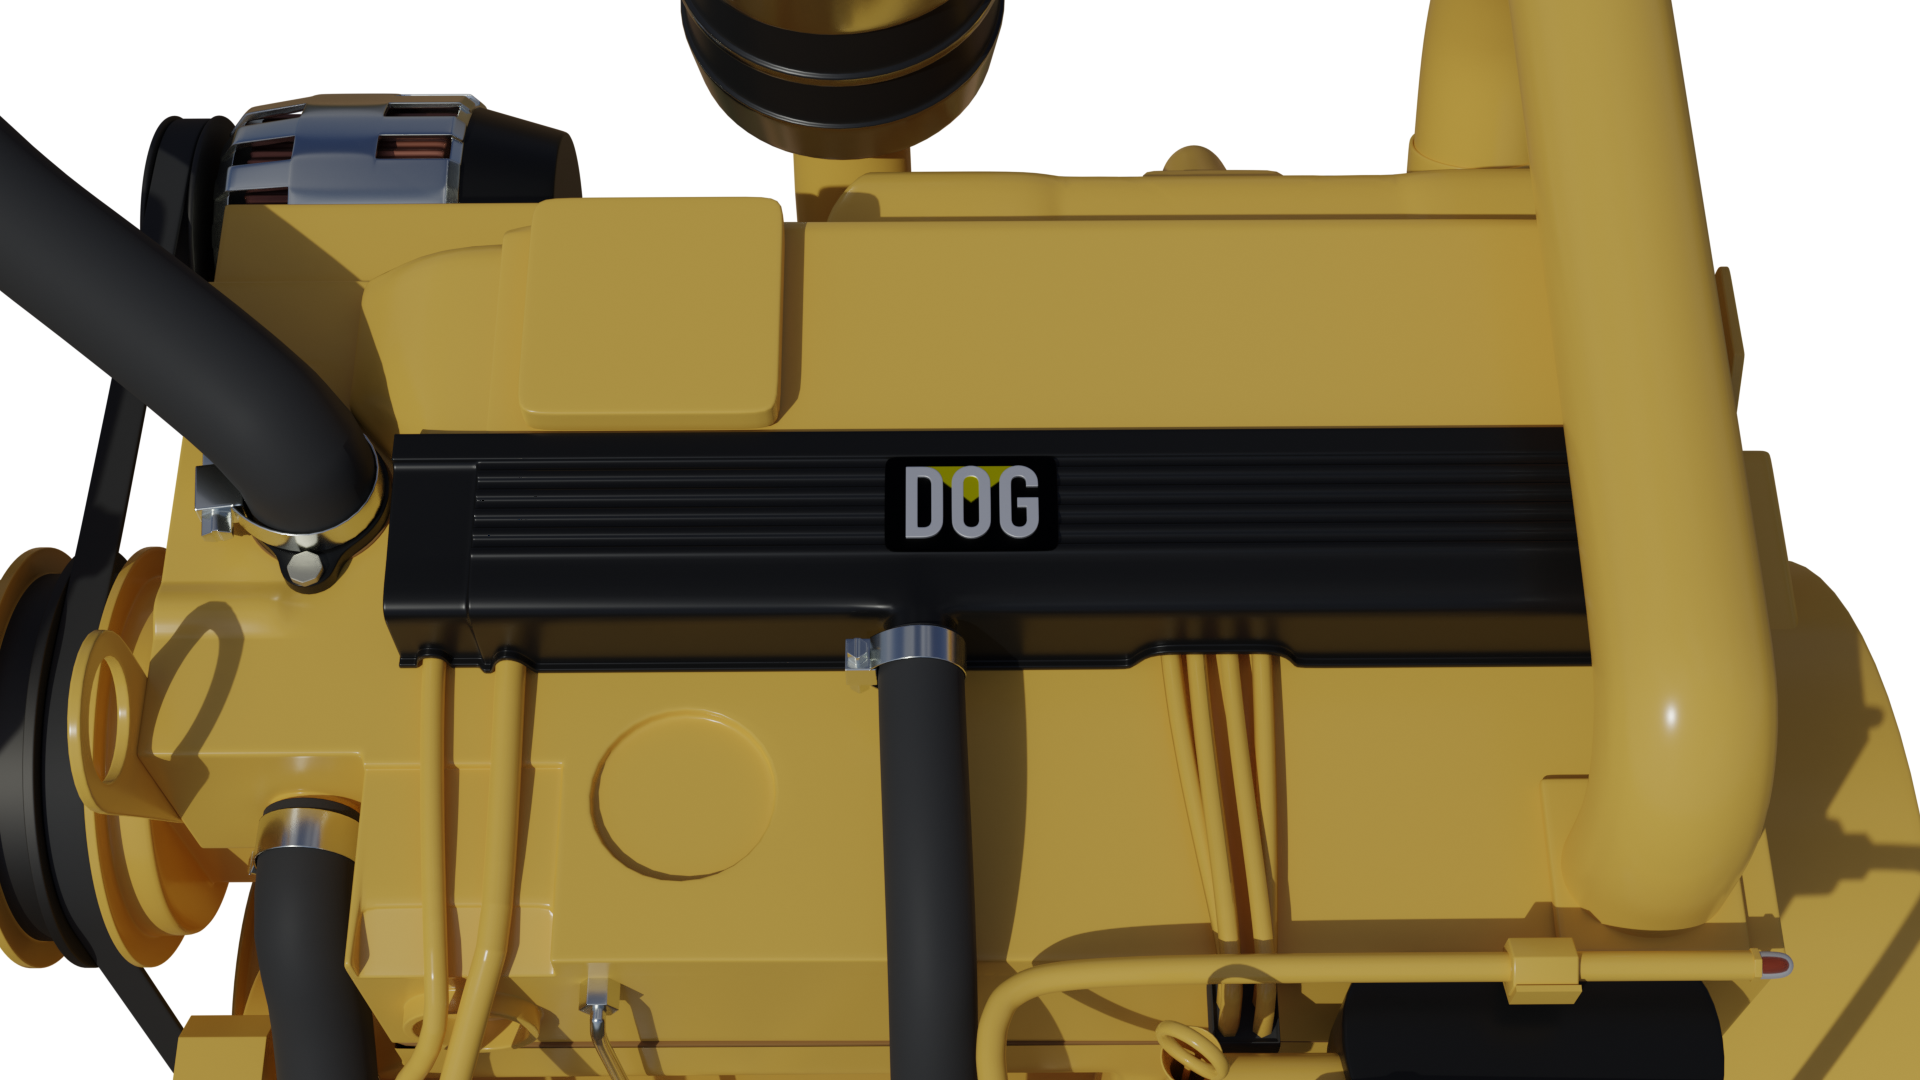
Couple of quick renders of the engine. I started this just for visual purposes, but you know what it's like, headphones on, Blender the day away. LINK TO THE FILE if anyone wants it for an animation ( ppfbourassa ) or for some extra points ( @theluthier ) or anyone else that can spot the missing pieces and fill them in. ( @thepound ), we should have that for a group chat thingy.
Keep in mind this started as, model each component and place them in 3D space, so not everything is modelled as solid pieces but individual and intersecting, one section I know I have left is the water pump and front housing. It works as visual but haven't started her up yet.
![]() blanchsb Don't underestimate the power of the human 'subconscious' (or unconscious as Jung would say, because sub sounds like 'less than'...). Even if they won't look at it they will still 'feel' the difference.
blanchsb Don't underestimate the power of the human 'subconscious' (or unconscious as Jung would say, because sub sounds like 'less than'...). Even if they won't look at it they will still 'feel' the difference.
Do not model things that can't be seen, like the 'thread/winding' of a bolt, but do model the hole where the bolt enters the material, if that makes any sense...
Thanks for the input and feedback ![]() spikeyxxx
spikeyxxx
Yeah, we don't model threads in engineering models typically either because they are non-value added time for most bolts. You just call out the threads used, but you do typically model where holes go as this is important for the production guidance.
I'm feeling like I should model the holes but wanted to hear what Kent had to say. I'm going to have a lot of bolts and such for line supports and other minor things. I'm willing to do it but wanted to make sure it was "value added" work for the model.
Sometimes it is worth getting direction from our headmaster at the Pound.
I would love to help out on the engine if I have free time @adrian2301 . I am working from home this week so I should be able to help with a couple of parts
Sometimes it is worth getting direction from our headmaster at the Pound.
Of course @blanchsb !
Kent is the expert! Kent is the Master! I might not even be here (on CGCookie, I mean) if it weren't for Kent..
I just meant to say that there is a difference between "Nobody will notice that.." and something that is actually not visible;)
I'm happy to speak on this for a bit on tomorrow's stream ![]() blanchsb! It may sound like I'm plagiarizing Spikey though 😁
blanchsb! It may sound like I'm plagiarizing Spikey though 😁
Guys and Gals whenever you get discouraged in your CG Cookie life, I hope this brings you motivation: