Starting in March 2020, I began a large stream project to model a comprehensive, highly-detailed Caterpillar 434E backhoe. Please watch the first stream (first 3 minutes of abridged version at least) for an overview.
It's a straight-forward project of building a complex model over an extended period of time. The spin on the project is that I want your help to accomplish it! If I build some parts and you build some parts, we will finish this thing much quicker. Plus the contribution format will include reviews, the potential of having your piece(s) assimilated into the final model. Not to mention large quantities of XP are at stake 🤑
NOTE: This is an involved project reserved for Citizen members.

The general idea is that I kickoff stages of the project via live stream, which is typically once per month. For the time in between streams, you choose a piece of the backhoe and apply what you learned from the stream to that piece. For example, the first stream covered initial block out. So between stream 1 and stream 2, your job is to pick a piece and block it out.
This is the repeating protocol for each Assignment Period (between-streams):
I will reply to this thread after each stream with a [big] assignment post denoted by a 📣 emoji in the title. There I will clarify instructions about each Assignment Period.
We will centralize our collaborative communication between the streams and this thread. Ask any and all questions pertaining to the Backhoe project here.
Next Question for the community regarding a potential "Clearance" issue (not a sale haha).
This should be easy to answer but somebody is going to have to "Give".
If the loader arms are centered on the Bucket Mounts we will end up with very little room for the wheels to turn.
We either need to move in the Bucket Mounts to the Center More...........or Move The Wheels Out More.
Thoughts from the Pound?
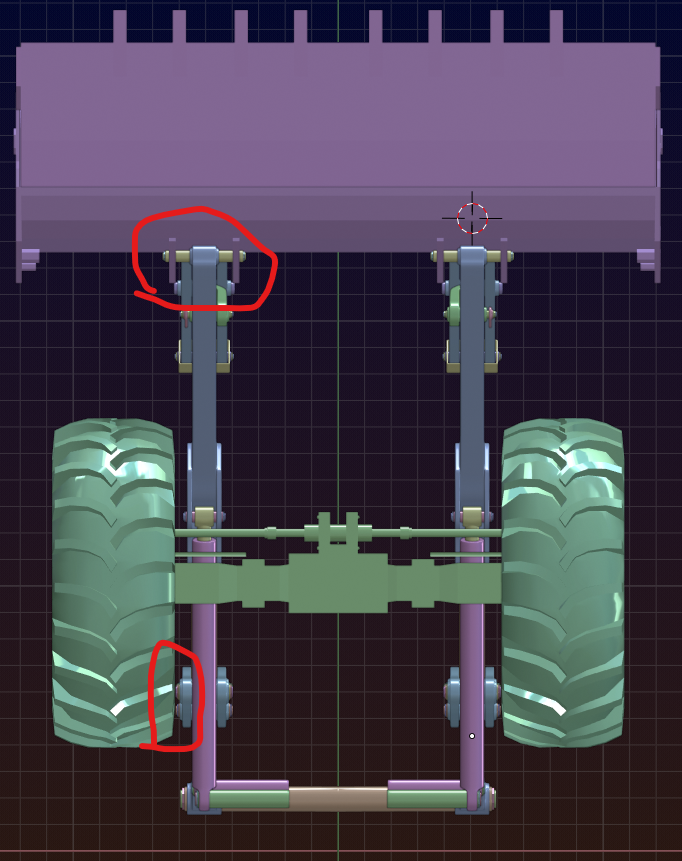
Looks a bit tight from that angle.
I think we have front and rear wheel steering on our DOG wouldn’t need to much space but I did notice the tyres are slightly wider than the hubs but who knows which is the correct size
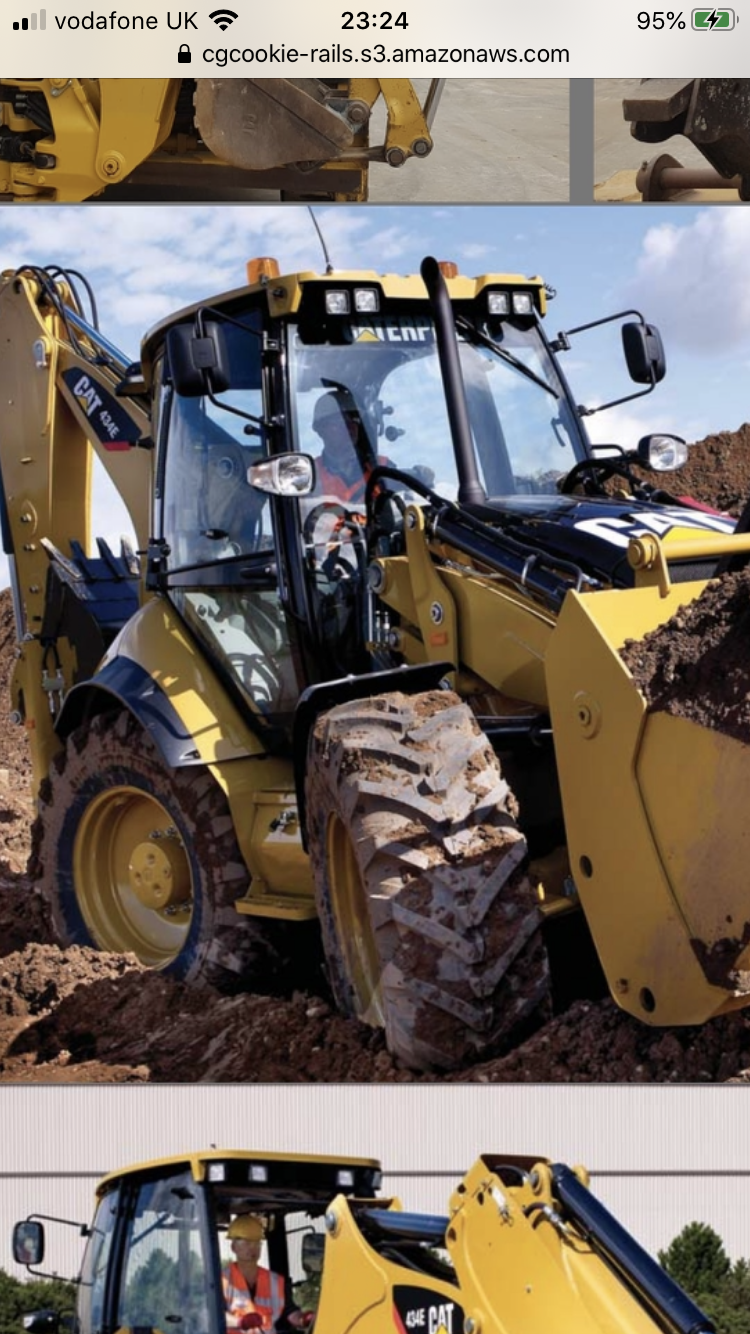
Even though the reference never wins real life, it looks like the tires are correctly placed.
We don't get a great view in the references on the main file for the Loader Bucket so I'm thinking they probably need to go towards the center more.
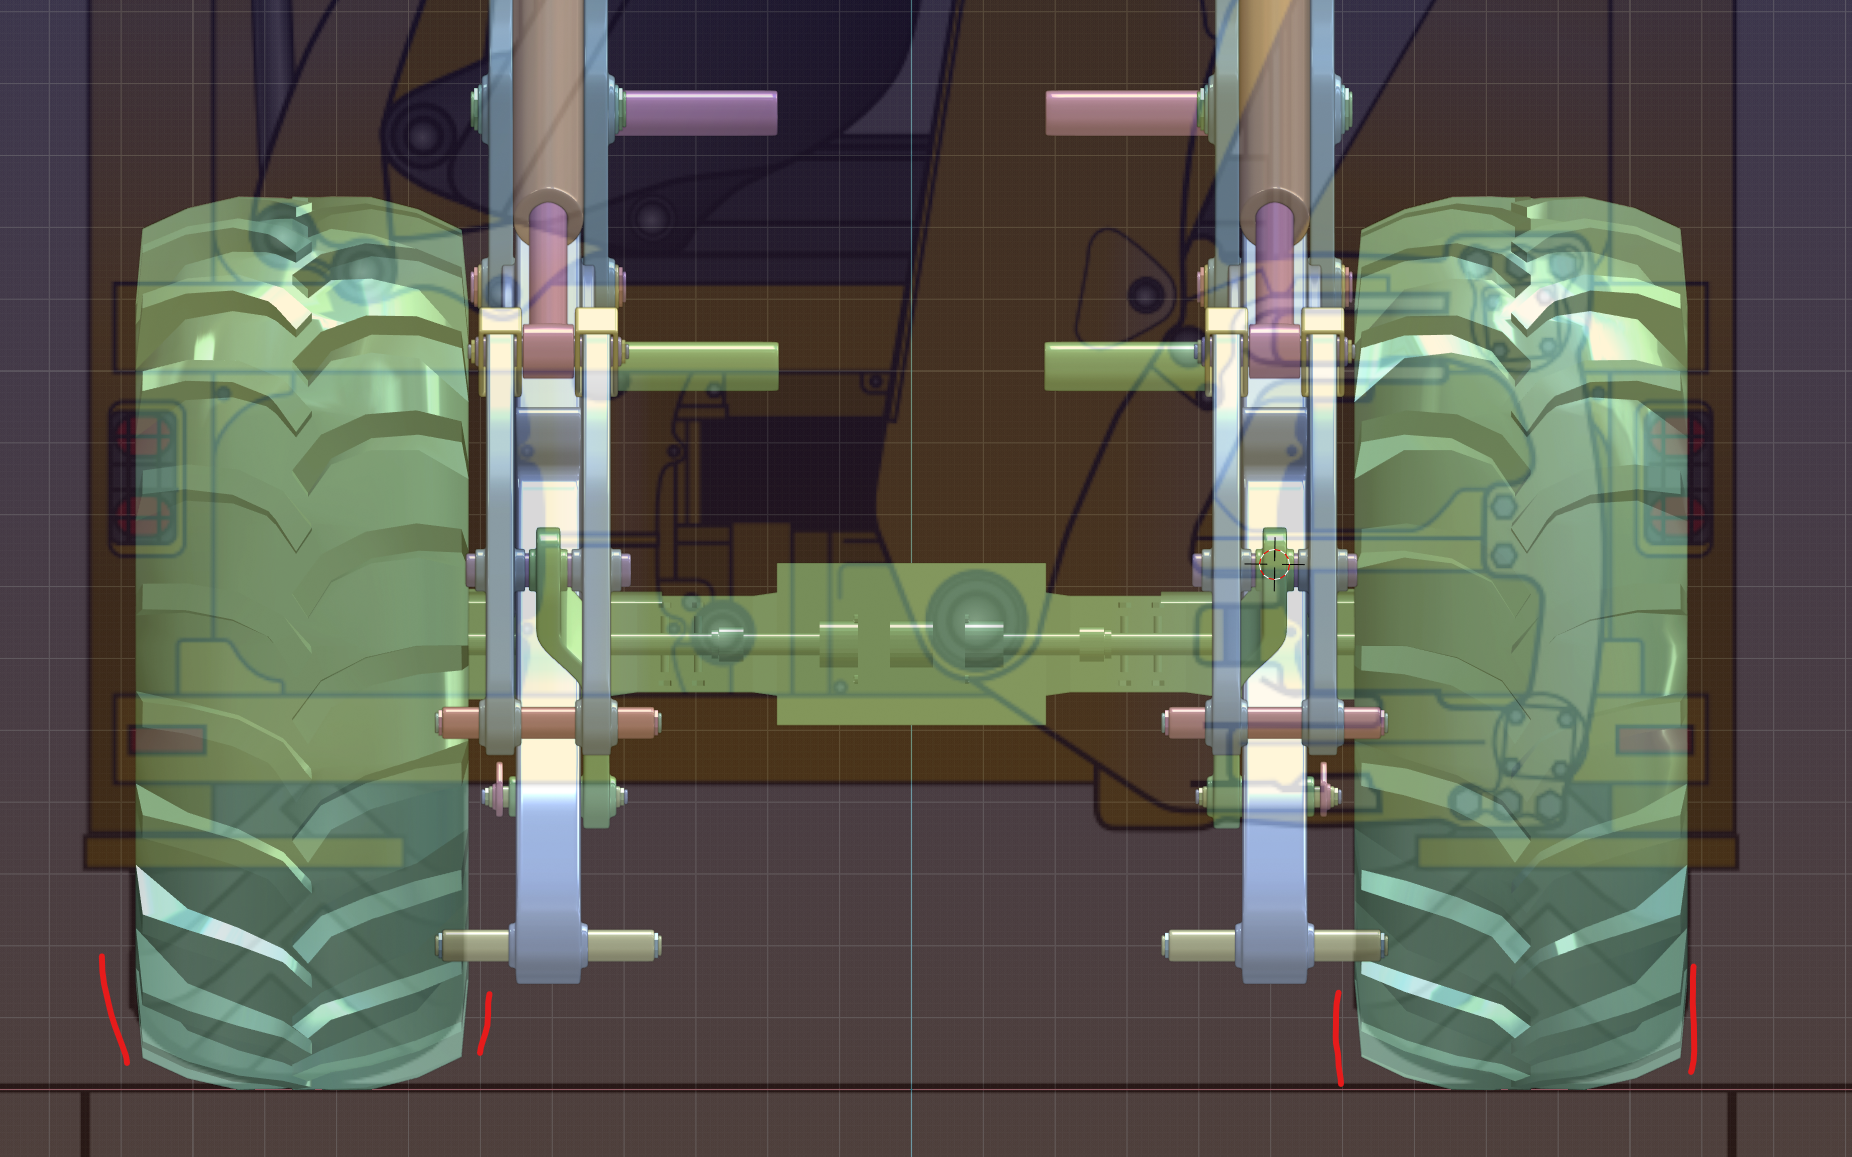
ppfbourassa what do you think? It shouldn't be too much trouble to move your loader arm mounts in a little, correct?
I centered my assembly against those, so if we all decide that is the way to go then just tell me how much you move towards the center and I can do a straight shift on my assembly by the same amount.
Also the engine enclosure Aft-Side (towards the cab) is looking a little too wide I believe. 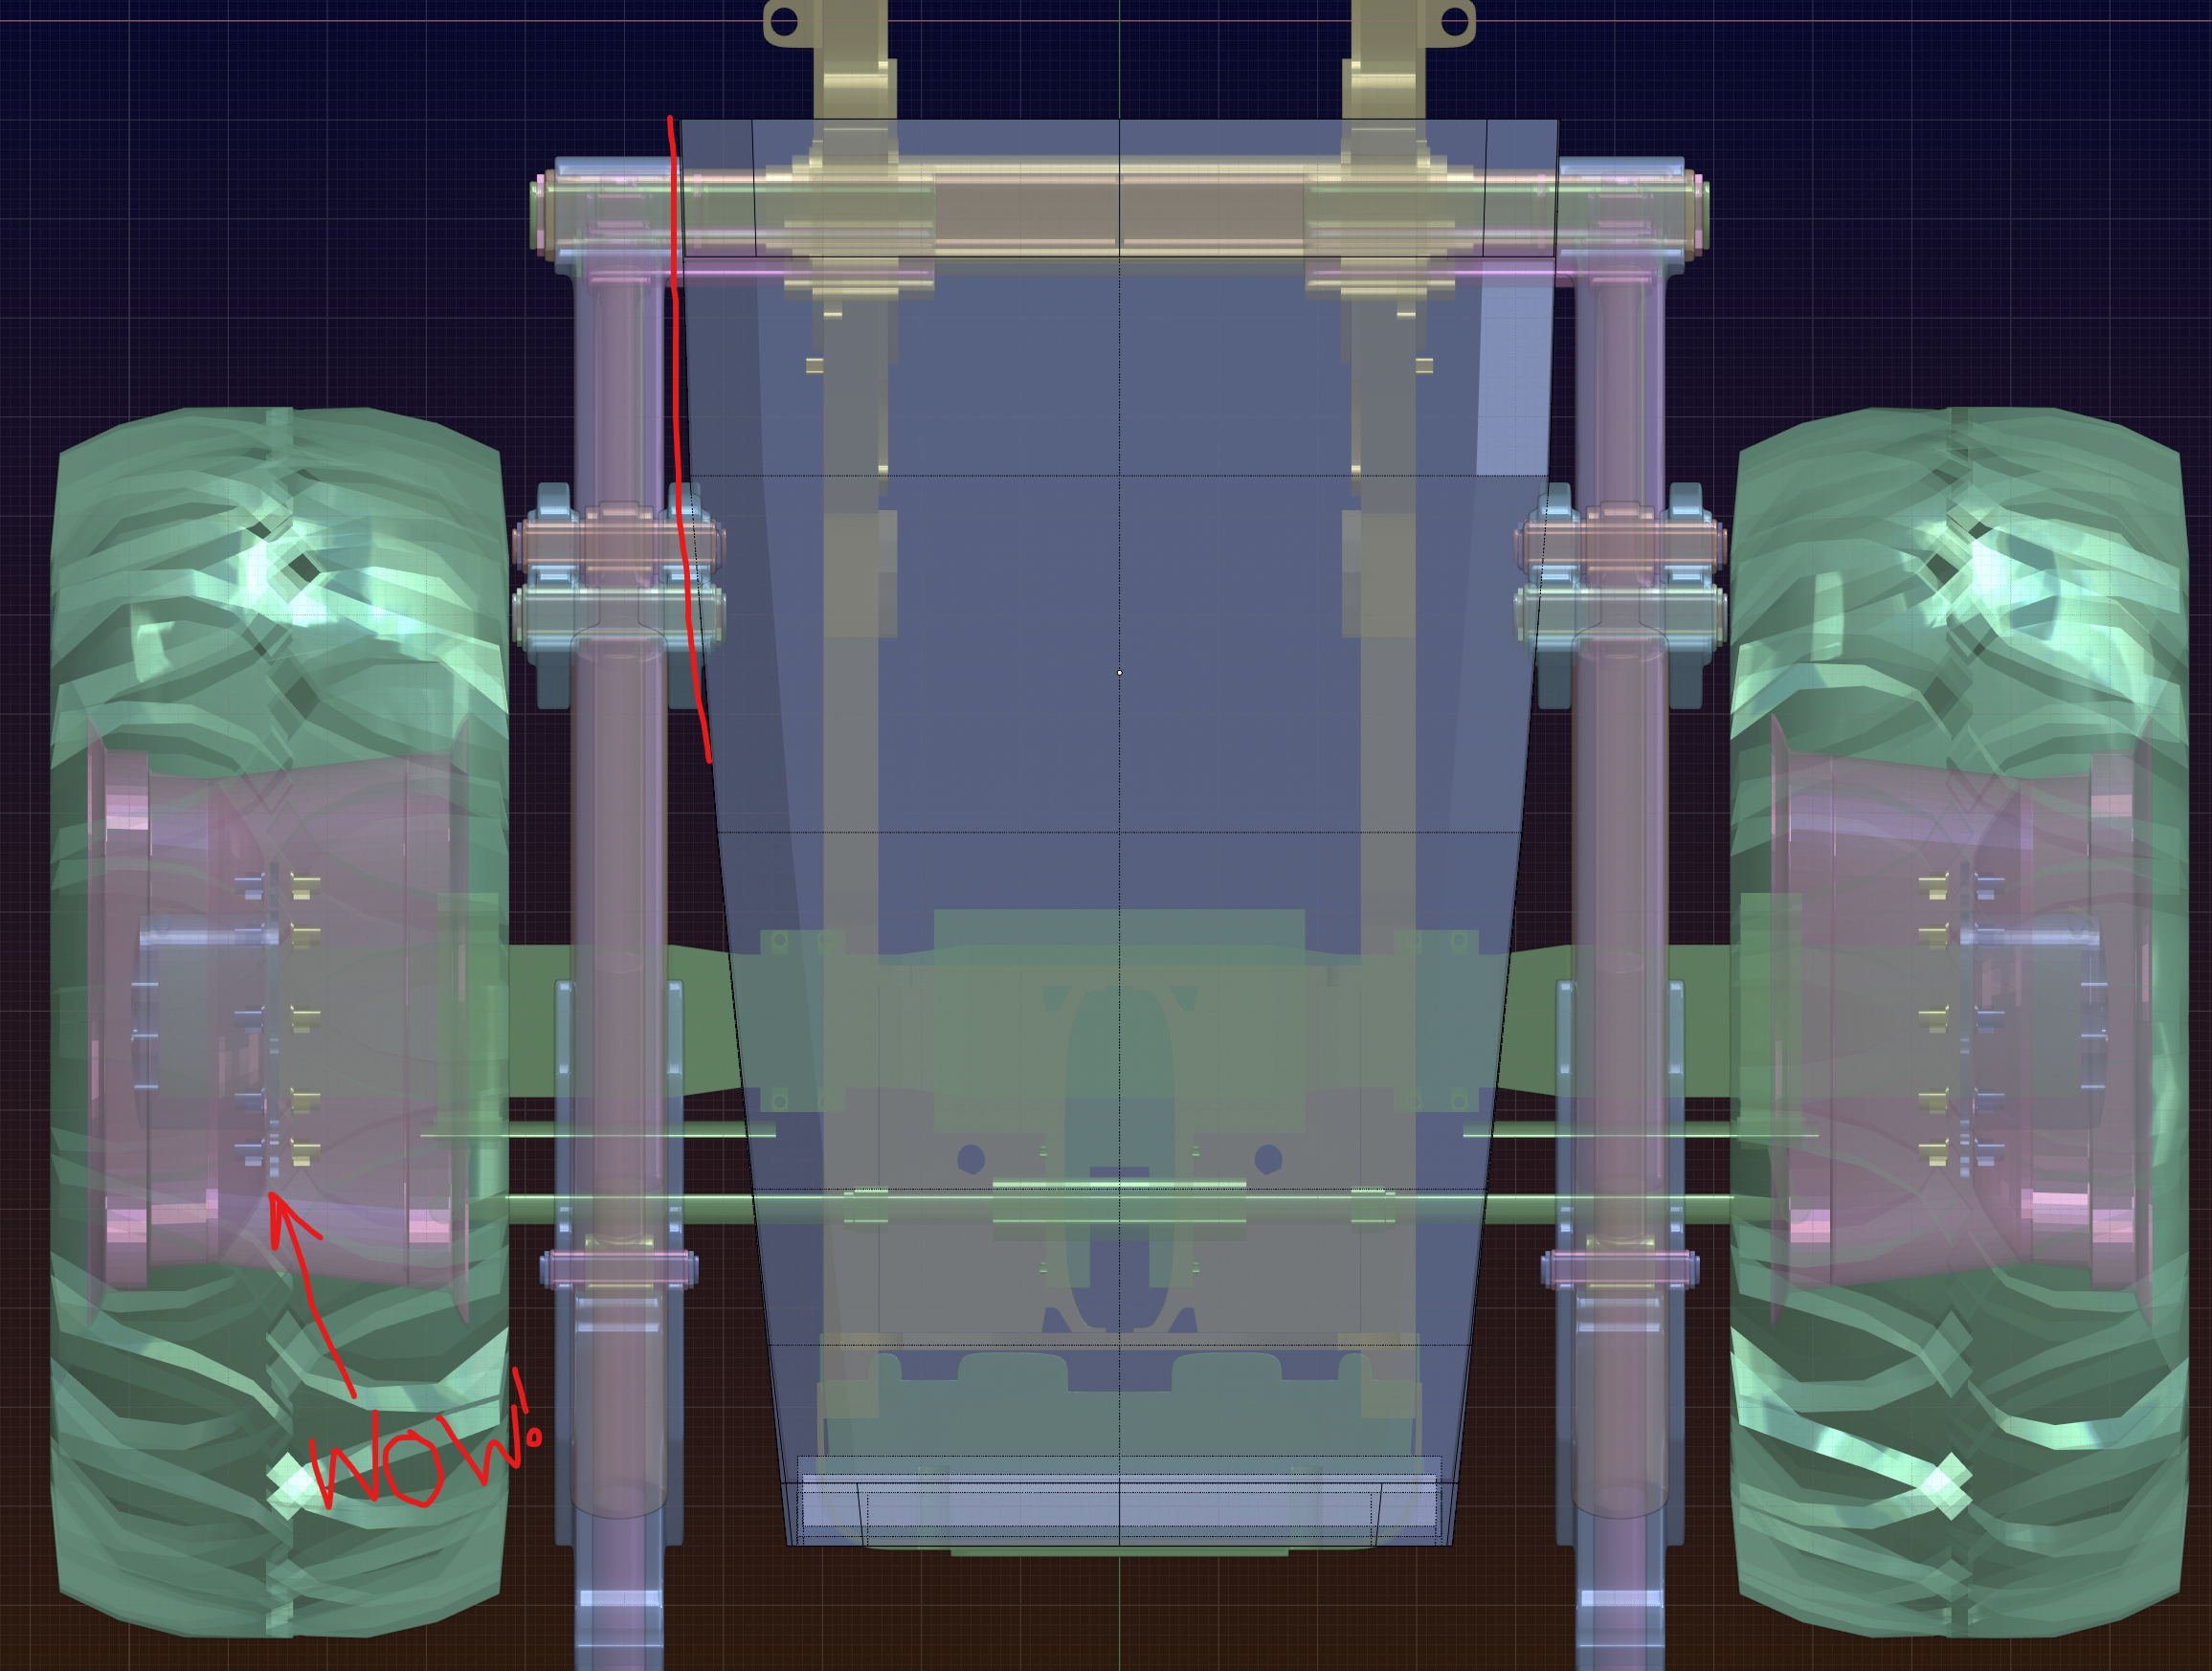 Thoughts??
P.S. That wheel well and axle-interface assembly looks amazing with x-ray turned on from above. I'm gushing. Can't wait to see all of this stuff with some silky smooth subdiv going on.
sshanr That's a too big of question to answer clearly here... In short you have to "sew" the tread geometry into base section of the wheel array and make sure the seam will tile correctly with each arrayed piece.
I will plan to cover that during the next stream so I can demonstrate thoroughly.
Yeah, these are the separate objects, and when I cut holes it should be possible to slide the holes around easily.

I am a bit confused about the tires...
Using a reference box with some known sizes (total height, stabilizer width, wheel base distance) and given the fact that the tires for this model come in 24'' and 28'', I get something like this:
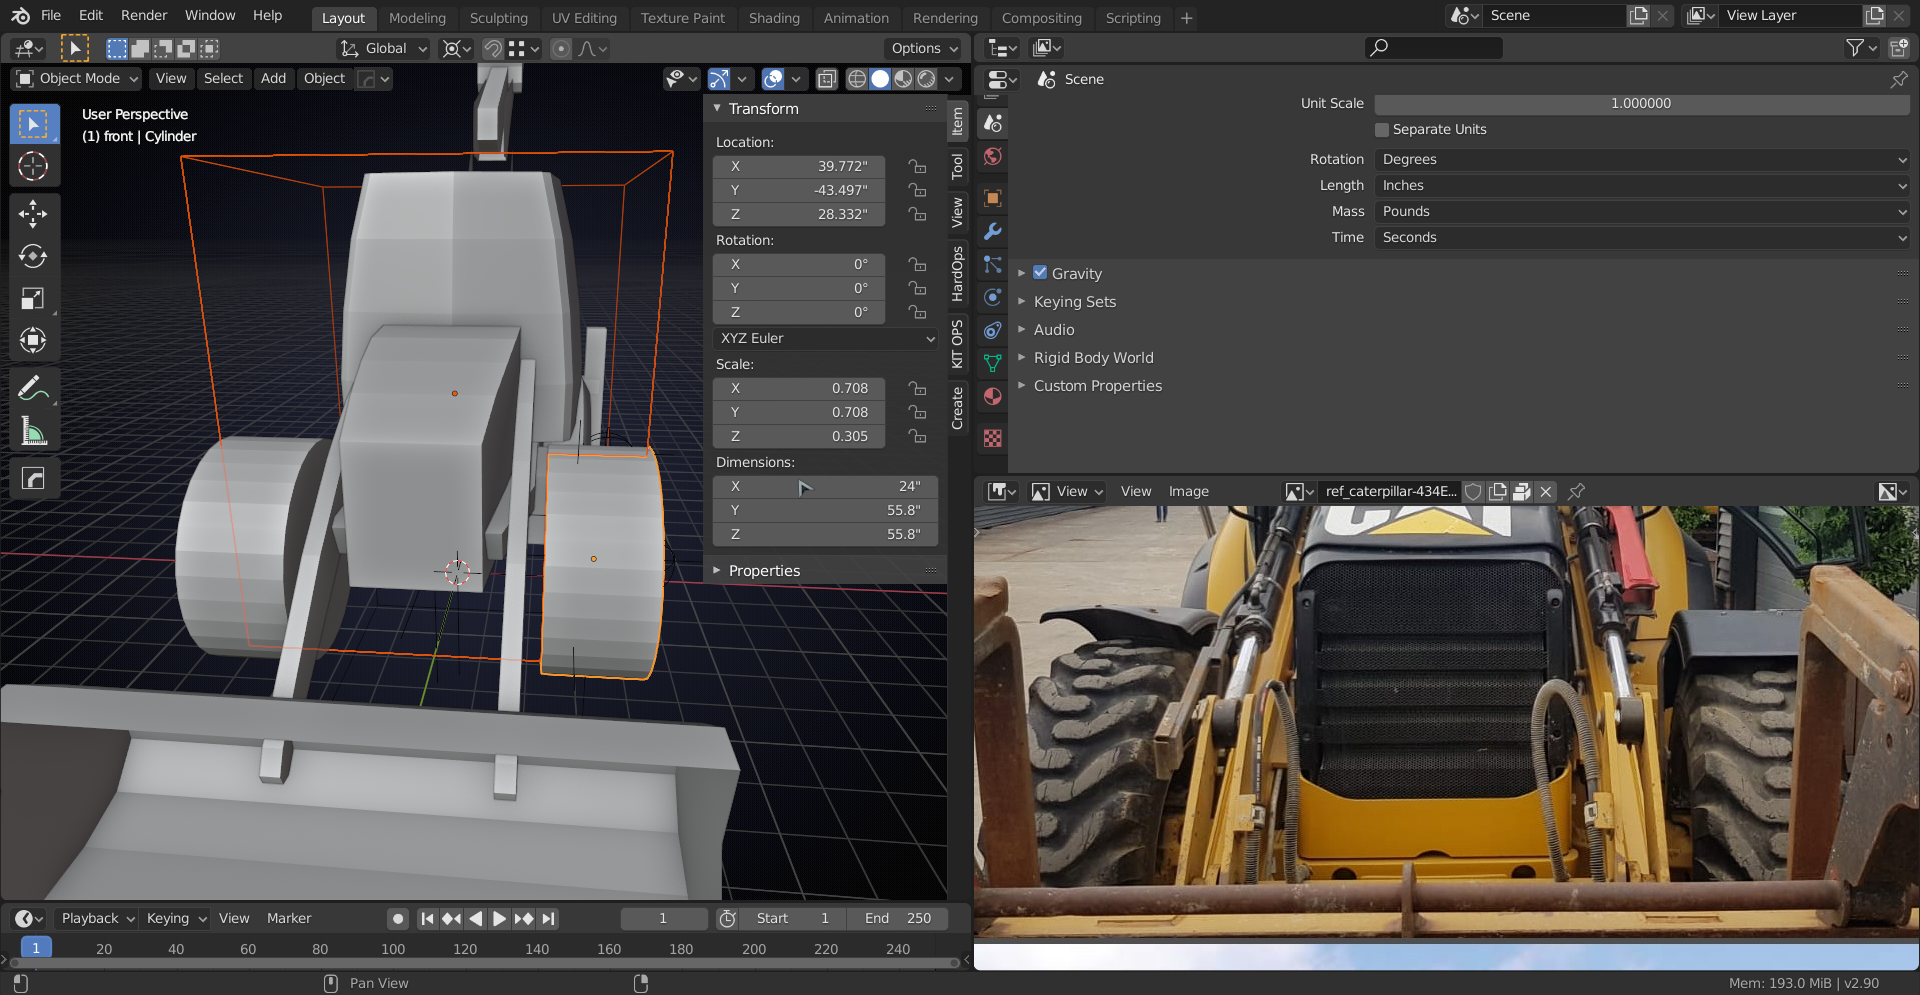
Something seems off, compared to the reference picture...probably due to the focal length of the camera...
I may or may not be working on a little sizzle reel for the upcoming stream. So @theluthier could I get a link to your digger arm (when it's ready?)
Whhaaaat! You absolutely can. Love this idea!
In fact, since I need to combine everyone's pieces into one scene, is it OK if I do that by Thursday and pass it to you? Will Friday-Monday be enough time for your sizzle reel ppfbourassa?
Yeah, that should be fine.
I'll work with what I have until then.
ppfbourassa @theluthier . I'm still working on the loader arm assembly but I can send it to the spreadsheet whenever you need it by. Should Wednesday night be the deadline?
![]() blanchsb It would actually help my rendering workflow if I could get it sooner.
blanchsb It would actually help my rendering workflow if I could get it sooner.
That obviously wouldn't count as your graded submission unless you're ready.
I'm planning to have the pieces "build-in" and I can't attach my bucket without your piece.
I can get it to you tonight then ppfbourassa. I can send you the link like I always do and I'll add it to the spreadsheet.
ppfbourassa and @theluthier I have pasted the link in the spreadsheet for the loader arms. (I also sent it to you as a message ppfbourassa). Man I am excited to see this demo reel of everyone's stuff!
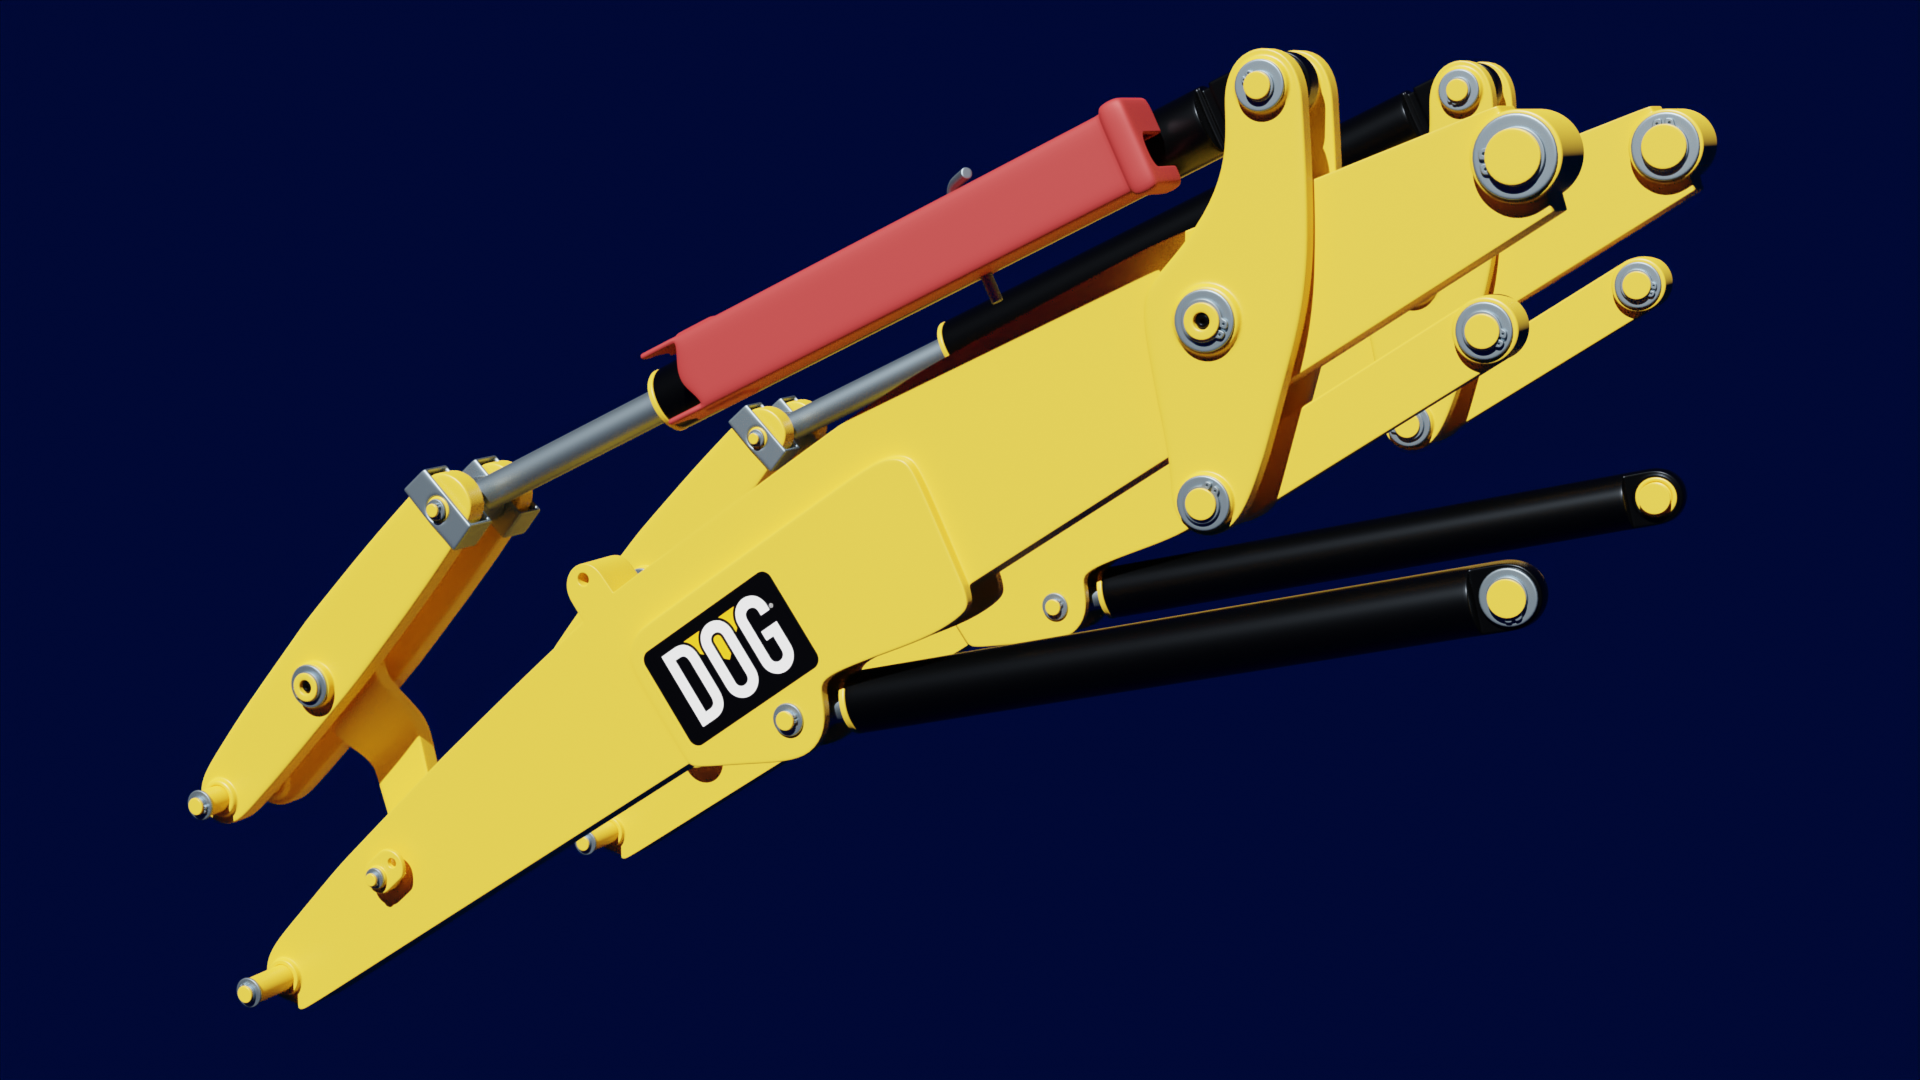
I was learning how to use decal machine and added the logo successfully to the loader arm for fun using the addon for my First Official Decal. Looks like the DOG gets top spot on my Personal Decal Save Library now!
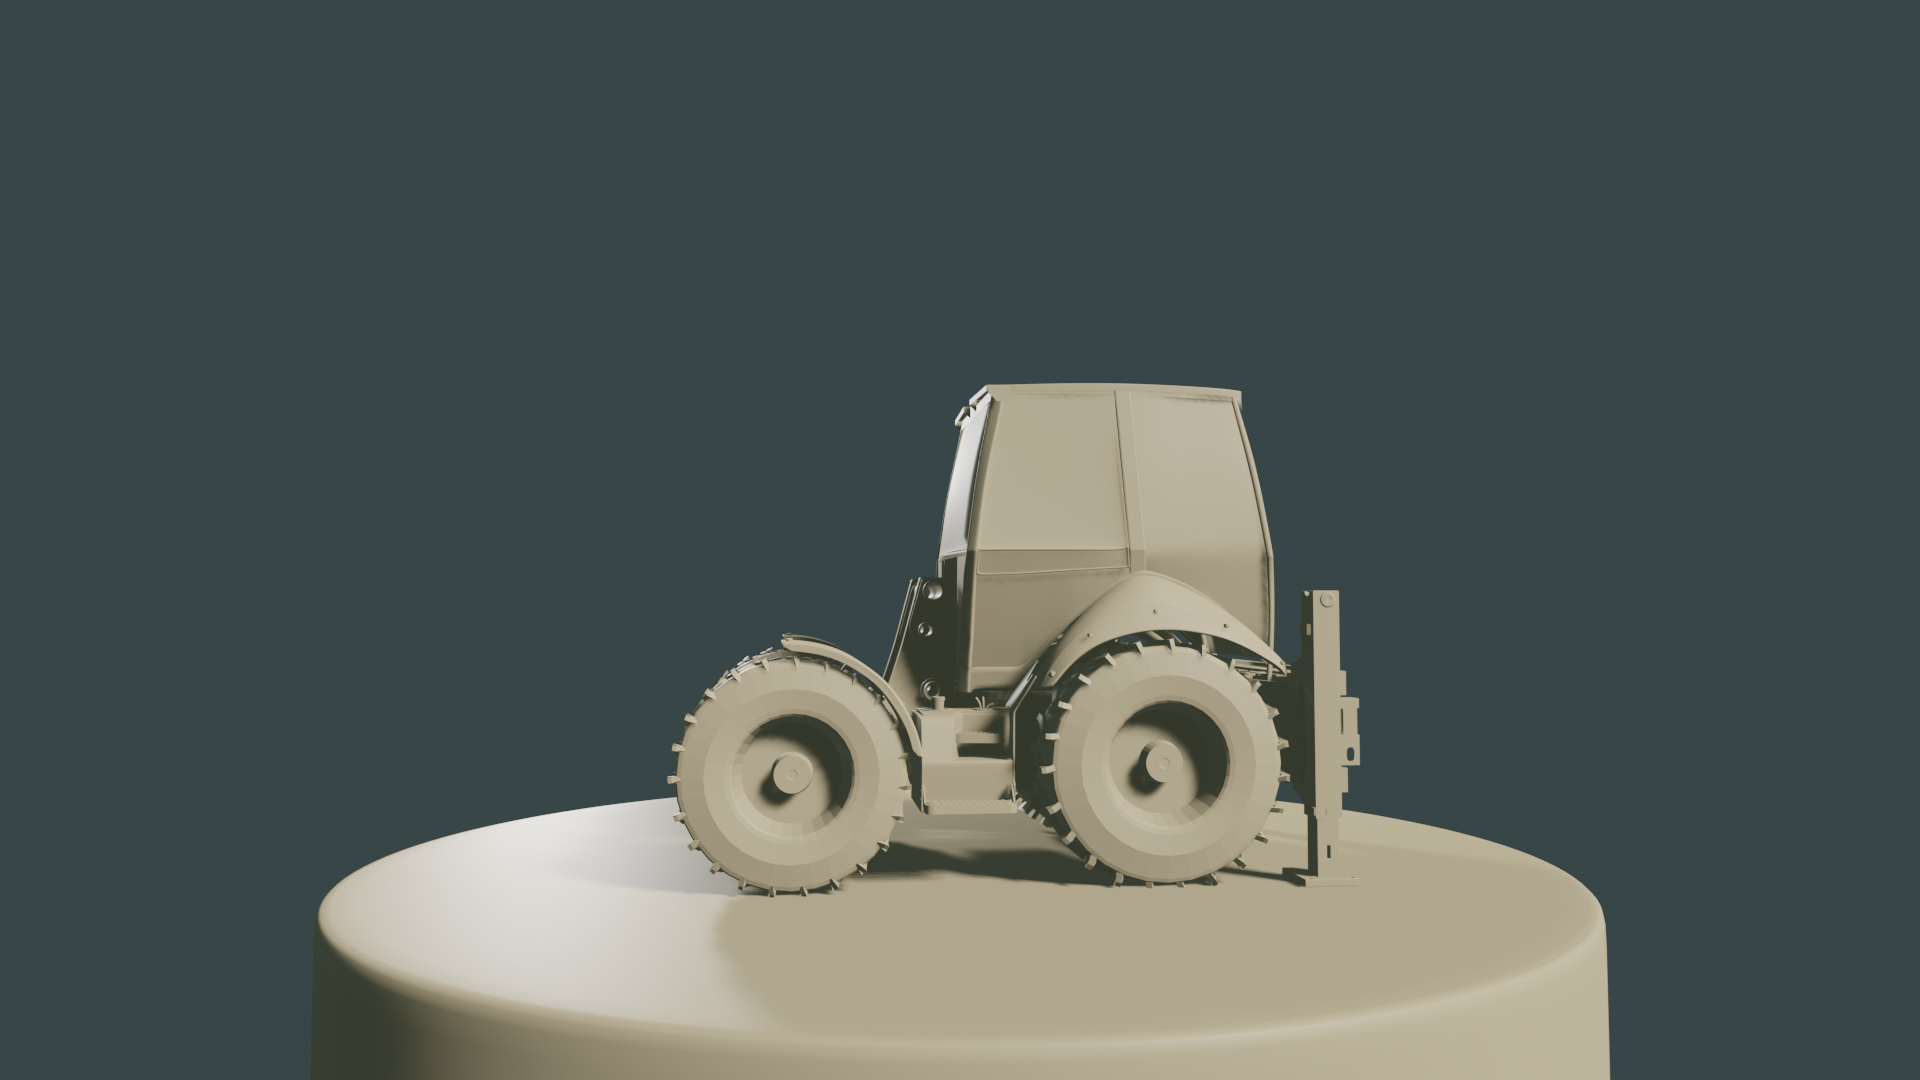
Tried a render out. That was a pretty fun exercise:
