Starting in March 2020, I began a large stream project to model a comprehensive, highly-detailed Caterpillar 434E backhoe. Please watch the first stream (first 3 minutes of abridged version at least) for an overview.
It's a straight-forward project of building a complex model over an extended period of time. The spin on the project is that I want your help to accomplish it! If I build some parts and you build some parts, we will finish this thing much quicker. Plus the contribution format will include reviews, the potential of having your piece(s) assimilated into the final model. Not to mention large quantities of XP are at stake 🤑
NOTE: This is an involved project reserved for Citizen members.

The general idea is that I kickoff stages of the project via live stream, which is typically once per month. For the time in between streams, you choose a piece of the backhoe and apply what you learned from the stream to that piece. For example, the first stream covered initial block out. So between stream 1 and stream 2, your job is to pick a piece and block it out.
This is the repeating protocol for each Assignment Period (between-streams):
I will reply to this thread after each stream with a [big] assignment post denoted by a 📣 emoji in the title. There I will clarify instructions about each Assignment Period.
We will centralize our collaborative communication between the streams and this thread. Ask any and all questions pertaining to the Backhoe project here.
![]() ketre It must have a slight slant, I think is the word. Can you post a top view? Or better yet, can you share the .blend?
ketre It must have a slight slant, I think is the word. Can you post a top view? Or better yet, can you share the .blend?
![]() ketre try to start with less geometry; we are going to use a Subdivision Surface Modifier on this, so do not use too many edge loops where they are not necessary...
ketre try to start with less geometry; we are going to use a Subdivision Surface Modifier on this, so do not use too many edge loops where they are not necessary...
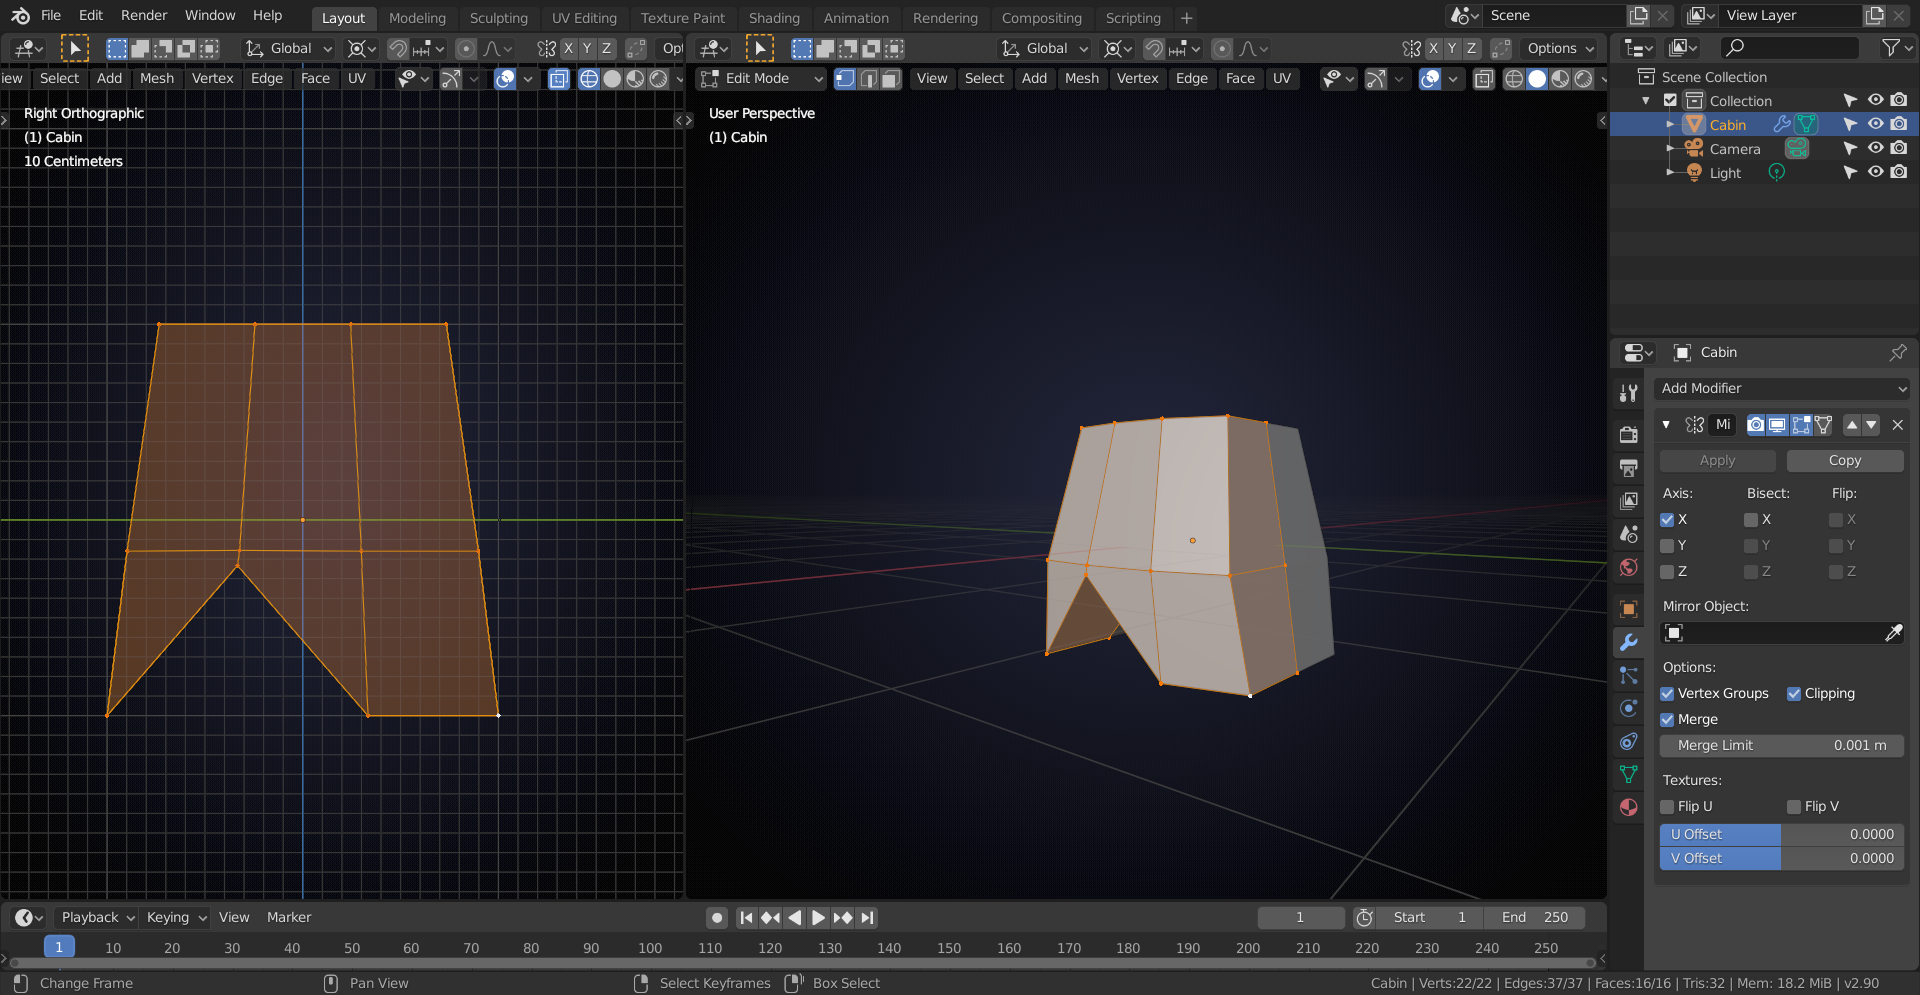
You will need some holding edges, but the basic shape doesn't need that many vertices.
It's easier to add geometry than to remove it, if that makes sense;)
Here's the file.
https://drive.google.com/file/d/1pTAvujvlRl20-Ff7fhwuedbx446uQkab/view?usp=sharing
If I have to start over again...ugh I just tried adding the subsurf to my existing file and omg...
That bulge you see is just because of the angle, it slants so things begin to bunch up in orthographic mode and you can see the geomerty. It's like someone peeking out the edge of a door. Everything is fine there.
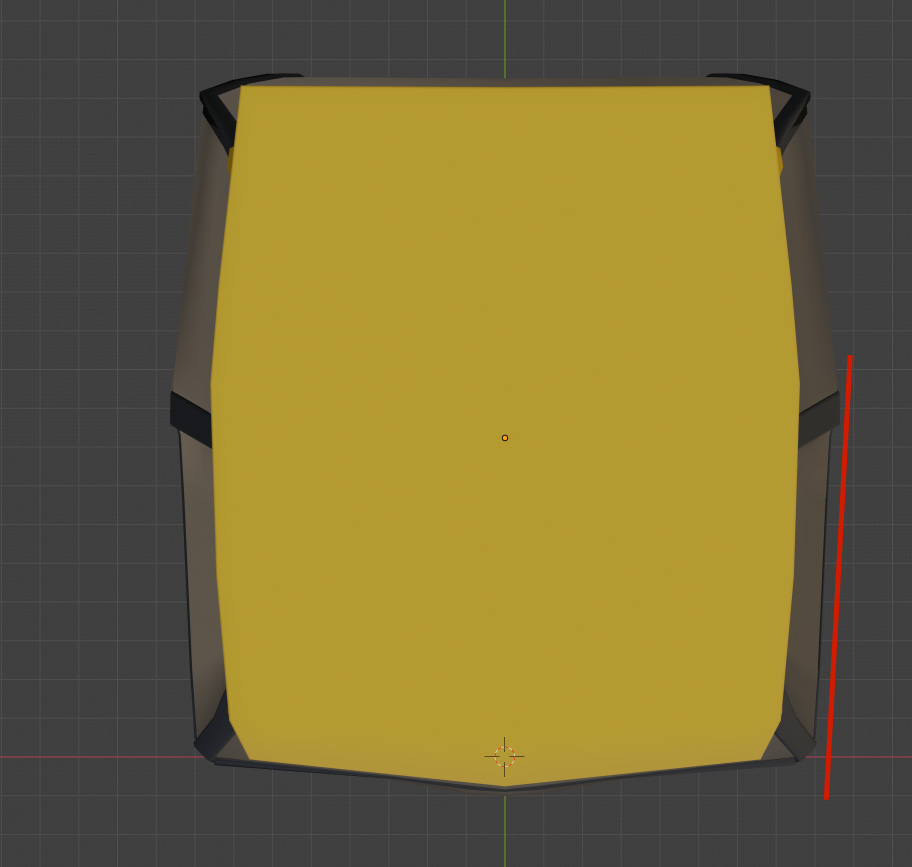
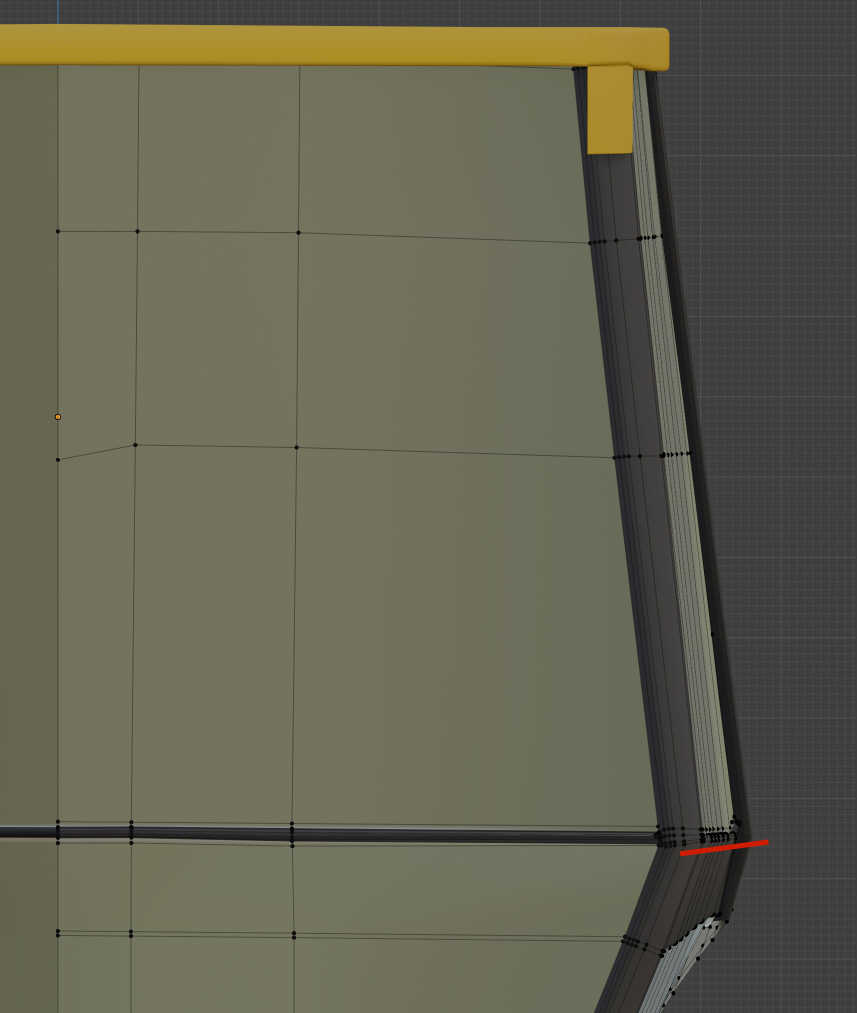

If the side was perfectly flat, without the slant, you wouldn't see the geometry, because it would be occluded. No one peeking out the side of the door there.
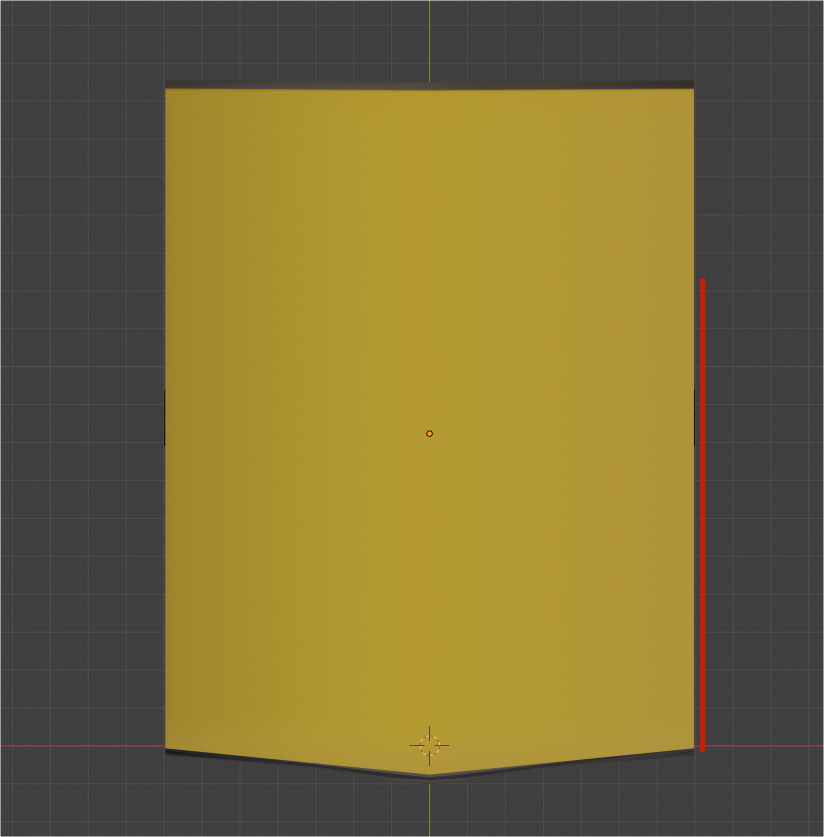
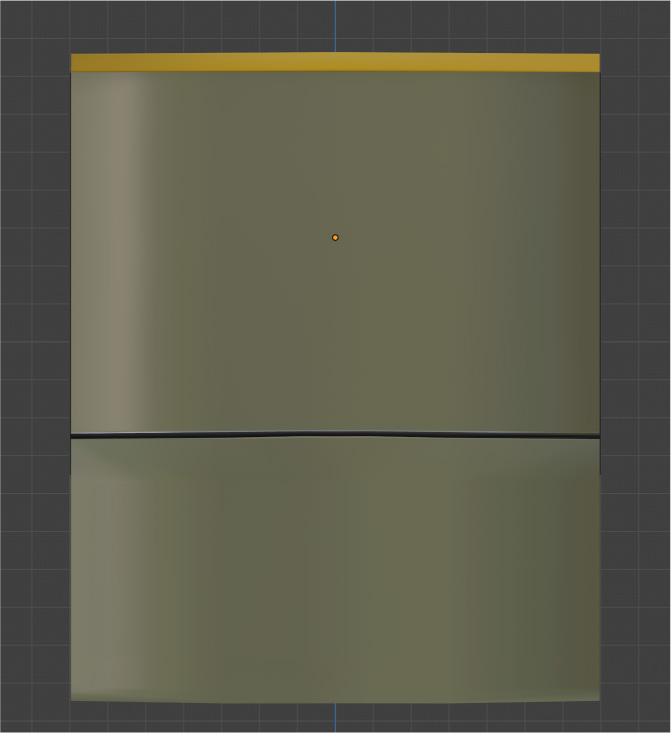
Let me now see the other thing. Give me a sec.
Yes, here we have a problem.
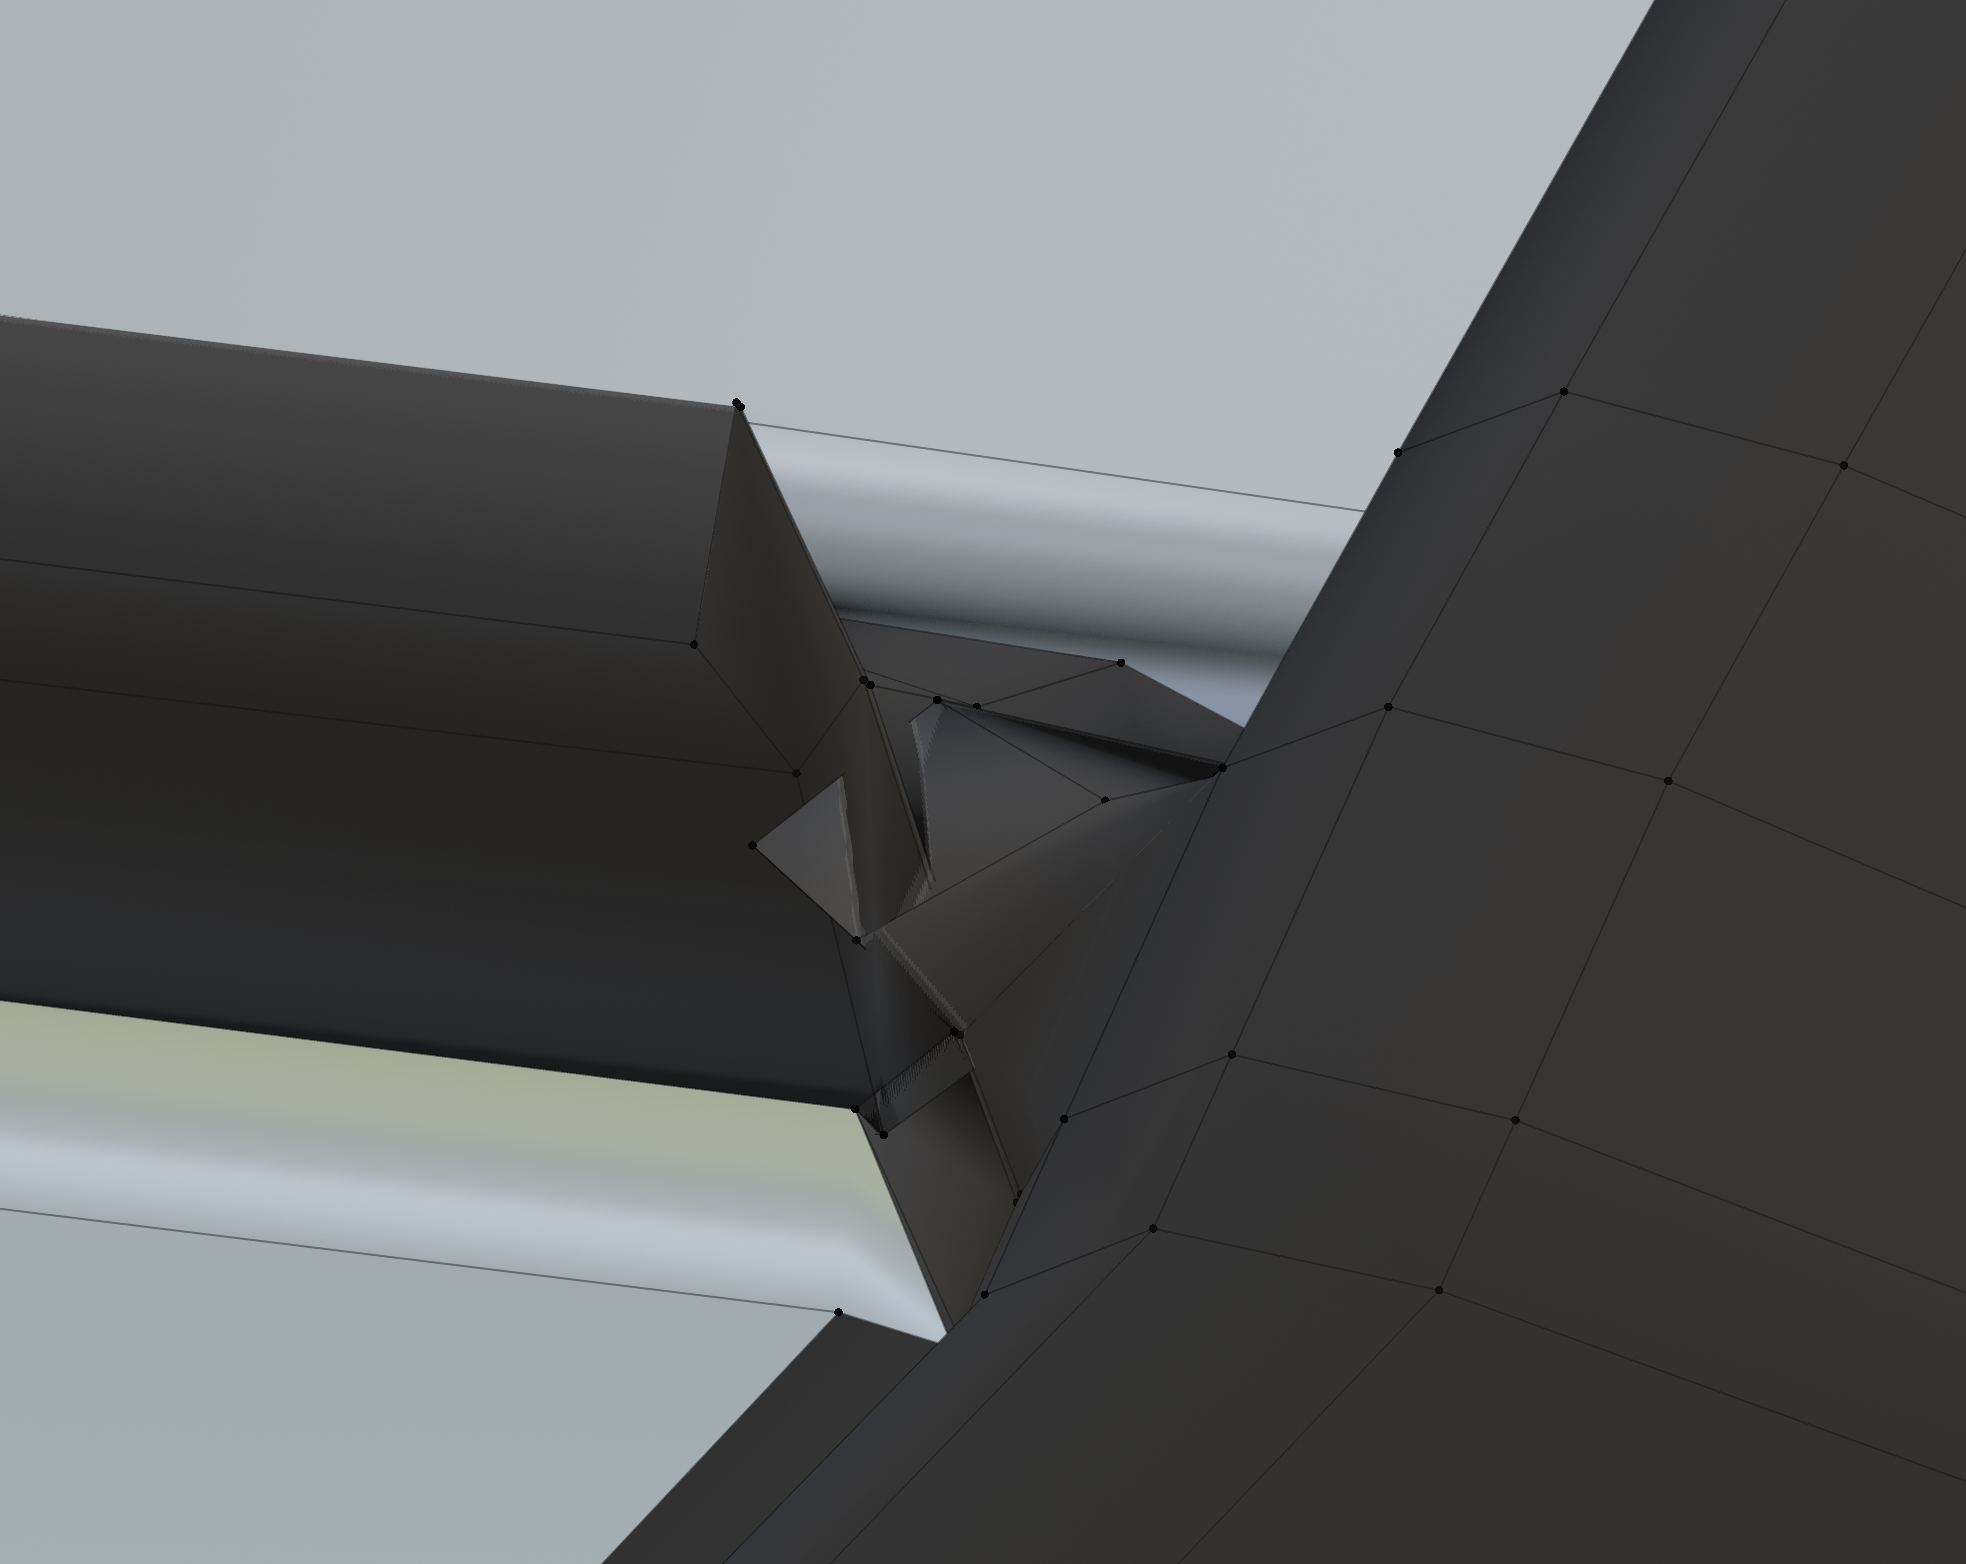
You have a case of very deadly F'ed up faces.

That happens by accident a lot of the time. You make a selection and without realizing it you select vertices on the back and move stuff around and without you know you're moving stuff you don't want to move. Then you see something like that and you're like what the hell happened. It happens to us all.
Or maybe you made an inset faces and it went pass the desired amount.
Really just delete those problematic faces, and connect them over to the good ones over there.
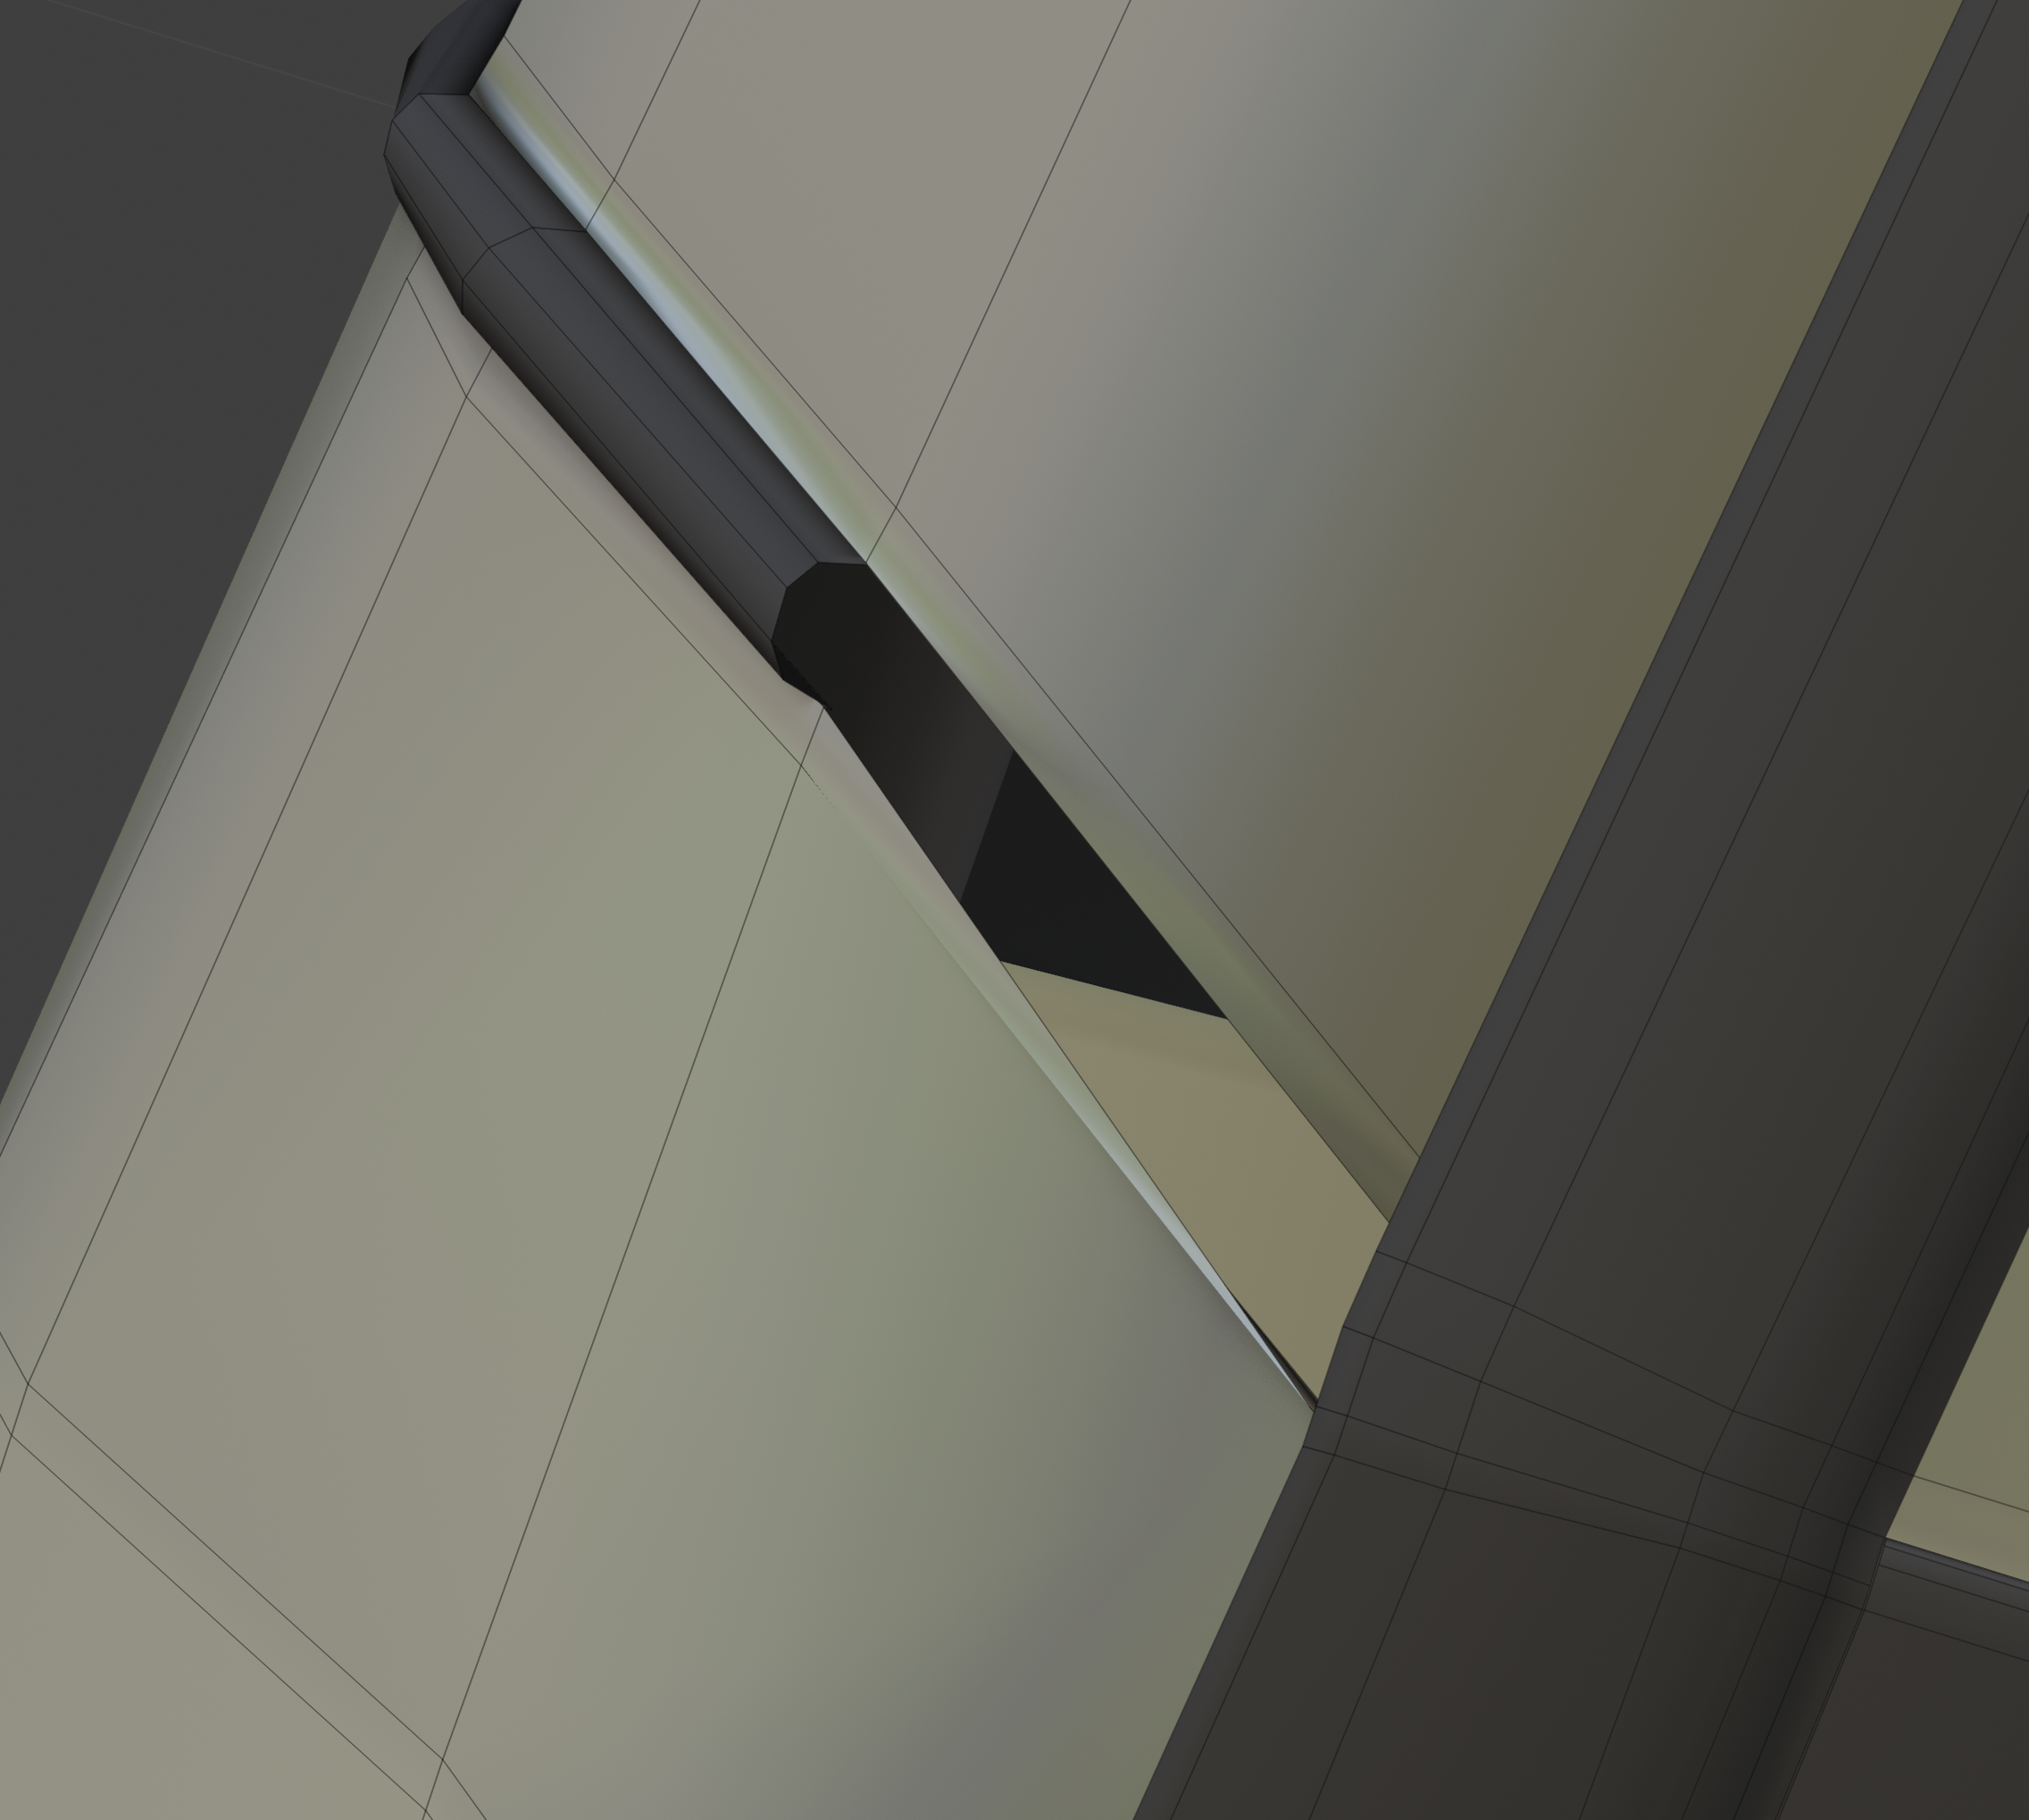
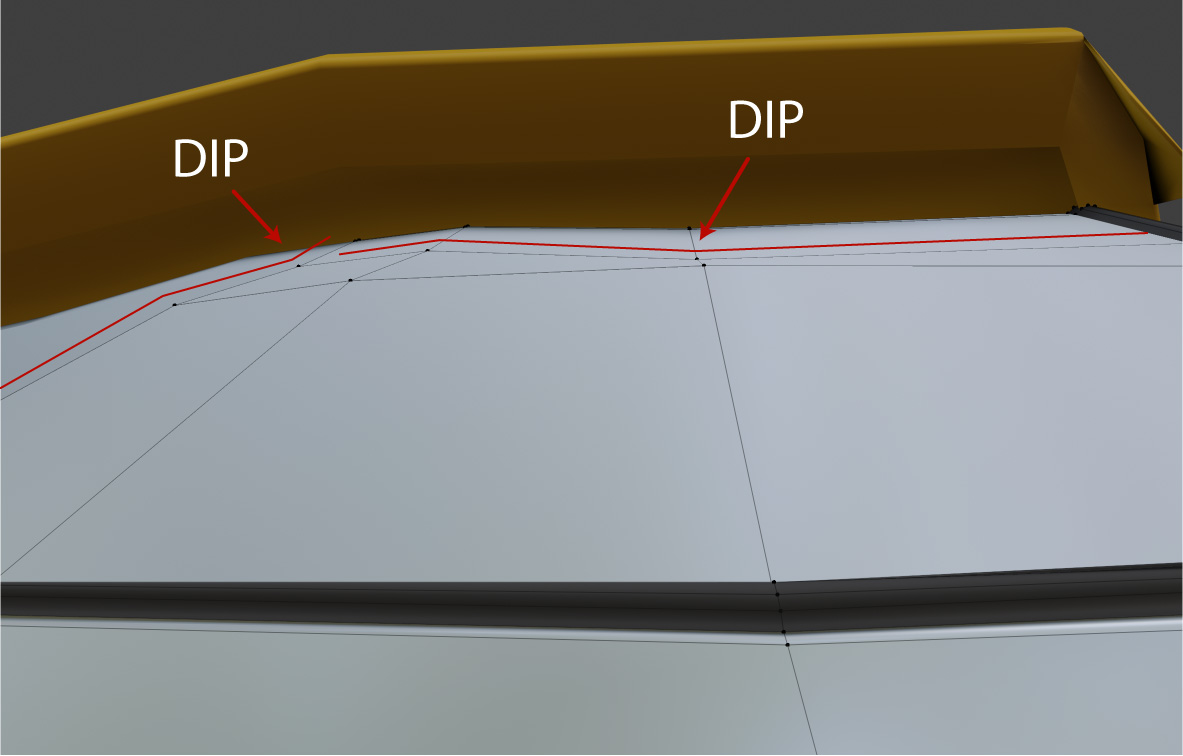
Another good thing to do as Kent always says, is to inspect your mesh from lots of angles, you'll see the contour and dips of vertices misaligned.
Told you guys I am seriously out of my element here, lol and ya I see the f*ked up faces and trying to fix it has had me frustrated. Yall make it look so easy. I've not really watched anything about hard surface modeling. I guess I'm more into Organic...yep I know its just excuses. Lately my eye sight has been blurring, after the issues I had with health I'm doing better.
I'm not giving up, but I'm pretty sure yall gonna have to fix my mess before you show the world lol
Or it could be like a Modern Art piece. We can say " Yes we made the driver cabin like that unpurpose, as an expression representing our heads of state" It would sell for millions of dollars, trust me .
I haven't been here for the last 16 hours and already 22 new replies, a new record!🥇🏆📀😁
The treads are looking very 'thin' compared to the references. There should also only be 22 per wheel (or 22 left and 22 right if you want), it looks like you have 50 or more.
But you're getting there, it's improving.
sshanr Looking good. Though it looks like you forgot to download the updated model from livrestream #2. Download that one and copy your parts to the updated file.
You can also look on YouTube for wheel modeling tutorials, there are good techniques that will help you make the wheel one solid mesh.
Also here on CG Cookie there's this one from when Jonathan Williamson modeled the wheels of the post apocalyptic truck.
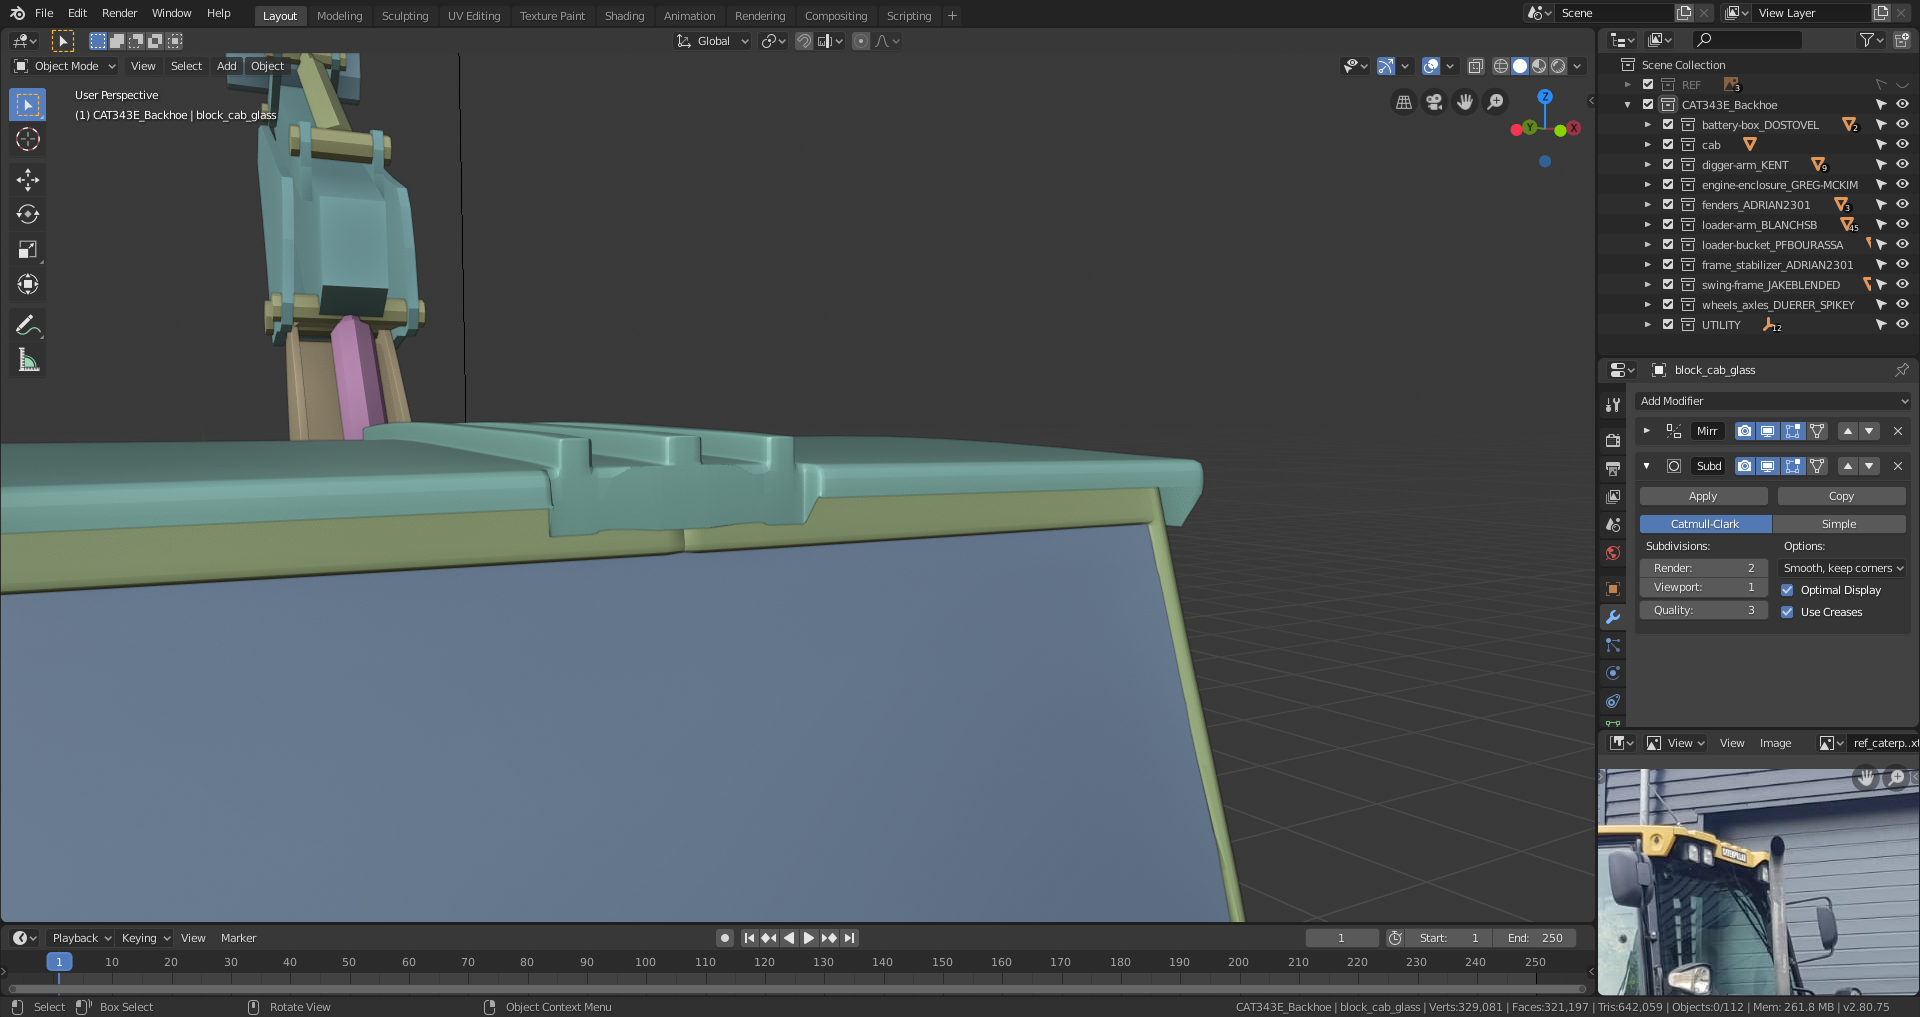 Hey guys I'm trying to figure this out on my own but I'm having trouble making this look right. I have a solidifier on (and its off in this screen shot) but when I turn it back on I have an even bigger mess. Am I doing the topology wrong? And why are those faces blank ? HELP!!!
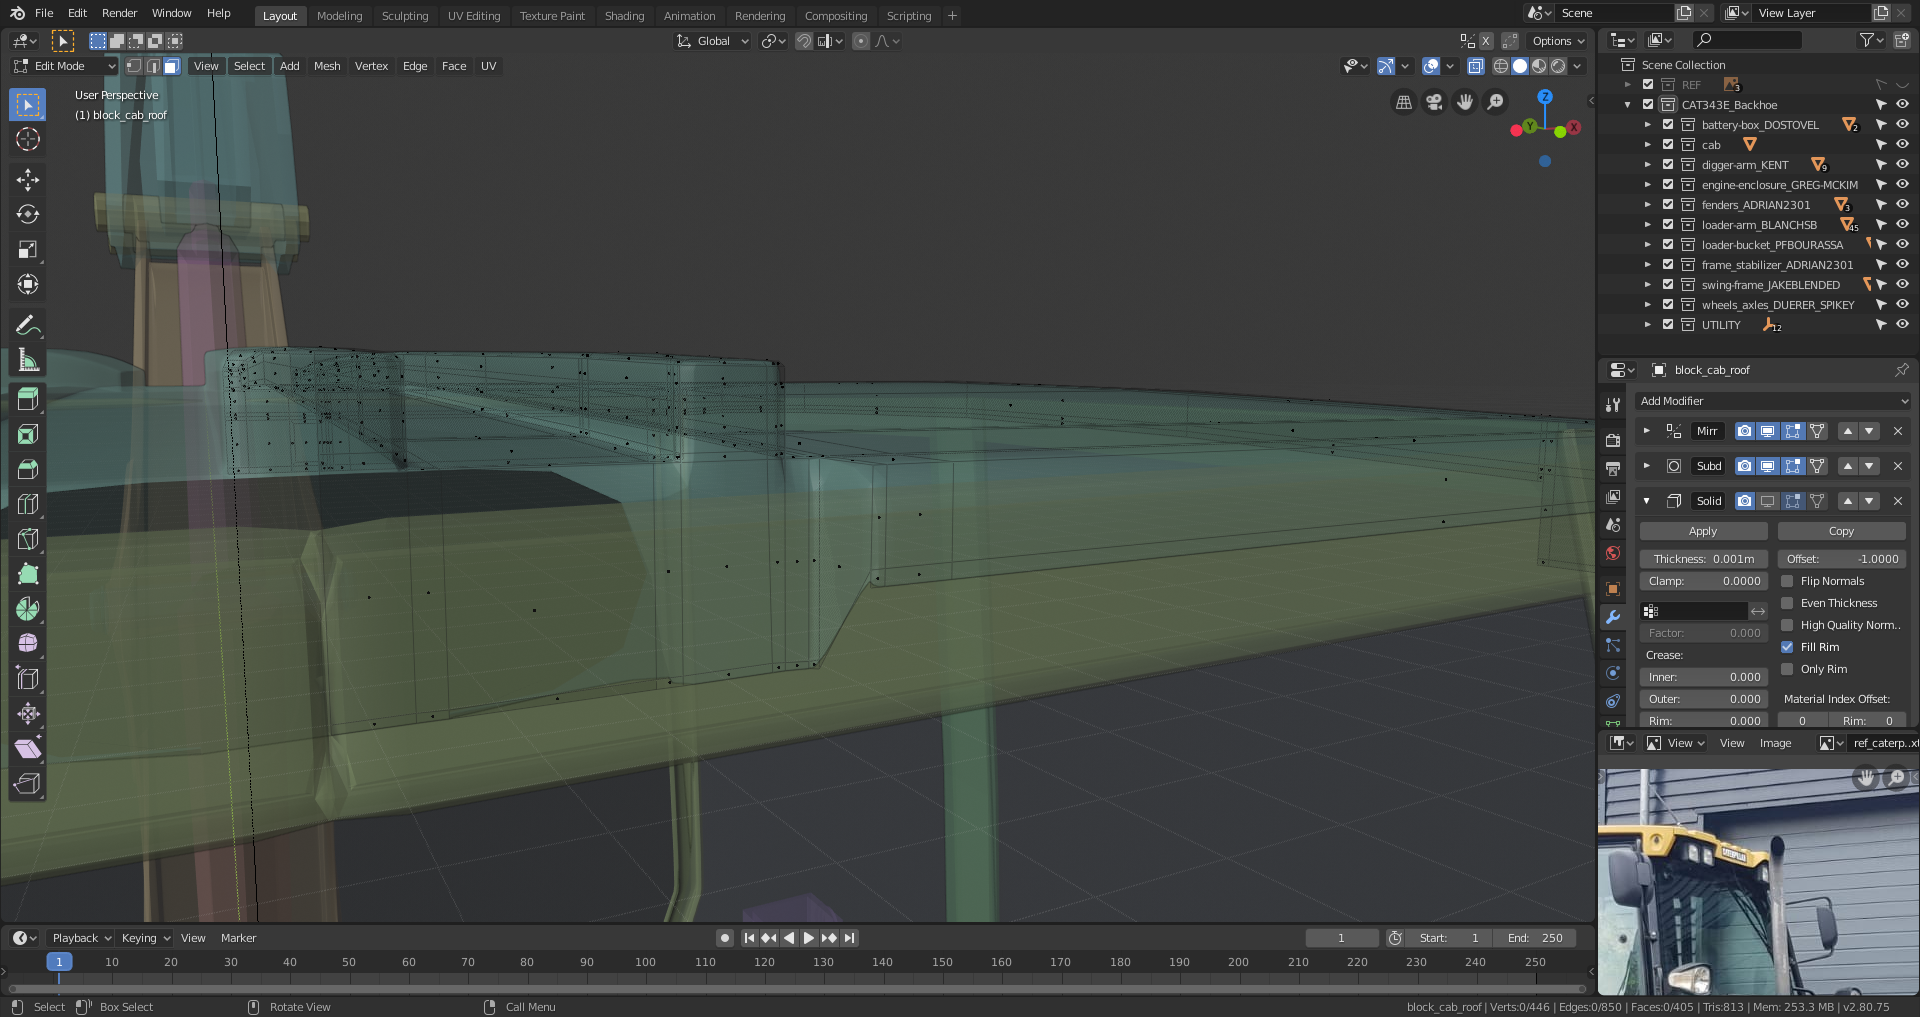
It's kinda hard to tell what's going on from the picture, can you share the .blend again?
![]() ketre try recalculating normals, (In edit mode select all with A then press SHIFT+N) and I can't see from the image make sure there is no face on the X axis where the two halves of your mirror modifier meet. Also I think you may have some geometry on the wrong side of the X axis which will cause a problem, but it's hard to tell from this angle.
ketre try recalculating normals, (In edit mode select all with A then press SHIFT+N) and I can't see from the image make sure there is no face on the X axis where the two halves of your mirror modifier meet. Also I think you may have some geometry on the wrong side of the X axis which will cause a problem, but it's hard to tell from this angle.
Try that, if not as ![]() dostovel suggested can you share the .blend.
dostovel suggested can you share the .blend.
What do we want?
The Blend file!
When do we want it?
Doritos are delicious!