Starting in March 2020, I began a large stream project to model a comprehensive, highly-detailed Caterpillar 434E backhoe. Please watch the first stream (first 3 minutes of abridged version at least) for an overview.
It's a straight-forward project of building a complex model over an extended period of time. The spin on the project is that I want your help to accomplish it! If I build some parts and you build some parts, we will finish this thing much quicker. Plus the contribution format will include reviews, the potential of having your piece(s) assimilated into the final model. Not to mention large quantities of XP are at stake 🤑
NOTE: This is an involved project reserved for Citizen members.

The general idea is that I kickoff stages of the project via live stream, which is typically once per month. For the time in between streams, you choose a piece of the backhoe and apply what you learned from the stream to that piece. For example, the first stream covered initial block out. So between stream 1 and stream 2, your job is to pick a piece and block it out.
This is the repeating protocol for each Assignment Period (between-streams):
I will reply to this thread after each stream with a [big] assignment post denoted by a 📣 emoji in the title. There I will clarify instructions about each Assignment Period.
We will centralize our collaborative communication between the streams and this thread. Ask any and all questions pertaining to the Backhoe project here.
@adrian2301
Understand the principle and you'll be able to use this in many cases!
The most important thing is that the verts from the 'hole' and those from the 'cap' are at exactly the same place and that's what you get automatically here when pressing V, ENTER. Those edge loops around and inside are a bonus for extra control. (We always want full control.)
Nice work @adrian2301! And great example ![]() spikeyxxx. I'm planning to demo this approach during the next stream as well.
spikeyxxx. I'm planning to demo this approach during the next stream as well.
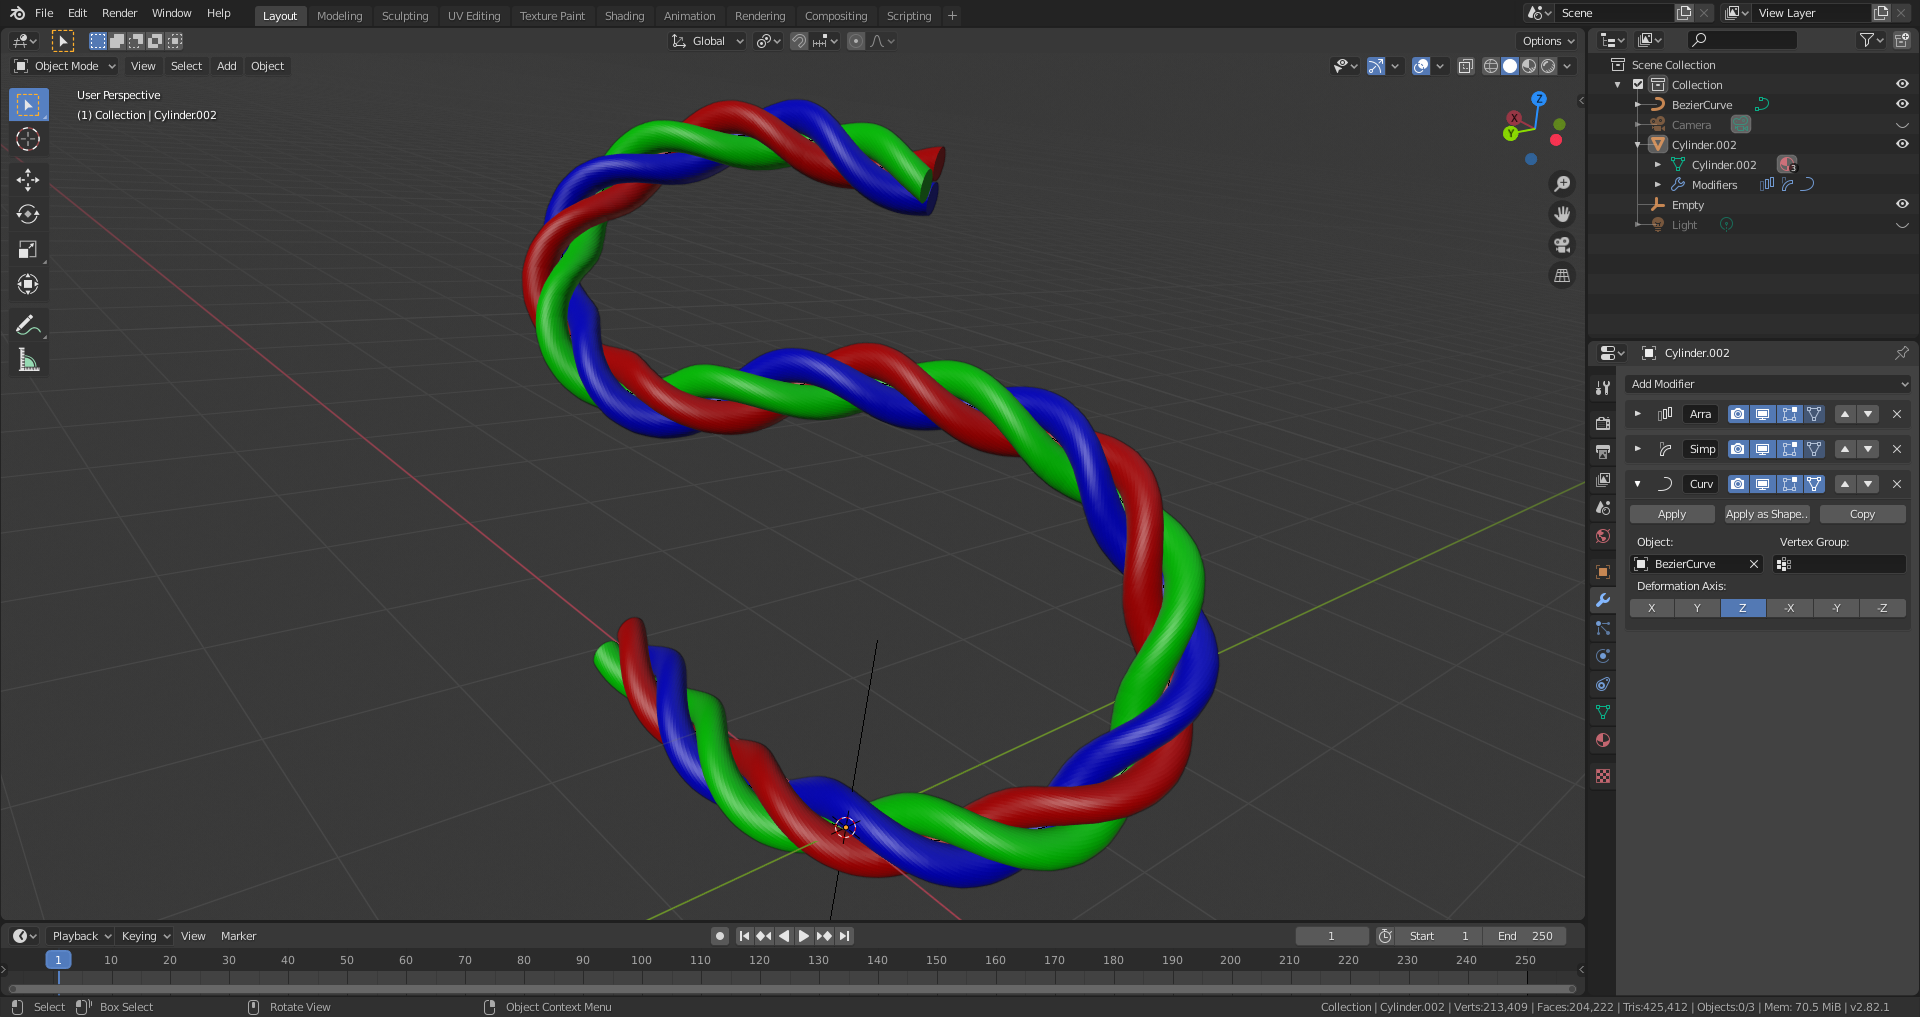
Another possibility would be a "Curve Modifier" in conjunction with a Bezier circle, but for that you would need to manually adapt the distorted object so that it fills a whole circle unless you know the exact length of your curve (I know that there was a Python script to calculate that value in Blender 2.7x). That's why the "Simple Deform Modifier" is clearly the better choice for circular deformations since you only need to specify the angle as 360 degrees. The "Curve Modifier" is the choice for curves that are no circle. I like the "Simple Deform Modifier" for things like this:
![]() spikeyxxx This is the kind of community training that I love to see. Your teaching on that shrinkwrap and subsurf for a very specific object's need is beautiful and done with only a few images.
spikeyxxx This is the kind of community training that I love to see. Your teaching on that shrinkwrap and subsurf for a very specific object's need is beautiful and done with only a few images.
The light bulb went on immediately for me. Great explanation. I didn't even realize you can "bevel" a planar surface. I keep thinking (mistakingly) that bevels are only useful for edges. Great topology trick.
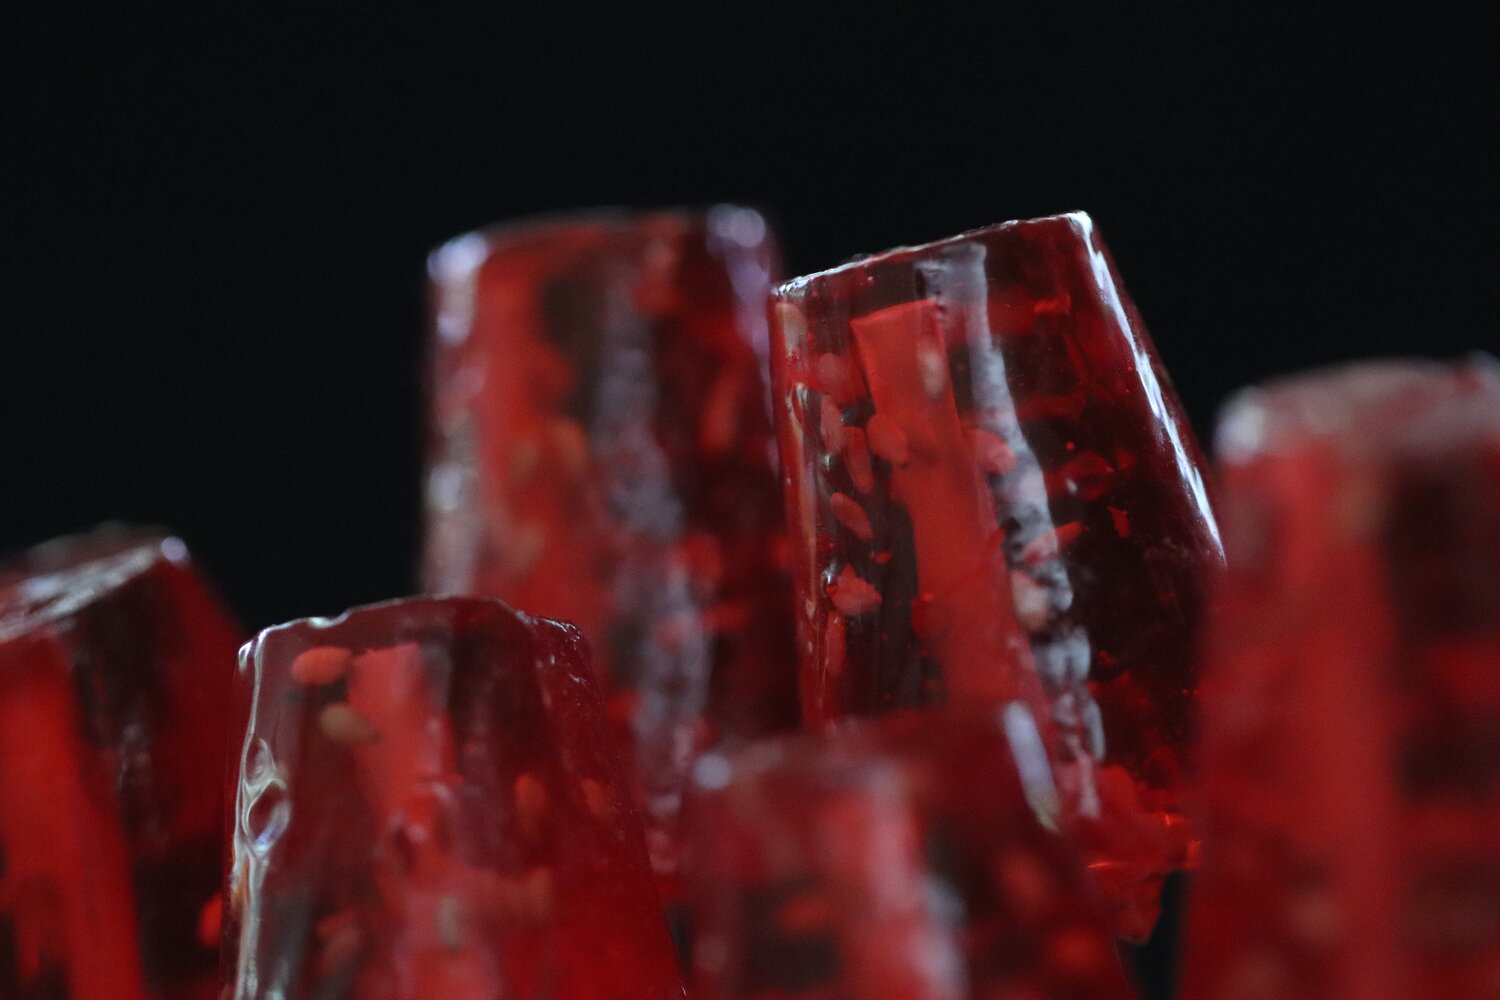
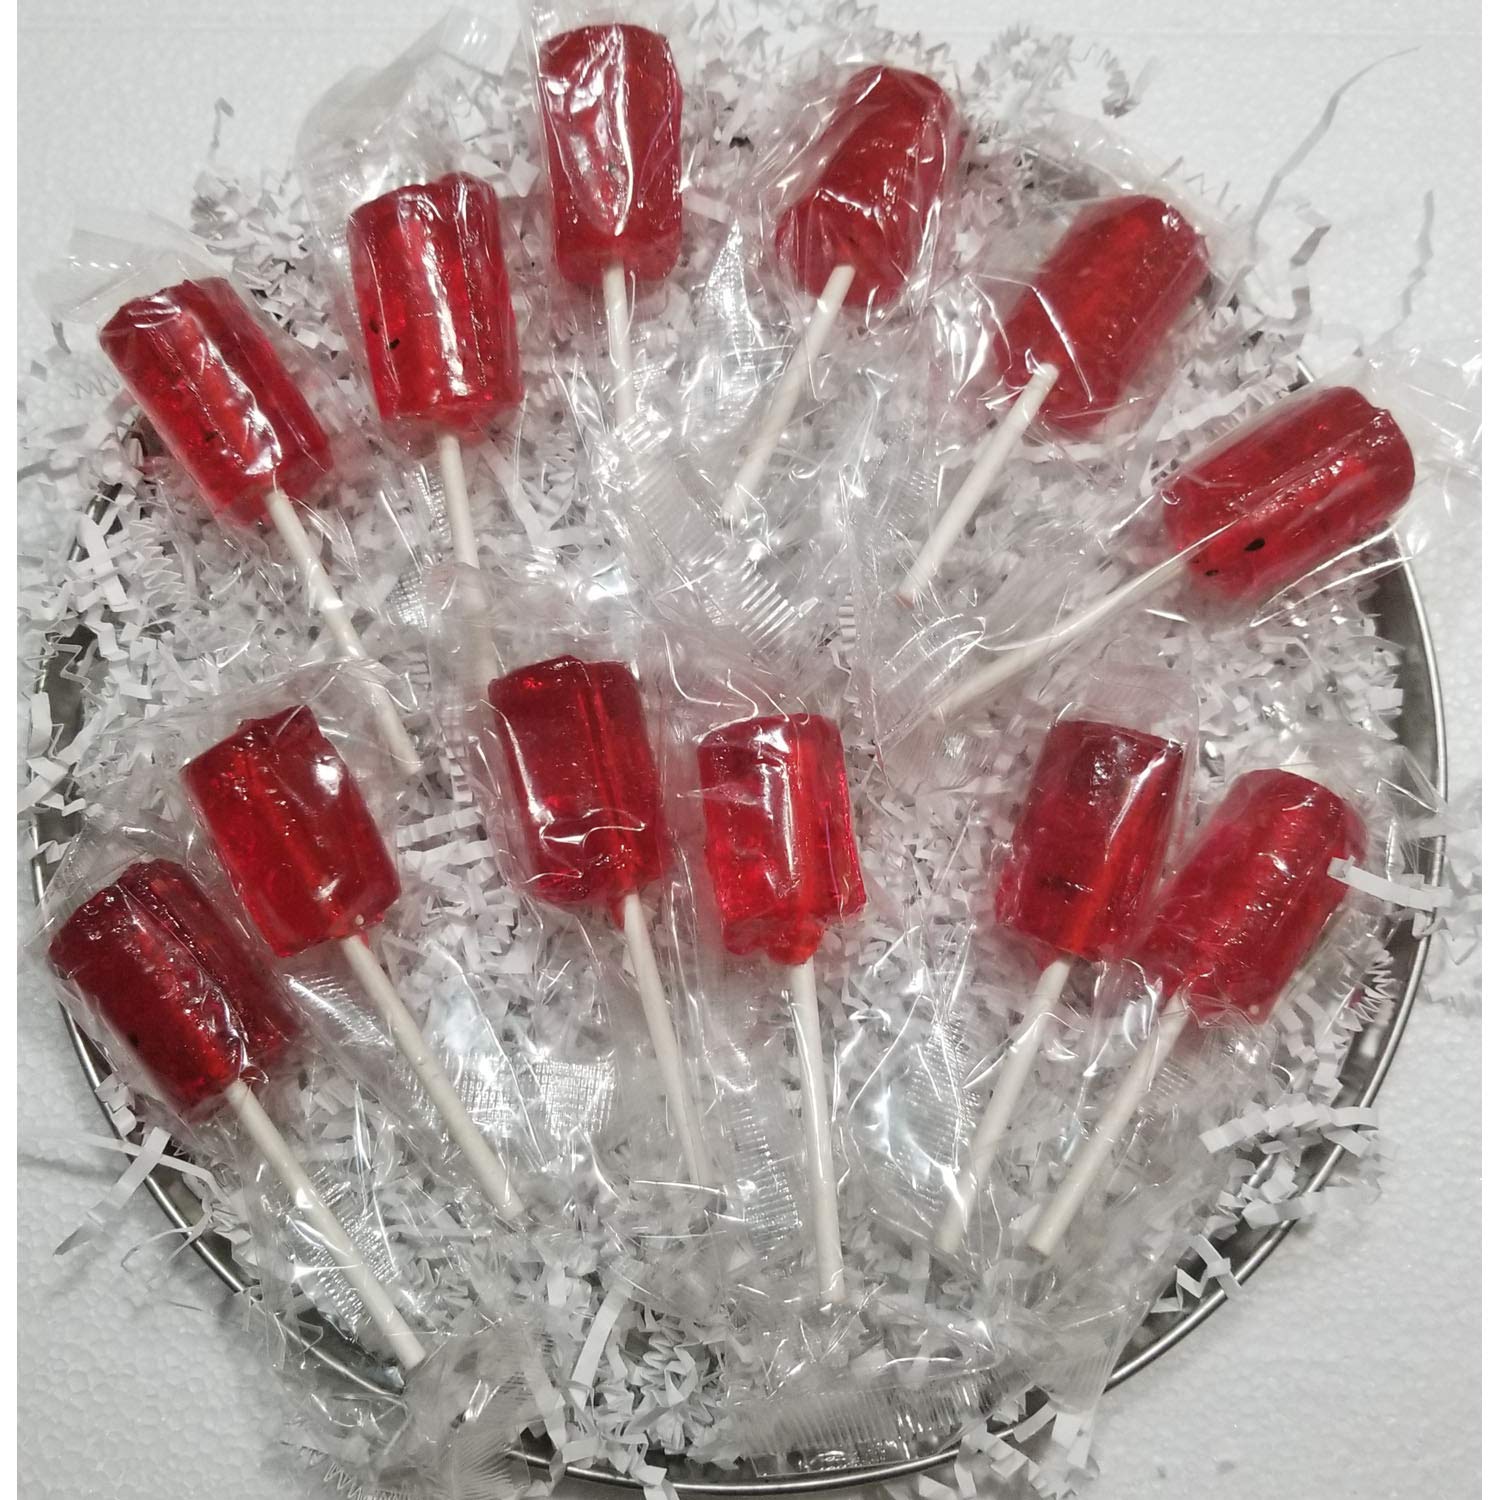
Those look good Adrian and also tasty.... aaand I have finally figured out why that MatCap always looks so yummy to me, it's because of these... you probably don't have them in the USA
I just had to smile when reading in the Blender manual about the "Bend" mode in the "Simple Deform Modifier":
"The Bend mode is more complex and less intuitive." 😄@Spikey:
Could you please tell me, what setting you've chosen as shrinkwrap projection method and why the target mesh has to be subdivided at least one more time than the shrinkwrapped mesh?
PS: How do I add member name with the profile image in a round shape?
![]() duerer Last things first: you add them just like you did, but use the complete username (you forgot the 'triple x') and mine is not capitalized. (When there's two names use the one between the brackets.)
duerer Last things first: you add them just like you did, but use the complete username (you forgot the 'triple x') and mine is not capitalized. (When there's two names use the one between the brackets.)
It's usually better to subdivide the target mesh more to get a better result, especially if you move some verts on the original mesh after creating the target. But, as you are using a Subsurf Modifier on the target mesh, you can give it the same amount of subdivisions as the original and see if you can get away with it and increase it if it's not enough, till you're satisfied with the result. As I presented this as a general method, I used a higher subdivision on the target. It's a 'helper mesh' that is not going to be rendered, so you don't have to be too carefull with the amount of vertices...
As for the Shrinkwrap, I just used the default settings:

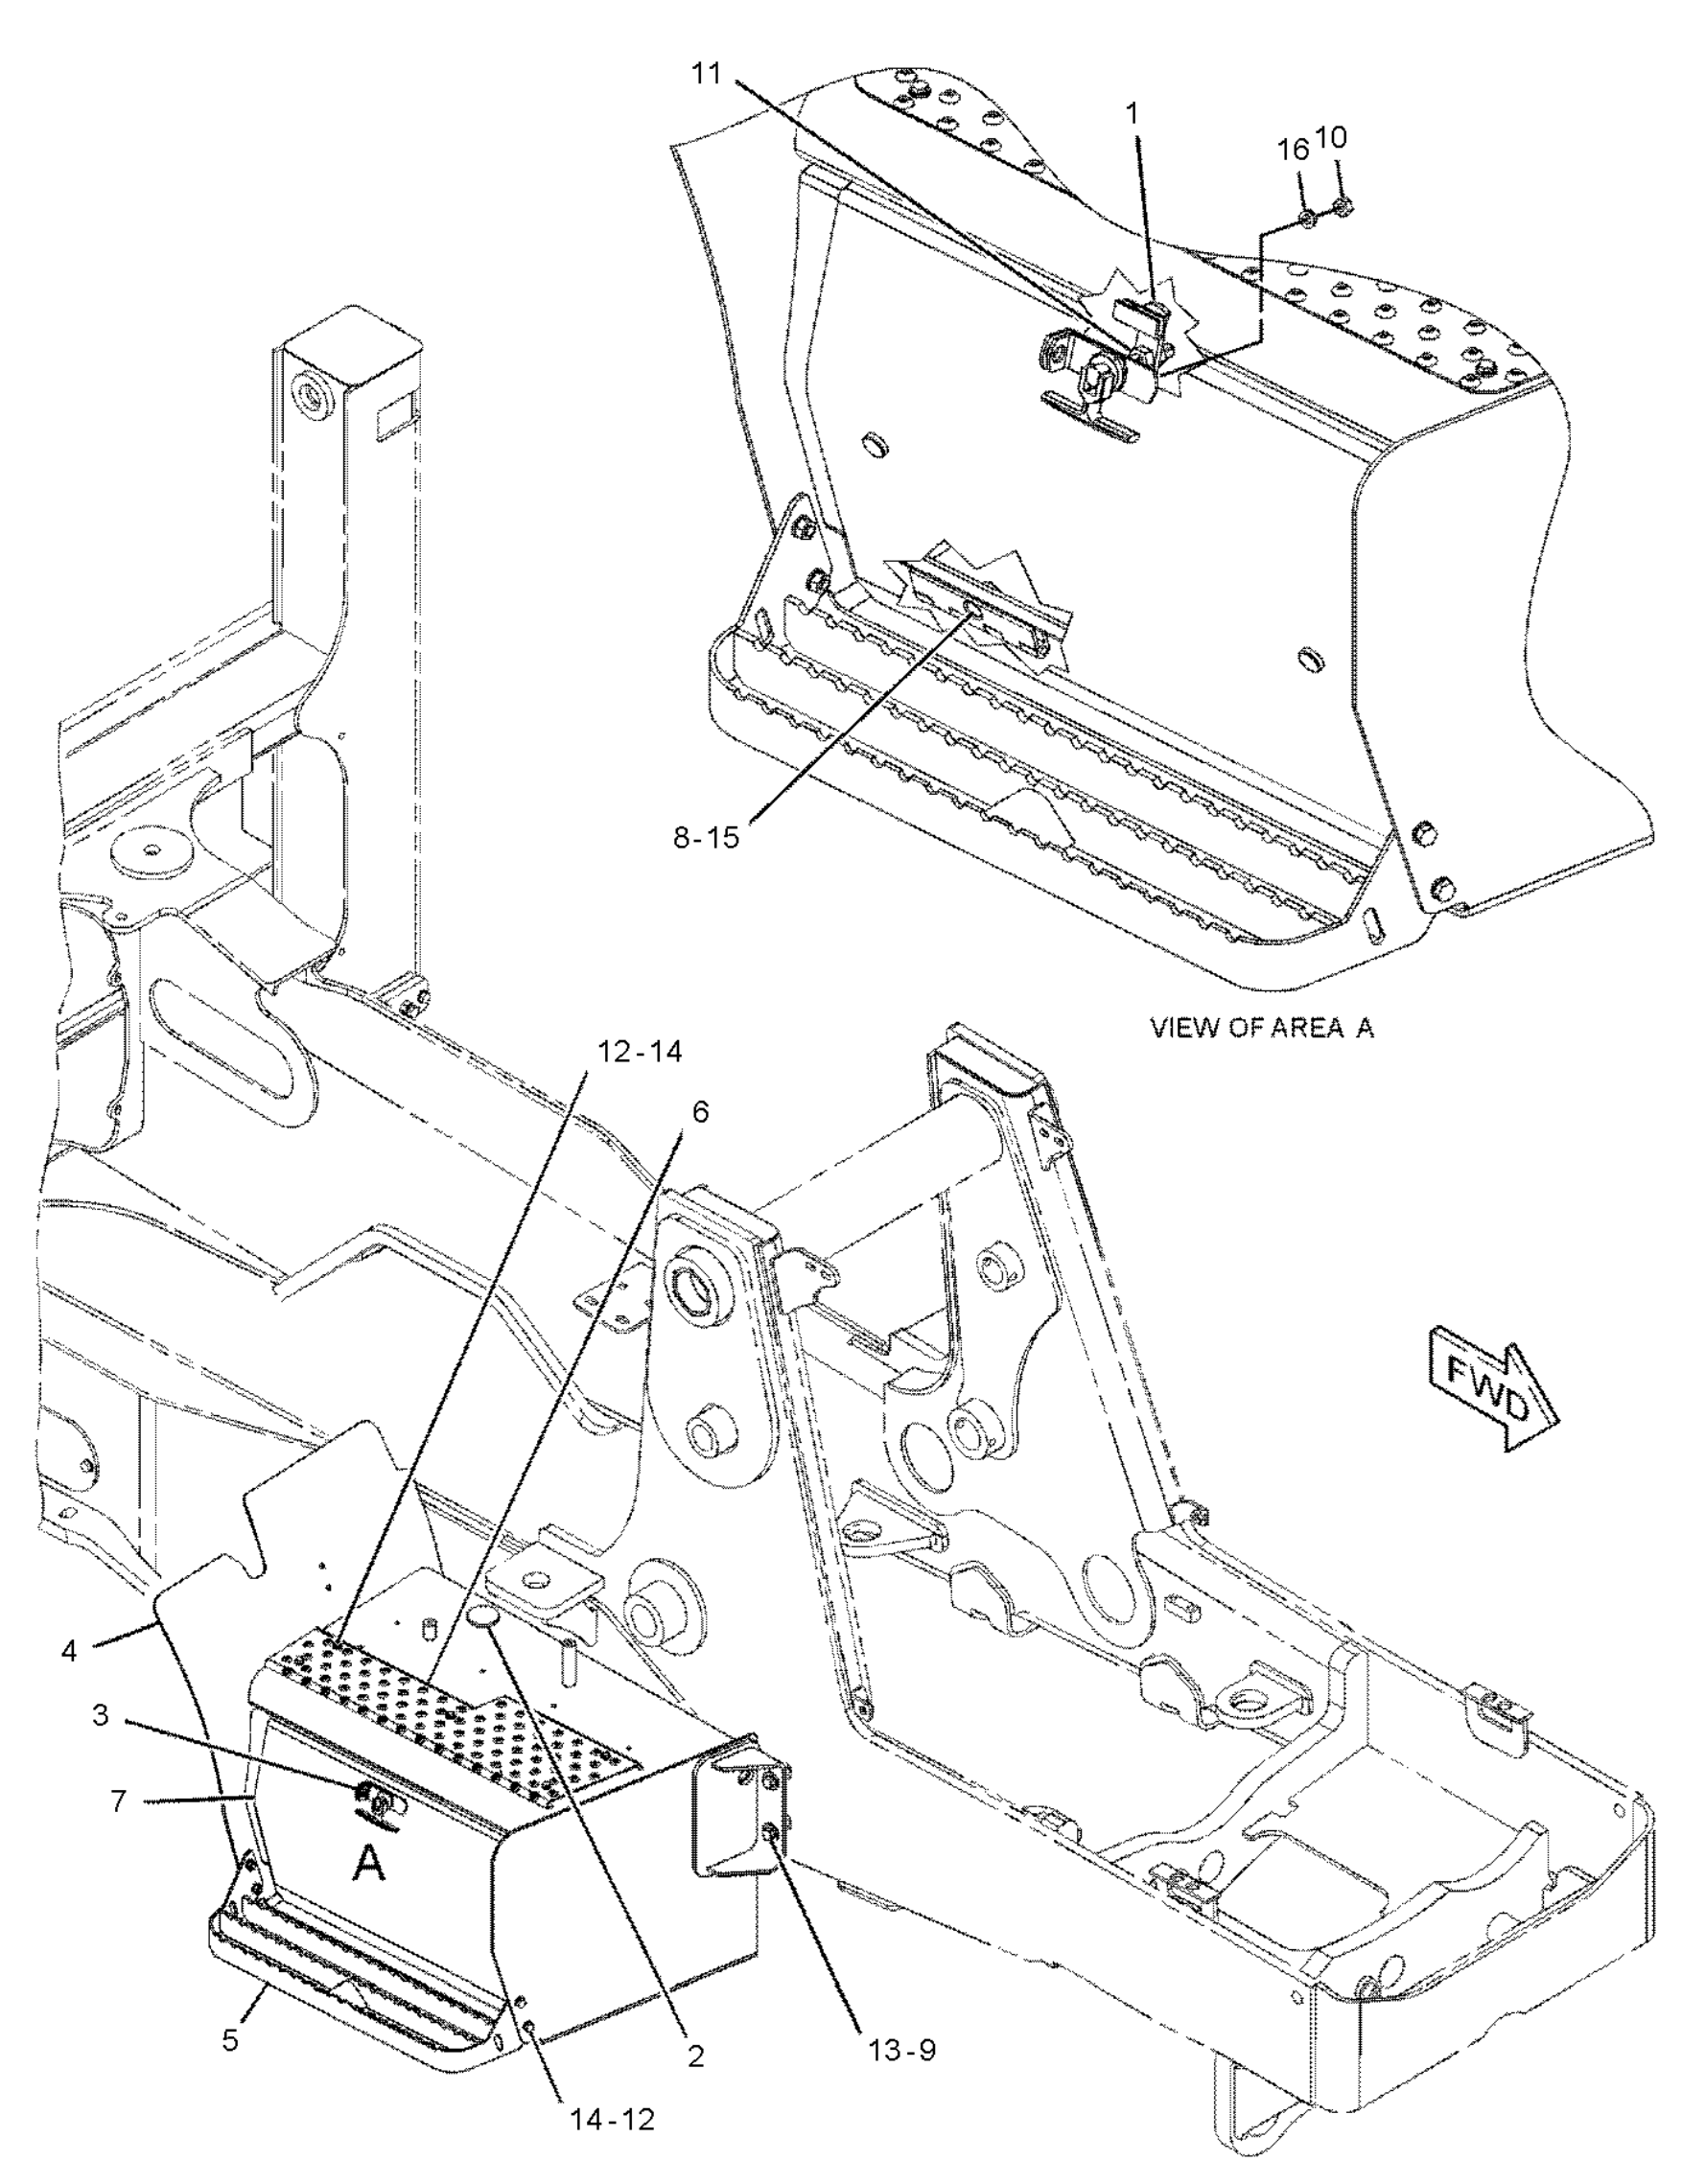
@adrian2301 You are doing the frame, the underneath part. There are some good views of it in the battery box blueprints, since they go hand in hand. Just in case they help you out.
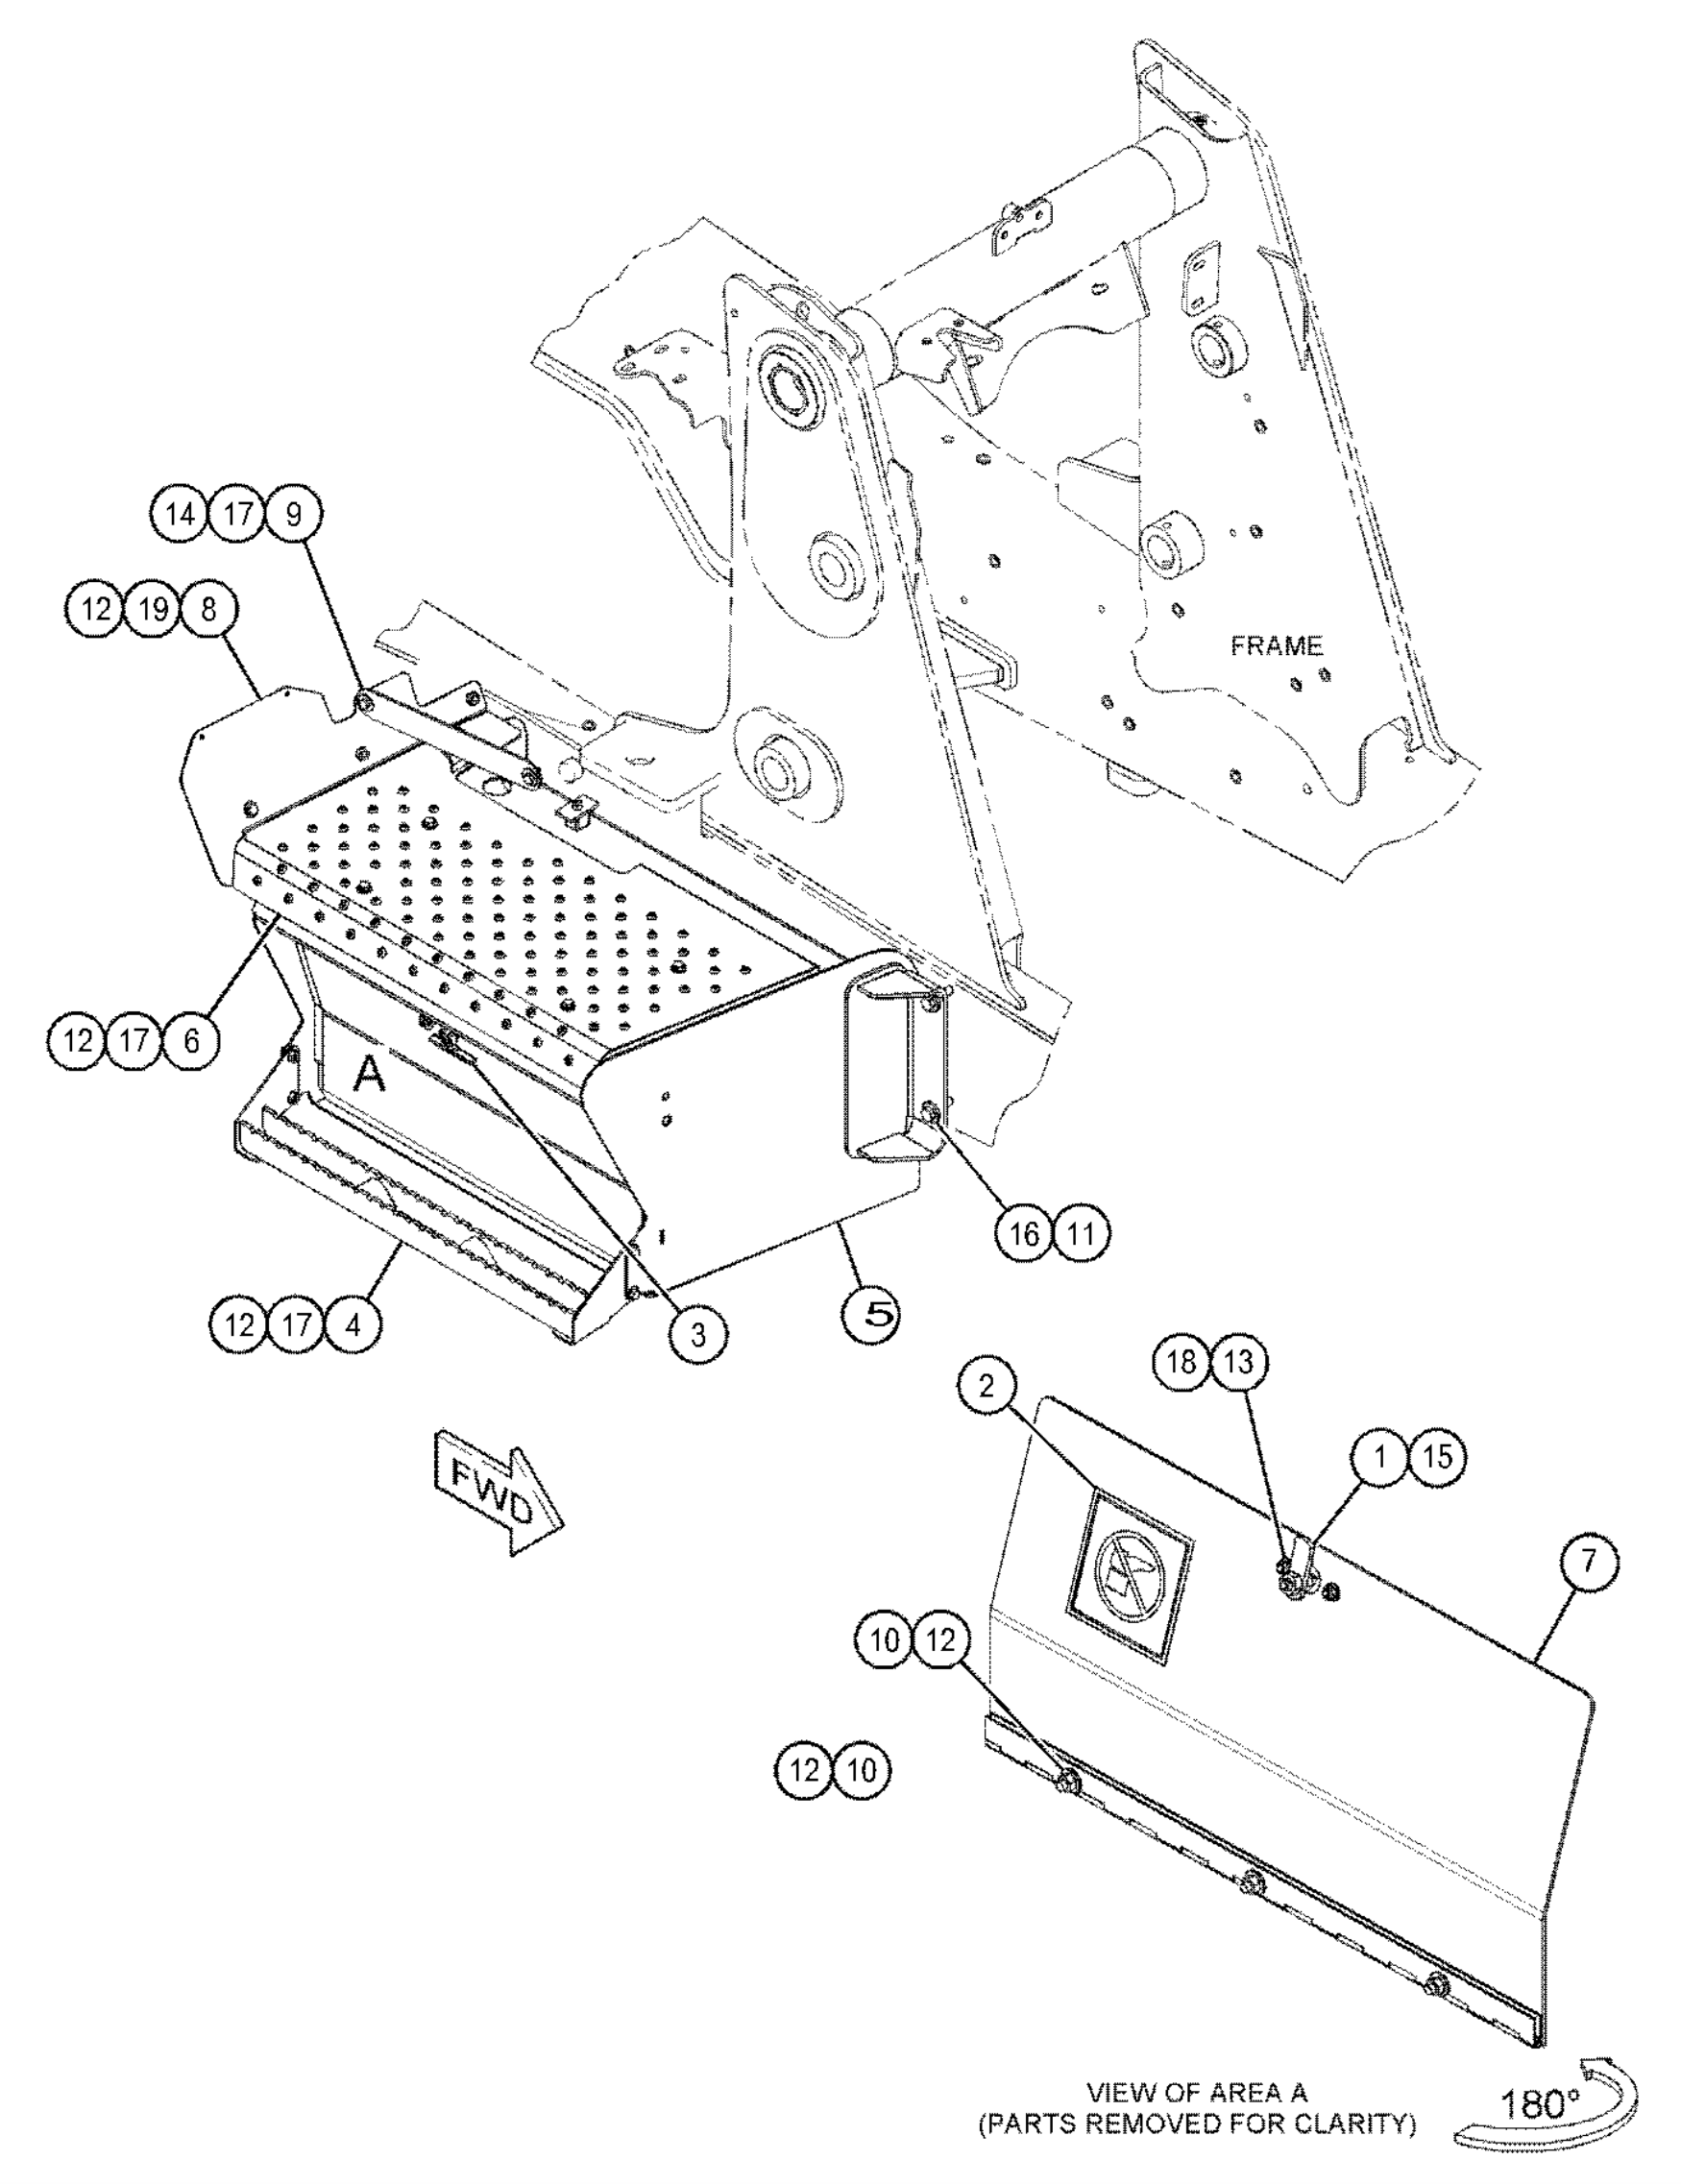
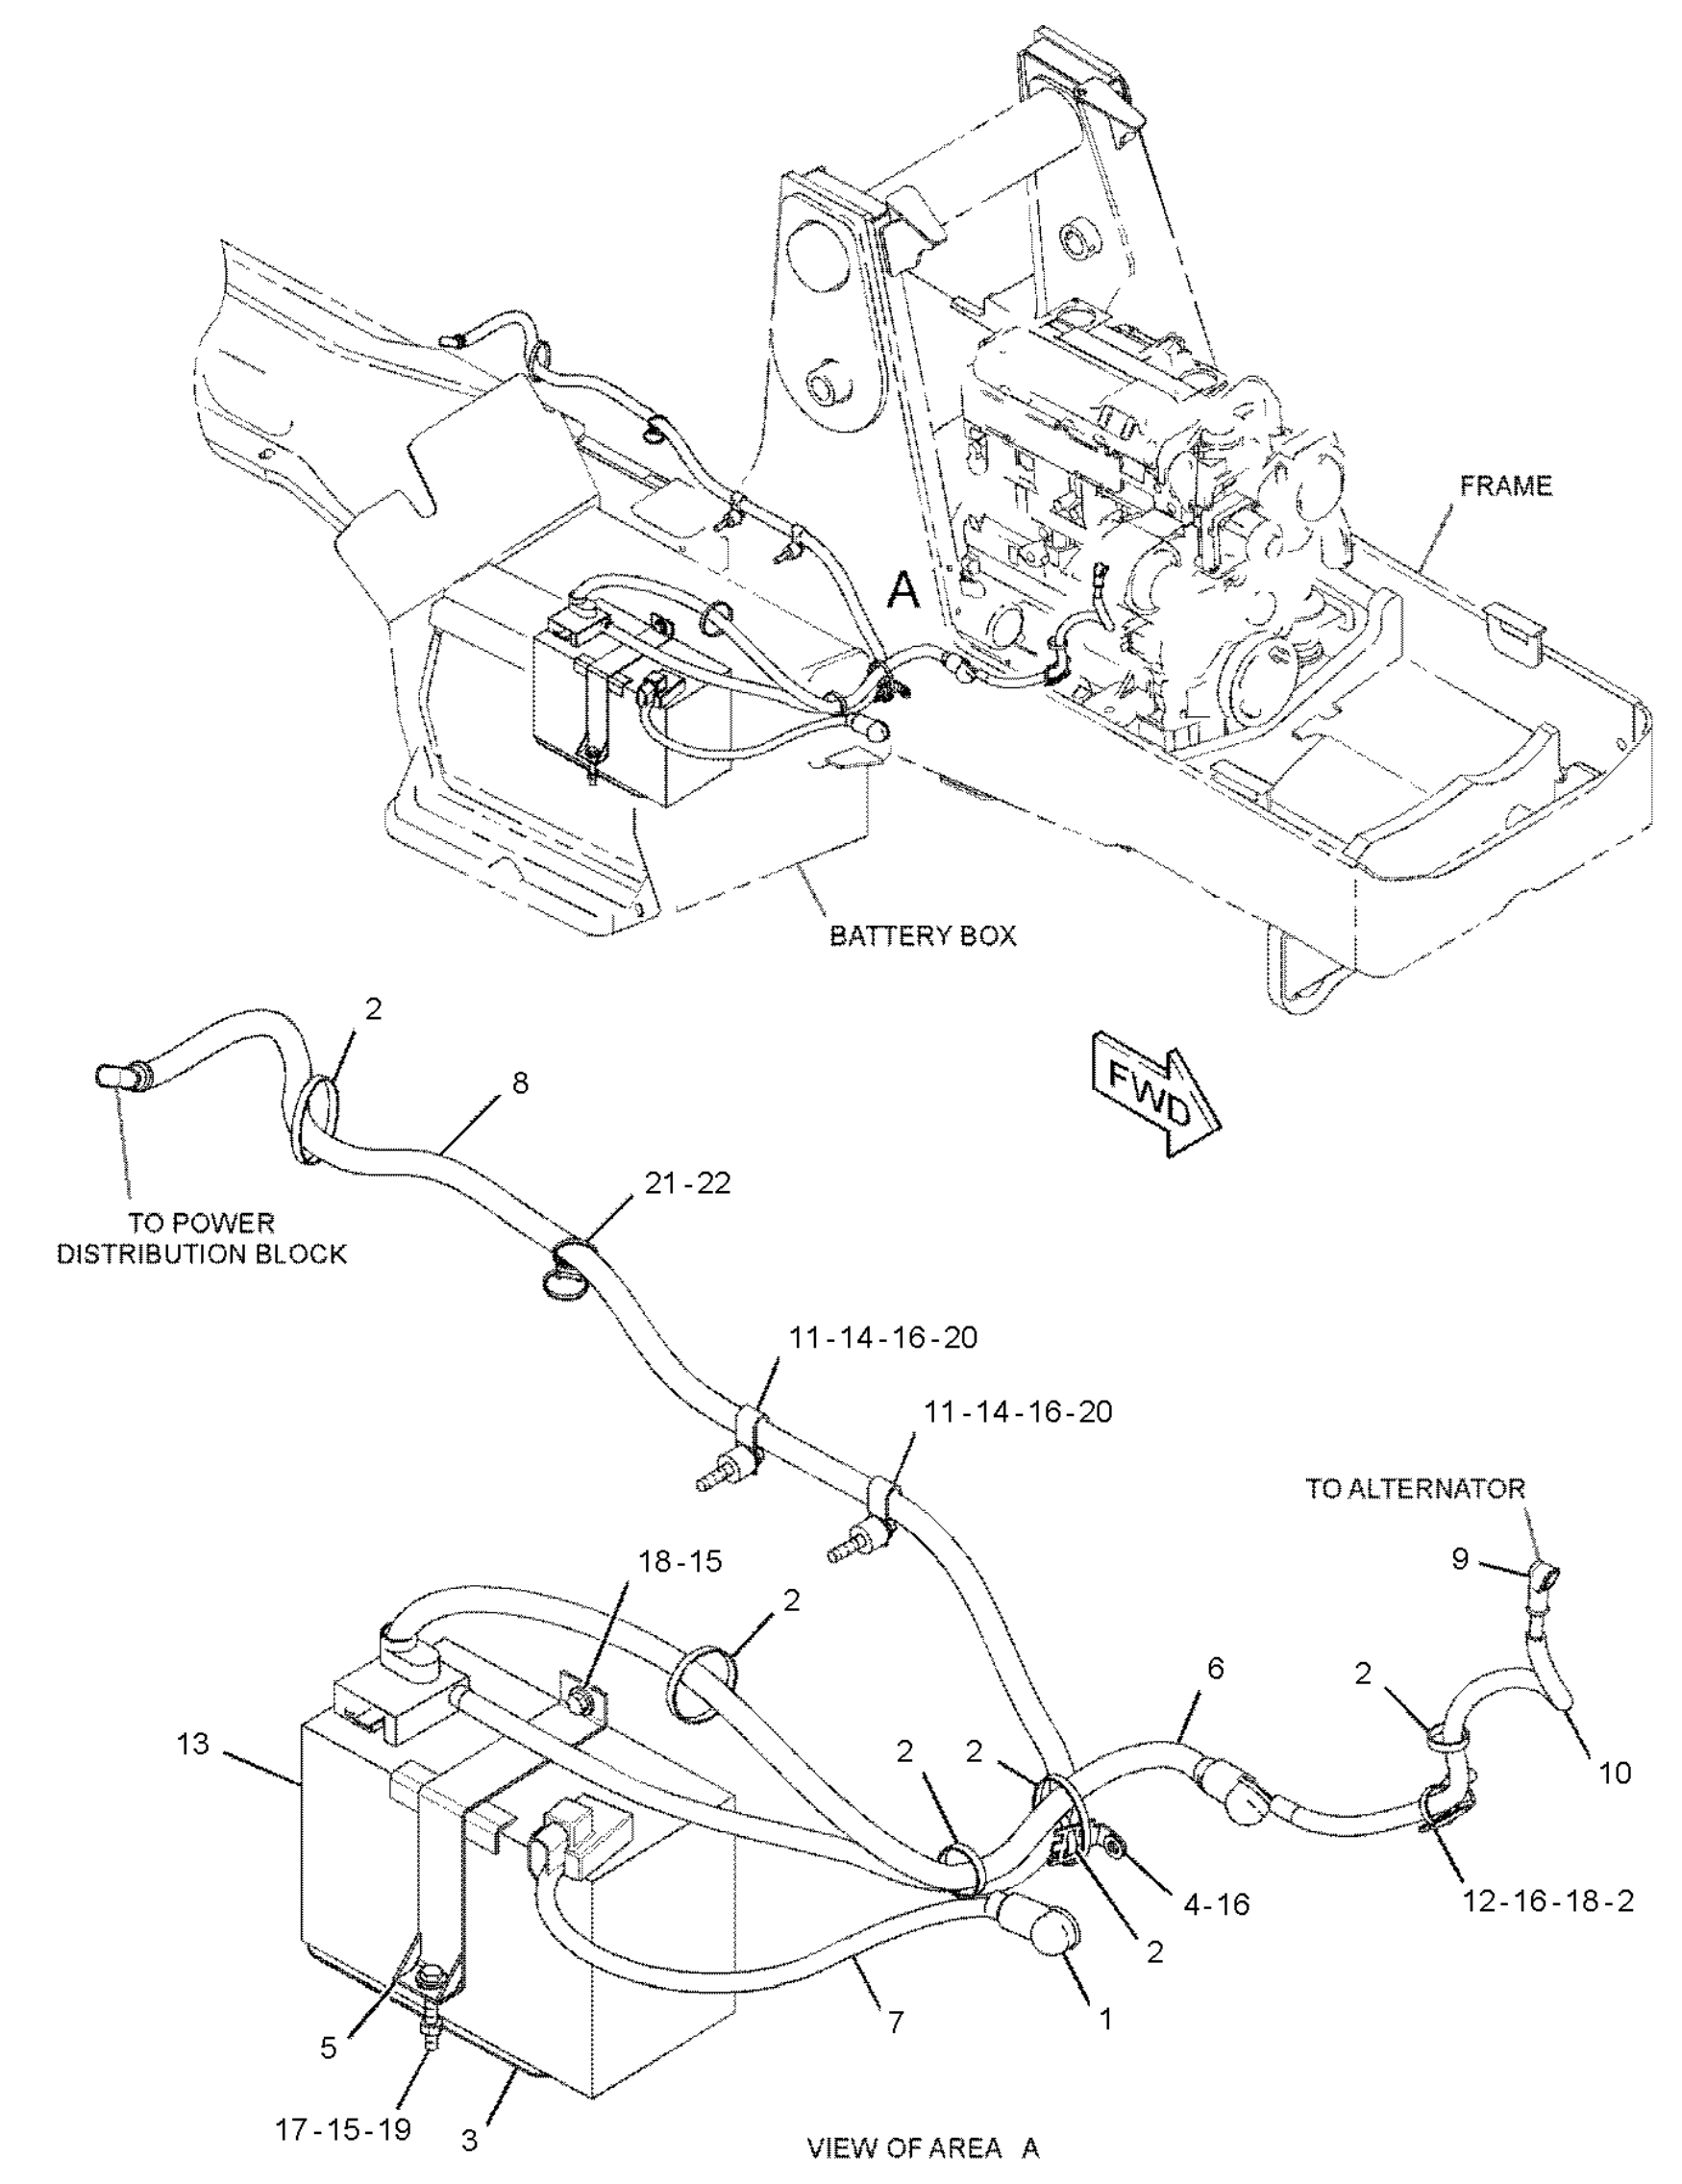
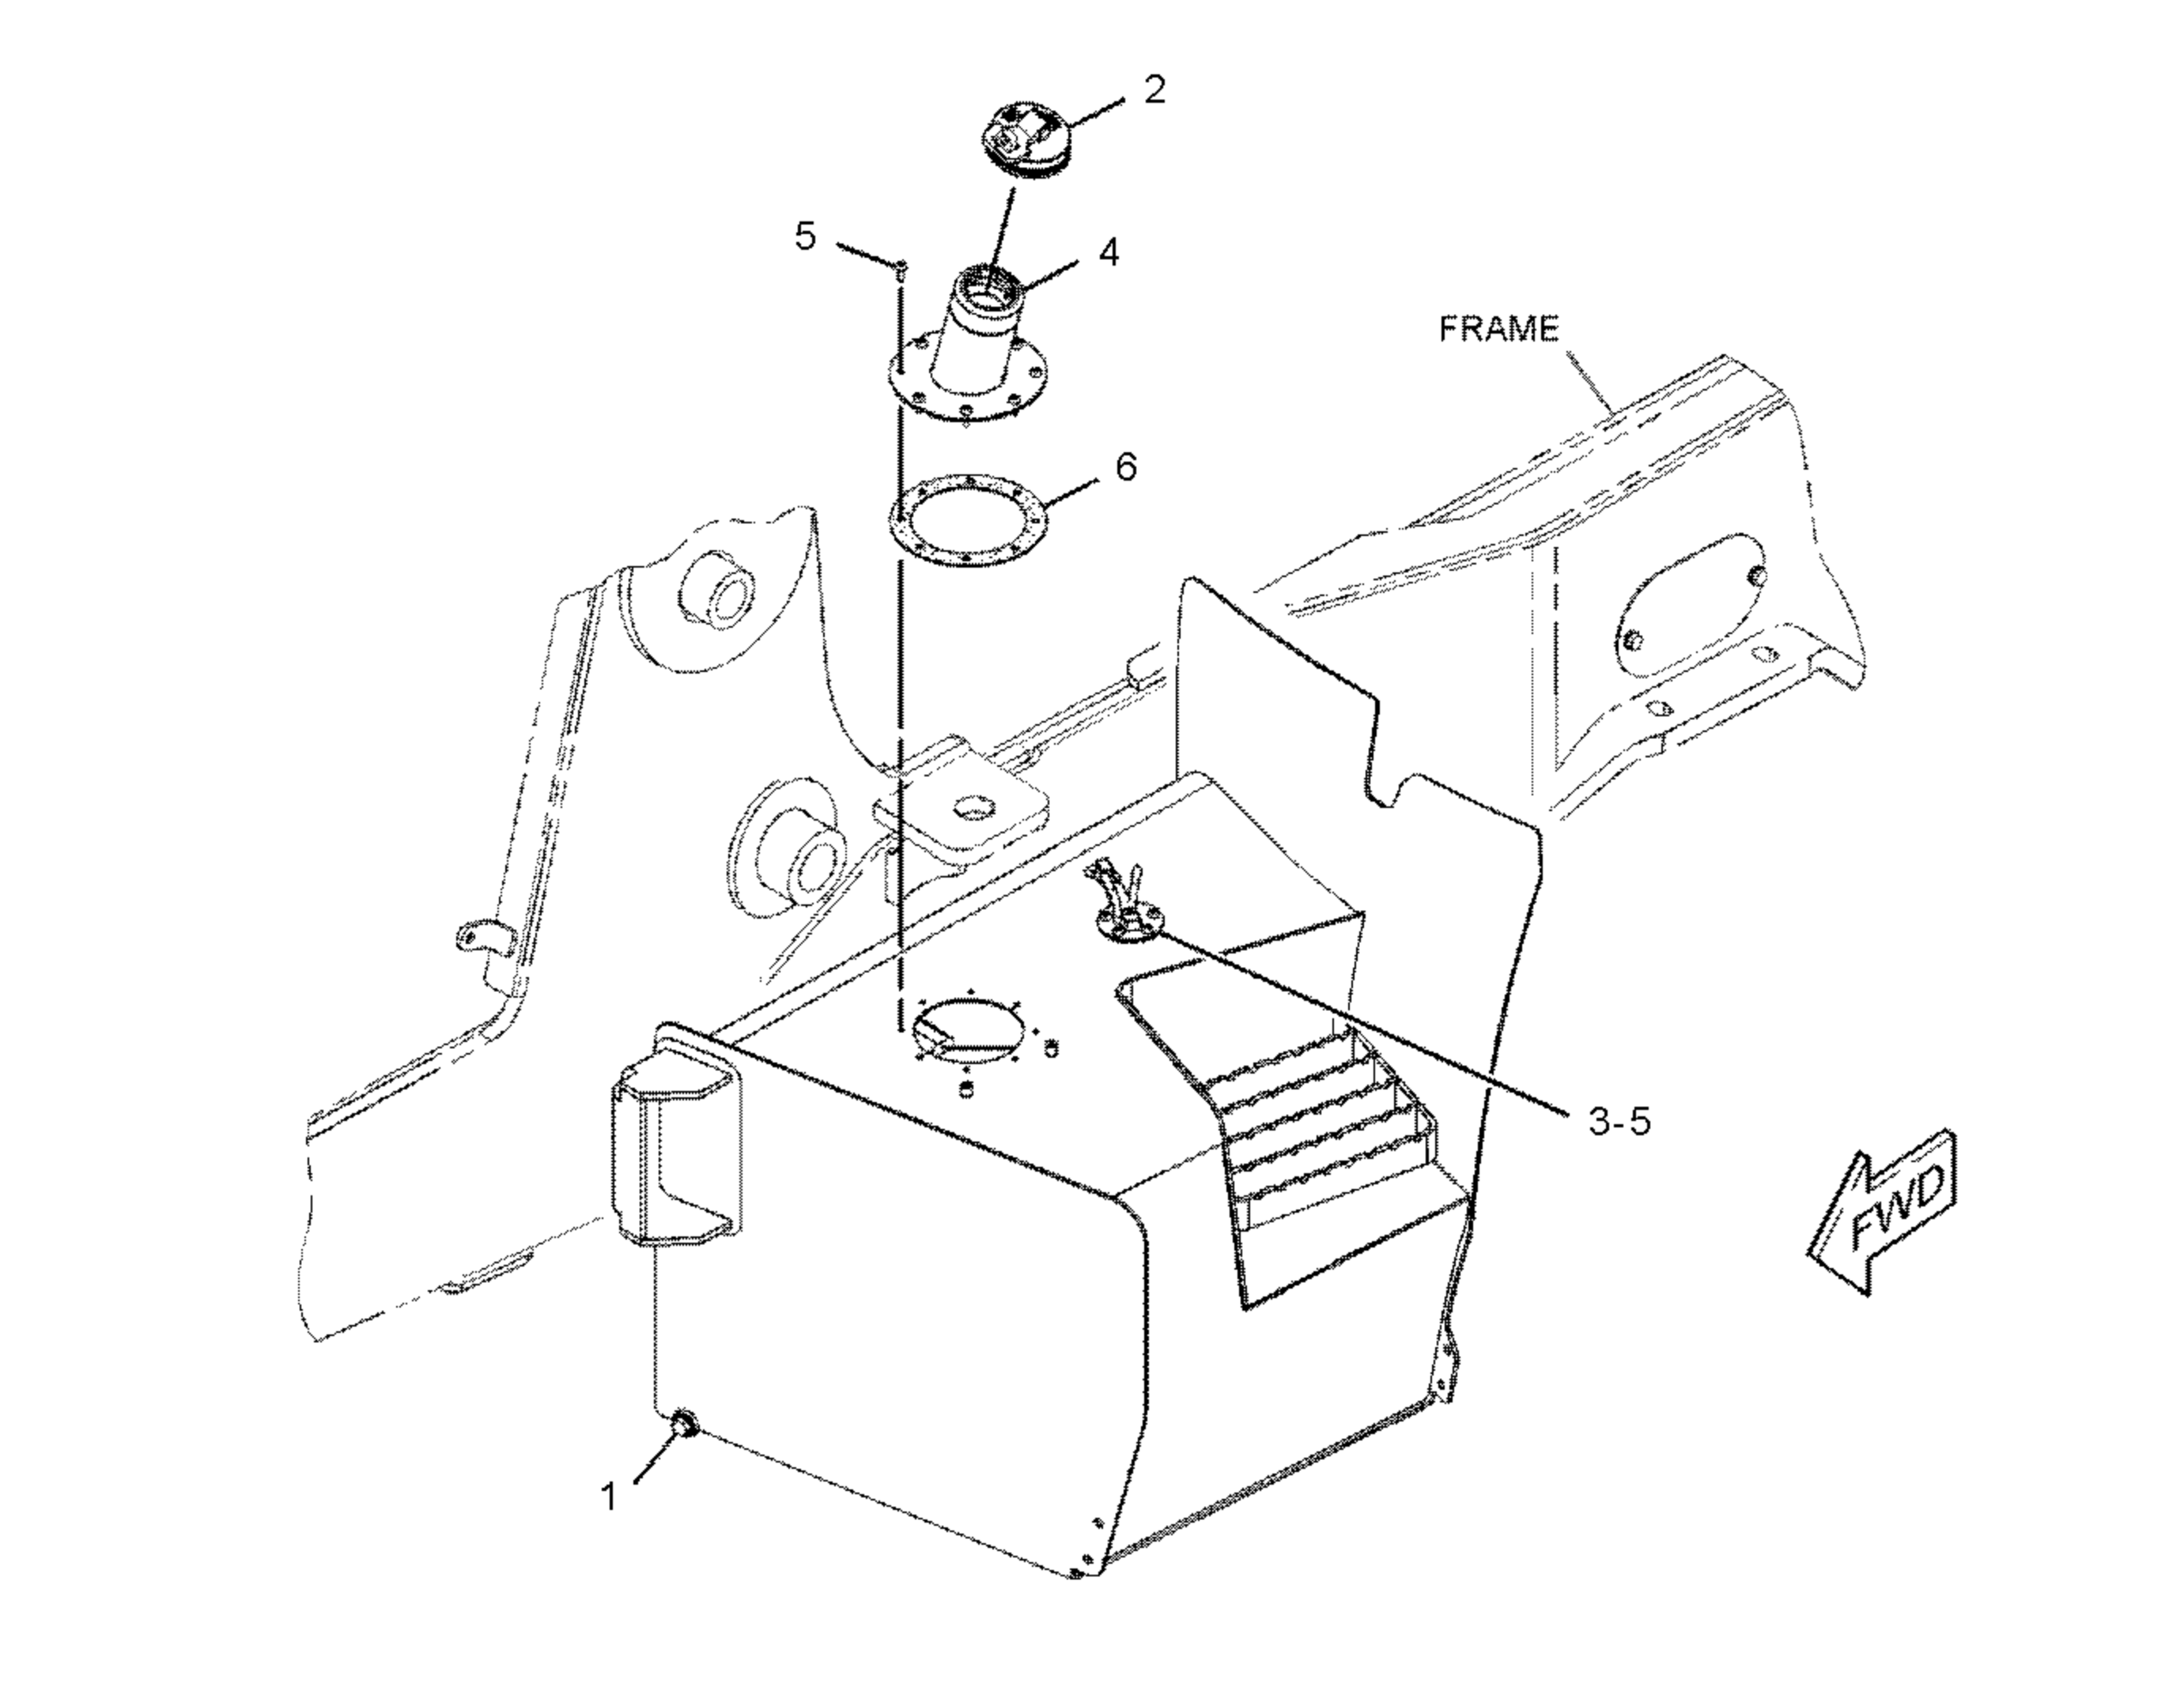
@theluthier Kent I added my part and commented on the thing with the link on the thing. Let me know if it worked please.
I think I kept it at 25% completion, maybe I got to 30%, an argument can be made for 32%.
EDIT: I updated the file, I forgot about something but now it's ok. I hope so. So if you downloaded it, downloaded it again please.
You can edit your post, I think you hit the arrow drop down menu and select edit and just edit "second" for "third".
Oh my god, the engine. That is some next level modeling on steroids. Lets just say our tractor runs on magic.