CLASS ANNOUNCEMENT #7 (July 5, 2018): BC3-1806 is officially over! The Class Wrap stream recording is available to watch and the closing post is on page 63. Please take a minute to fill out the Questionnaire 🙇🏻♂️
CLASS ANNOUNCEMENT #6 (June 20, 2018): Week 4's stream recording has been edited together - curse you computer freeze! - and is available to watch. This is the final week of the class! Spend some time sculpting a wild and crazy vehicle design and let's finish strong 💪
Also a reminder that we will be having a 5th stream to wrap up the class on July 3rd, so don't miss that.
CLASS ANNOUNCEMENT #5 (June 20, 2018): Check out Week 3's stream recording if you missed the broadcast! I also updated Week 3's homework for those of you that want to finish your vehicle exterior.
CLASS ANNOUNCEMENT #4 (June 13, 2018): Week 2's stream recording is now available to watch if you missed the broadcast. Also the additional timelapse video mentioned in the stream is available here.
CLASS ANNOUNCEMENT #3 (June 11, 2018): Week 1 is done! Thanks for getting your homework submitted on time. Here's a link to the report card if you'd like to keep track of your grades throughout the class. Onward to Week 2!
CLASS ANNOUNCEMENT #2 (June 6, 2018): Week 1's stream recording is now available if you missed it. Also I've secured a concept car blueprint thanks to the talented 2D/3D artist, Milen Ivanov (see page 9 of this thread to download it). This is the vehicle I'll be modeling and you're welcome to model it as well if you don't want to find your own!
CLASS ANNOUNCEMENT #1 (June 4, 2018): Class is in session! Today officially begins the BC3-1806 class. Please check the syllabus below for Week 1's focus and assignments. Begin watching the pre-recorded courses if you haven't already and begin searching for a cool vehicle you want to model. The first Live Event is tomorrow at 2pm EST - SEE YOU THERE! 😎
Vehicle model by Chris Kuhn on blendwap.com
Welcome to the CGCookie Class: Vehicle Modeling with Blender! Here by popular demand, this class is designed to be a holistic learning experience about the art of modeling vehicles. If you’re diligent in watching all content and hitting homework deadlines, by the end of the class you'll be prepared to build digital vehicles to your heart's content! This is an intermediate-to-advanced class which means you’ll do best by having some experience with Blender and 3D modeling before committing to this class.
This is the third "Class" format where Citizen members are invited to focus together on a particular topic/skill for a month. Participation looks like this:
WHEN? The class will take place from June 4th through July 2nd (ish)
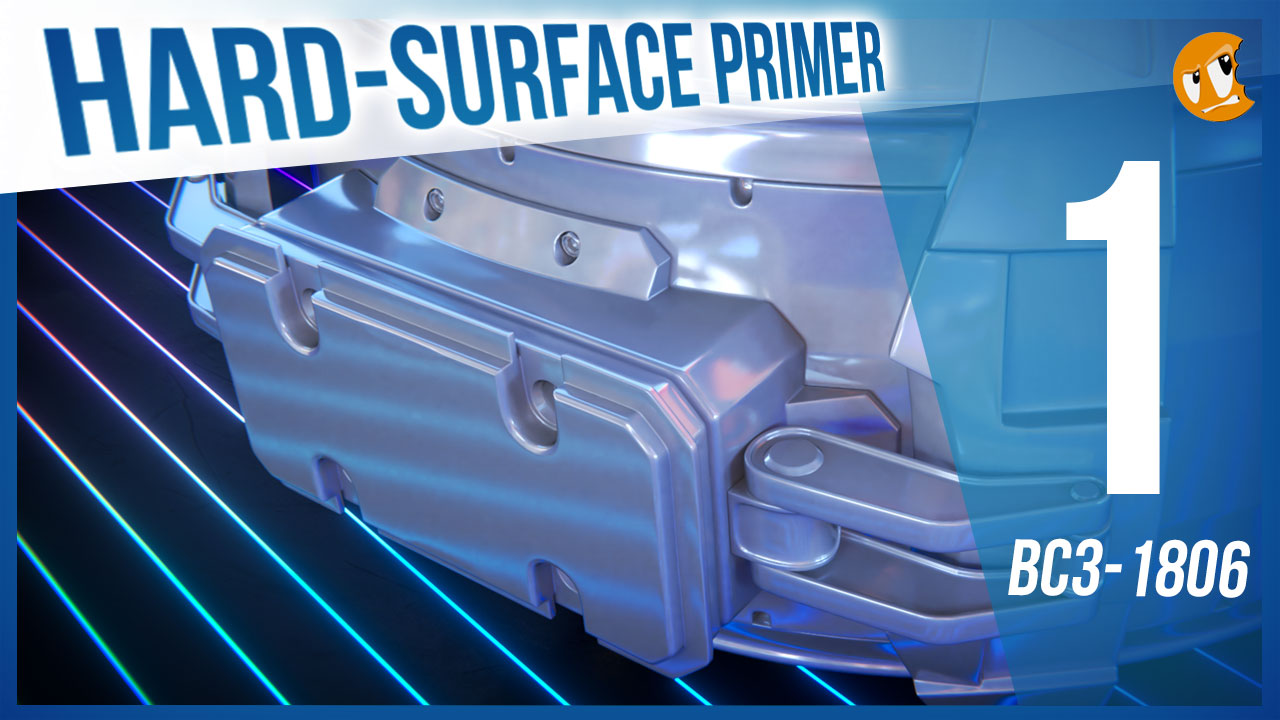
Abstract: Vehicle modeling is pure hard surface modeling. Therefore it's important to be proficient with general polygon modeling techniques. This first week we're ramping into this particular modeling skillset to prepare us for the vehicle modeling extravaganza to come!
Goal of the Week: Level-up and/or dust off your hard-surface modeling skills.
Pre-recorded course to watch:
Week 1 Live Event (Remember to RSVP!)
Homework:
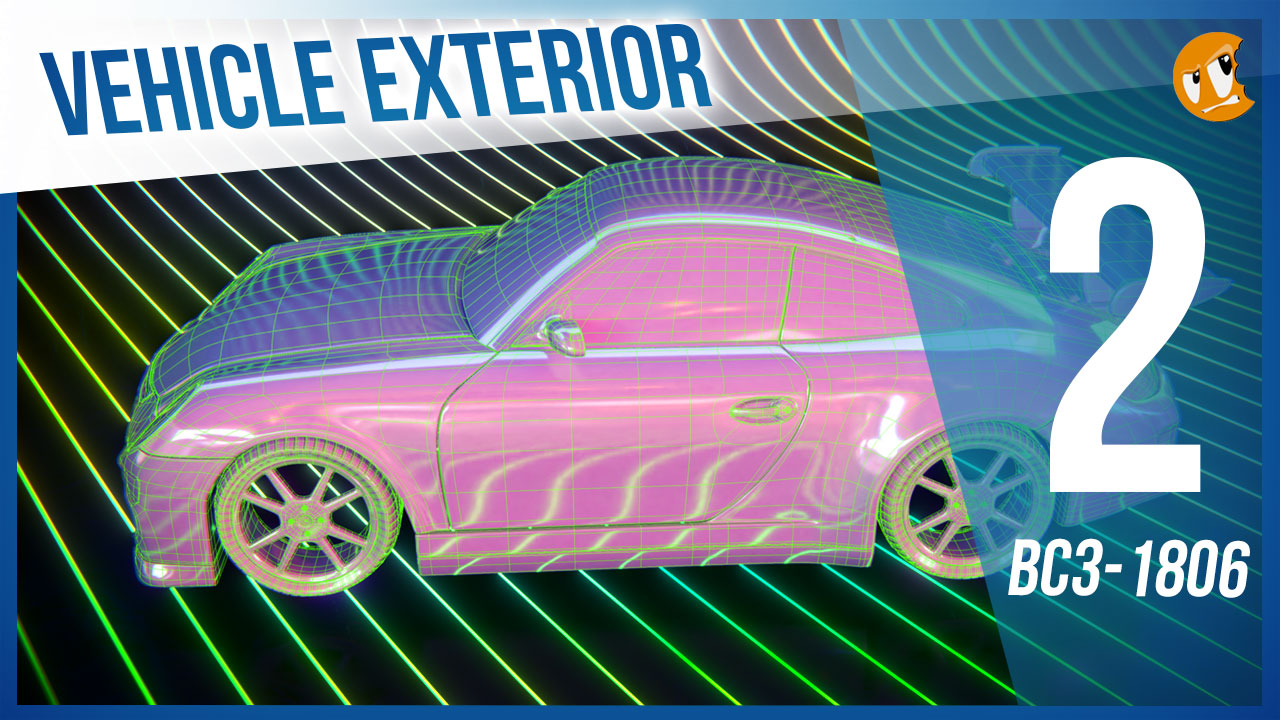
Abstract: When I say "Imagine a vehicle" I'll bet a million dollars you're thinking about the exterior. And that's why the exterior is important. It defines everything about a vehicle's visual perception: Style, utility, purpose. This week we're going to build a vehicle exterior based on concepts like building to scale and building from blueprints.
Goal of the Week: Build the exterior of your chosen vehicle based on blueprints. This will be good practice in strict adherence to orthographic front/side/back/top view modeling.
Pre-recorded courses to watch:
Week 2 Live Event (Don't forget to RSVP)
Homework:
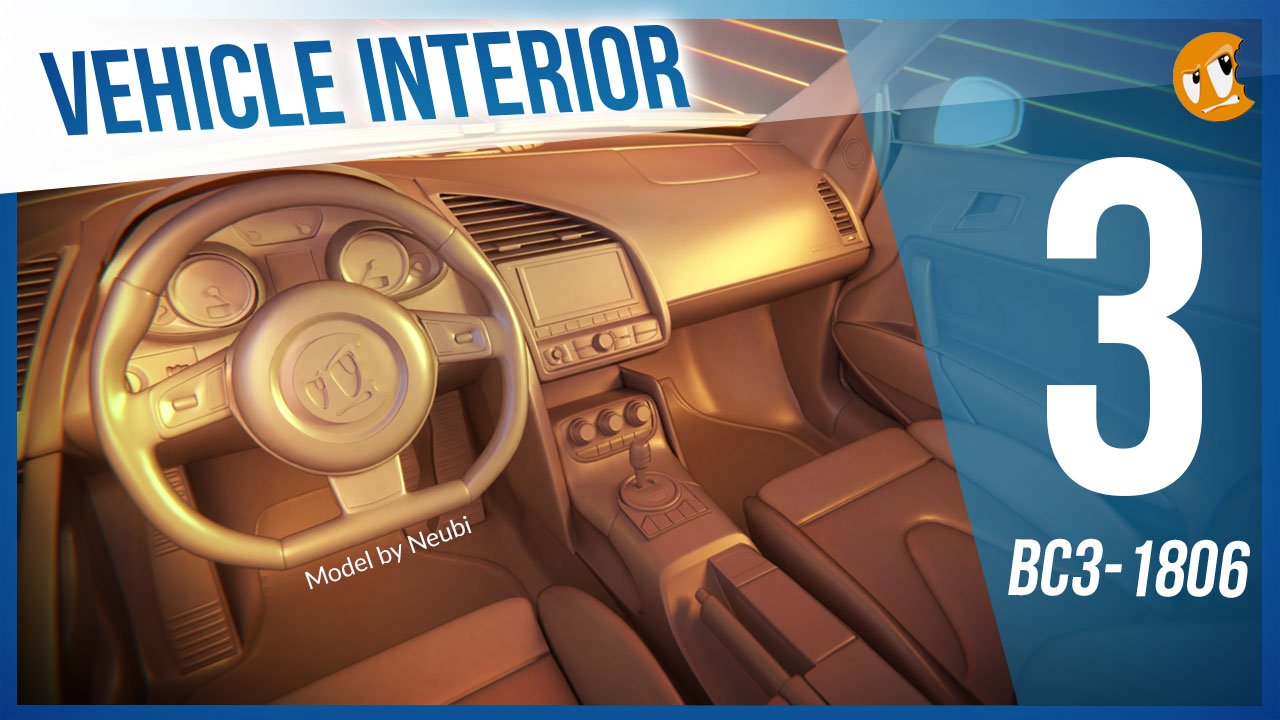
Model by Neubi on blendswap.com
Abstract: The insides of vehicles involve more organic, soft shapes as well as opportunity for lots of fine hard surface details. Often vehicles renders focus on the exterior where the interior can be hidden or approximated. But not in this class!
Goal of the Week: Model the interior of your chosen vehicle to gain experience with fine hard-surface details in a confined space.
Pre-recorded courses to watch: Admittedly we don't have much in this context specifically...
Week 3 Live Event (Don't forget to RSVP)
Homework:

Abstract: There's another facet of vehicle modeling that doesn't involve strict adherence to blueprints. Instead, Concept Sculpting is about designing a vehicle from scratch using the artistic approach of digital sculpting. This can be an extremely fun, experimental method for creating unique vehicles.
Goal of the Week: Sculpt a vehicle exterior from scratch; Practice hard-surface sculpting techniques.
Pre-recorded courses to watch: Again we don't have much in this context specifically, but we have a couple courses that cover hard-surface sculpting in general:
Week 4 Live Event (Don't forget to RSVP)
Homework:
This thread is reserved for CG Cookie Citizens that are participating in the "Vehicle Modeling with Blender" class. Its purpose is to serve as central communication for all participating Citizens (excluding Hobby plan Citizens) to ask Kent and fellow participants questions and to post homework. As the instructor of the class, Kent will be monitoring this thread on a daily basis (especially Mon-Thurs) throughout the month of June to review homework and answer questions.
Free members are welcome to observe the thread but please respect that communication is reserved for Citizens.
Homework Submission Week 2
For this week I'm submitting my work in progress on the car exterior with the goal of submitting the completed exterior for week 3, in lieu of the interior. I will attempt the interior but I don't think it likely I'd have it done in time for Sunday. Maybe I could aim for week 4, along with the sculpting exercise if that's ok?
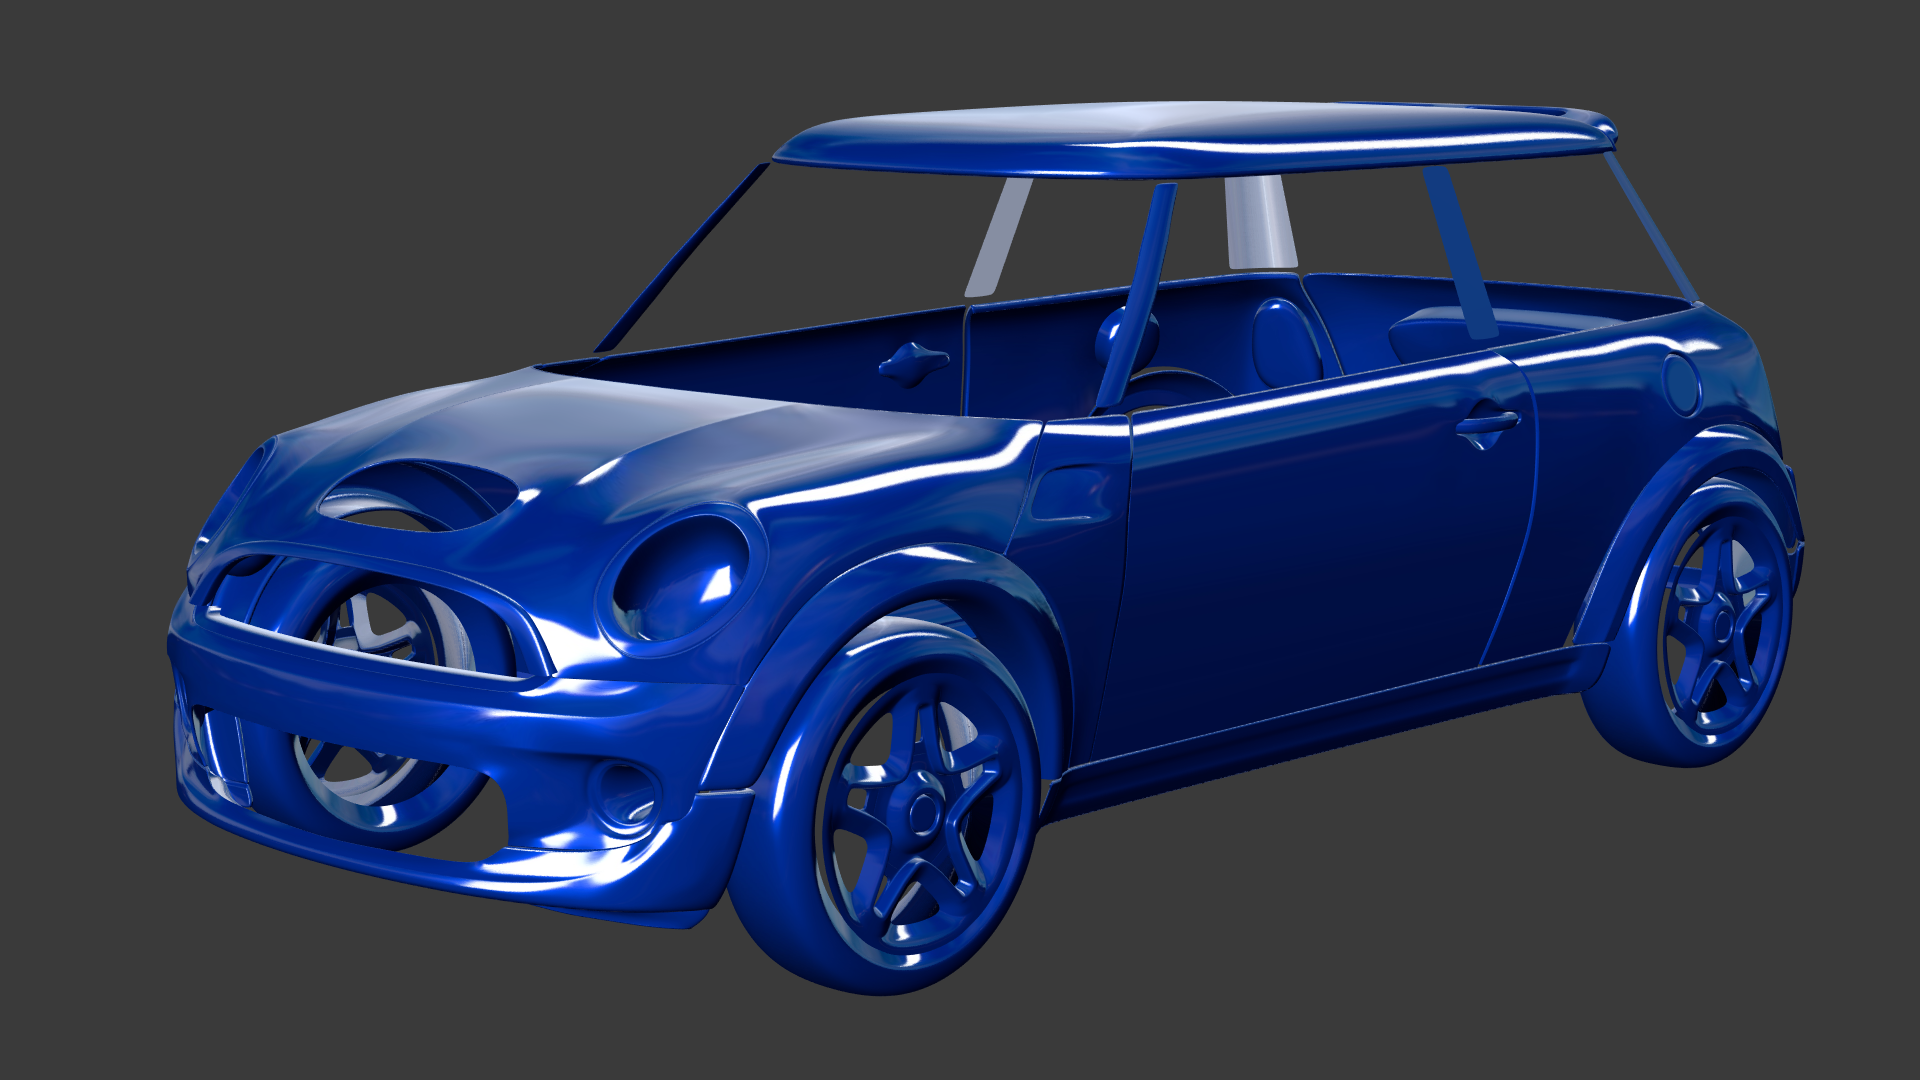
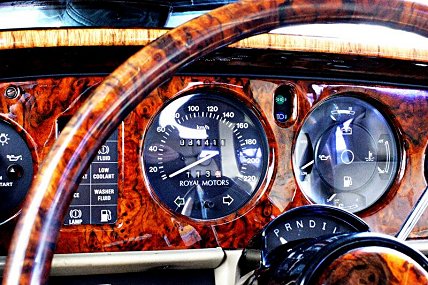
Hey I know this is a modeling class, not a shading class, but I don't suppose anyone would have the *faintest* clue as to how to make this wood panel a shader? Not very experienced when it comes to that.
Hey there !
I was working on the interior (and some exterior touches) and wanted to look at it with a base texture and find a color that looks cool on it :)
Day 1 done!
Decided to take it easy today due to the fact I've pretty much lived on Blender the past week, to the point where when I went to take a shower I only used shower gel on half my body whilst thinking "Ah I'll just apply a mirror modifier," before realizing what a total idiot I was.
Didn't really model the interior, but instead decided to "stretch" the limo from 14 inch to 36 inch, mostly because the interior of the 14 inch just kinda looks like a slightly stretched standard car interior, whereas the 36 inch is a lot more "limo-y". Here's a before and after:
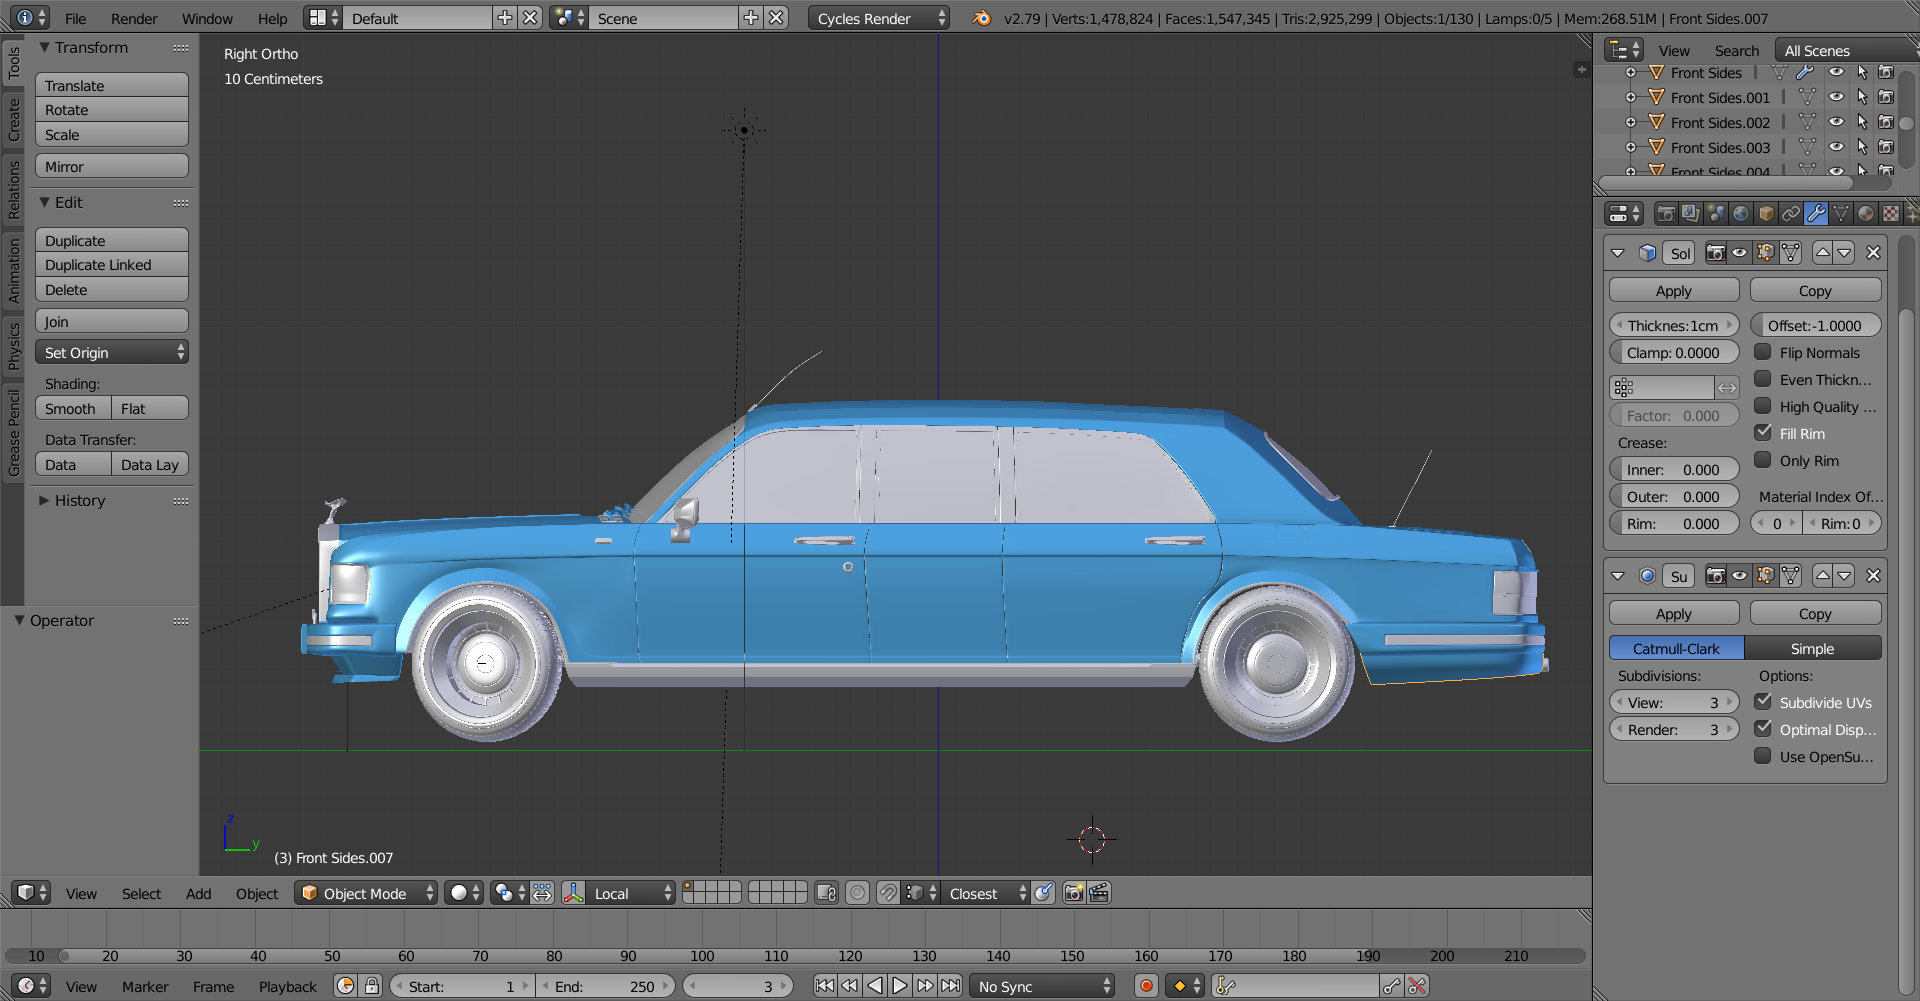
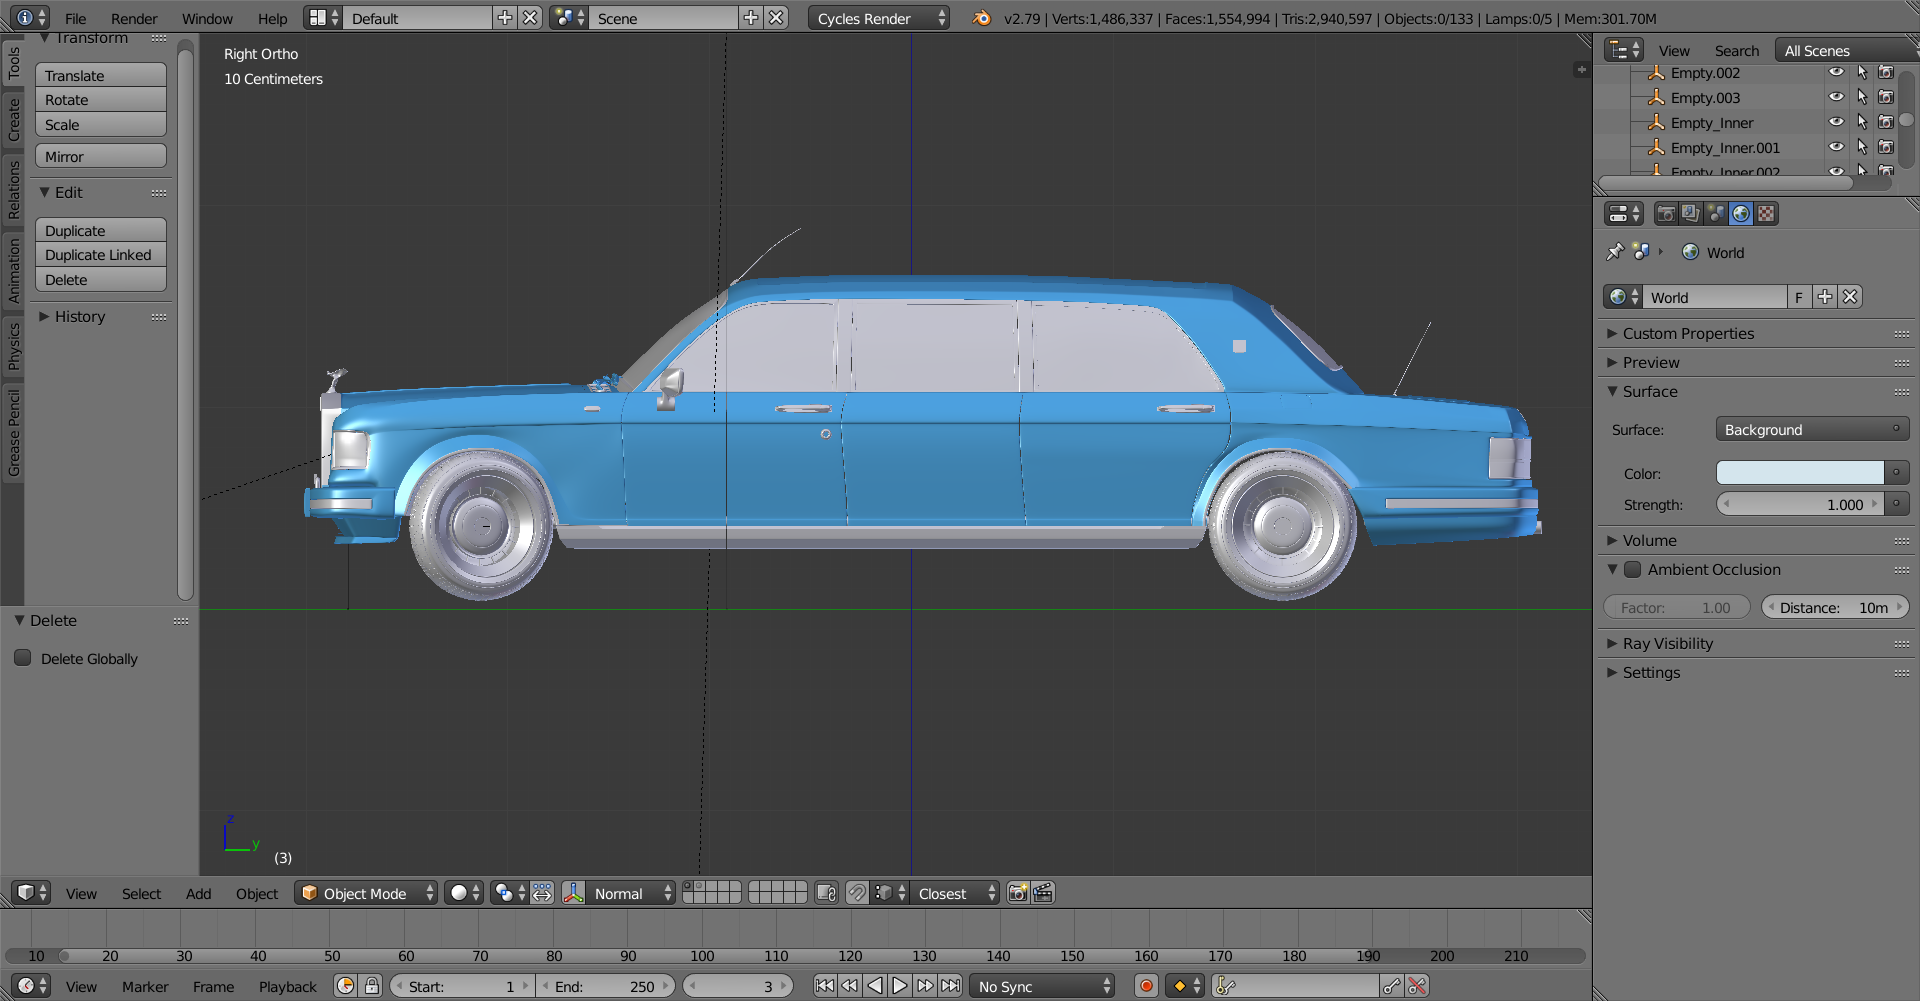
Not a massive difference admittedly, but enough to add some cool details.
Speaking of details I decided to model some of the props for fun, namely the champagne bottle. Not *quite* finished with some of the smaller details (like the edges around the bottom) or the materials but I like what I've got so far:
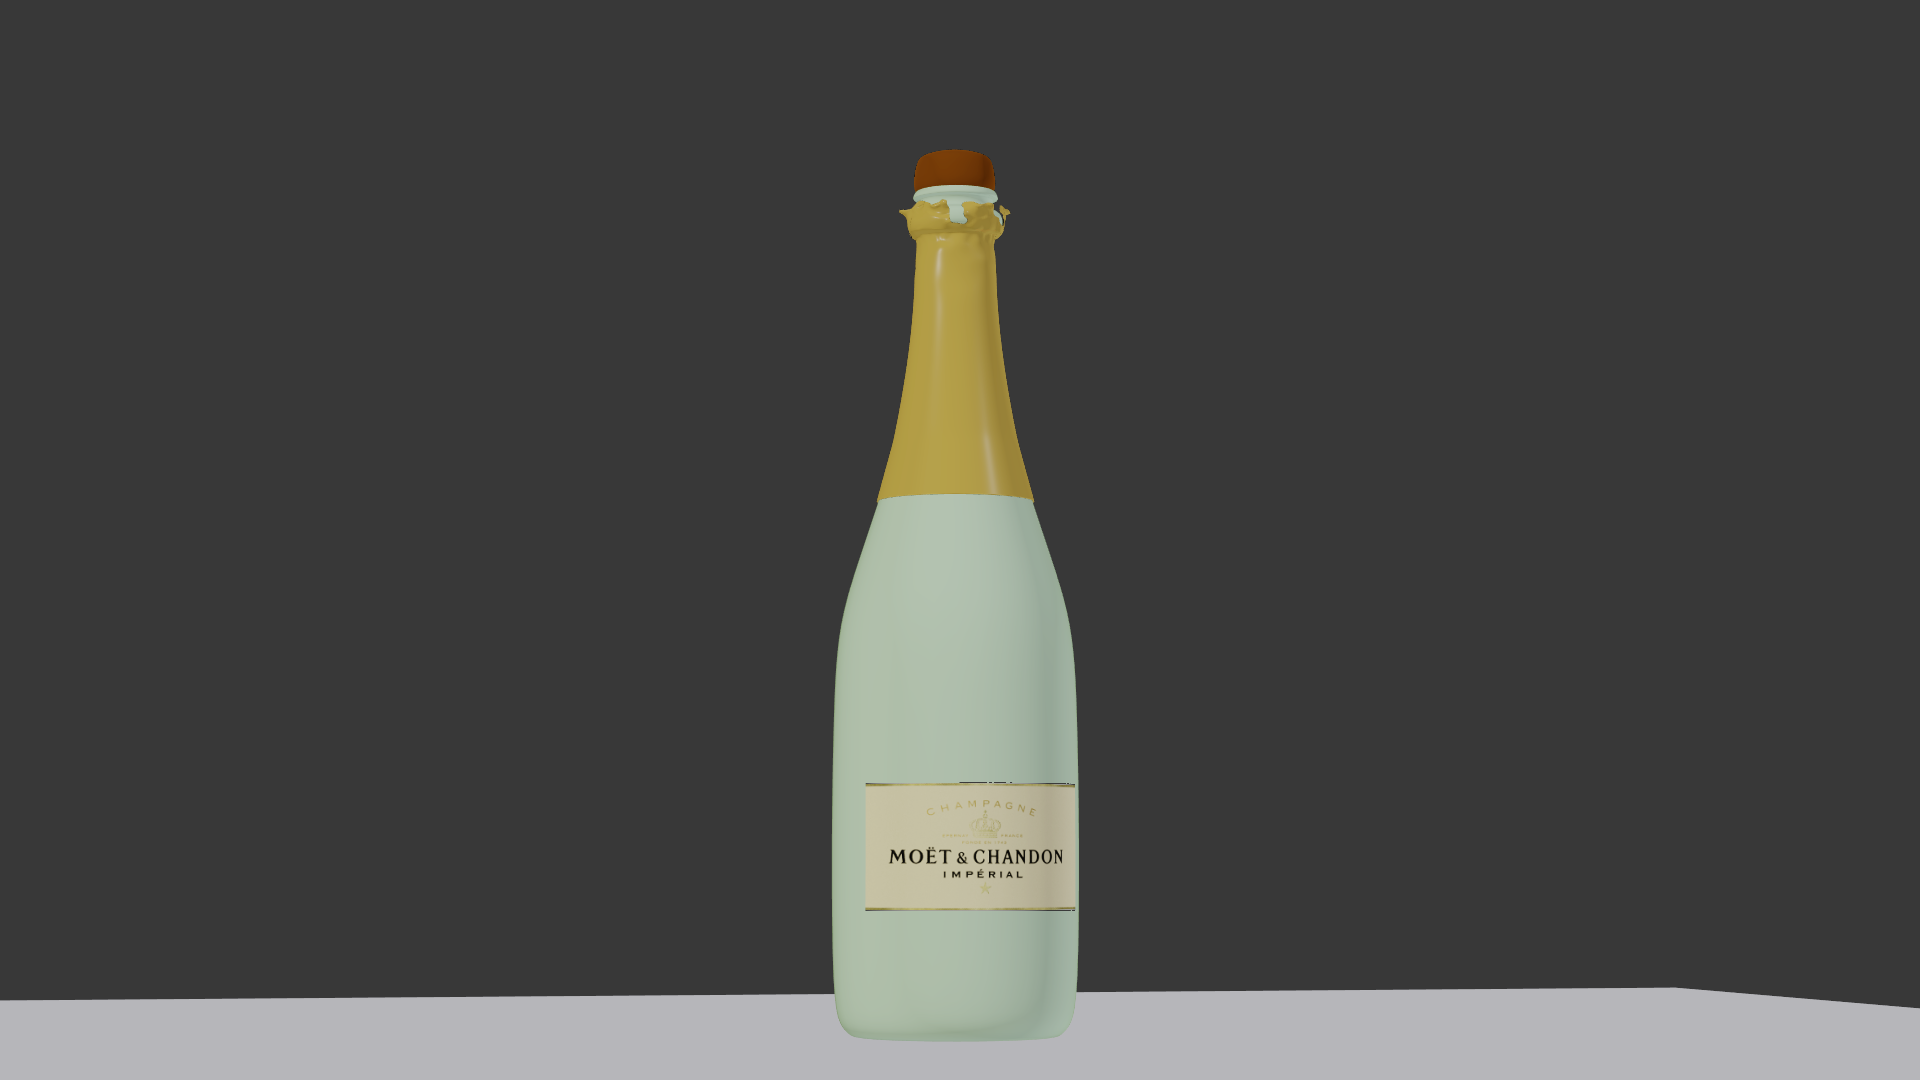
Unfortunately had to do OpenGL rendering because I don't have the memory for CUDA GPU rendering and I'm too impatient for CPU. Well with that done I wish you all the best in the coming days!
![]() thecabbagedetective It looks like a couple of noises with different sizes, bit of distortion and a color ramp would do it.
thecabbagedetective It looks like a couple of noises with different sizes, bit of distortion and a color ramp would do it.
![]() thecabbagedetective it kind of have similar pattern to marble, I'd use the musgrave texture (severall, different scale for each and mix or multiply then) to get this. Then add an extra layer of glossy shader at the end because it really seems to have a lot of coating layers.
thecabbagedetective it kind of have similar pattern to marble, I'd use the musgrave texture (severall, different scale for each and mix or multiply then) to get this. Then add an extra layer of glossy shader at the end because it really seems to have a lot of coating layers.
Take a look at the shaderforge part on the marble, that I'm sure will help!
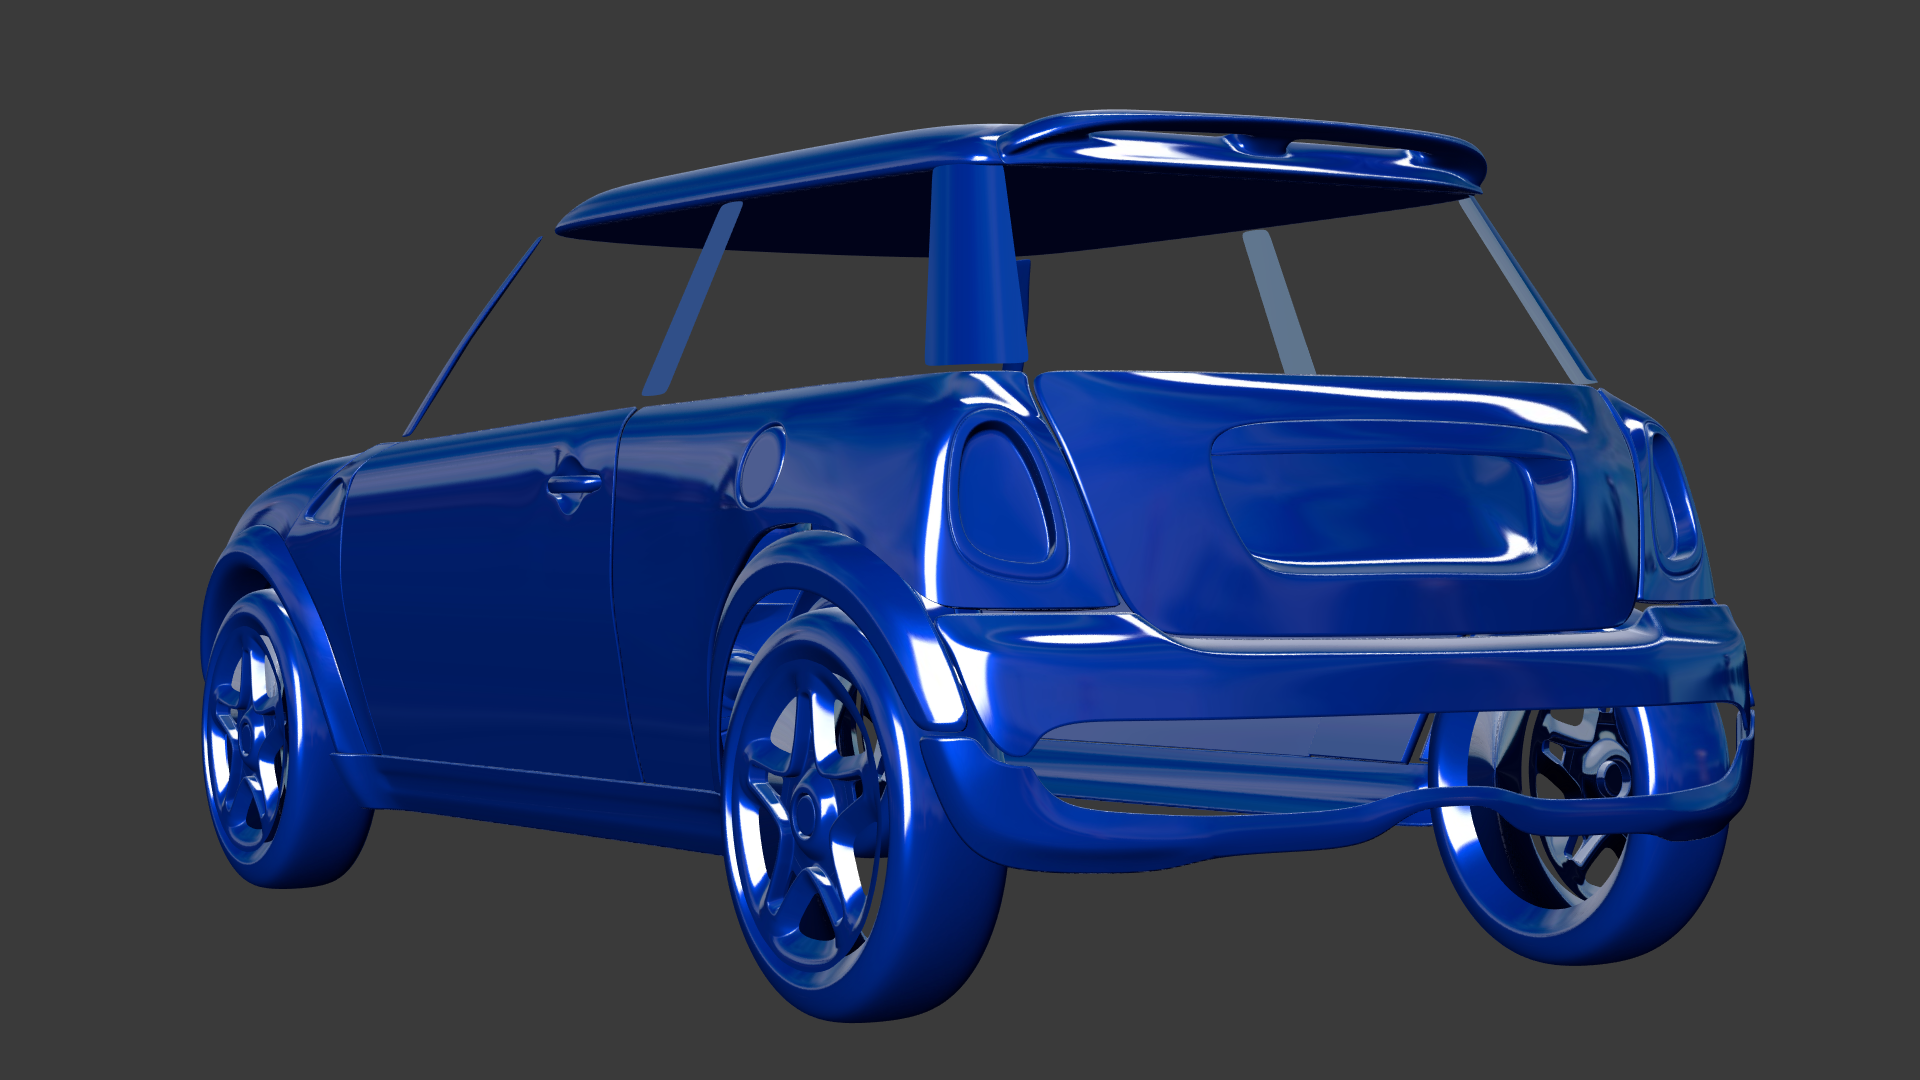
Added some additional details to my car during Monday like inside of fenders, headlights, changed fog light from squareish to cylindrical and added detail around it, added roof details, and reworked the back part, started over on the mirror and its connection to the car wich is not finished yet.
Next update will need to wait till the class is over as i start to work on the interior.
I had to take a break Monday; but Tuesday night and it's back to work.
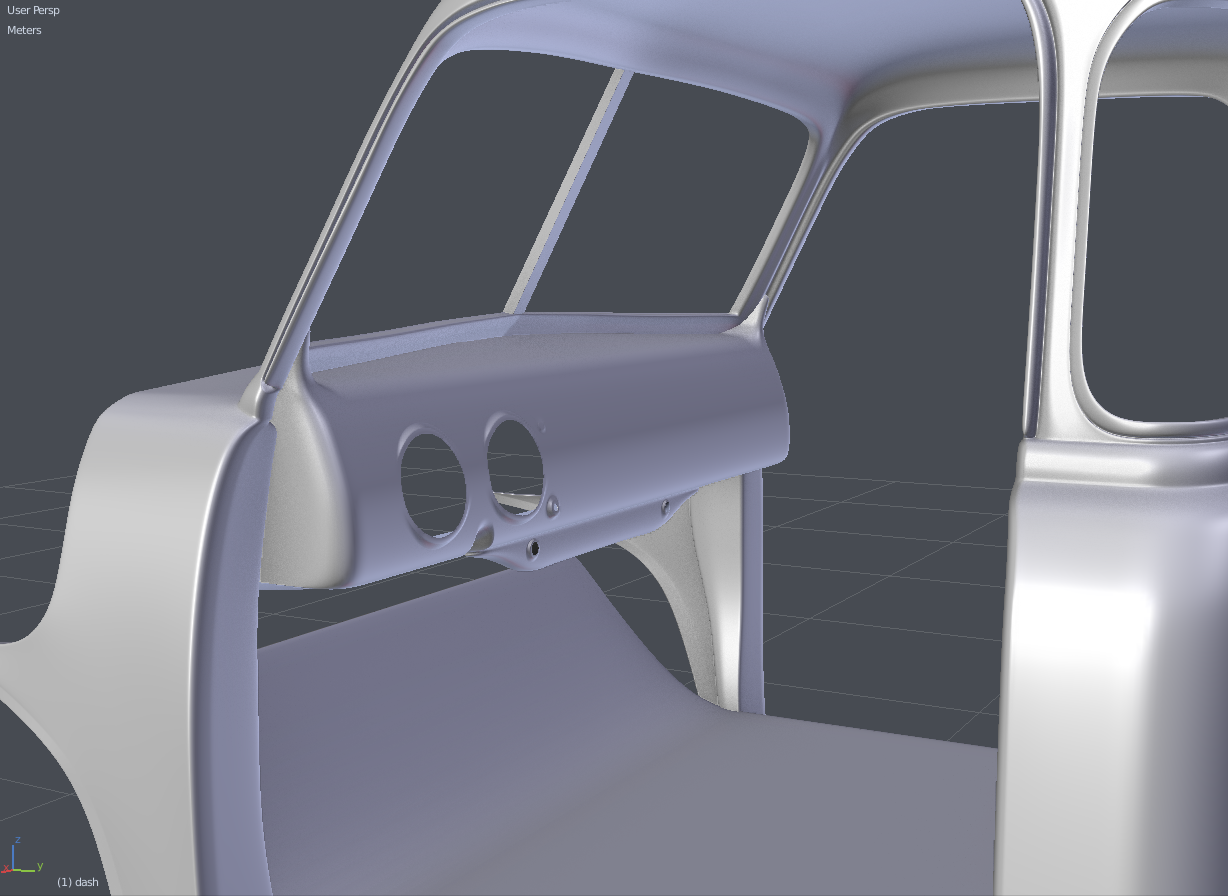
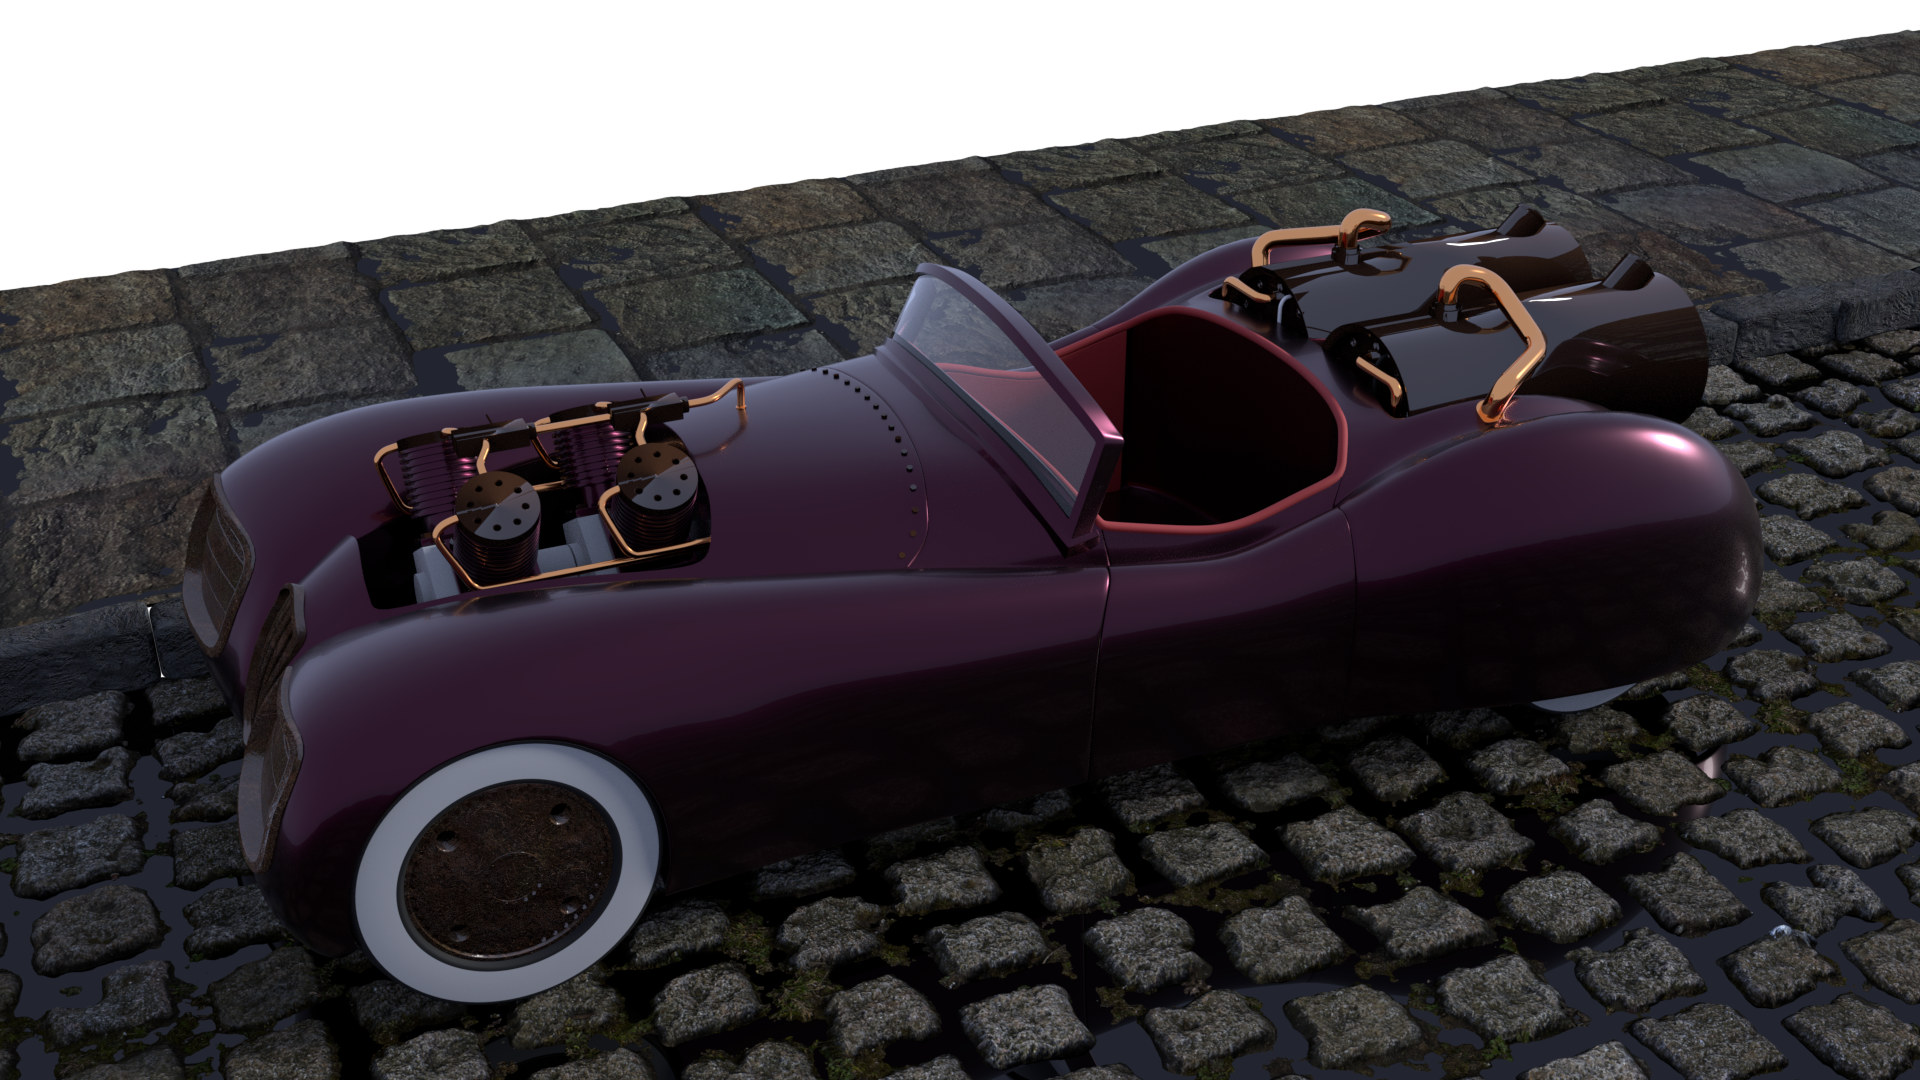
Thank you again Jake, really appreciated! I could finally park my car at San Marco in Venice :-)
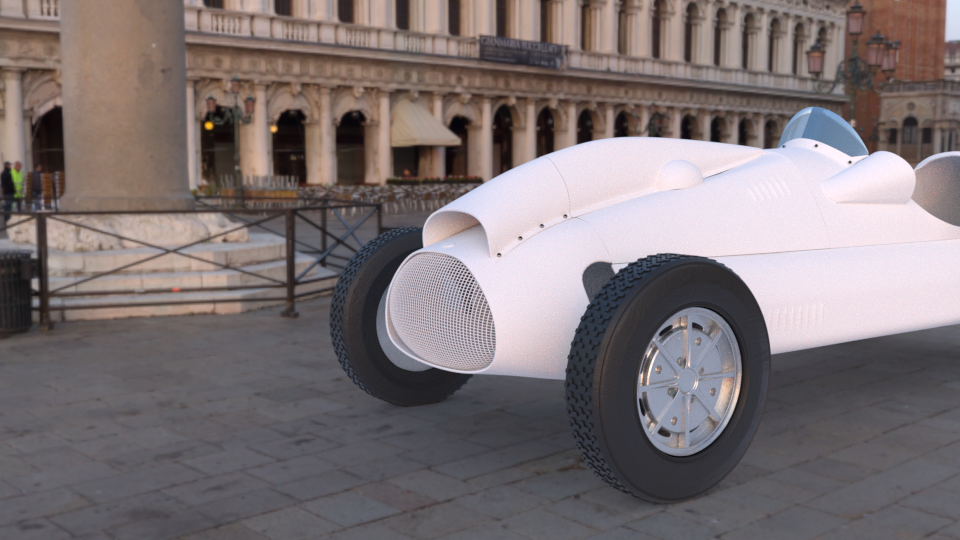
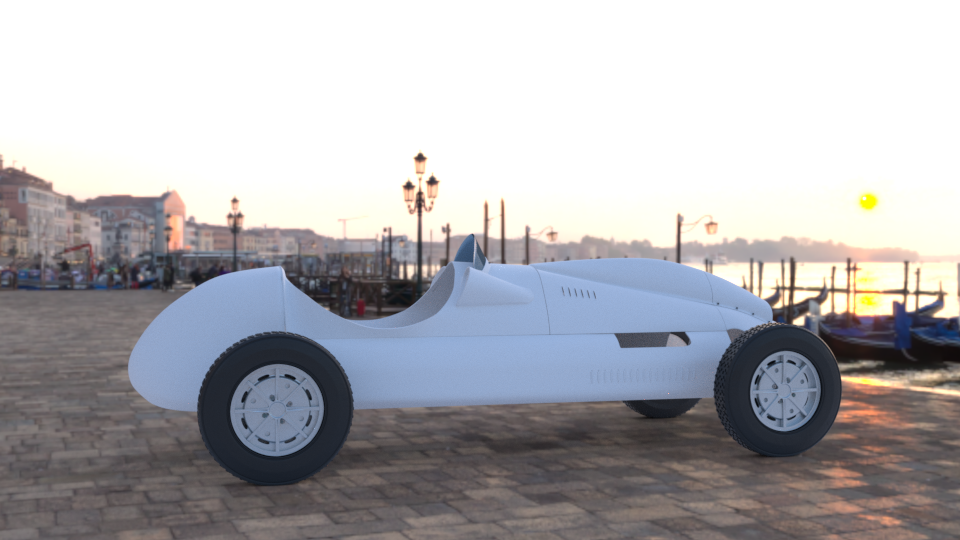
![]() jakeblended Maybe it is just me or the angle, but the dashboard seems a little short to me. Could you post some other images perhaps?
jakeblended Maybe it is just me or the angle, but the dashboard seems a little short to me. Could you post some other images perhaps?
Hey guys, I'm not completely sure what to do: I have to make those holes on this object you can see on the picture, but I'm not sure what approach to take. Any ideas?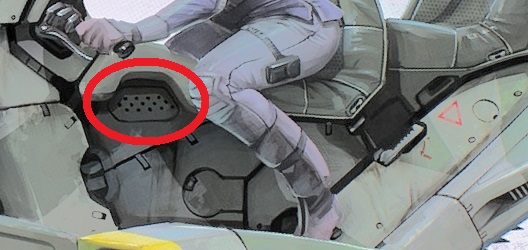
![]() baukepost first cut the main panel shape out. duplicate it, then go in to the edit mode of the duplicate, use shrinkwrap and target the original. then subdivide the copy, enough times that you have enough geometry. similarly how i punched the holes in my roof and and boot. (yours cirles and you can propably do with just 6 sided circles with sub-d
baukepost first cut the main panel shape out. duplicate it, then go in to the edit mode of the duplicate, use shrinkwrap and target the original. then subdivide the copy, enough times that you have enough geometry. similarly how i punched the holes in my roof and and boot. (yours cirles and you can propably do with just 6 sided circles with sub-d
![]() thecabbagedetective Haha the shower story 😅 I agree with the limo extension. I forgot it was a limo till this. Great job on the champagne bottle's torn wrapper 👌
thecabbagedetective Haha the shower story 😅 I agree with the limo extension. I forgot it was a limo till this. Great job on the champagne bottle's torn wrapper 👌
tthepainter Mmm I like those fine details. Could you post a non matcap screengrab? I'm curious what the grey default shader + viewport AO looks like.
![]() baukepost Whilst I'm not a very experienced modeler I'll certainly give this a shot.
baukepost Whilst I'm not a very experienced modeler I'll certainly give this a shot.
First get a plane and a cylinder with 6 sides. Use a Boolean - Difference on the plane to cut a hole in the middle with the cylinder.
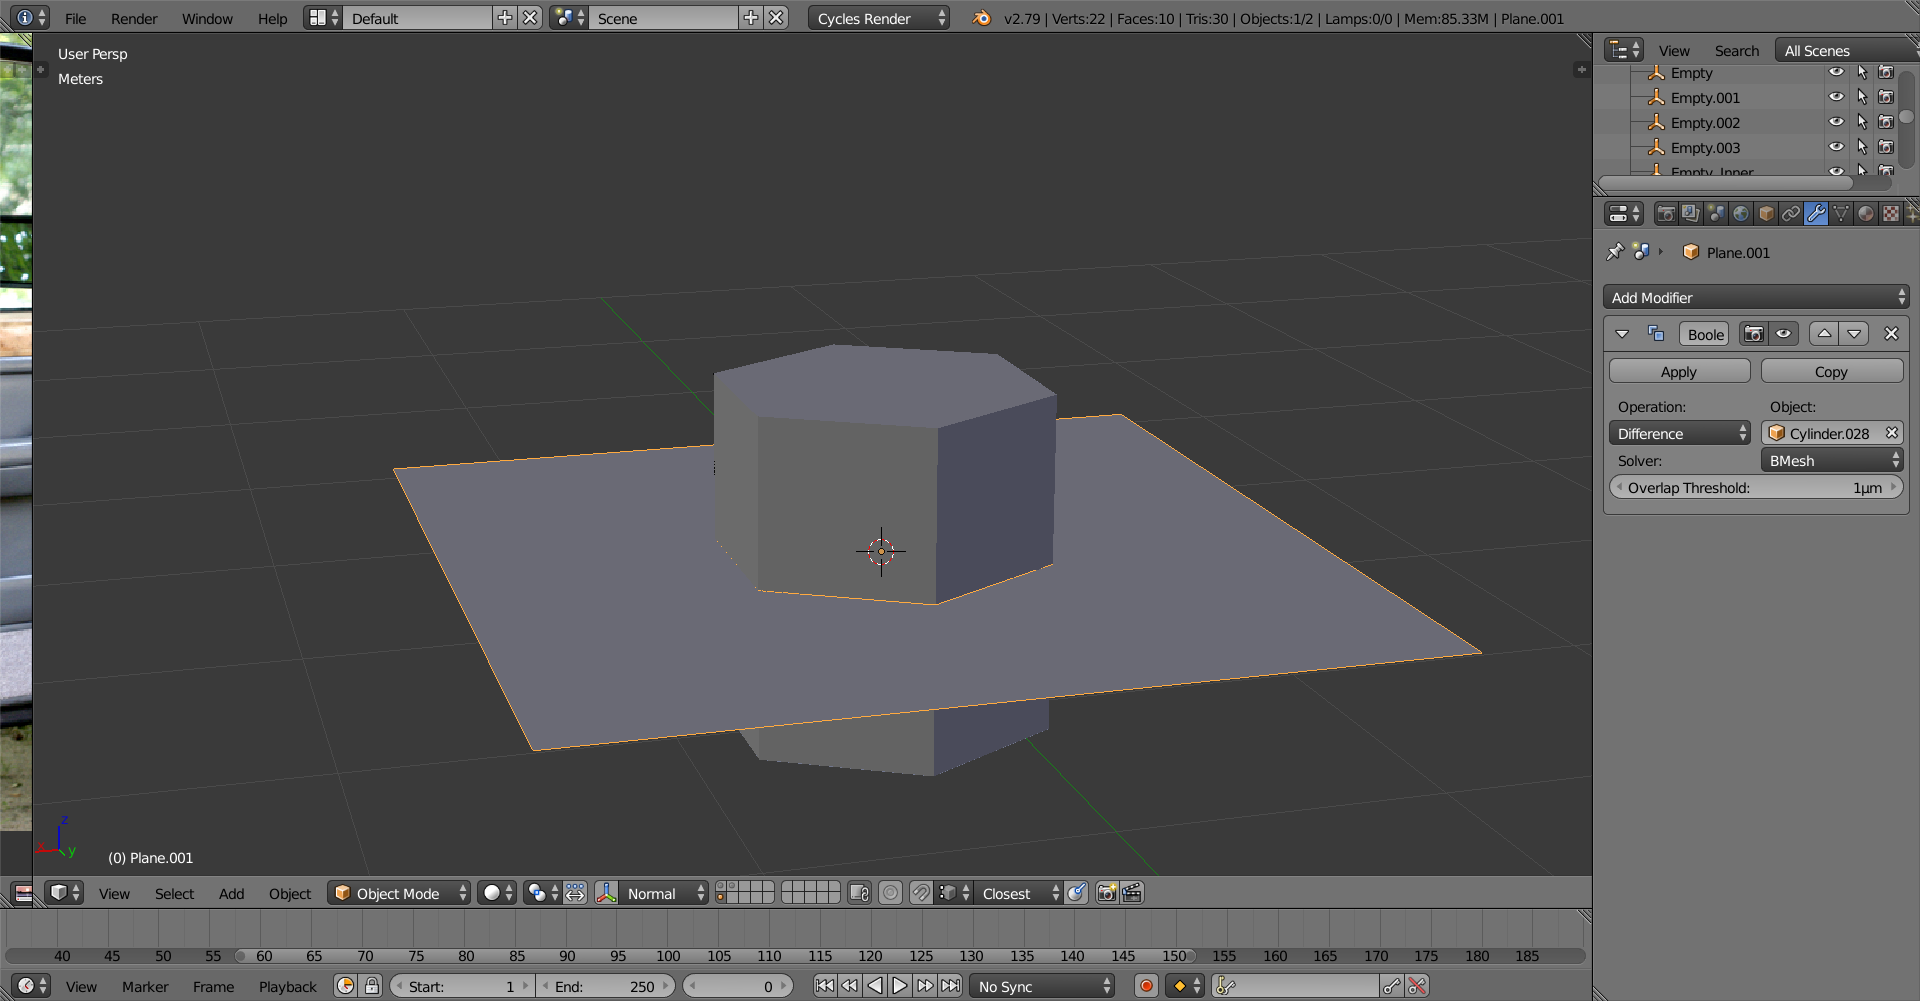
Once you do that, simply connect the verticies up.
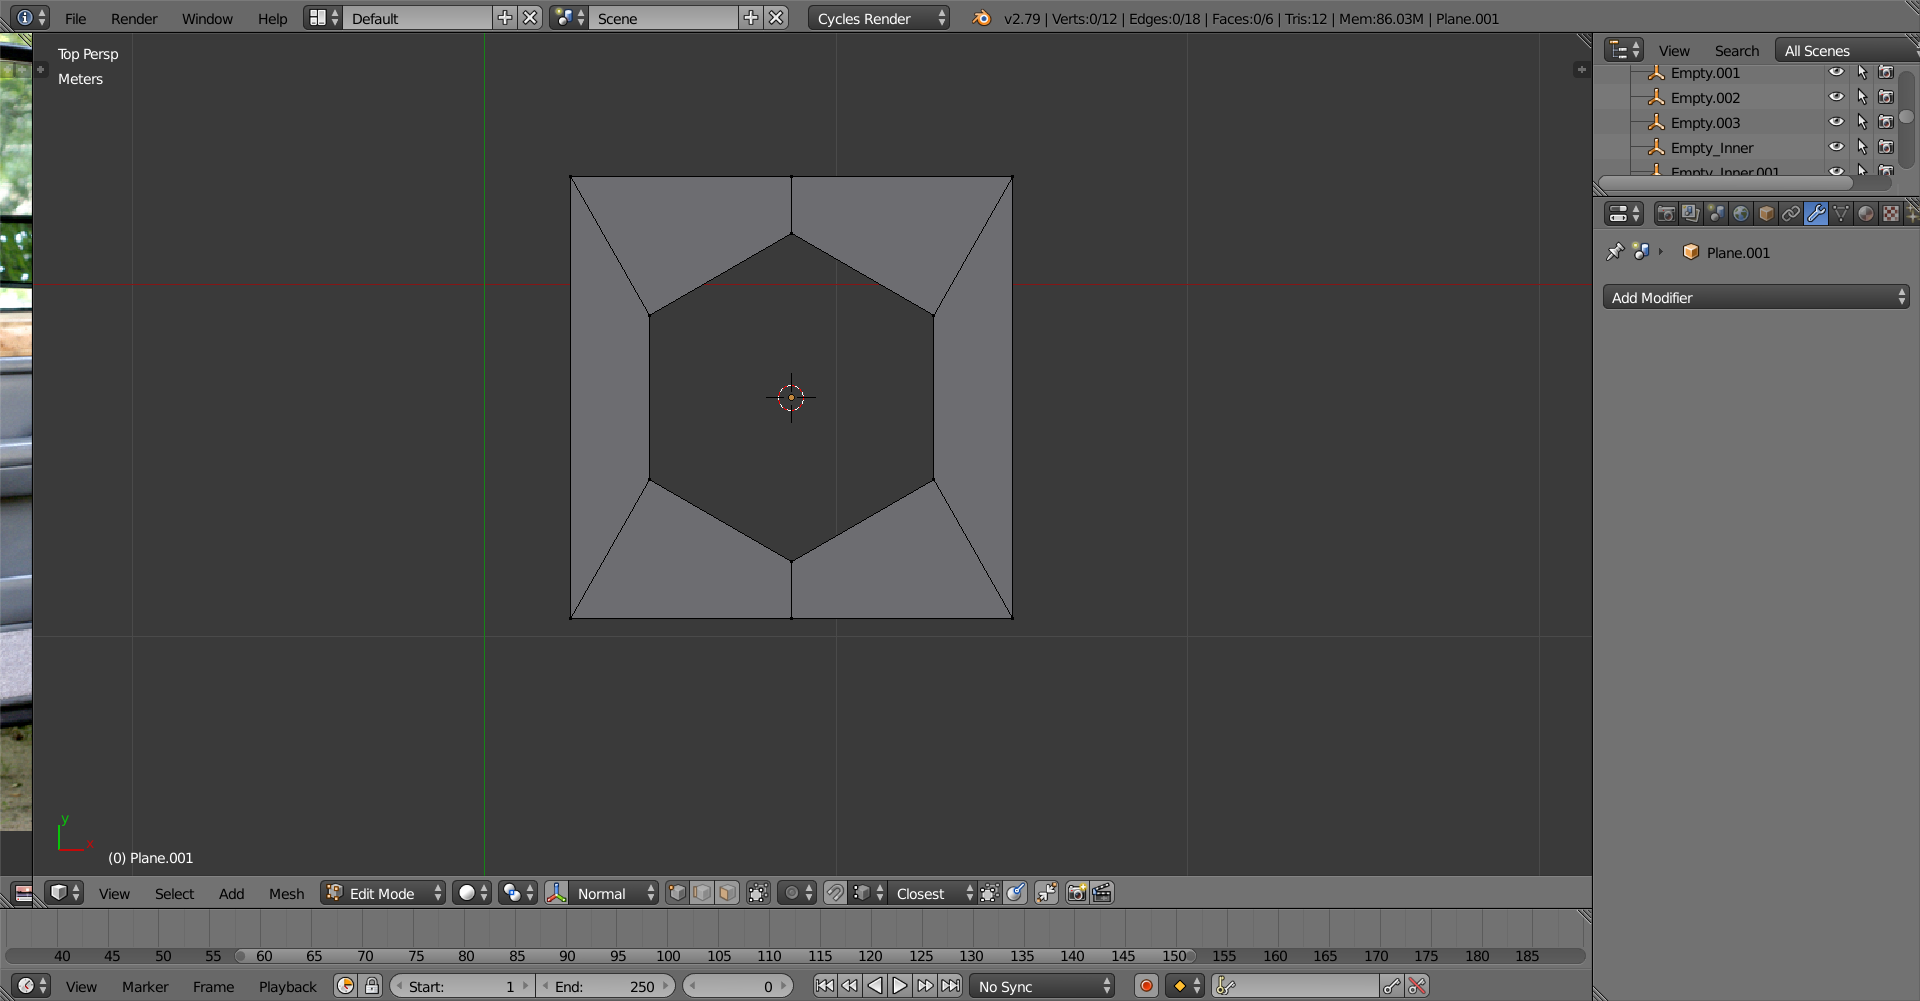
After that, using the knife tool, cut squares into each corner of the plane.
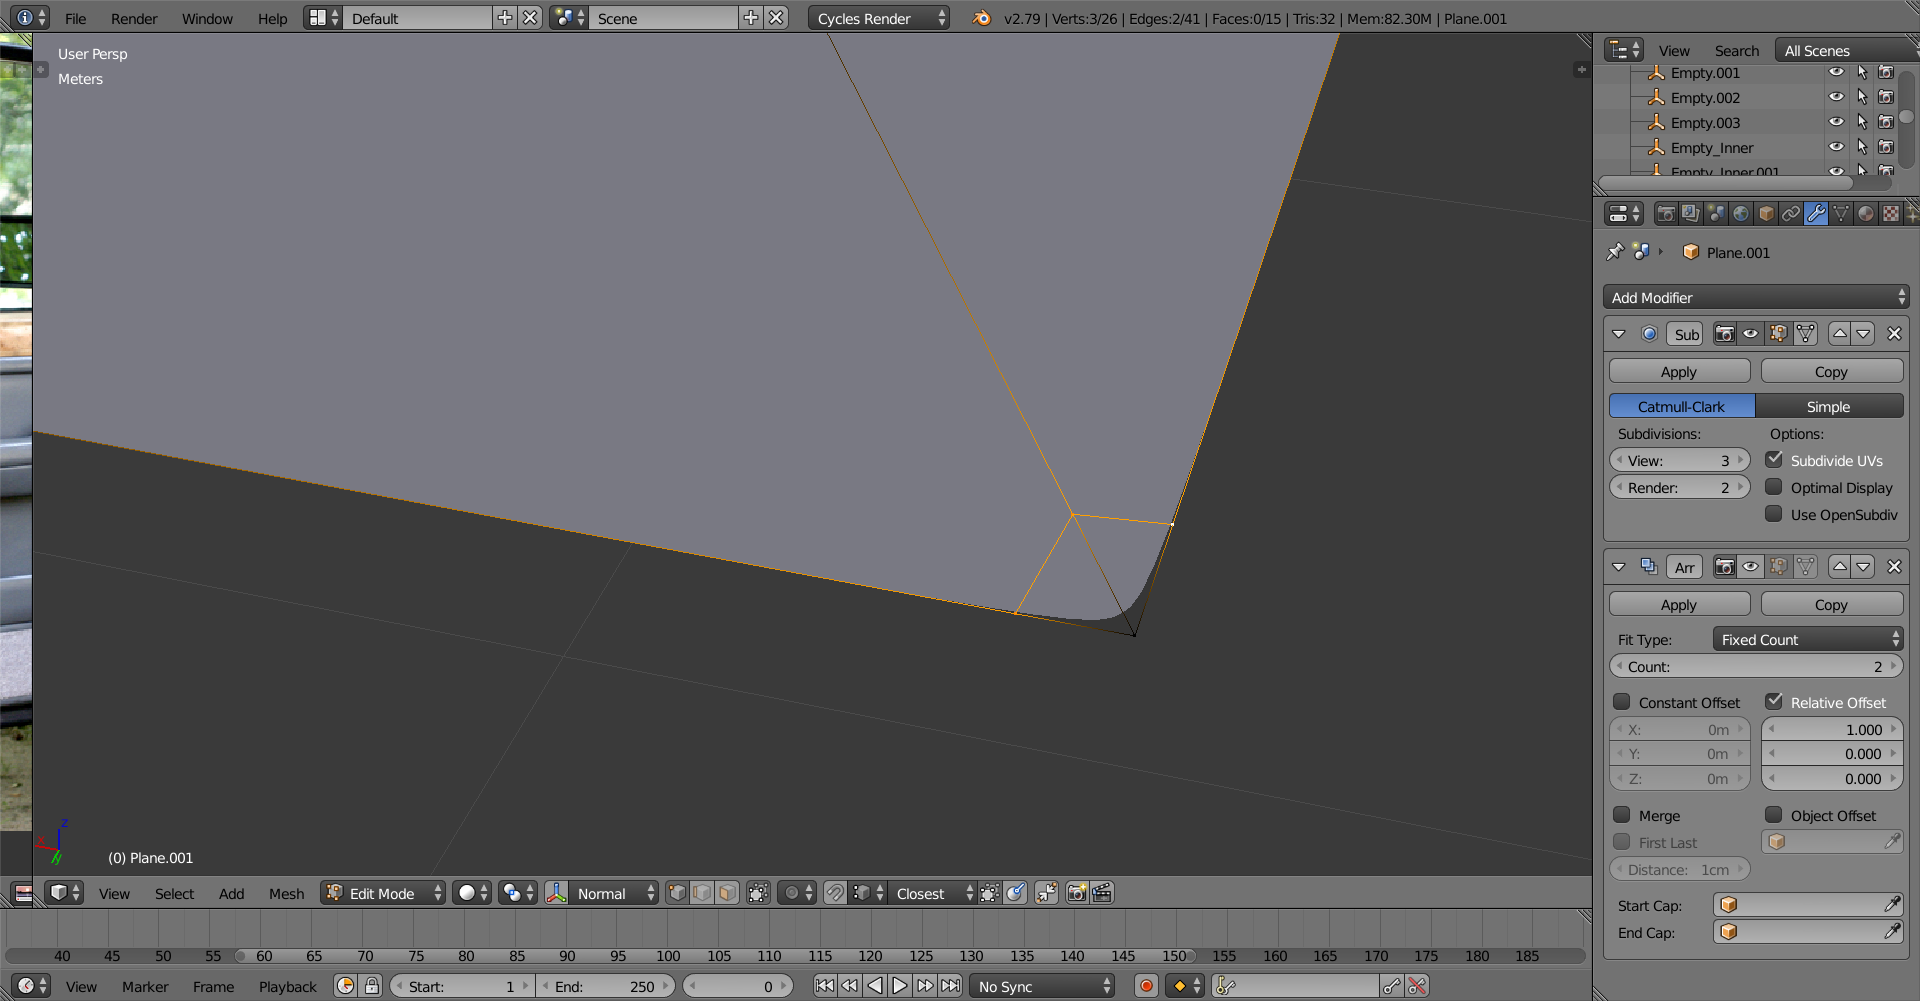
Next, delete (not dissolve) the edge within the face, fill the four verticies and then move them as close together with Gx2. Do this for each corner.
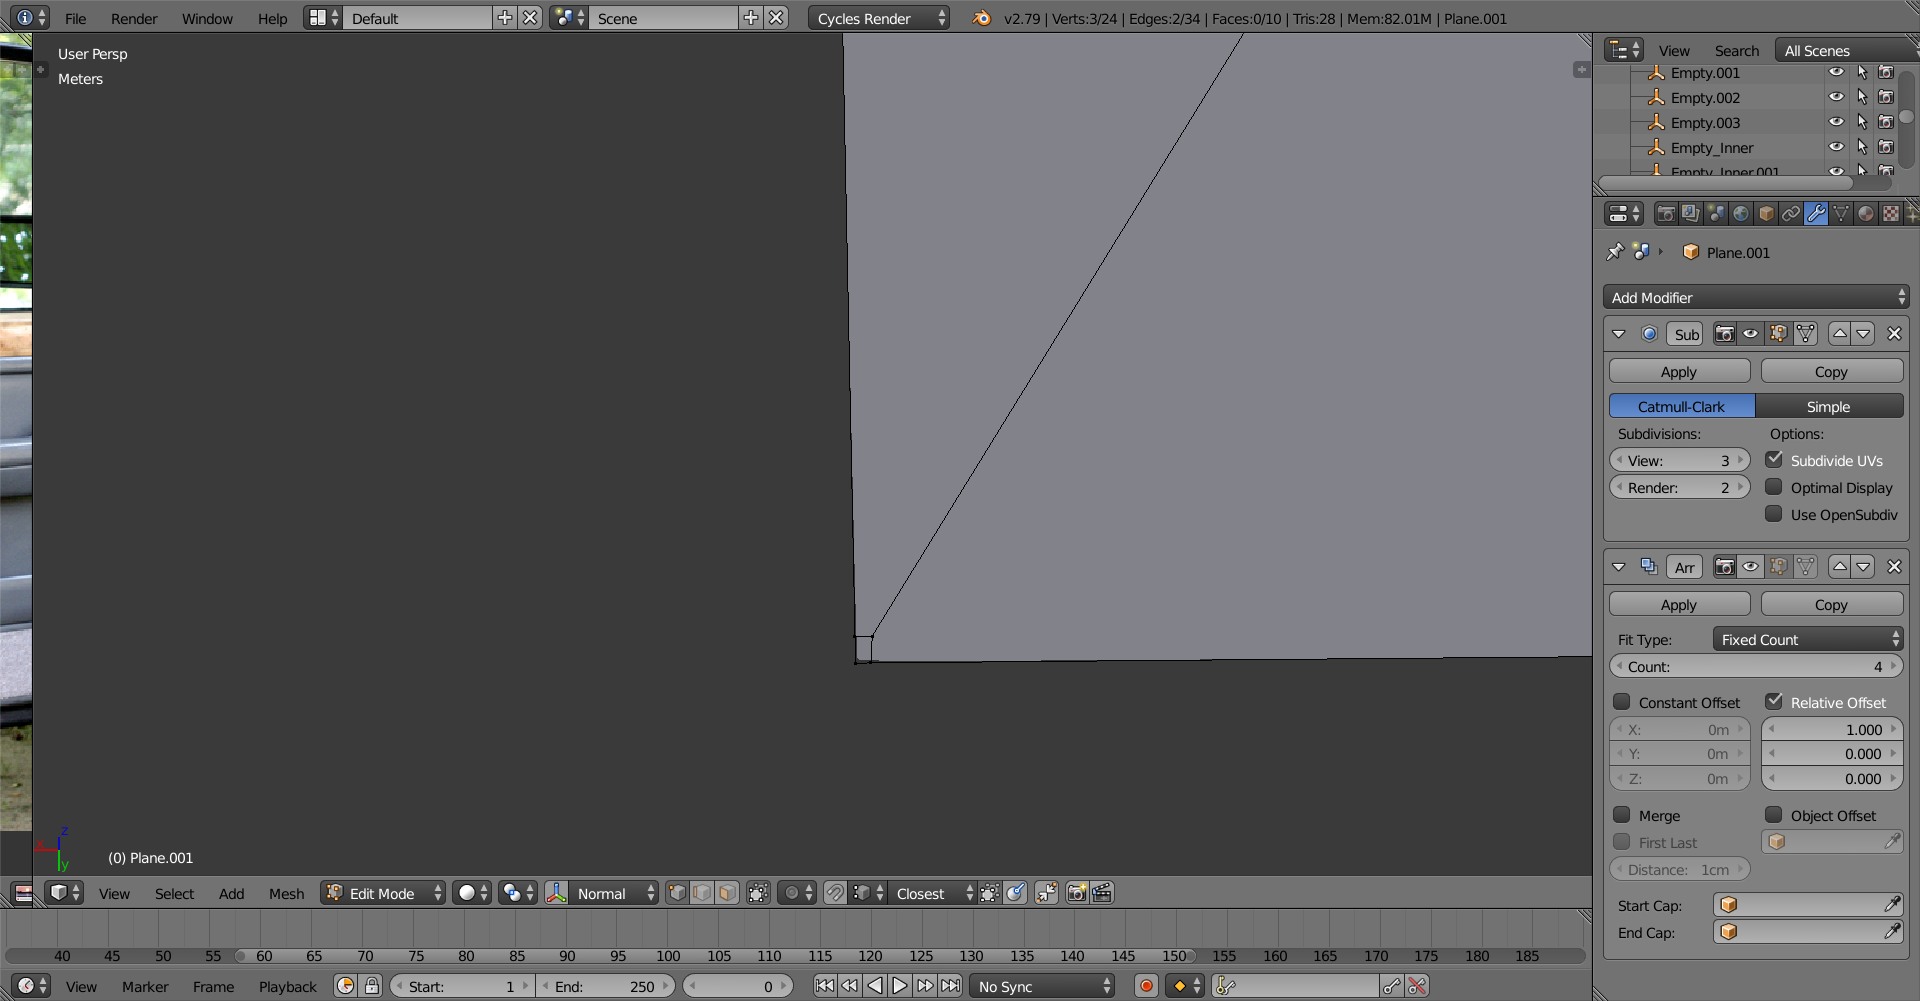
After that feel free to use an modifiers like subsurf, solidify, array or mirror, though I find with an array you need to be very consistent with how tight the corner faces are.
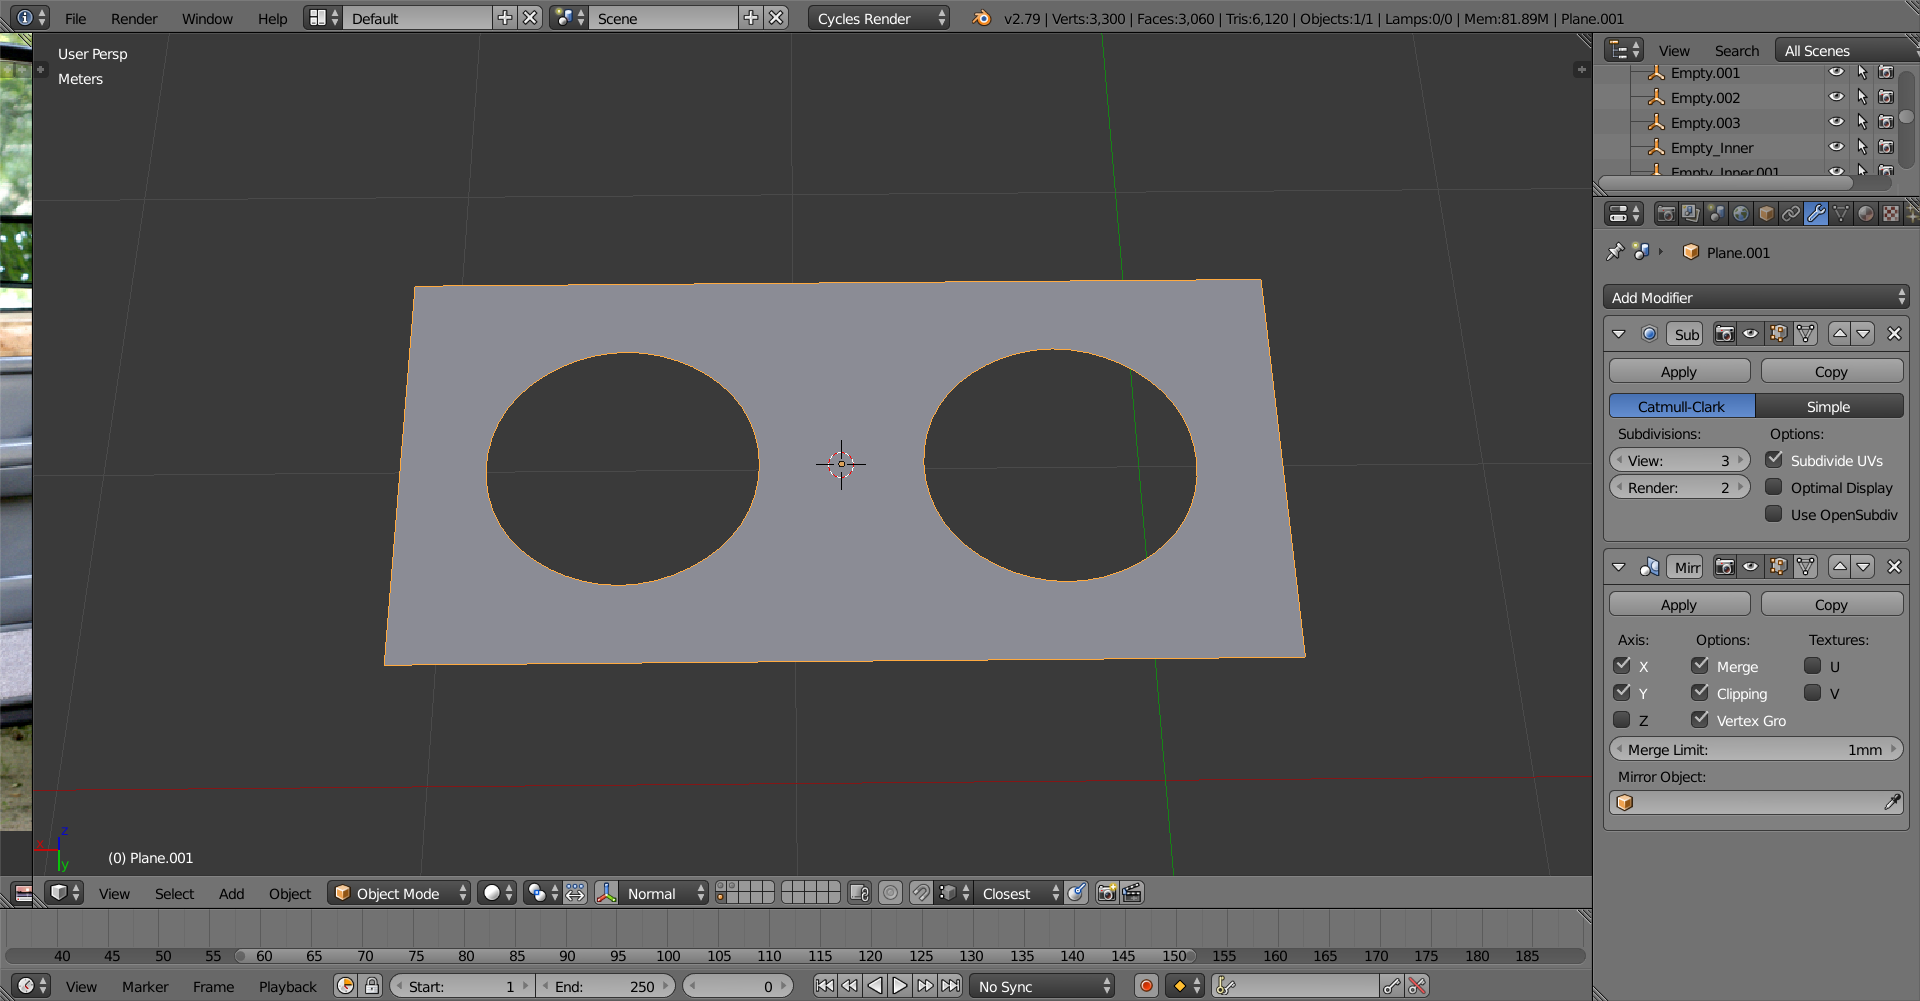
One thing I didn't show and just realised is you probably should connect each corner as to not have N-Gons.
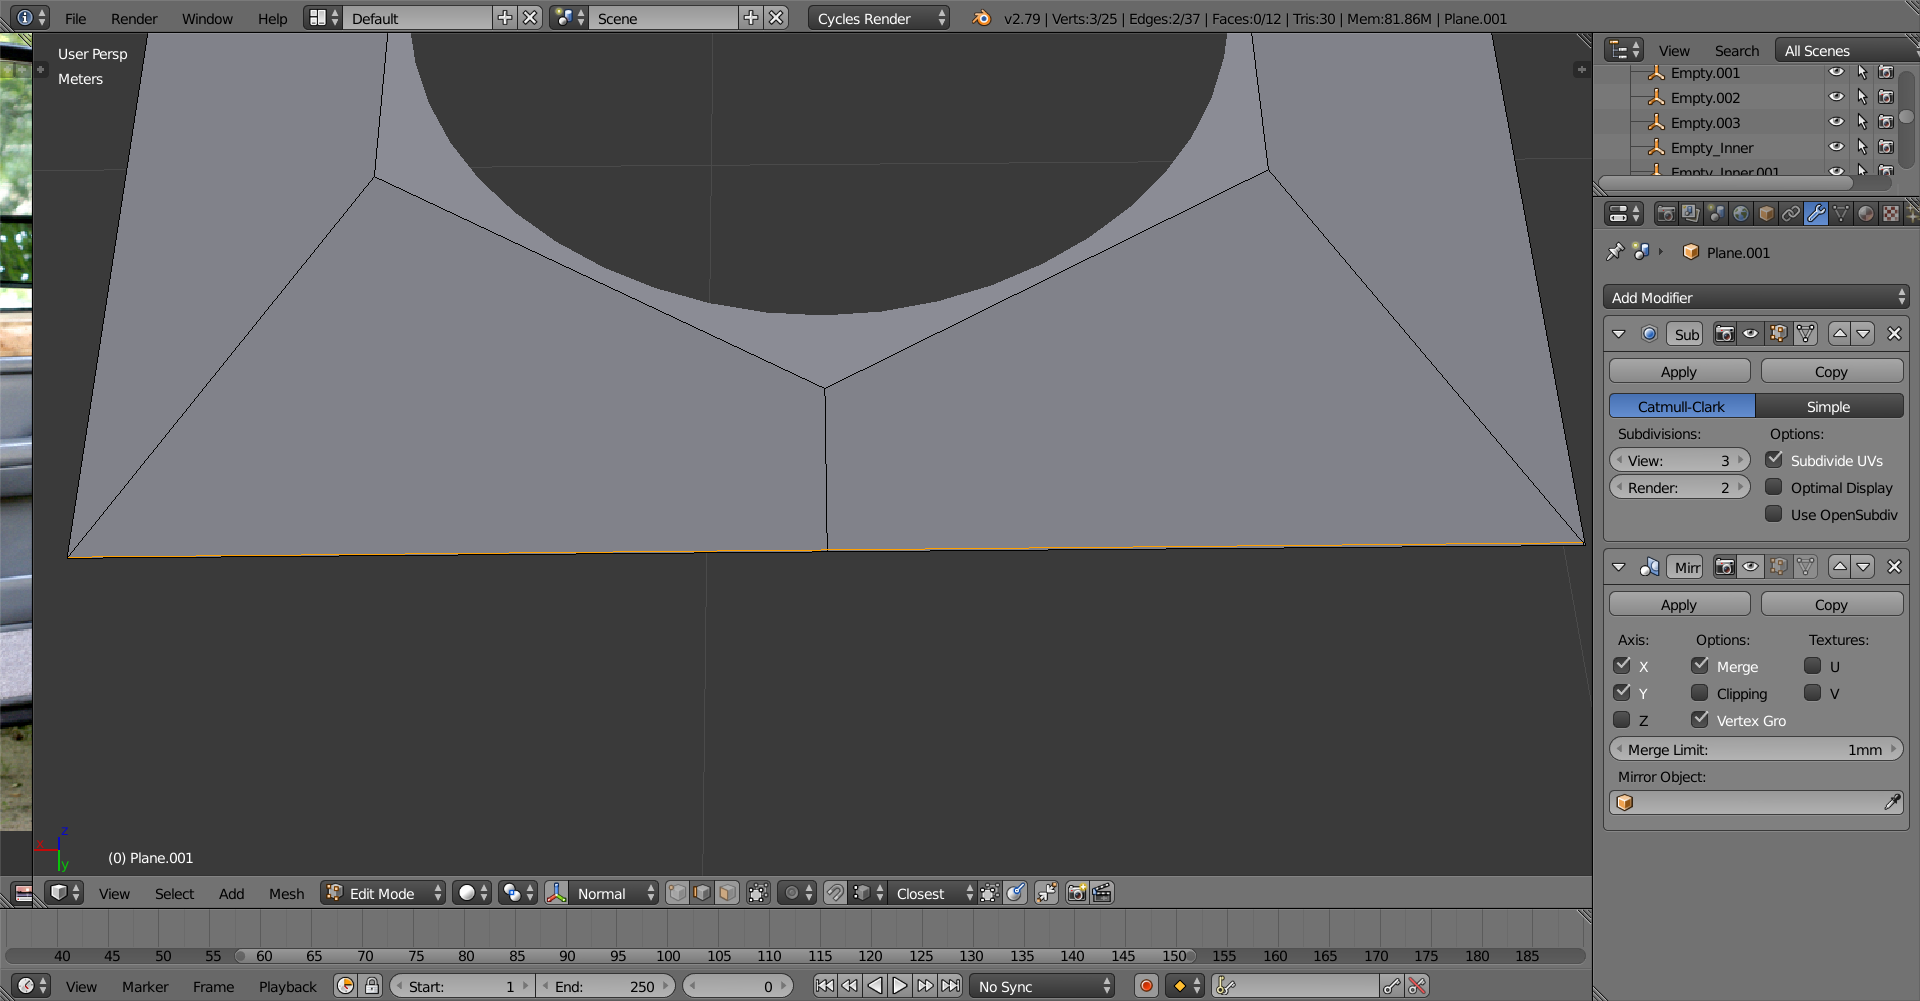
EDIT: Just realised someone else responded with a much better way. Well I'll keep this up regardless, and good luck with your modeling!
![]() tbrbn tthepainter Cheers for that guys! Shading is a massive weak spot of mine so I appreciate being pushed in the right direction.
tbrbn tthepainter Cheers for that guys! Shading is a massive weak spot of mine so I appreciate being pushed in the right direction.