My homework thread for the august 2018 class
Week 1 submission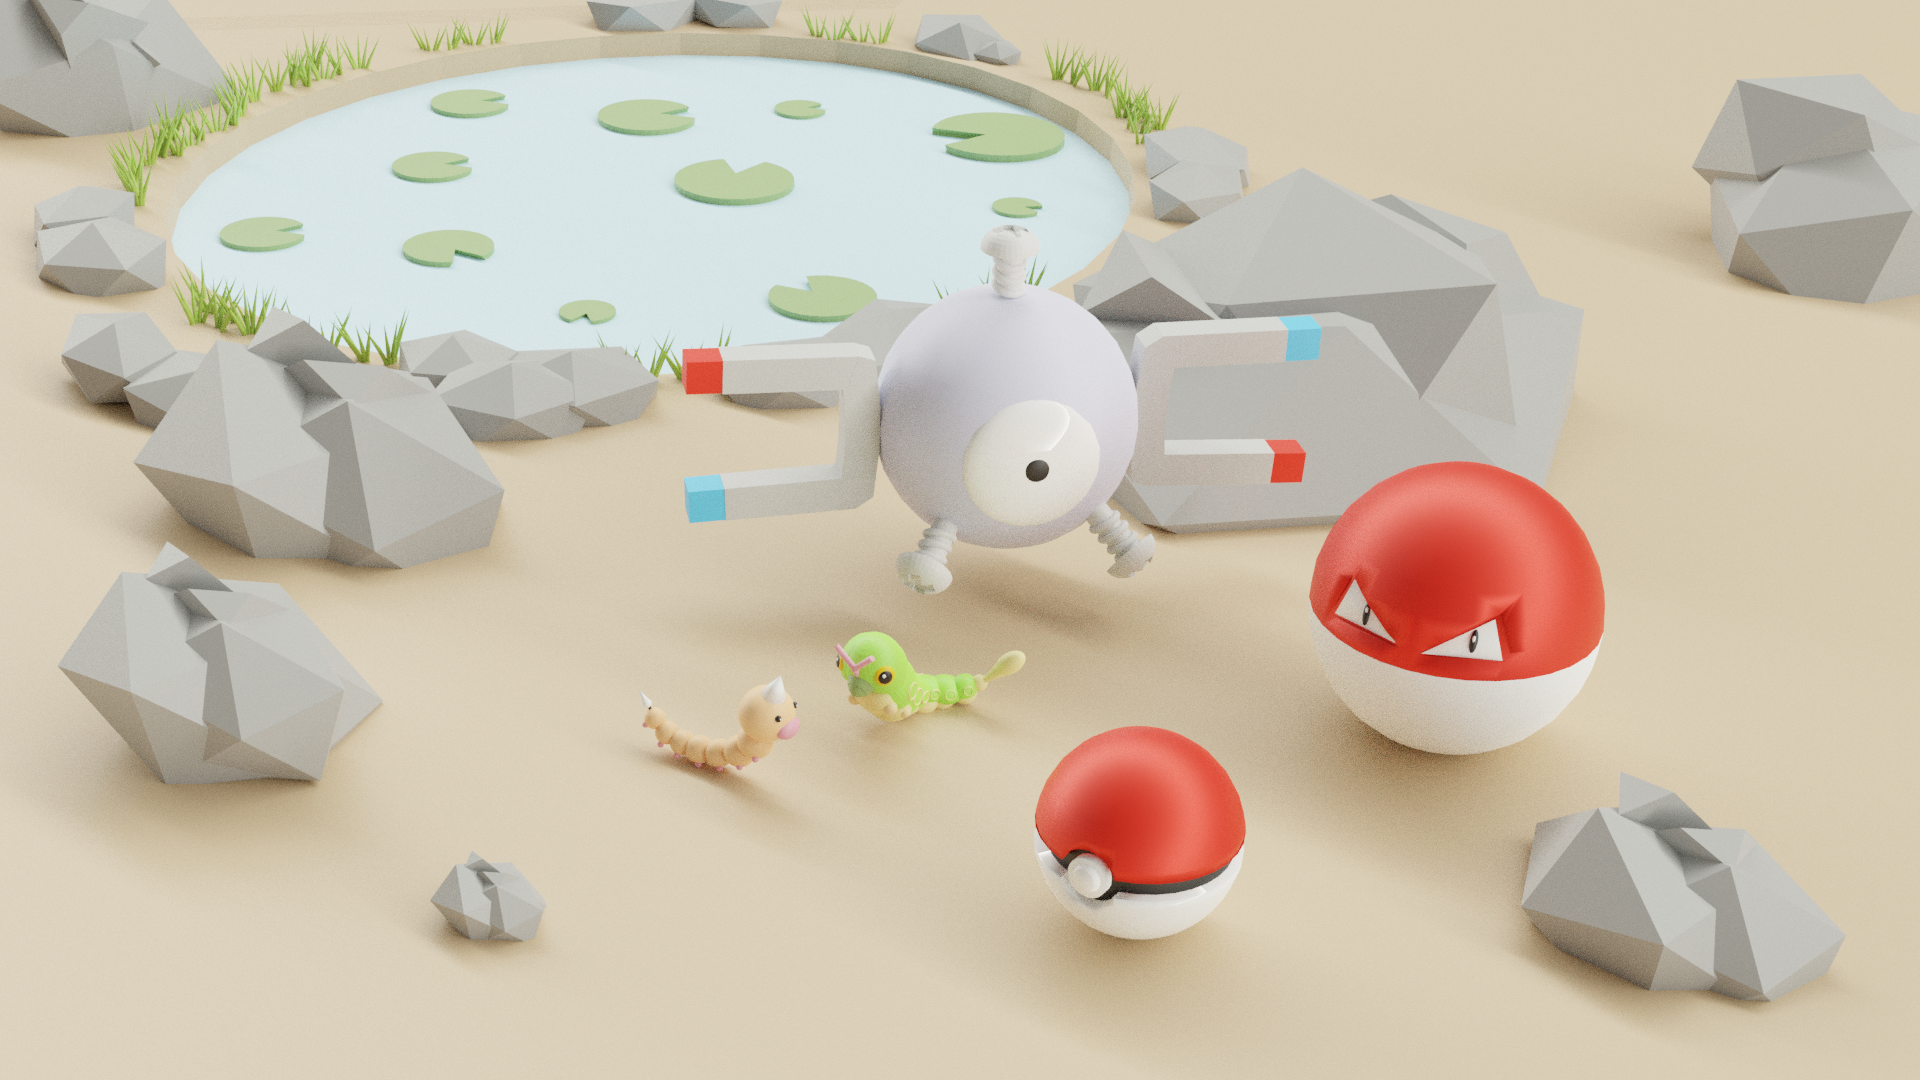
Week 2 submissions

Week 3
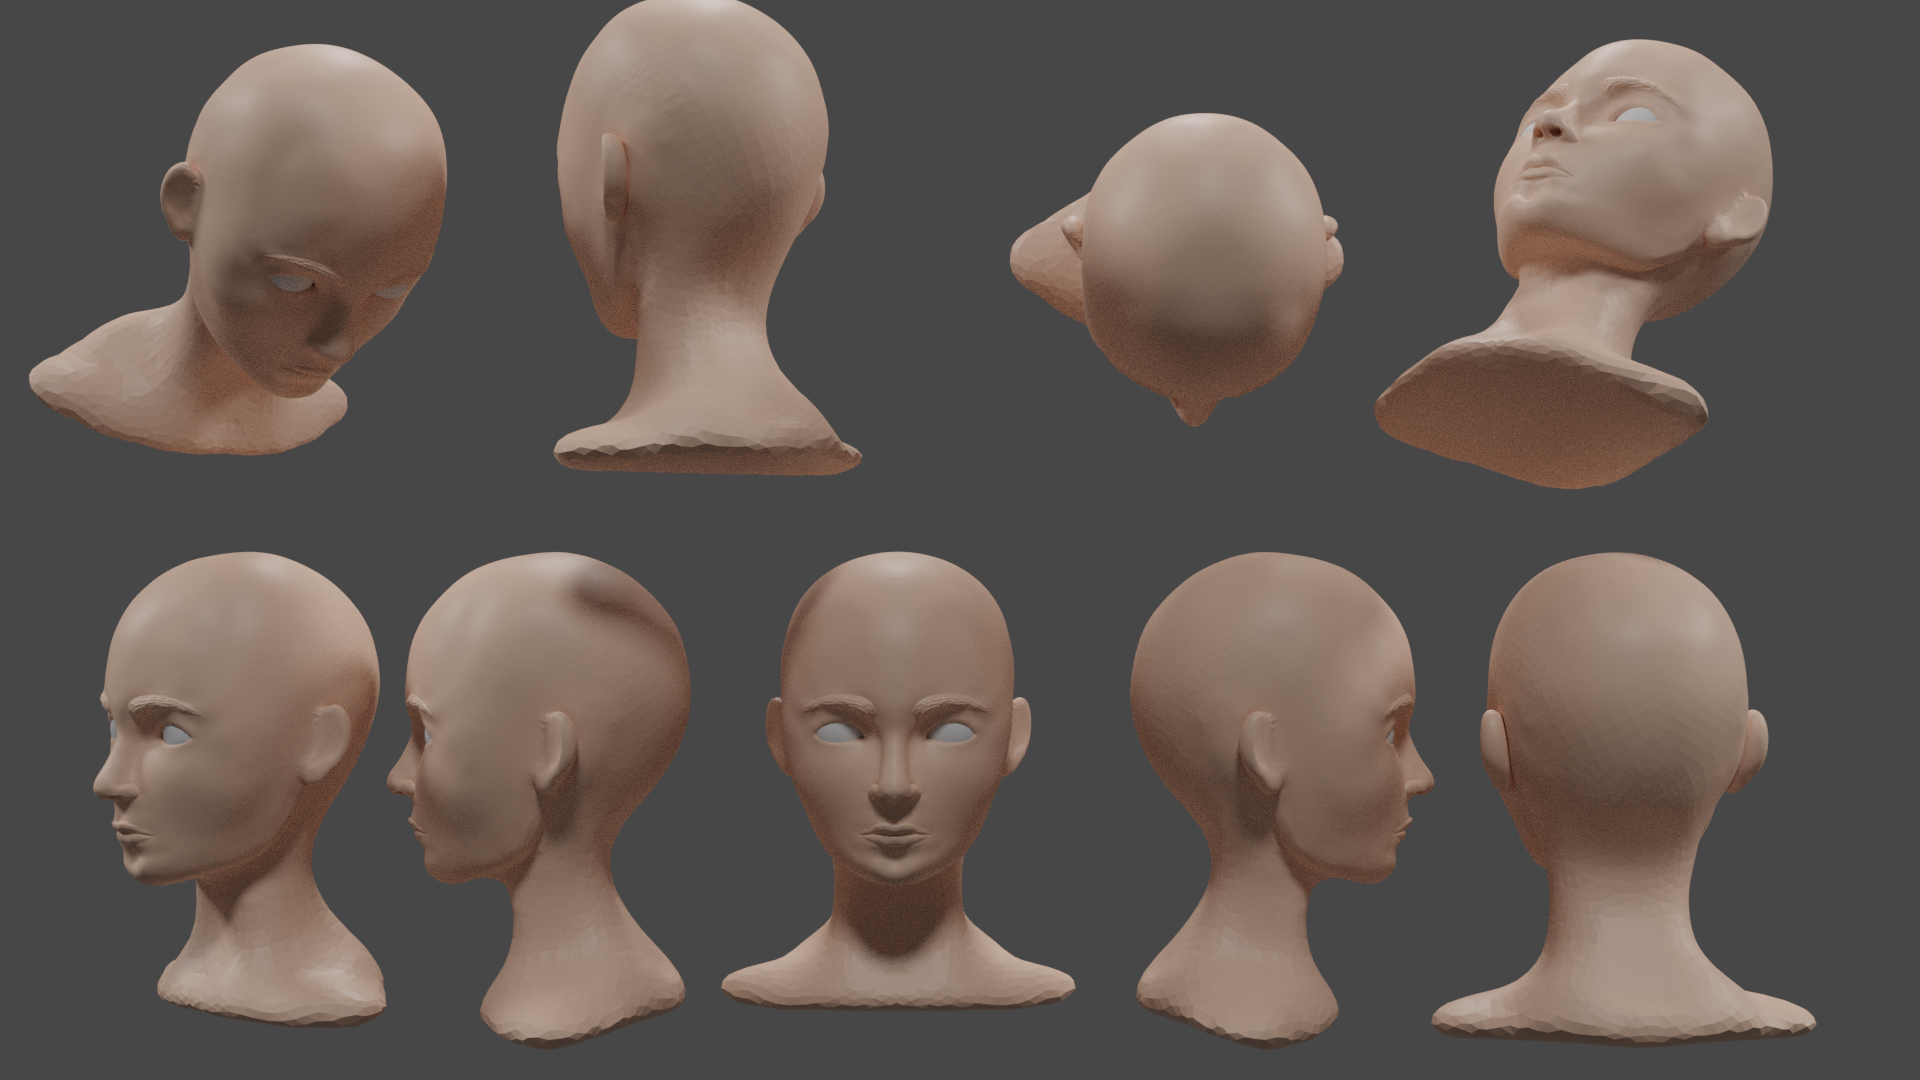
melvin: Melvin sculpt
WEEK 4


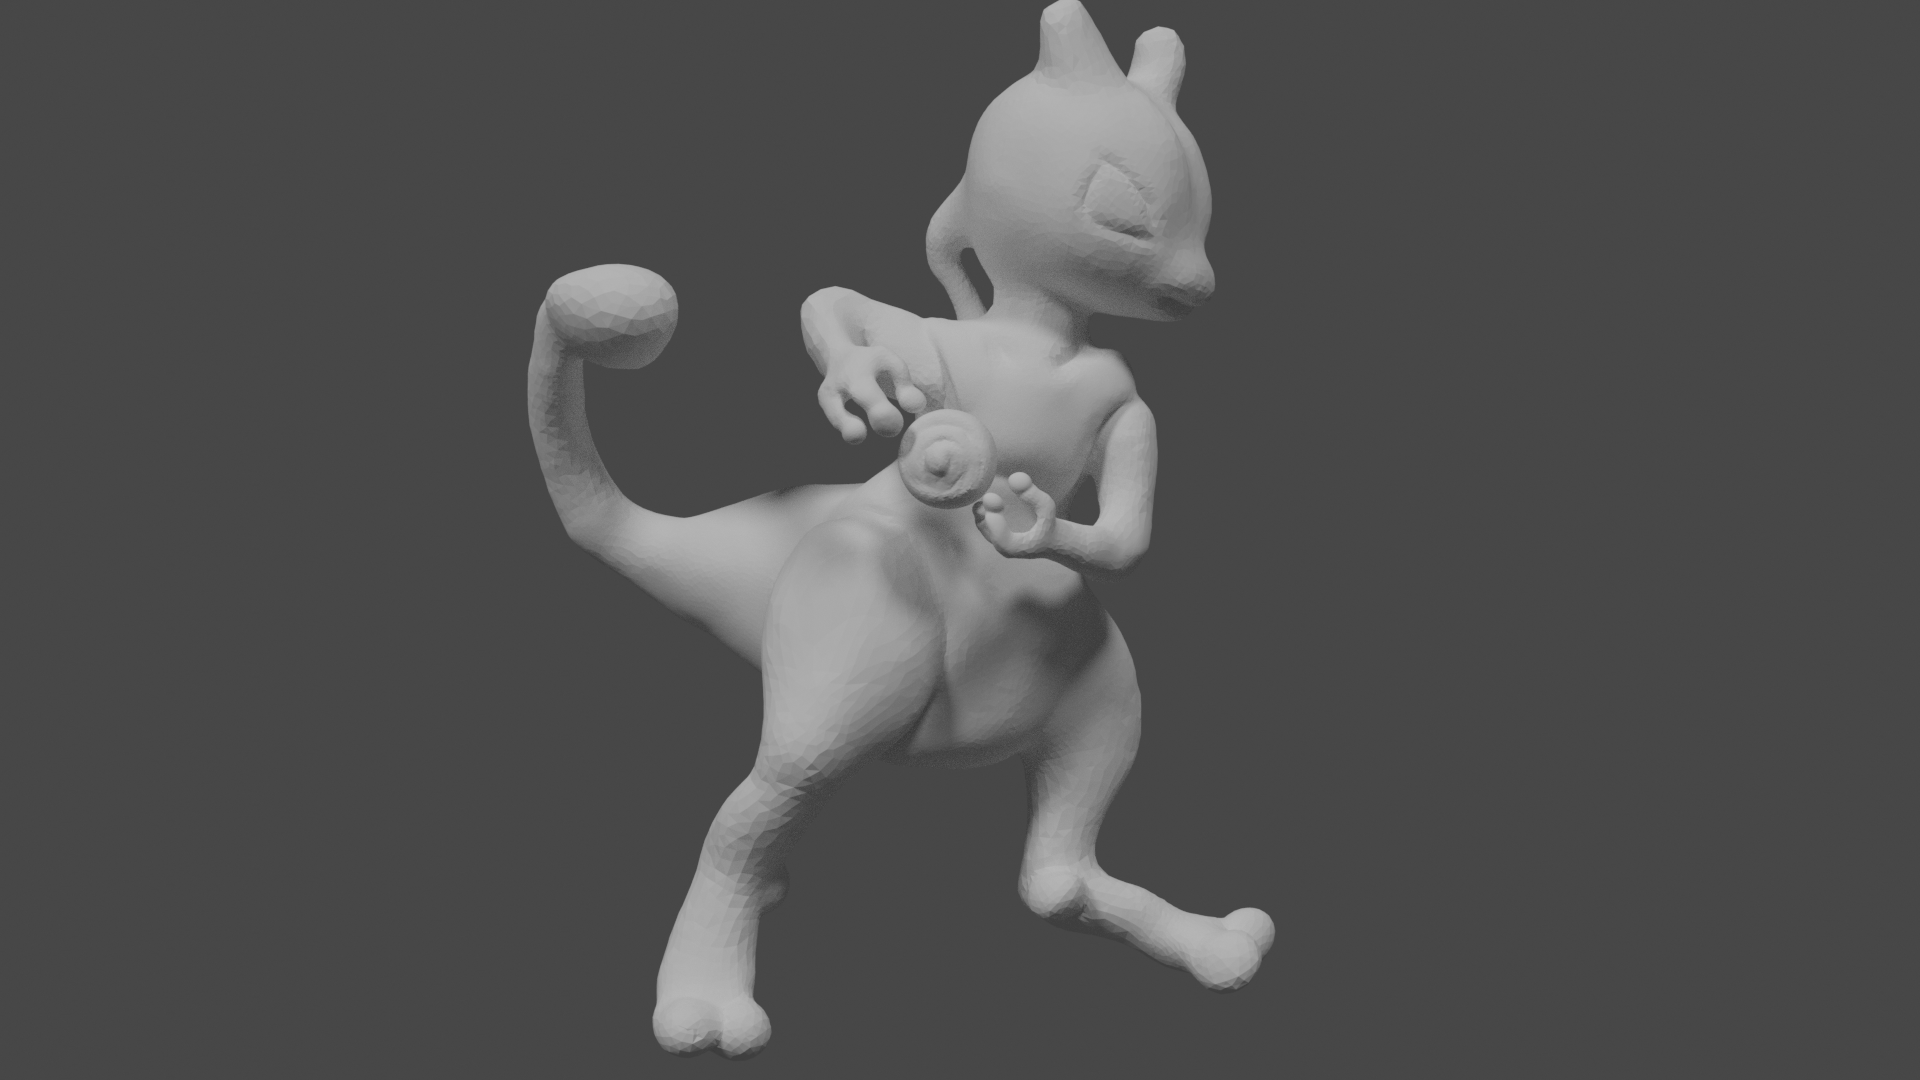
gesture sculpting 34 minutes
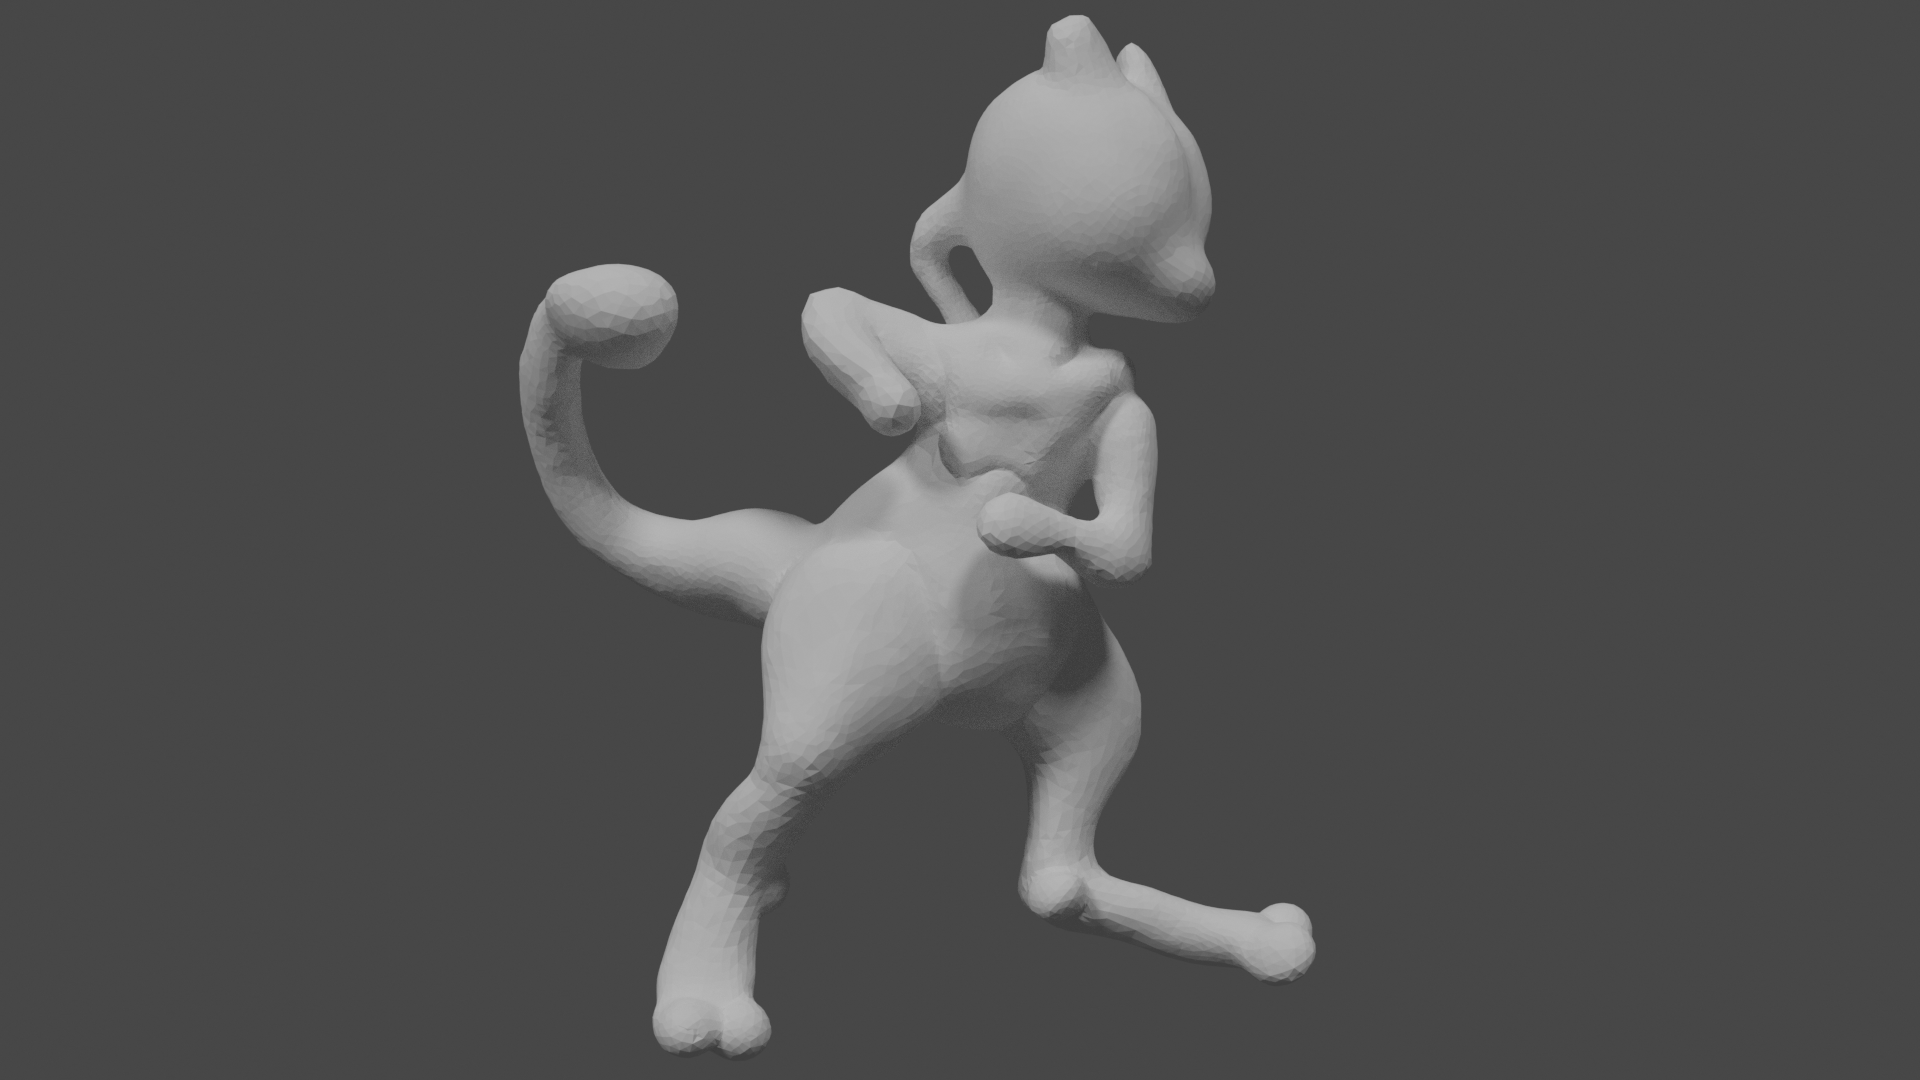
gesture sculpting continue (35 minutes)
this week i learned to get even more comfortable with sculpting and learned to texture paint. also did i try the gesture and i was surprised to see how far i got in 34 minutes . i never tought i would get him that far. knowing hoe long i strugled with eevee. so i am really happy i joined this community and class . i learned a lot and i am gonna keep continueing.
thanks so much everyone i am learning so much . what is of course good :)
i didnt knew we could make collections in a collection map? i guess ill have to the this put tonight when i get home.
again thanx so much for all the help you guys are the best
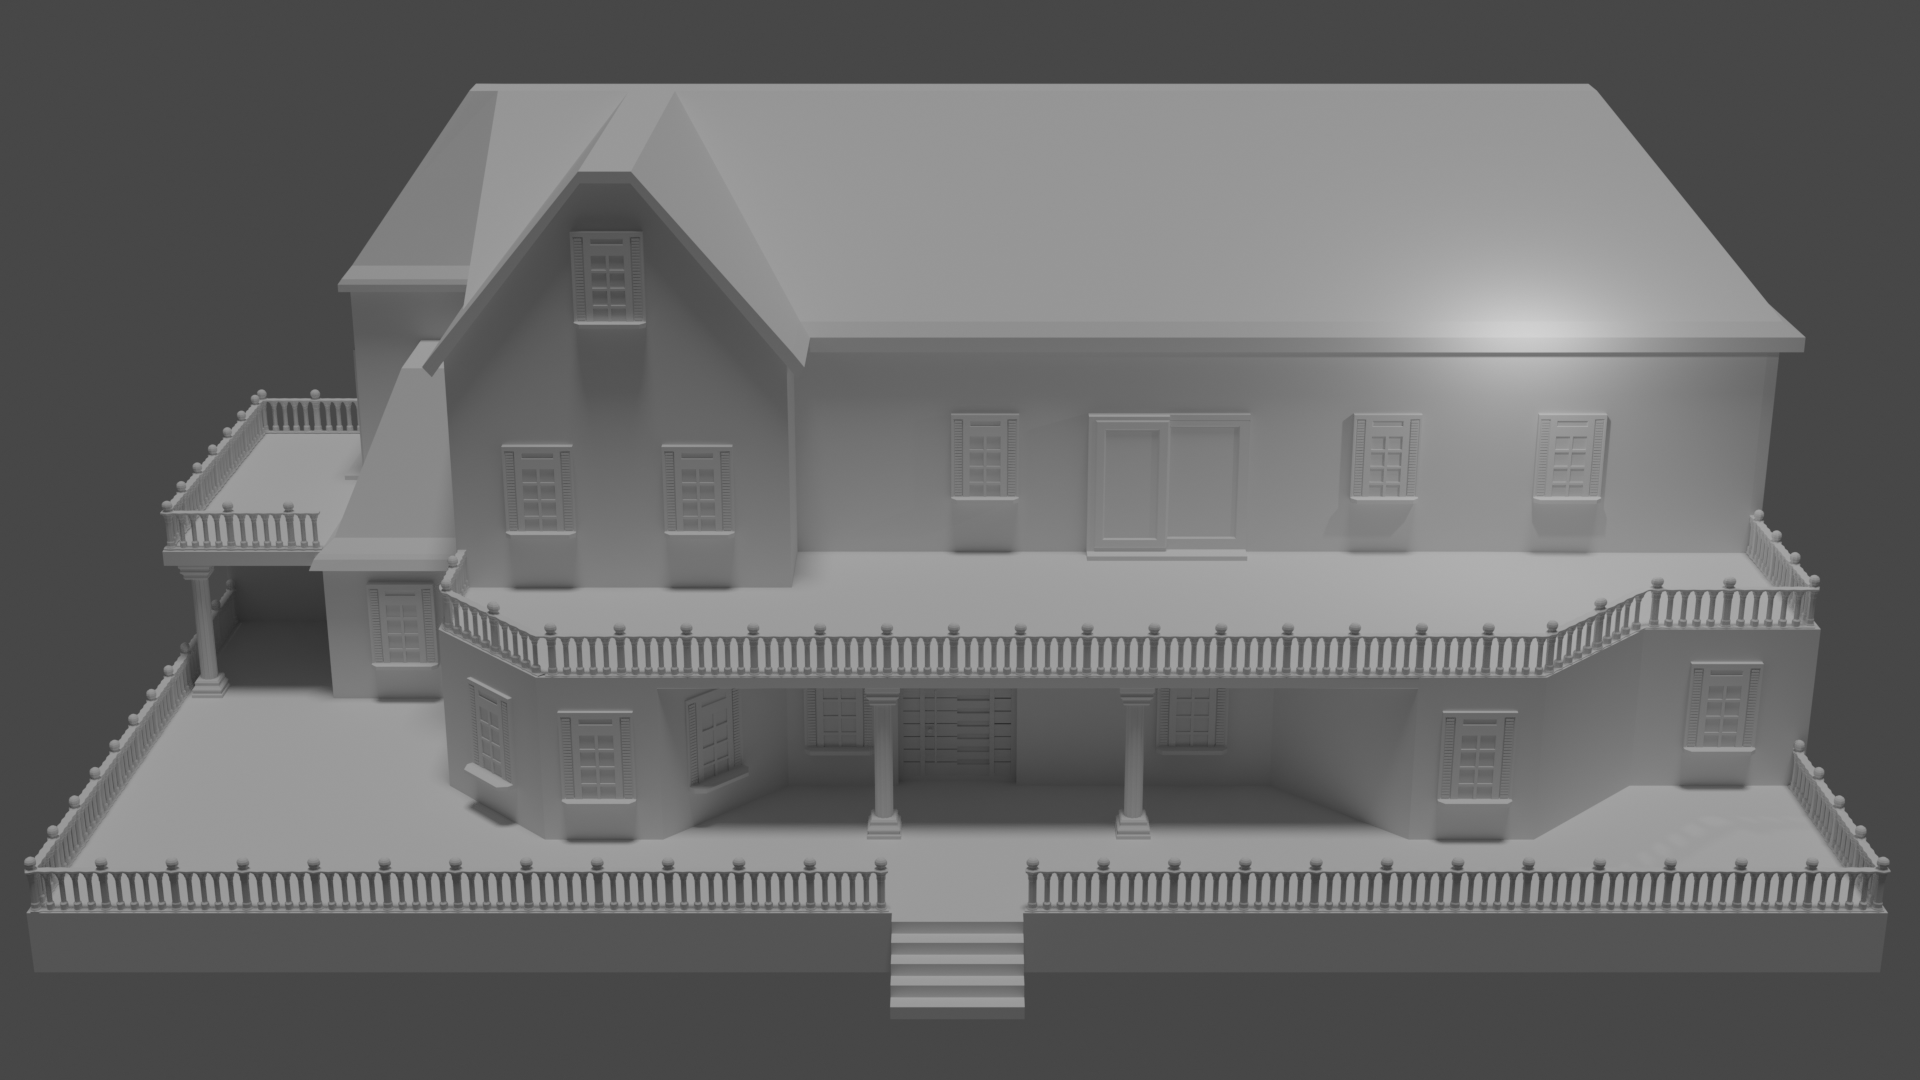
yyukinoh1989 Another thing to keep in mind is the focal length of the camera. To edit this select the camera you wish to edit and then go to the camera symbol on the right side (may need to drag the panel out to see it):
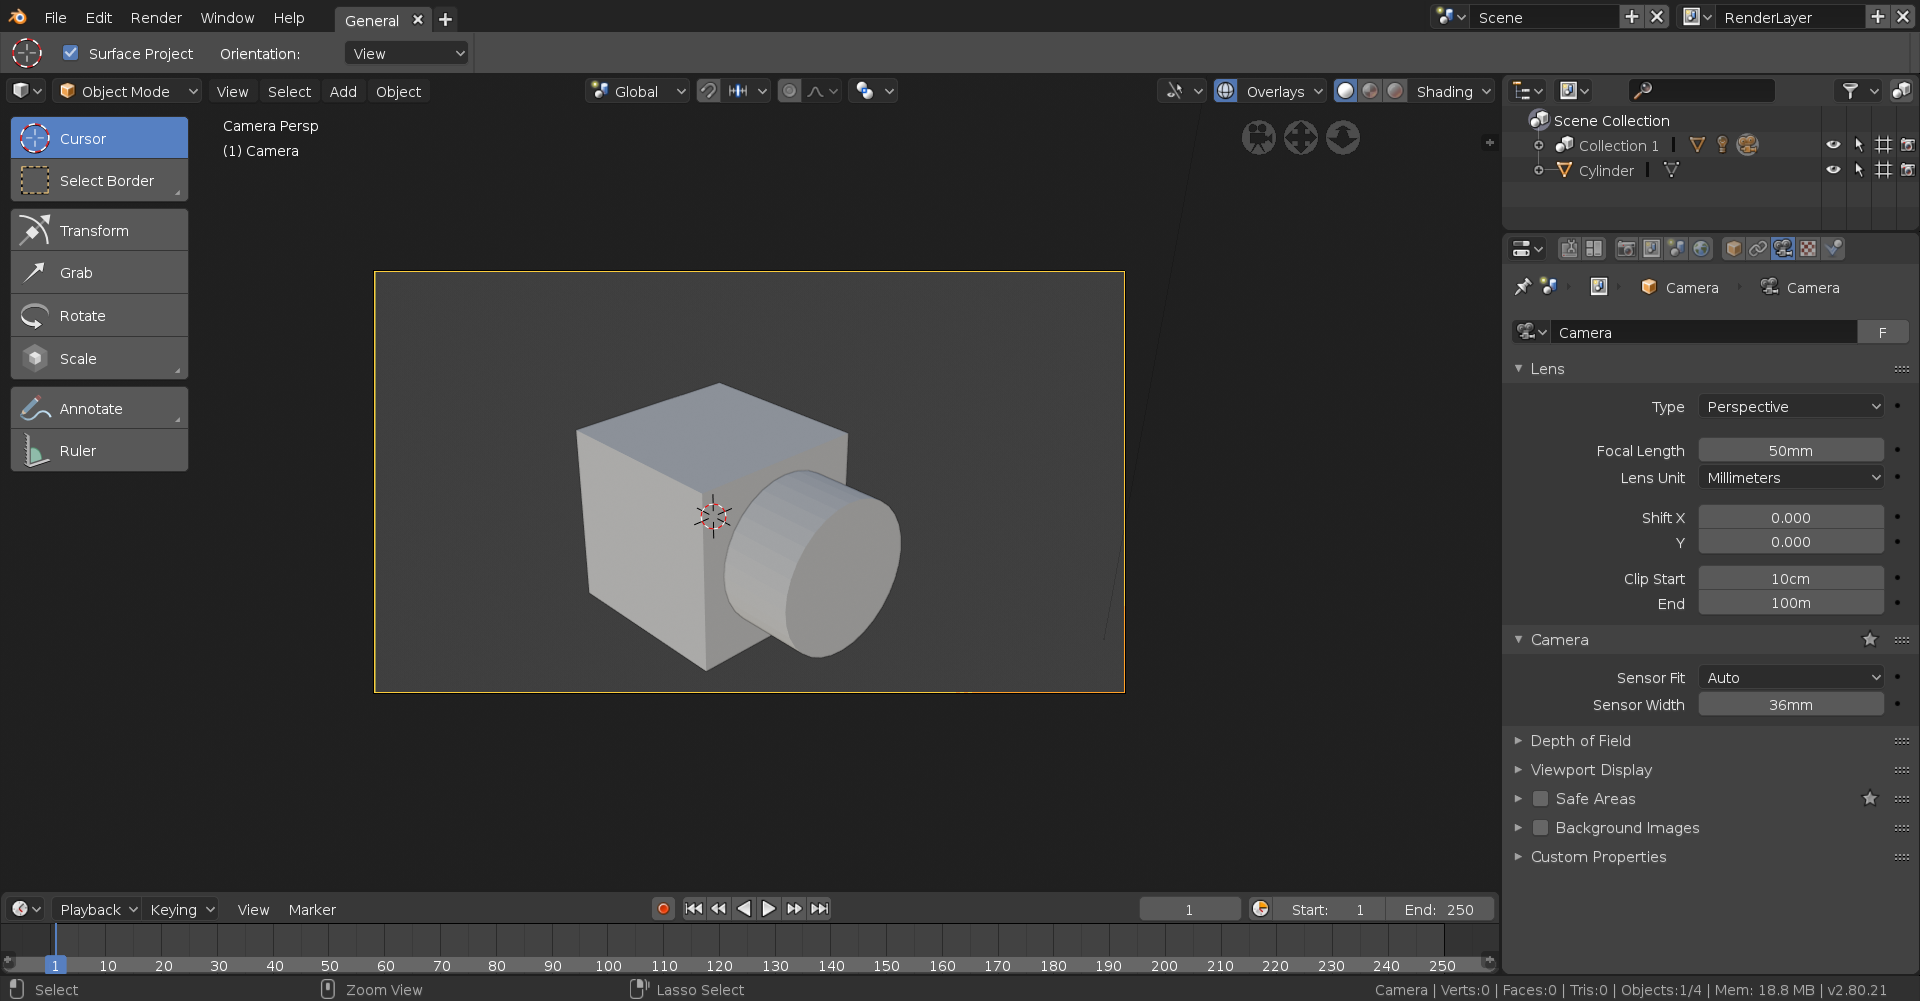
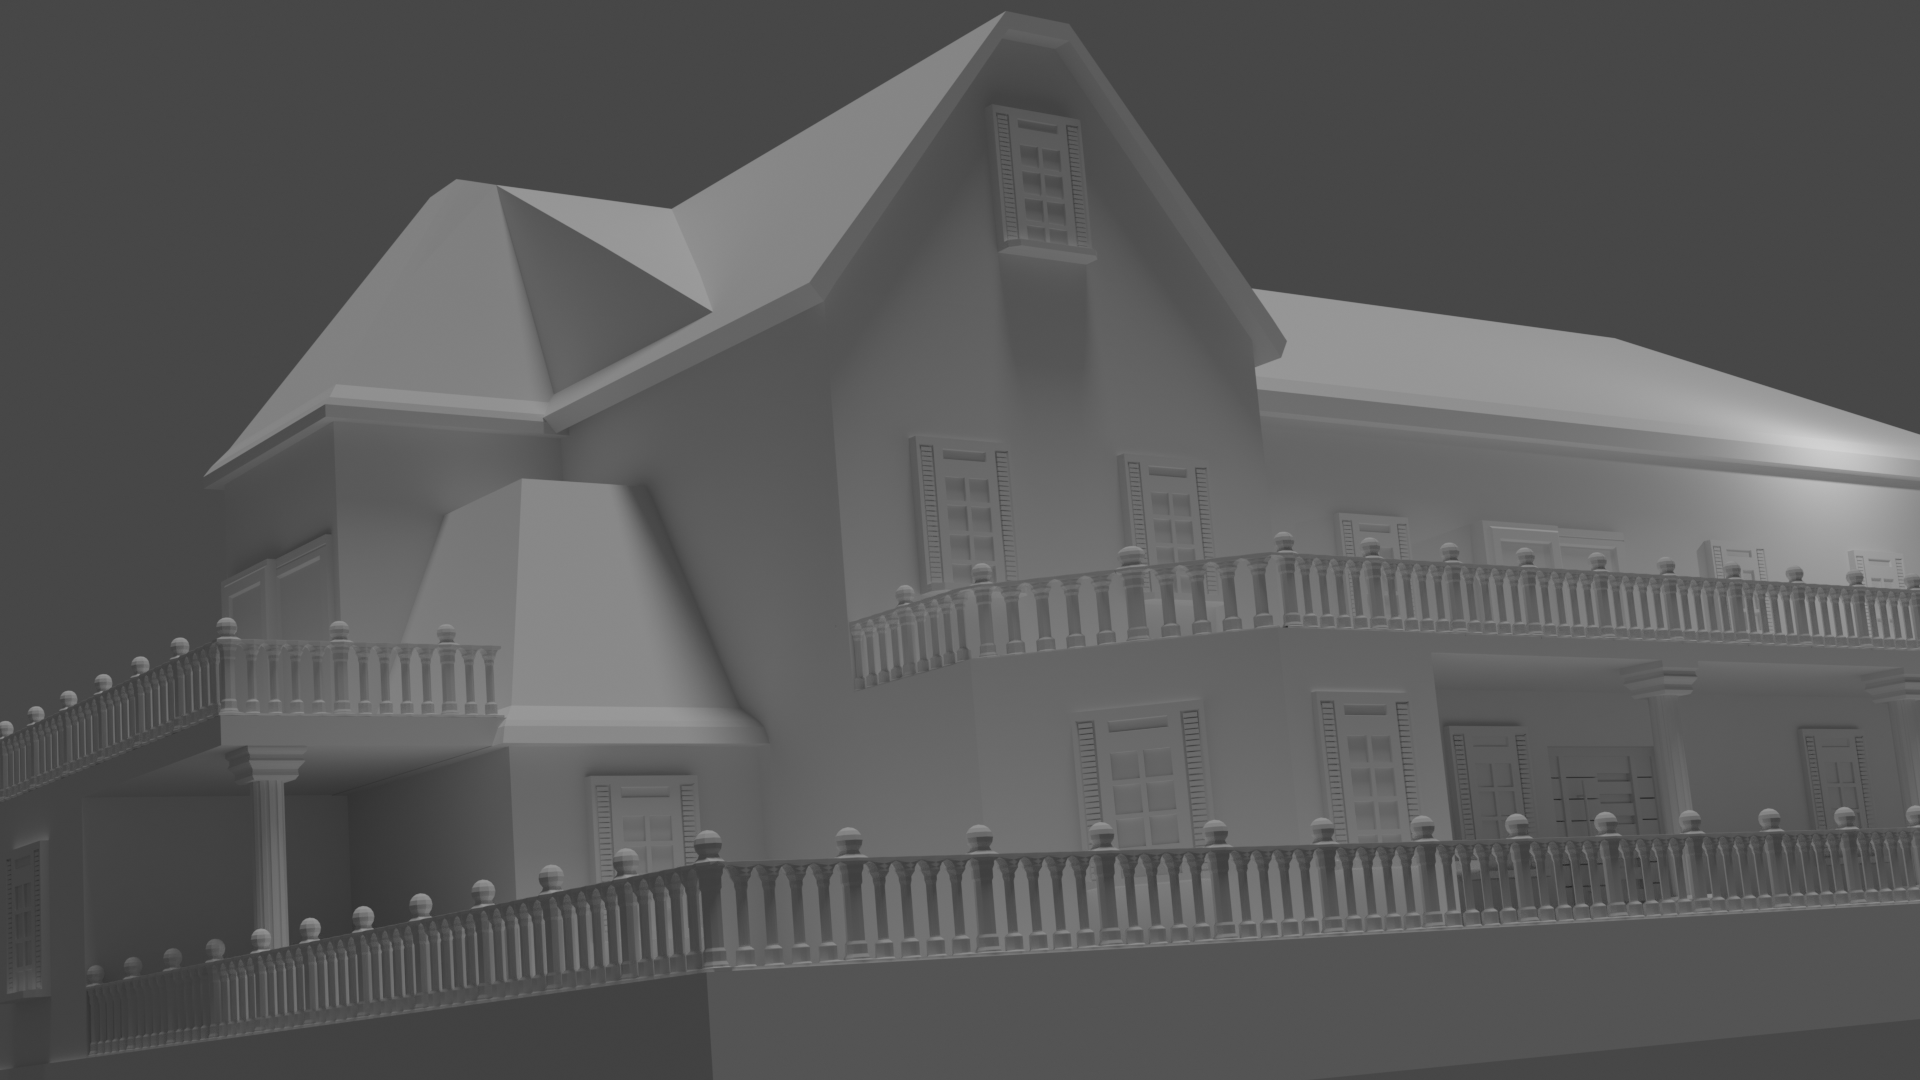
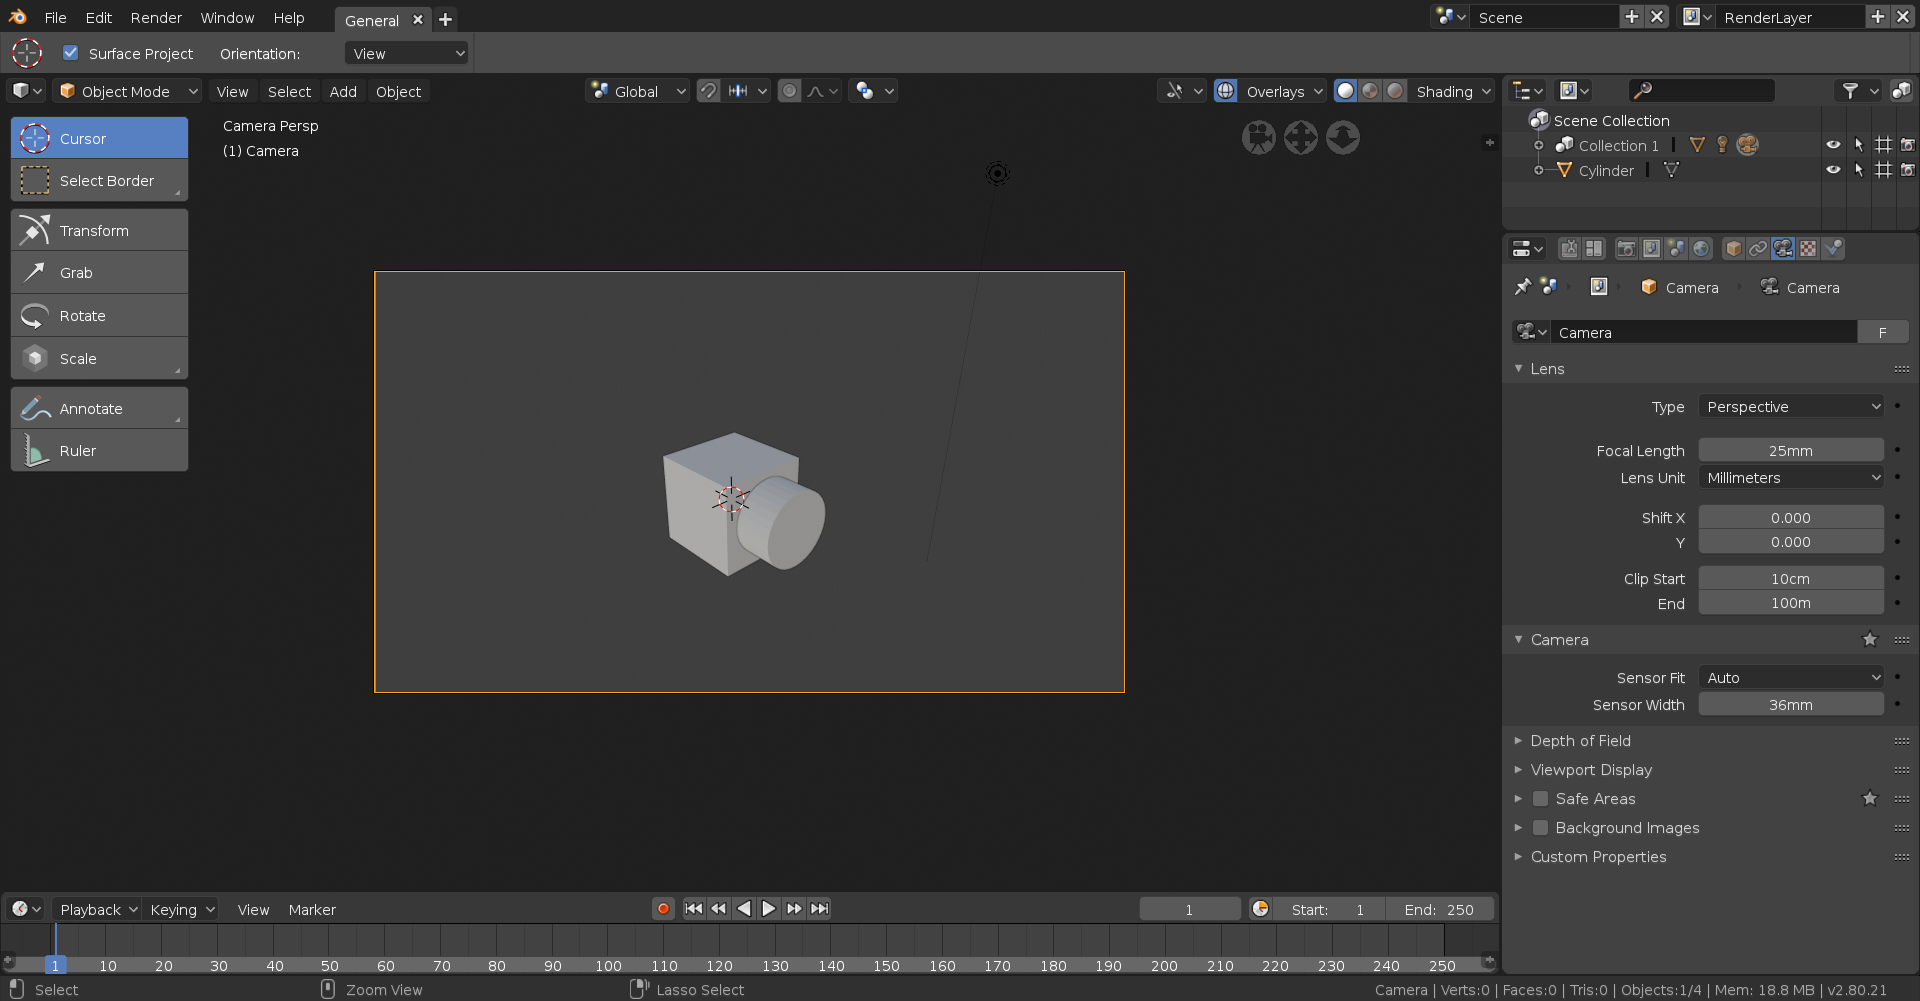
Now on the right you can see the "Focal Length" setting, and this basically determines how "zoomed in" your camera is (50 is the default). The lower the focal length, the wider the FOV and therefore making it seems zoomed out. Here it is at half the size:
And here it is 50% larger than the default:
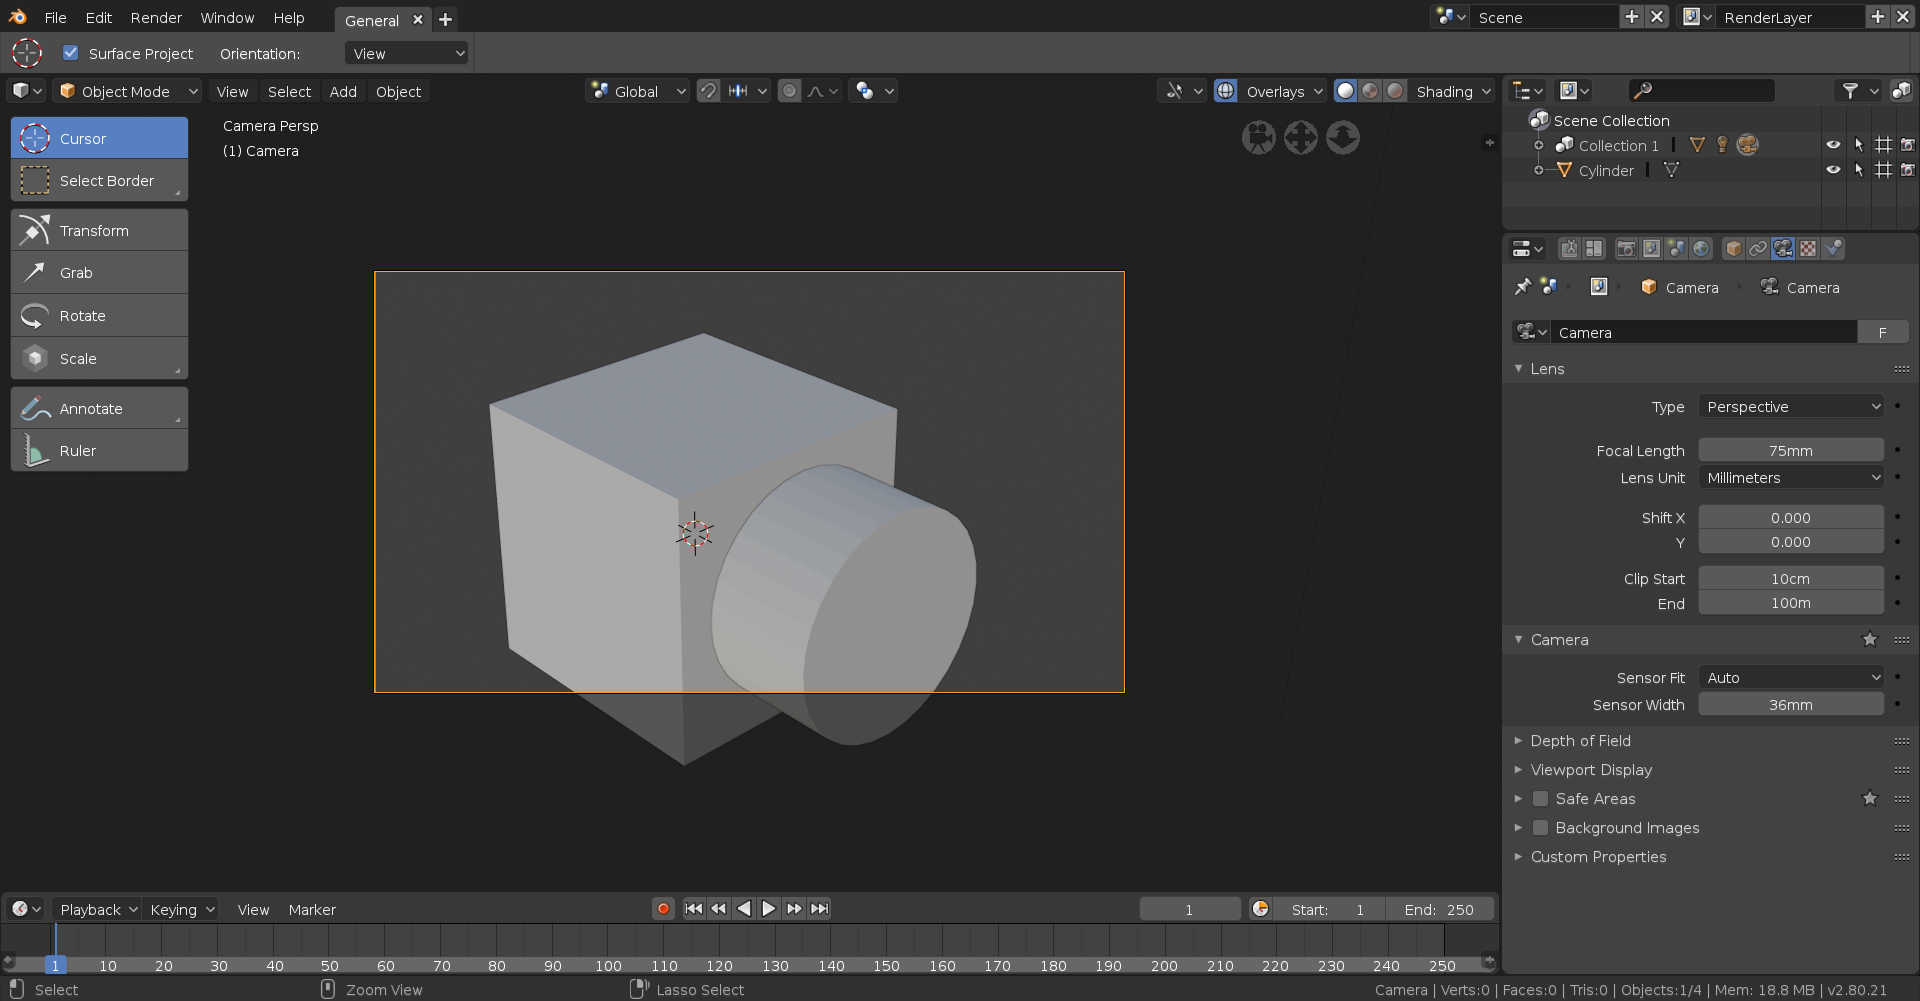
This coupled with the tips ccarrotnl and ssmurfmier1985 gave should be very useful. For reference if I remember correctly, most real world cameras have a focal length of 50-60 but hey this is the CG world, we're not bound by those laws!
![]() thecabbagedetective @yukino1989 The 50-60mm focal length on a real world camera comes closest to what the human eyes sees, that's why this is a very commonly used focal length, especially for portrait photo's (sorry, hobby photographer over here 😛). But you can put all kind of lenses on a real world camera, so why not change it up in blender right? 😉 go crazy and try out what works best!
thecabbagedetective @yukino1989 The 50-60mm focal length on a real world camera comes closest to what the human eyes sees, that's why this is a very commonly used focal length, especially for portrait photo's (sorry, hobby photographer over here 😛). But you can put all kind of lenses on a real world camera, so why not change it up in blender right? 😉 go crazy and try out what works best!
yyukinoh1989 nice start on Week1 and you can see that can ask anything, there are tons of resources here in the class for advice
![]() csehz
csehz
Thank you i am happy to hear its looking good .
Indeed this community is amazing. never had any community before who where having such helpfull people and active.
For sure i never gonna regret comming here . this is the best place to be and amazing to learn.
Hope tomorrow and sunday i get enough time to finish what i was thinking about :)
I am getting happy with the progress
But this would not be possible without all of you guys (the instructors and the community)
if anyone got suggestions to try to make things look better let me know .
Gonna try to add some more pokemons and add some collors if i can manage to understand that in time
Edit : got a question when you add a primitive you get to change the segments etc(the add panel).But once i move it that change and i dont know how to get that panel back . I am wondering if you can only change the amount of segments in the start of later on too ?
yyukinoh1989 Yeah for some bizarre reason once you move an object you can no longer get that menu back, so you'll need to make your decisions right away.
yyukinoh1989 The Operator panel opens when you create a new object. But also when doing certain actions, like move, rotate, etc. As soon as you perform any action on it, the Operator panel disappears, or is replaced by new options, depending on what you do. Also going to edit mode is going to make the panel disappear.
I heard that in the future they want to make it possible to change those settings, even after you edit the object, but I don't know how certain these plans are.
thanks Aaron and Wilco. good to know. sometimes i try someting but redo it several times because i am not satisfied with the result i took with the segments etc. But for now what i have went pretty good . tommorow i try to model some more pokemons to make it more lively and nice looking.
sometimes i try someting but redo it several times because i am not satisfied with the result
yyukinoh1989 Art in a nutshell. It's something we all go through at least once so you're not alone. I made this thread a while back so if start to feel downtrodden because of that lack of satisfaction there's quite a bit of reassurance and advice here.
![]() thecabbagedetective
thecabbagedetective
wow seems it has quit a lot of comments gonna read them. might know what to do when i get in that situation.
I know from myself i can be quit stuborn and would sometimes end up with sleeping too less.
So this topic sure gonna be worth reading now.
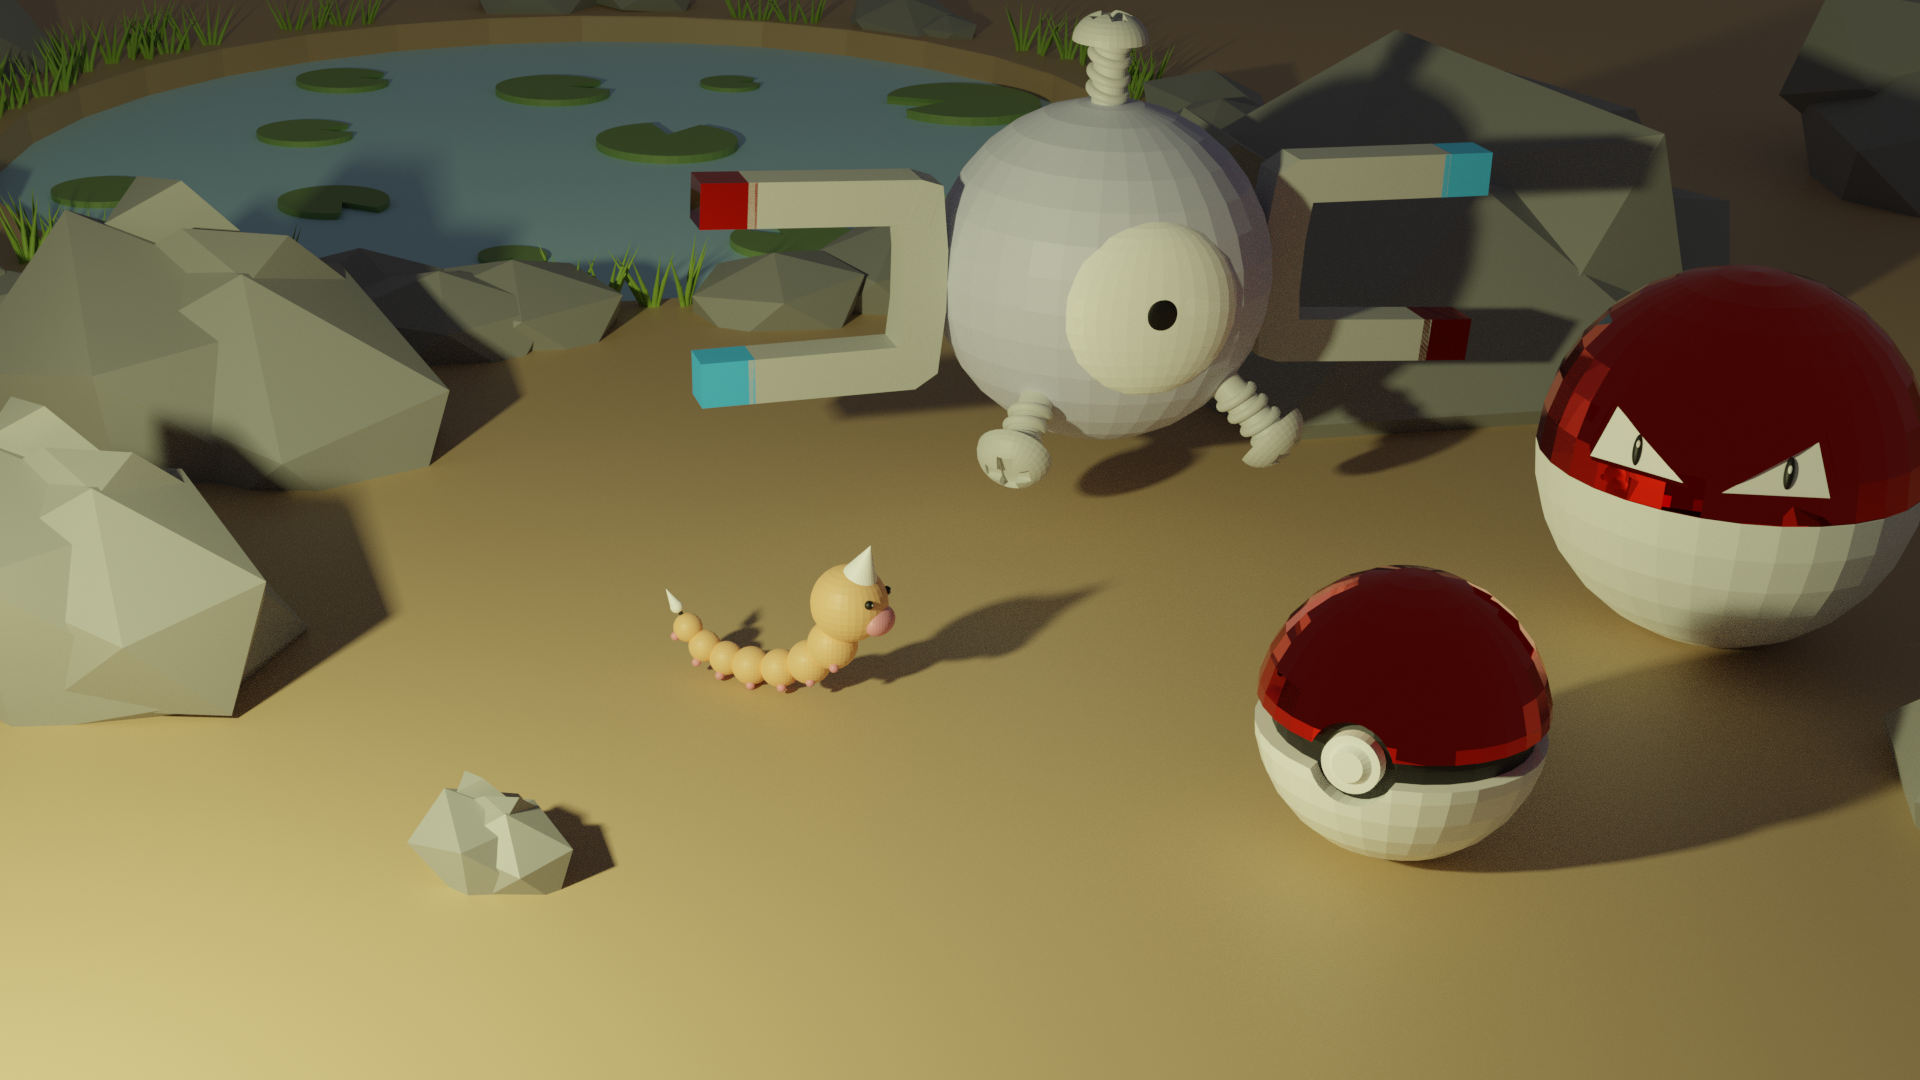
finished the image is posted in the first page too
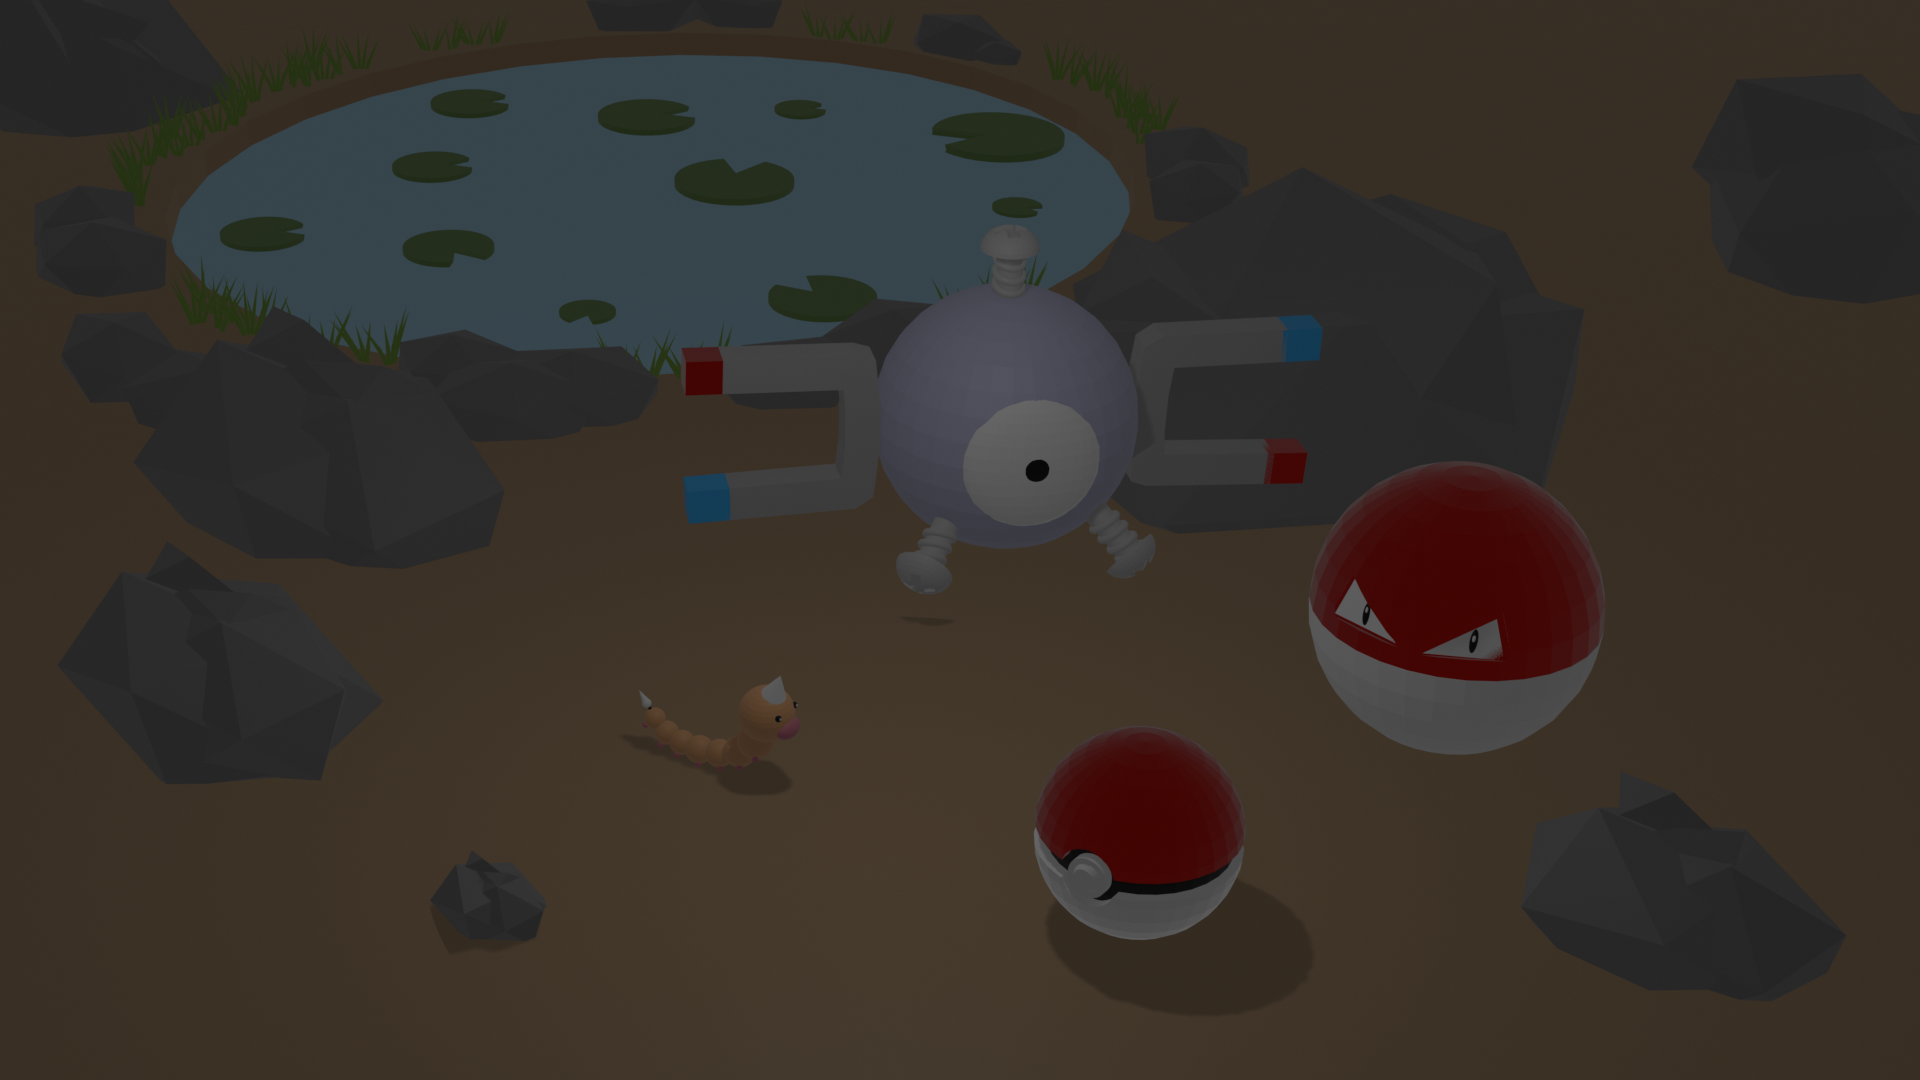 anyone know why there is shadow under the weedle 1 stone pokebal and part of magnemite but not with rest ?if anyone see someting strange be sure to let me know.
i saw some posted a before primitive challenge and this one so i guess ill do it too.
https://www.cgcookie.com/u/yukinoh1989/projects/snowman-model
https://www.cgcookie.com/u/yukinoh1989/projects/first-3d-model
i modeled these 2 after i followed Grant Wilk tutorial about blender basic's
yyukinoh1989 I love the composition! so many pokemon, they are very well made! You should turn up the lights a bit though so we can see them better 😊 About the shadows, I think it has to do with the position of the light(s) and how high the pokemon are floating above the ground. You can be be very proud Yukino, you've done marvelously well for your first complete scene. Awesome job 👊
ssmurfmier1985
Thank you so much Miranda how do i turn lights up ? i indeed finded that somehow the color's arent like they where supose to be.
I really learned a lot here already so i wonder how much more i will learn in the next week :D
yyukinoh1989 You set the energy higher:
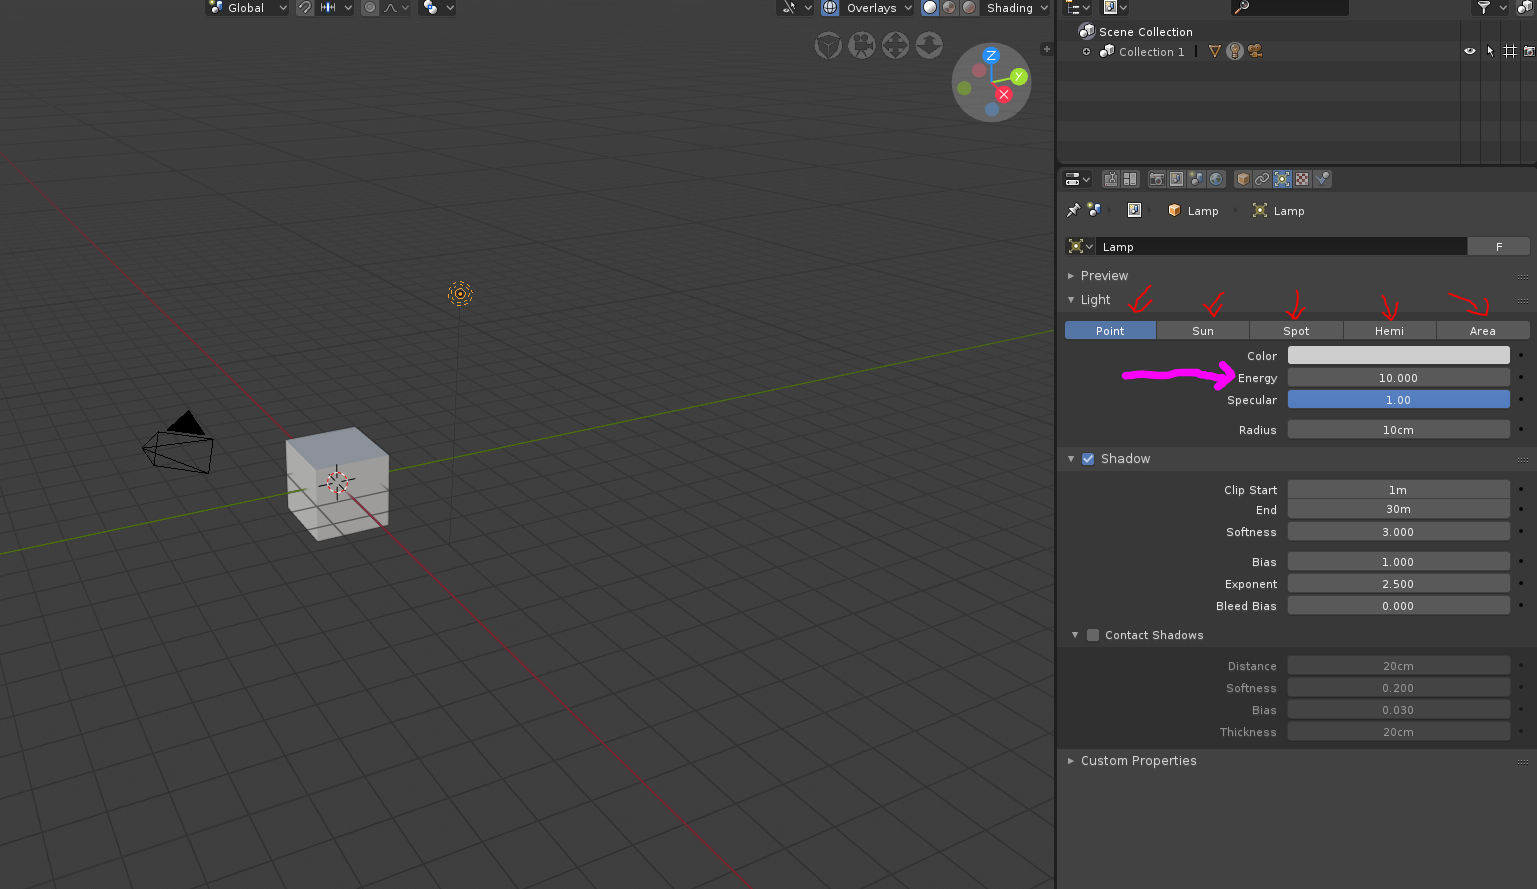
You can also change the type of light, each one has different features. Also, did you know you can add more lights? Just like you add a new mesh, hit SHIFT + A but then go to the lights section.
Also you can turn up your world lighting a bit by picking a lighter color:
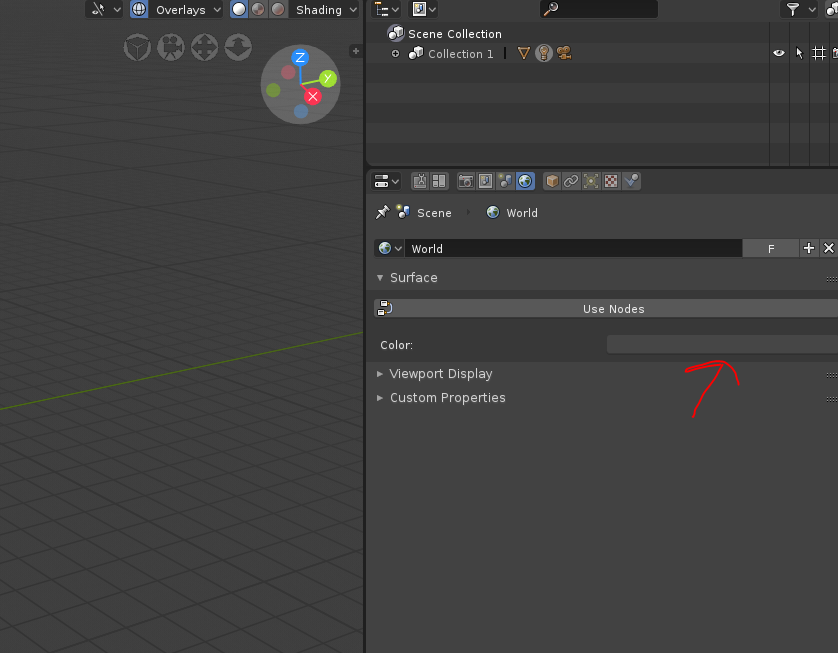
Using a HDRI is usualy the best way to light a scene, like ![]() thecabbagedetective explained before, but this will give you some great options to try out for now. Hope this helps 😊
thecabbagedetective explained before, but this will give you some great options to try out for now. Hope this helps 😊
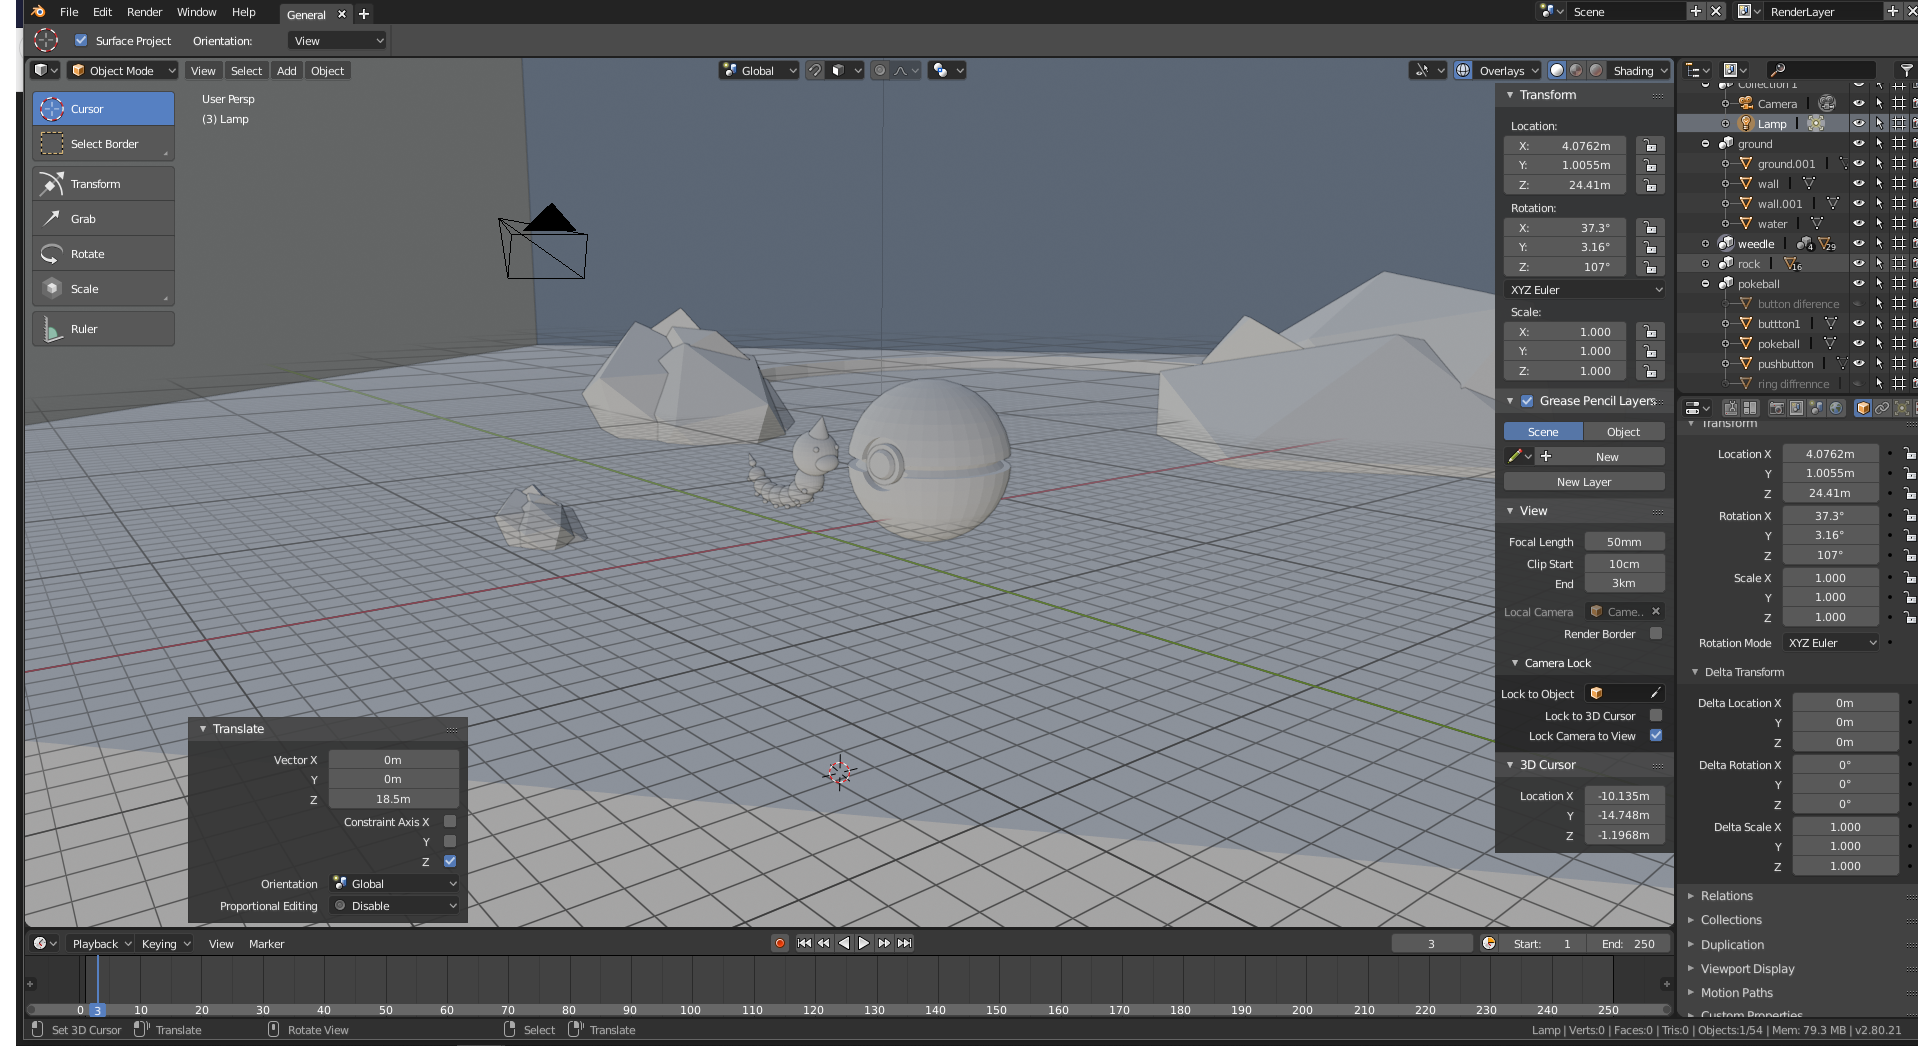
yyukinoh1989 Good stuff! About the shadows, after taking a look at your .blend file it would appear that you light source is both very dim and pointing straight down (the black line that sticks out of the light source indicates the direction of that light). You're gonna want to have something like this (I had it at a strength of 25,000):
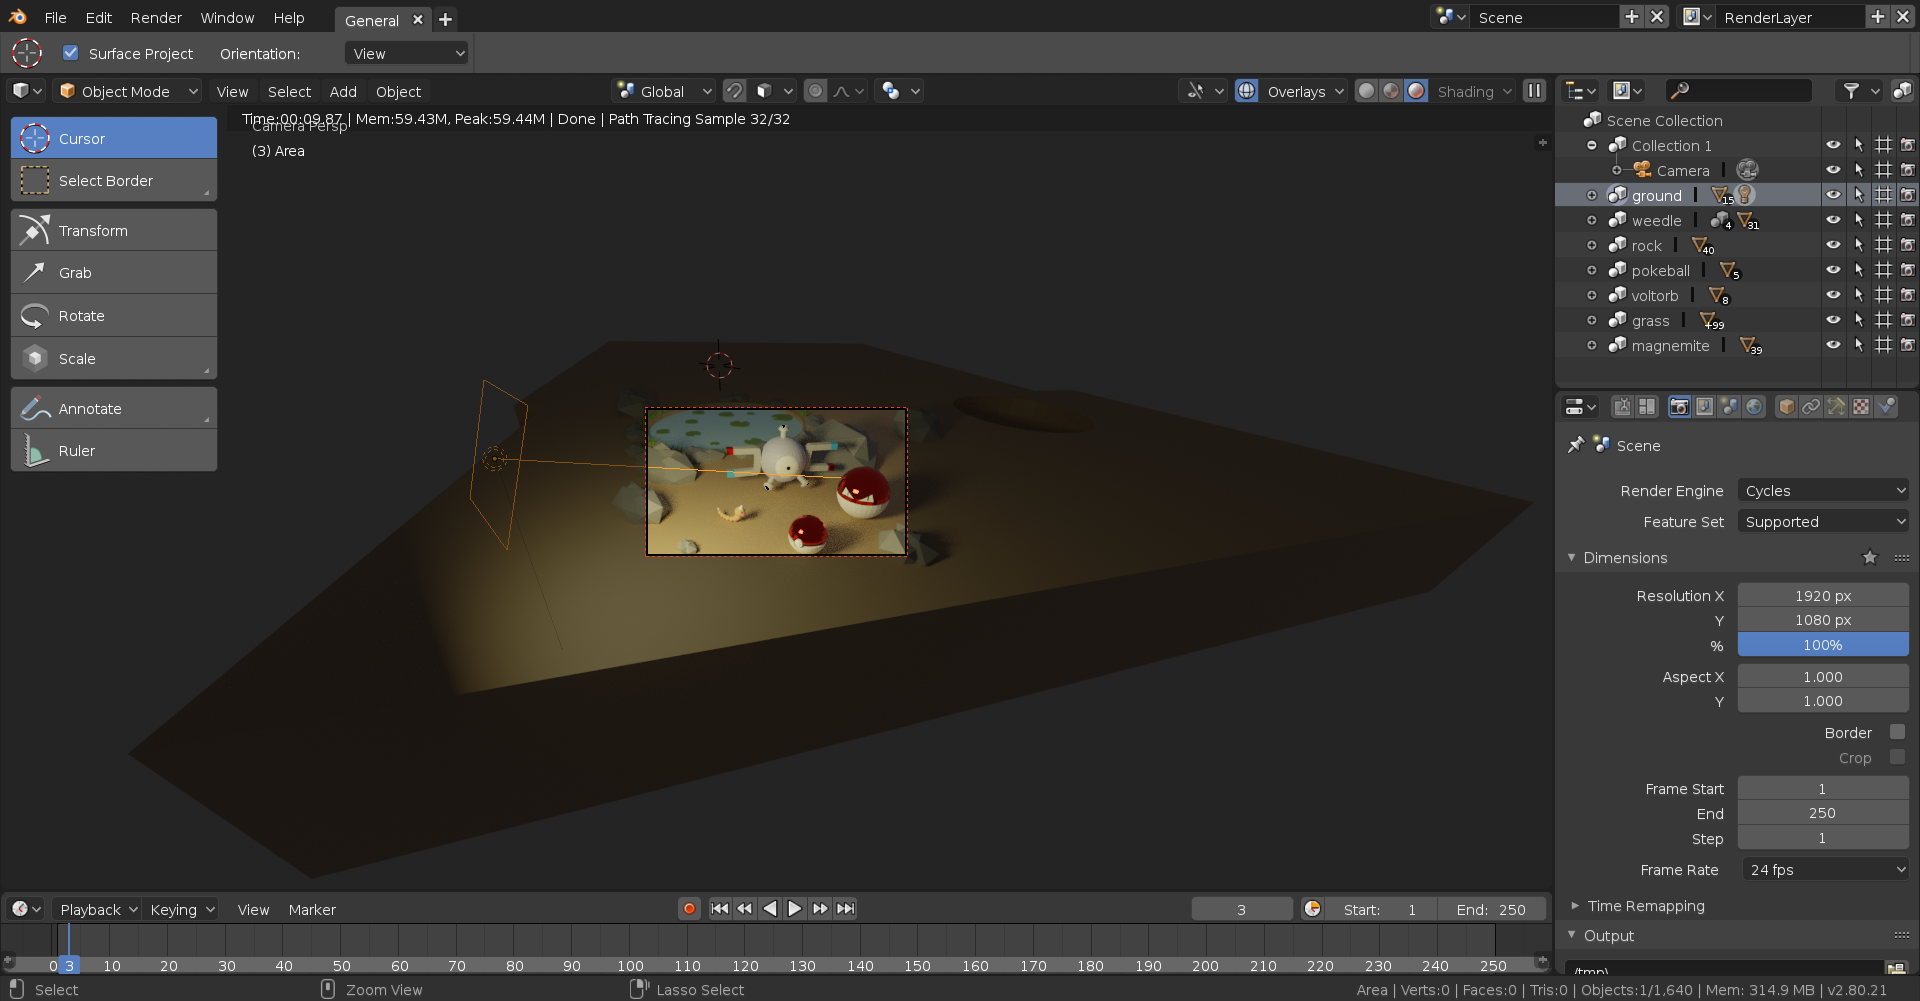
Here it is rendered:
One thing I will note is that I rendered this in Cycles whereas you presumably rendered in Eevee. I say this because Eevee's lighting doesn't seem nearly as detailed as Cycles, plus it seems that they added an entirely new functionality for Eevee's lighting like... today (or at least I didn't notice it yesterday) so now I gotta learn how that works. If I come across something useful I'll let you know. Hope this give you some insight though!
![]() thecabbagedetective and ssmurfmier1985
thecabbagedetective and ssmurfmier1985
both thank you for this i gonna try to get it better .
how do i also know if i render in cycles or eevee ? i just see render xD
i do this by going at top and take render image . hope that is the way to do it ?
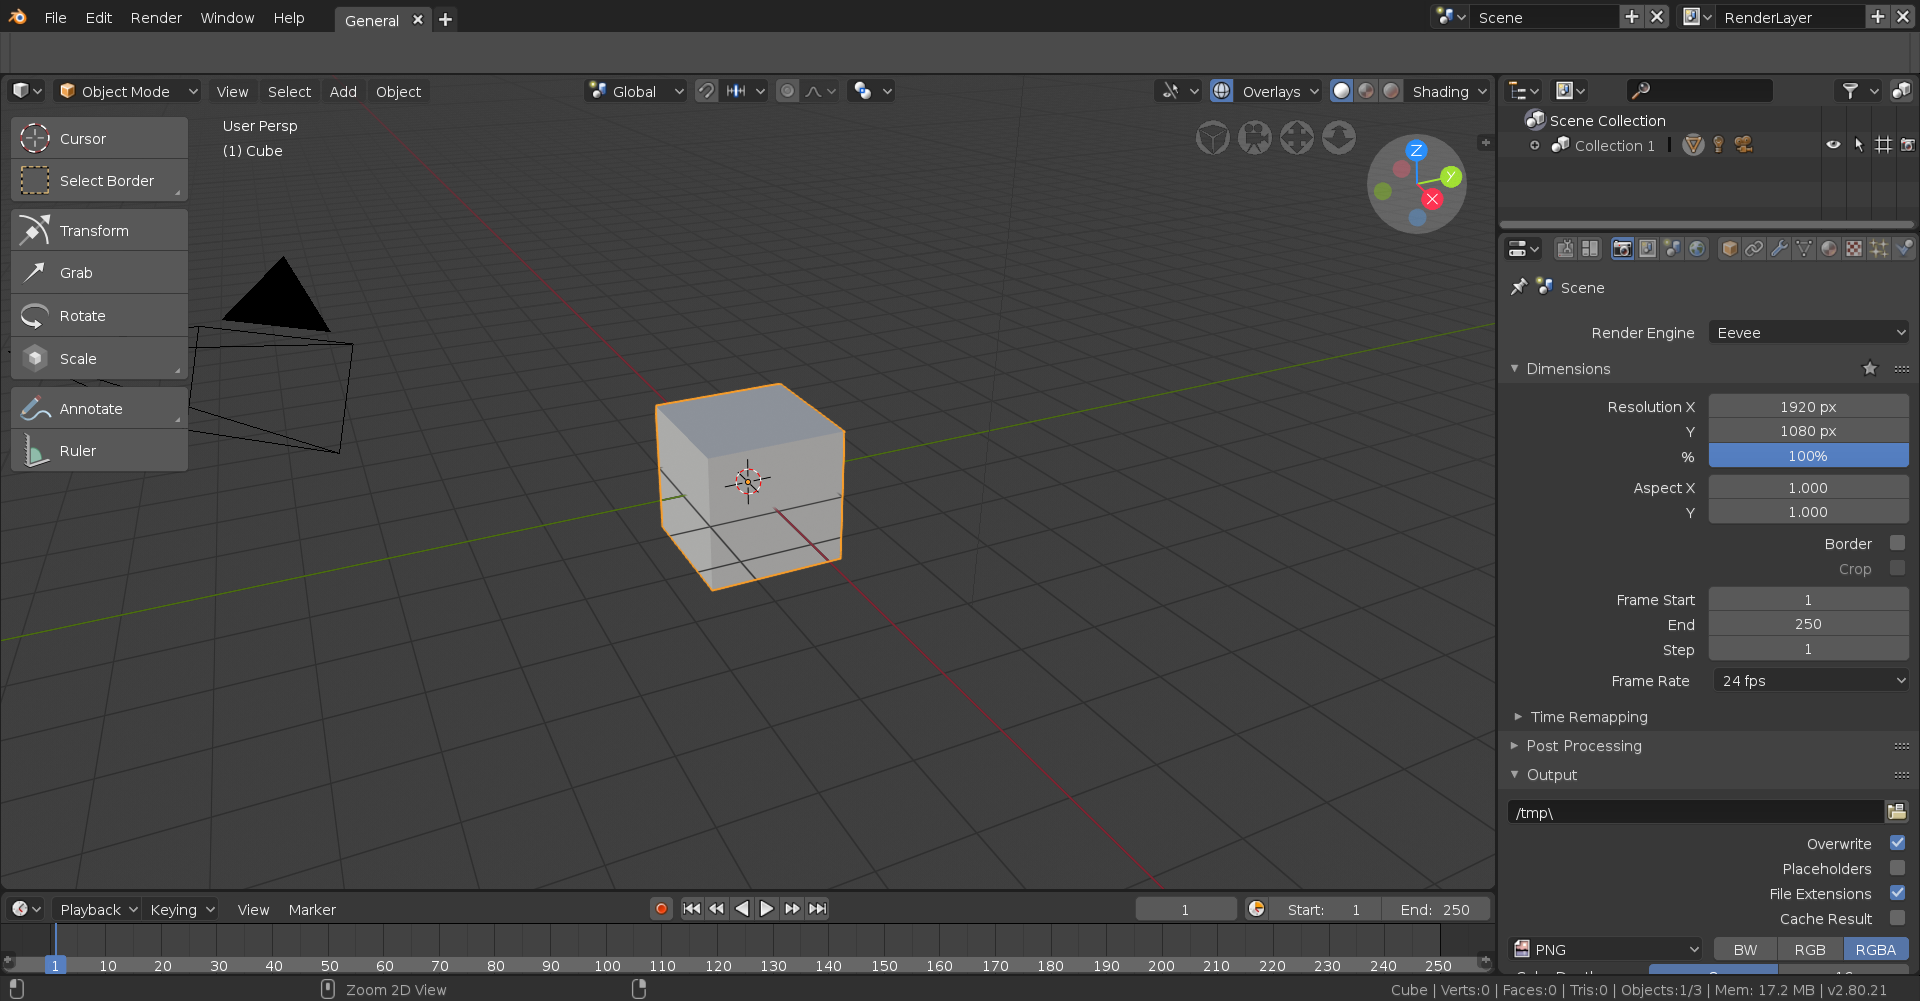
yyukinoh1989 In the Render settings on the right (the camera) there's a button that says "Render Engine". This allows you to swap between Eevee, Cycles and OpenGL. OpenGL is basically just a snapshot of the viewport but due to Eevee I'm a tad confused by its existence, for animations maybe?
![]() thecabbagedetective
thecabbagedetective
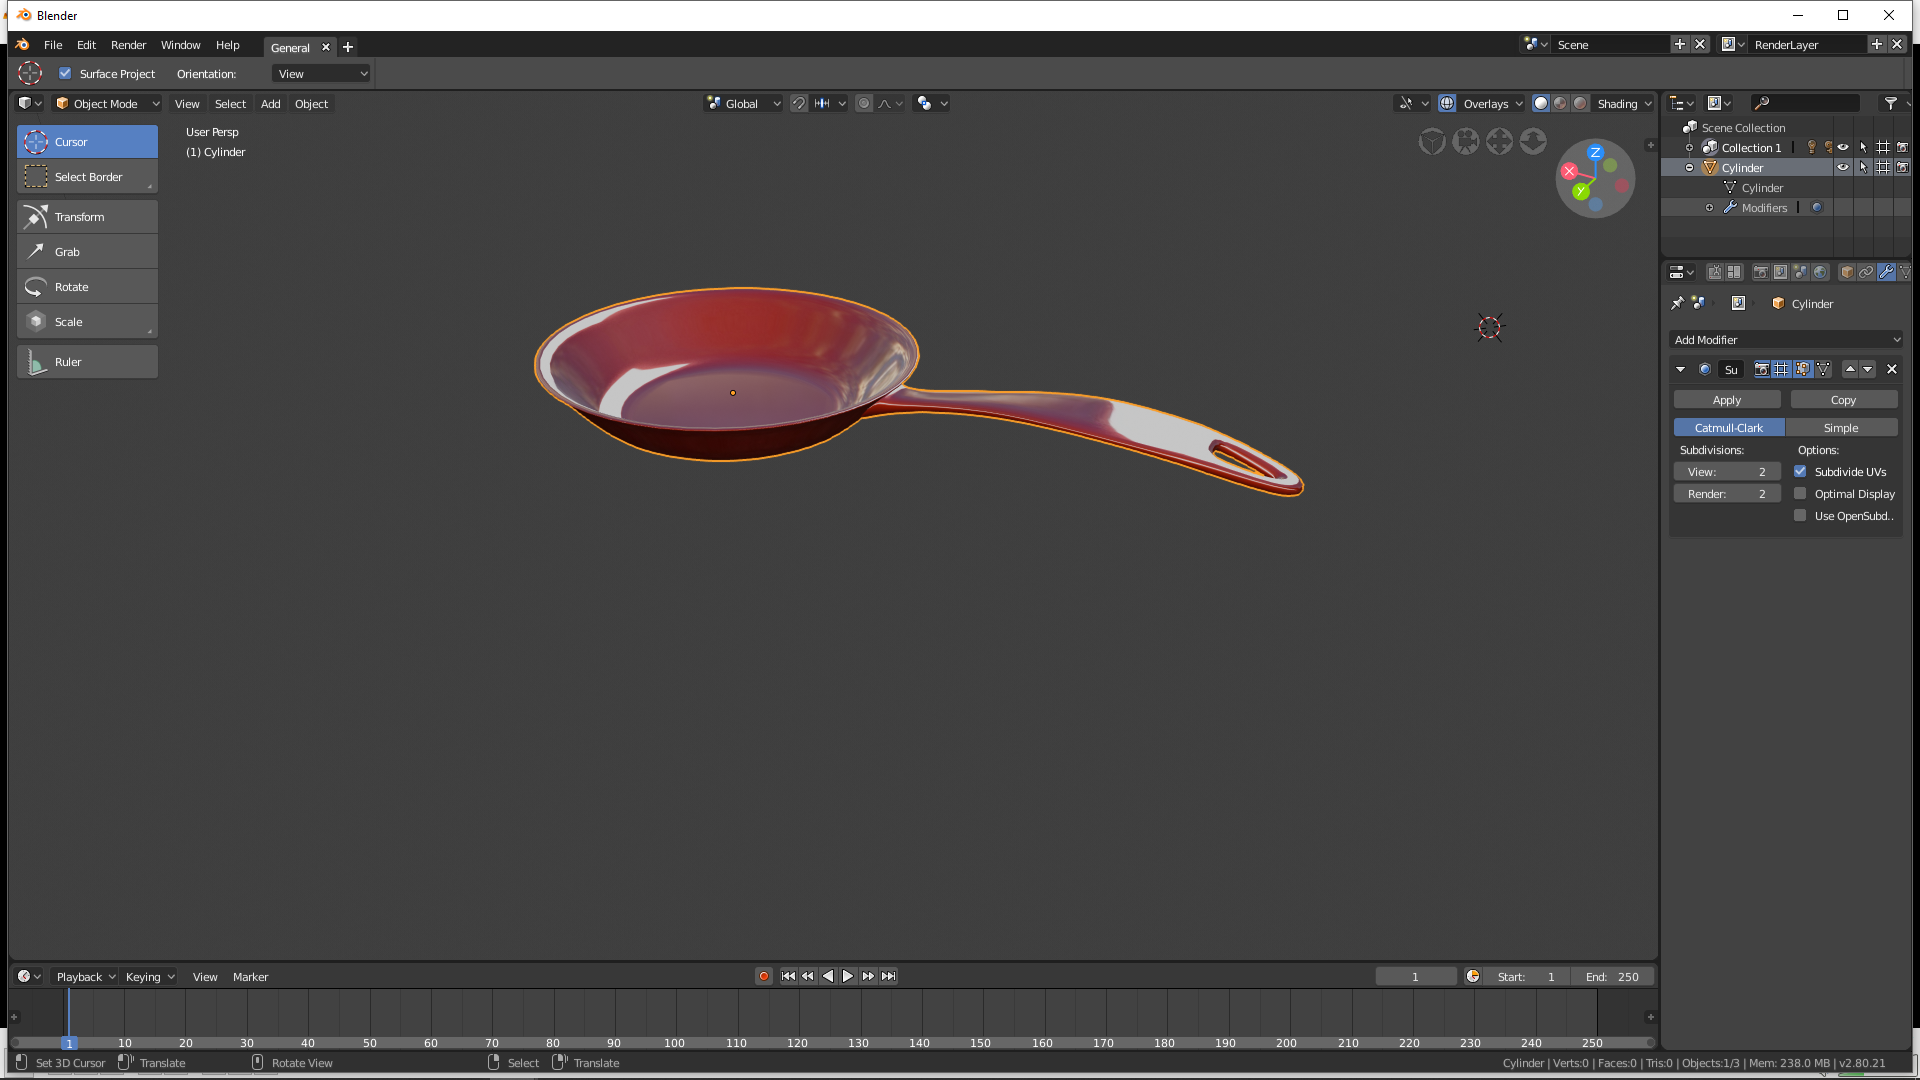
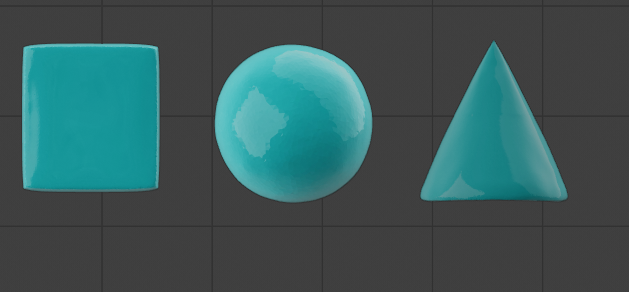
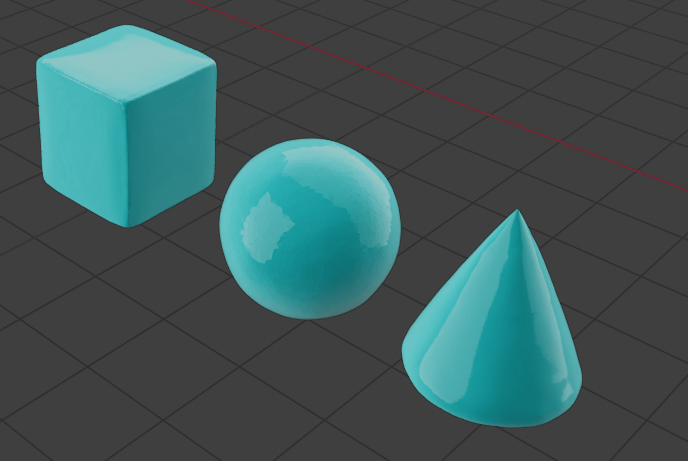
thanks indeed now i know how to change the type . one more question is there a way to smooth the pokeball voltorb and head of magnemite ? since i noticed they are a bit too blocky . i remember there was someting to smooth but i cant find it
yyukinoh1989 Indeed there is! With the object you want to smooth out, you'll want to click on the "object" button at the top of the viewport (or bottom, if you swapped the header around):
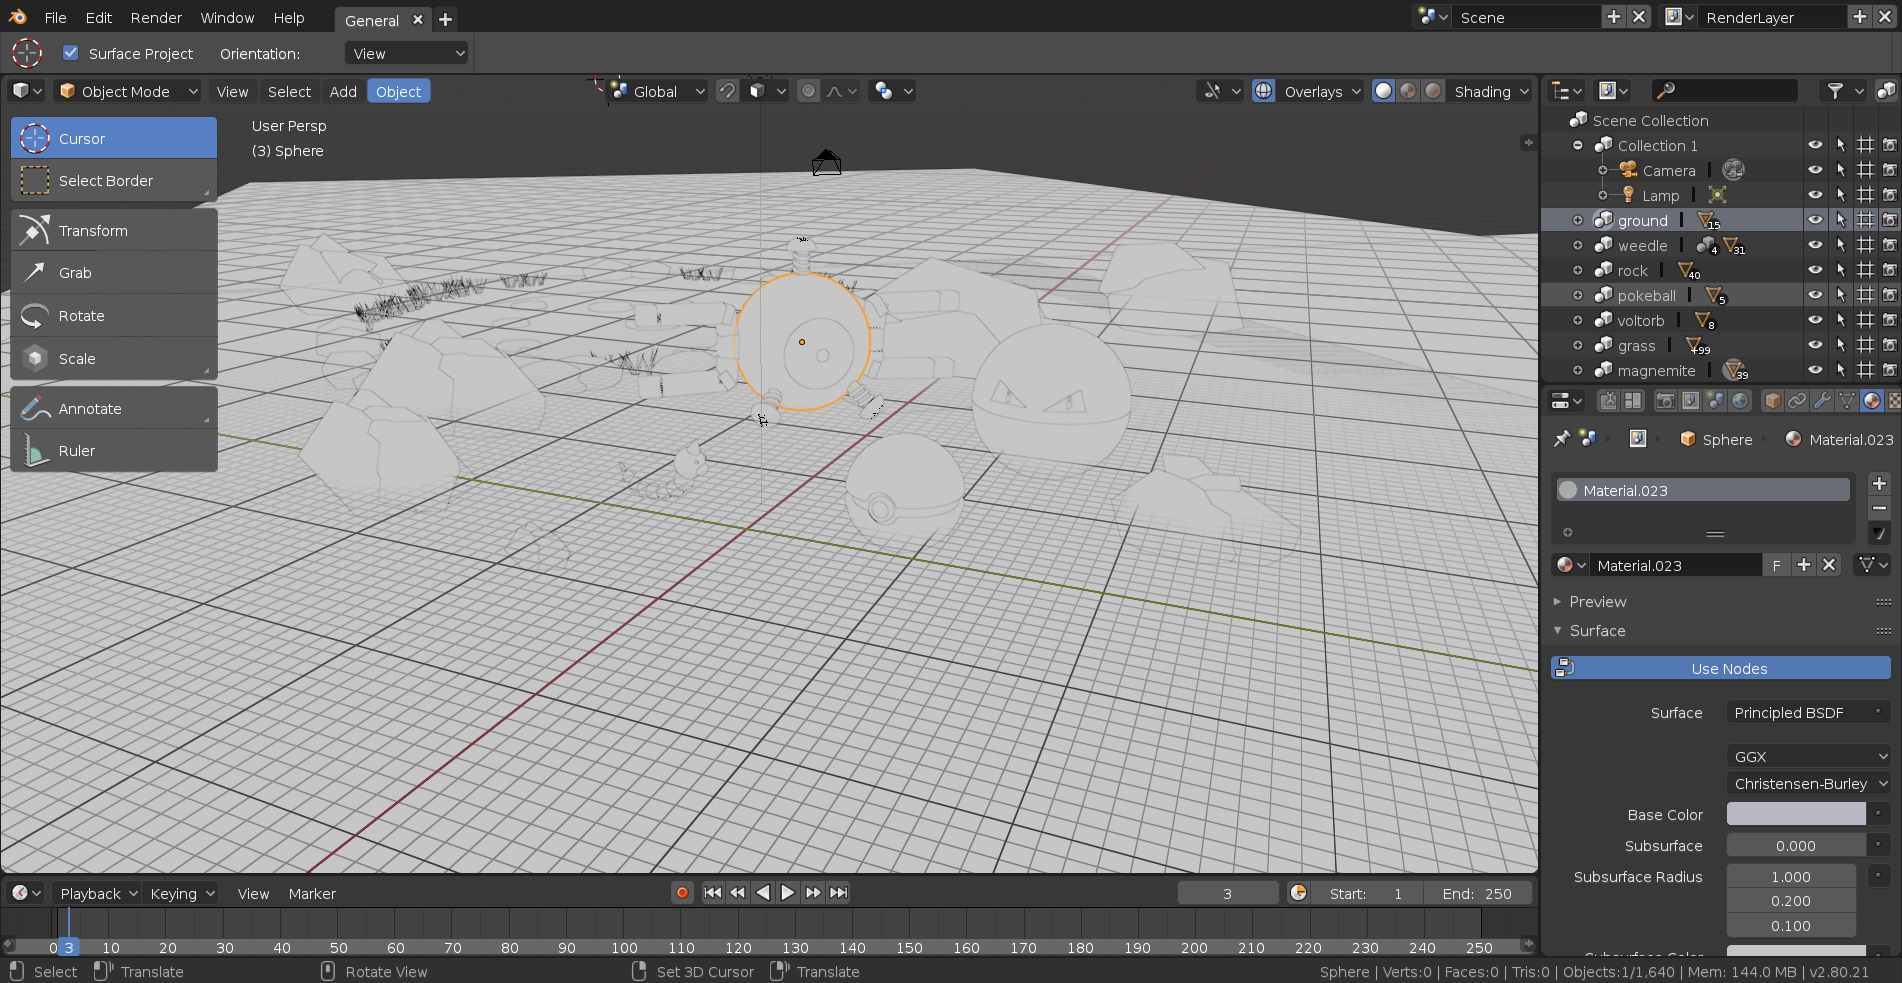
After that you'll want to select "Shade Smooth" and boom, you're done. The only problem is that smooth shading requires more dense geometry so for most primitives it'll look rather funky but it shouldn't be too bad with the spheres.