Becoming great at anything requires constant practice and that is especially true with 3d modeling. If you're here it's probably because you want to become a better digital artist. I myself want to improve my 3d modeling and texturing skills and that means I need to model a ton in order to become better.
Building a consistent habit is the path to becoming great and with that I wanted to provide a challenge to anyone else here who wants to join me. The challenge will be to model one new 3d model daily for 30 days.
The goal of this is not to create amazingly realistic models, but to get you practicing your modeling skills daily. You are not competing with anyone here but yourself.
Each day this post will be updated with the object to model based on that week. Below are the rules and guidelines to make this more interesting:
Themes
To make this more interesting, every week will focus on one theme. Each theme will represent a set of 7 objects that are relatively easy to model, but each have unique elements to them to challenge you in different ways.
The themes for the next 4 weeks include: Home, Weapons, Props, Nature
Rules
Submissions
Post a rendered image of your completed model. While texturing won't be required, it is highly encouraged.
HOME (June 1 - June 7)
For this week we'll focus on objects found around the home. Typically these objects are relatively easy to model and reference. You are free to get as creative as you want with these as long as you modeling what is requested for that day.
June 1 - Sofa
June 2 - Lamp
June 3 - Book Shelf
June 4 - Coffee Table
June 5 - Lounge Chair
June 6 - Shag Rug
June 7 - Floor Speakers
Week 1 is Done! Congrats on making it through the first week of this modeling challenge. On to week 2.
WEAPONS (June 8 - June 14)
For this week we'll focus on creating hand held weapons. Think melee weapons. These usually have a mixture of primitive and complex shapes. You may use sculpting during these models, and some may actually require it to achieve the look you want.
June 8 - Axe
June 9 - Combat Knife
June 10 - Spear
June 11 - Shuriken
June 12 - Spiked Bat
June 13 - Sickle
June 14 - Nunchucks
PROPS (June 15 - June 21)
This week will be focused on props you might commonly see in games or background scenes. These can be reused to add "filler" to an environment. These props mostly reside outside.
June 15 - Barrels
June 16 - Tires
June 17 - Filled Trash Bags
June 18 - Concrete Barrier
June 19 - Shipping Container
June 20 - Dumpster
June 21 - No Object
June 22 - No Object
Vegetation
This week will be focused on organic plants and objects you'd find out in nature. Think of these as natural props.
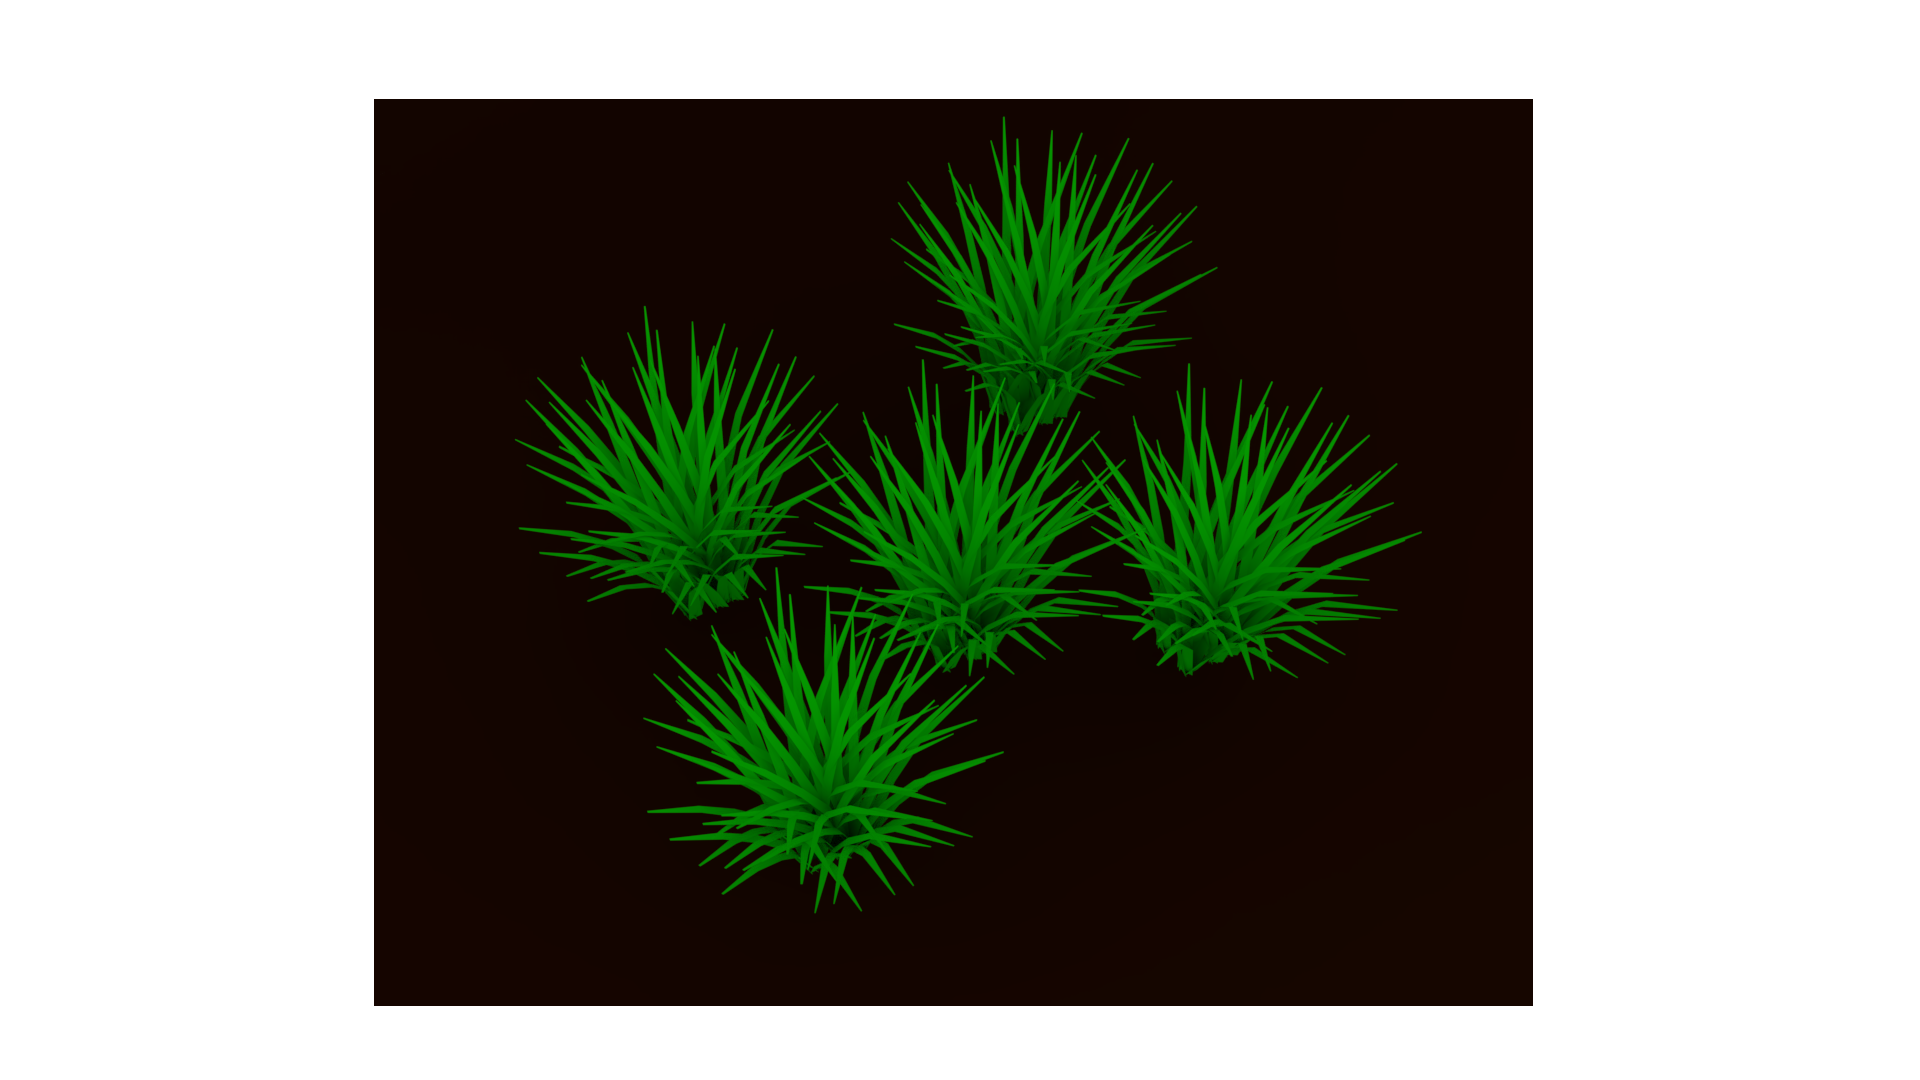
June 23 - Grass Clumps
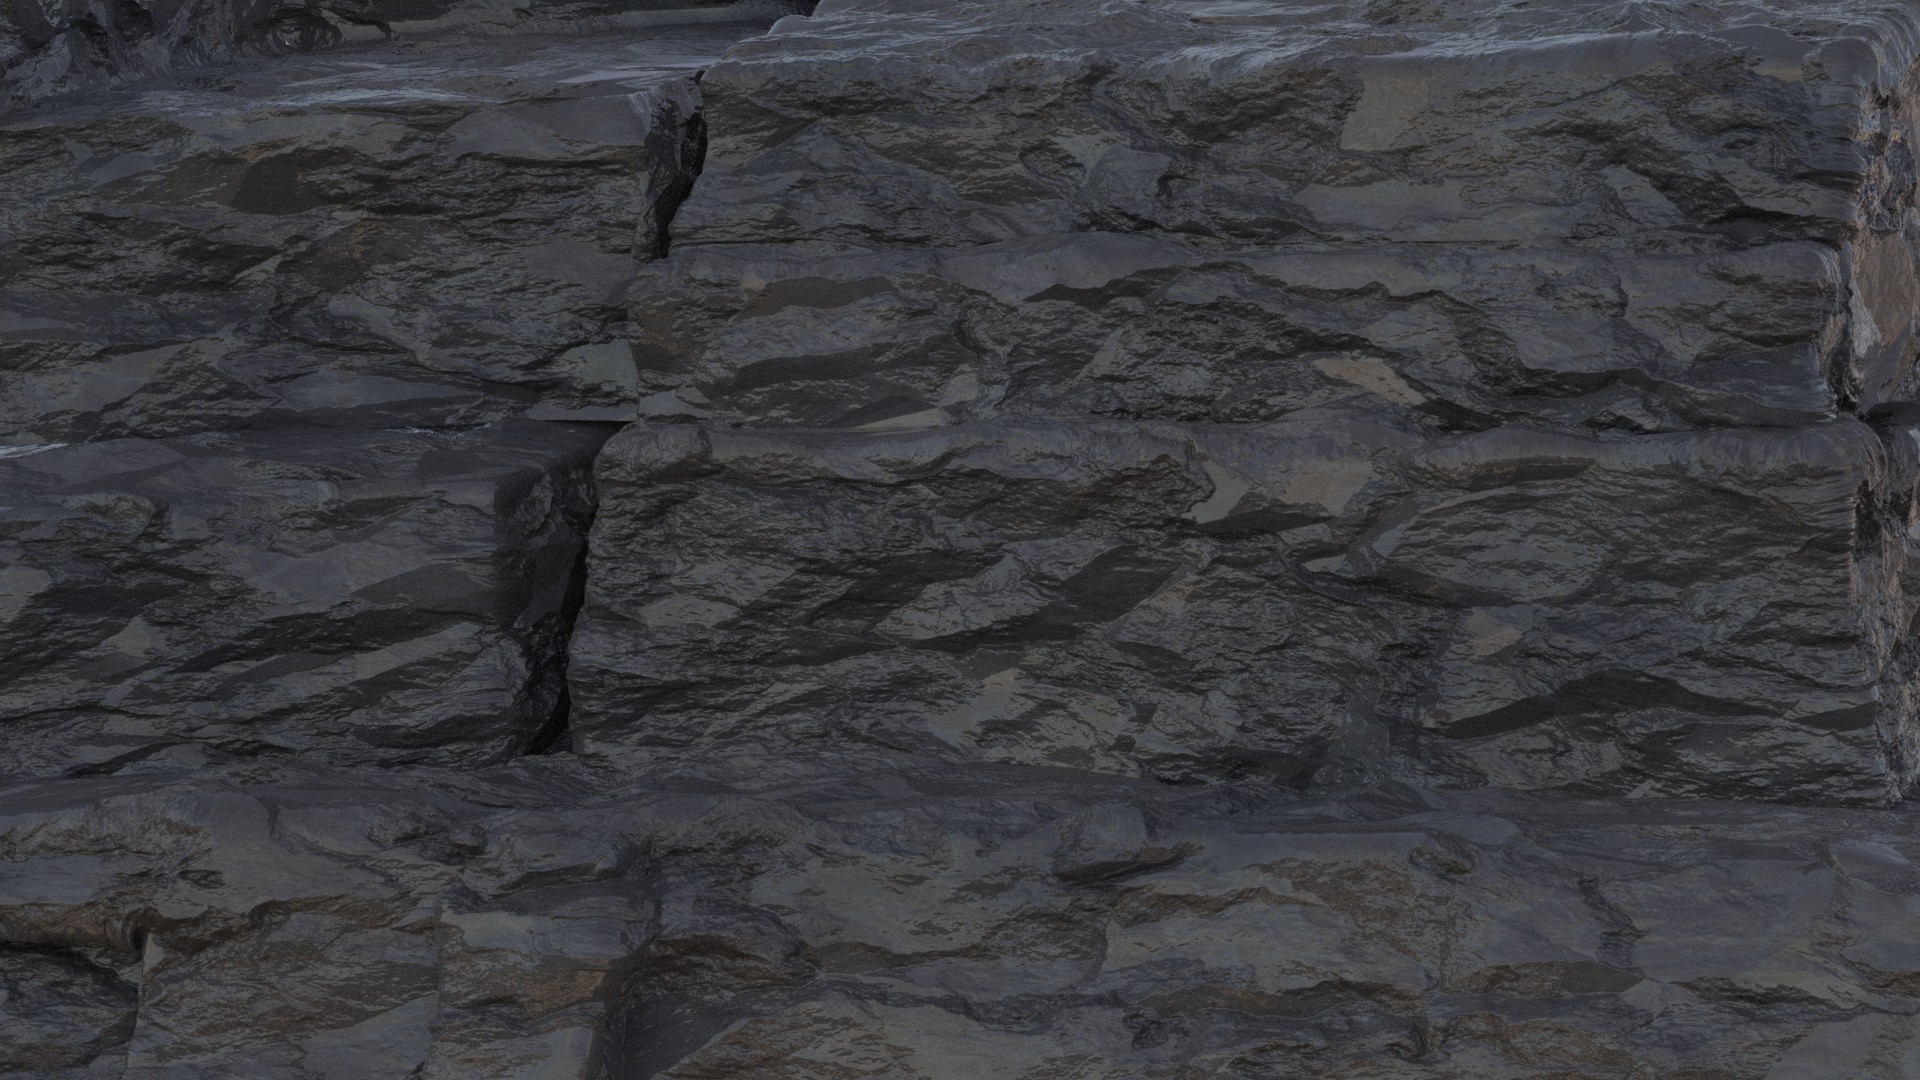
June 24 - Rocks
June 25 - Flowers
June 26 - Bushes
June 27 - Hollow Log
June 28 - Vines
June 29 - Trees
CHALLENGE COMPLETED
This officially ends the challenge, technically it's 29 days but we have another challenge starting up on Monday so use Sunday as a way to gather reference photos and start your next modeling challenge with vehicles!
Thank you for everyone that participated in this challenge. Some objects were easy, others were challenging and I hope you learned some new tips and techniques. This challenge was about keeping a habit going and learning some new techniques and use different tools to create something you may not have otherwise. It was great seeing all the new renders on a daily basis. Good or bad, you've created something and that's what matters. See you all in the next challenge!
ssmurfmier1985 Thanks! Just applied 2x subsurf modifier on a cube and sculpted without dyntopo a raw shape based on a reference image. Then just added a rock texture from Poliigon.com and that's it 😄 Rocks can be so difficult and time consuming to make so I wanted to keep the workflow as simple as possible
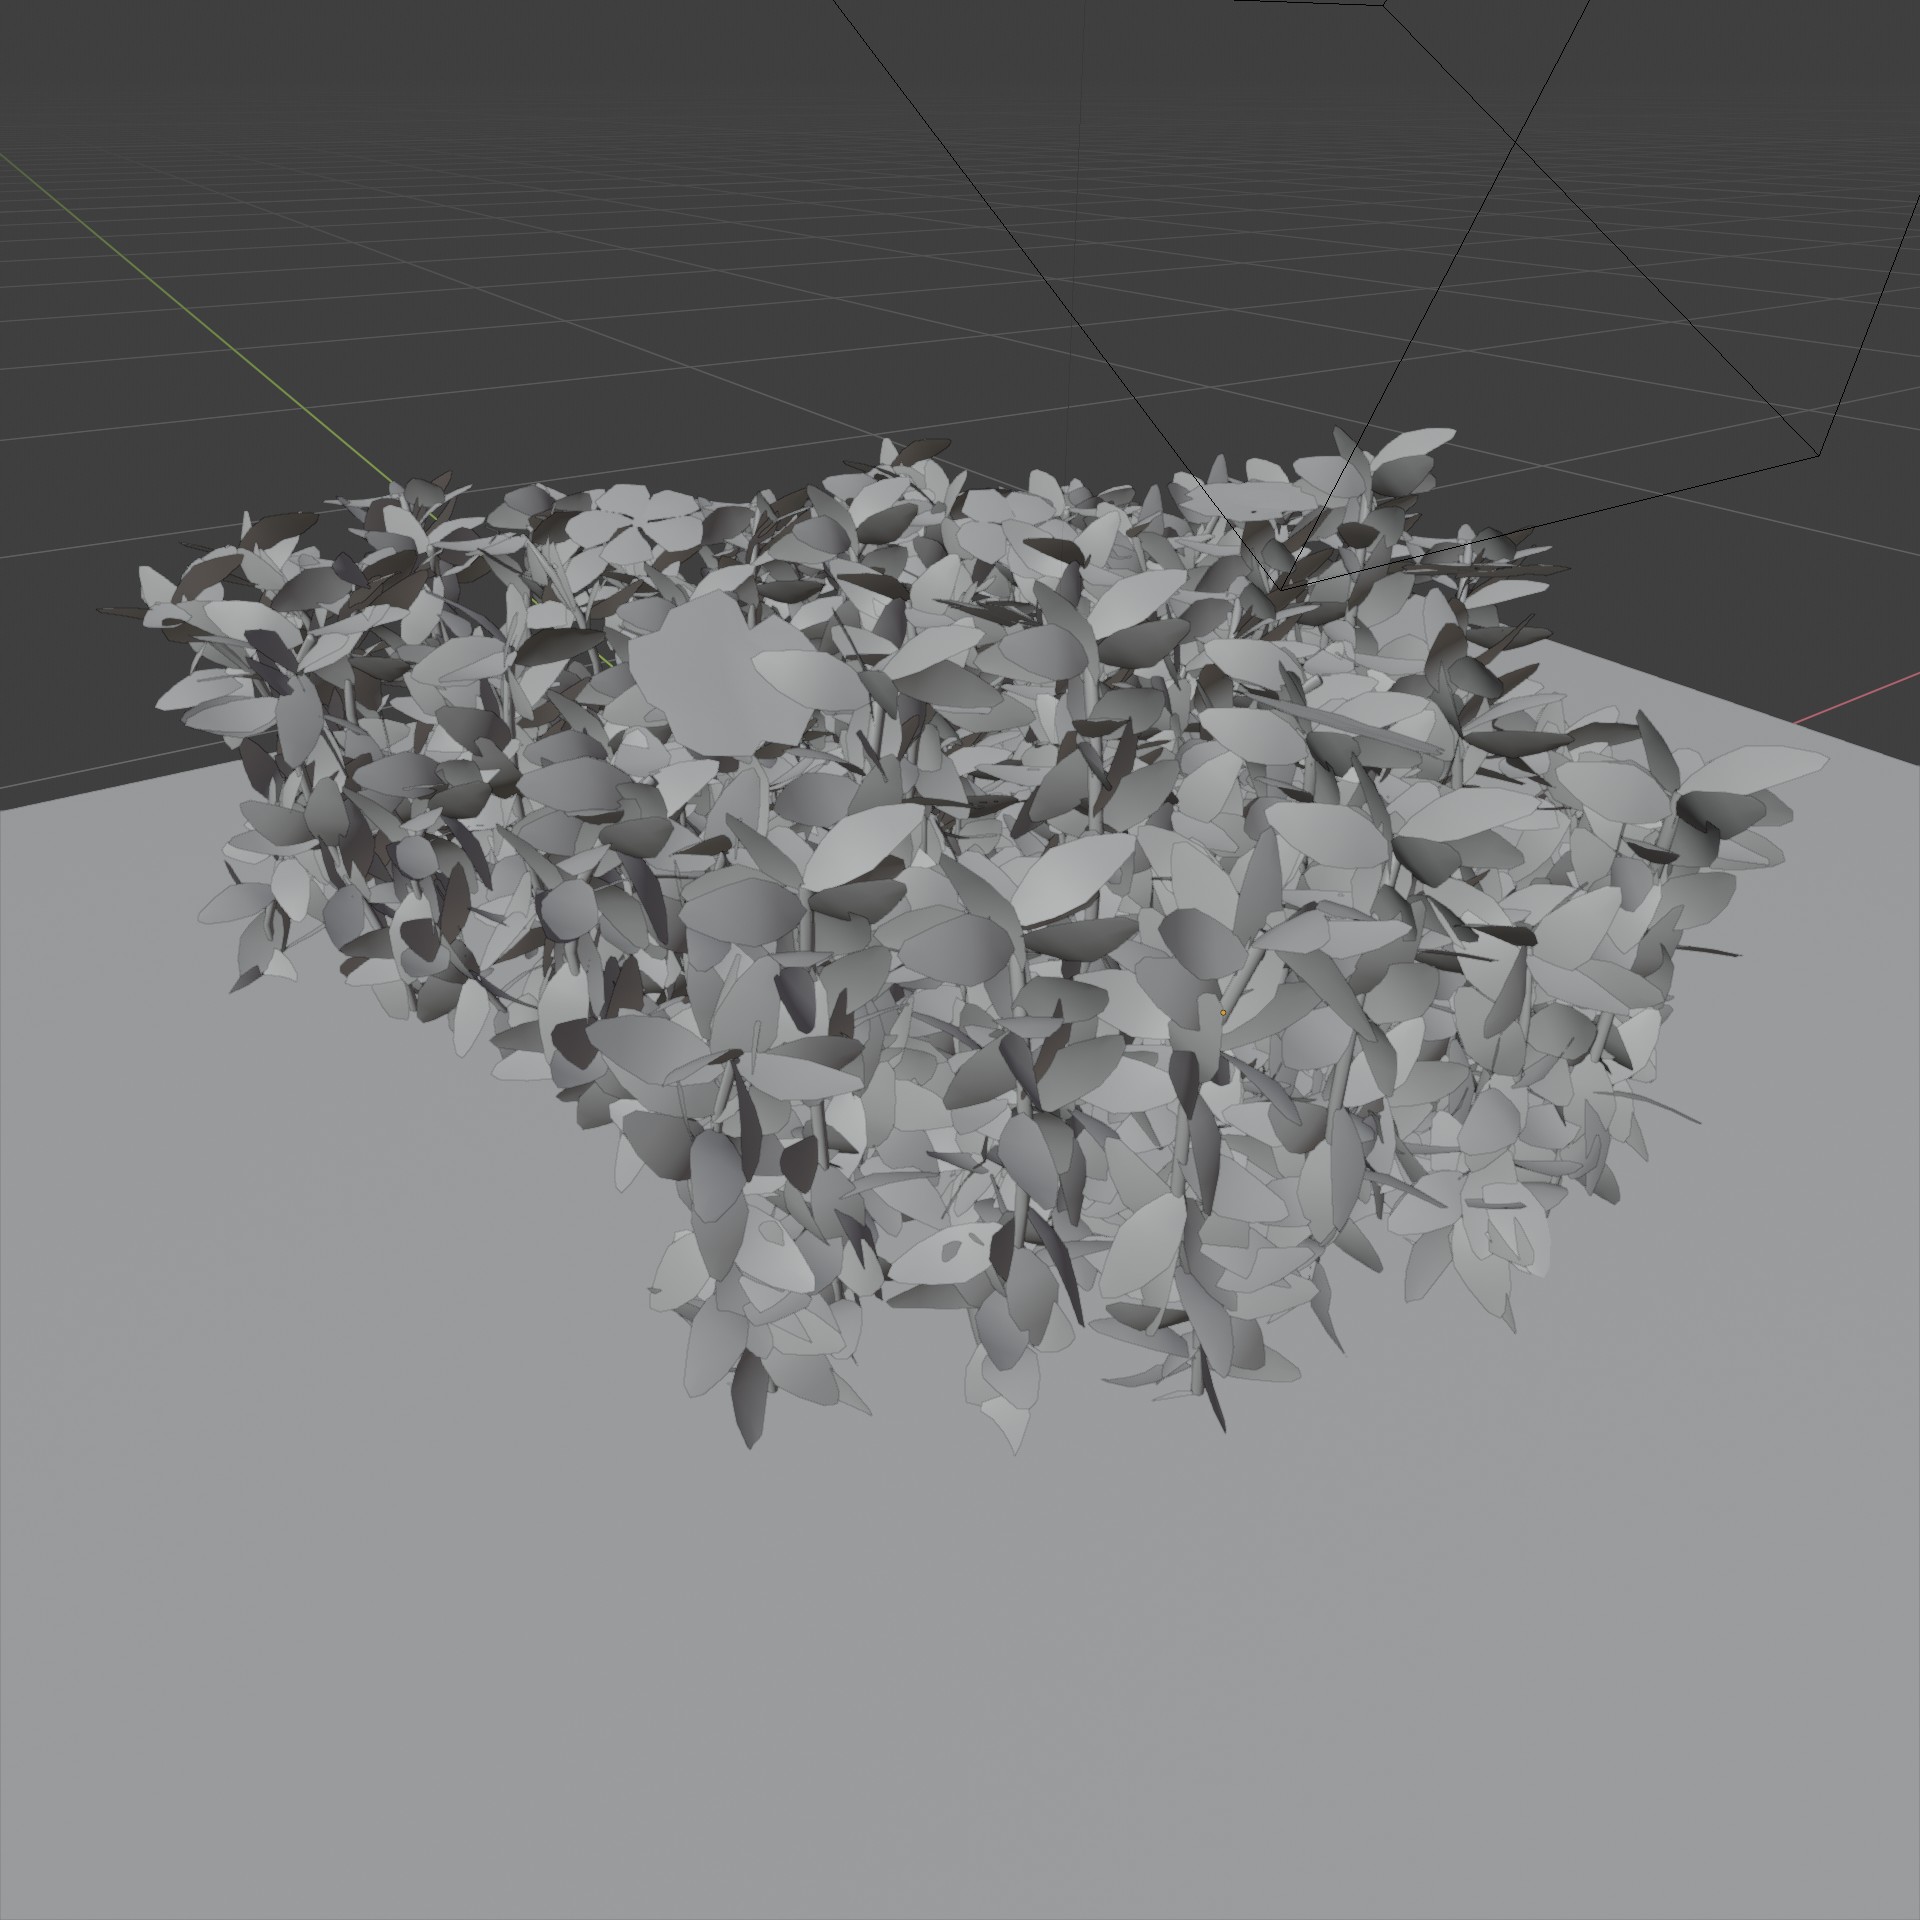
My grass clumps (so late in posting!)... my particle system was giving me trouble so I just modelled a plane, duplicated it and then positioned them. The ground and the grass colours do not look realistic, eh...
rock attempt, didn't sculpt used modifiers some materials were procedural some used textures from texturehaven.com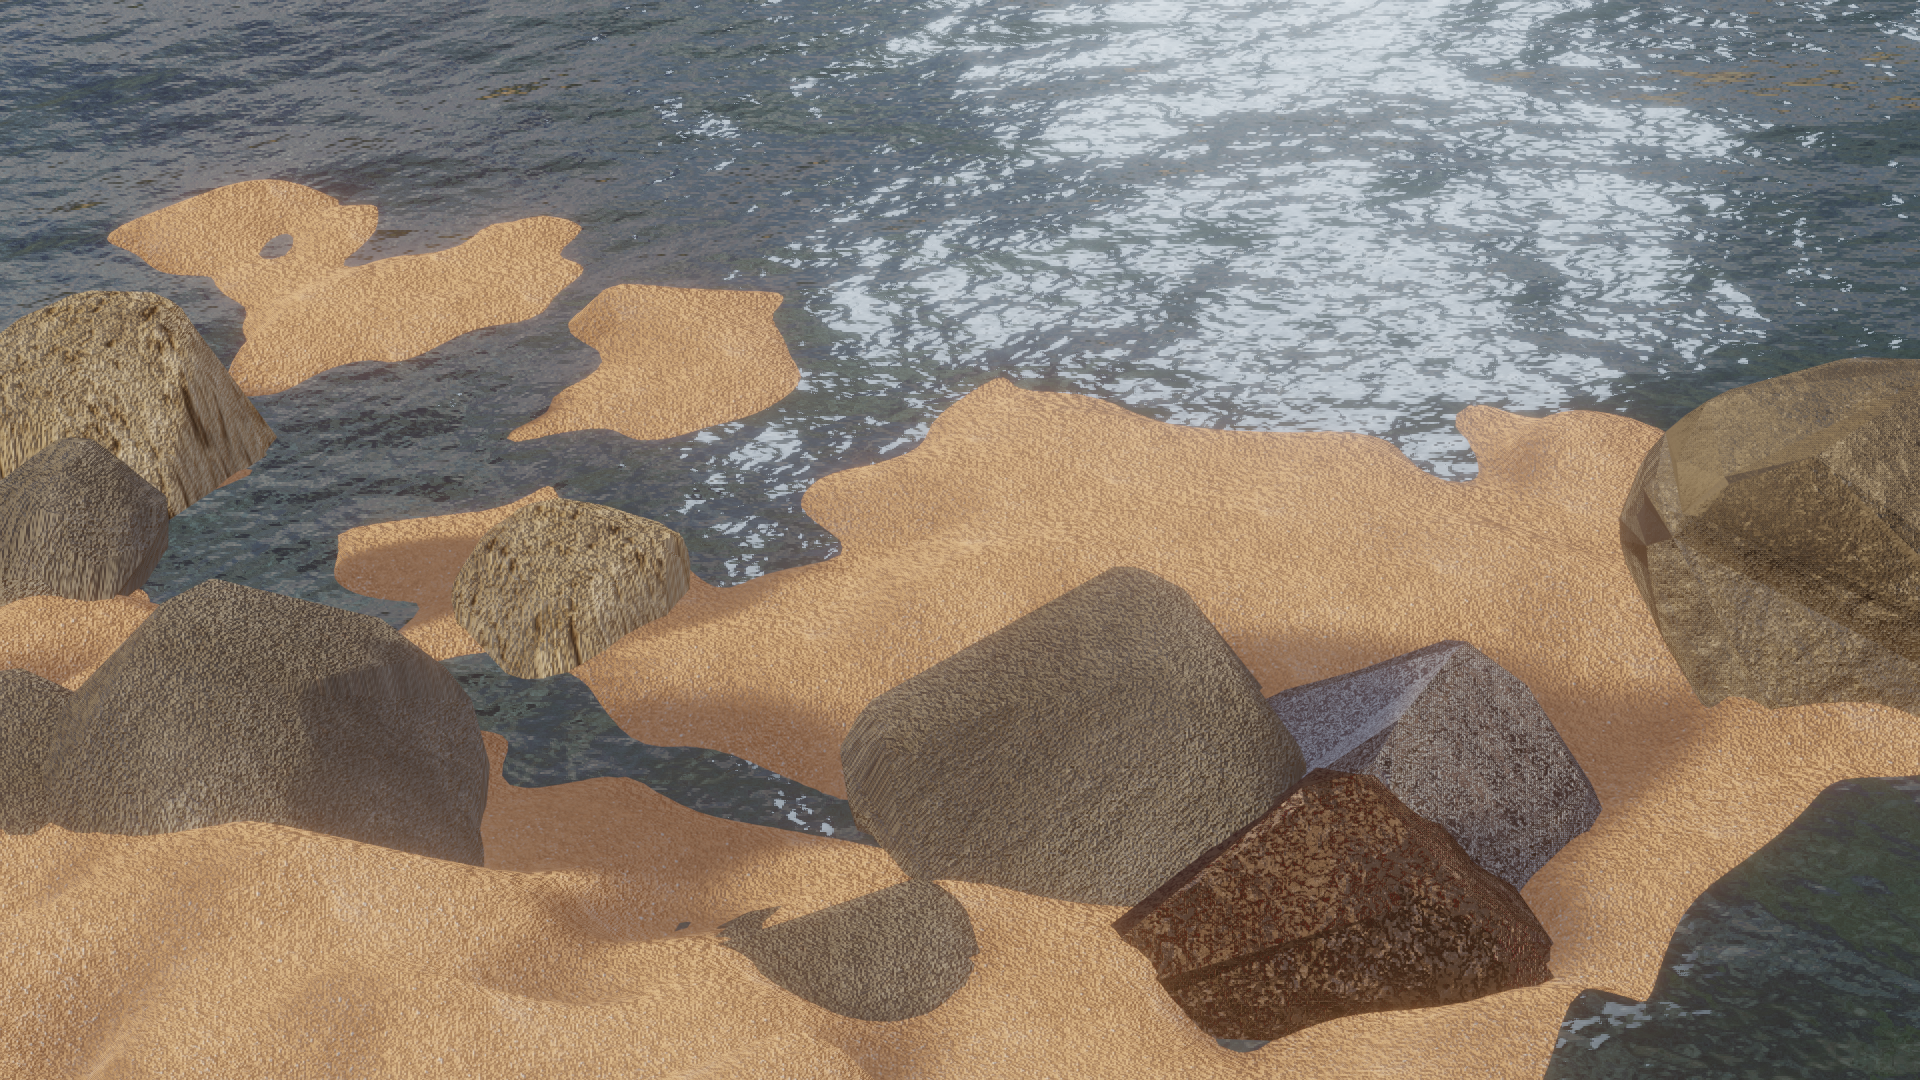
![]() swikni whatever works right? 😉 the end result looks great, I would throw these in my game any time 😊👍🏻
swikni whatever works right? 😉 the end result looks great, I would throw these in my game any time 😊👍🏻
I was afraid this one would come;)
I went for some different rocks, because I loved the reference picture so much.
Tried to make a procedural rock displacement myself, but couldn't get the desired result in one day, so I 'cheated' (or did I, is this cheating, if you can use a texture with normal map...) and used the Rock Generator from César Salcedo, who imho is a genius.
He is not very good at explaining what is happening, but the results he gets are gorgeous!
Here's the link, there is a download link in the description: https://www.youtube.com/watch?v=UFsVzDXYOKw
(Not for games, only Cycles.)
Shading is not great, but I only noticed the 'wetness' of the stones after having rendered over an hour, so I decided to leave it like it is...
![]() jgonzalez Since the topic is nature this week, I have a foliage related question: which method of swaying grass is more expensive to use in terms of performance for games, wind zones or a shader like this?
jgonzalez Since the topic is nature this week, I have a foliage related question: which method of swaying grass is more expensive to use in terms of performance for games, wind zones or a shader like this?
ssmurfmier1985 As far as I know wind zones still utilize a grass sway shader, they just act as the "controls" for that shader in a different way. Grass swaying can be expensive, but I can't say to what extent as I've never really looked into it. Grass swaying is essentially just moving vertices of a mesh in different directions, but this is being updated multiple times per second (along with the textures/lighting)so I would probably limit the swaying to a small area near the player and update that area whenever the player moves.That said I think Unity does have a swaying option in one of the HDRP default materials.
Vertex animation shaders are definitely one area I'd like to dedicate an entire course to. I've experimented with a Fortnite bouncing effect, cloth movement and some masked out vertex animations (like Melvin's stomach growing/shrinking). Other things I'd like to create are a flat tire shader that can react to physical objects and a punching bag, although those may be very similar in technique. Vehicle destruction and being able to bend specific parts of a mesh (like a tree branch) would all be fun things to go over.
![]() jgonzalez thanks for explaining, and as always I am interested in such a course, I love game art so all techniques that improve the look and such I am interested in learning 😊
jgonzalez thanks for explaining, and as always I am interested in such a course, I love game art so all techniques that improve the look and such I am interested in learning 😊
I'm not sure if I'll have time to revisit this and add a procedural rock texture so for now I'm adding in a basic screenshot:

Really love the "cavity" look in the viewport, really makes things look way better. So this was a combination of basic pushing and pulling verts either using the proportional editing option or sculpting with dynotopo turned off. After that I added a displacement modifier with voronoi enabled and just played around with the size and also the color ramp to vary up the look. I'd like to try a procedural texture for this then bake it out as a texture.
A bit blocky as always. I took a flower petal texture I had from before and modeled just few flowers from planes on it. After that I did Google image search with the texture image and found it was a flower called "Periwinkle". Leaves are made the same way as flowers with an image from the search results. Stems are just bent cylinders with leaves on them as hair particles and flowers are placed manually on top of them.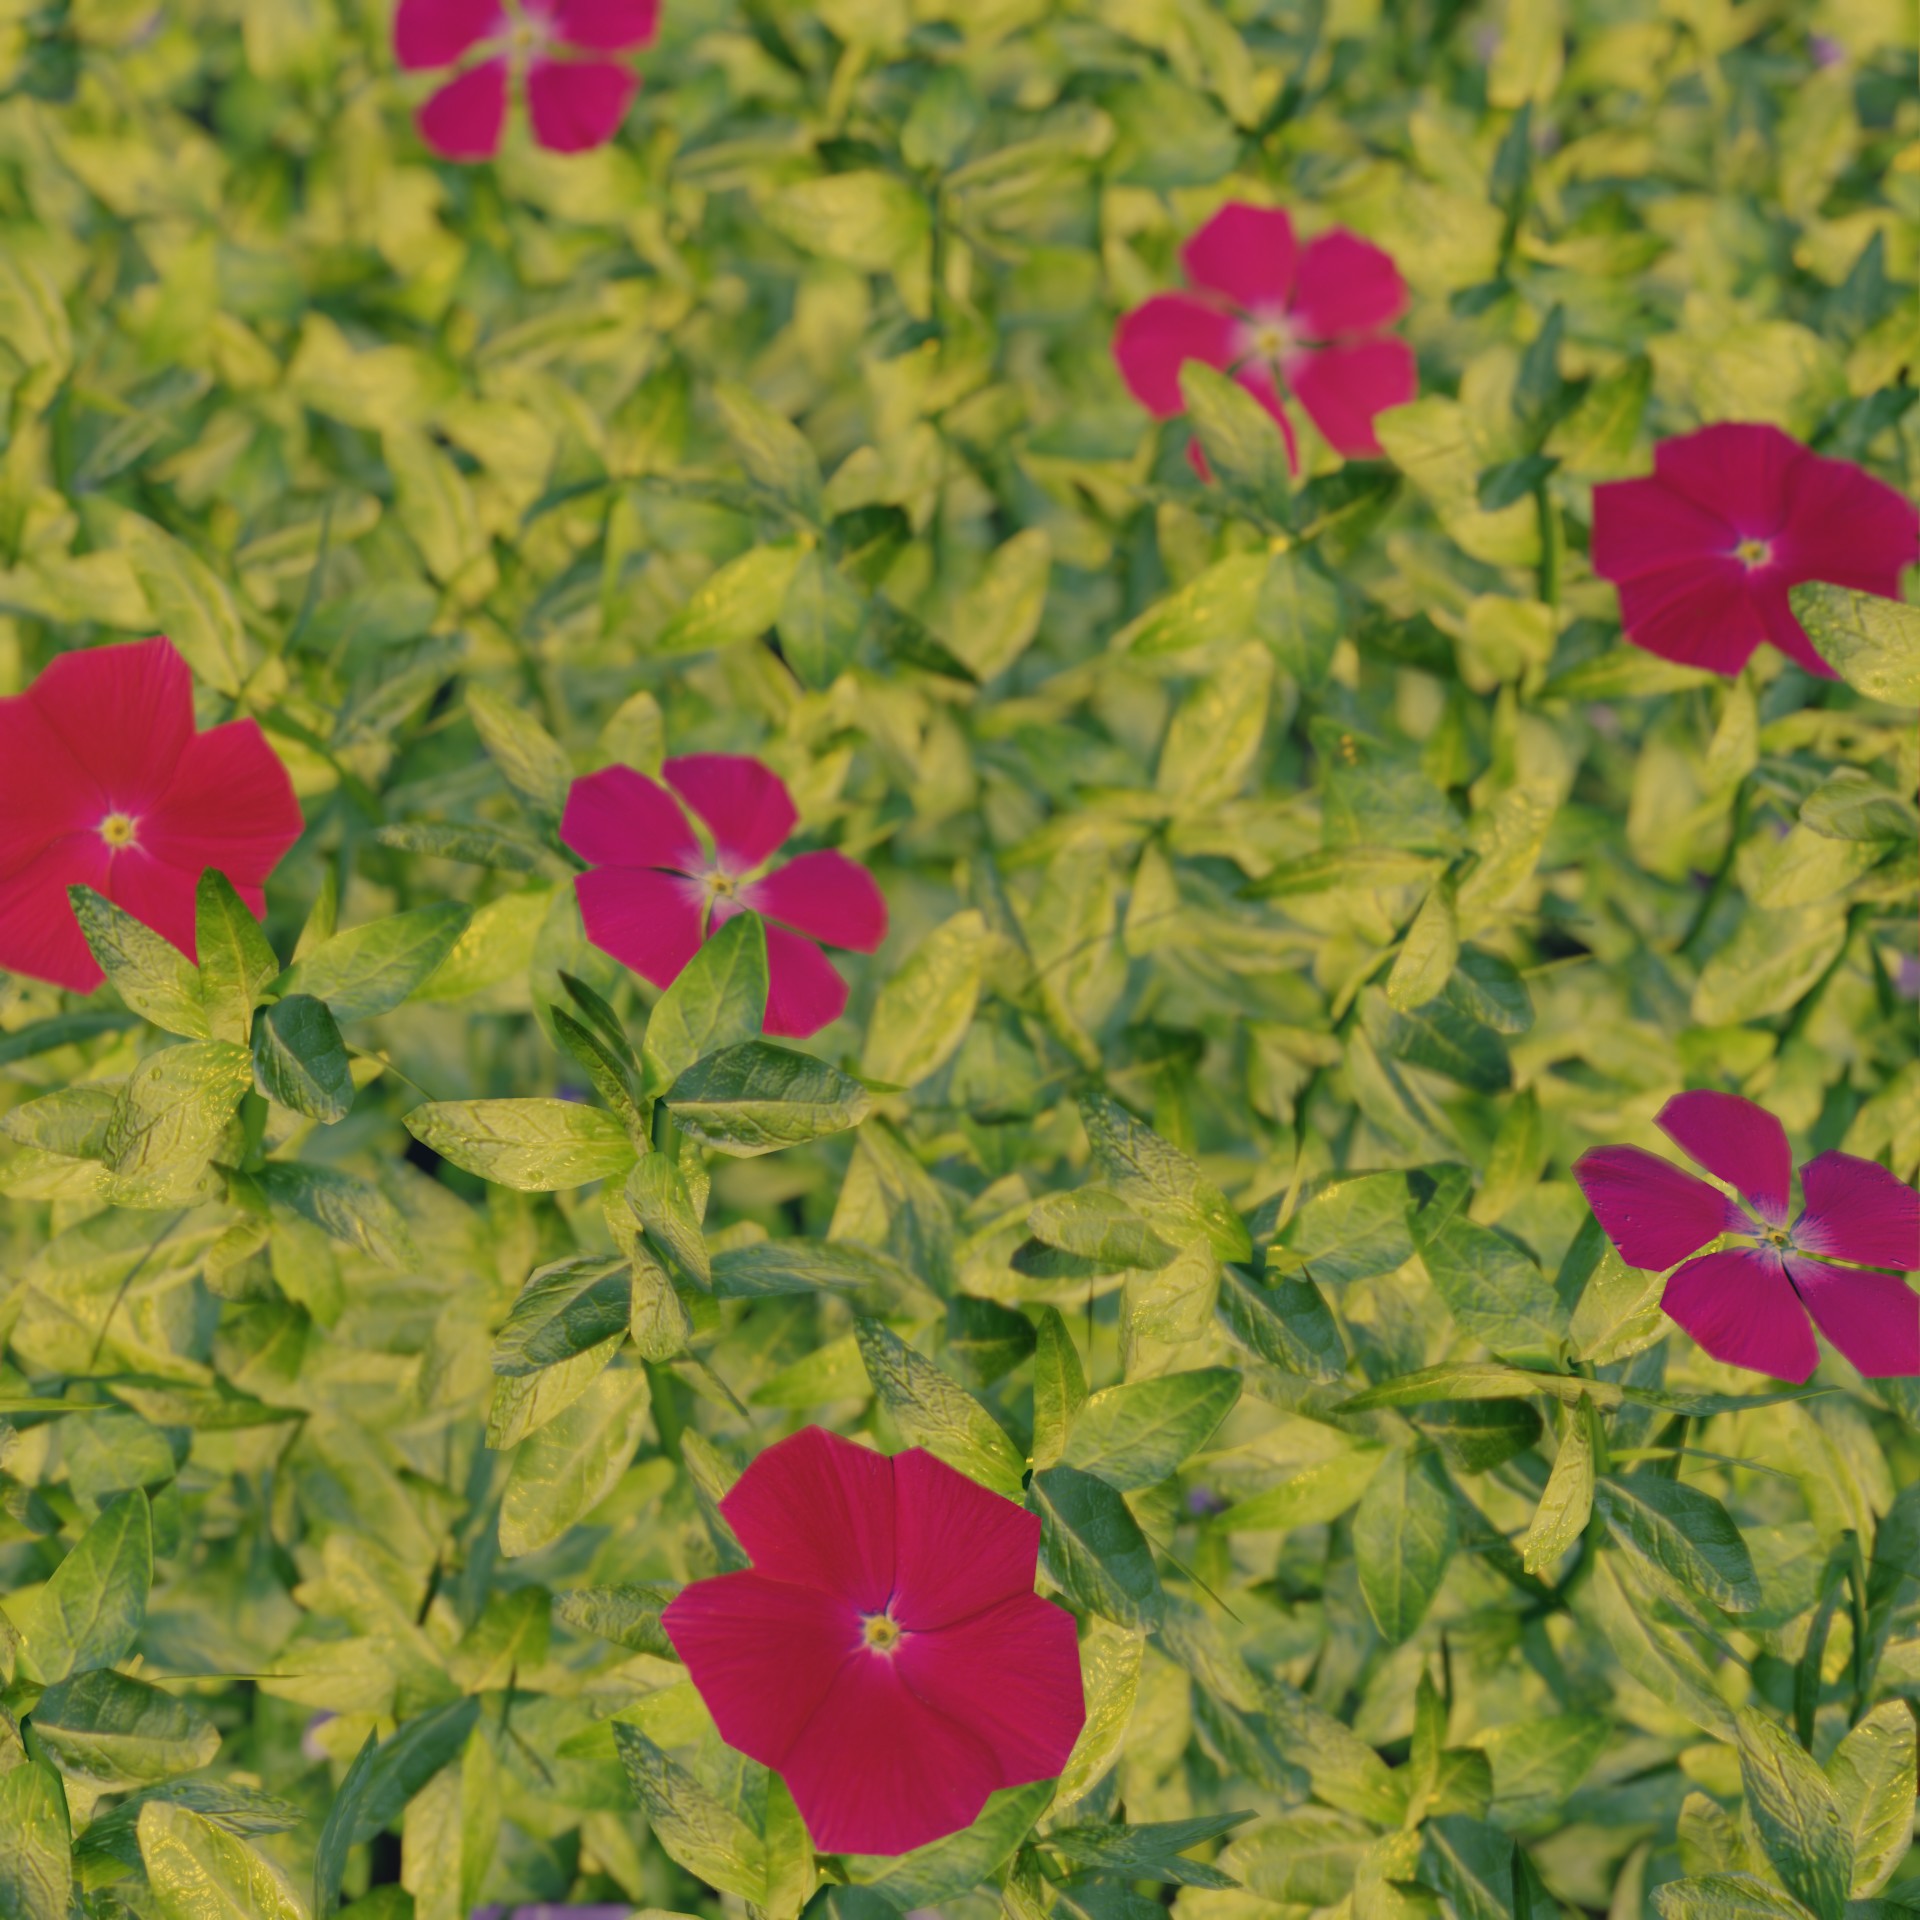
These are a definite insult to flowers, especially the ones outside my door. This is proving a challenge when I have to learn a new method to do something and then try to do it with a limited amount of time. Tried several different methods with various success, definitely learning a lot.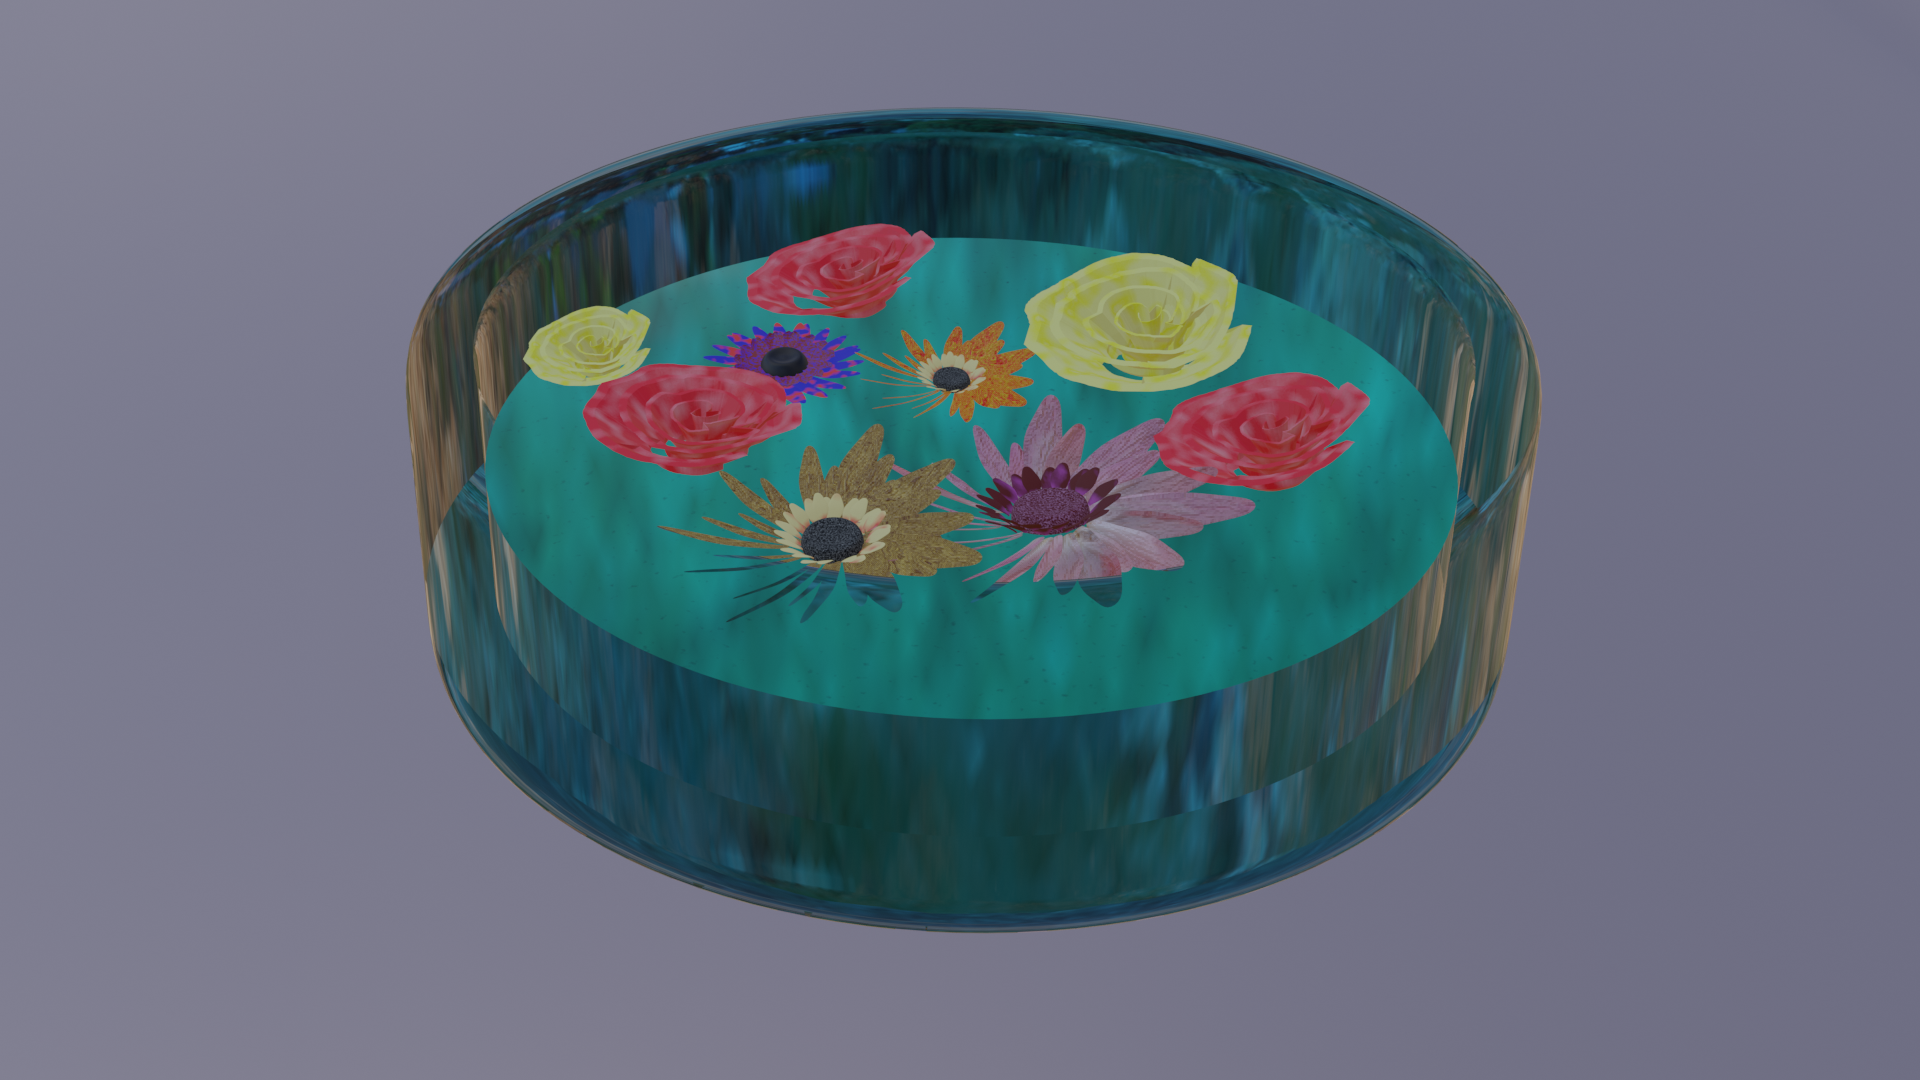
I didn't have a lot of time today, (which is a pity, because it's another really nice challenge to make in one day...) so this is all I could manage for today:
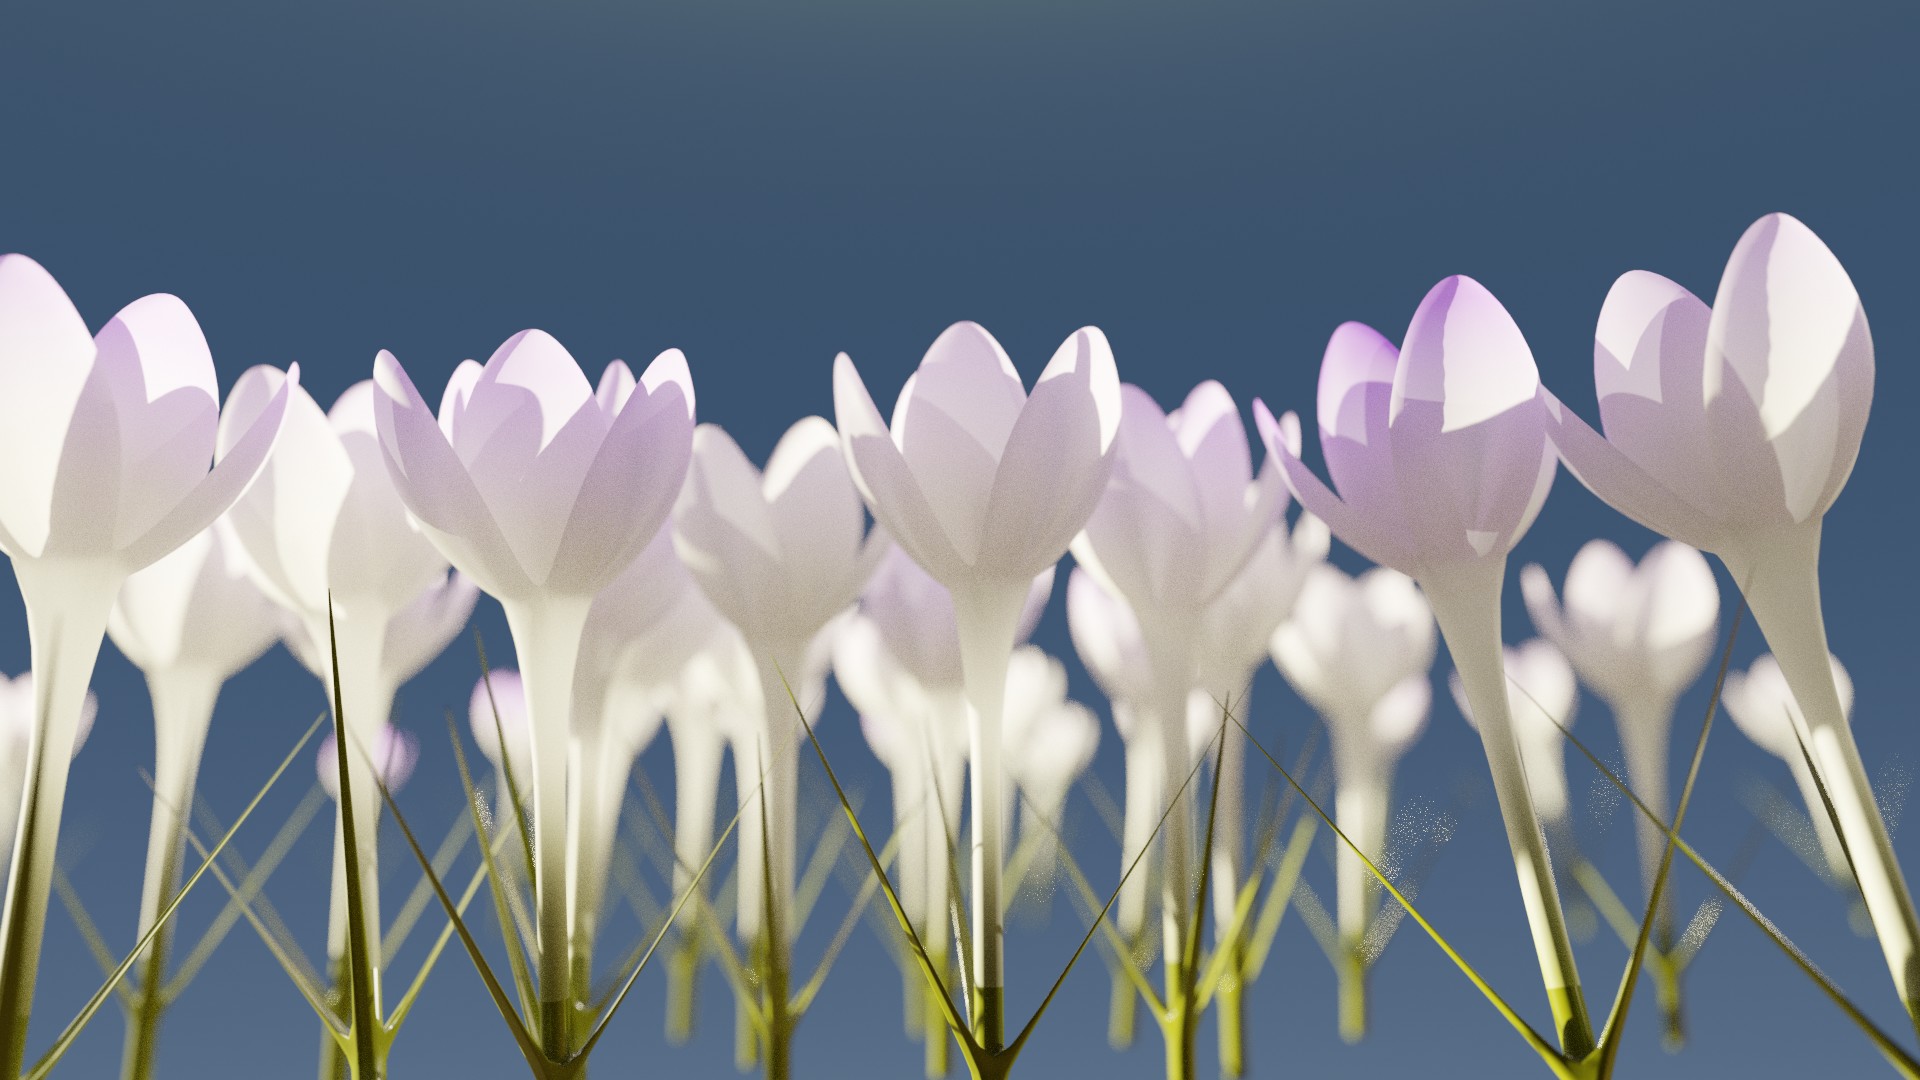
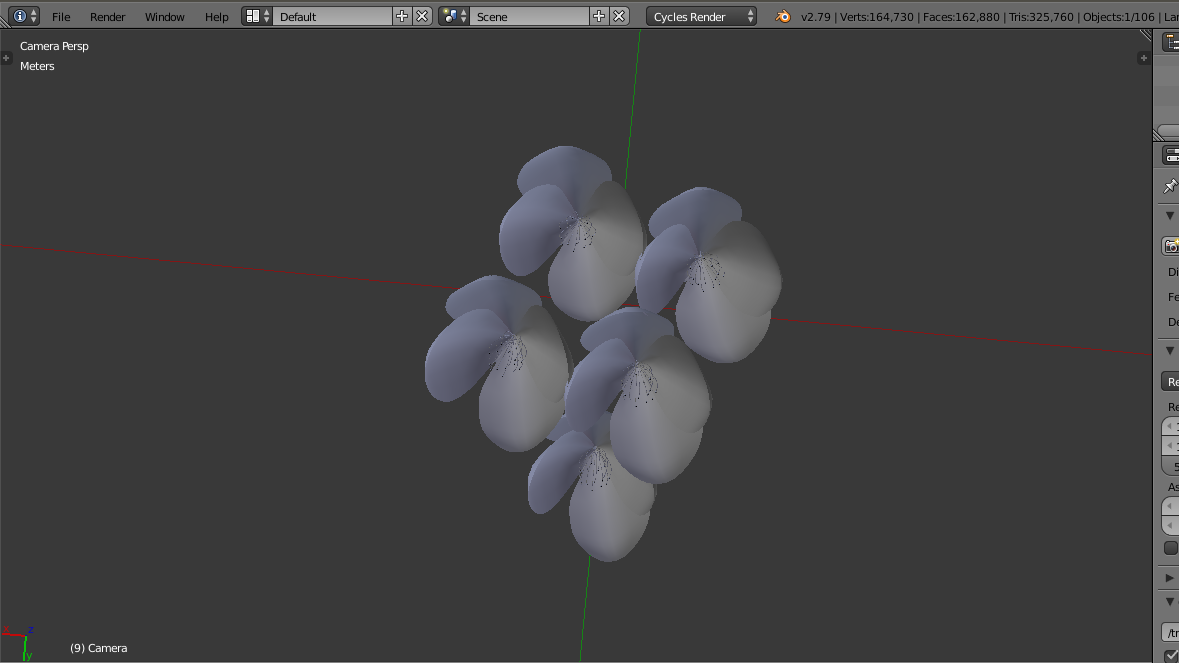 Well I thought it would be easy, but I spent the whole day + night doing this. It's 3 am over here so a screenshot will have to suffice for this challenge.
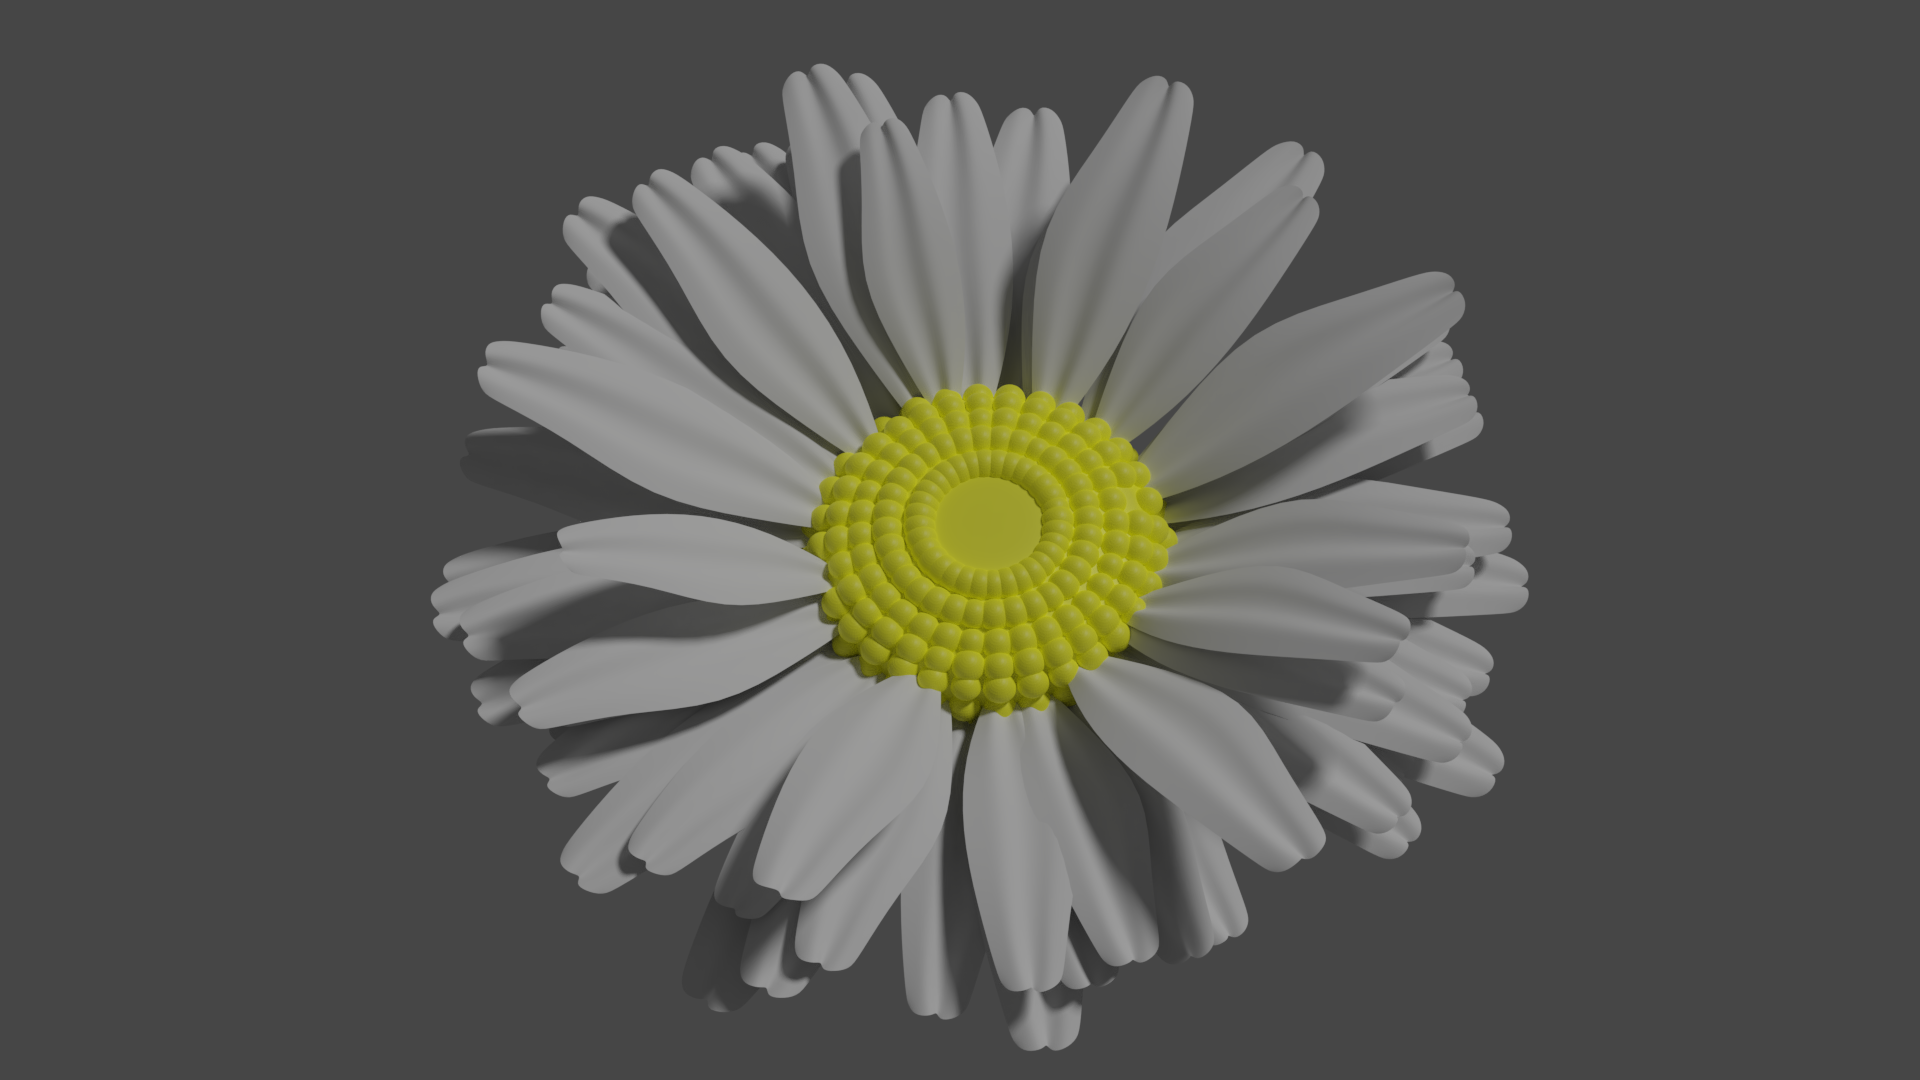
Not the best looking Daisy, but I did learn how to use the particle system to distribute petals for this. I used this process before to create a wreath. I couldn't quite figure out how to properly create the inner portion of the Daisy so I just ended up using some elongated spheres. I'm sure with better texturing this would look way better, but I'm leaving it as is.
An hour or so with Sapling Tree Gen addon and the ending result is rough but fairly good. That is definitely a tool to work with when making trees or bushes, and now when thinking it, I believe it would'we worked with the flower stems also. Sadly I have to leave it here because of a fully scheduled afternoon. It surely could have used some more tweaking and get textures on.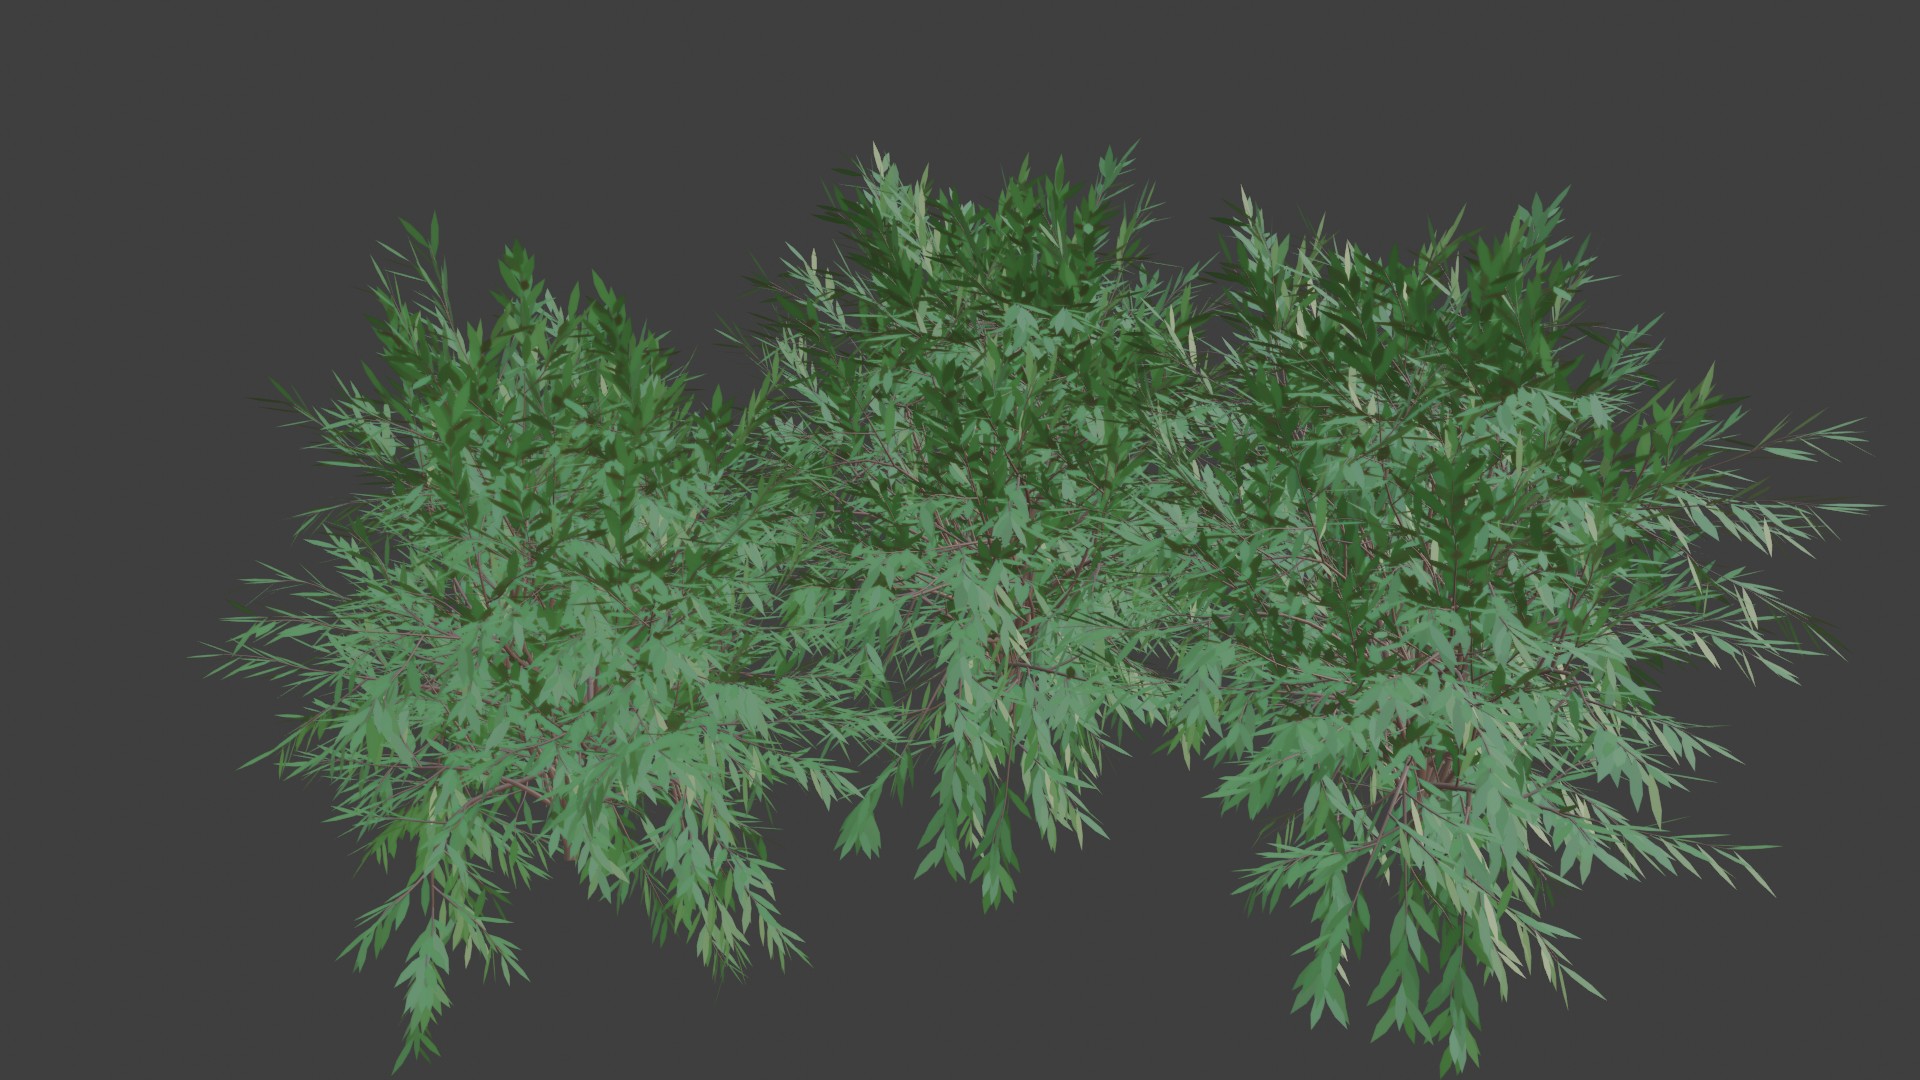
cciku-karugi That doesn't look too bad, actually; I can imagine this with some nice texturing and shading;)
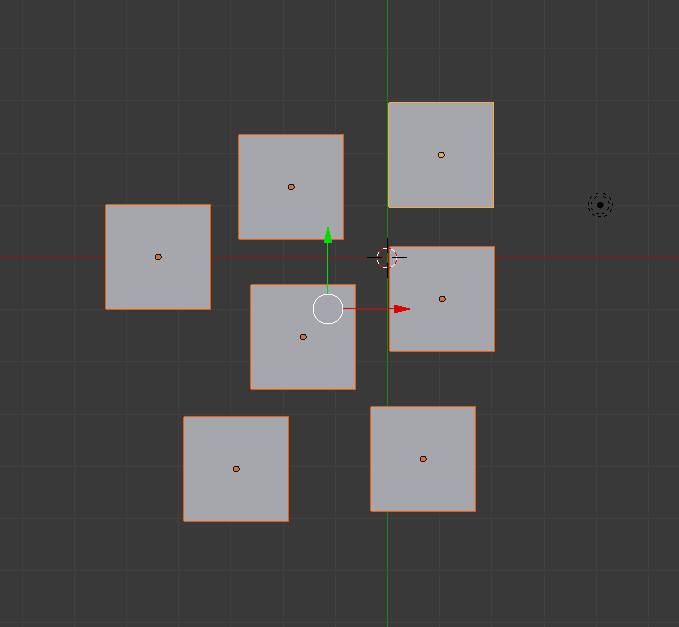
The only thing is, that they are all exactly the same and (if the flowers are all separate objects) there is a really nice feature in Blender:
Select all objects. Go to Object > Transform > Randomize-Transform.
Here is a before:
And after:
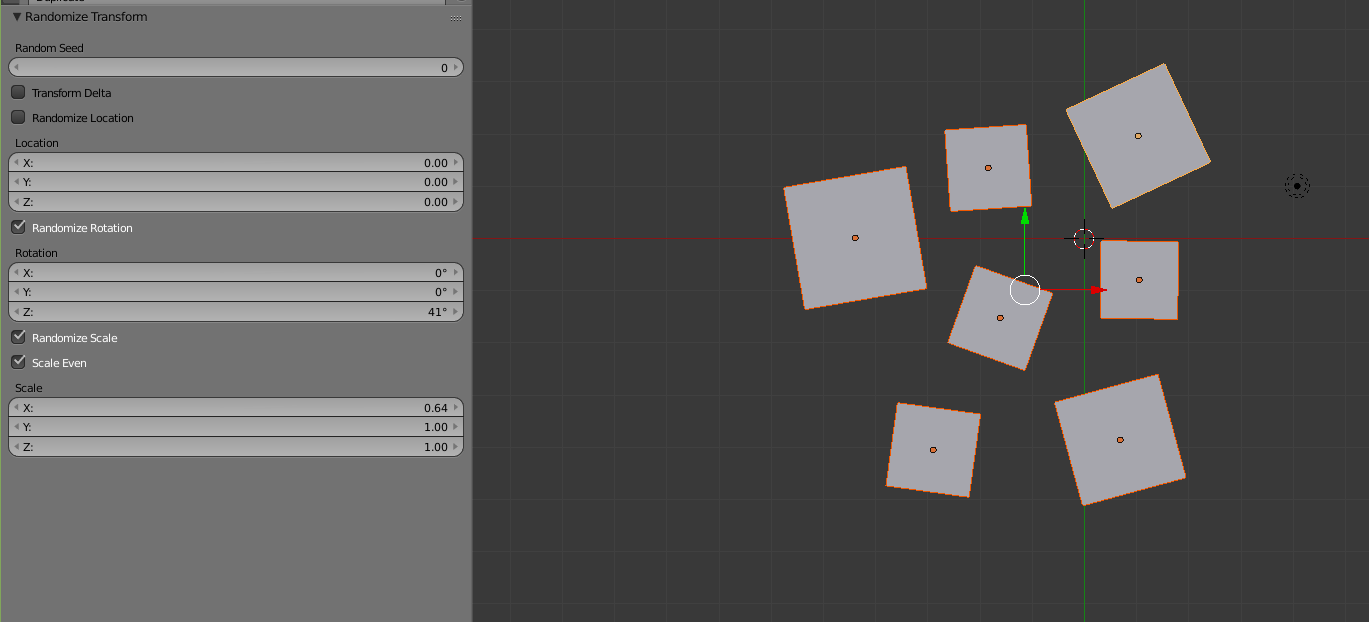
Comes in really handy sometimes!
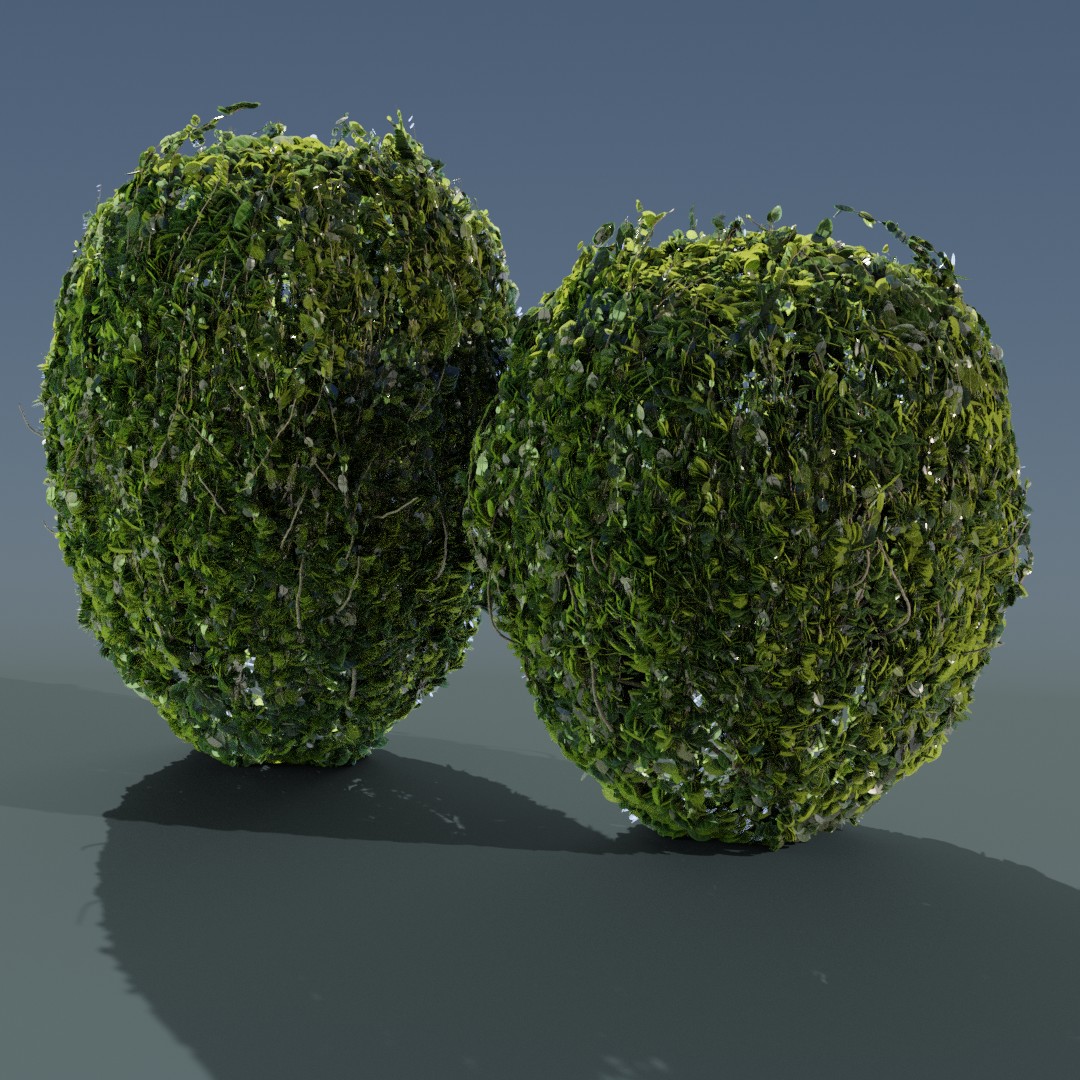
Finished my render for today.
Used the 'Ivy Gen' addon. Basically following Kent Trammel's topiary course.
![]() spikeyxxx Hehe, they sure do look identical! Thank you, I'll play around with those settings... they sure could use some randomness.
spikeyxxx Hehe, they sure do look identical! Thank you, I'll play around with those settings... they sure could use some randomness.