Becoming great at anything requires constant practice and that is especially true with 3d modeling. If you're here it's probably because you want to become a better digital artist. I myself want to improve my 3d modeling and texturing skills and that means I need to model a ton in order to become better.
Building a consistent habit is the path to becoming great and with that I wanted to provide a challenge to anyone else here who wants to join me. The challenge will be to model one new 3d model daily for 30 days.
The goal of this is not to create amazingly realistic models, but to get you practicing your modeling skills daily. You are not competing with anyone here but yourself.
Each day this post will be updated with the object to model based on that week. Below are the rules and guidelines to make this more interesting:
Themes
To make this more interesting, every week will focus on one theme. Each theme will represent a set of 7 objects that are relatively easy to model, but each have unique elements to them to challenge you in different ways.
The themes for the next 4 weeks include: Home, Weapons, Props, Nature
Rules
Submissions
Post a rendered image of your completed model. While texturing won't be required, it is highly encouraged.
HOME (June 1 - June 7)
For this week we'll focus on objects found around the home. Typically these objects are relatively easy to model and reference. You are free to get as creative as you want with these as long as you modeling what is requested for that day.
June 1 - Sofa
June 2 - Lamp
June 3 - Book Shelf
June 4 - Coffee Table
June 5 - Lounge Chair
June 6 - Shag Rug
June 7 - Floor Speakers
Week 1 is Done! Congrats on making it through the first week of this modeling challenge. On to week 2.
WEAPONS (June 8 - June 14)
For this week we'll focus on creating hand held weapons. Think melee weapons. These usually have a mixture of primitive and complex shapes. You may use sculpting during these models, and some may actually require it to achieve the look you want.
June 8 - Axe
June 9 - Combat Knife
June 10 - Spear
June 11 - Shuriken
June 12 - Spiked Bat
June 13 - Sickle
June 14 - Nunchucks
PROPS (June 15 - June 21)
This week will be focused on props you might commonly see in games or background scenes. These can be reused to add "filler" to an environment. These props mostly reside outside.
June 15 - Barrels
June 16 - Tires
June 17 - Filled Trash Bags
June 18 - Concrete Barrier
June 19 - Shipping Container
June 20 - Dumpster
June 21 - No Object
June 22 - No Object
Vegetation
This week will be focused on organic plants and objects you'd find out in nature. Think of these as natural props.
June 23 - Grass Clumps
June 24 - Rocks
June 25 - Flowers
June 26 - Bushes
June 27 - Hollow Log
June 28 - Vines
June 29 - Trees
CHALLENGE COMPLETED
This officially ends the challenge, technically it's 29 days but we have another challenge starting up on Monday so use Sunday as a way to gather reference photos and start your next modeling challenge with vehicles!
Thank you for everyone that participated in this challenge. Some objects were easy, others were challenging and I hope you learned some new tips and techniques. This challenge was about keeping a habit going and learning some new techniques and use different tools to create something you may not have otherwise. It was great seeing all the new renders on a daily basis. Good or bad, you've created something and that's what matters. See you all in the next challenge!
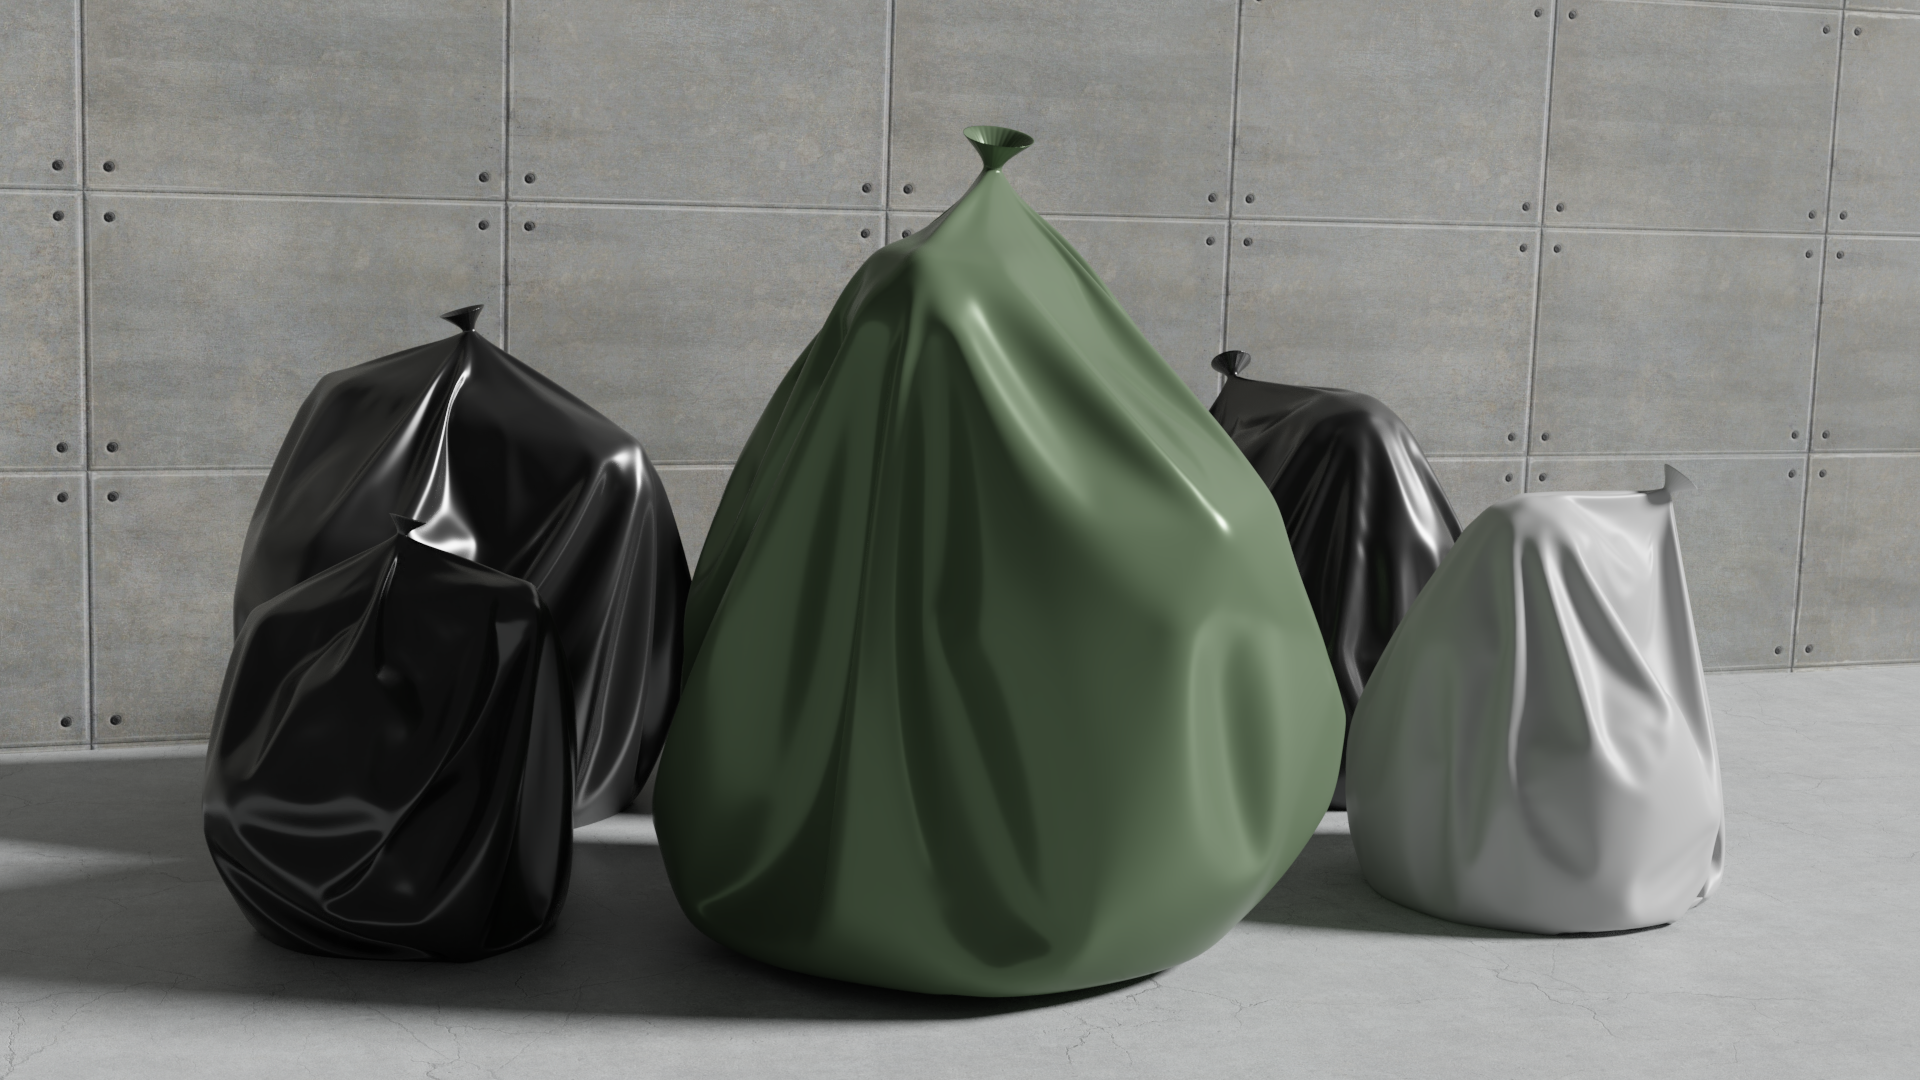
This was a bit of a unique modeling exercise. I used the cloth simulation with some collision objects inside a sphere to create the filled bag look. Creating a tied bag was tougher.
![]() jgonzalez How did you manage to use cloth simulation with collision objects? I tried to do this but my object just kept rotating and bouncing a little and plus, there was no collision with my "trash"... so I ended up using my "trash objects" inside a cube to give it a 'full' look, then added a sub-surf and pulled the vertices.
jgonzalez How did you manage to use cloth simulation with collision objects? I tried to do this but my object just kept rotating and bouncing a little and plus, there was no collision with my "trash"... so I ended up using my "trash objects" inside a cube to give it a 'full' look, then added a sub-surf and pulled the vertices.
cciku-karugi I don't know if this will help, but the cloth has to be subdivided a lot (not the the subdivision modifier). I used the W command in edit mode and made between 7 and 10 cuts. If there weren't enough verts mine just bounced around. You can also add the subdivision modifier. I just left everything else at the default values, I am sure you could make it better by playing with these. You can also then apply the cloth modifier and sculpt the mesh to tweak it. Hope this helps.
They look a little too polished and smooth but I'm happy with how they turned out.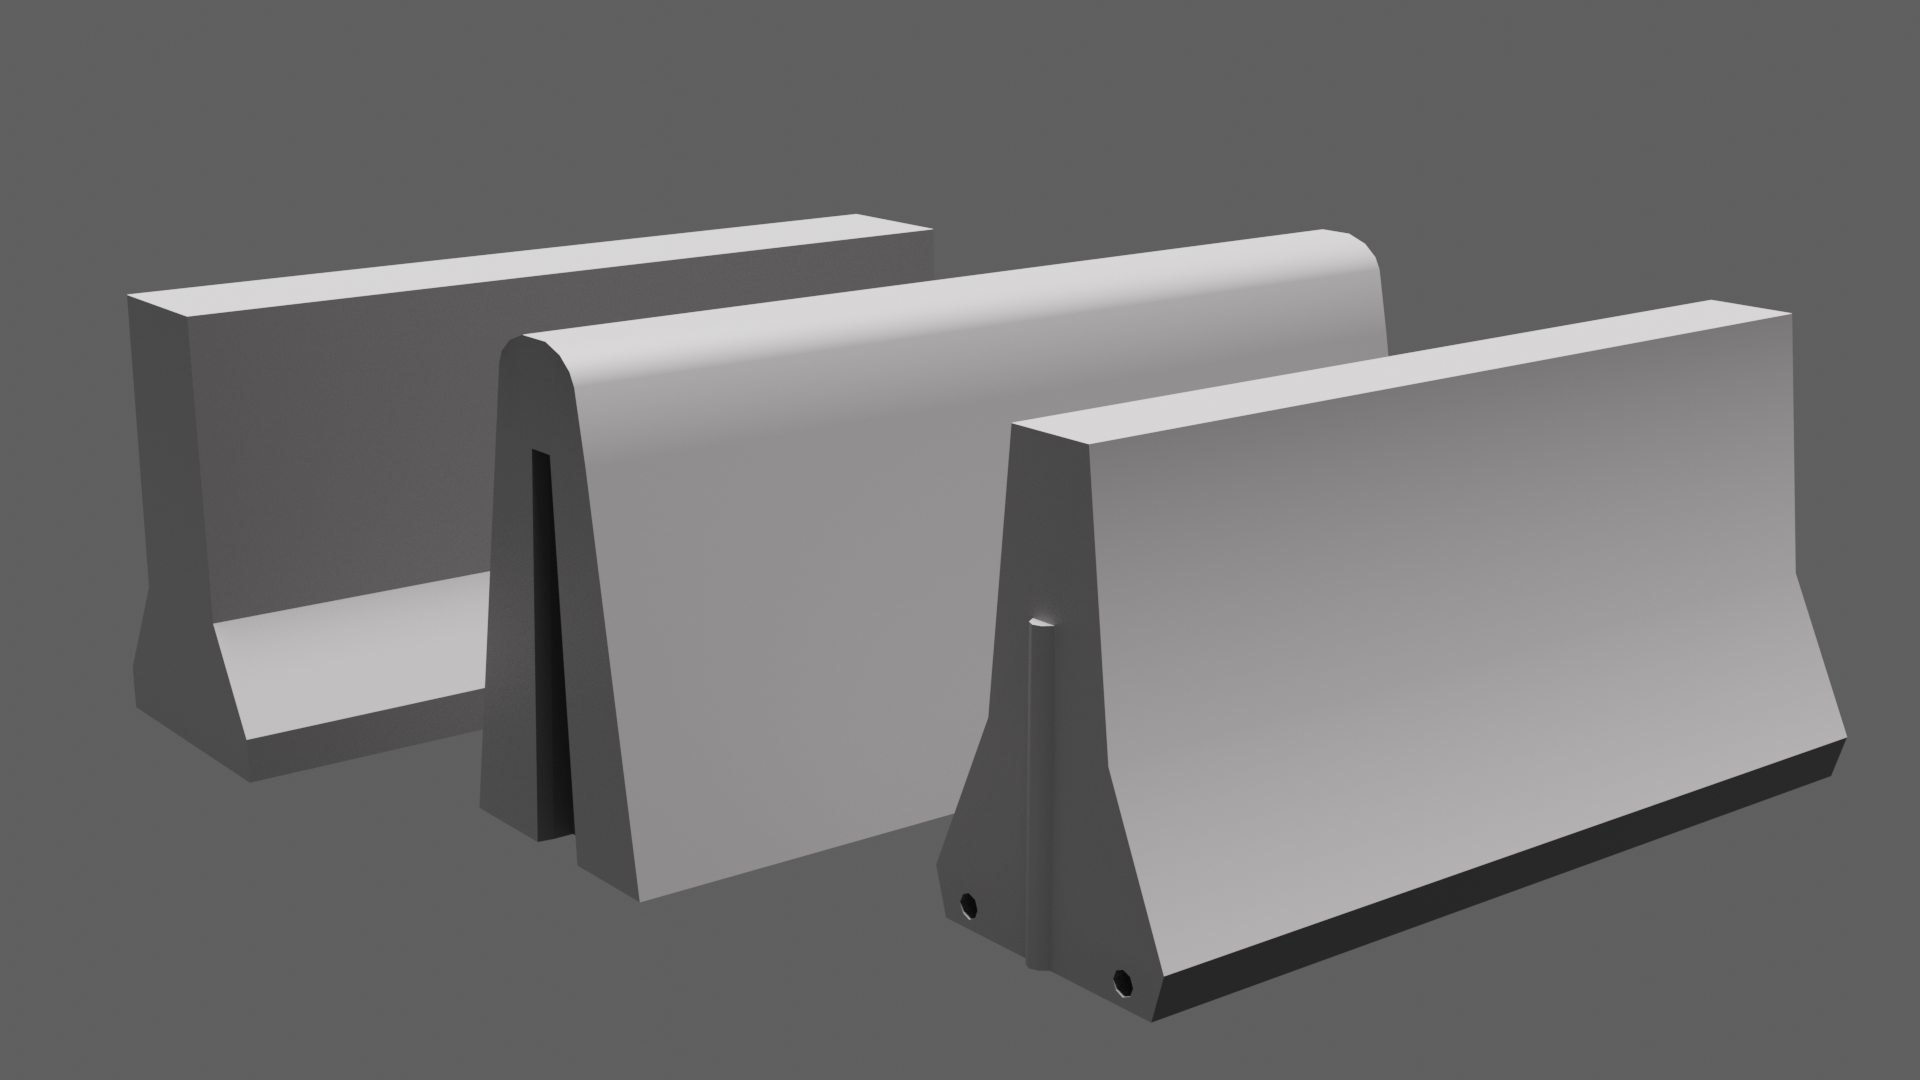
cciku-karugi I created a few icospheres, rotated them, scaled them to mimic the objects inside a bag. Enabled collision on all of them then had a UV Sphere as the bag that was bigger than all the icospheres. All the icospheres were inside the sphere when I went through the cloth simulation (which is on the UV sphere). Oh and yes as mentioned you'll need plenty of vertices to really make this look good. I chose the "Denim" preset which works. I also pinned the top portion of the bag so that it wouldn't fold in on itself.
It's essentially the same concept as a cloth simulation for a blanket on a sofa or bed except these objects reside within the "shell" of the cloth object. I wasn't quite sure how to create a soft body like cloth effect, so this was my solution to that.
Spent a bit of time with this one remaking it a few times. Not the ideal look I was going for but it works. Initially I went with a high poly sculpted version then baked that down to a low poly. Learned a useful way of "retopologizing" quickly by using a Shrinkwrap modifier on the low poly and adding edge loops where needed to better conform to the high poly version. It worked well for the most part, but definitely not the best sculpting and the low poly version looked too soft so I scrapped it and started with this version. 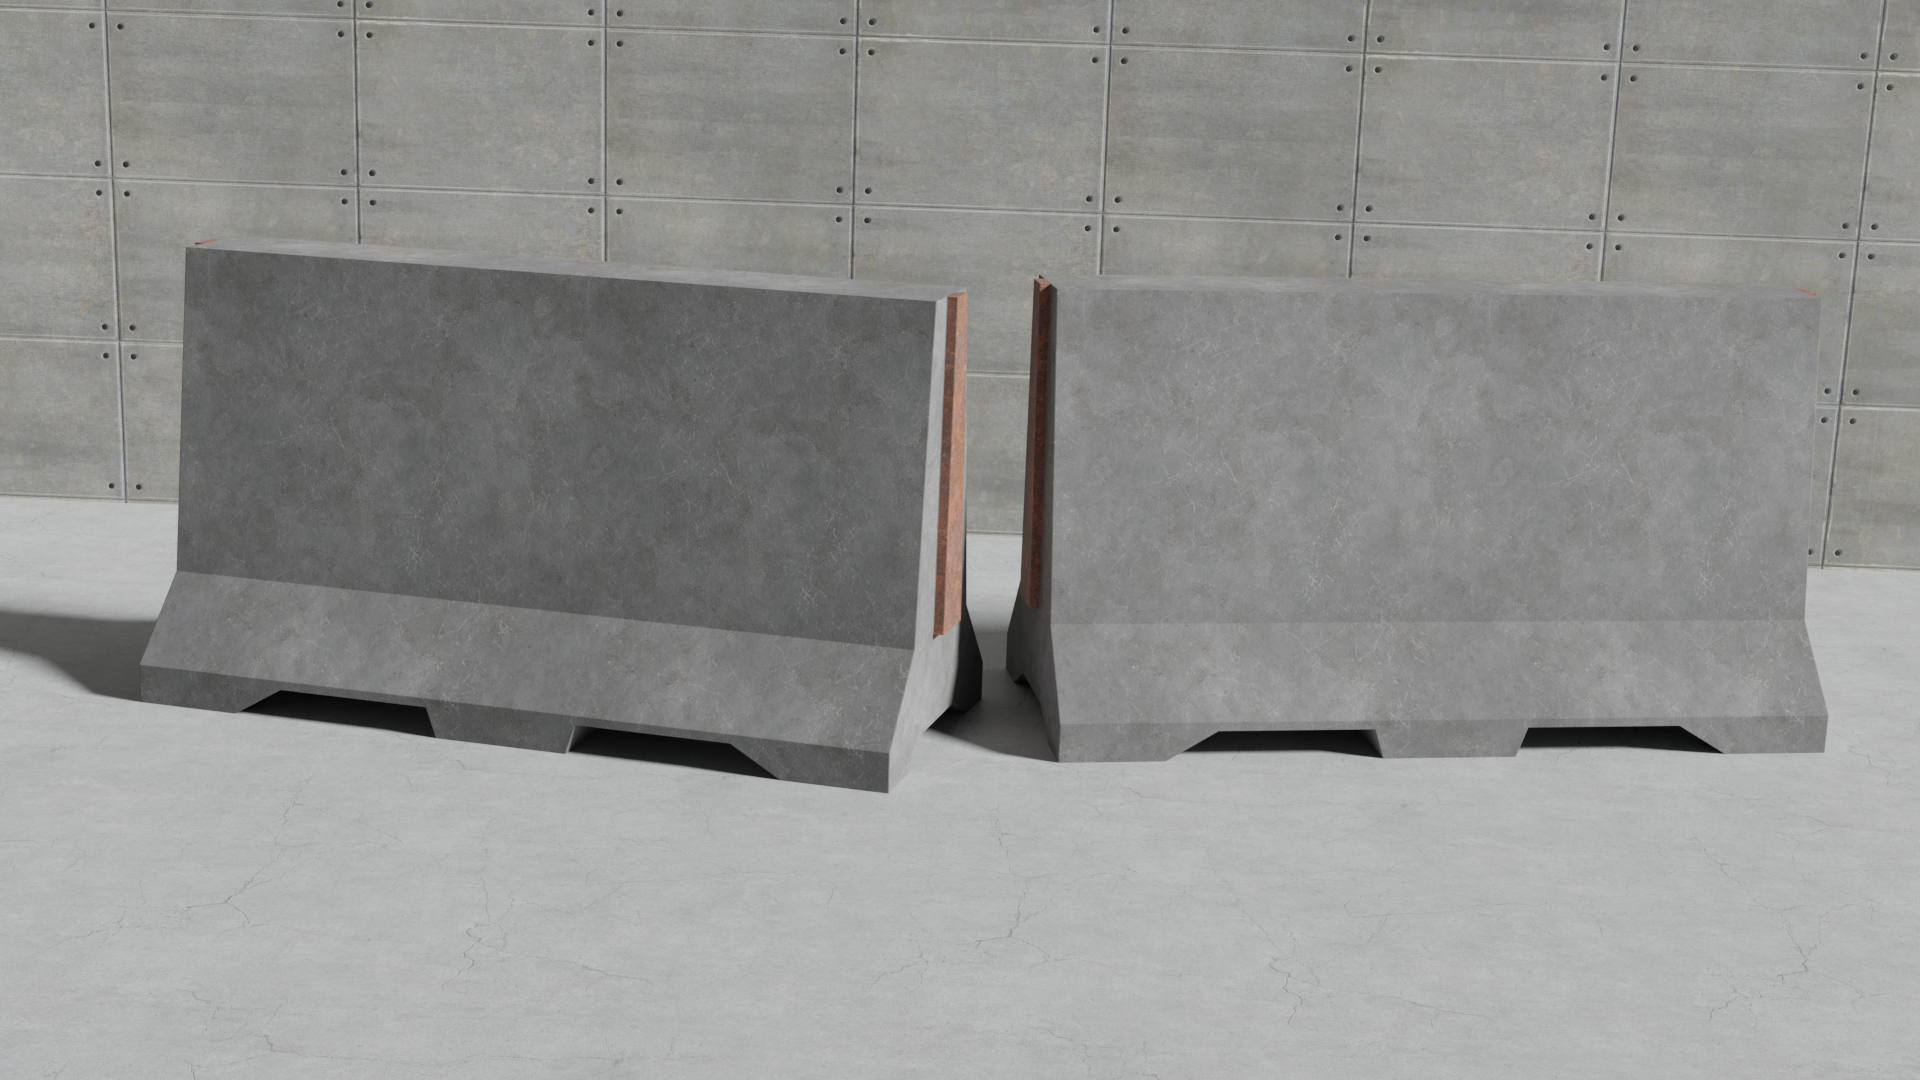
Probably should have used a higher bevel value as the edges look quite sharp from this far away.
This was so much fun to model. Don't want to call it finished yet but that's it for today.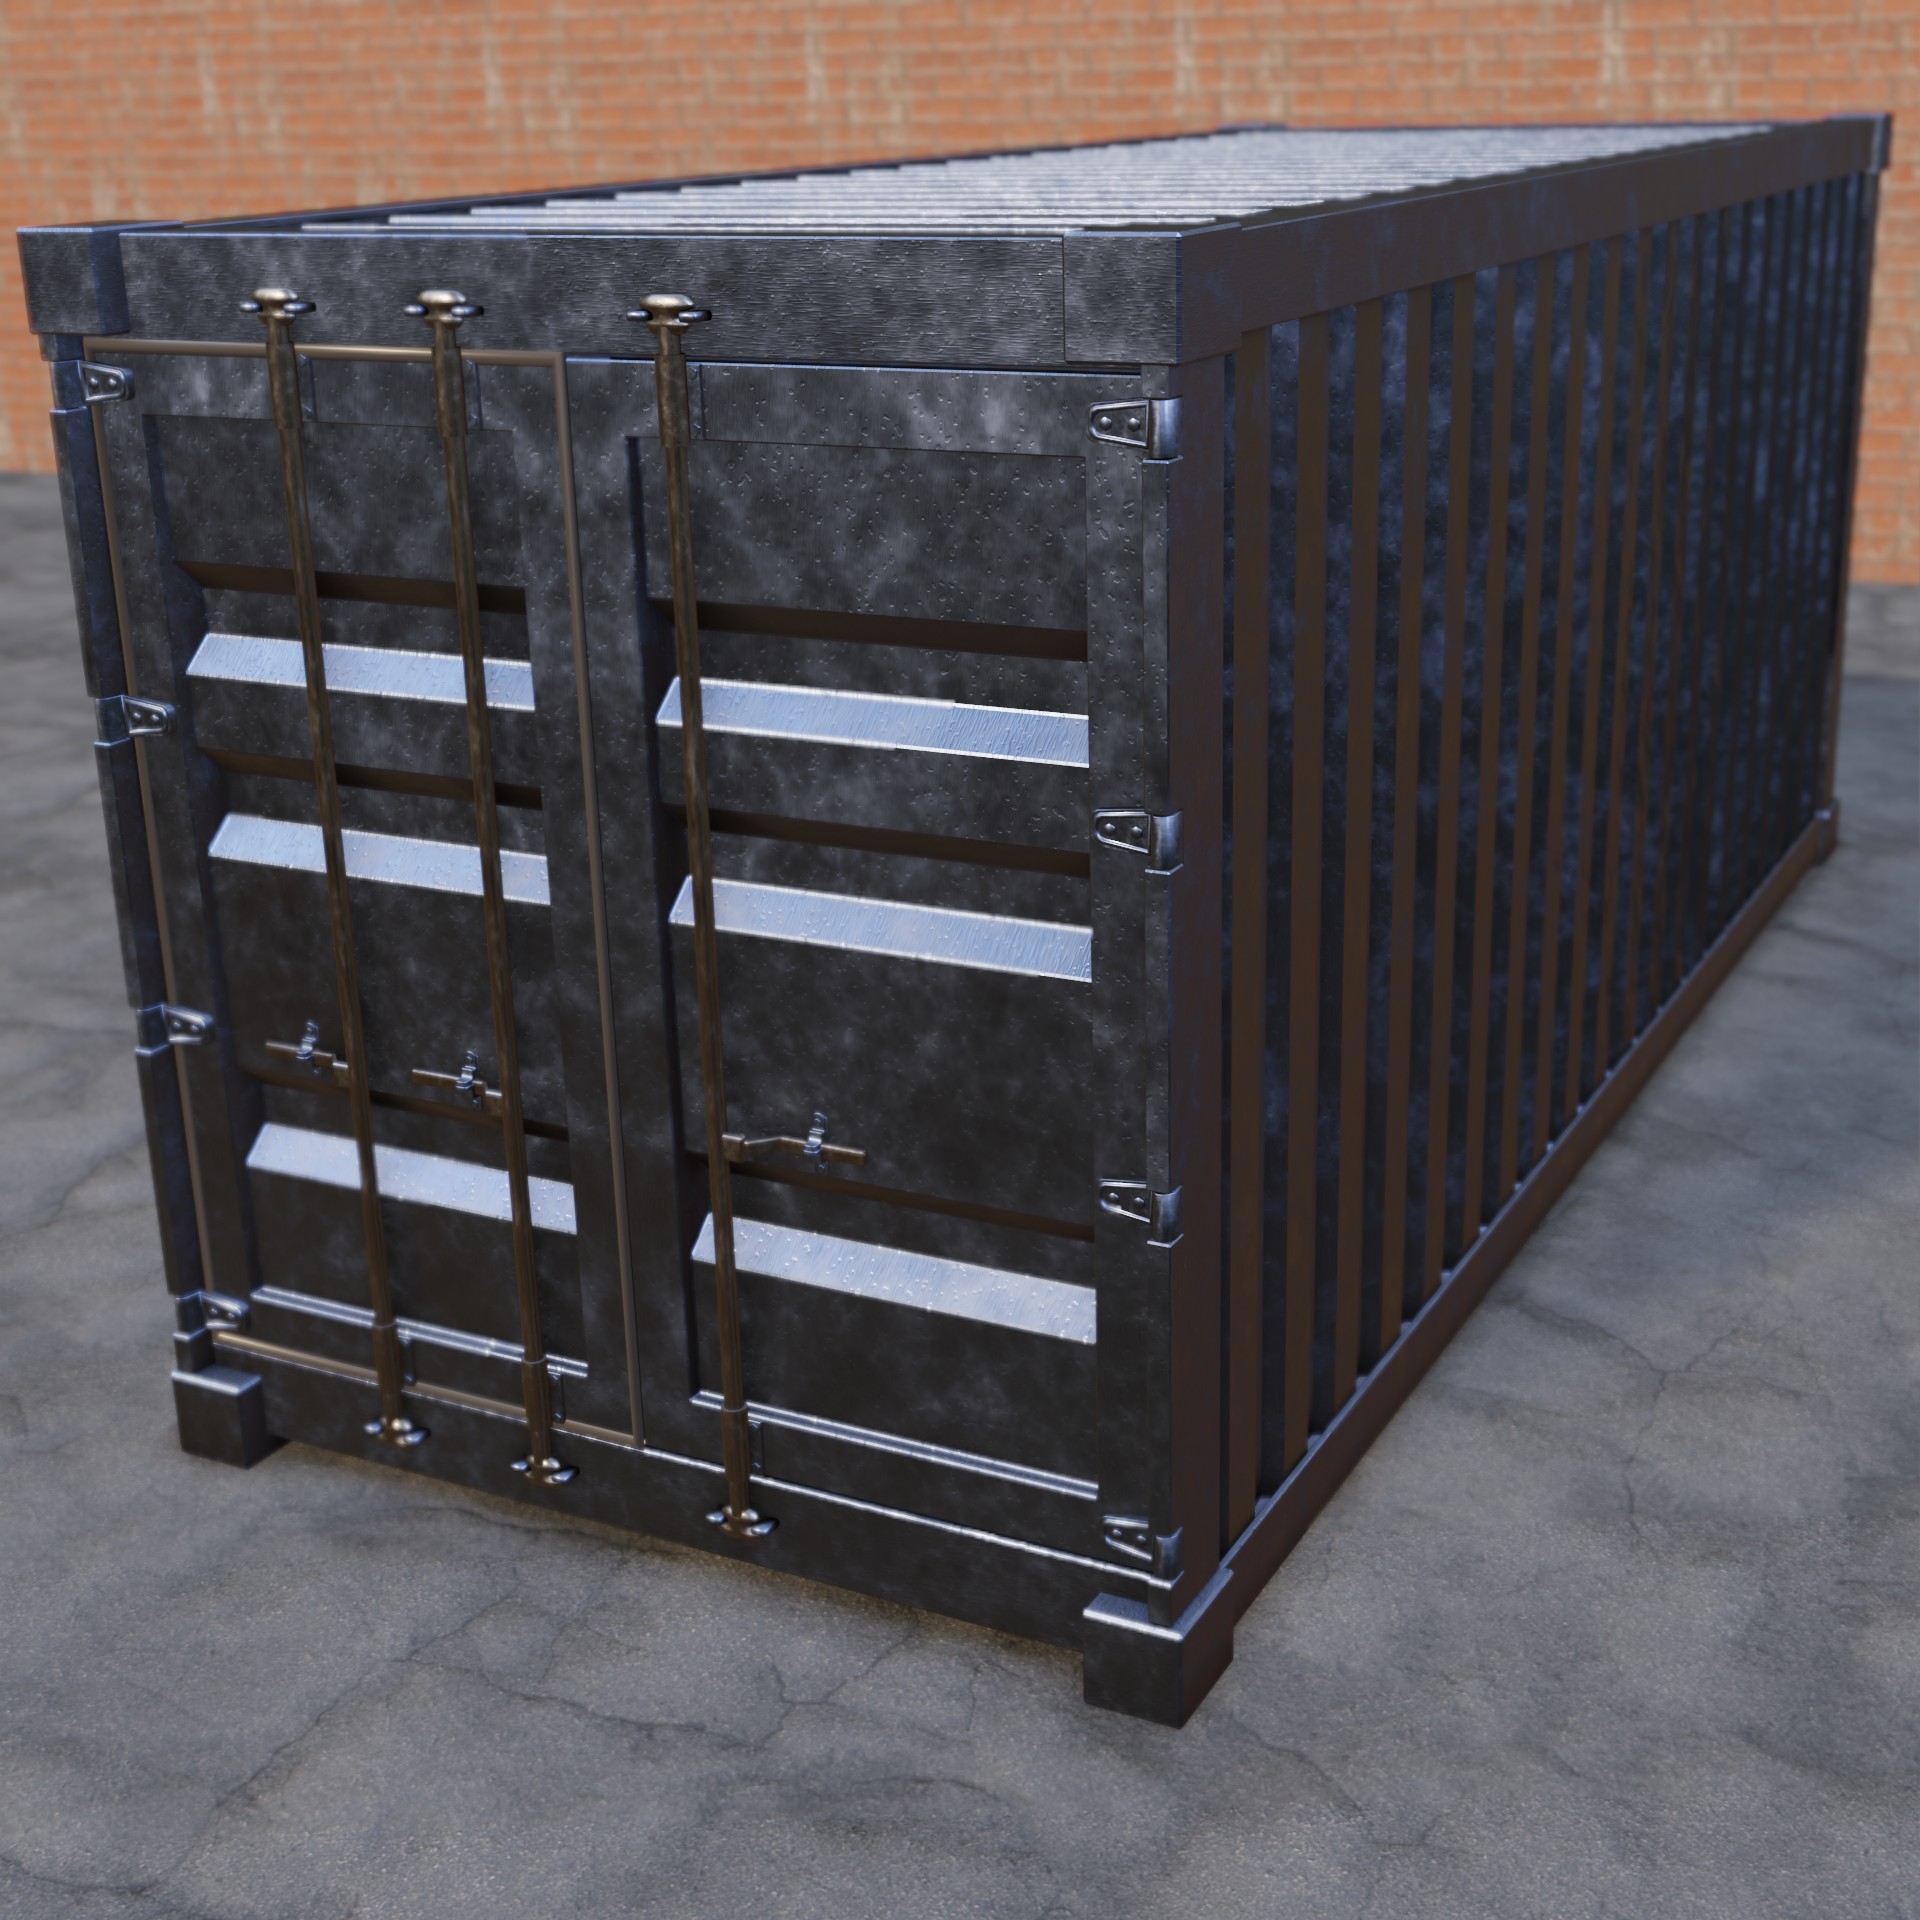
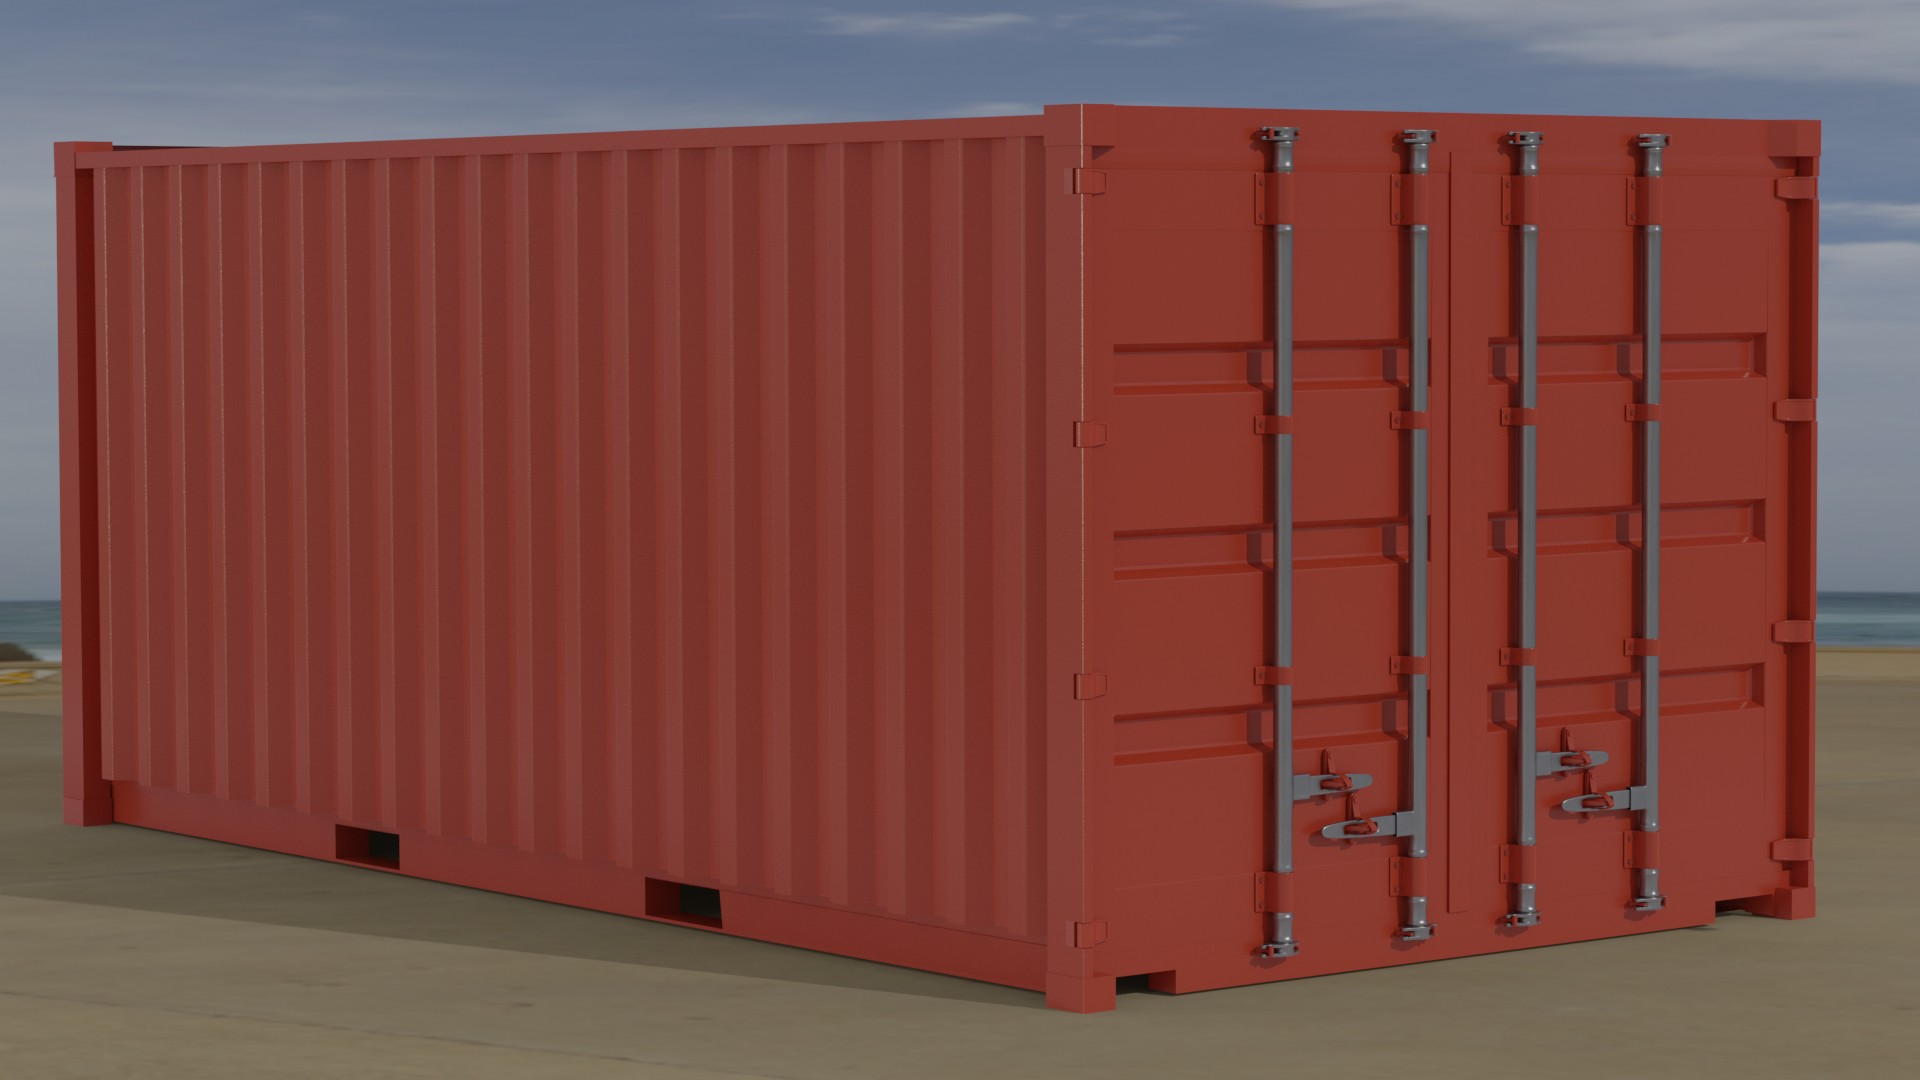
Never knew there were so many images of containers, most all at the wrong angle. Wanted to try adding rust again, but ran out of time as usual. Need to watch those lighting videos.

I'm back and finding this quite hard for one day;)
You'd think this is simple modelling, but there is so much detail to take care of, nothing hard, but just a lot...
Btw, I noticed, I missed out on some really interesting dailies (I like the garbage bag!), I'll have to try them after this month.
No time left for texturing and shading and lighting, so just something basic:
This took me longer than I expected!!!
I'm kinda pleased with how it turned out though it needs some tweaking.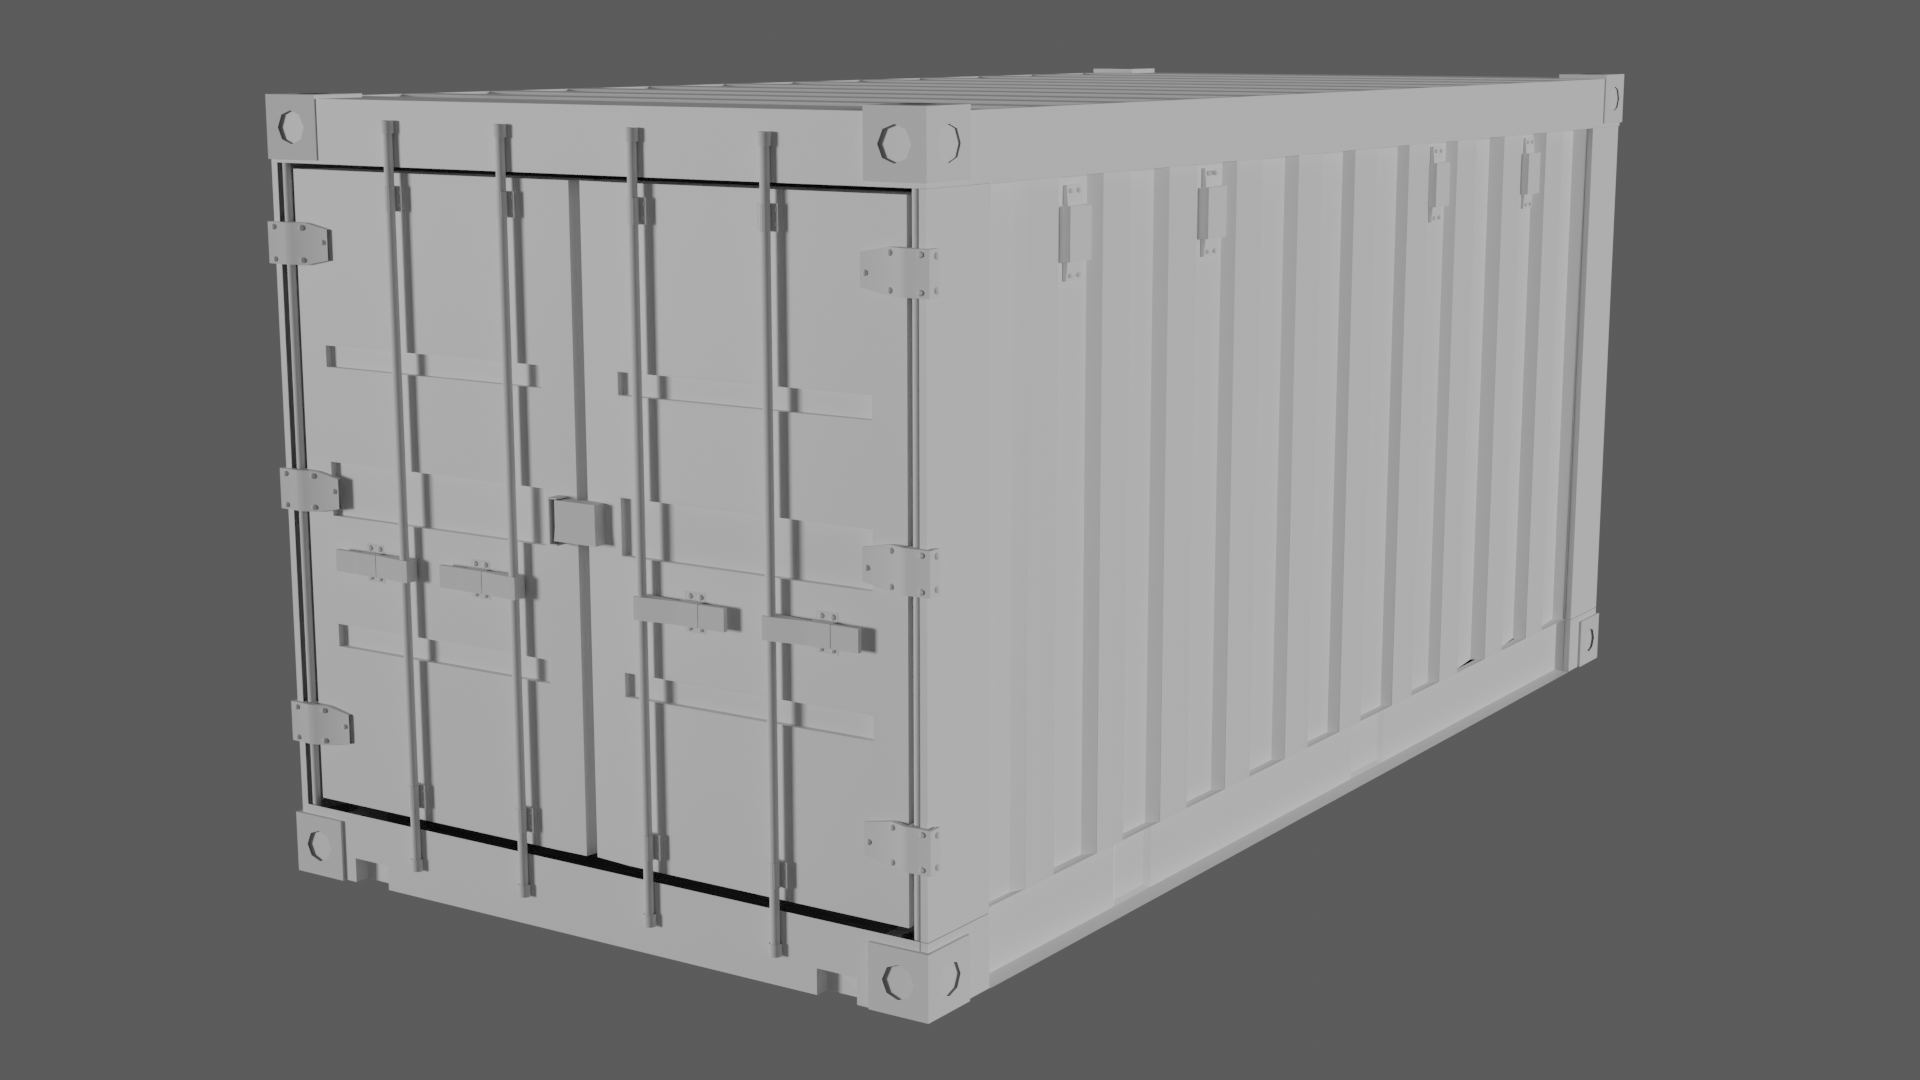
Tried something a bit different this time. Modeling wise this was the easiest although I did utilize the proper scale for this.
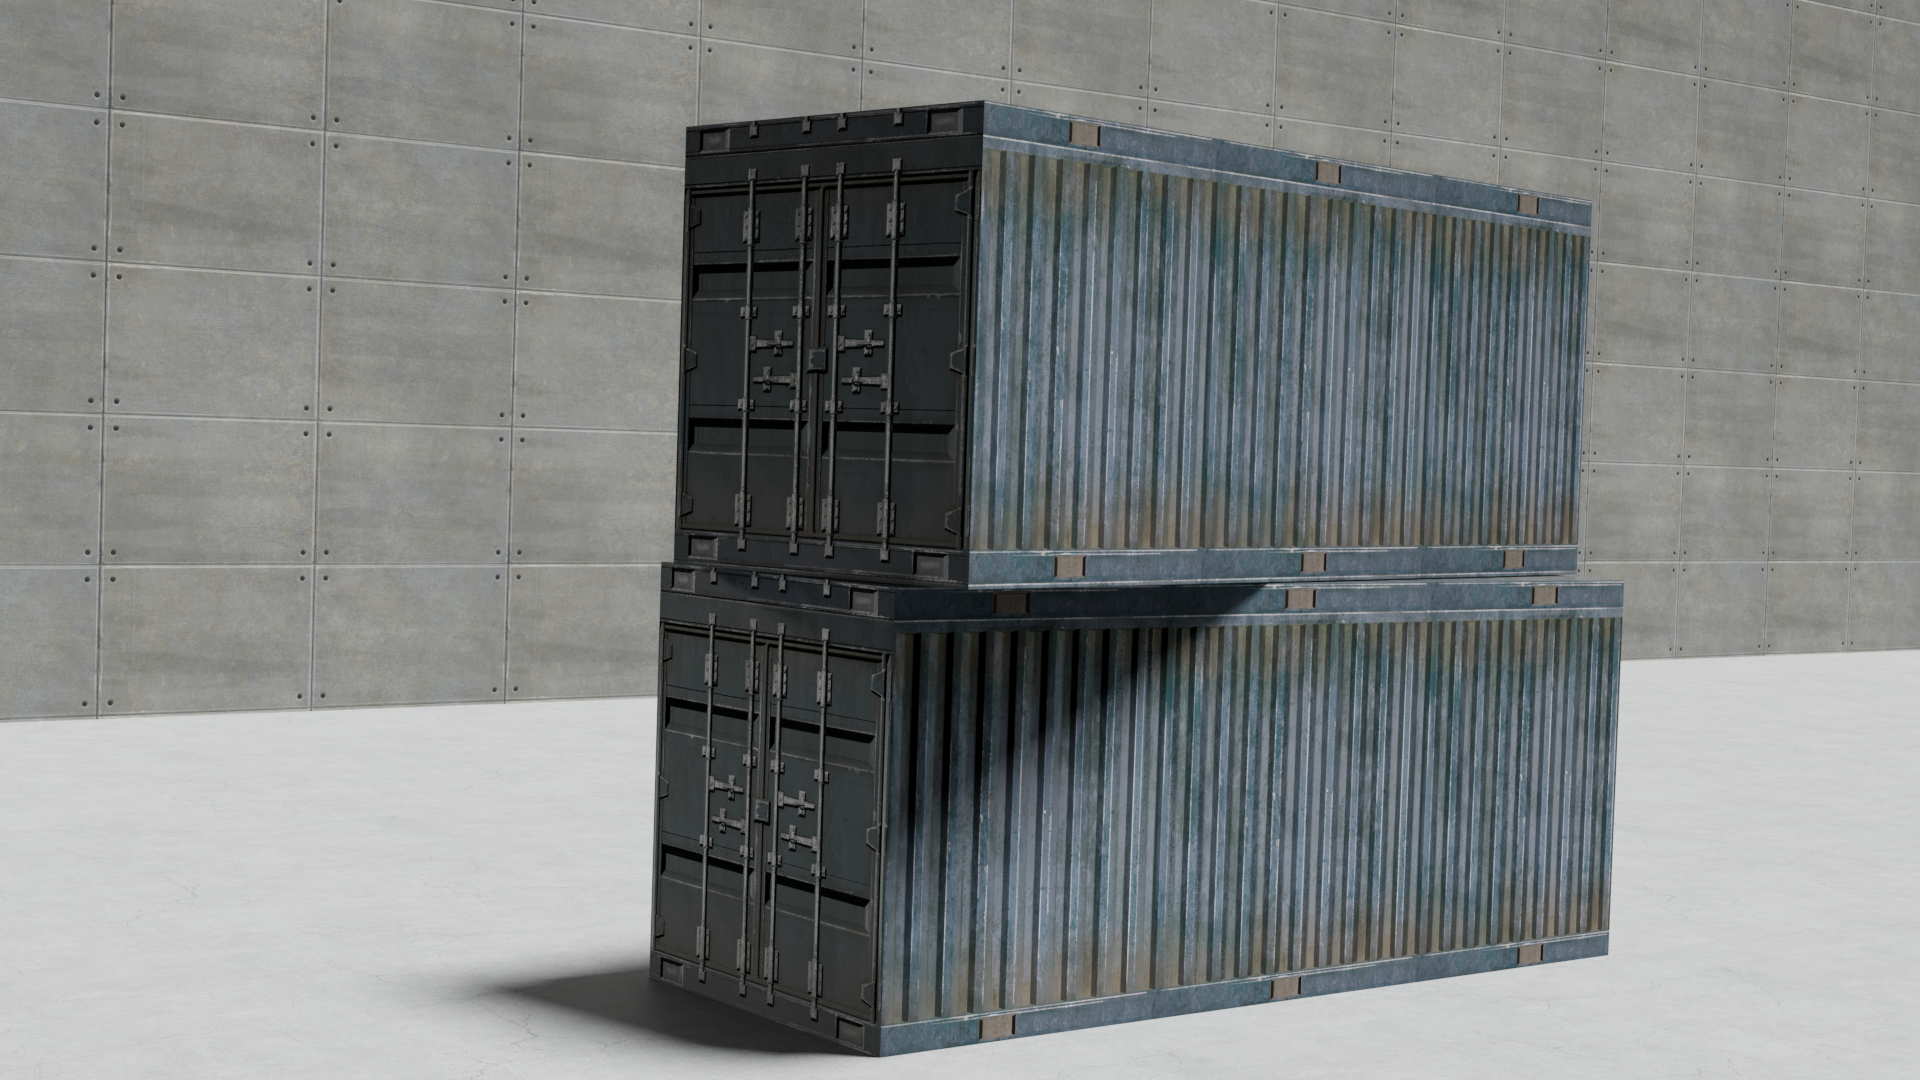
Essentially this is just a few textures applied to specific faces. Took me a while to properly line things up but it came out great. Would be useful as a low poly prop in a game. This is just 6 faces in total.
![]() jgonzalez Amazing result for six faces 😄 I find that very inspiring!
jgonzalez Amazing result for six faces 😄 I find that very inspiring!