So far, I’ve gone through the Basics course twice, then revised the Gamepad course twice too — really wanted to make sure I didn’t miss anything. Now I’m moving into the Core Fundamentals series, and I’m ready to level up my skills.
I created this topic to:
Track my progress over time.
Share renders, notes, and thoughts.
Stay motivated and connected with the community.
I’m still new (just a couple of months in), but I’m trying to be consistent, and I really want to grow as a 3D artist. Feedback is always welcome!
Let’s go! 🚀
1st mission completed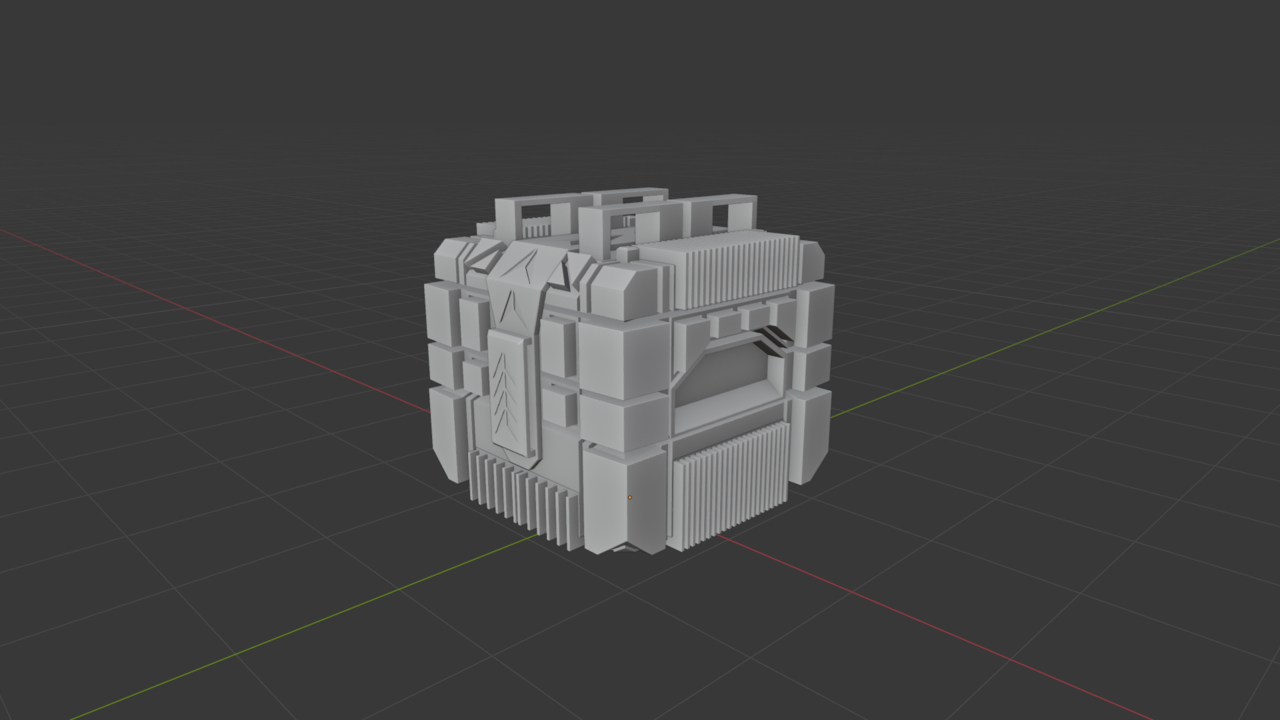
@MartinBergwerf
I could have just extruded the middle faces between all the already extruded faces, but I wanted something more unique and not flowy in the same style — so I made it that way. But what else could I have done instead of this?
Anyway thanks for the tip 😁
Hi AAgainstTheFlow ,
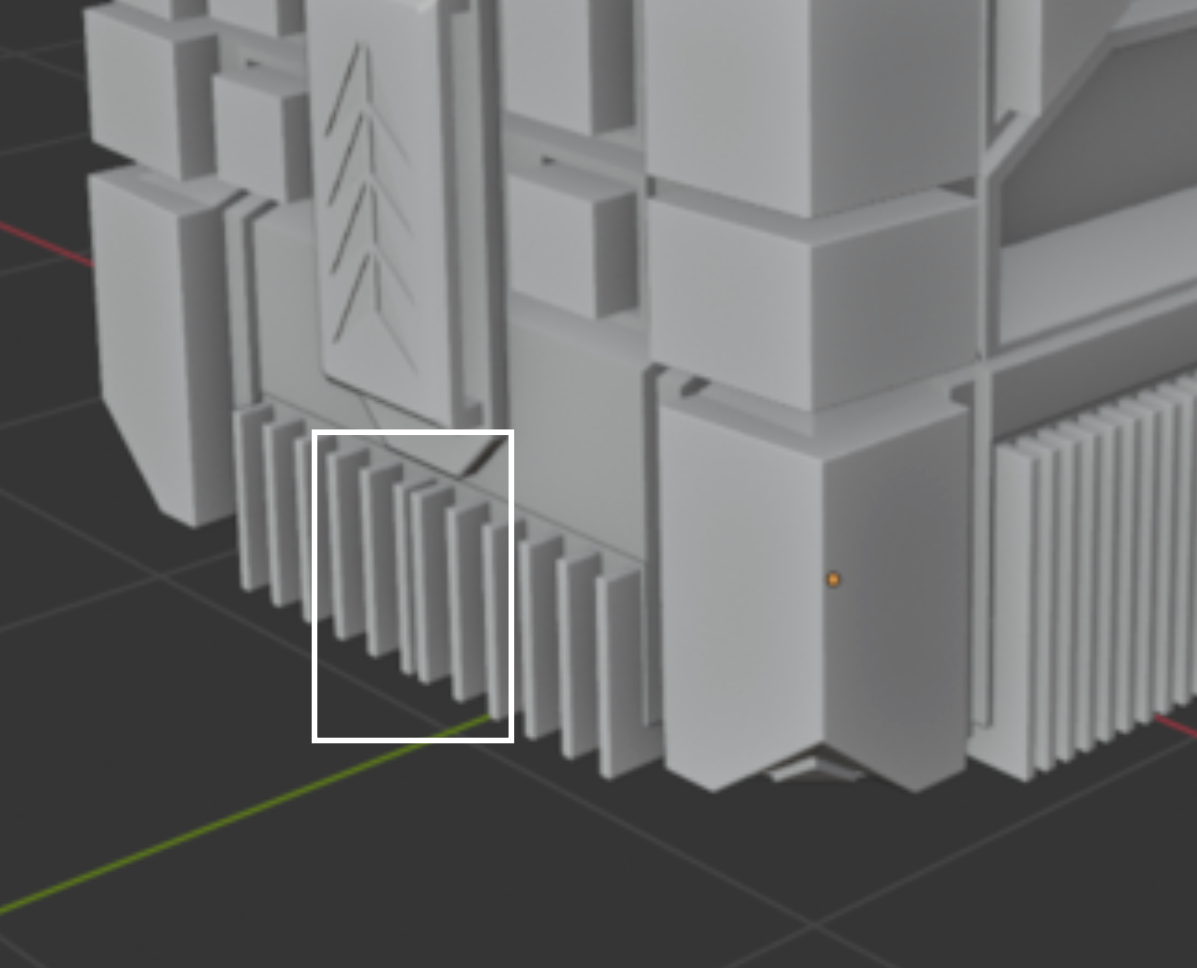
I just meant an even distance between the extrusions, something like so:
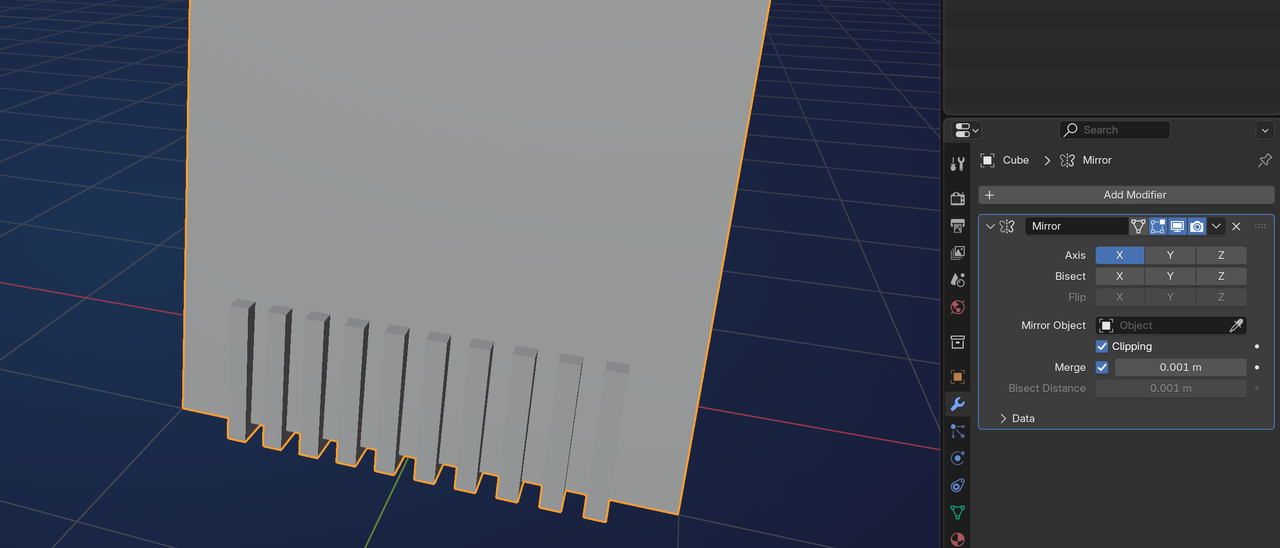
But that's a small thing that could be a personal design choice and I wouldn't even have mentioned it, but it was really the only thing that stood out to me and you asked for feedback, so...
@MartinBergwerf
Yes, I totally get it—and thanks a lot for the quick tips and suggestions! Really appreciate it, mate. I was just saying that there are other faces between the extruded ones for the bumpers, so if I select those faces too and then extrude them out just like that the distribution will be even on both sides..Also, based on your suggestions, I made some changes and tried doing things differently without watching the tutorial. I gave it another shot—even though I had to check the video 3–4 times—and added some changes, coloring, and lighting.But I’m really bad at that part, lol.
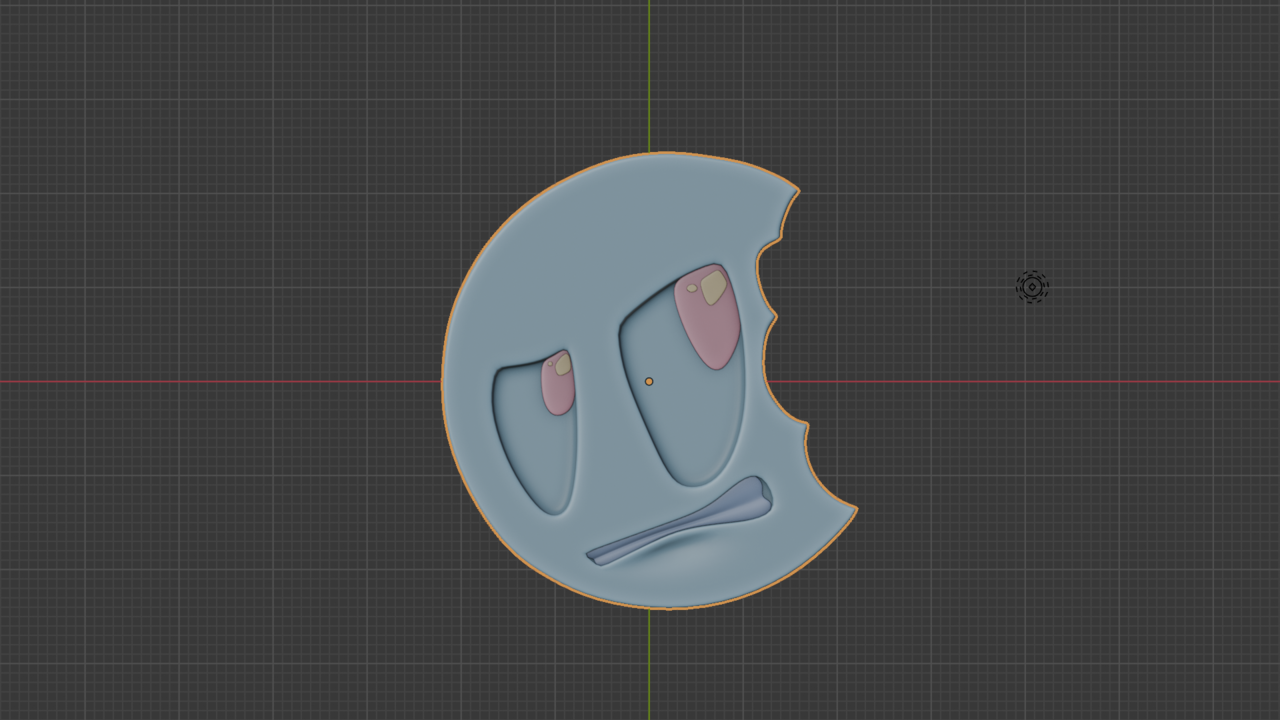
Here’s the render (Cycles, 100 samples).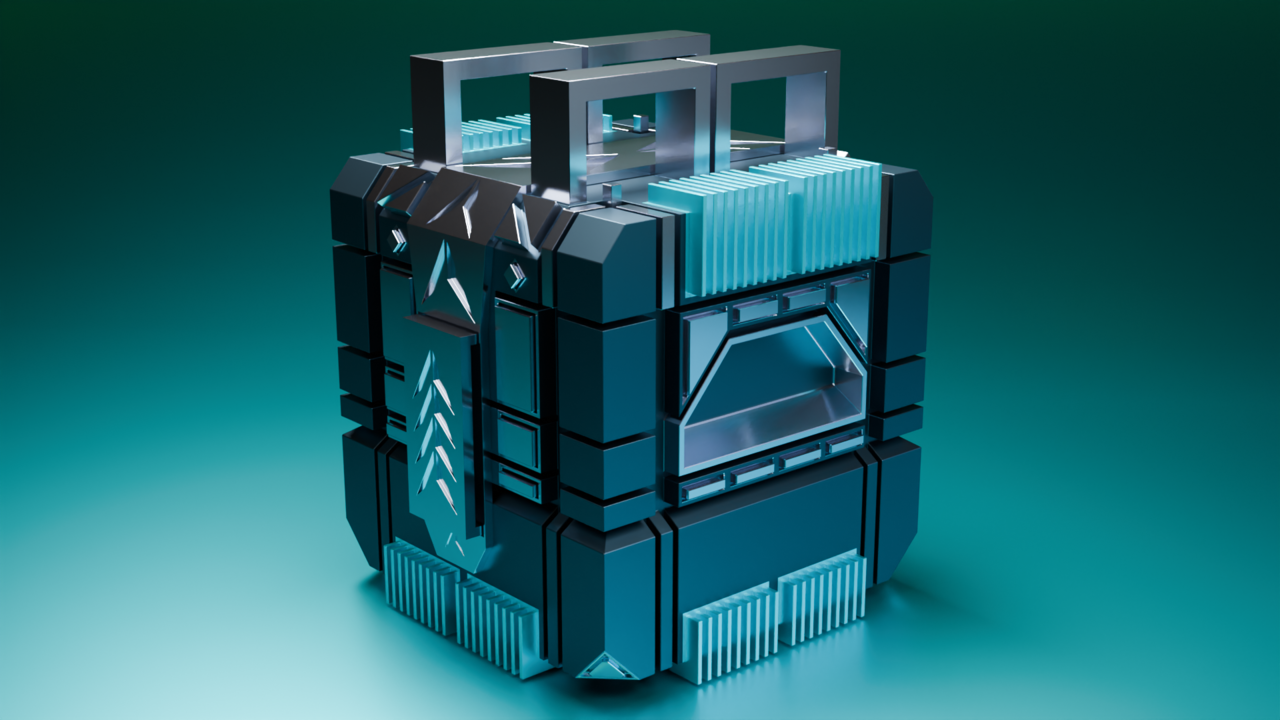 Would love to hear your suggestions on this one too. Thanks again!
This was my first own render after watching the CG Cookie Basics course. I made it entirely from a single cylinder! Back then (and honestly, still a little now), I was very uncomfortable using multiple objects and connecting them together — so I challenged myself to create the whole thing from just one cylinder and the knowledge I had at that moment so no fancy modifier only used solidify and bavel. I was genuinely happy with how it turned out. Before watching the CG Cookie Basics and Gamepad tutorials, I couldn’t even imagine a way to build this. But after going through those lessons, I was finally able to think a way to create it. Also… the hinges? Yeah, they’re not actually functional 😂I could’ve made them as separate objects, but I was afraid of using too many pieces. So they’re just standing there — purely for the look. It’s based on a mobile stand I actually own.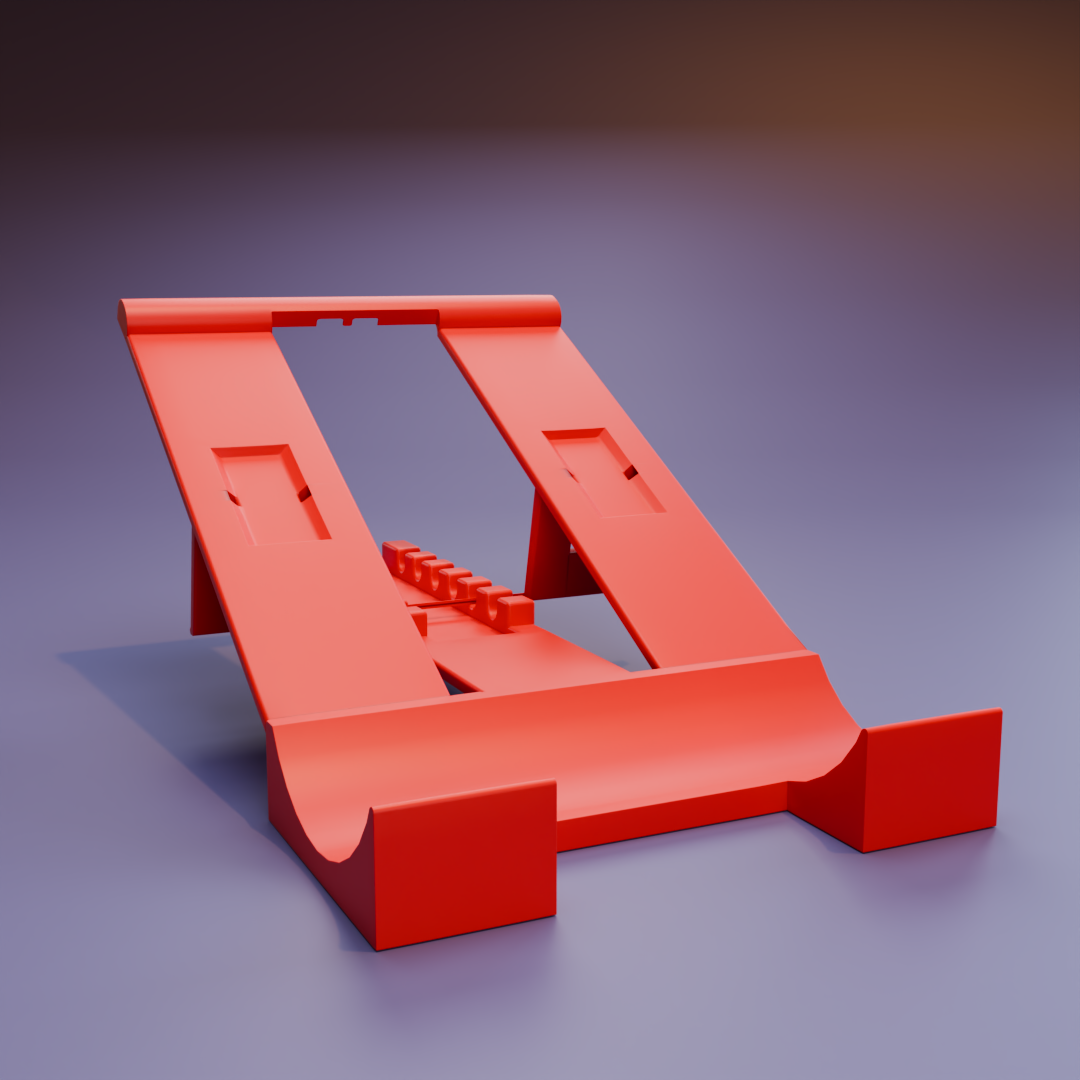
Here’s another challenge completed! Please give feedback or even harsh critique — I would appreciate it very much. I was able to create some parts on my own, but I couldn’t make those ports/plugs in the back and needed some Boolean optimization, so I watched part of that section. Otherwise, I was able to make the other parts myself. This tutorial is actually very good — it has been solving many of my problems from the start.
I’m not very good at lighting yet, so I’d also appreciate any advice there. I know I haven’t watched the lighting section of the tutorial yet, but tips before I start would be nice.
Render: Cycles — 1024 samples. The original file size was around 10 MB, so I had to resize it to 4 MB before posting.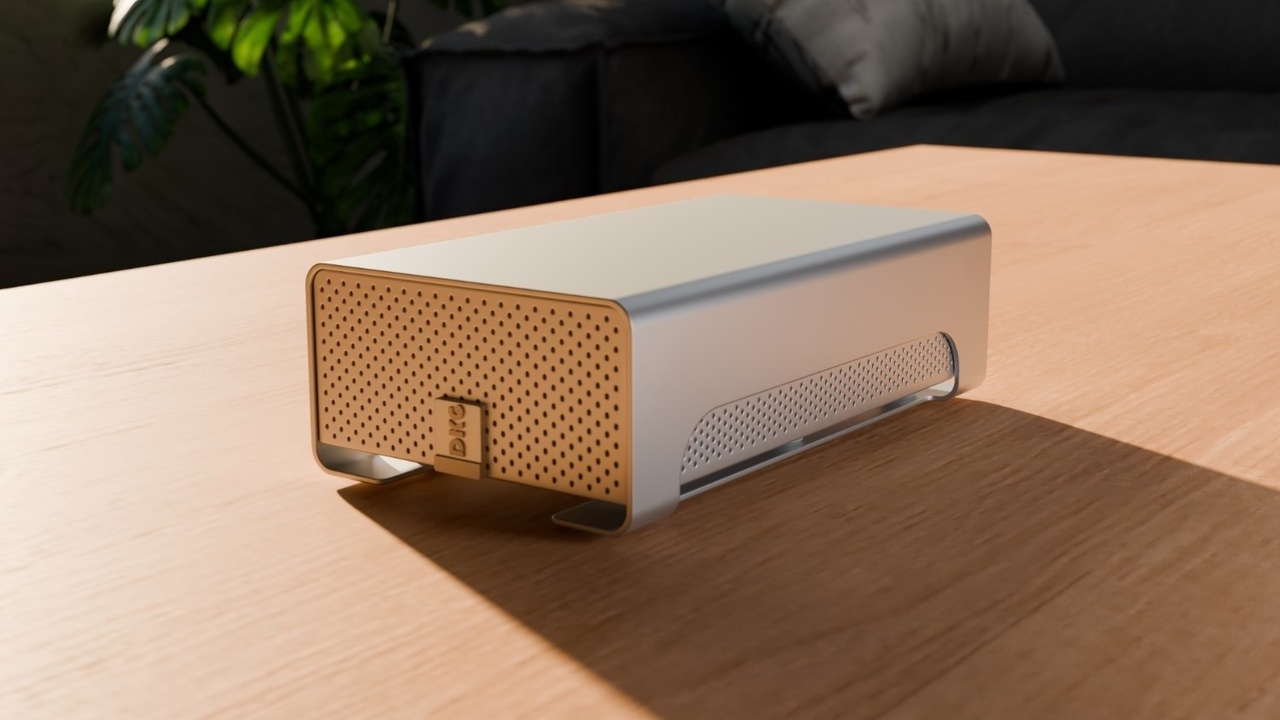
Here’s another challenge completed today — a coffee mug I own.
Idk where is two shadows though
Thank you, guys — ![]() spikeyxxx and @omardomenech.
spikeyxxx and @omardomenech.
Yes, you guys are right, I forgot to enable the “Disable in Renders” option, for the startup point light lol.
Here its looking better now
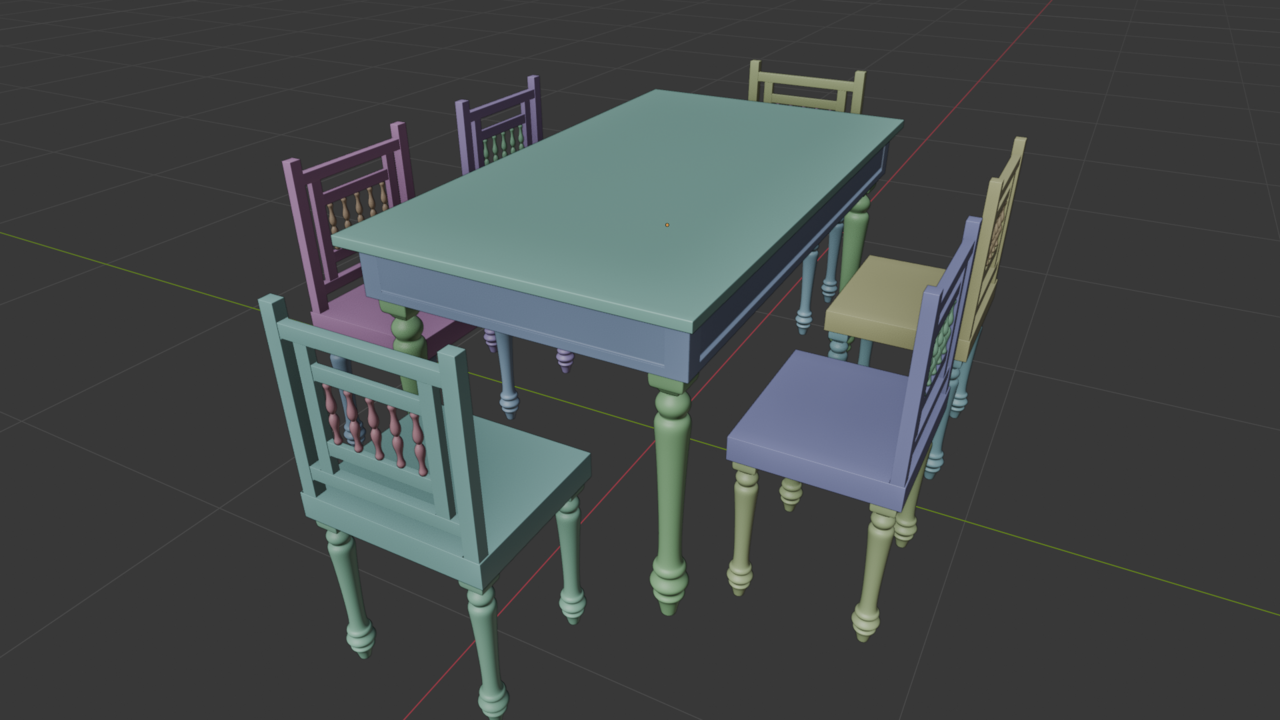
I’ve been using Blender for 2 months, and I made these without watching any tutorials, all on my own and god definitely helped (Helping) me . Could you give me some suggestions and critique? am i doing good enough or do i have to improve more fast? (Not yet finished CORE mesh modeling tutorials)
That dining set is todays rendered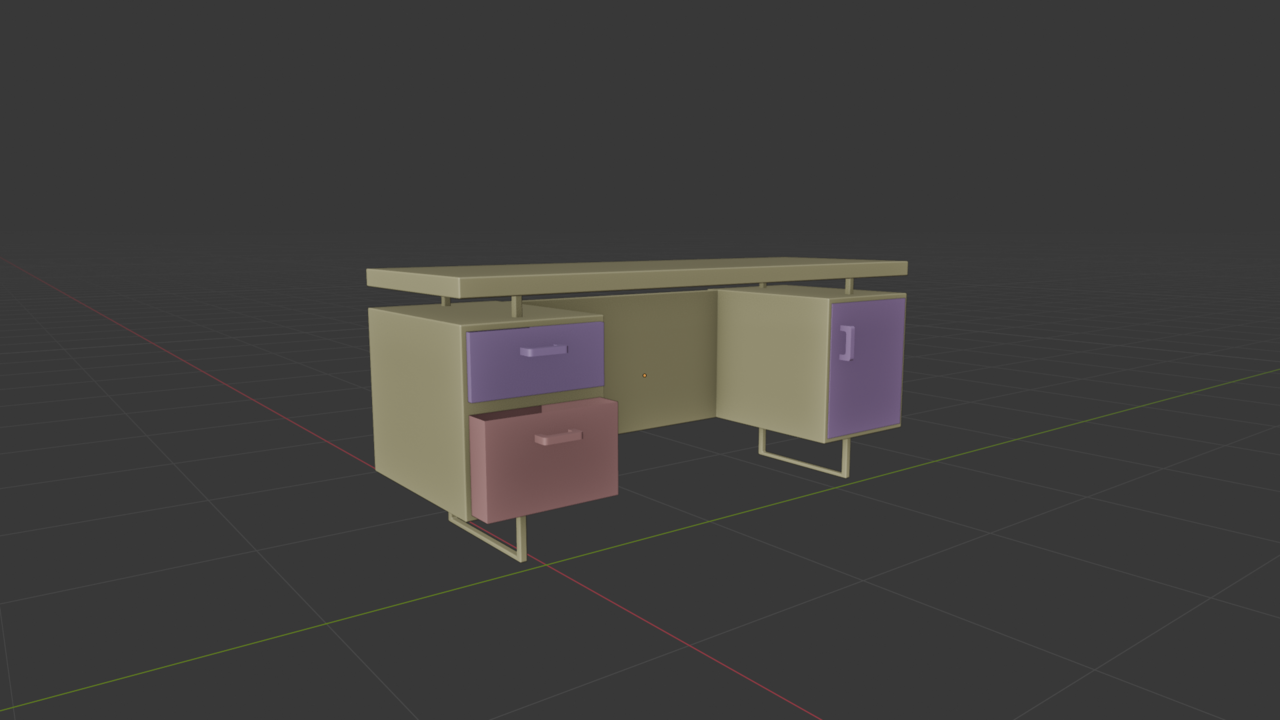

Well you definitely do not have to improve faster, unless you're in the plot of a movie where they have your daughter kidnapped and the guy on the phone is telling you, you have to learn Blender in 8 weeks or you wont see your daughter ever again, we'll paint her with invisible paint.
People progress at different speeds and it's not right or wrong, so you can be chill and just keep watching courses and learning, it's fun and you're having fun learning, that's all that matters I think. Remember, two months ago you didn't know any of this, and if you could talk to your former you and tell him man in 2 months you're going to be modeling in 3D, think how cool that would've been, and now that's you.
Your models are looking good. Keep on rocking modeling.
Nearing the end of the mesh modeling course... I’ve gathered tons of knowledge, but I still need some hardcore practice. I kind of lack confidence and don’t fully know how to put everything together to create a masterpiece. Still, the course has been a lot of fun!