So far, I’ve gone through the Basics course twice, then revised the Gamepad course twice too — really wanted to make sure I didn’t miss anything. Now I’m moving into the Core Fundamentals series, and I’m ready to level up my skills.
I created this topic to:
Track my progress over time.
Share renders, notes, and thoughts.
Stay motivated and connected with the community.
I’m still new (just a couple of months in), but I’m trying to be consistent, and I really want to grow as a 3D artist. Feedback is always welcome!
Let’s go! 🚀
1st mission completed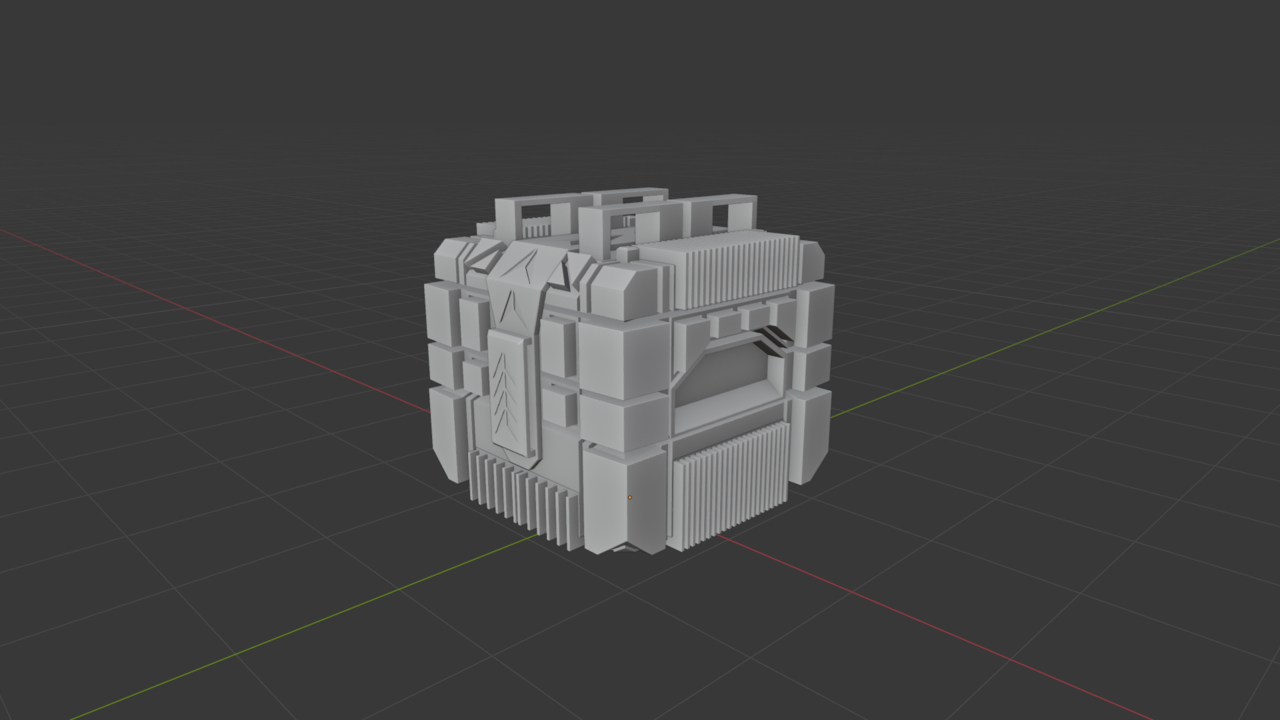
A very professional person on Reddit gave me this challenge today to model this shape, and I finally completed it after some struggle and with his help (Indirectly). Now I understand the topology and the decision-making behind it, and I think I should add this piece to my artbook. What do you guys think...
haha martin dont shame like that haha...if u are not professional idk who is haha...i am now gonna fix this and upload it martin...thank u martin now i can avoid a bad habit again because of thank u very much...
Actually i am super happy with this model becasue he told me its not a beginner level model and told me if u want u can think of a challenge i gave u haha thats why i am super happy after i completed it...and also he is actually a modeling specialist...so studios also got modeling specialist ?? i never thought it...damn how much broad is this field is damn...
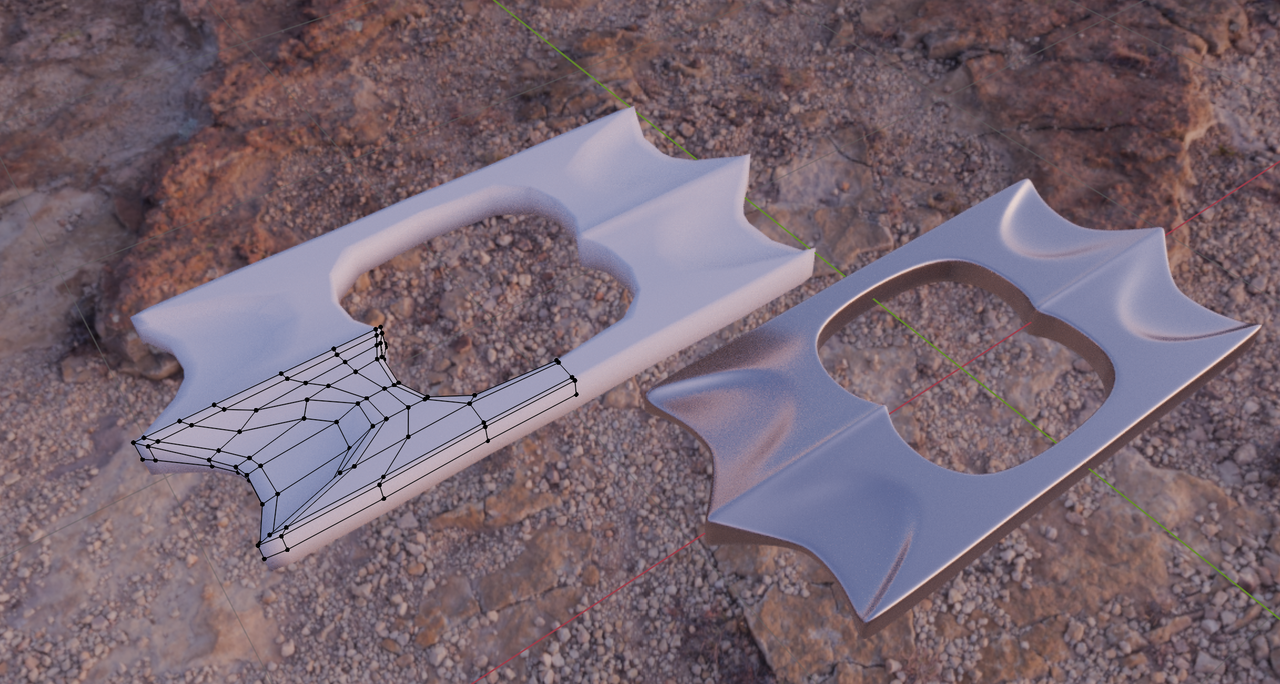
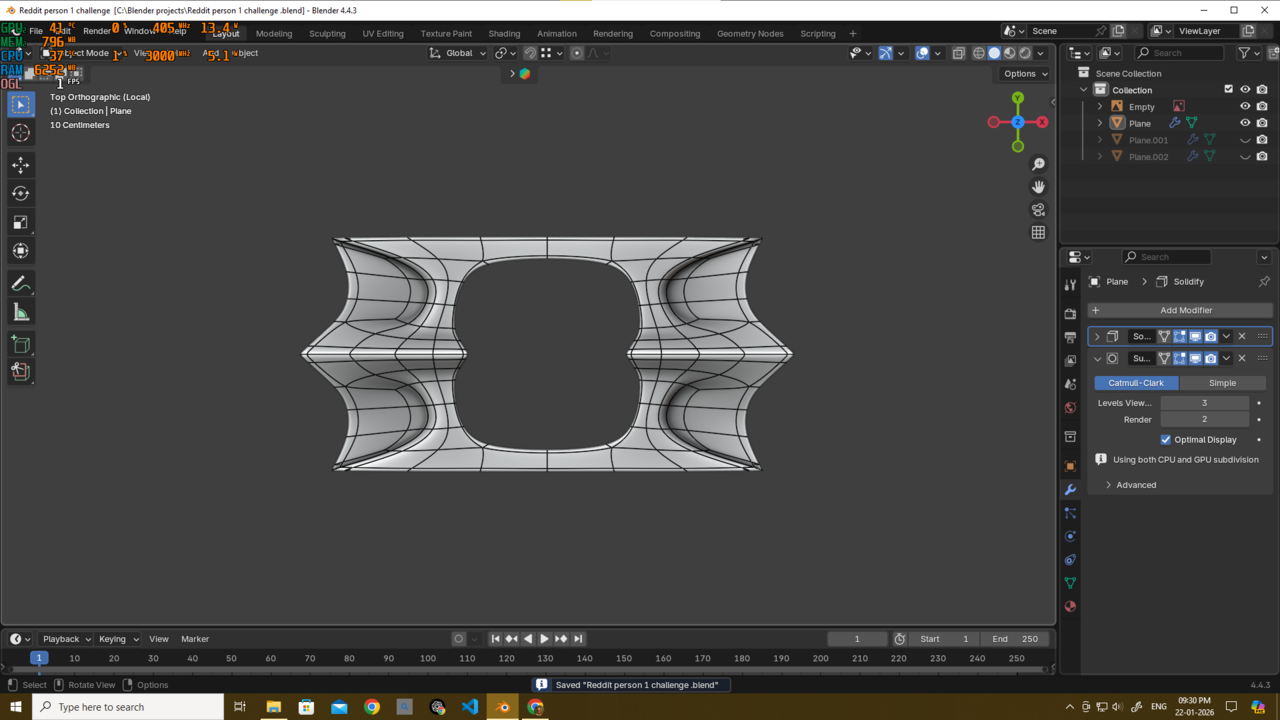
i notice that spider pole is happening after i use solidify..
here without solidify..now that 3 side pole...will try to fix those too
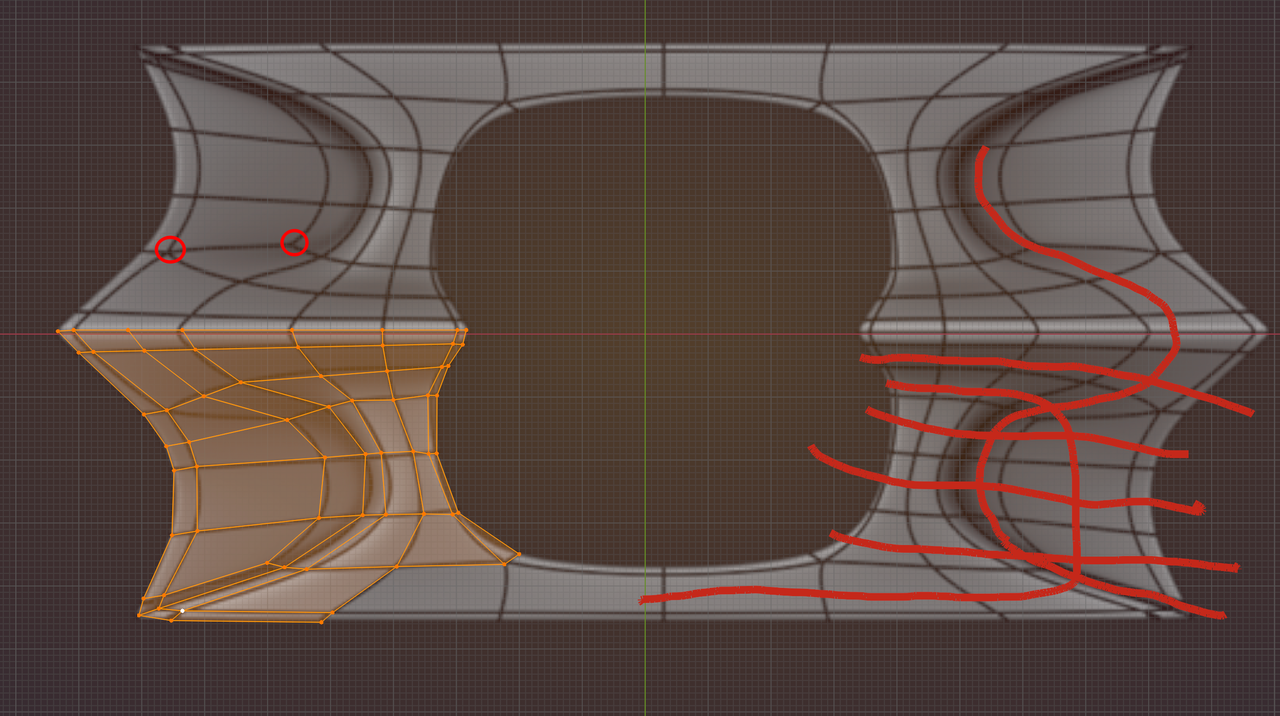
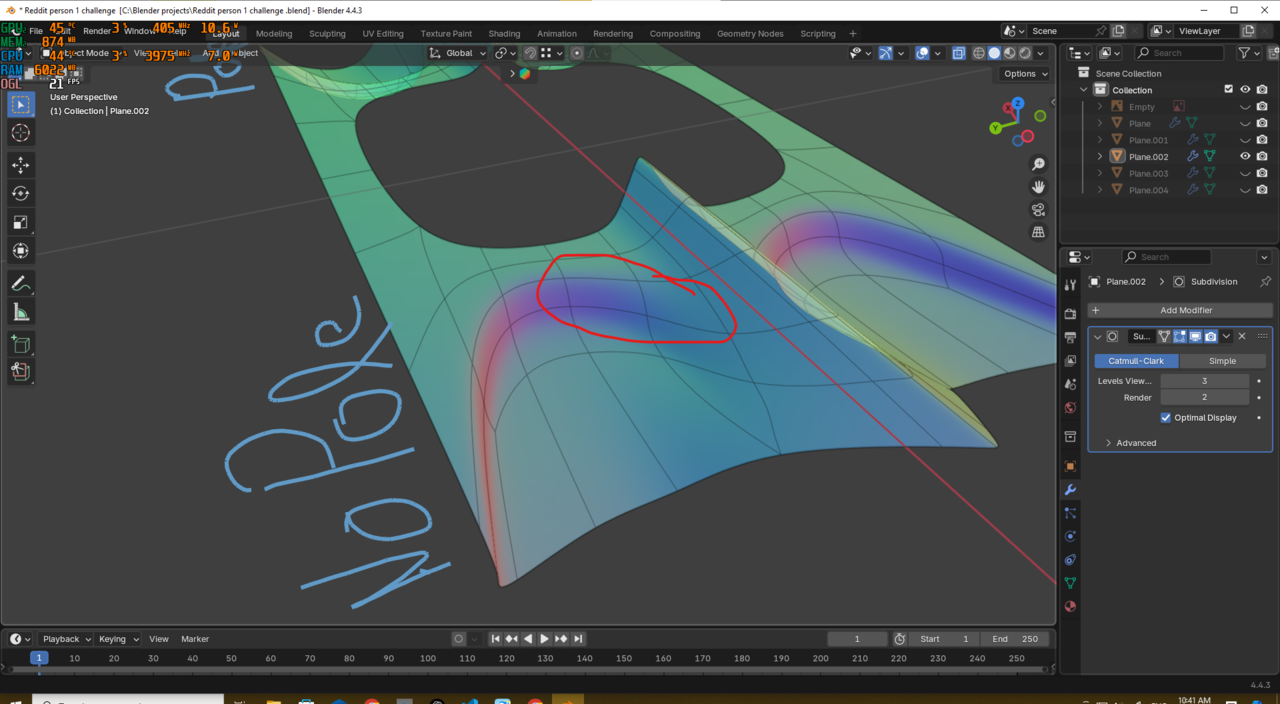
Now, Martin, that three-sided pole is actually helping the shape this time.
I’m sharing the reference image so you can see how it helps in this case.
That specific area needs to be soft and slightly oval rather than hard. If I try to avoid a pole there, I have to add an extra edge loop very close to it, and then the shape stops feeling oval — which is something I don’t want here. The reference shows that this softer transition is important.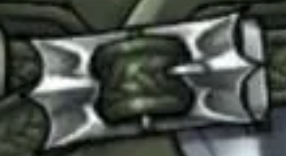
So now I understand how a pole can actually be useful in a practical way. If you hadn’t mentioned it, I wouldn’t have noticed or understood it this clearly. Thank you very much, Martin — you always help me a lot, and I really appreciate it.
Wow....thank u martin....i will try to use your topo...and see....if I get all quads and still end better or similar then I will allways go with quad...no question asked...i am a quad fan boy haha...it's already 1.12 am of the next day and i am sleepy will try tomorrow morning and let u know... thank u very much martin...
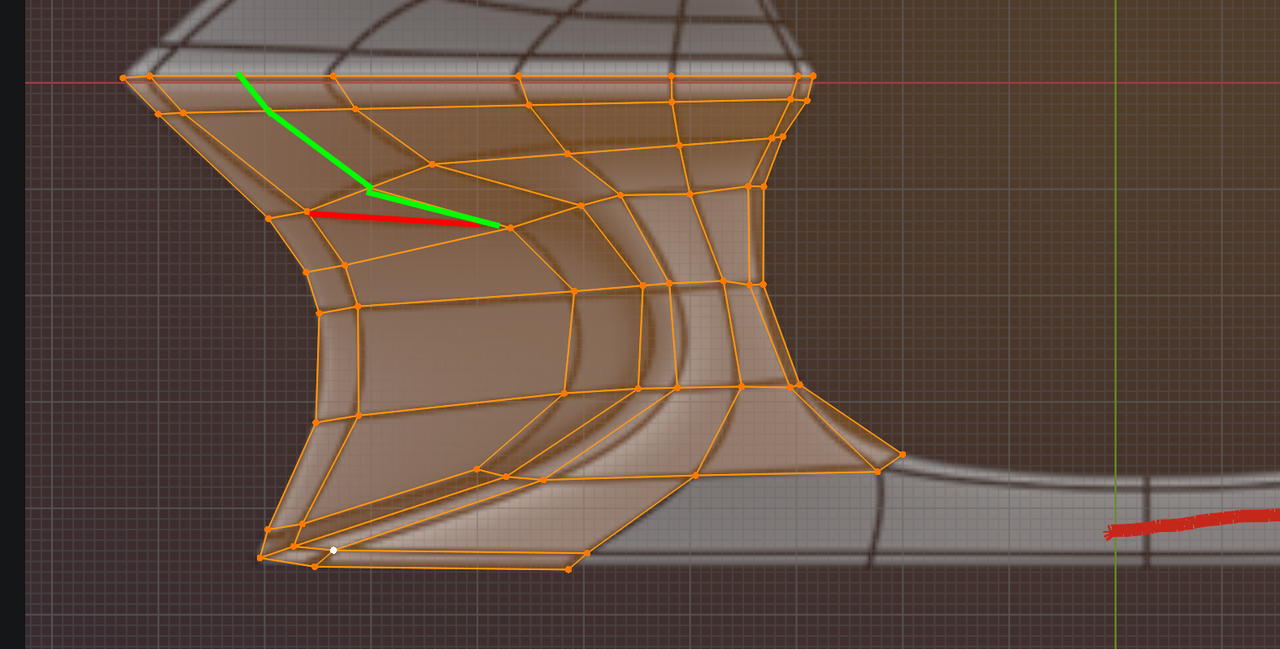
Martin i have a request when u have time can u share ur topo in front view so I can see the topo clearly...and try to work with that... whenever u are free...I am now gonna sleep... thank u martin and good night 🌉 🌃
U win i lose no debate 🙌 haha...i should have try it clearly 1st and then reply..well now i know there is sometimes when theory and practical might give u differnt result haha
Here what i found...
there is no visible difference until u look hard and closely which is no one gonna do (Except for when hiring i guess)
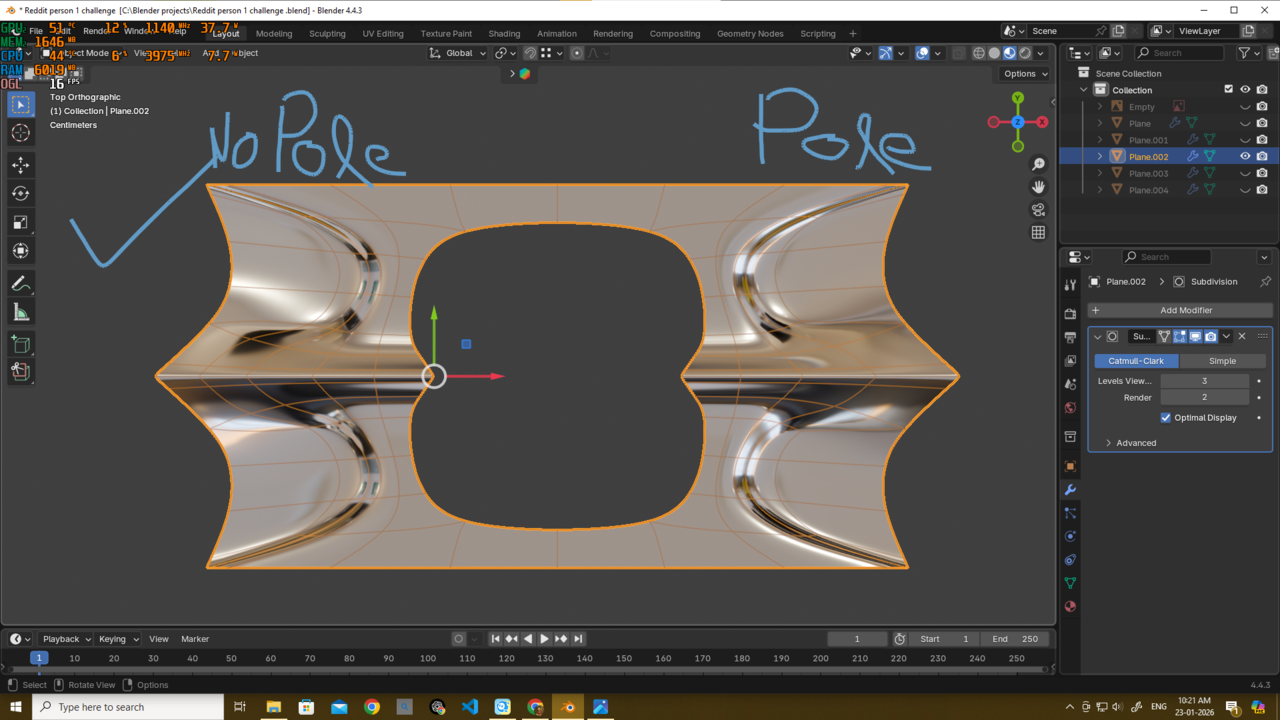
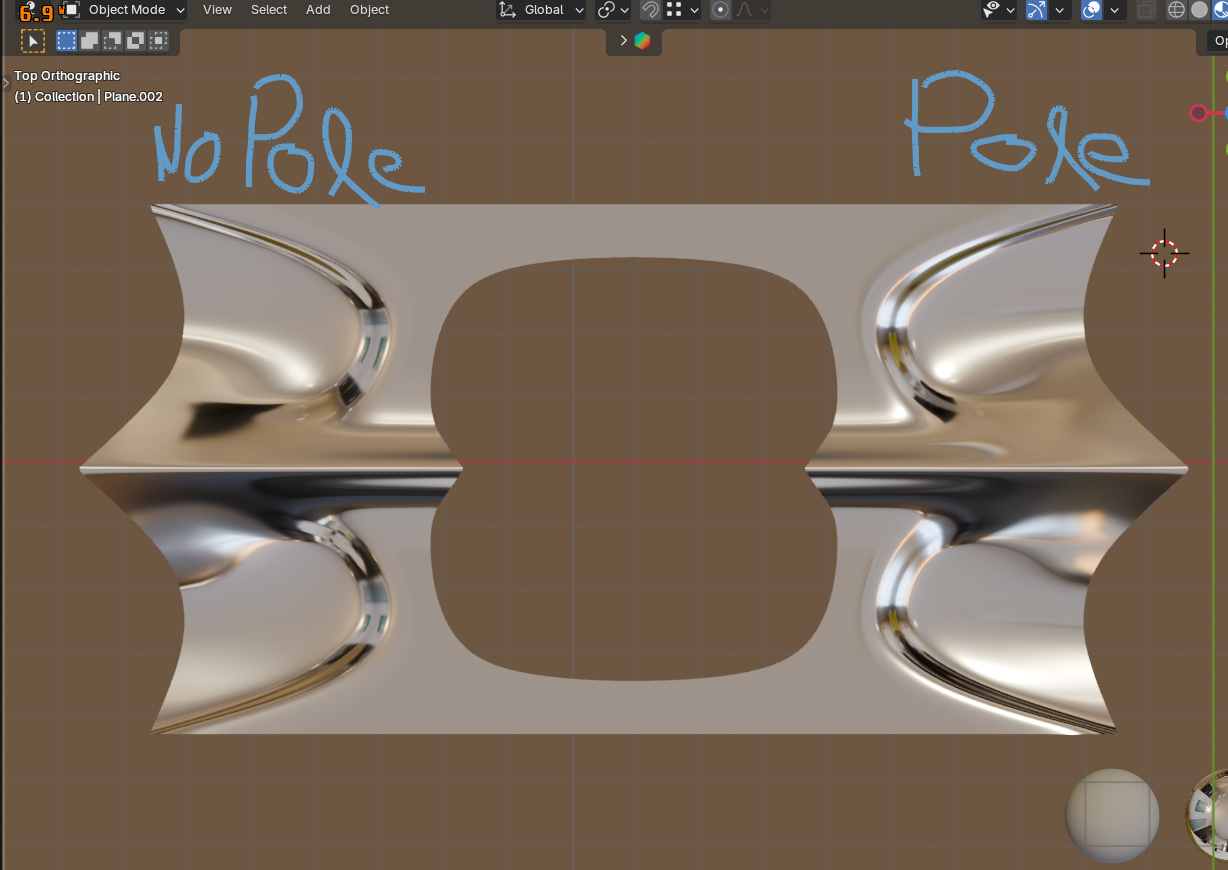
Also the light kinda more fading or getting mix with the mesh in a more better way where there is no pole
But on the other hand with pole u can clearly see that light is kinda stopping in a sharpe manner compare to the no pole which is not kinda good...its kinda hard stop...its will probably more visible in render mode with metal...so Thank u martin again very much...starting the by learning something new in a practical way..thank u very much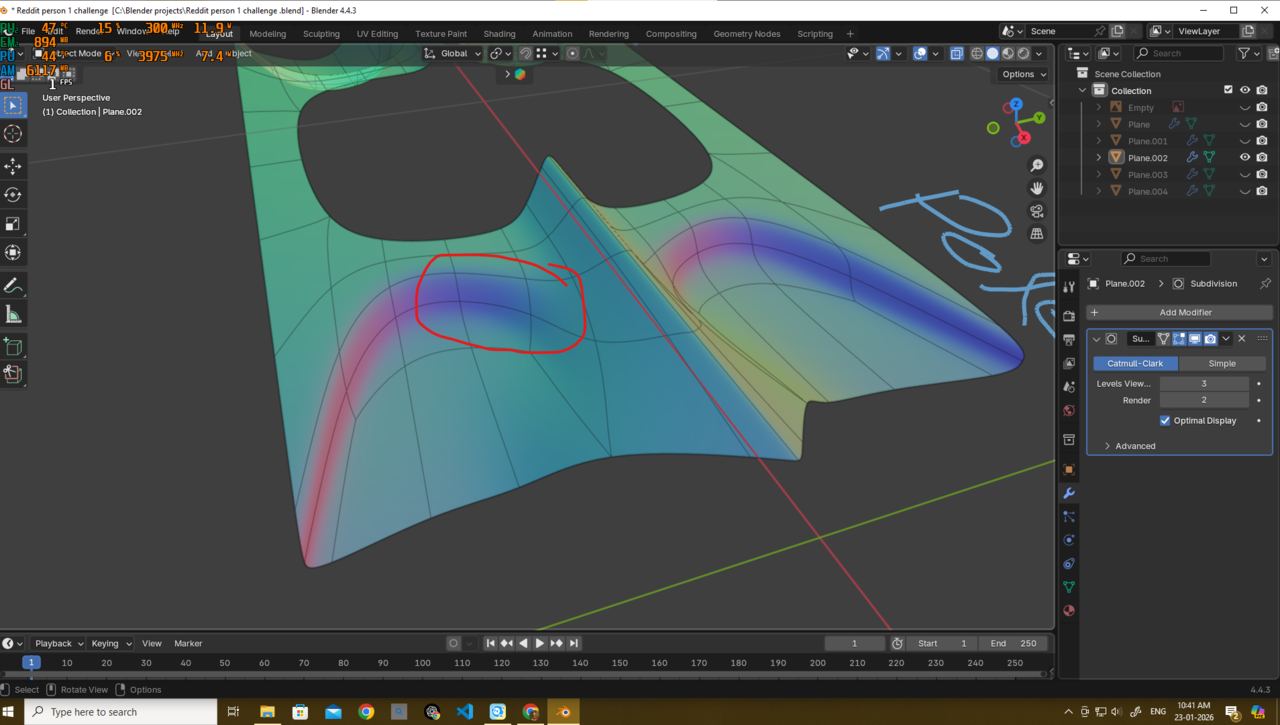
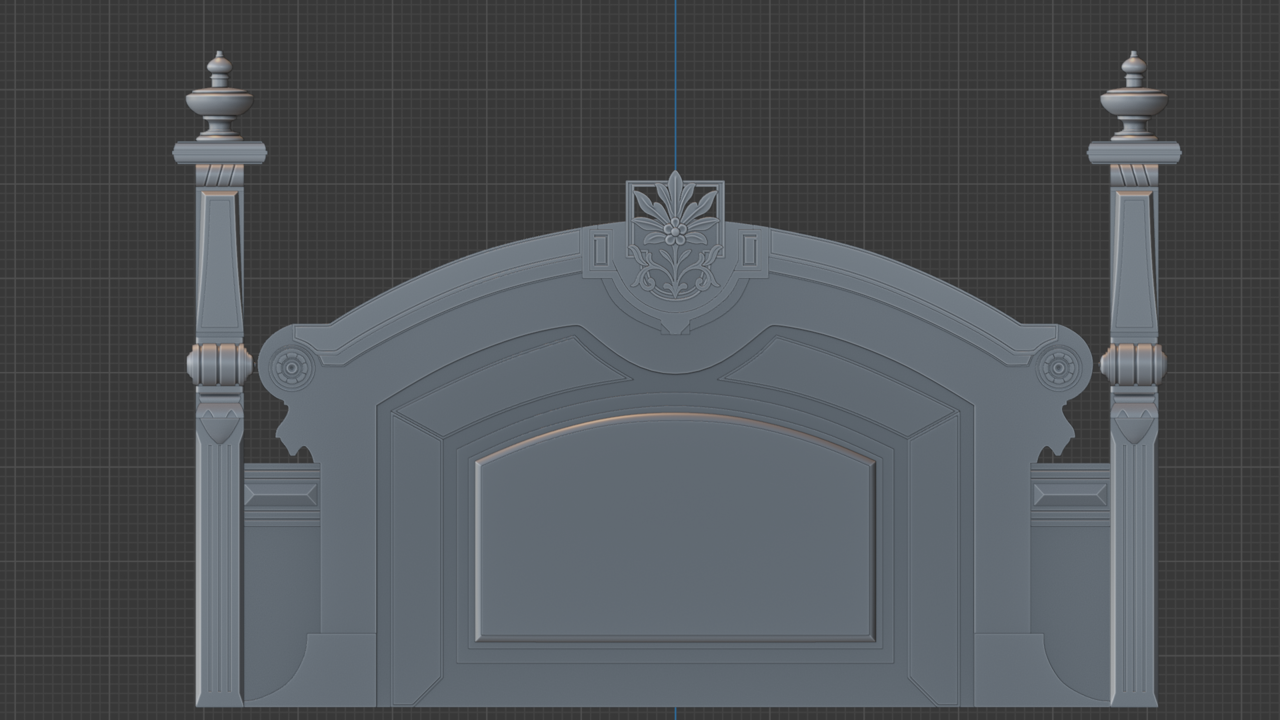
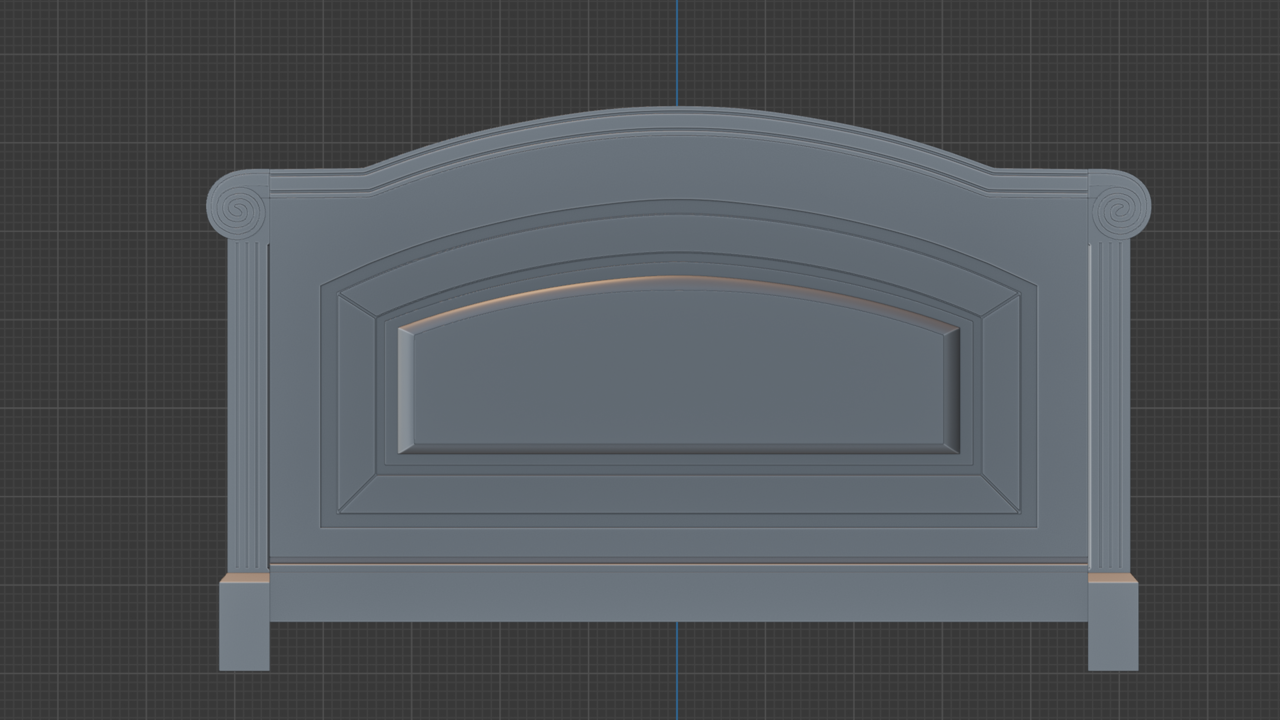
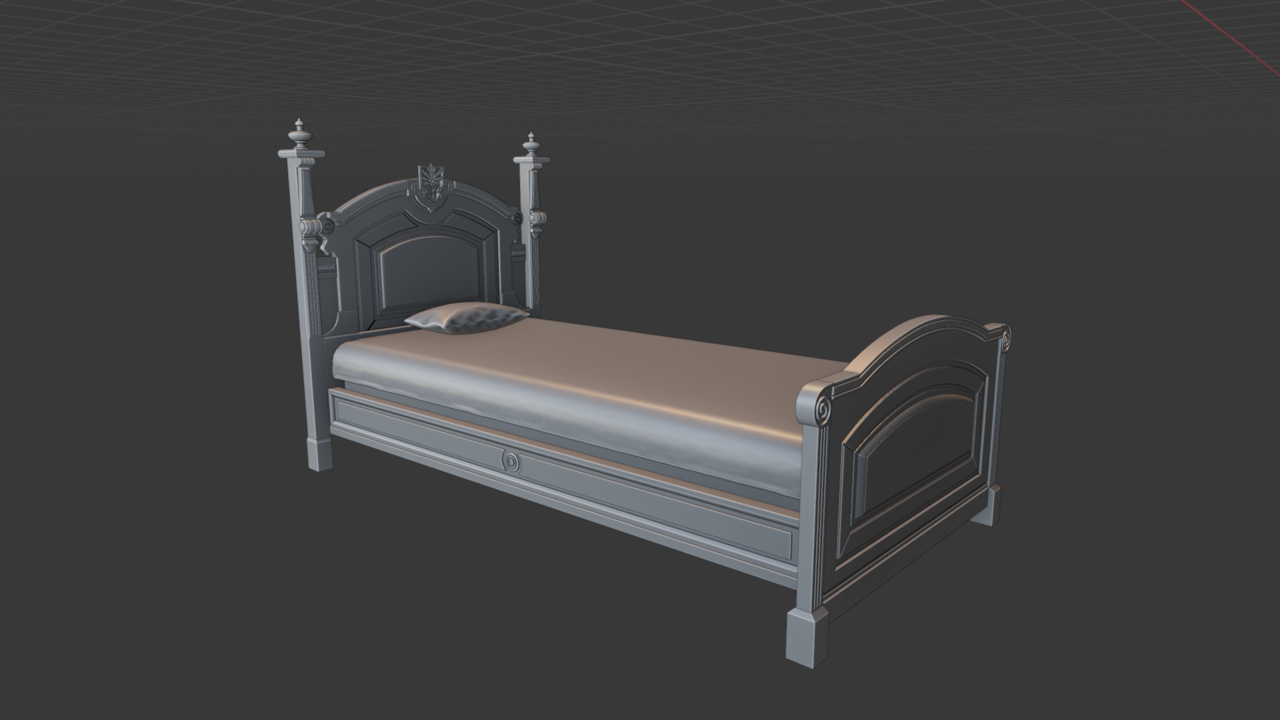
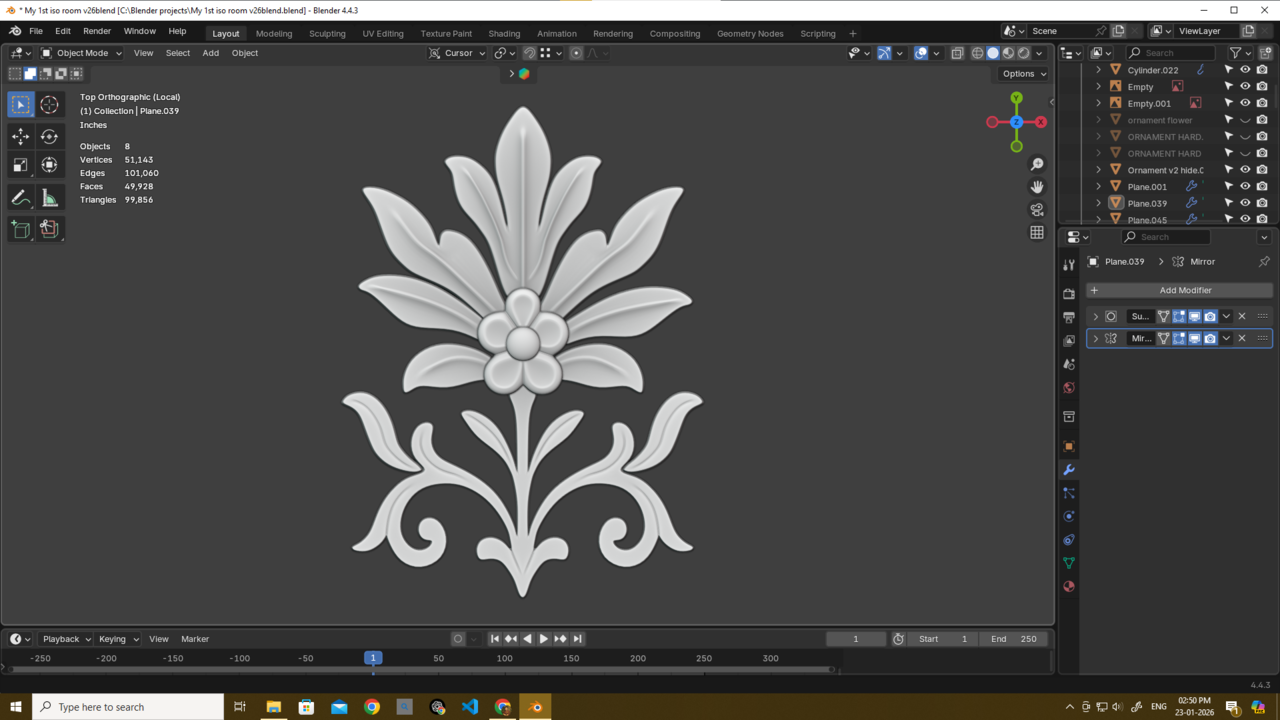
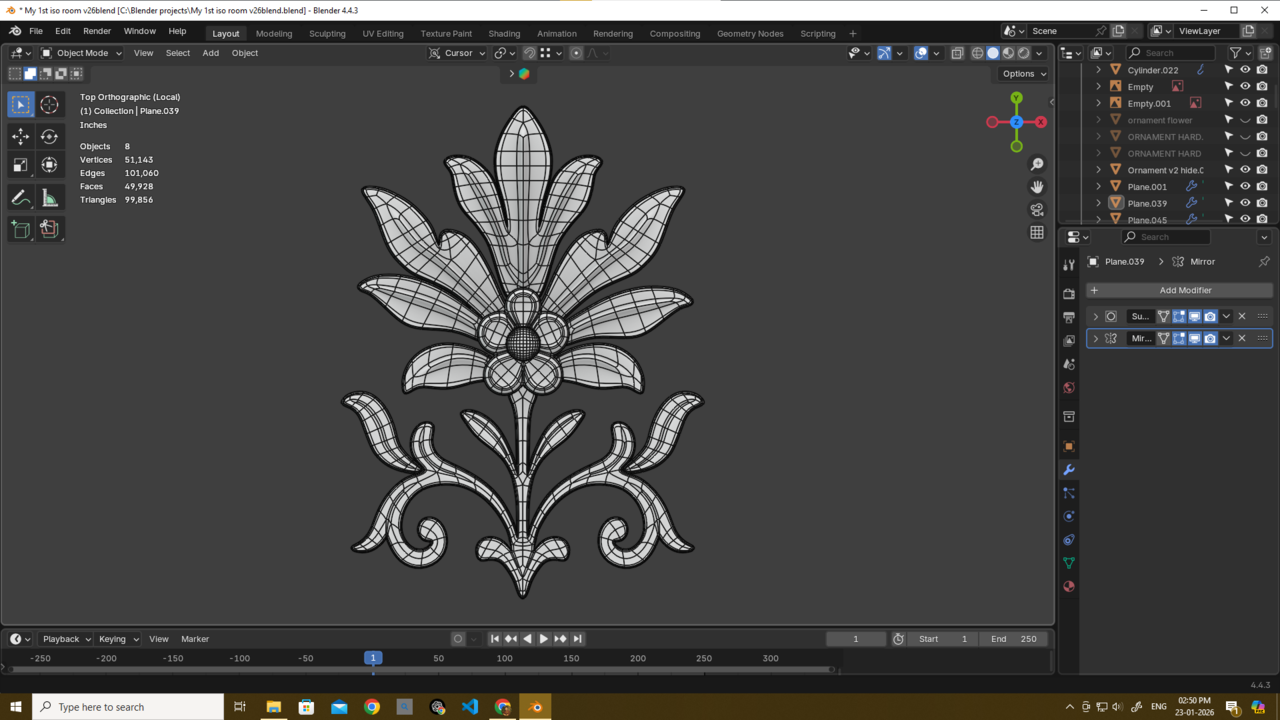
Finally finish this bed...Thank u guys for helping me with this project too...
what do u guys think? any feedback is welcome....This is the last model before a long break...see u guys after some time 🍀