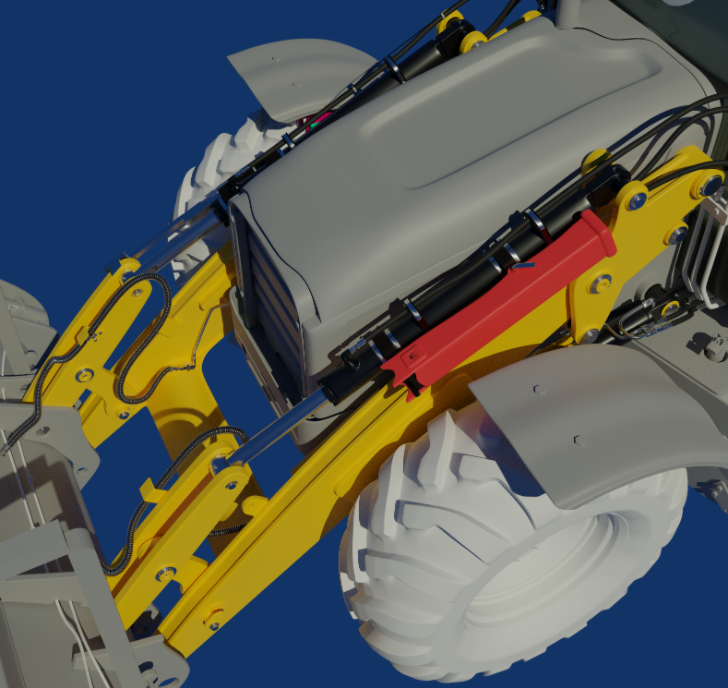
Progress, Questions, and Comments for Loader Arms and Interior Chair on the DOG 434E Backhoe Loader posted here:
Geez ![]() blanchsb! Those base mechanical pieces are begging for an exploded-view render 🤩
blanchsb! Those base mechanical pieces are begging for an exploded-view render 🤩
Hope I am not being too detailed here. I probably won't do every piece inside but there are just sooo many challenges I keep telling myself: "I wanna try modeling that" or "I wonder how I would go about using modifiers for that" or "I could use a curve here for this and a solidy for that" and the next thing I know I am sucked in!
Who would have thought that scissors would give me such trouble???
The transition from the straight to the curved got me again. There is a slight amount of pinching/pulling where they meet but I'm going to have to keep moving cause I spent over an hour trying to fix it. I'm sure@spikeyxxx has an elegant solution. I bet I need more geometry or just a different angle on the cylinder to mate up to. I lined everything up perfectly and I think I created needless poles because of that.
I'm calling them good enough for now. I have some major pieces to tackle this week still.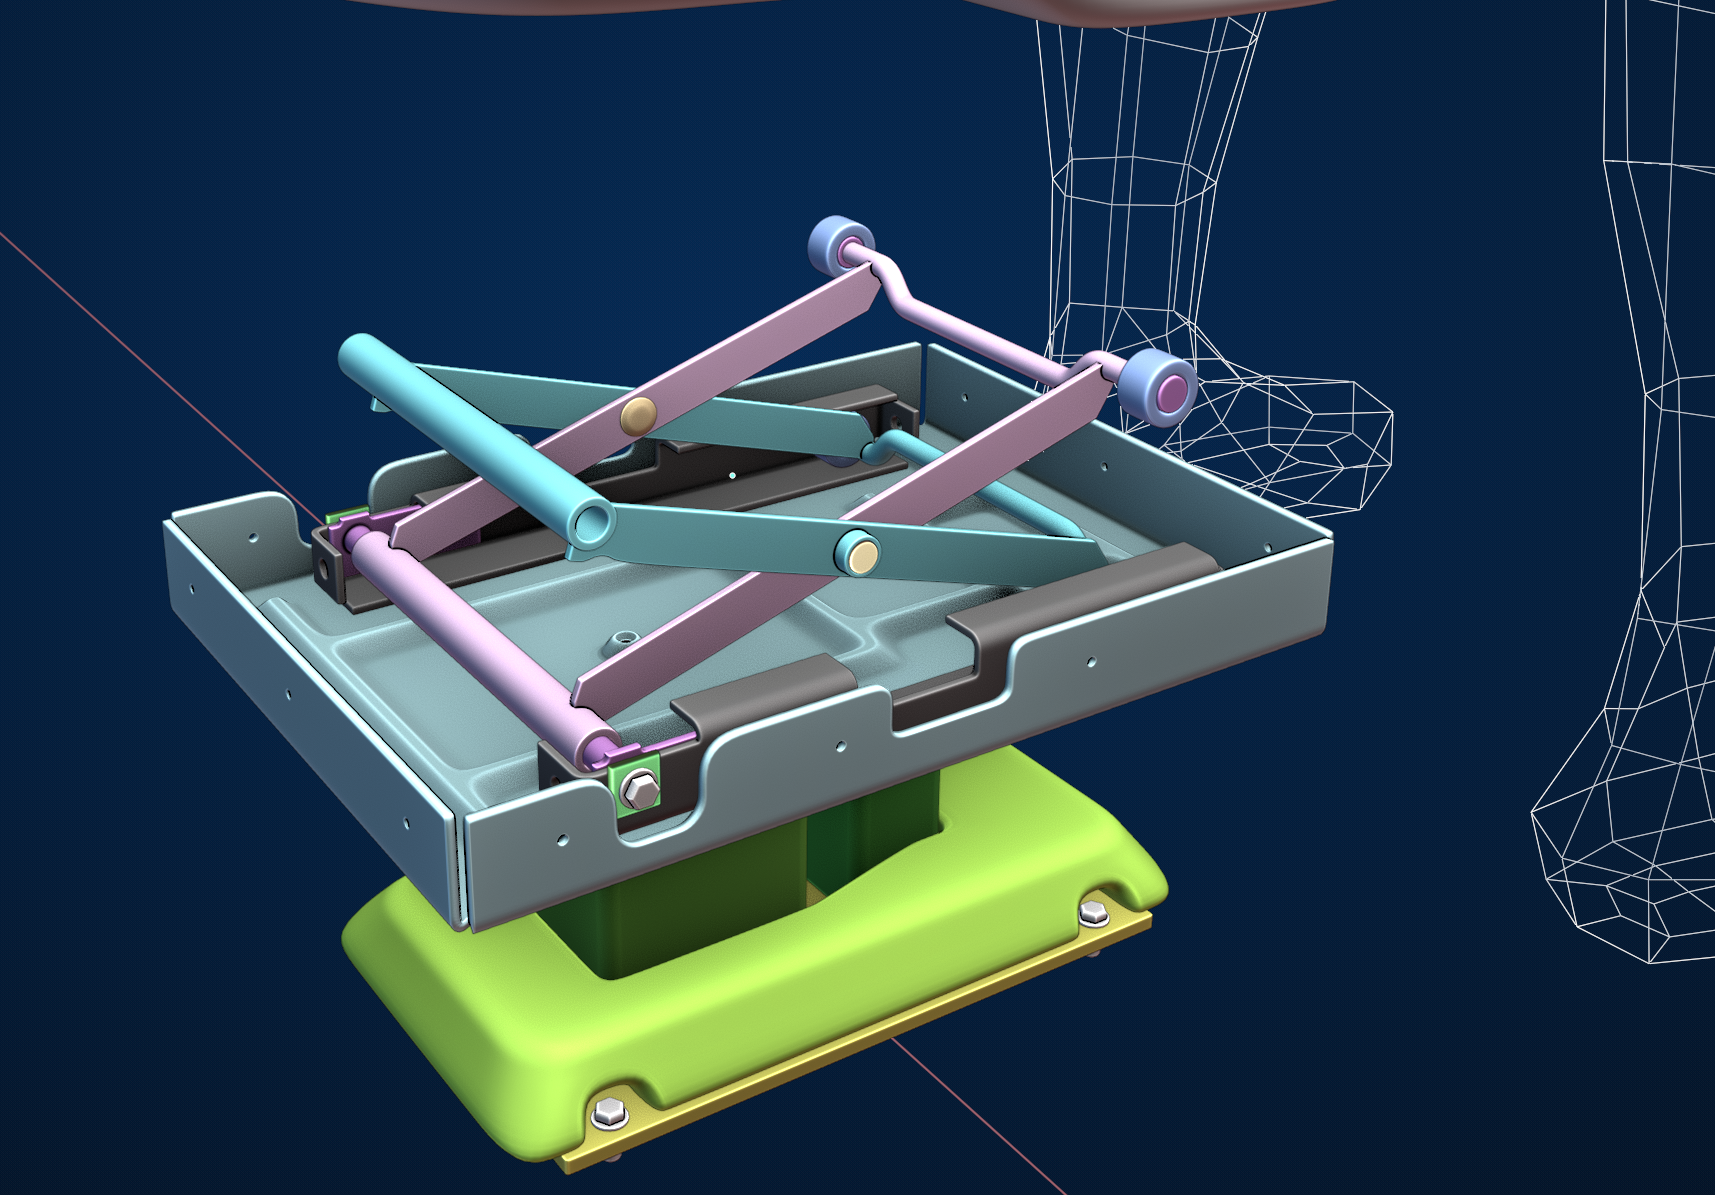
I cleaned up the topology issues and made it more true to form of the actual part. It's lookin dope!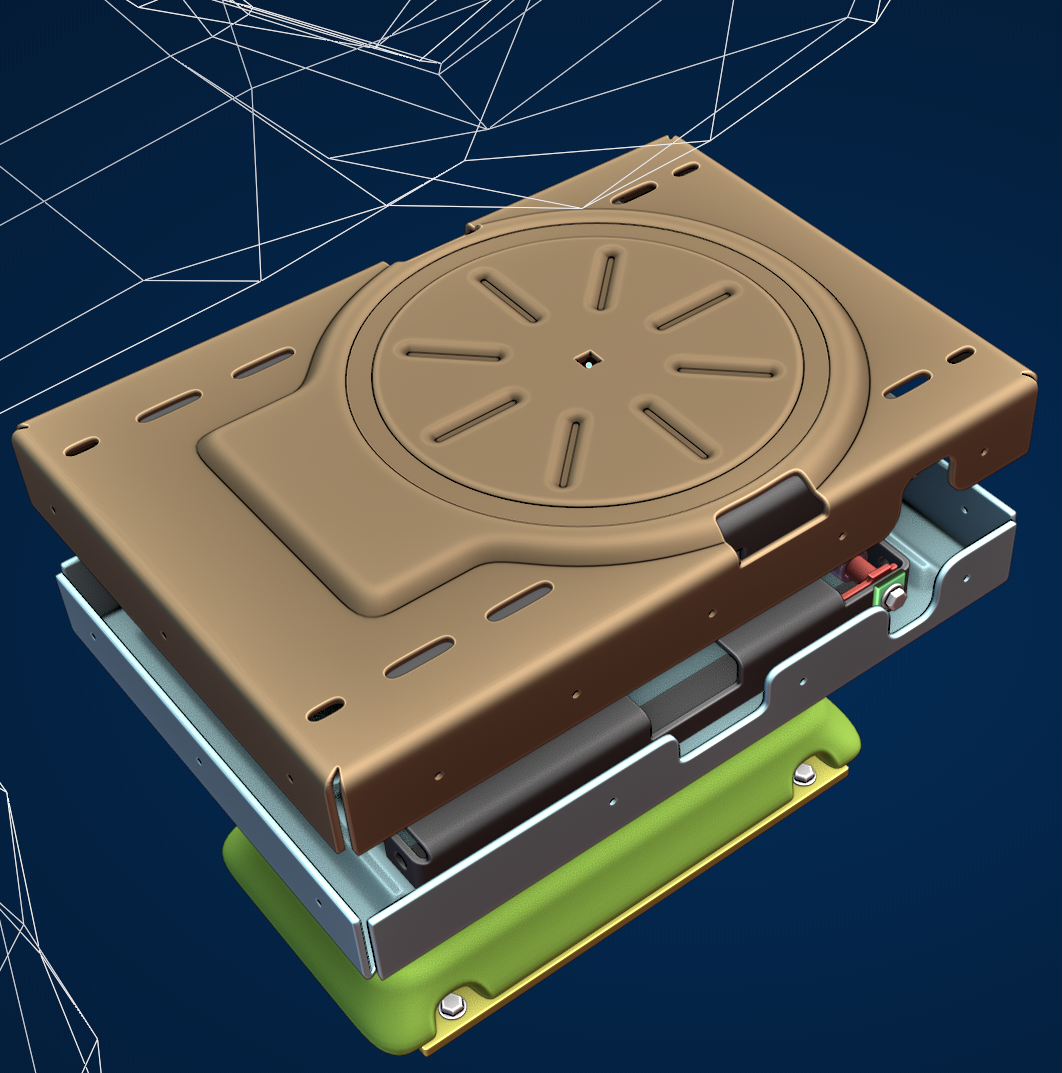
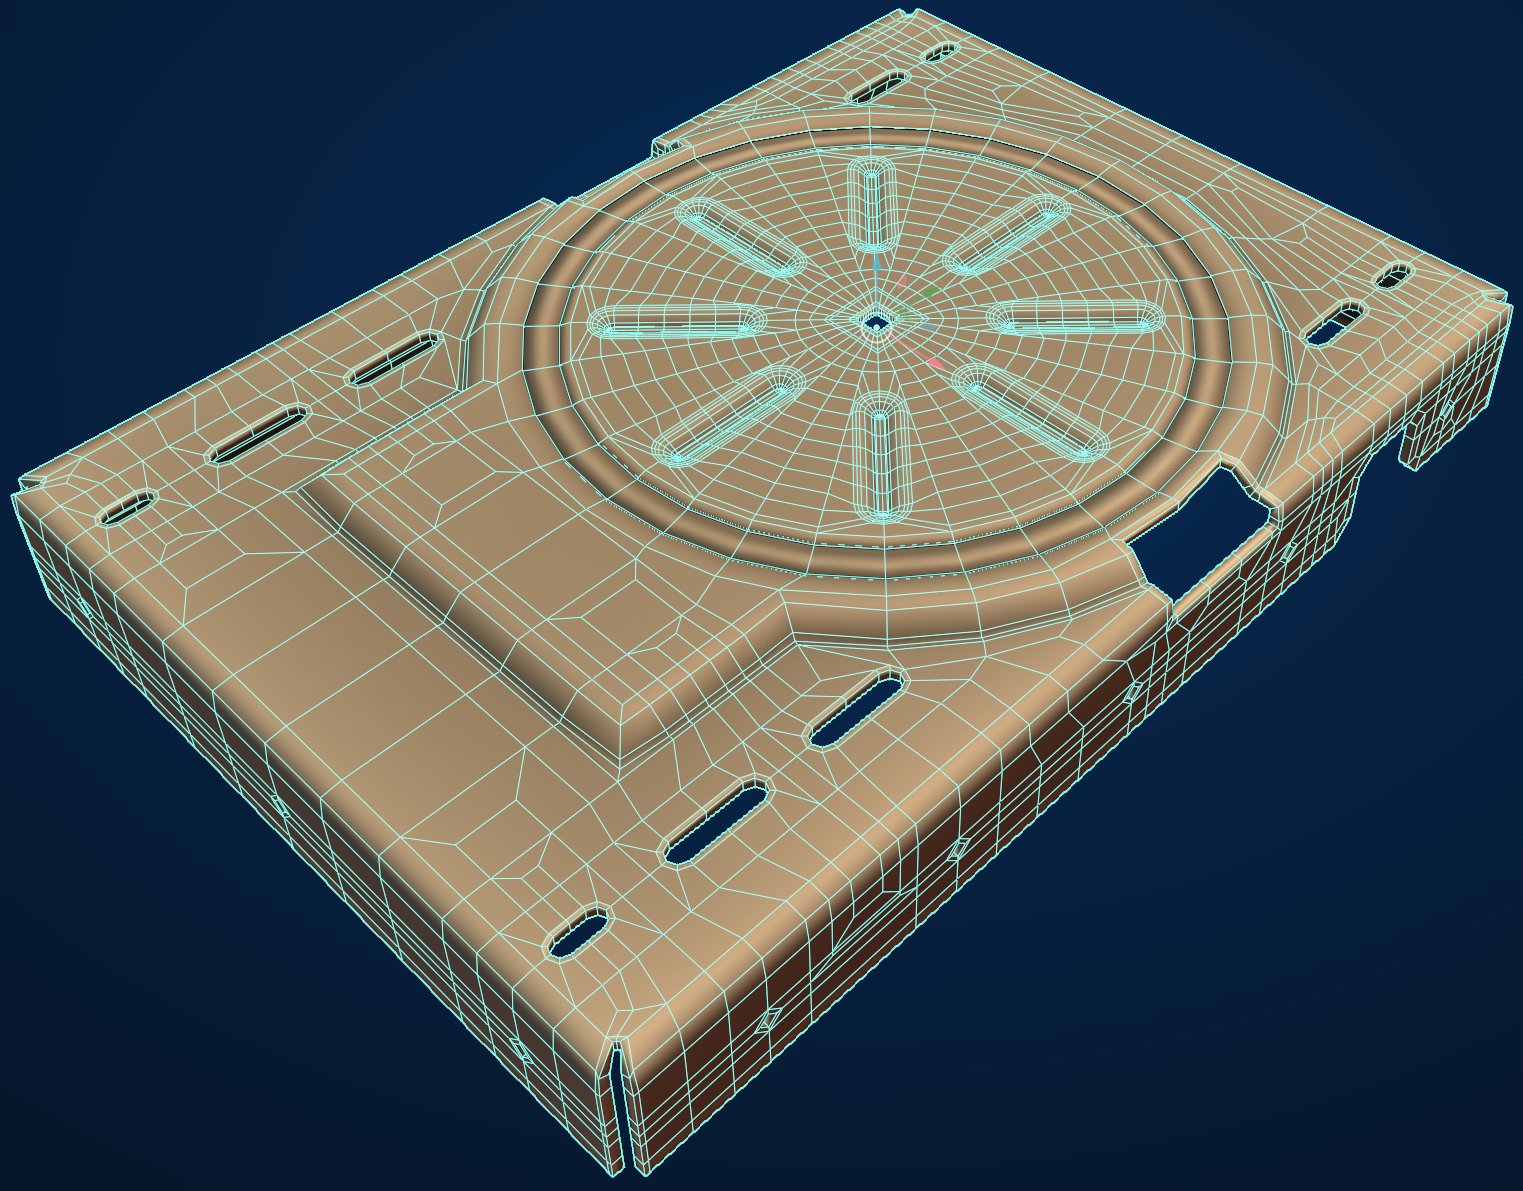
Got the internals mostly done for the suspension and air ride assembly:
I need to make a couple of cuts in the lifter plate (green) and join the piston pin (green pin). Then I will be moving onto the Swivel hardware for the chair.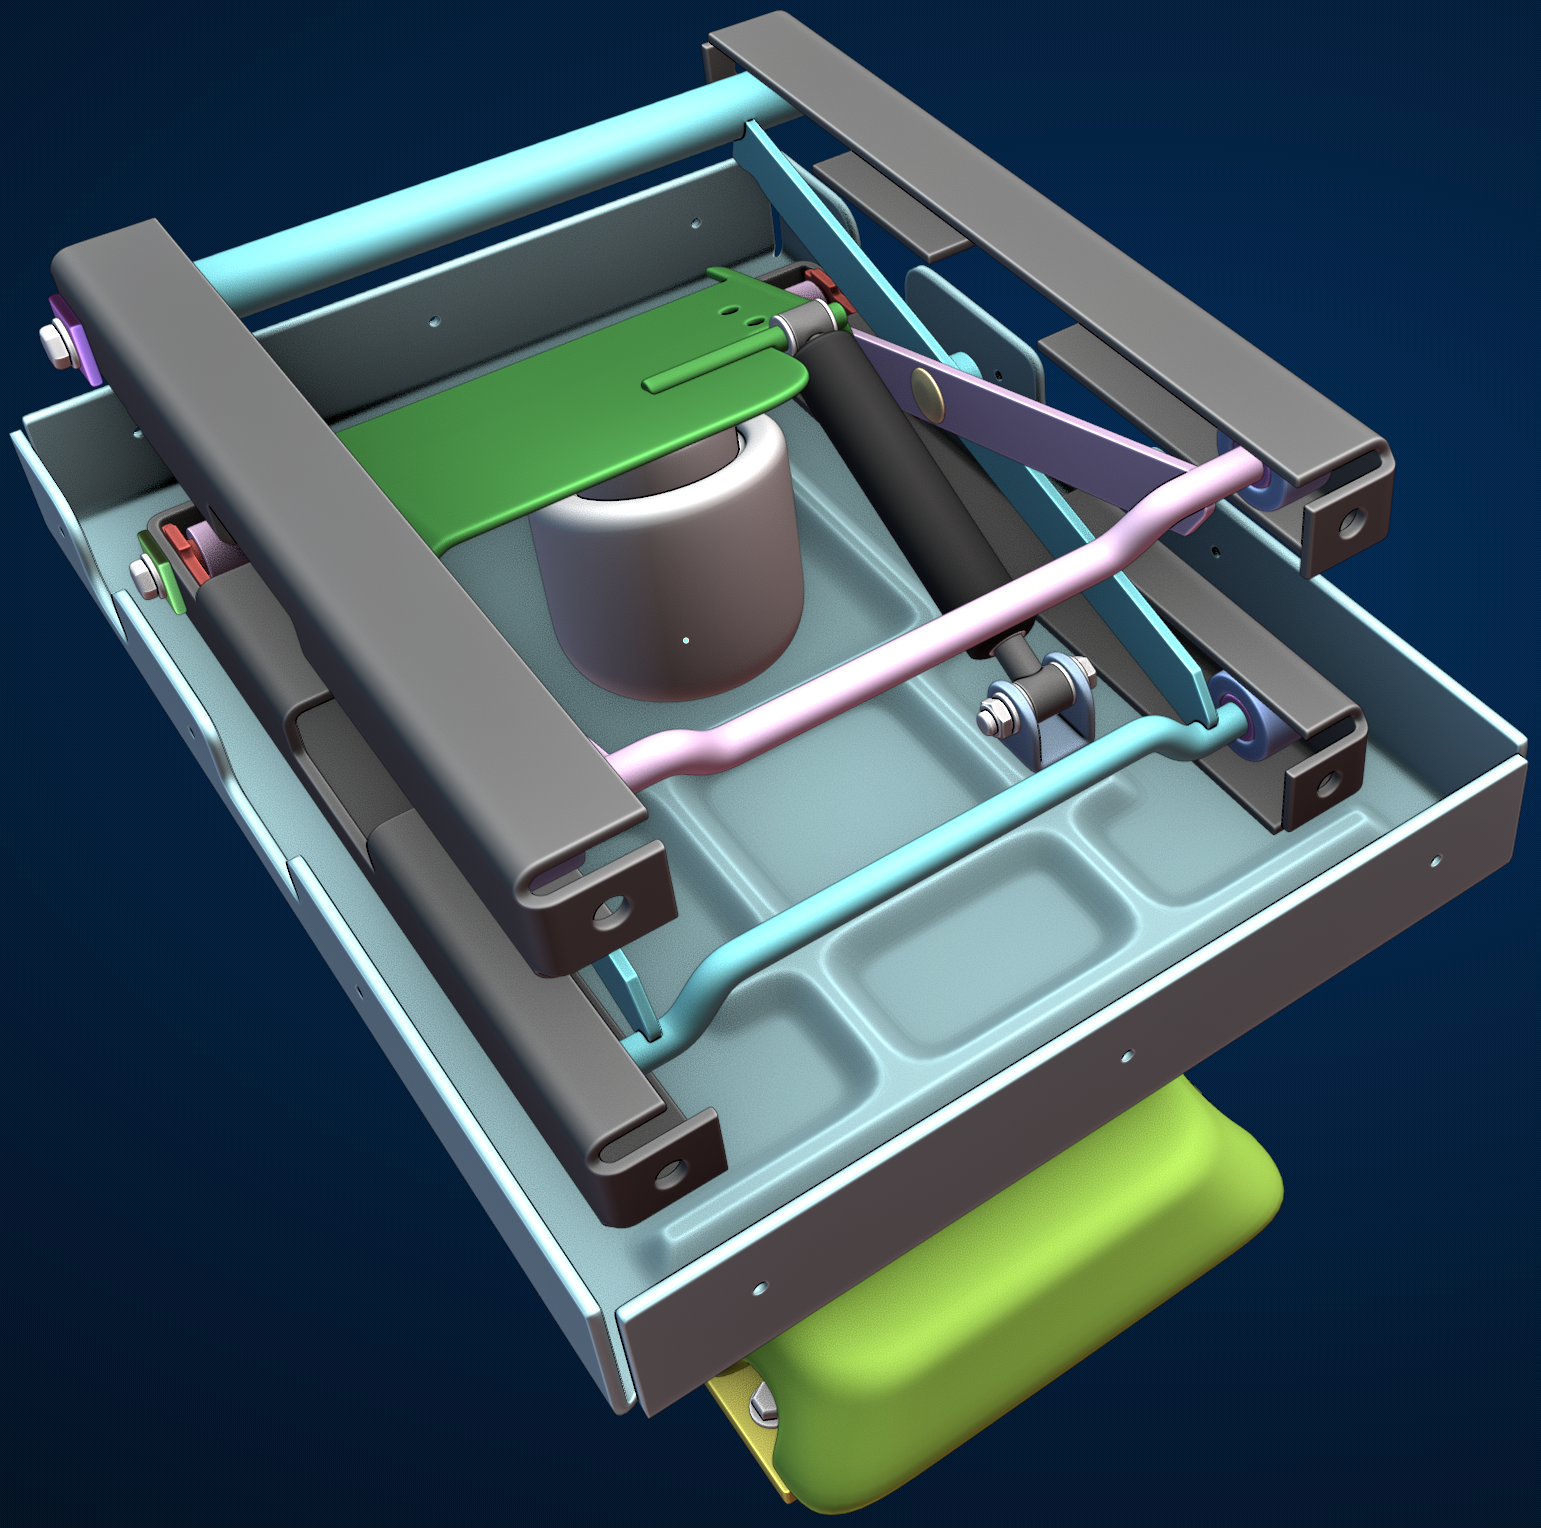
I was able to get Lonestar Work-Lappy up and running finally. Definitely not a workhorse like my Lonestar Lenovo but it'll do. At least it can connect to my high res monitors at home. But I had to turn off cavity and other viewport settings to help me move around the scene easier.
I finished up adding bolt holes and cuts on various pieces of the Air-Ride assembly: All of these pieces are definitely less symmetrical which means I have committed to their shapes. Getting some of these complex shapes has definitely been an exercise in creativity.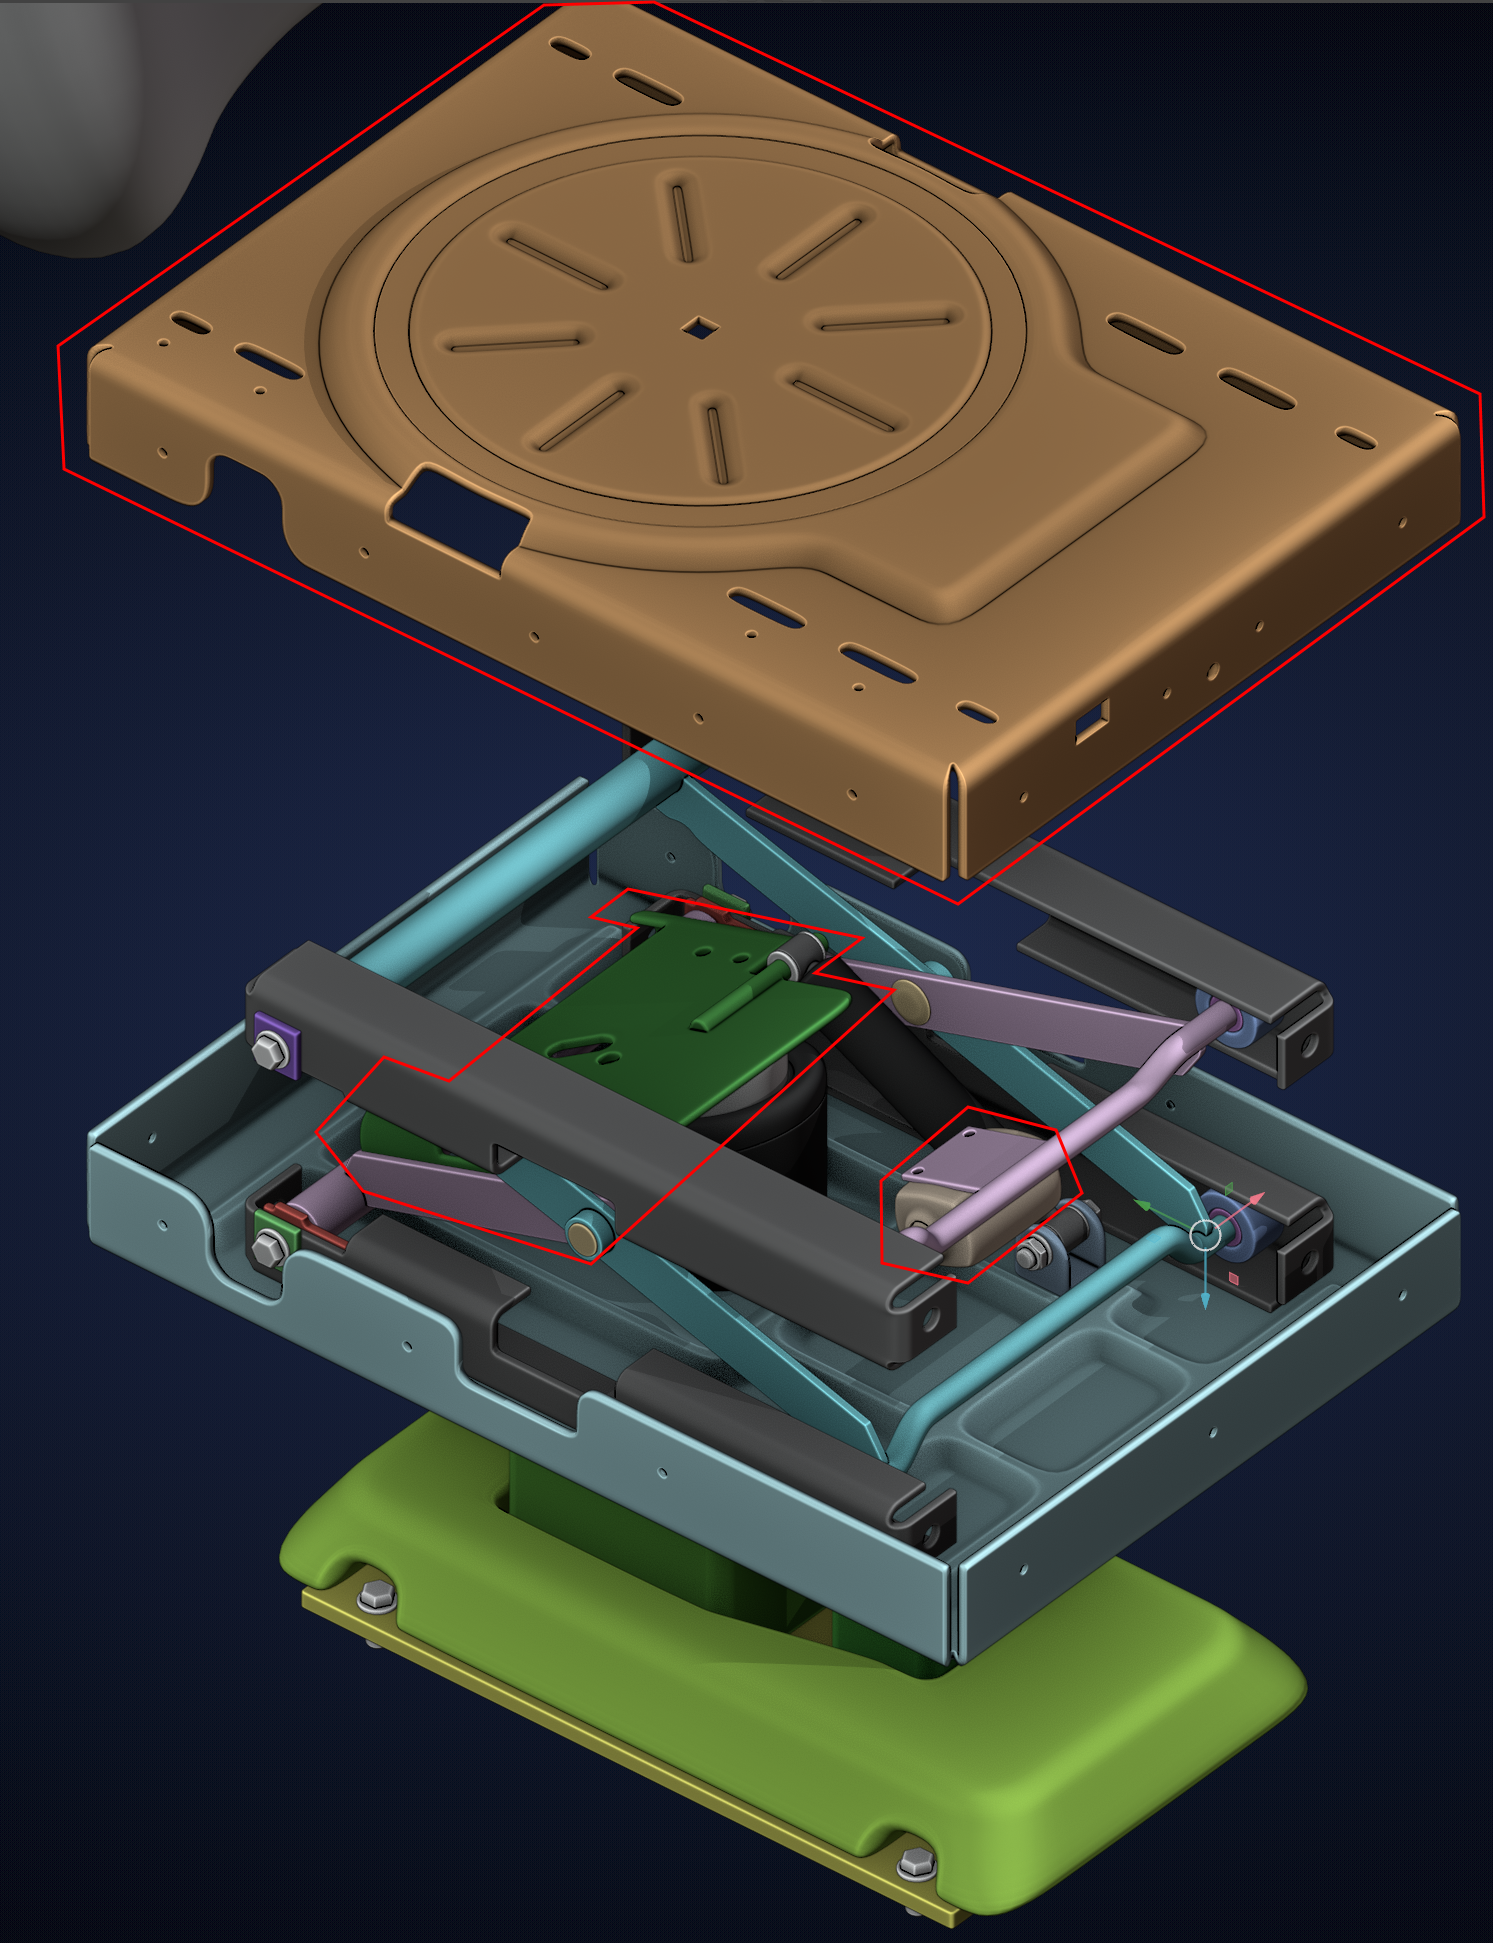
I need to do some more work on the air-ride compressor then I'm on to making all the bolts and fasteners and details that connect to these frames.
Was able to get some more of the form done on the air compressor. Need to work out the power cable and hoses to the 2 pistons next.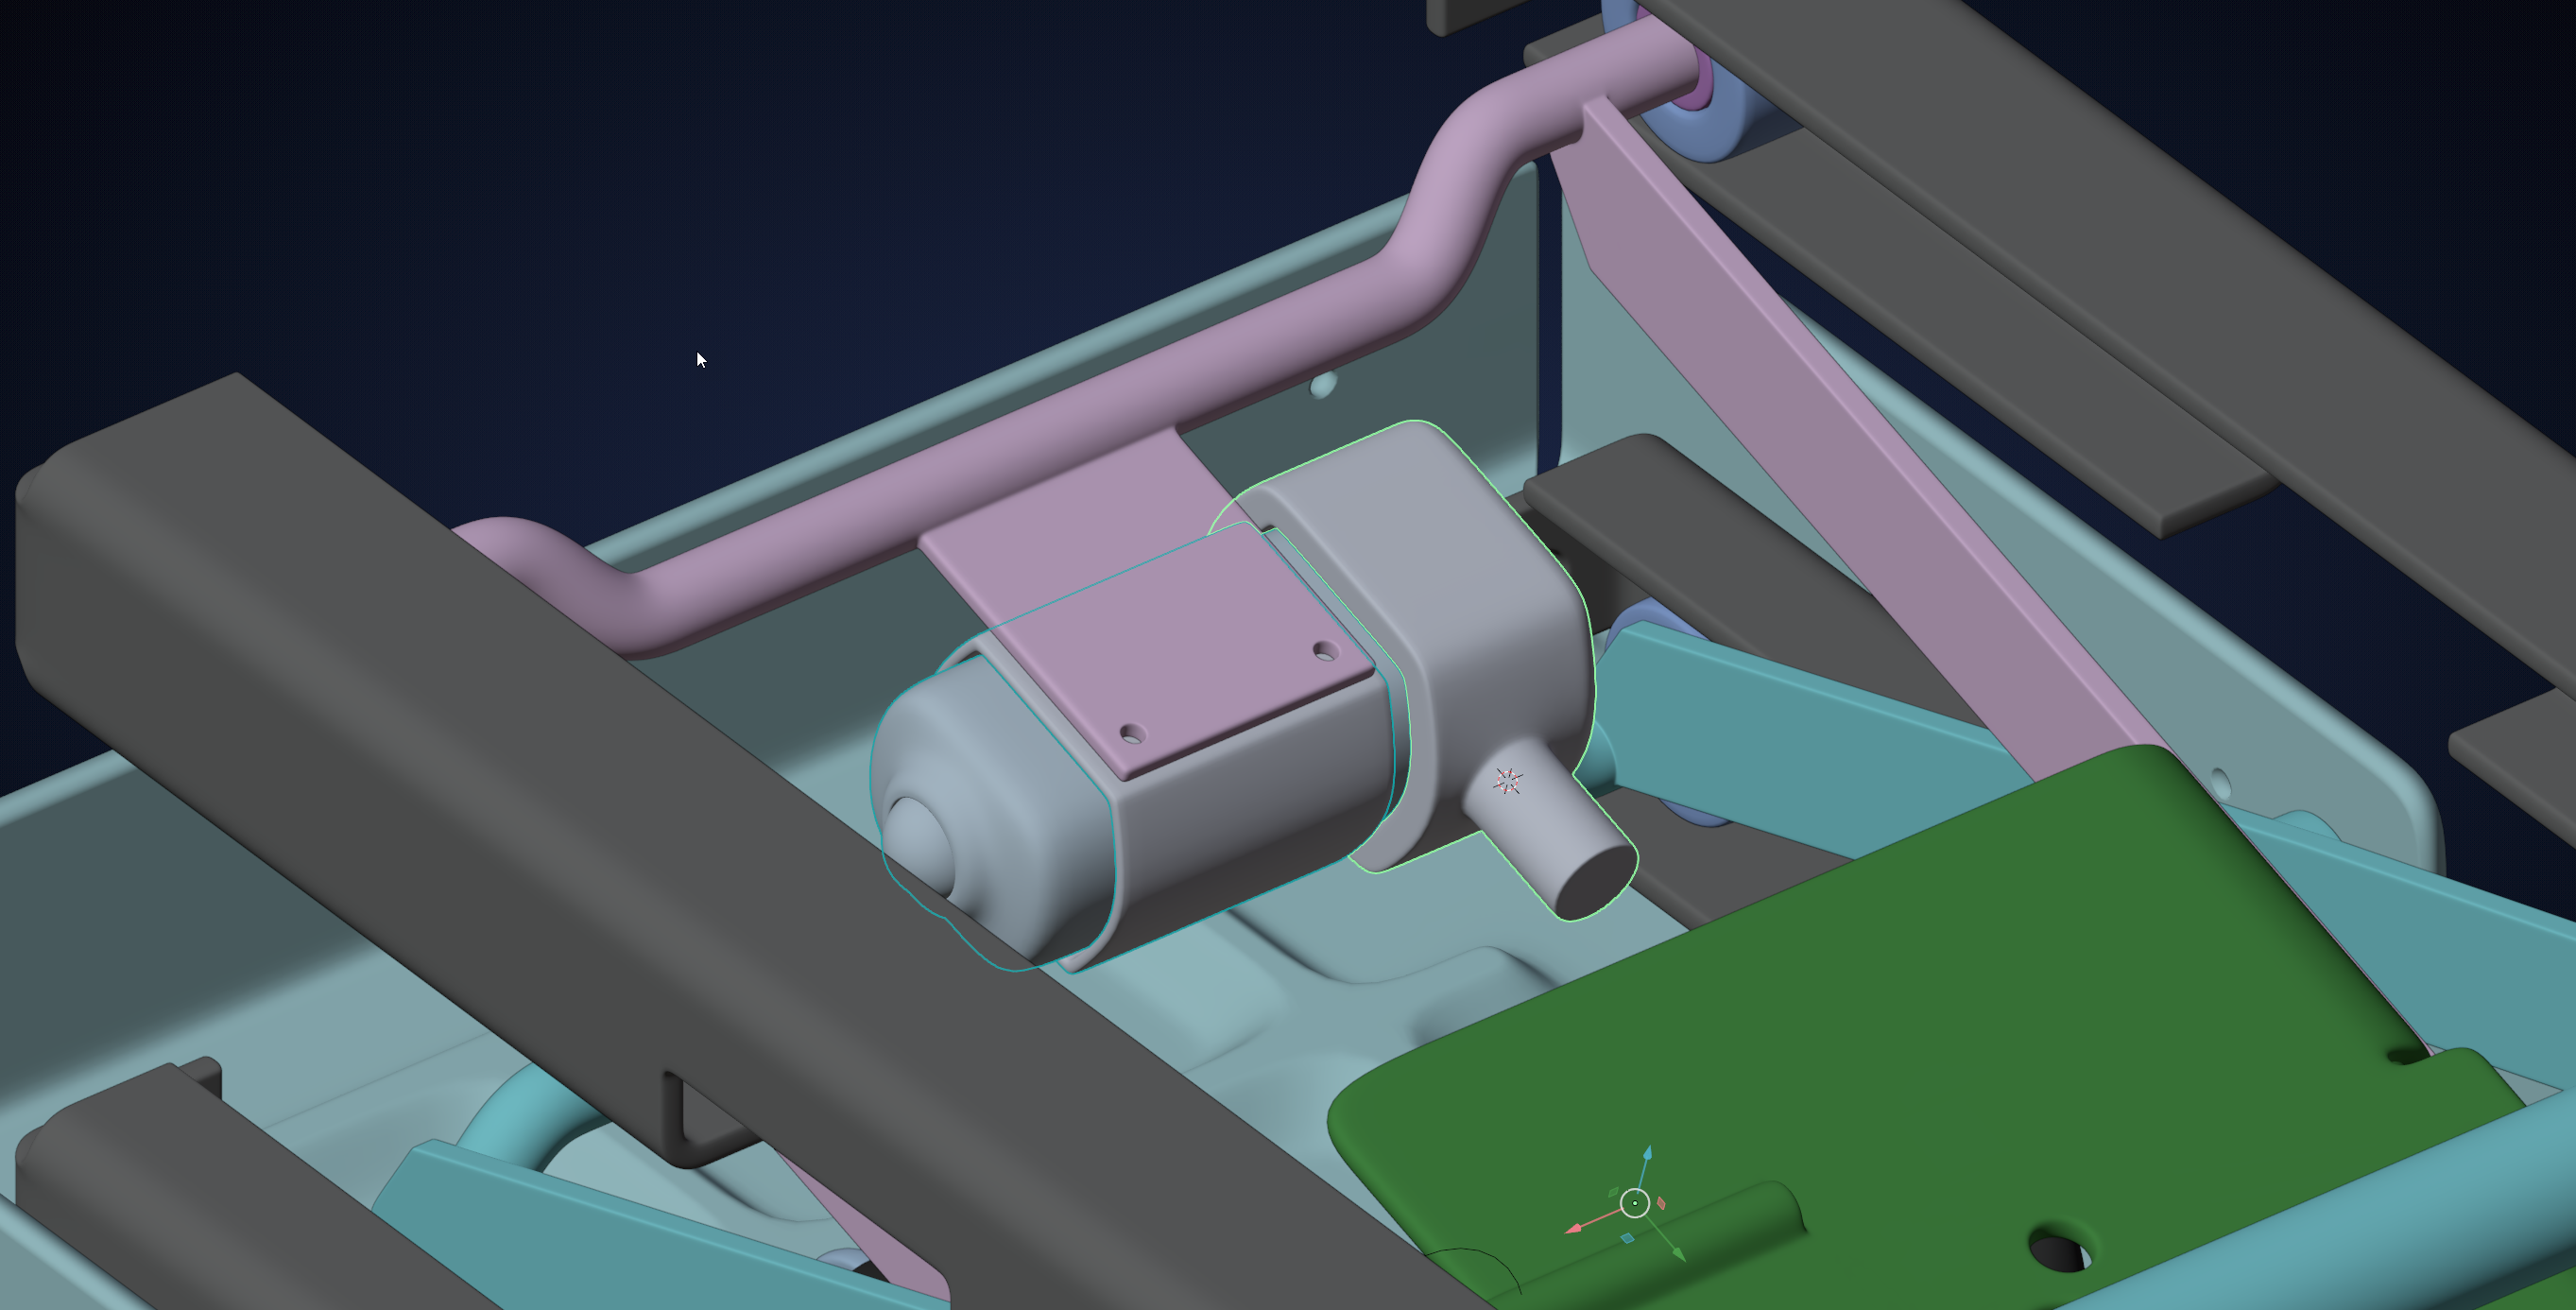
I can't say this is my proudest work but joining circular details together on curved surfaces is super tricky for lo poly geometry. Always comes back to bit me in rear haha...
This detail cutout on the end piece is going to act as the wire tray for the compressor. Gonna finish up on this part hopefully tomorrow and runs the wires and pneumatic lines to the air cylinders.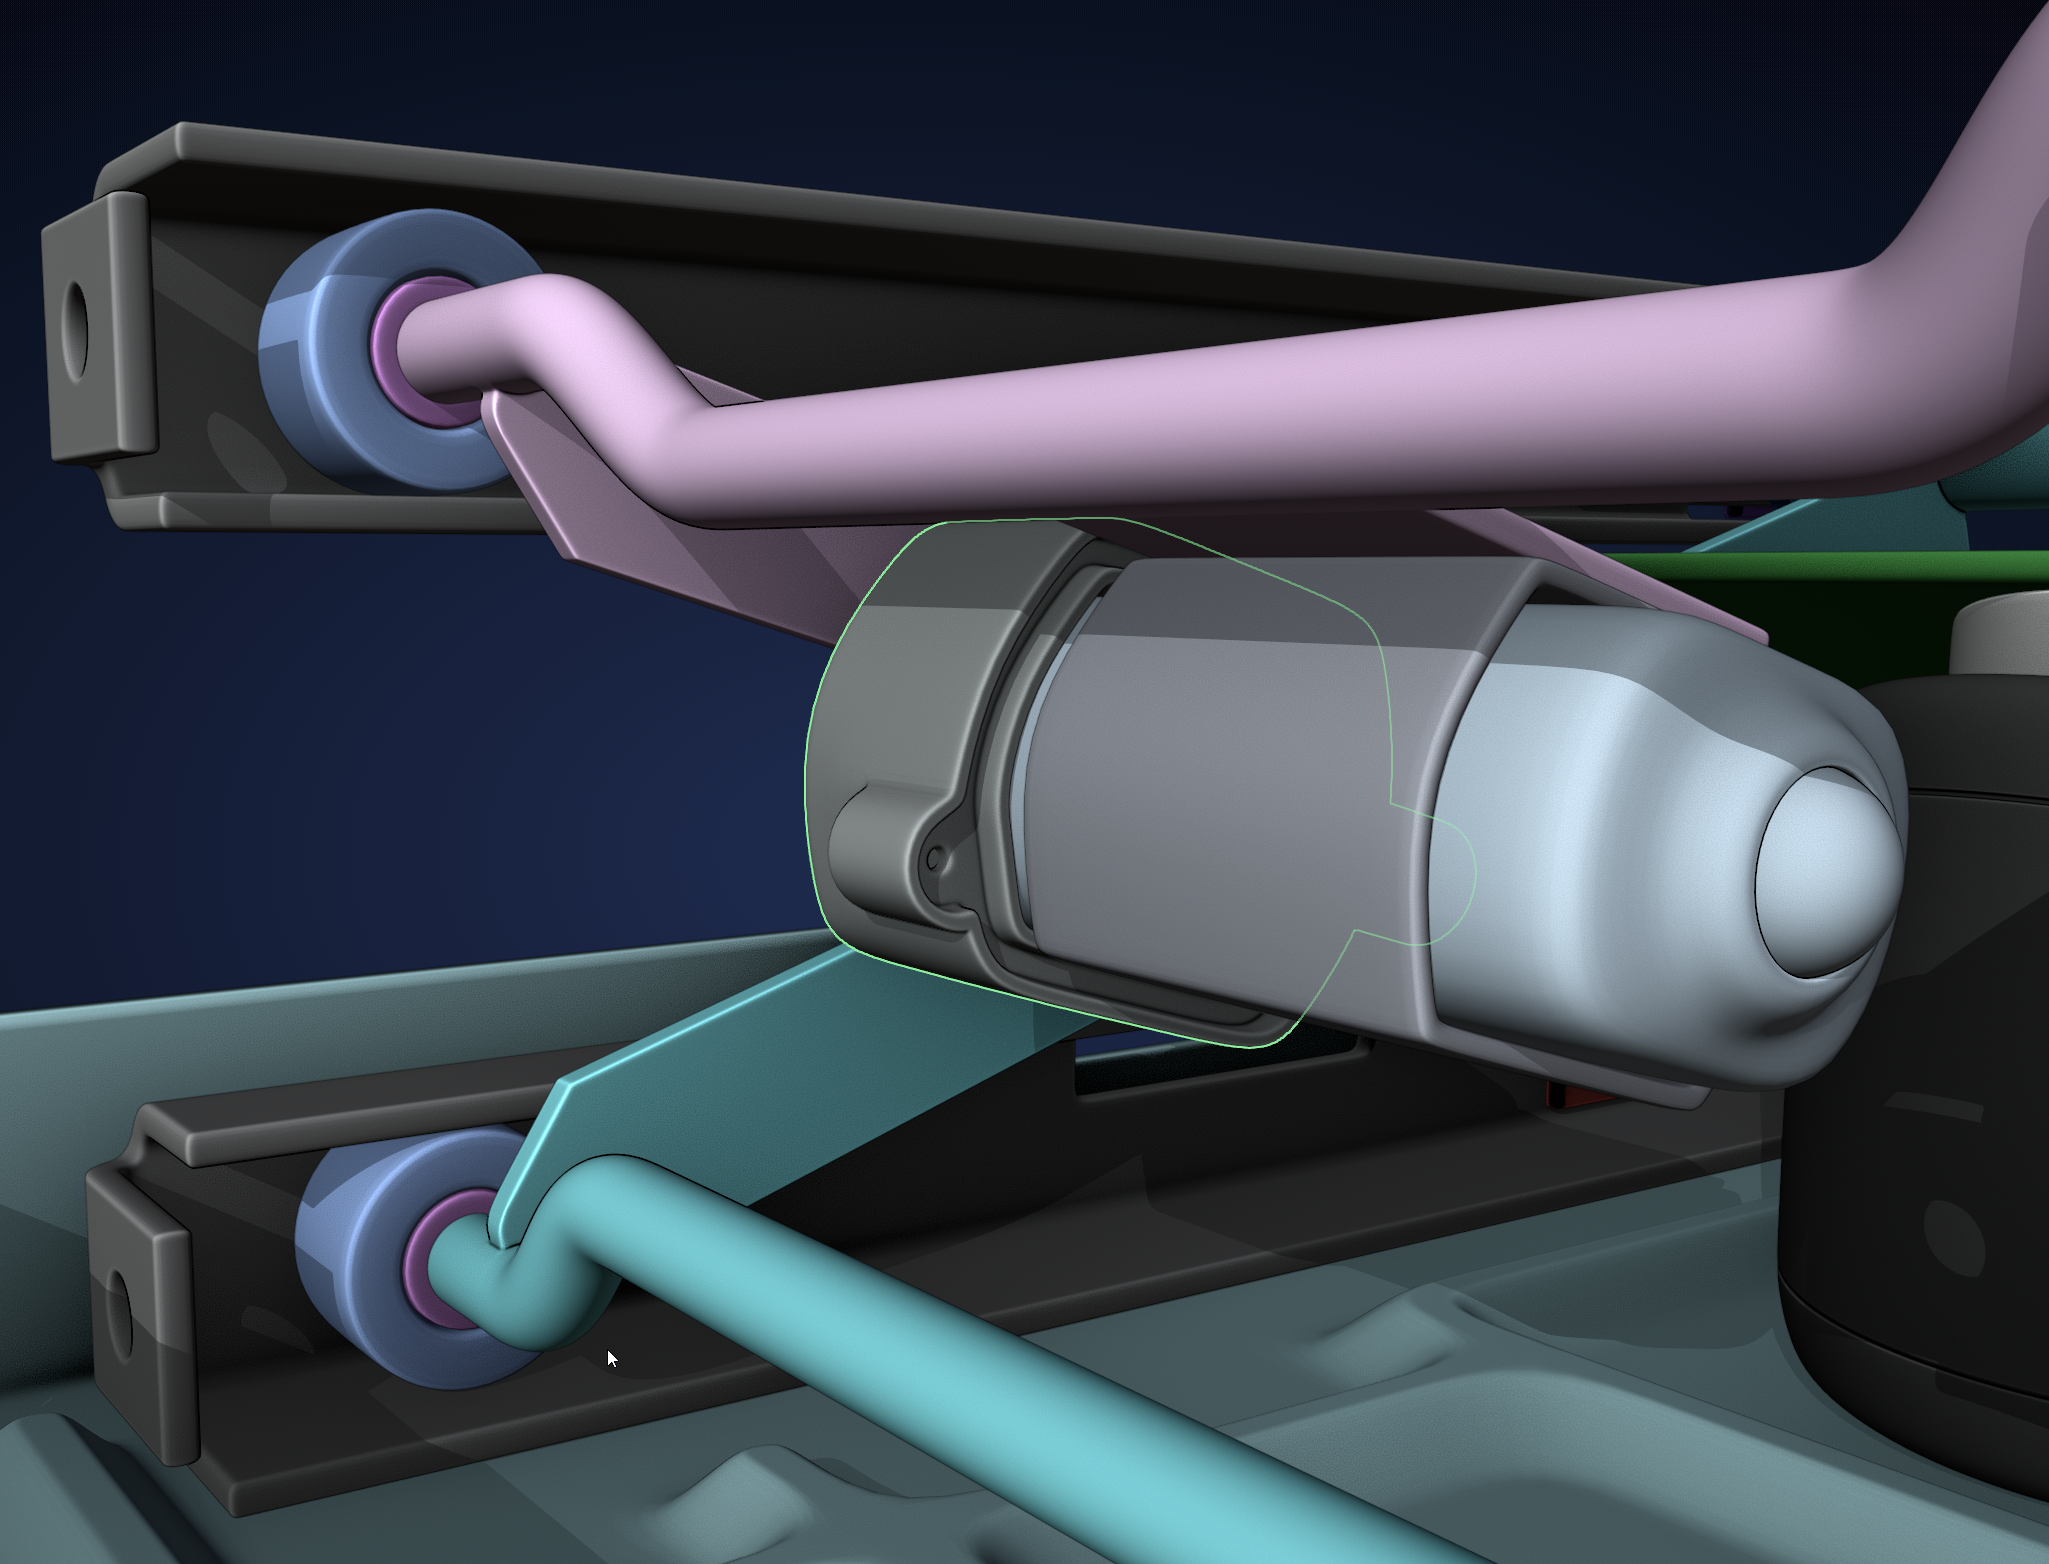
joining circular details together on curved surfaces is super tricky for lo poly geometry
The eternal rival of 3D modelers! It's always going to be a little imperfect without up-resing. Which feels like a waste for a modeler used to fabricating clean, lo-res base meshes...
You handled it well though!
I had this problem on my rear axle's gearbox too, although I wouldn't call my model low-poly 😉😁.
Glad I am not alone haha. I just need to remind myself to maybe make a lo poly copy and then apply sub-d level 1 if needed for more detailed geometry requirements.
the back side on the smaller circle extrusion makes a little flat spot. But I’m aware of how it can be improved. Learning the lessons qualifies as experience for me.
As an important side note: Today is a big day for me. I finally made it onto the top 10 Big Cookies list. I have to admit I noticed I was climbing the ranks over a month ago and it has been another motivating factor for me to keep going. Today it finally paid off!

Finished up the compressor housing inner and outer transition and I ran some wire. Need to work on the other side and the pneumatics and I'll call this part done.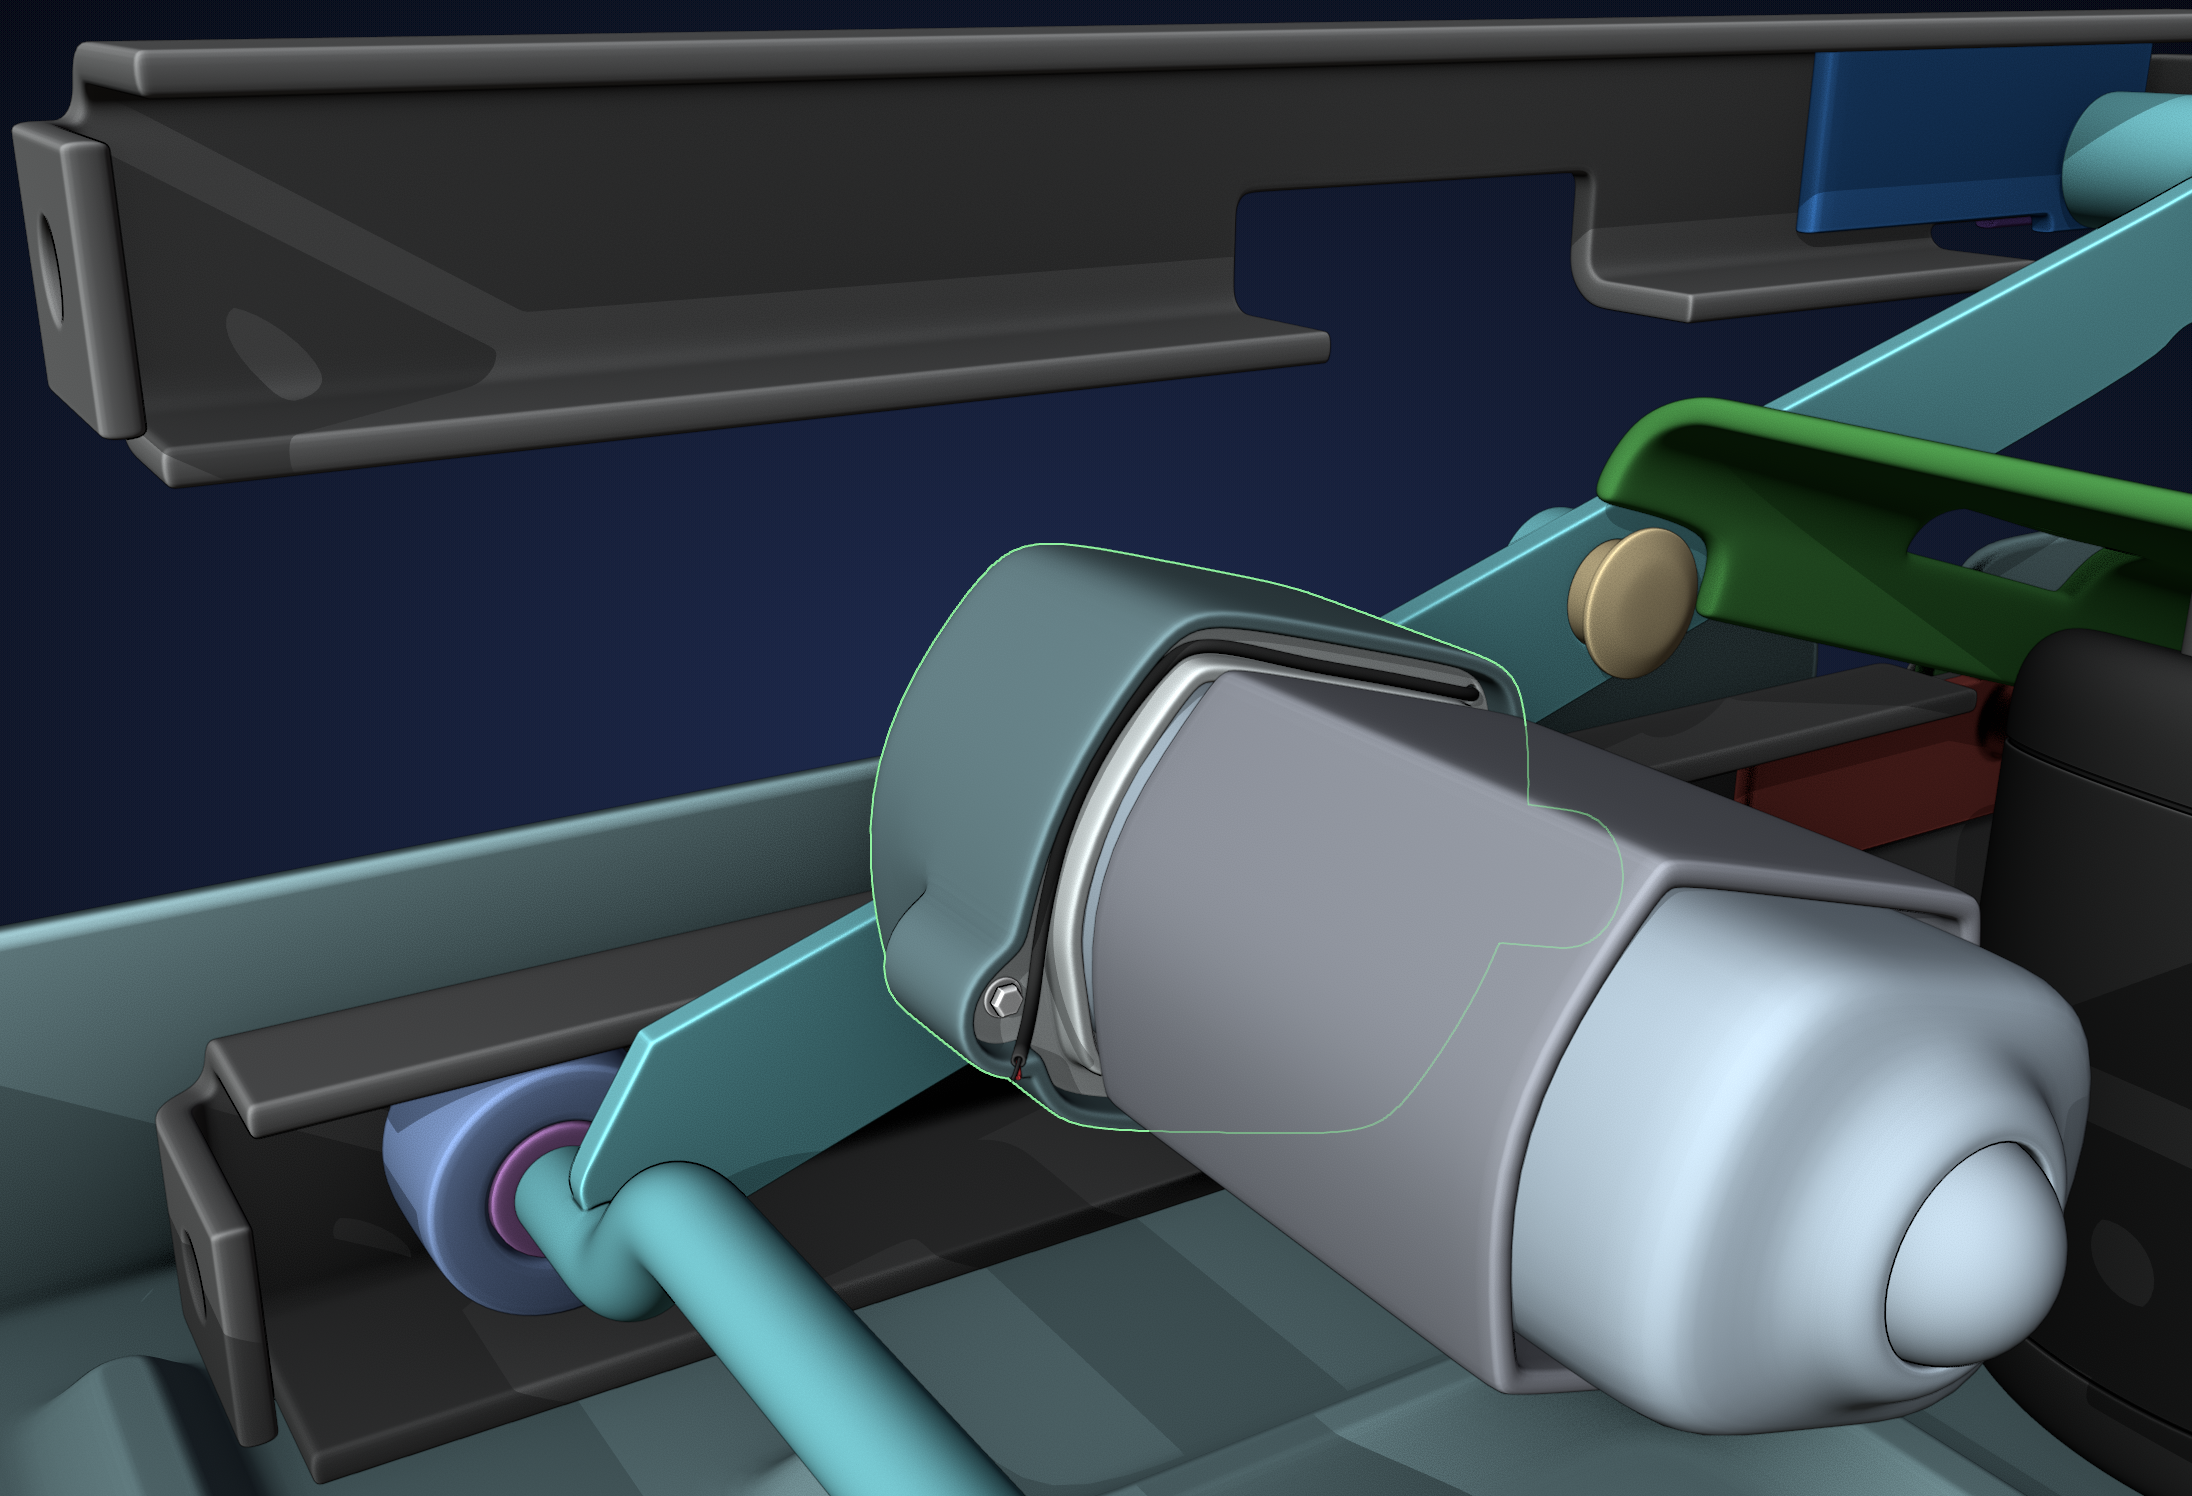
It is a side benefit from joining The Pound. Kent wasn’t kidding when he said copious amounts of XP were up for grabs.