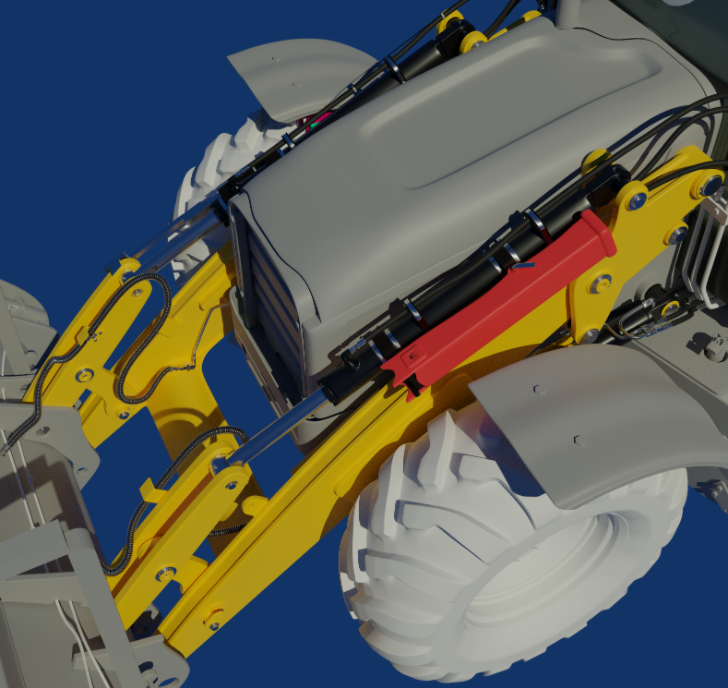
Progress, Questions, and Comments for Loader Arms and Interior Chair on the DOG 434E Backhoe Loader posted here:
Woah, Deep Ellum is where all the cool kids hang. That is sweet.
Once a Texan, always a Texan.
Everything is 'bout an hour away in Texas, so of course I would be close enough. I wouldn't want to impose but would definitely be up to grabbing a drink if you have free time during your visit. (I don't drink coffee but there's plenty of drink options so that's not an issue for me). I work in DeSoto which is a half hour from Dallas airports and I can cut out from work for a bit if it would be during the week.. I am in a role where I can come and go when I want.
What a small world we live in..... I live in the UK. I know, to far to meet up.
But my Sister-in-law and Niece and family live in Virginia and my Wife's Cousins live in Texas.
I know it's a big place, Texas is probably bigger than the whole of the UK, but small world all the same.
I would be extremely honoured @theluthier . Wow, They were living in Richmond, but I think about a year or so ago moved closer to Washington. We have talked about a trip, but probably wont happen for a few years yet. Perhaps when we do I can also stop by and see my mate ![]() blanchsb on the way to Houston, TX. on our road trip.
blanchsb on the way to Houston, TX. on our road trip.
I figured I would post some of my seat progress here. I got the lower portion blocked and some decent smoothing going on. The back rest still has some work to do, but the block-out is a good start. Just using this top down for reference on the location moreso than the design. I have other reference images for our actual seat.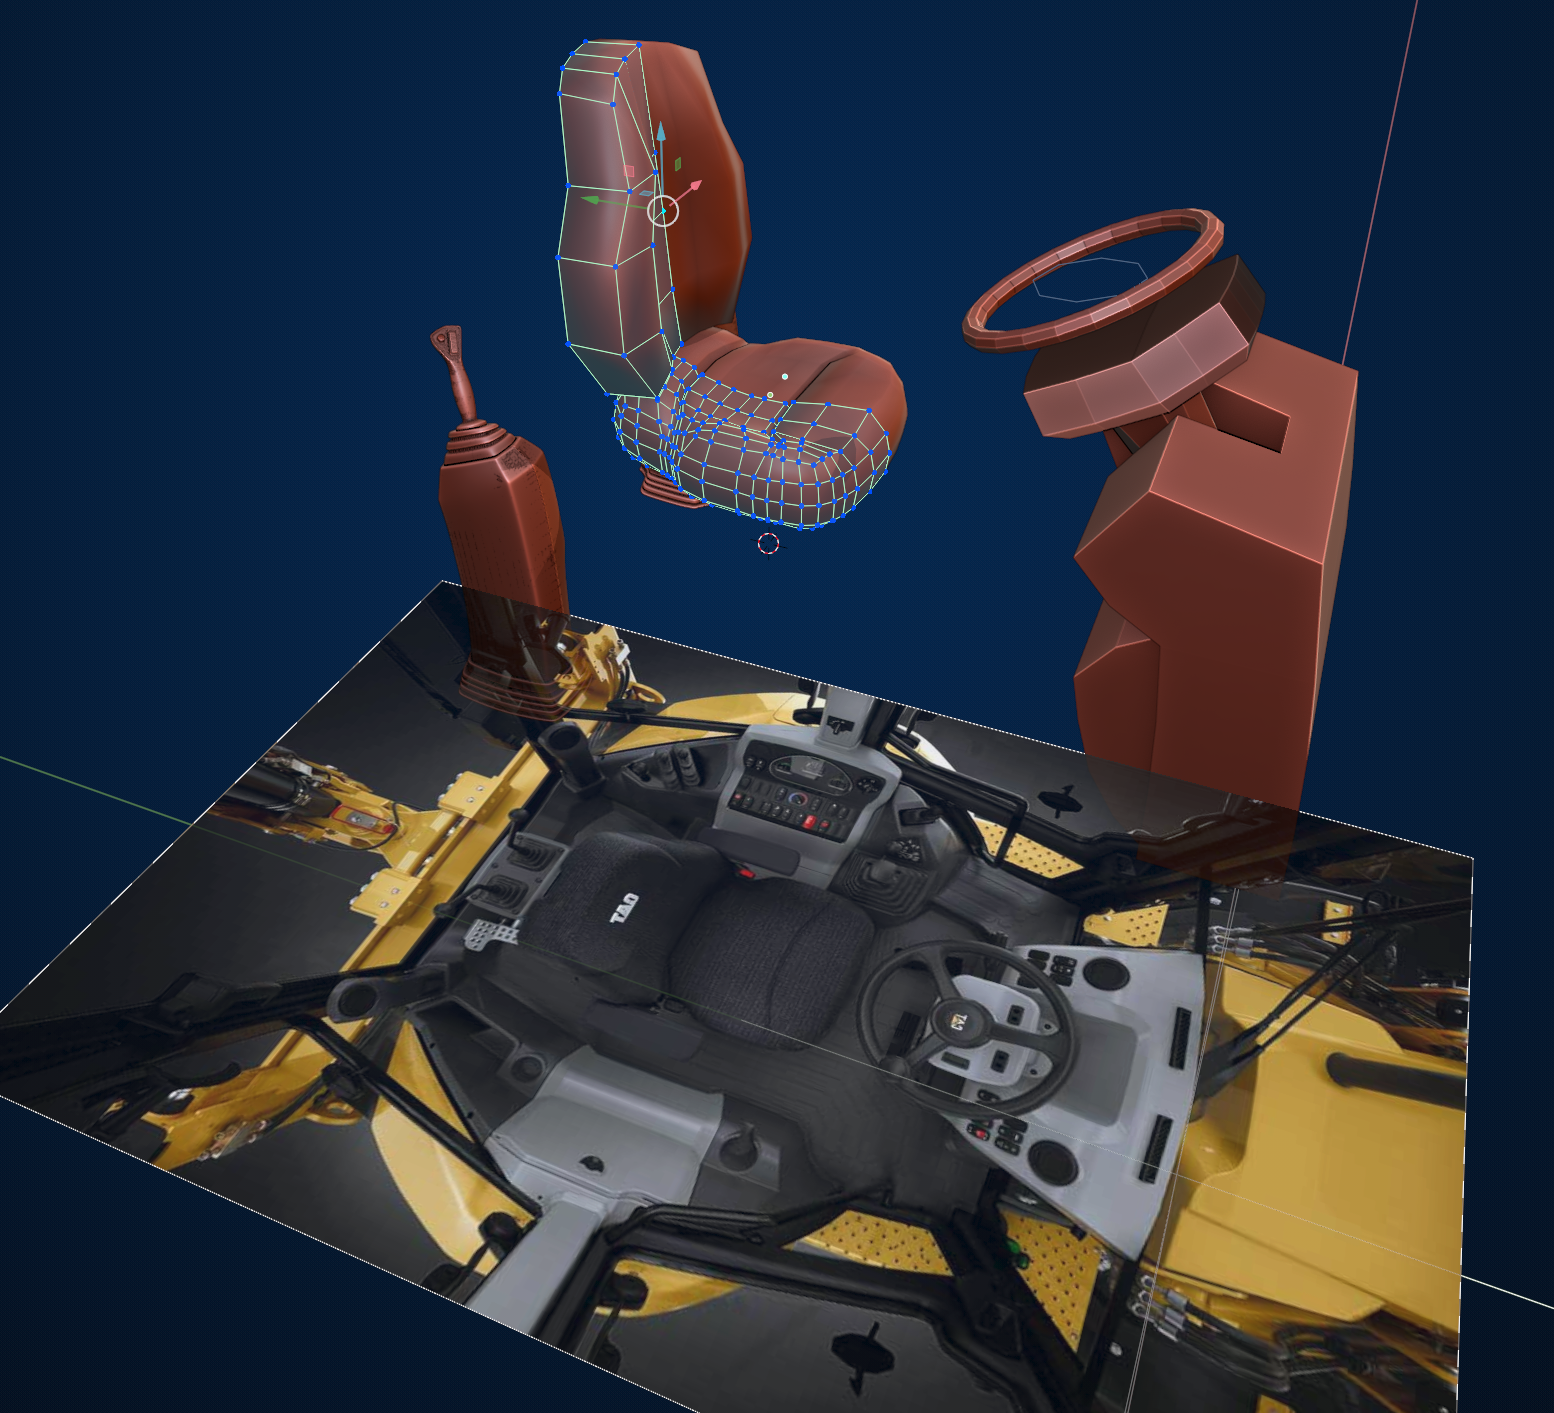
I think I have the bottom cushion mostly done now. The organics in this seat is way different than my loader arms haha.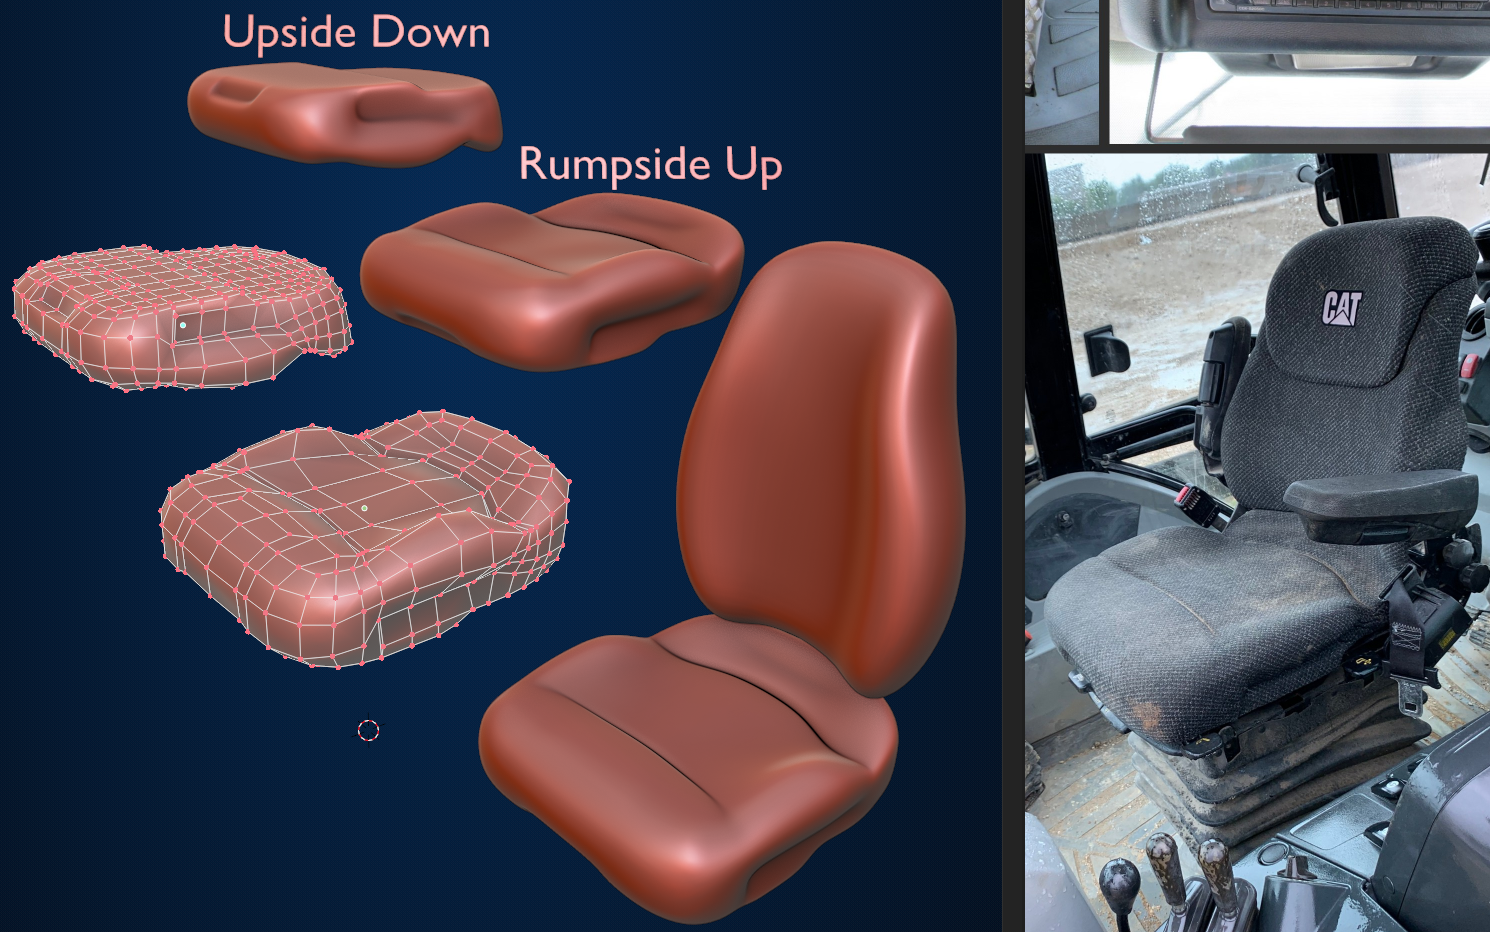
Spent a good portion of the day on something that won't get a lotta detailed screen time in the demo reel but IT WAS TOTALLY WORTH IT because it was a topology challenge to make stuff happen along an angled surface and still look good.
I did the base plate and cover and support structure working my way up to the rump cushion. We are gonna use the air-ride seat assembly. It's the pricier of the two options for our DOG but I think we can all agree it will be worth it.
Once the rump part is done I will go to work on the seat back. and supporting hardware.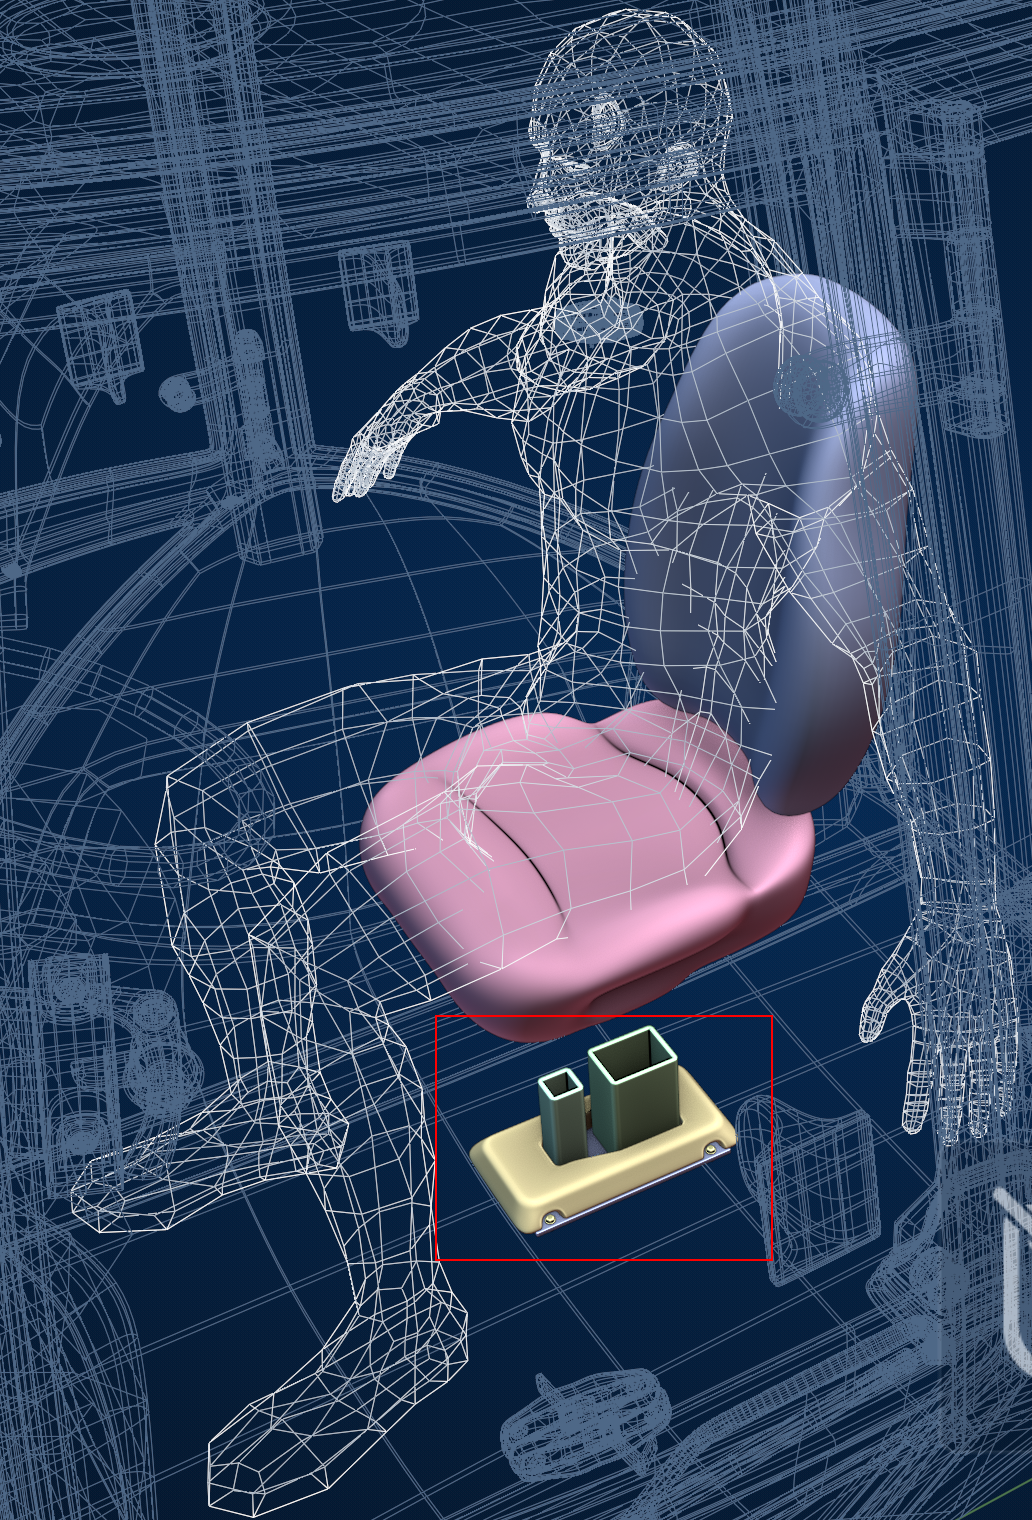
You know what, Shawn Blanch (blanchsb)? I am going to remodel armrest and copy what I exactly see in the manual you give. I am going for simpler designs of an armrest and other parts. Thanks for link.
I think I am going to call it a night. I got some really good progress done on stuff that will obviously never be seen but I wanted the experience and I ended up learning even more about curve properties through this exercise. I'll try to share more in another video. Suffice it to say that turning on wireframe on a curve with Bevel depth leads to some great learning content when adjusting curve options in the properties panel under the Geometry section.
The is the inside of the Air-Ride assembly and is the lower portion. Going to be working on the scissor lift part of the assembly next.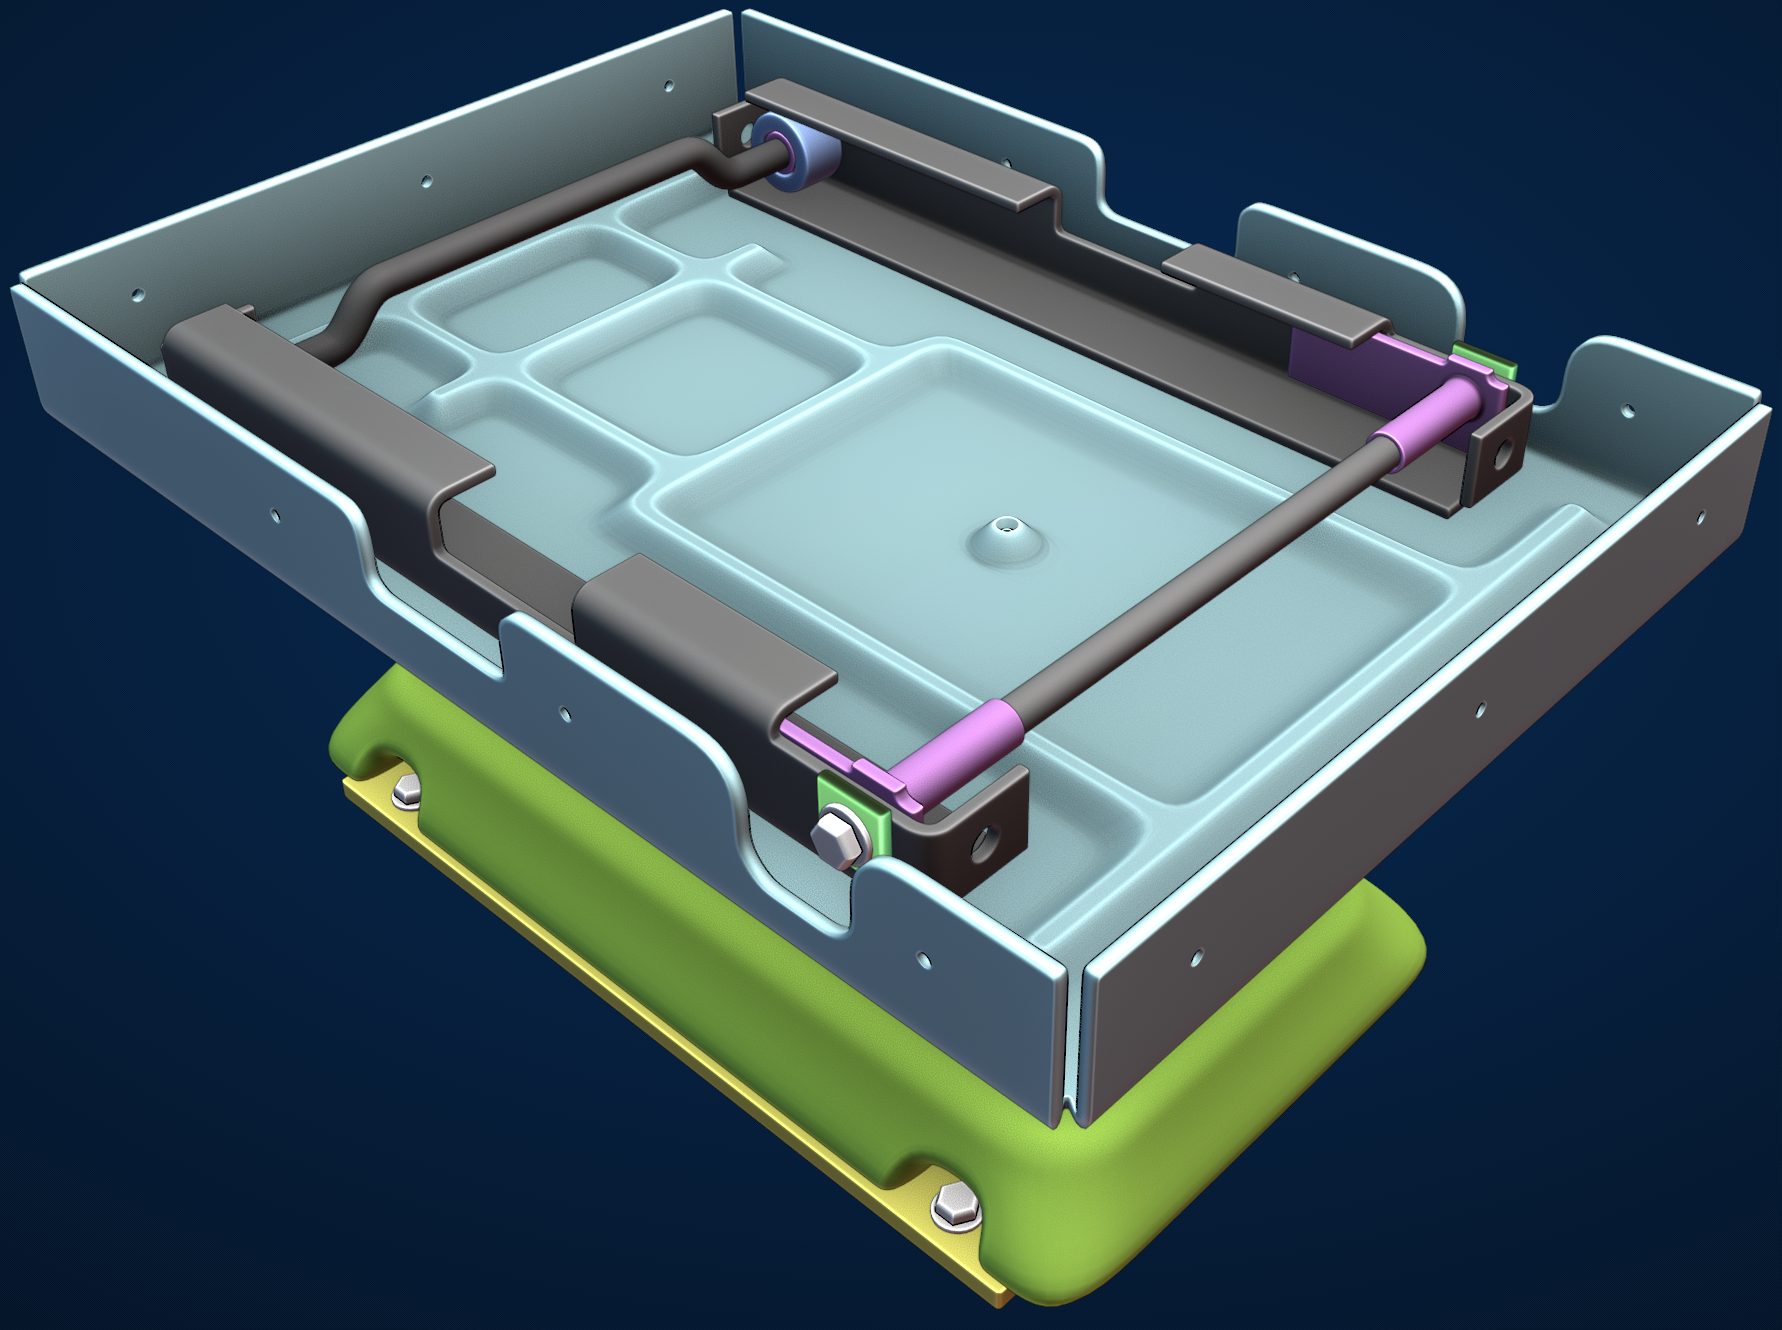
![]() duerer thanks for the kind words. It helps with the motivation! Yeah these parts actually make the chair assembly come to life for me.
duerer thanks for the kind words. It helps with the motivation! Yeah these parts actually make the chair assembly come to life for me.
I'm just contemplating and seeing these parts moving in front of my inner eye 😀.