Long time member and fan of CGCookie, seriously studying Blender and CG art. This is my polybook, where I'll be sharing works-in-progress and things I learn as I practice modeling and shading and related Blender wizardry.
Current project as of October 2021: 1957 Chevrolet passenger car.
Okay so, today I started Kent's Realistic Character Modeling course. I haven't sculpted in a few months, so it took some re-acclimating, but in little time I regained the hang of it.
Here's where we're at, end of day 1. I've got my initial (very) rough blocking pass most of the way done.

Tomorrow I'll get the hands and feet blocked at least, and hopefully the head if possible. Then it'll be time to refine.
![]() jakeblended woohoo Jake is back!! 😃
jakeblended woohoo Jake is back!! 😃
And dude, it seriously ain't fair the stuff you can sculpt in a day after being away from it for a while.. it looks awesome!
Keep it up, I'll be following your progress 😎👍🏻
![]() jakeblended Yeah, Jake! 'Bout time! Looks good after a quick glance. Maybe
jakeblended Yeah, Jake! 'Bout time! Looks good after a quick glance. Maybe ![]() nekronavt can pop in and critique.
nekronavt can pop in and critique.
For day 2 I didn't have as much time to work this evening as yesterday; so I managed to finish rough-blocking the hands and the feet, but I only just barely got started on the head. That's okay though; I'm off all weekend, so I'll have two whole days to work on this guy. Tomorrow it's the head, finishing up the blocking and moving to refining the whole thing.
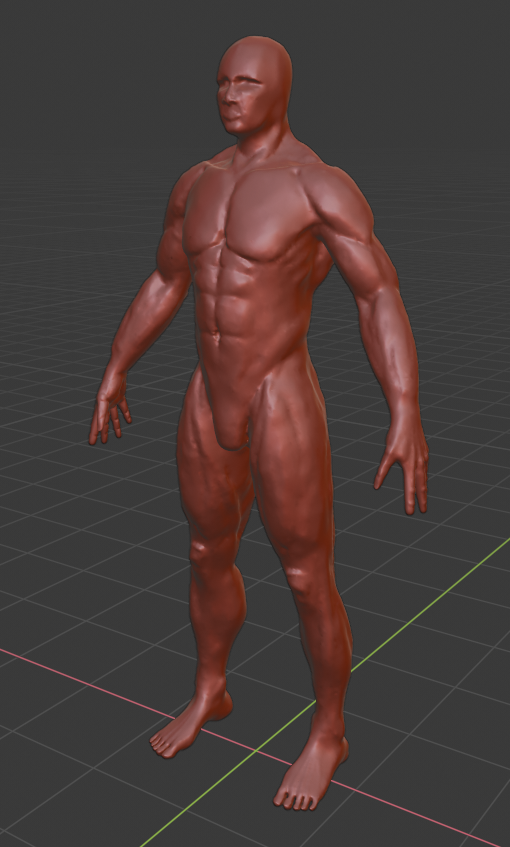
Funny thing about the feet; working on the toes I decided to skip the Boolean method Kent recommends in the course video and decided to see if I could brute-force chisel the gaps between the toes into the mesh with the crease brush. Well, it can be done, but....I really don't recommend it, it takes forever to carve a crease that deep. And the weirdest part was, I ended up leaving some floating geometry behind somehow....I've never seen that happen before. I've seen sculpting problems leave missing faces - holes in the mesh that are a pain to patch up - but I've never seen just random faces left floating in the air, completely detached from the rest of the mesh. The mesh cleanup tools handled it easily enough though.
My character is going to be an ancient Egyptian soldier, by the way.
![]() jakeblended How did you approach learning anatomy so far? I know the big muscles, but especially around the elbow / knees my results always get really sketchy.
jakeblended How did you approach learning anatomy so far? I know the big muscles, but especially around the elbow / knees my results always get really sketchy.
![]() jakeblended You're off to a good start. I'm not that into Ancient Egypt but it would be cool to see a cool 3d soldier nonetheless :D
jakeblended You're off to a good start. I'm not that into Ancient Egypt but it would be cool to see a cool 3d soldier nonetheless :D
![]() numbernine It remains to be seen whether I'm good enough to be giving anyone else advice; but I will let you and everyone else know about the anatomy resource I found and like most.
numbernine It remains to be seen whether I'm good enough to be giving anyone else advice; but I will let you and everyone else know about the anatomy resource I found and like most.
It's a series of videos on a YouTube channel called Proko, which teach the forms of human skeletal and muscular anatomy for artists. The channel is dedicated to charcoal drawing; HOWEVER it takes no imagination to realize the information is just as useful for sculptors - including the digital kind; anatomy is anatomy. The lessons are also quite watchable too, with lots of humor that trends on the campy/dad-joke side. Proko has a paid "premium" service, run from his website (he plugs it at the end of EVERY video) which has some longer videos and goes over some extra information, for instance explaining some of the deeper and hidden body muscles, that aren't covered in the YouTube playlist - but the YouTube channel DOES cover all of the muscles you can see on the surface of the body, do not worry.
The videos are each only a few minutes long and they start with some anatomical basics before getting into first the bones, going through each part of the body, and then shifting to muscles. The series is still in-progress, but the only parts that have not been made yet as far as I can tell are the lower-leg muscles and the foot muscles.
You can find the anatomy playlist here. I really personally recommend taking the time and watching the whole playlist, including all the bones; but I suppose if you want to save time, you can watch just the bone episodes which cover the bony surface joints (elbows, knees, hands, feet), but make sure you watch all the muscle anatomy and form videos of course. You can feel free to skip the assignment example and critique videos, since again those more specifically focus on drawing.
And for sculpting, even after watching the anatomy lessons, nothing beats a good reference. In the course Kent recommends the website 3d.sk, and I've found nothing better for model photos. The super high-res photos and sets cost money of course; but I've found that you can open and save the lower-res photos on the product pages for free, and while they're not huge by any means, they're often decent enough for using as sculpting references. As I'm becoming more serious about my art though, I think eventually I will fork over the money for a few high-res sets; those paid photos are large enough that you can see like fingerprint-level detail in them.
Thanks, I'll definitely check out that anatomy playlist. The introductory video seems promising :)
Day 3; finished blocking and moved to refining. Got some real progress done on the head and face:
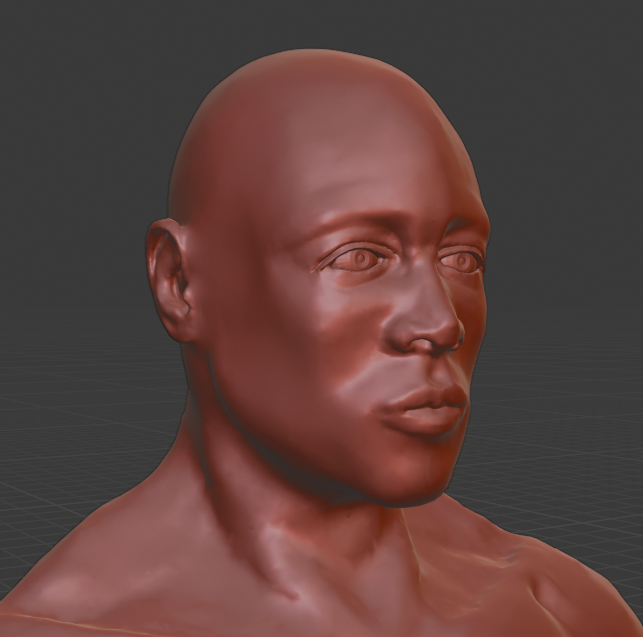
Still a fair bit of work to do, but we're getting there. Now that I've gotten my ear and jawline placed at least, I think tomorrow I'll just fix one or two shape issues on the face and then go ahead and give the whole body a pass, and then come back for a final polish pass to tie up the little stuff at the end.
I'm finding that when I start working on the small scale for intricate details like the ears and eyelids and that kind of thing, it's really easy for me to get distracted and obsess over all the little sculpting artifacts - I call them "nicks and dents" - that sometimes make these shapes look rough and janky when you're zoomed up close. I waste loads of time trying to smooth those things out; I keep forgetting that the retopology stage fixes all of that for free.
![]() numbernine Thanks for the encouragement!
numbernine Thanks for the encouragement!
Day 4 done.
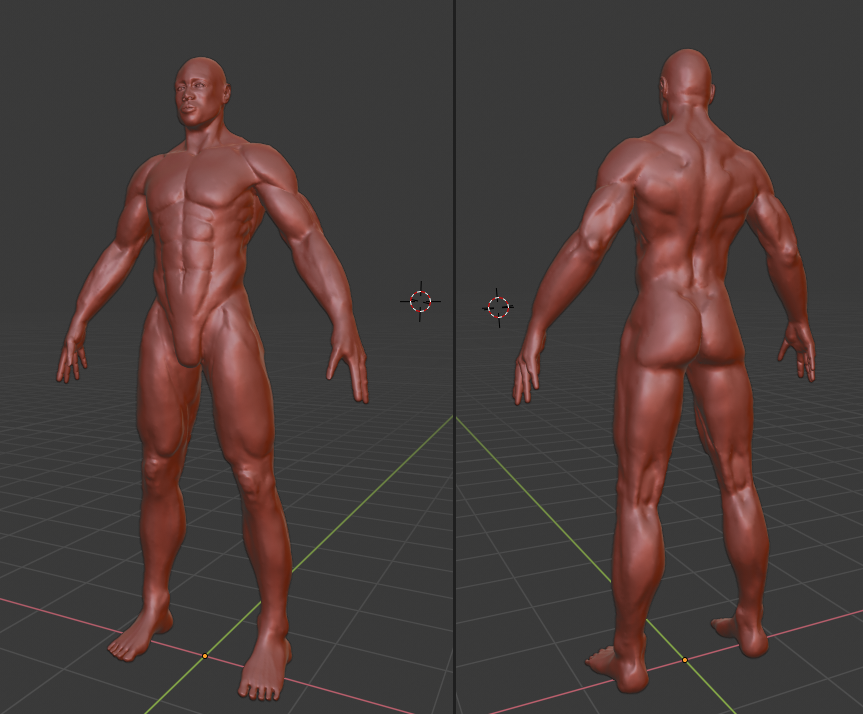
So next up is finishing off the feet and hands once again, and the forearms. Then I'll go back to polish off the face. I'm really happy (and kind of amazed) at how this is turning out so far.
Okie dokie, I'm satisfied with this mesh as a "75% complete sculpture" base for my course project. After finishing the body, I revisited the face; I decided it looked too generic, so I went and gave it some more definition and character. He's a warrior after all, he needs a Game Face.
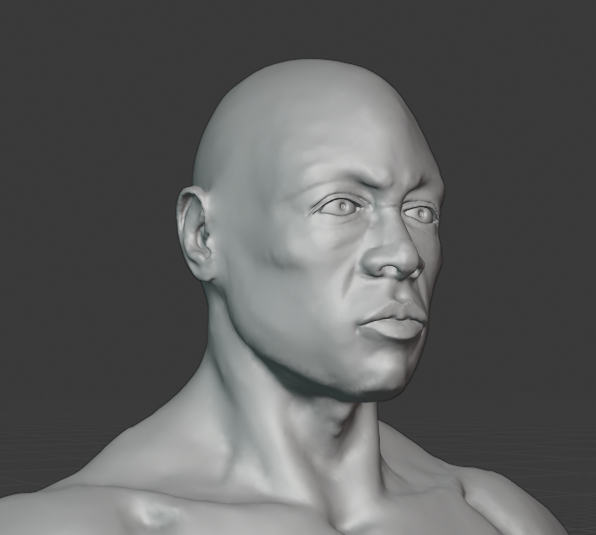
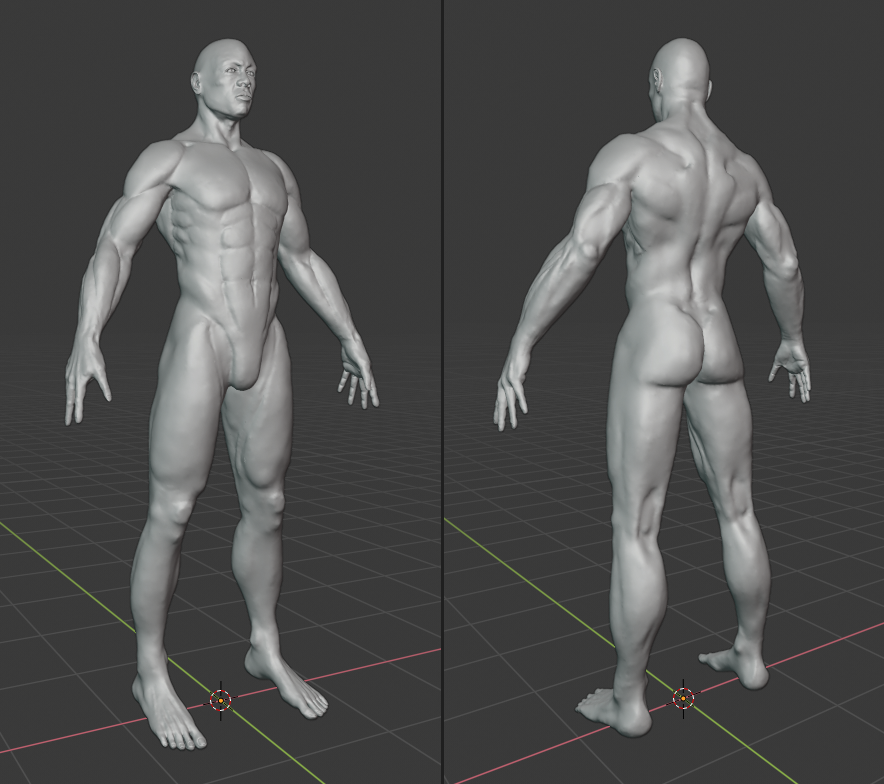
So tomorrow, I start giving this guy something to wear. I'm a little apprehensive though; as a Bronze Age soldier, this guy wouldn't be nearly as kitted out as say the example character Kent makes during the course, and I wonder if that's going to mean there won't be much work for me this week. We know what Egyptian soldiers wore, and I don't want to stray too far from reality and into fantasy. Not that there's anything wrong with doing so; I just already decided that I wanted my guy to look reasonably historically accurate. So, as far as clothing goes, he's going to have a kilt of the proper style, a light headwrap, and a kind of peculiar longish padded waist-guard that these soldiers wore. I will probably give him some sandals (they did or did not wear them, it could go either way), and I'm also going to give him a distinctive Egyptian sword and shield. Holding these items means he'll have to be posed, though; so I'll model them this week, but they'll probably have to wait until retopo week or later before I can actually screenshot the character carrying them.
Working on the clothes. First, the simulated cloth. After a....couple of hours (I think?) trying to get my cloth physics actually working correctly at all, I got the kilt and the headdress done. I think these are the only pieces I'll need to simulate; the rest will be modeled. The way the simulator laid that headdress is just about perfect!
![]() jakeblended I was waiting for an update! I'm doing Kent's course as well right now, you're inspiring me to try my best at the whole anatomy business. I'm still working on my blockout, my aim is to get it on the free critique stream on the 28th.
jakeblended I was waiting for an update! I'm doing Kent's course as well right now, you're inspiring me to try my best at the whole anatomy business. I'm still working on my blockout, my aim is to get it on the free critique stream on the 28th.
The face looks good too by the way. The expression's already there.
Progress update! Continuing to add stuff. Here's how we're looking so far:
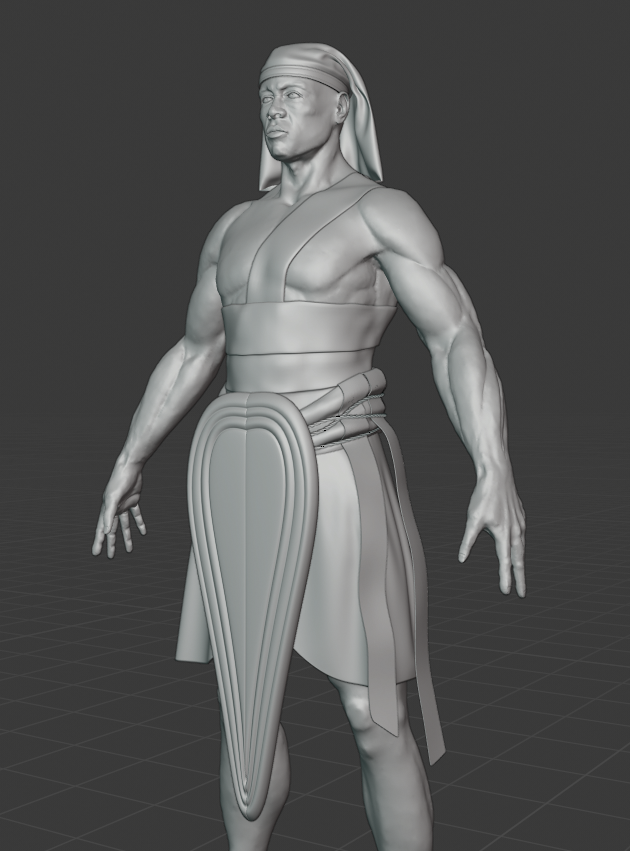
Believe it or not, historical-accuracy-speaking, he's wearing all he should be. But I think more detail would make the character more compelling, so now I'm starting to invent things - for instance, those cloth streamers, which I imagine will be colored as a way of showing what unit this guy belongs to from a distance. After taking the time to model them though, I think I'm actually going to relocate them to the other side, because his sword needs to be belted on this side (he's a righty) and I need some detail on the right for balance.
Speaking of which, I also need to invent a plausible way to attach his sword to his belt, because how exactly they did that isn't really known. All of the Egyptians' art depicting soldiers always shows them with weapons in-hand. And the Egyptian sword is...well frankly it's weird; it's a very odd shape that it seems to me doesn't lend itself well to a simple scabbard (there are modern scabbards for replicas of these swords, but they don't look plausible for the time period, or for actually wearing generally). Oh well, I'll think of something.
Tomorrow I'll be doing the above work, plus modeling his shield and weapons.
![]() jakeblended Nice progress! Really cool to see something historical come alive.
jakeblended Nice progress! Really cool to see something historical come alive.
So the character project is kind of on hold, you may have noticed - in fact all of my sculpting is on hold, due to a broken tablet that I need to replace. It wasn't a QC issue - the breaking was definitely my fault, we will leave it at that. :)
But I want to do something while I'm saving up to get another. So I'm going to geek out a little and make the spaceship from Star Trek. This is partially inspired by Chris Kuhn's recent model of a different ship from the same movies, but I'm making the Enterprise.
Meh news: This ship has been done before, lots of times, so I'm breaking absolutely no new ground here CG wise and this is for personal challenge and development only.
Better news: It's a spaceship, which is a vehicle, which means it qualifies for this month's challenge! I honestly have some serious reservations as to whether I'll be able to fully flesh this thing out AND get it materialed/textured by the end of the month (and I'm already a day behind!), but that's what I'm aiming for, so we'll see.
Good news: I found some of the best possible reference schematics you could ever wish for, for this thing. If there's one thing Star Trek fans like to make it's blueprints of stuff in the shows/movies, so there was never any doubt I found one. But I did even better than usual, and instead of simple orthographic projects, I found some actual CAD sheets, designed for making a physical model - out of wood or plastic or whatever. And the model the instructions are intended for is a replica of the 100-inch(!) filming model used for the movies, so it's quite detailed.
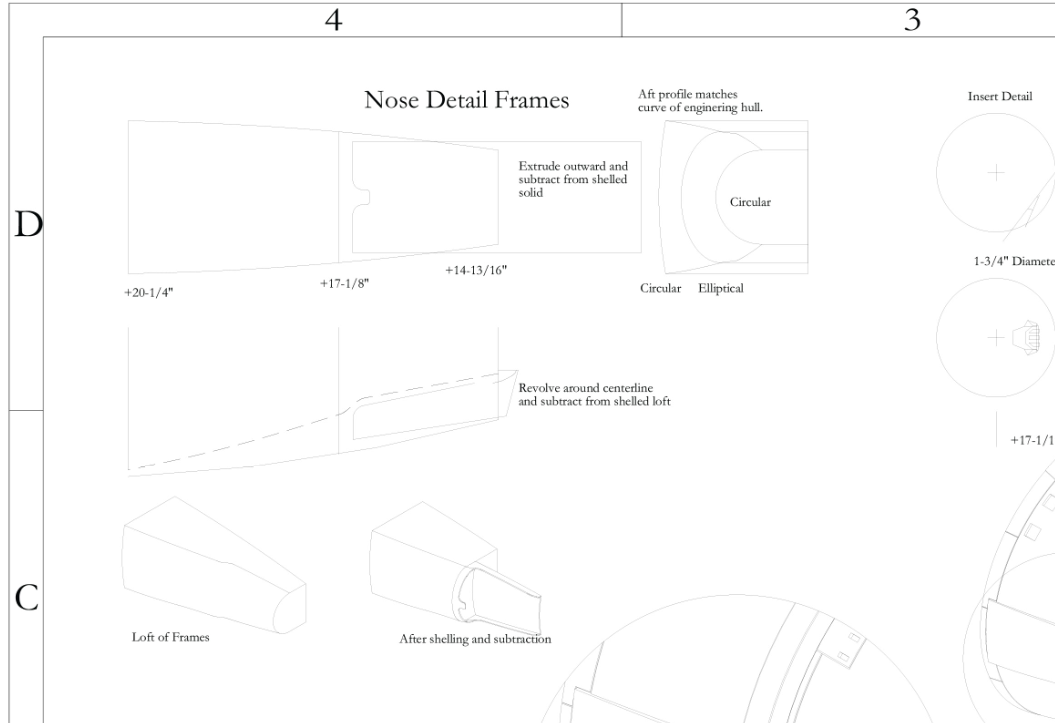
There are only two catches - the first is that all of the measurements given in Imperial. Which, yeah Blender can "technically" use Imperial units, but it can't parse fractions, so I have to convert these manually outside of Blender on the fly. Not a show-stopper but it's an annoying extra step that slows the workflow somewhat. The second catch is that the instructions are for shaping solid objects, which isn't a 1-to-1 match for edge-modeling, process-wise. I COULD replicate some of the process by using Boolean subtractions and such, but the problem is that clean mesh is a thing I have to worry about. So it's a struggle sometimes, especially when the shapes get weird.
But anyway. Let's get to it!
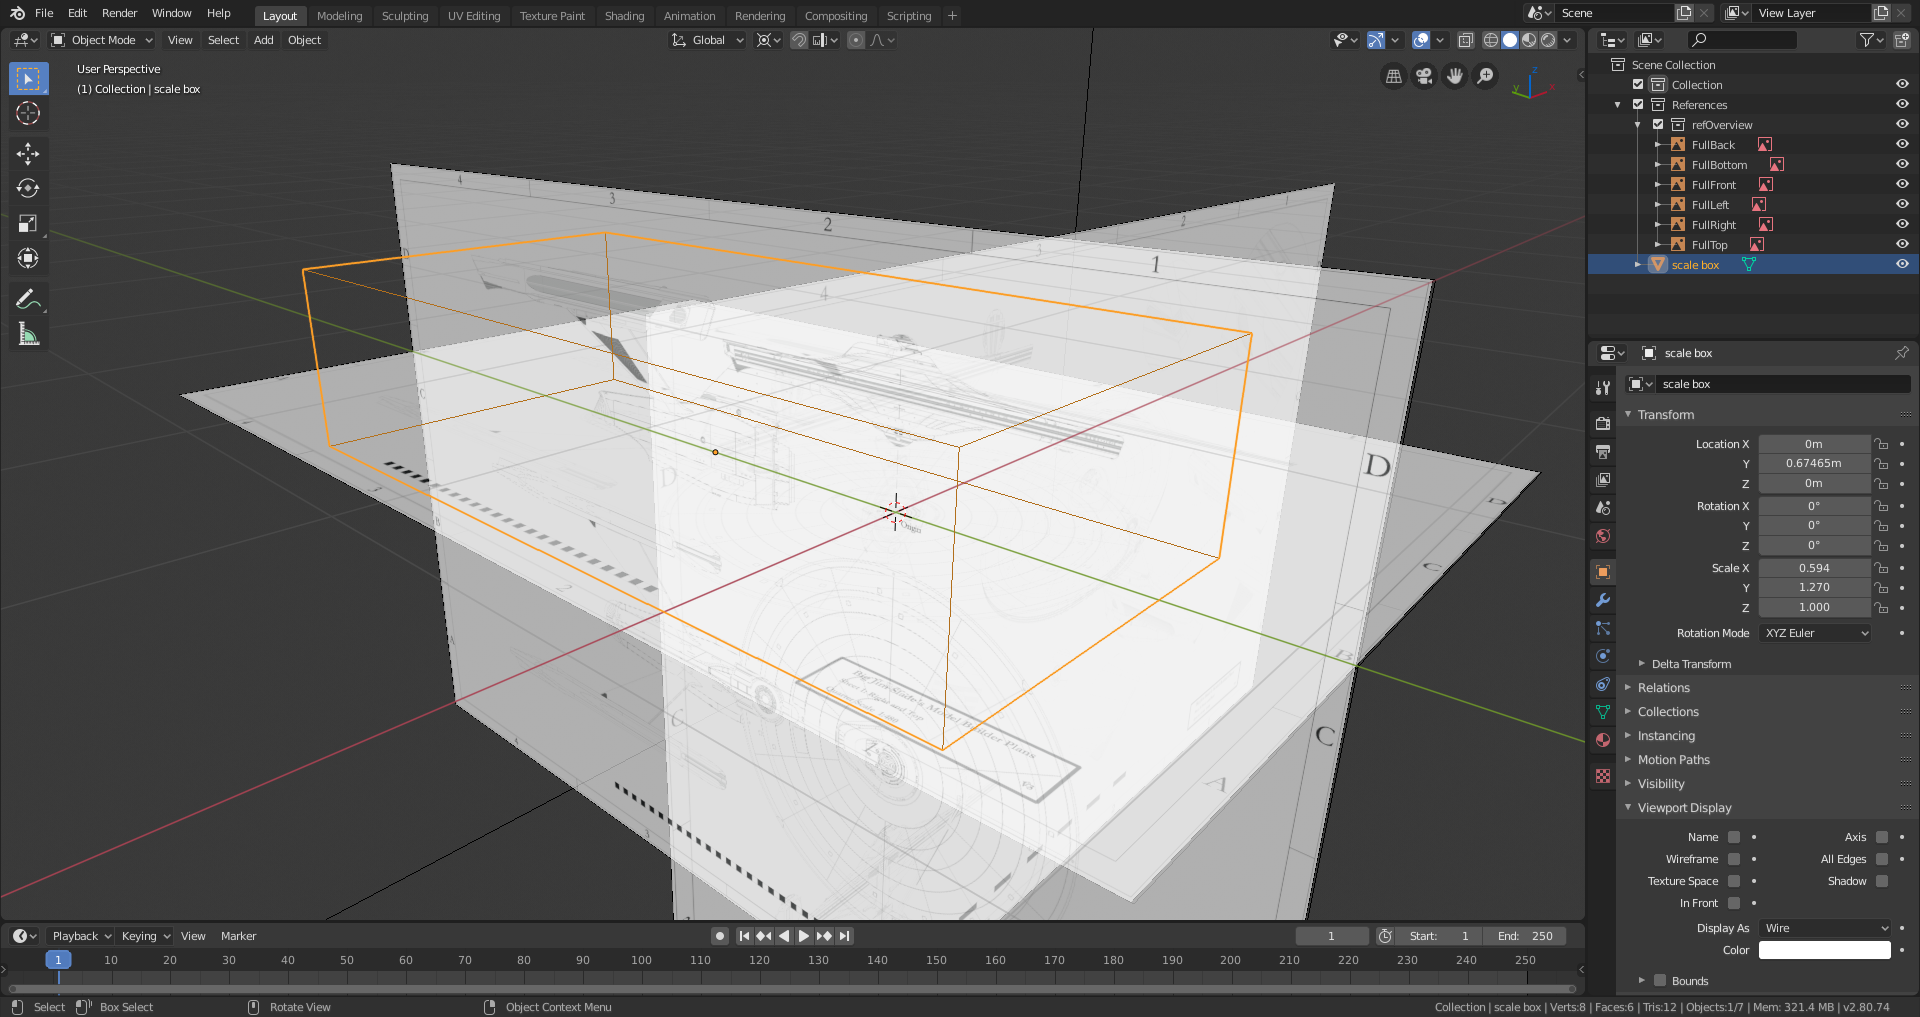
Here was yesterday's work so far. I'm working from the top down, and then back.
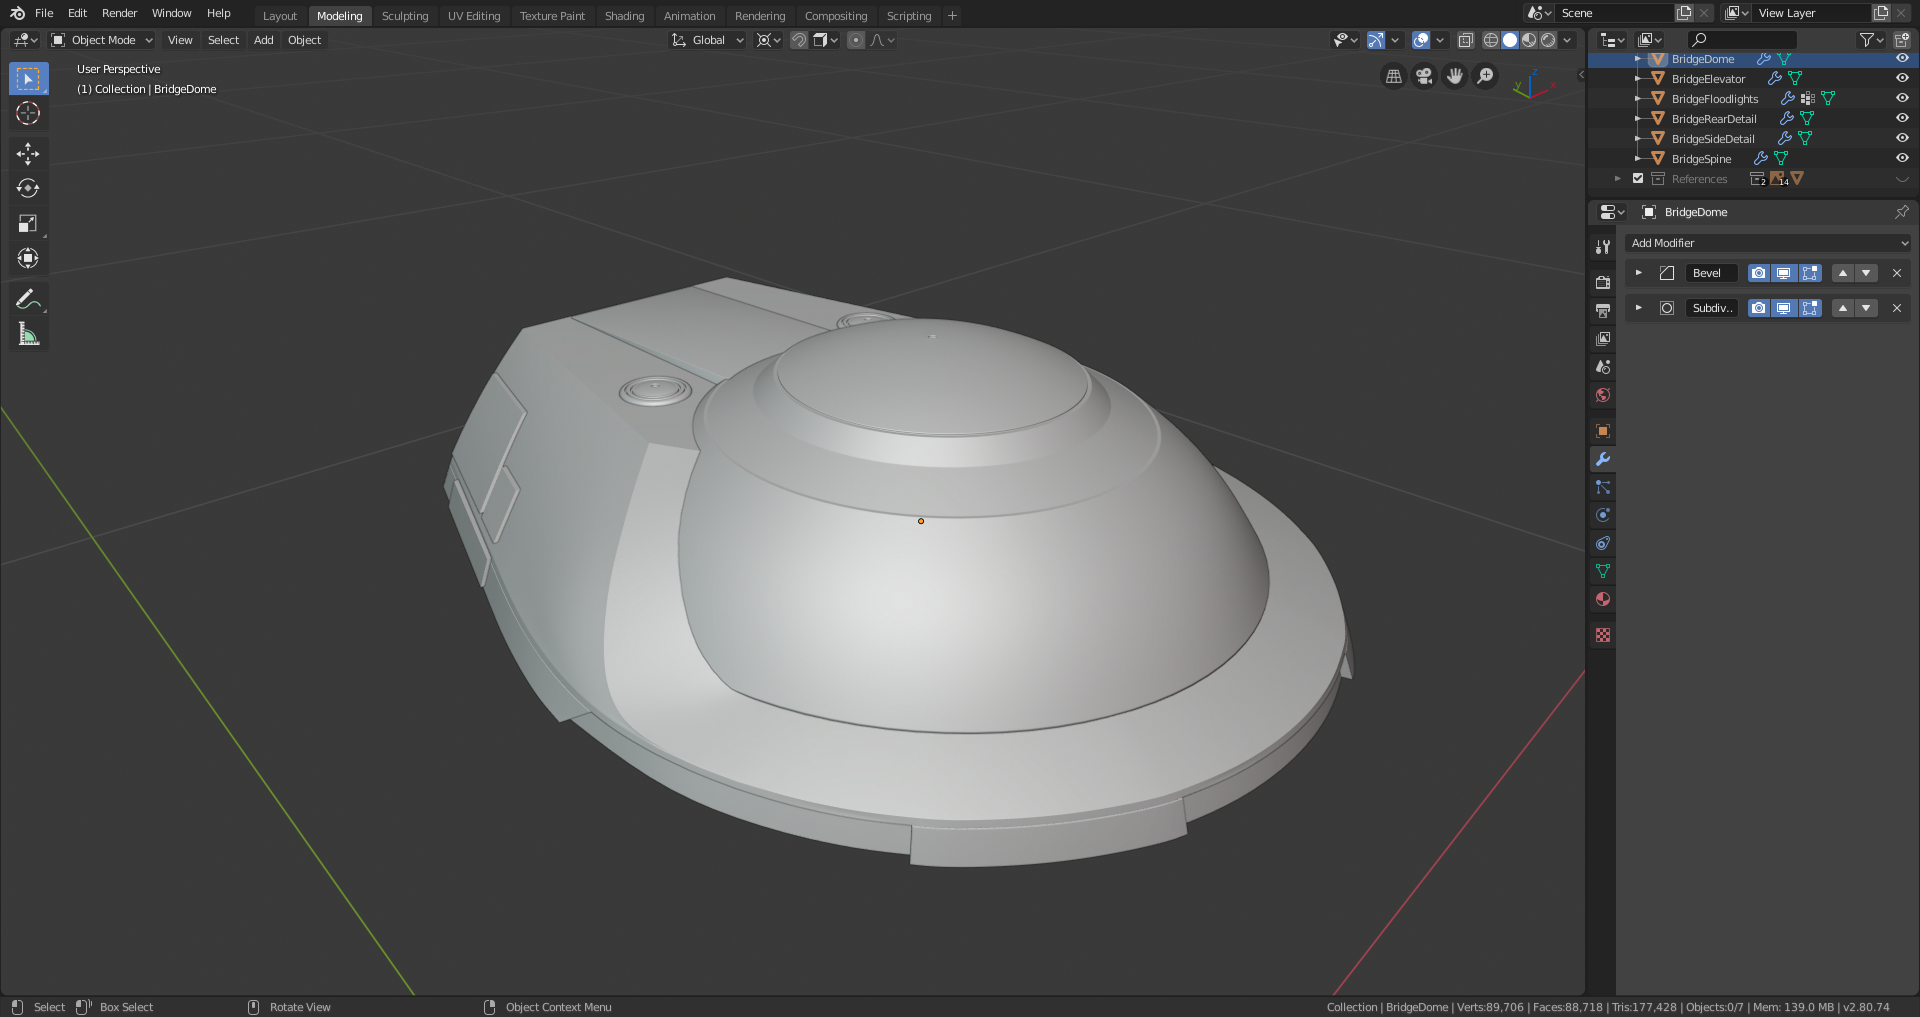
You may notice from the grid guides that I'm quite a ways above the world origin. Interesting thing about these CAD plans; the measurements for each individual component are all relative to a single common origin point. That means every part is built "in place" and I shouldn't have to adjust or move any of these parts around to put the larger ship together once they're finished, they'll just magically be together. Neato.
Also, getting the smooth curves on that piece, especially those ramp-looking dealies on the sides of the dome where they meet the base and the sides, and getting nothing pinching with the subsurf, was a NIGHTMARE of epic proportions. I had to restart a couple of times to try different approaches in order to get a nice smooth shape. I hope the rest of the ship, or at least most of it, isn't that hard...
Okay, so the first component is completed. The rest of this part was easy to model, no more nightmares. There was just a lot of details to model.

Everything is pretty straight-forward; the only unusual thing would be those little vertical vent slots near the tops of the ramps. Those are an unapplied Boolean. It can't be applied, because that particular piece of mesh isn't solid - it's not enclosed on the bottom. Just out of curiosity I tried it, and it didn't work right. In this case it's okay, because I don't need any special materials for the insides of those slots, so I won't have any UV issues or anything like that.
Almost 170,000 faces in this project so far, just from that component. My computer might be crying before this project is done...