Here's my homework thread for October Live Class - Shading & Lightning in blender.
Have a great time everyone!

Homework - Week 1 - Part 1:
@theluthier:
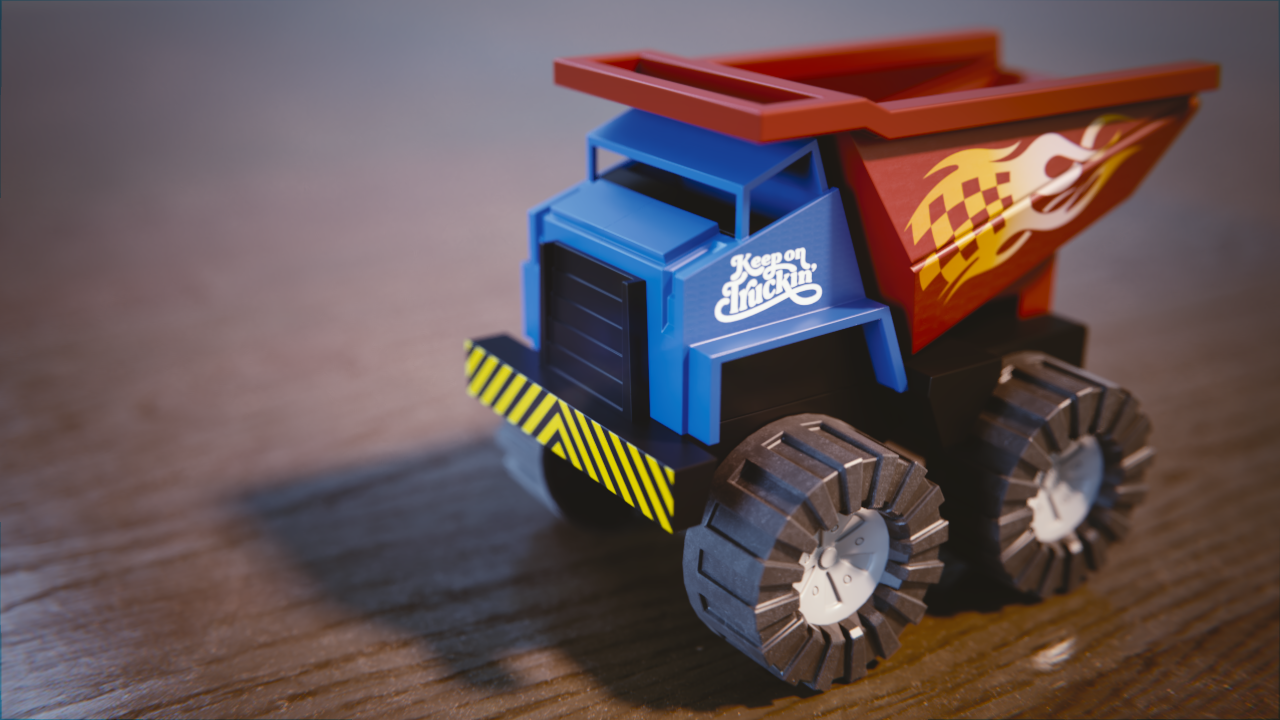
I made this exercise some time ago. I added stickers to some decals to it. This is the end result:

-edit- And here's the blendfile (since I forgot): ToyTruck (with packed textures).blend
ccarrotnl Wow, that looks awesome Wilco! 😃 How do you add those stickers on top?
Hey, thanx!
(images will follow in a few moments)
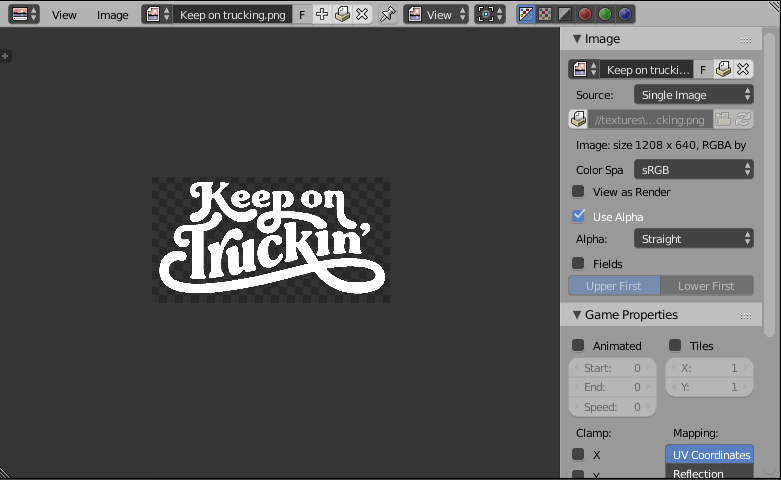
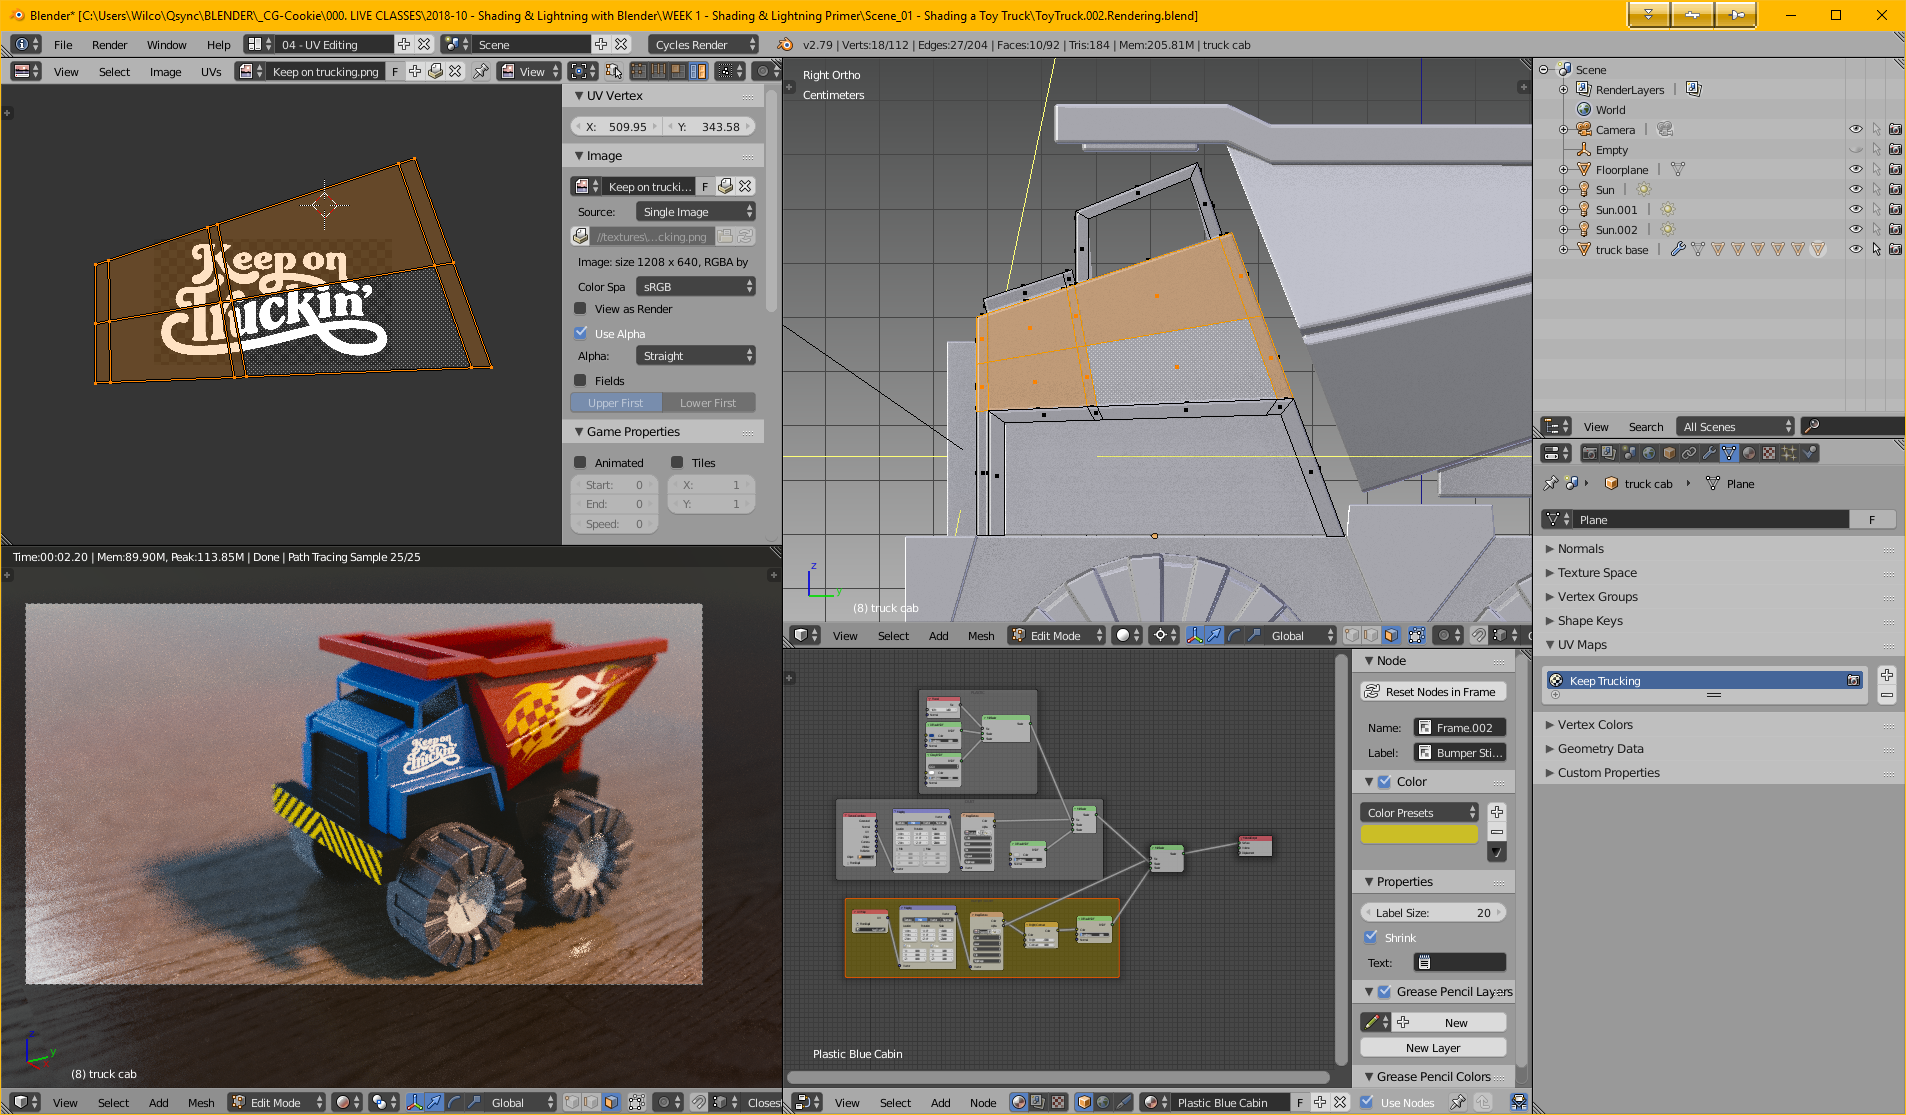
1. To add stickers I do the following: First I load the picture in the UV/Image Editor:
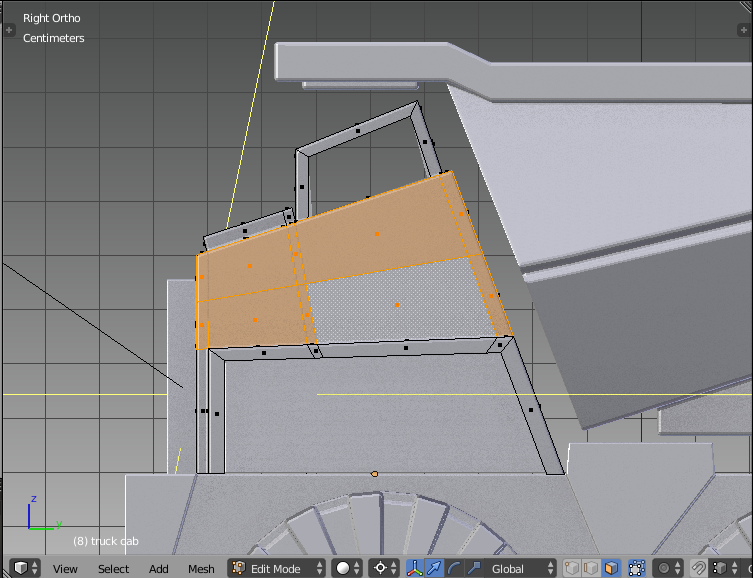
2. Then I select the faces that I want to use for the sticker:
3. I press U to UV-unwrap the selected faces. I use the option Project from View (So the view must be aligned correctly):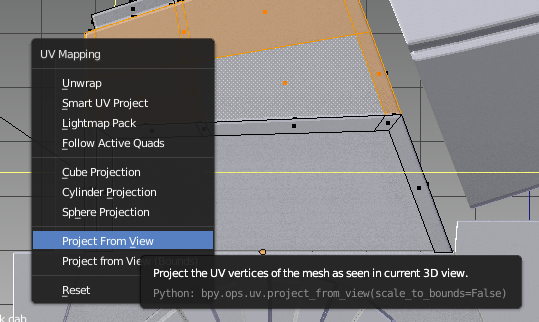
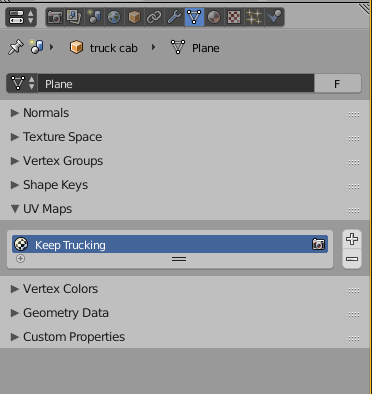
4. Then I name the new UV-map in the Data tab from the Properties Window:
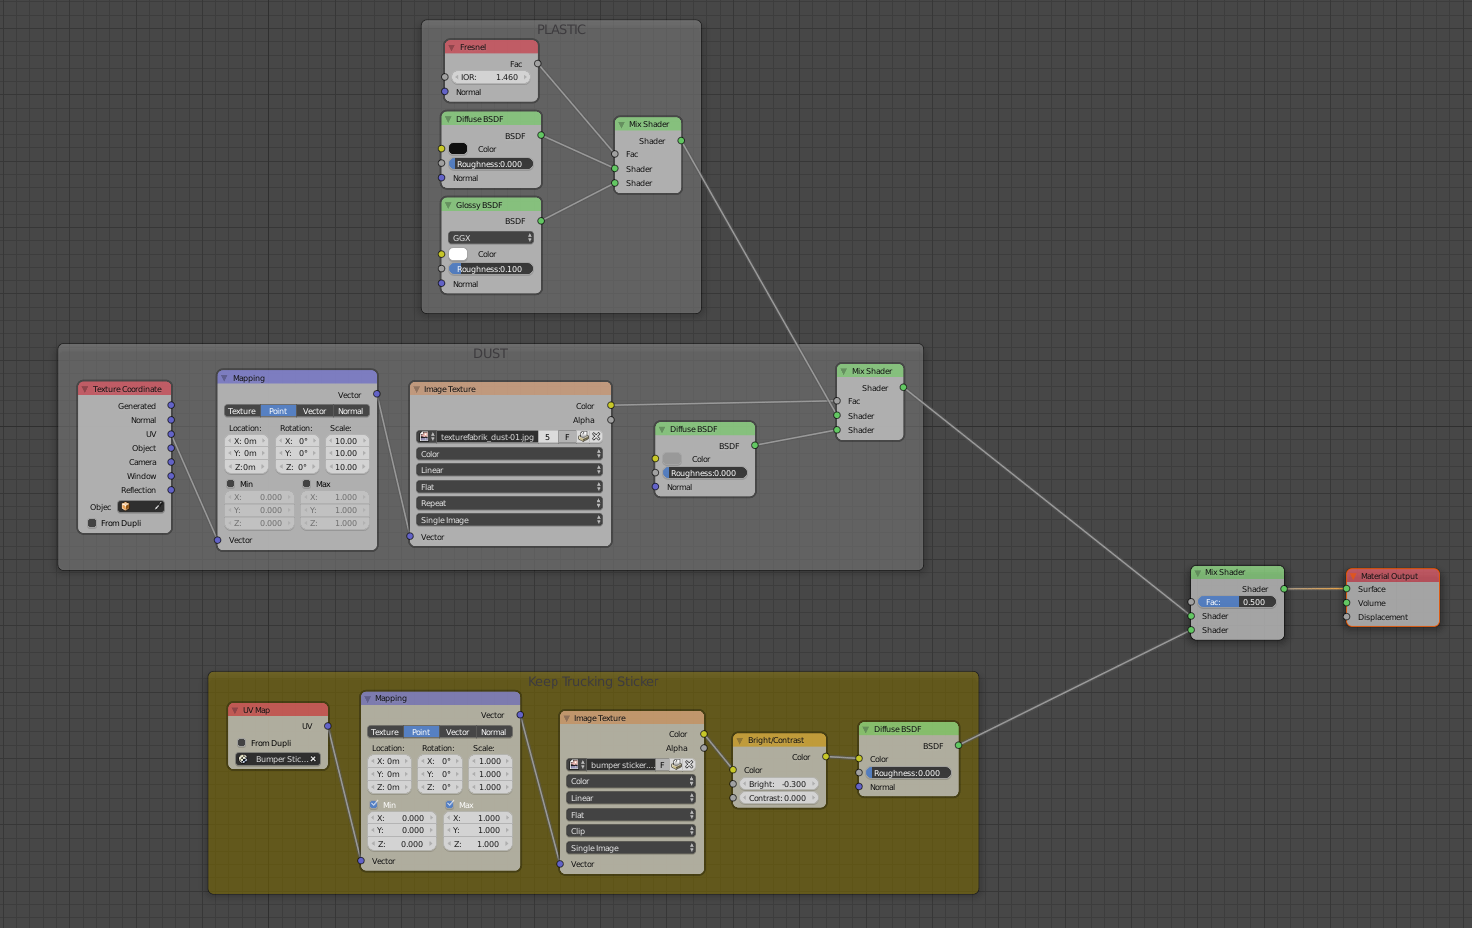
5. I setup the following node setup (look at the bottom (yellow) framed nodes). The first node chooses the UV-map. Don't forget to choose the correct image from the dropdown menu in the Image-Texture node:
6. I align the unwrapped faces in the UV/Image Editor, while keeping an eye at the 3D View:
I hope this explained it a bit. 😃
ccarrotnl Great explanation Wilco, Thanks! Gonna try it out on my own truck to practice it 😊 Looks so cool 😬
Oh, the truck looks awesome and the stickers really add to it! Thank you so much for providing the additional explanation! Very helpful!
ccarrotnl Absolutely lovely take on this exercise, and appreciate you sharing the tips to everyone! Good luck for the rest of the class.
ccarrotnl Love the decal additions! What a nice touch. Really take the exercise up a notch. And kudos for sharing the tips 🙇🏻♂️
Homework - Week 1 - Part 2:
@theluthier:
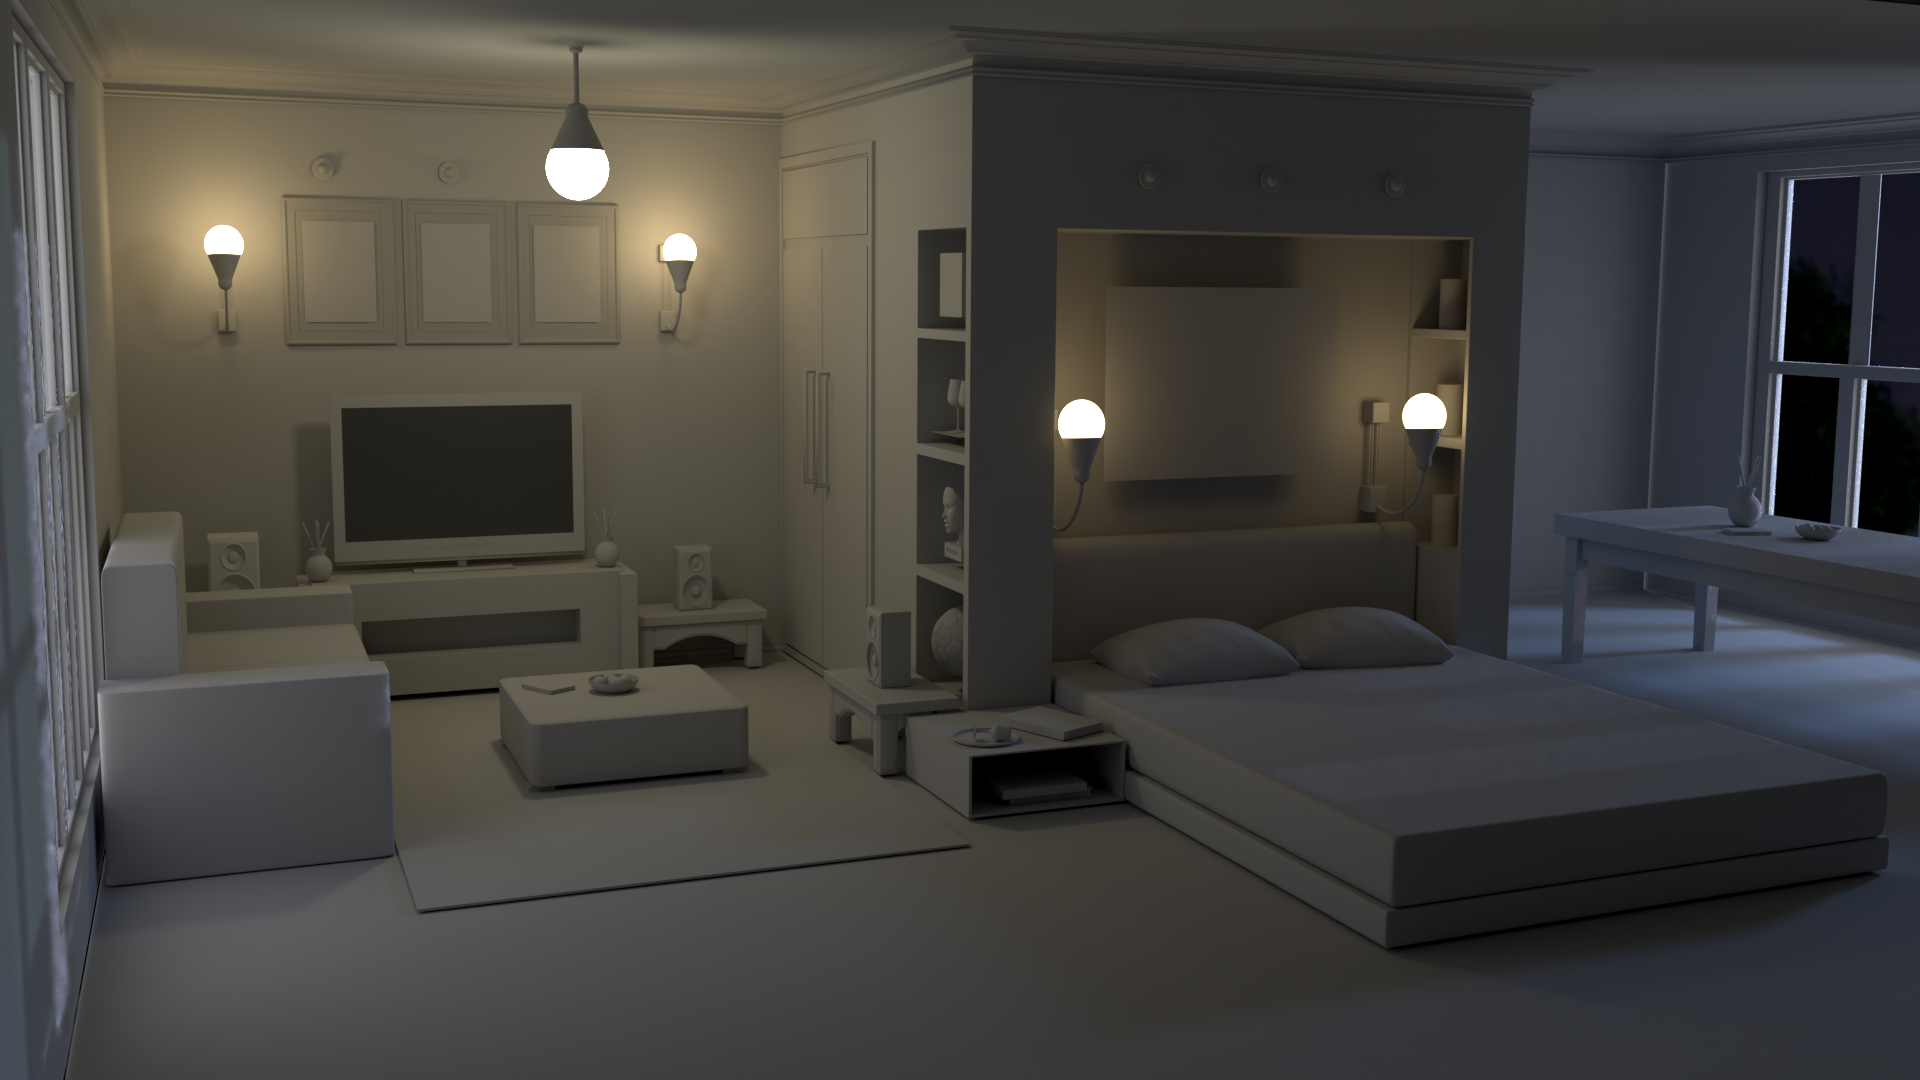
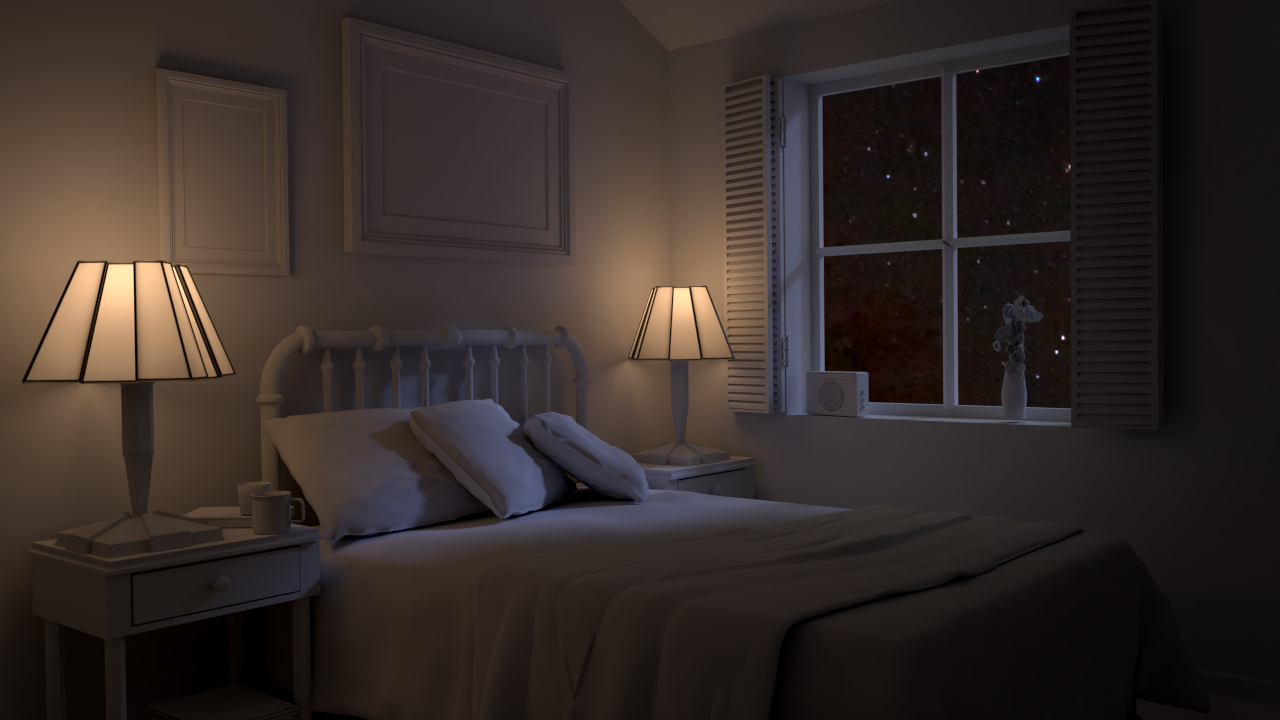
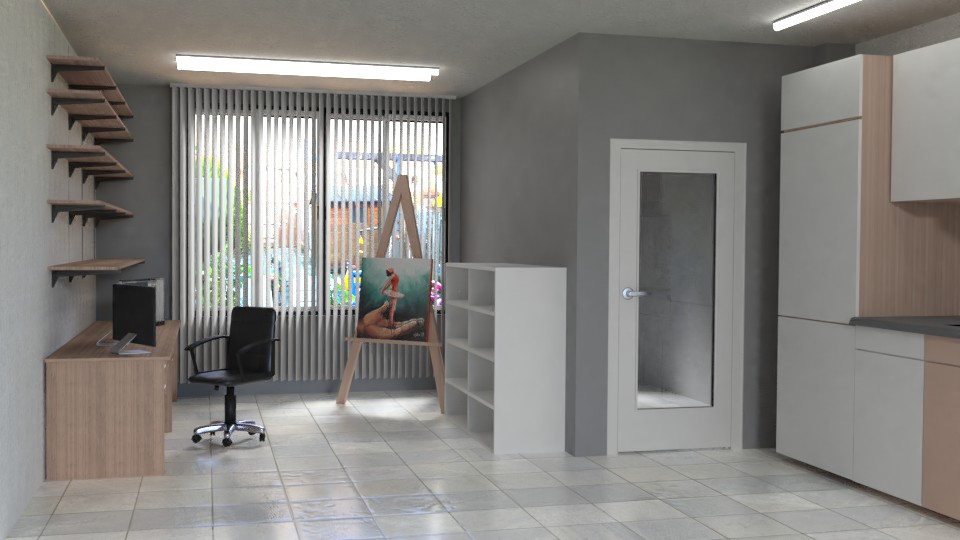
Here's the bedroom exercise. Here I also took a previously made exercise, and then I tried to lift it up a nudge.
For both renders I used the compositor to get more contrast and to give it a vignette. Here it is:


For who wants to see the blend files (beware: there huge):
Bedroom - Daytime (hdr packed) .blend
Bedroom - Nighttime (hdr packed).blend
I'll put the blend file of the truck in the homework - week 1 - part 1-post, since I forgot to do that.
ccarrotnl you're fast this week Wilco! Daylight, love the cloudy sky in the window 😊 the light on the pillows is a bit too bright for my taste, but otherwise nicely lit. The night version is very good!! Well lit, stars in the sky, nice mood to the light. Love it! 😄
ssmurfmier1985 I just did an update of the nighttime render a few minutes ago. Maybe you just misted it? Not sure...
I gave it just a bit more contrast, and made the bed lamps a bit brighter.
ssmurfmier1985 Btw. I started out with previously made scenes, so I'm not really that fast. Just updated the old files a bit. 😊
ccarrotnl I did see the vignette one and I love the night version as mentioned before so great job on that 😬
Ah that would speed up things quite a bit 😆