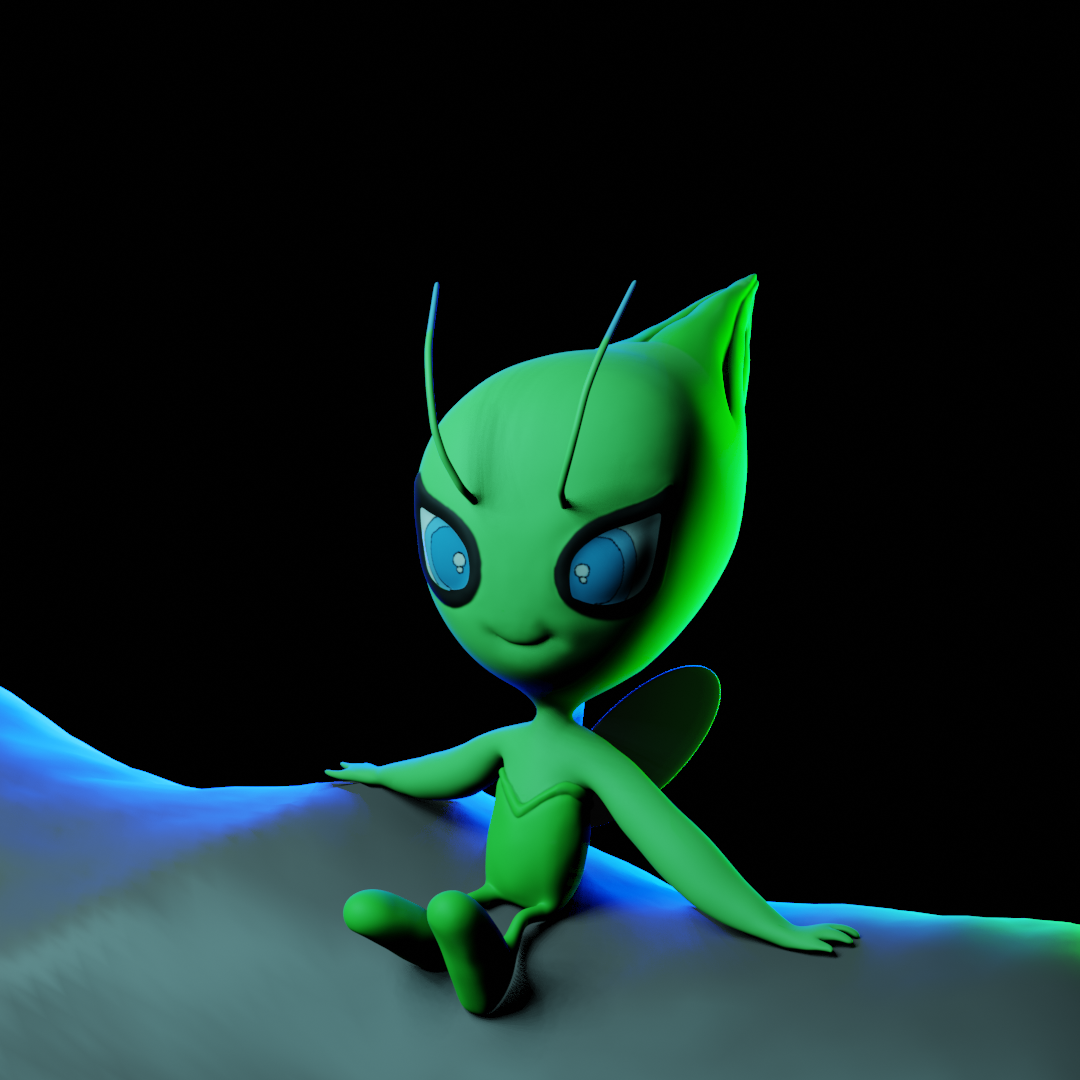
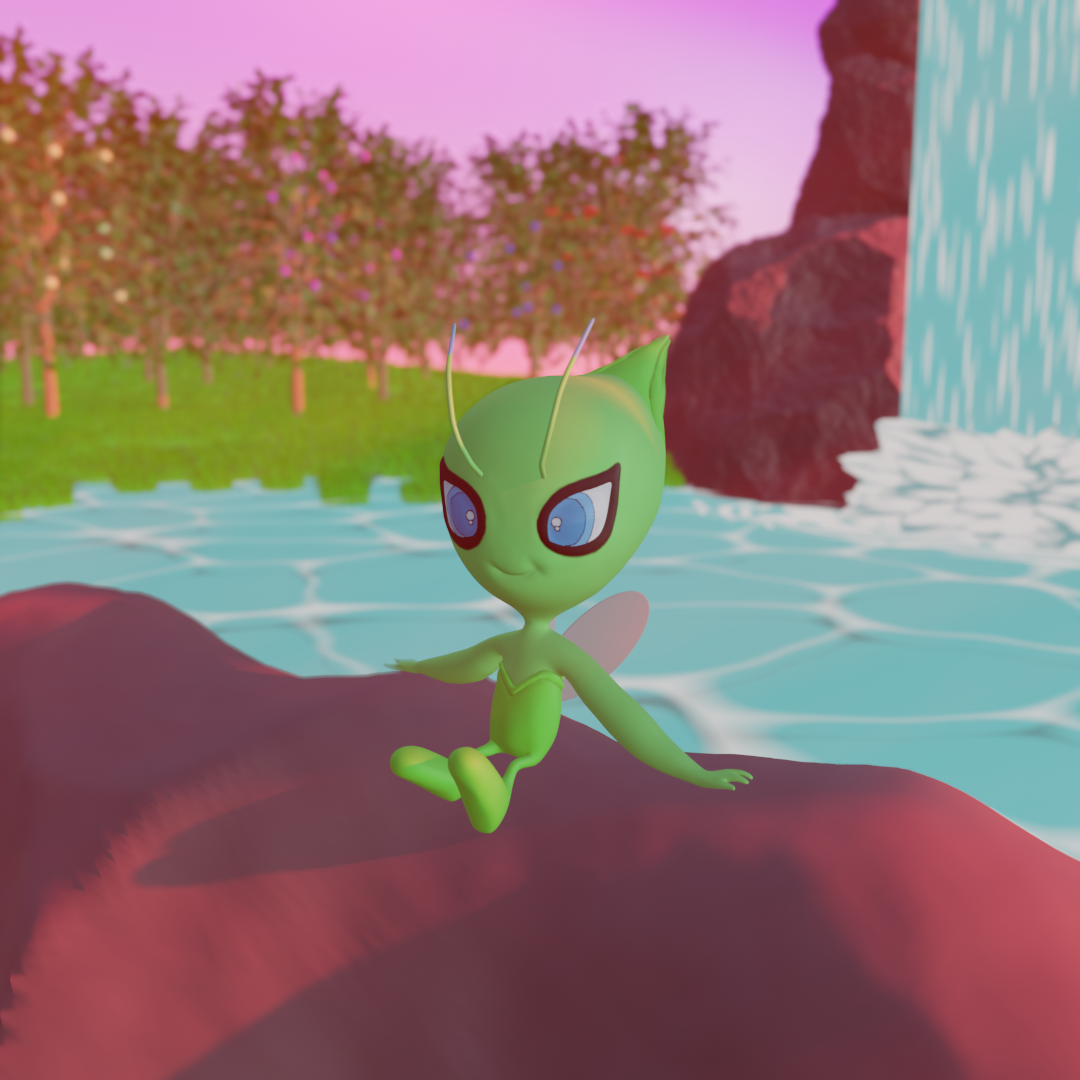
All of my instincts tell me not post until I've finished my model. It scares me to post this because then it becomes real. Then I HAVE to finish it rather then just quietly give up and move on to a new project when I hit a bump. This is my base sculpt of Celebi. I never really learned the basics of sculpting. I jumped in feet first trying out the HUMAN course. (I can make it all the way to the Oscar Statue.) Other than that though, I don't have a lot of experience using sculpt mode. Guess this will force me to actually learn the basics. Gotta learn em all!
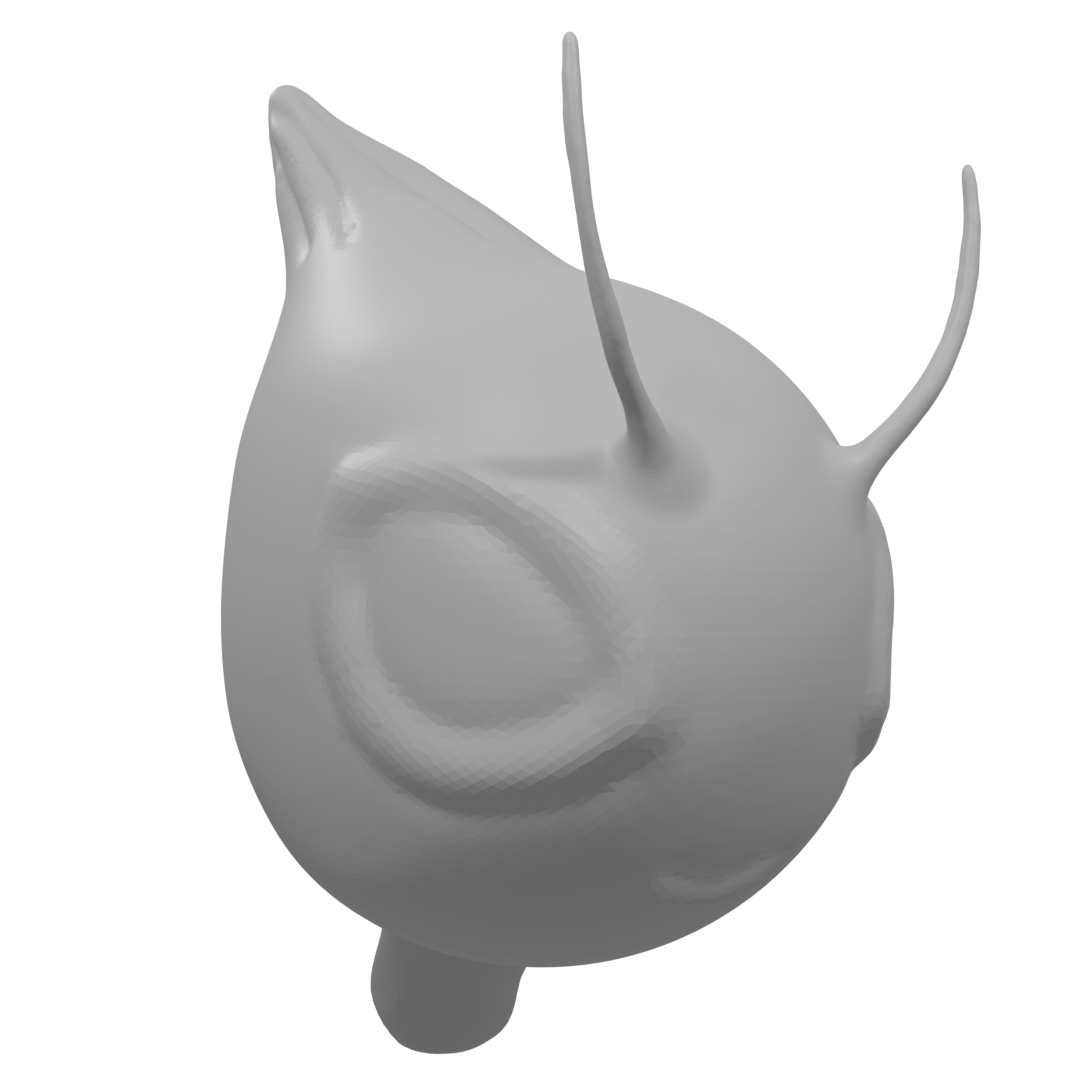
I don't understand why you have to Bake the shadow. Can't tell where the pixelation comes from as long as I don't know your workflow.
But I agree that the lighting in the image without the shadow looks better.
The shadow (or the sun) is on thewrong side and it should be longer and the sun closer to the horizon...But I like the colors!
Again, low sun should produce long shadows...
That's what you get from baking your shadows ;)
Cuz I don't know what I'm doing.😅
I didn't see proper shadows in Eevee. 🤔I only saw it in Cycles.🤷🏼♀️ When I looked up "Shadows in Eevee" the first thing I came across was baking. So I assumed that I had to bake the shadows from Cycles and put them in Eevee somehow. (Again, I have no idea what I'm doing.) I think I just made things more difficult for myself without realizing it....🤦🏼♀️
I moved the sun around to the other side of Celebi and brought it lower to the horizon or does it need to be on the other side of the waterfall. And I'm not sure how to get the shadows to lengthen...
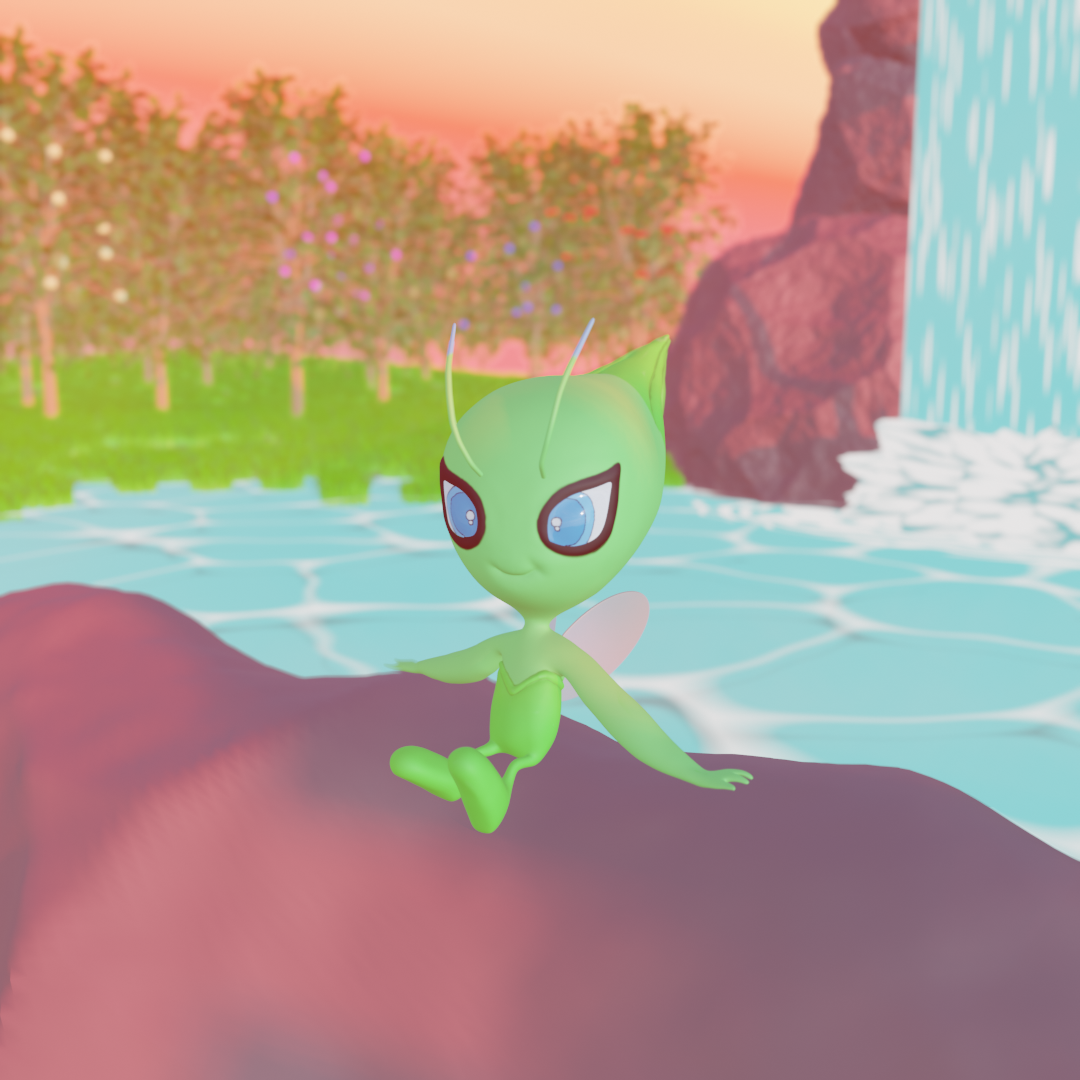
These shadows aren't baked. I failed at my attempt to do that. Instead I found the Contact Shadows box and it got rid of the grain.
![]() wendy10698 by chance if you're using HDRI it weaken the sun's exposure. Make sure you lower the HDRI's strength down a little bit to 0.5 or 0.3. You'll see the difference when balancing both HDRI and the sun lamp.
wendy10698 by chance if you're using HDRI it weaken the sun's exposure. Make sure you lower the HDRI's strength down a little bit to 0.5 or 0.3. You'll see the difference when balancing both HDRI and the sun lamp.
I did have the HDRI really high. I had it set to 70 and this is when I lowered it down to 10.
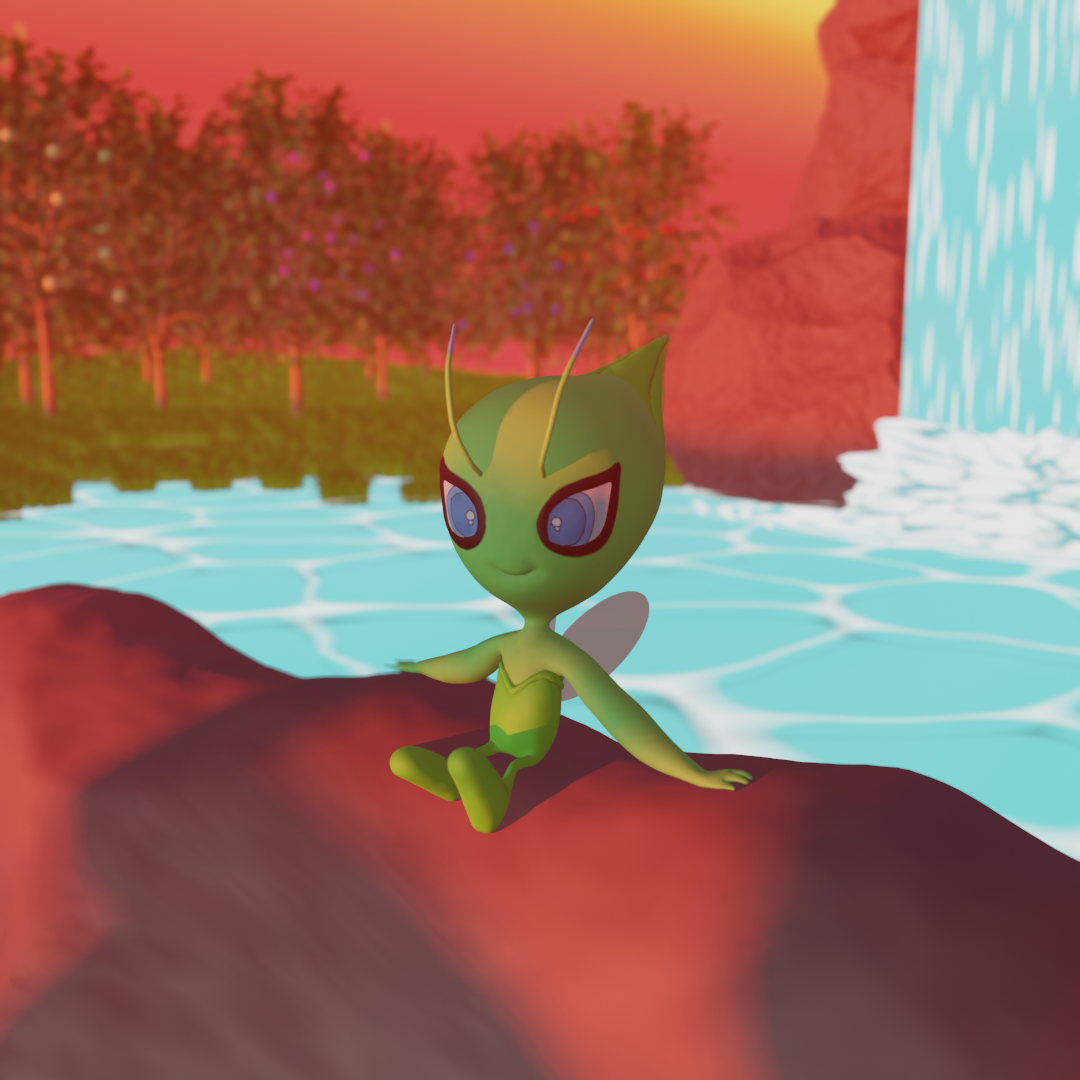
Similar changes applied to the Blue Hour shot. (It made a very subtle difference)
Lol ![]() wendy10698 I'm assuming you had its strength on 1.00. Seventy is too much for the outside scene. No wonder the scene is too bright.
wendy10698 I'm assuming you had its strength on 1.00. Seventy is too much for the outside scene. No wonder the scene is too bright.
I like the new scene though.
I found the Contact Shadows box
Contact Shadows are to 'repair' light leaking like here:
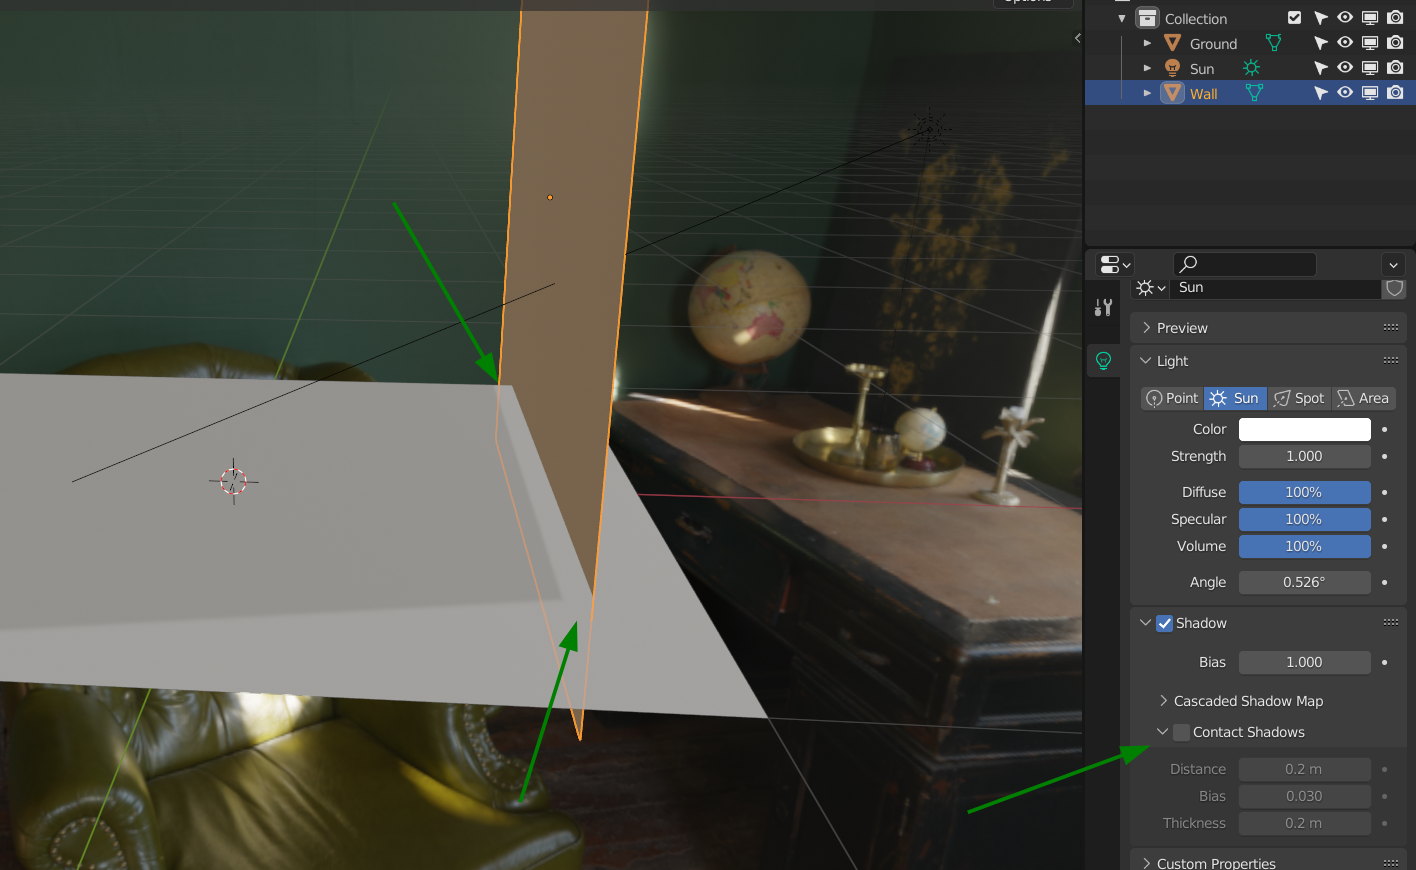
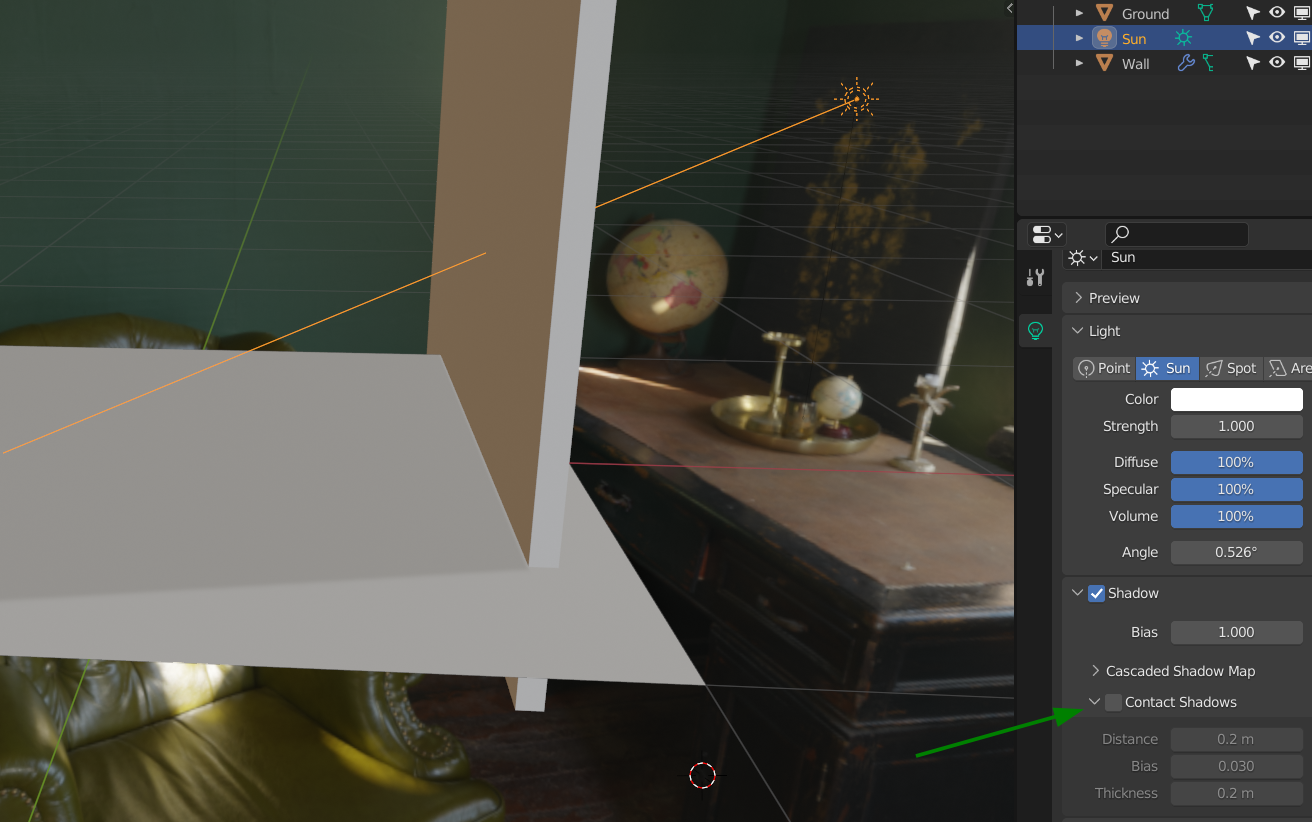
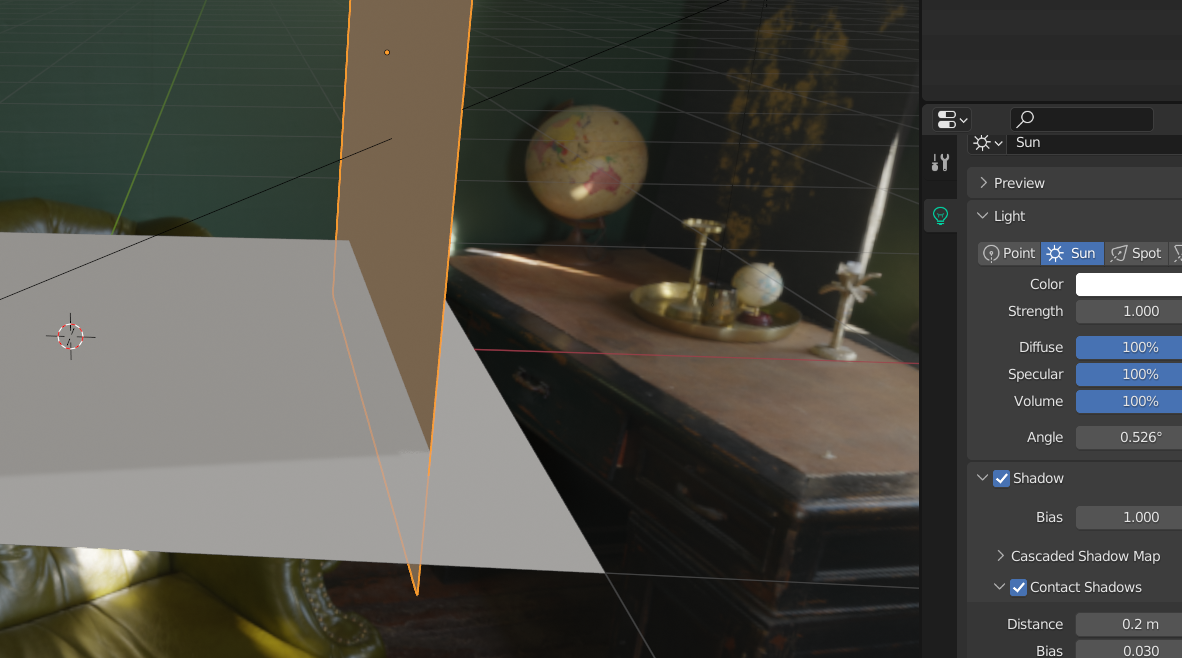 Alternatively, in this particular example, you could give the wall some thickness:
 The weird thing, is that you didn't have any shadow at all in the beginning...there was shadow on Celebi, but not on the ground...
You can also try a different shadow mode in the material properties.
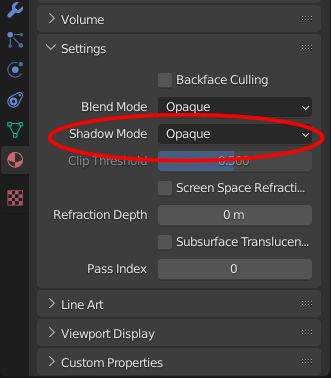
Also do you have Ambient Occlusion turned on in the render properties?
lol. NOPE. 😅It was 70. 🤦🏼♀️But that's cuz of a video I saw talking about adjusting exposure to make realistic lighting.🤷🏼♀️ Again. I have NO idea what I'm doing and lighting has never been one of strong suits.
![]() spikeyxxx That was issue I was having with the leg! Lack of shadow. Yes, I didn’t have any shadows at the beginning so I had no idea where I was suppose to get them from. That’s why I jumped to baking them in I guess? 🤔🤦🏼♀️
spikeyxxx That was issue I was having with the leg! Lack of shadow. Yes, I didn’t have any shadows at the beginning so I had no idea where I was suppose to get them from. That’s why I jumped to baking them in I guess? 🤔🤦🏼♀️
@adrian2301 No...I didn't have Ambient Occlusion on....😅I don't know what that is...It's on now though.👍🏼
Playing with lights. (Hope ya'll aren't sick of the different light setups yet.😅) Now I that I'm changing them up I can't seem to stop. 😂 Only problem is, I don't know which one to turn in when the time comes...
(Original Lighting)
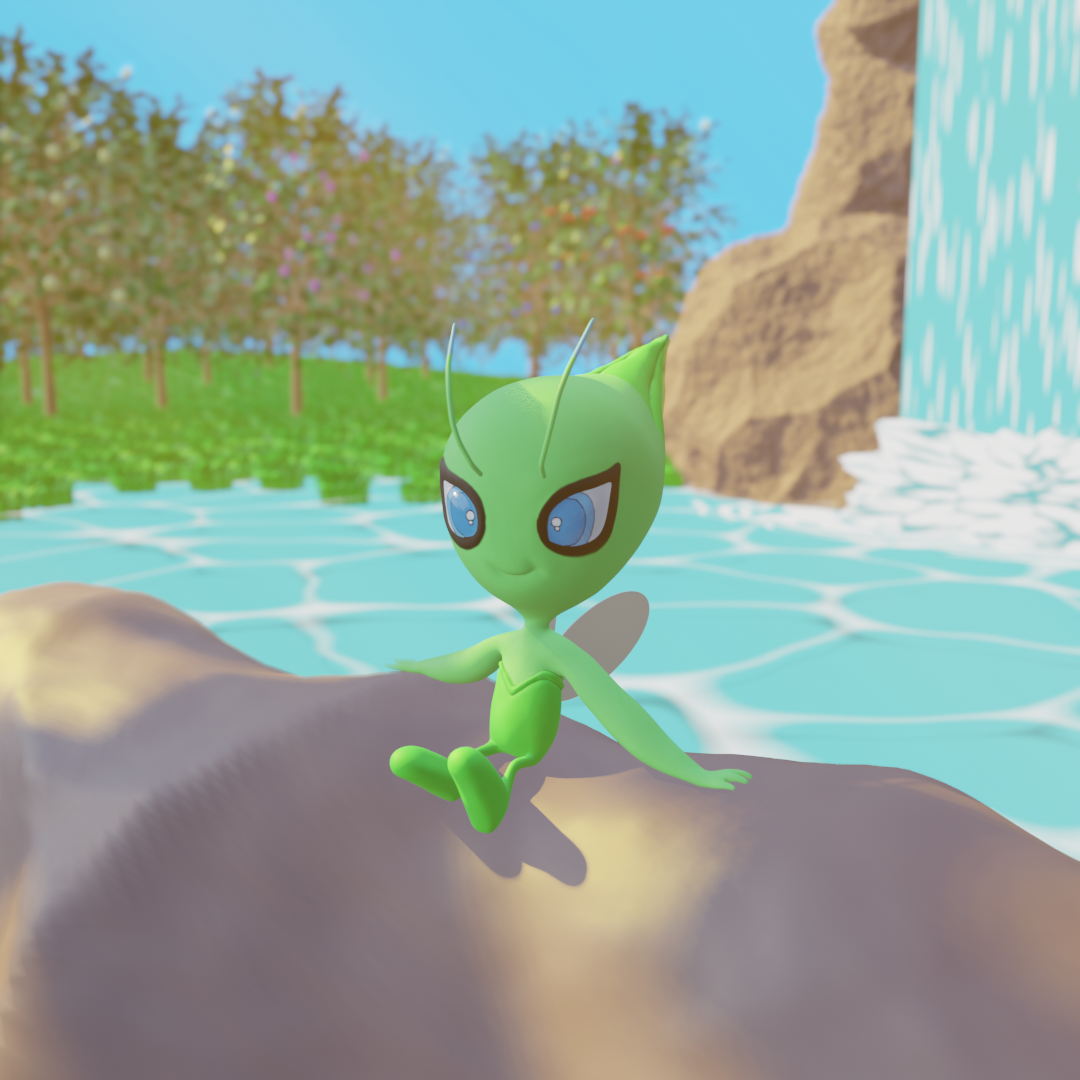
Golden Hour

Blue Hour
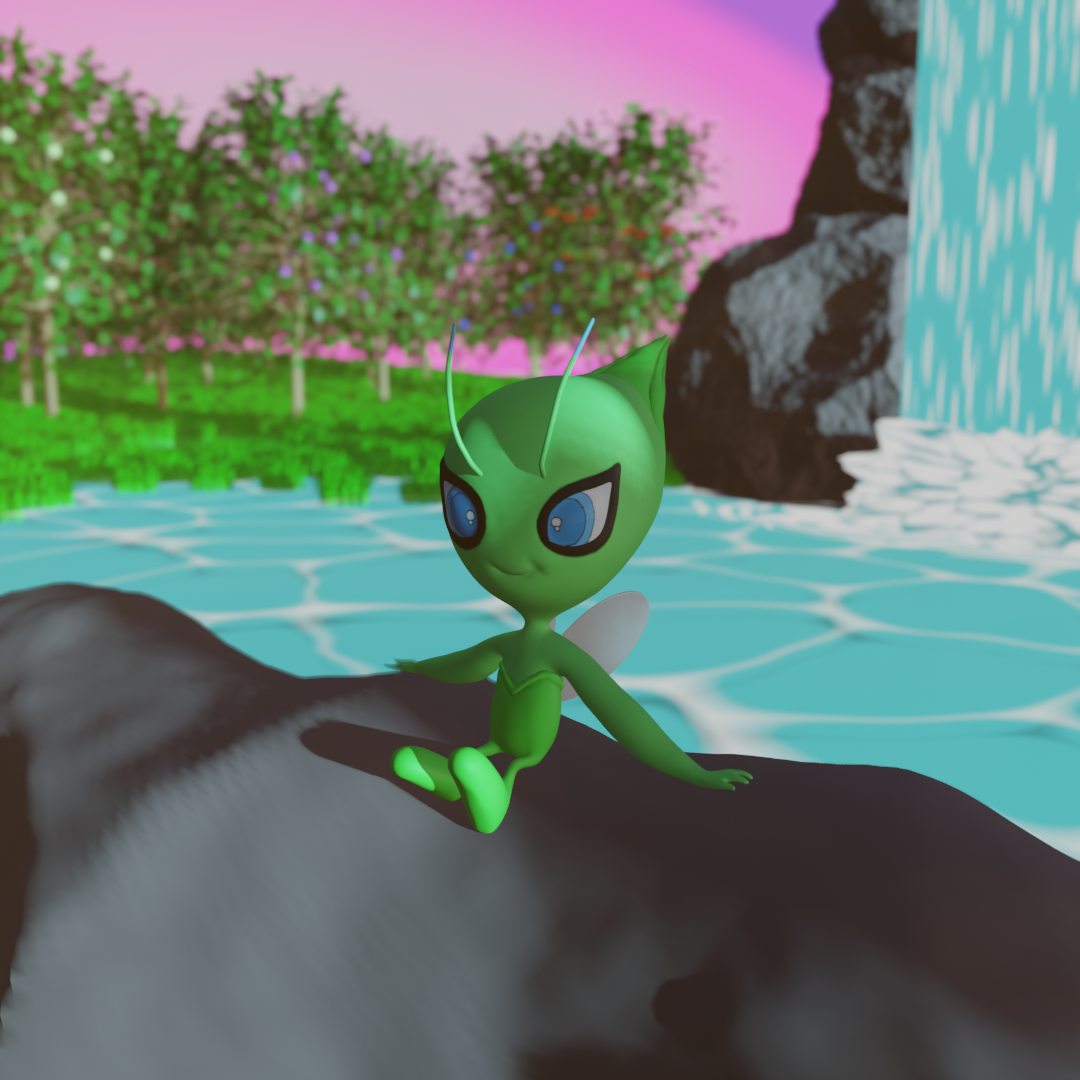
Night time
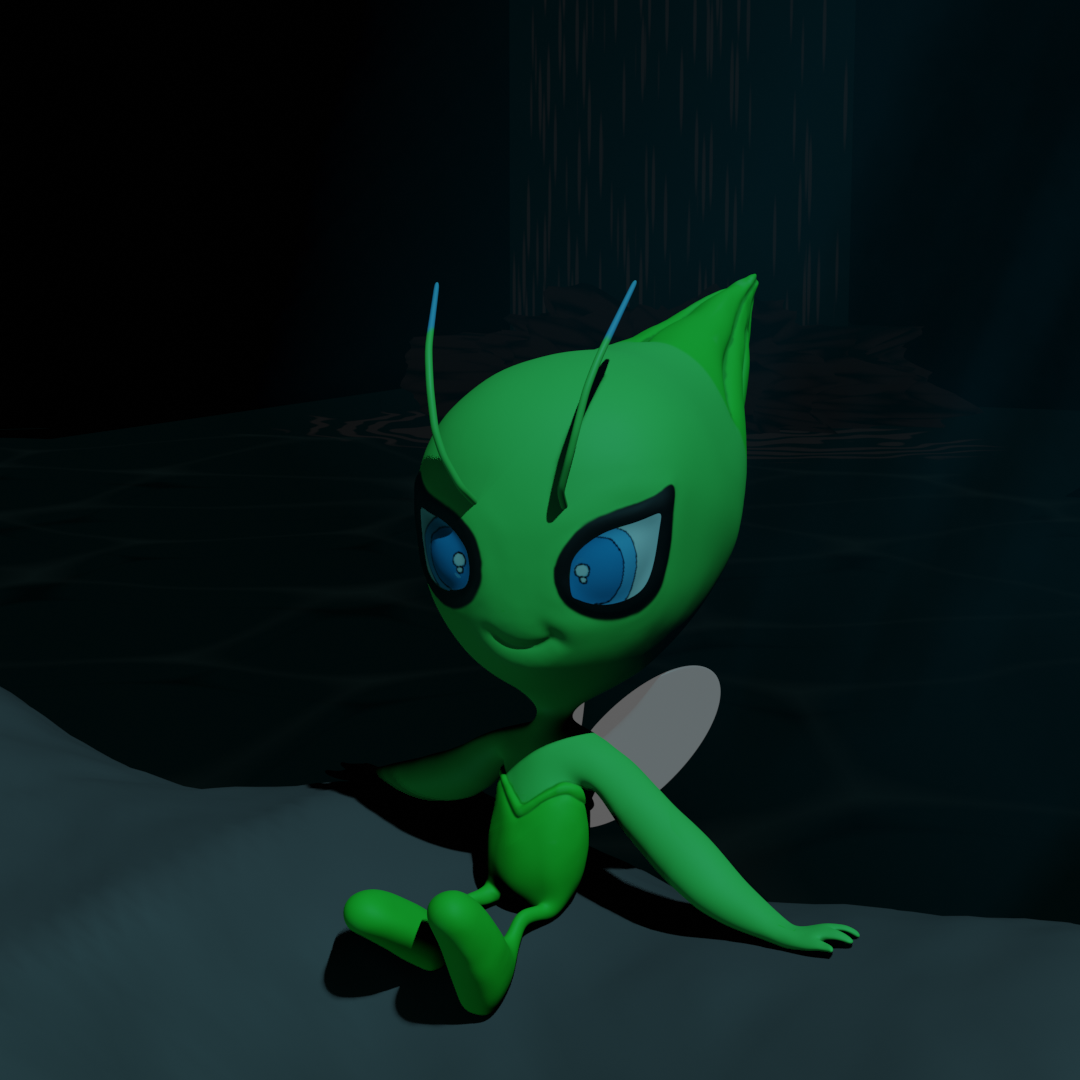
Neon Lights
