If I had to guess, I would say that UV unwrapping in Blender 3D probably isn’t your favorite part of the 3d process. Or... maybe that’s just projection (dad joke), because it’s traditionally not been mine. But, there are a few tips and tricks that I’ve found over the years that make it faster, easier, and even sometimes, dare I say, kind of fun!
1. Use a grid texture
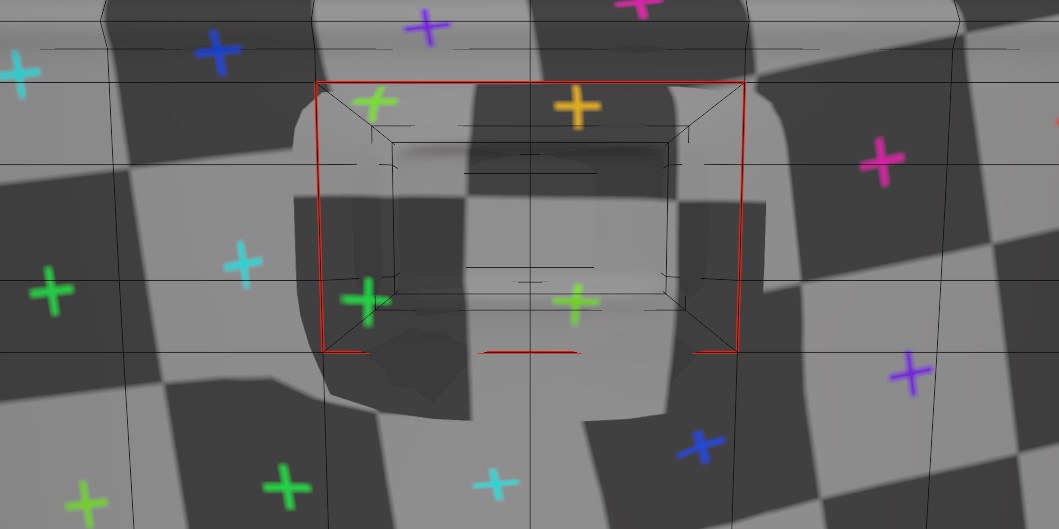
A checkerboard texture can be seen in many artists workflows while they're unwrapping for good reason. The evenly spaced square checkers clearly show how large your UV islands are in comparison to other UV islands and whether or not your unwrap is causing any stretching. In other words, it's the universal way to test if your UVs look good.
You can easily create a grid texture in Blender's Image Editor or UV Editor by going to Image / New and setting the Generated Type to UV Grid or Color Grid. Then, to see it applied to your mesh in the 3D View, add it to your Shader Editor as an image texture, make sure it's the selected texture node, and set your Viewport Shading Color to Texture. I like to use the brightest Studio Light while unwrapping so that I can see the texture clearly but also get a hint of the 3D form of the object.

2. Reset UVs for a Clean Slate
If you have any problems with your current unwrap and you want a fresh start for your UV unwrapping, select all of your mesh in Edit Mode and go to UV / Clear Seam and then UV / Reset.
3. Placing Seams
You can always place a seam in Edit Mode by going to UV / Mark Seam, but you can also access that command faster while in Edge Select mode by using the right click context menu. Then, to see the change reflected in your UV layout, select everything and go to UV / Unwrap.
Need a clear introduction to UVs, seams, and unwrapping in general? Watch the Fundamentals of Texturing!
4. Live Unwrap
Placing seams and then unwrapping can be quite tedious if you have hundreds of cuts to make. Live Unwrap in Blender is amazing because it takes away half of that work for you by unwrapping your mesh again every time you mark or clear a seam. You can enable it in the 3D View in the Options popover or, if you don't have the tool settings visible in the header, in the Tool section of the Properties Editor. To use Live Unwrap in the UV Editor, you can turn it on there as well in the UV menu.

5. Edge Tagging
This is probably my favorite tip here because it's what makes UV unwrapping in Blender so blazing fast when combined with Live Unwrap. Select an edge in Edge Select mode, hold Ctrl, and then select any other Edge. Blender will select the shortest path of edges between the two, which is already amazing, but you can also set an Edge Tag in the Redo panel (F9). Switch that to Tag Seam and you'll be able to use the Ctrl + Select shortcut to place seams faster than a sewing cheetah.

6. Work with Subdiv Off in Edit Mode
It's often really difficult to see edges in Edit Mode while a Subdivision Surface modifier is enabled but it's also important to check to see if the subdiv is causing any UV stretching. My usual solution is to keep the modifier enabled in the viewport but turn it off in Edit Mode, which is the next button to the left on the modifier. Then, just place your seams in Edit Mode but tab into Object Mode temporarily whenever you need to check the final result.
7. Straighten Your UVs
Having crooked UVs prevents you from being able to draw perfectly straight lines on your texture (exaggerated example below). It's not always something that you need to do, but it's generally good practice to straighten out your UVs if at all possible. 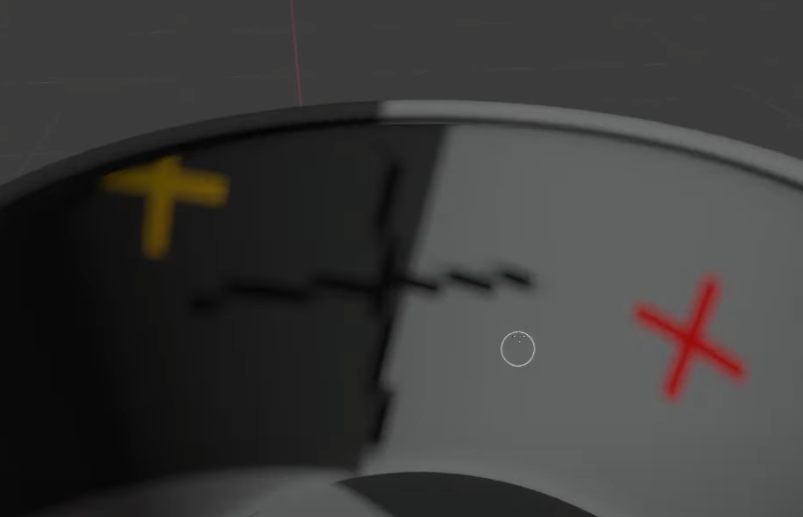
8. Auto Align Edges
The first thing you can do to straighten out individual UV edges is use Auto Align. This is functionally the same as scaling to zero along the X or Y axis, but it automatically picks whichever axis it is closest to. Once you have an edge selected in the UV Editor, go to UV / Align or use your right click context menu and choose Align Auto.
9. Follow Active Quads
This operation is basically a shortcut for aligning all of the UV edges in your island all at once. To use it, straighten out just one quad using Align Auto on all four of its sides if needed, select that quad in the UV Editor to make it the active one, select the rest of the island with Ctrl+L to select everything linked to that quad, then go to UV / Unwrap (or use your context menu) and choose Follow Active Quads. Just like that, all of the edges have been aligned to the edges of the active quad! This will usually cause a minor amount of stretching, but it's usually worth it for the more efficient packing and the ability to draw clean lines.

10. Pinning
The problem with using Follow Active Quads with Live Unwrap turned on is that you’ll lose all of your hard work as soon as you place another seam since it will re-unwrap everything automatically. Pinning will help you to avoid this. To pin, select some vertices, edges, faces, or islands in the UV Editor and go to UV / Pin. You can also just use the hotkey P. Now, whenever you unwrap, those pinned components will stay anchored in place while everything else is unwrapped as usual. To unpin, use the same menu or Alt+P.

11. Moving Islands to the Side
Pinned islands will get ignored while unwrapping, but that also means that other islands might get unwrapped on top of them. This isn’t really an issue as you’ll want to unpin and re-pack everything at the end anyway, but overlapping islands can be messy to work with. I like to keep my UV work area clean by moving pinned islands off to the side of the texture space so that they don’t get in the way.
12. Hiding Islands
If I’m working with a more complex object, I also like to hide sections of the mesh that I’ve finished unwrapping. This gives me a visual indicator of how much I have left, it keeps me from accidentally messing up any part that I’ve already finished unwrapping, and it makes things easier to select by getting parts I don’t need to work on anymore out of the way.
To hide a UV island in the 3D view, make sure to switch to Face Select mode (or you’ll accidentally hide vertices of other islands or leave some edges dangling), select a face on that island, and hit Ctrl+L to select everything linked to that face. Then, in the Redo panel (F9), set the Delimit to Seam so that the selection will stop at any seam. Hit H to hide and then use Alt+H to unhide whenever you’re finished.
13. Seams Can Cause Stretching with Subdiv
The Subdivision Surface modifier also subdivides and smooths an object’s UVs. The result would look incredibly warped if it didn’t! For the most part, the smoothing corrects for the difference between the unsubdivided UV shell and the subdivided mesh. However, some UV vertices along seams will be pulled around with the smoothing in a way that causes pinching. We’ll look at this more below, but for now just be aware that we generally want to minimize the number of cuts we make to minimize the chances of introducing this subdiv stretching.
14. Visualizing Stretching and Modified UVs
As mentioned before, I usually like to work with subdiv disabled in Edit Mode, but it can be helpful to turn on sometimes to diagnose what is causing some stretching. After enabling it, turn on Modified Edges in the UV Editor’s Overlays popover (I think it may actually be on by default now) and you’ll be able to see just how your UV edges are being pulled around by the smoothing.
You can also turn on Display Stretch in that same menu, which shows a helpful heatmap of where your islands are most distorted.

15. Partially Following Active Quads
Here’s the best trick I know for straightening out more complex islands: use Follow Active Quads on only the part of the mesh that should have straight quads, pin those vertices, and then unwrap the rest of the island. Everything that's not pinned will snap right into place!

16. Use Snapping to Stitch UVs
Auto-merge is essentially always on in the UV Editor. Any time you place a vertex directly over another vertex, they will be combined if they're the same vertex in the 3D view. One way to use this is to set your Snapping Method to Vertex and snap faces together in order to stitch them. 
17. Use Pinning to Guide the Unwrap
If your UV islands are jumping around while you unwrap or if you want to guide your unwrap a little bit more manually, try pinning just a few vertices of an island and let Blender interpolate the unwrap between them.
18. Split Convex Corners
Placing seams where a UV island is concave will cause overlapping, but cutting where it is convex will often help it to lie flat. Just make sure that the new seam doesn't cause more Subdiv stretching!

19. Uneven Face Ratios Cause Stretching with Subdiv
If you have a very small face next to a very large face in a Subdivision Surface mesh and place a seam in between, you're going to end up with stretching on the larger face because of how the subdiv tries to pull the new vertices in order to smooth out the shape. To fix this. make sure you either only place seams between faces of roughly equal width or add a new edge loop to the larger face to support the UVs.

20. Fix Stretching from Subdiv's UV Smooth
By default, the Subdivision Surface modifier causes some pretty bad UV stretching when you place a seam along a sharp edge. To fix this, just switch the UV Smooth option on the modifier from Keep Boundaries to Keep Corners. In some cases, Keep Corners Junctions and Concave will work even better. The names are pretty self explanatory, but don't forget you can check out Modified Edges in the UV Editor to see exactly what's changing!

21. When in Doubt, Cut then Stitch
If you've ever been at a loss as to where you should place seams, try thinking about your shape as a cube (cut the front, back, left, right, top, and bottom) or a cylinder (cut the top, bottom, and one loop up the side). Then, place a seam around any other details. When in doubt, cut. Then, when you have all your pieces and they're laying flat, go back and stitch some of your islands back together by removing seams to get the shapes that you want.
22. Turn Live Unwrap Off Before Packing
Live Unwrap is amazing for quickly unwrapping your mesh, but it's also a little dangerous! If you've already unpinned something that you've straightened or have already packed your islands, just placing a single seam can take you back to square one. I'd highly recommend turning this off as soon as you're finished using it.
23. Average Islands Scale
It's always good to make sure that the different parts of your model have roughly the same texel density, i.e. the squares on the checker texture look about the same size. To even out your texel density for all islands at once at the end, select all of your parts and go to UV / Average Islands Scale.

24. Packing Multiple Objects
Don't forget that you can go into Edit Mode on multiple objects at the same time! Any objects or parts of objects that are sharing the same material (texture set) should be packed together into the same texture space.
25. Adjusting Texel Density
While uniform texel density is a great place to start, you may want to go through and scale up more important UV islands like the face or hands or scale down less important islands before you do your final pack.
26. Use Better Packing Algorithms
Blender's default UV packer is great for packing basic shapes, but it treats every island like a box and therefore doesn't pack anything into concave shapes. I'd highly recommend picking up an addon with a more advanced algorithm like UV Packmaster 2 (paid, lots of features) or UV Packer (free, fewer features) so that you can make the most out of your texture space without needing to pack things by hand.

I hope one or more of these Blender 3D tips helped you out.
Related Blender Courses:
I need to print this article and put all the pages in my wall.. I really needed to read this! Thank you very much for share!
During a long night of revising my sociology paper, I noticed some sections of my draft sounded awkward, especially where I tried to explain research in my own words. After struggling for a while, I decided to try a paraphraser https://humaniser.ai/paraphraser to help rework a few clunky paragraphs. It didn’t do the thinking for me, but it definitely made studying and polishing the final version much less frustrating.
aamit20052020 I think the basic pack is roughly the same in both, so the only reason I usually go with UV Packmaster is for the extra options like keeping overlapped islands on top of each other, packing the selected islands around the unselected islands, etc.
Awesome!
Do you get more efficient packing in UV Packmaster 2 vs UP Packer?
great article! UVs are a topic that doesn't get that much coverage. bookmarked it for future reference