(Check out our course on planning and building custom cabinetry with Blender!)
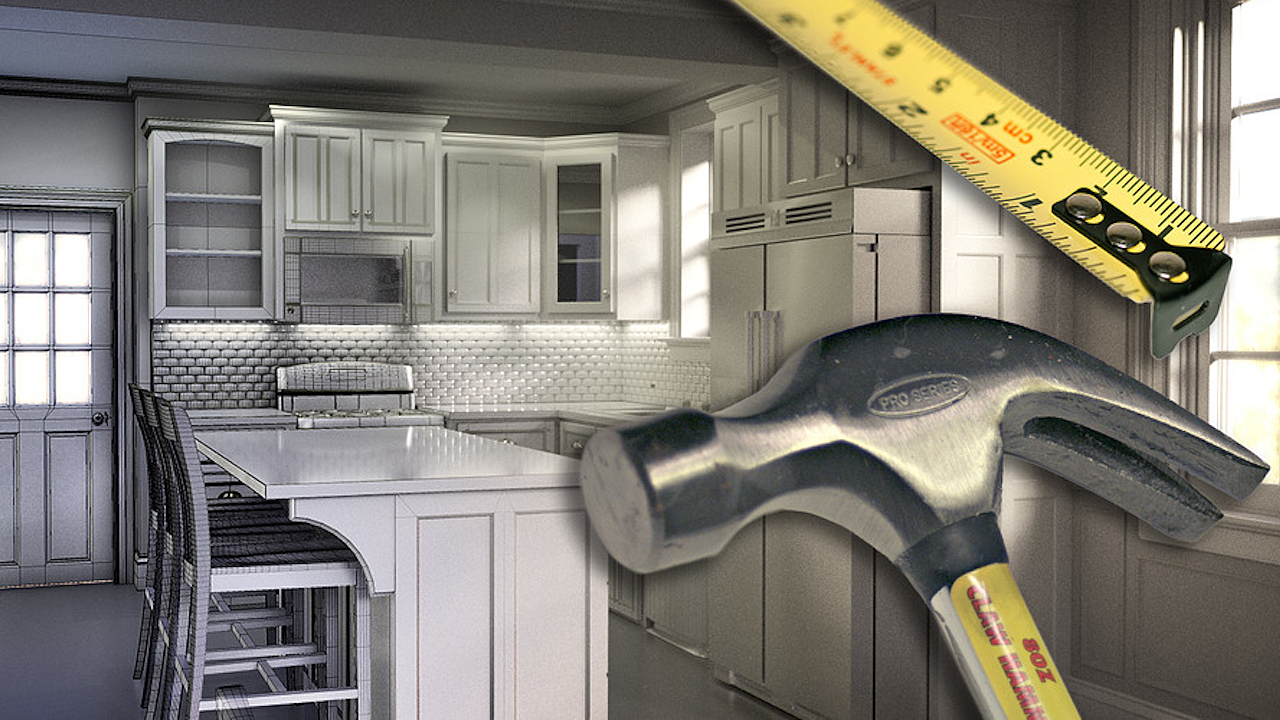
Renovation and carpentry are on-going hobbies of mine. This may not surprise many of you given my fondness for 3D modeling. I love to build things both digitally and physically. So when it finally came time to 'break ground' on my first renovation project, of course I found myself using Blender to flesh-out my ideas. And I imagine that many of you reading could share the same affinity for DIY and Blender - Let's talk about it!
The Benefits
First, the obvious benefit of visualizing renovation plans is that you can potentially get a very realistic preview of what your result can be. From wall colors to wood finishes to tile patterns - all the important decisions that a renovation requires but is rarely visualized until it happens. Just ask my wife: these previews are extremely important. And sometimes the only way I can convince her to green-light a project ;) Take my bathroom: I suggested to my wife that adding "picture frame molding" on the walls could result in the classic look that she likes. She looked at me blankly. To bring the message home, I showed her Pinterest examples, but these were mostly dining rooms, not bathrooms. She still found it difficult to imagine picture frame molding in the bathroom context. Finally, I built the bathroom in Blender and showed her the render below. That's when the lightbulb turned on and she gave me the thumbs-up.
A second benefit is that your architectural models can double as building plans. This took some initial habit-breaking for me since 3D modeling allows for a lot of "cheating" compared to carpentry. For example, the simple picture frame below could be modeled with Blender using a basic plane, insetting a hole in the middle, and extruding thickness. But to build it appropriately with lumber, it would take several specifically measured pieces with angled miter cuts. If I take the time to model it like a carpenter, I could conveniently use Blender's real-world scale and measurements as building plans.
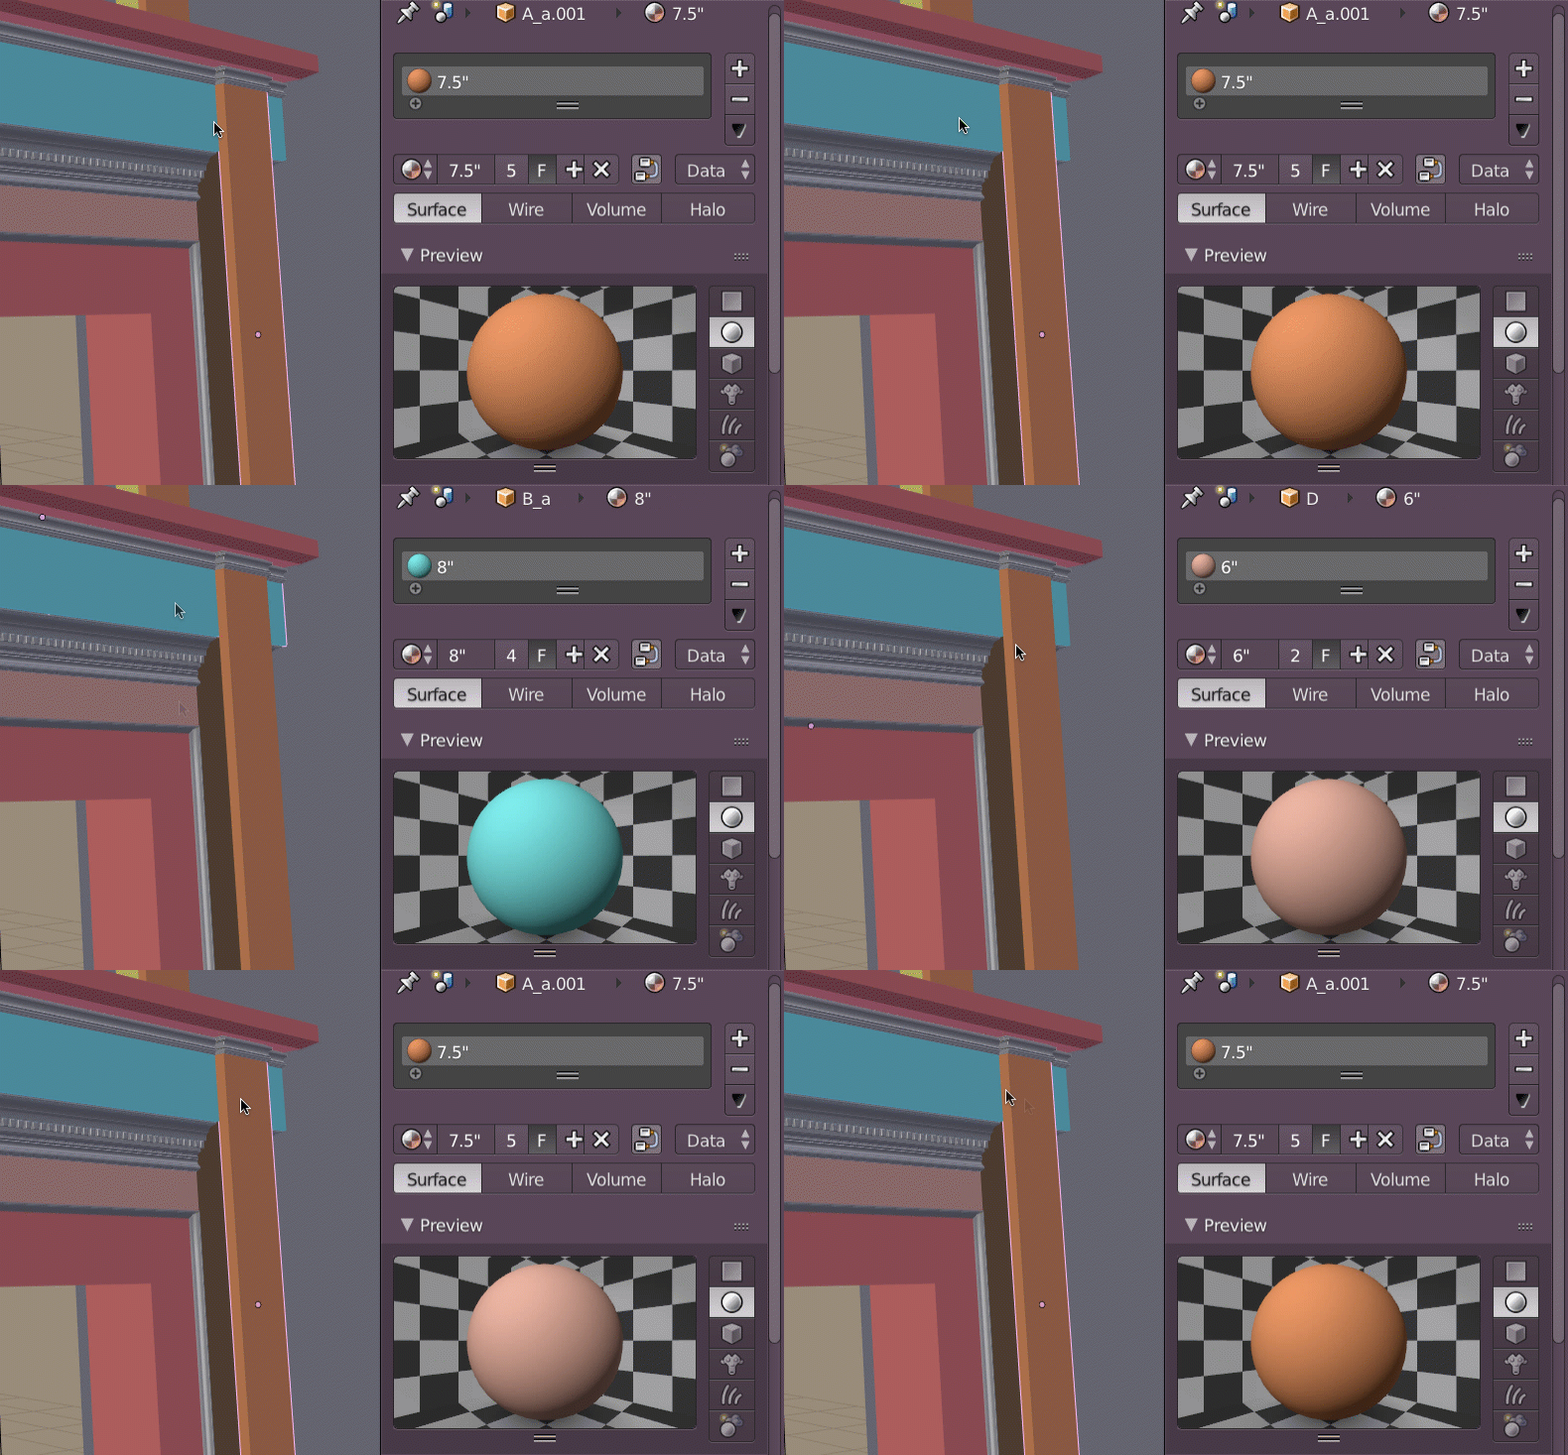
Rethinking my modeling workflow as such took some getting used to, but it's completely worth it. I used the technique to design and build a facade over my fireplace. First, I blocked out the existing structure, then modeled the facade on top using separate pieces that would serve as my blueprint for real-world construction. Note that the "blueprint-style" model is color-coded where matching pieces designate certain widths and thicknesses.
Workflow Tips
First, a preface: Blender is not designed to be a computer-aided-design (CAD) tool. CAD tools are used to design products and structures. Therefore, they optimize a lot of structural design elements for the user, like measurement rules or standards. Blender is more of a free-form, build-anything tool which means it's not optimized (or limited) for structural design. Blender's free-form nature means measuring and structural design is much more of a manual process. If you're interested in transitioning to Blender from a CAD program, you'll probably be frustrated at the onset. If you're interested, know that there is a CAD-like fork of Blender called Fluid Designer. However, seeing as I'm very comfortable with regular ol' Blender, that's what I choose to use. Here are some tips I recommend if you're interested in using Blender to help with your own home improvement needs:
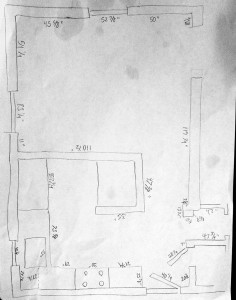
1. Building to Scale: This is a must if you want your visualization to provide a reliable preview and serve as a building plan. The reality is, you'll have to do a lot of manual, real-world measurements along the way. With renovations, for example, I recommend starting by sketching your walls in a top-down view on a piece of paper. Next, take your tape and measure every wall, noting it on your drawing. The more measurements you can fit in one drawing the quicker you will be able to build up the core structure of your existing room/structure in Blender, because the back-and-forth between Blender and measuring can get annoying. Alternatively, I've used blueprint-making apps for iPad to construct a more accurate drawing and imported it as an image template into Blender that I simply built on top of. But along the way I dropped and shattered my iPad, so I've returned to paper for my recent renovation projects...
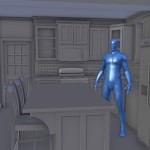
2. Keep a mannequin in your scene: I find it very important to maintain a generic, human scale presence throughout the 3D design process. It's very easy to lose relation between the physical world and Blender's viewport. When I was brainstorming our attic reno, the angled ceiling made it difficult to imagine how much space would be maneuverable for adults. Having a 6-foot male model standing in the room really helped to make practical decisions.
3. Snapping & Measurement Objects:Snapping is crucial for the kind of precision modeling that home improvement projects require. You will find yourself constantly snapping to vertices of other objects in your scene to ensure stuff lines up. Along with this, I find that it's useful to have throw-away objects for making precise measurements that aren't easily automated. Automated the way the Solidify modifier does for thickness. How can you do that? For example, standard hallways should be no less than 3 feet wide. To facilitate this measurement, I'll create a plane or cube and immediately set its Y (and Z) dimension to 1" and the X dimension to the needed measurement - like 3 feet. That gives me a simple yardstick of sorts to easily snap my hallway walls into a proper width. And I will typically leave these objects in the scene on a certain layer so I can quickly modify the X dimension for a new measurement.
4. Solidify Modifier: Material thickness is usually a very standardized thing when it comes to carpentry and construction. The Solidify modifier makes it easy to type in thickness values, like 4" for walls or 3/4" for plywood or whatever lumber/material you plan to use for your project. Maintaining accurate thicknesses will ensure reliable pre-visualizations as well as make your modeling job easier since you only have to deal with planar base meshes.
5. Backface Culling: If you're working on a room design in Blender, you'll frequently find yourself navigating outside the bounds of the room. At which point, just like in reality, you will no longer be able to see inside the room. But since we can cheat inside the computer, Blender has a setting that allows us to look through walls! It's called "backface culling" and you can enable its checkbox in the view properties panel (N-panel) under the Shading drop-down.
6. Scene Organization: I highly encourage that you organize your design as you go. Take advantage of Blender's layer system to categorize before elements, after elements, utility objects (like measurement objects and mannequins), as well as alternative options for your project if you're trying to decide; "kitchen island A or island B?" Also, as I mentioned before, you can color-code your scene for more organization using materials. I find this technique especially useful for isolated carpentry projects where I can visually group pieces based on thickness, length, or width.
Have you ever used Blender for Home Improvement projects?
Let us know in the comments as well as any tips you have to share!


Fantastic post Kent. Curious though, did you also create construction drawings/Blueprints to use while you were doing the real world build?
or how you referenced you models while building?
Great tips, Kent. Wish they'd been available when I was trying to do a bit of ArchVis for my daughter who was building her first place near Ipswich, QLD, and who gave me the floor-plan to work with. They were building this sort-of duplex (sort-of, because the other half of the house was smaller, like a MIL thing, with the idea of renting it out), and wanted to get an idea what it might look like. I made all sorts of mistakes, but the thing wasn't mission-critical: they just wanted an idea. Oh, and I used the free figure Antonia (FOSS) of Poser fame as my reference figure.
Lots of fun, anyway!
I have been using 3D program for home improvments quite some time. Before discovered Blender I used Sketch Up and I can certainly say that it saved our bathroom renovation from a big disaster. We had purchased a big Whirlpool tub and when already delivered we realized that it will not go through the bathroom door because he hallway was to narrow. With Sketch Up and the right measurments I could test out the alternative options to get the tub in place.
I have used Blender in order to help myself and others visualize various home projects. Here is one example where my brother had an idea for a particular style of fence he wanted to create and he asked me if I could help him show his wife what he was talking about:
https://www.youtube.com/watch?v=nXGvwmboPok
I modeled and rendered it very quickly as can be seen by the 'dancing' fence posts in the background, but it got the point across and he now has that fence built around his house.
Additionally, I have used Blender to help him show some of his customers what their kitchen will look like when he is finished building their cabinets. Those renders have actually helped him acquire some work.
I too,come from a CAD background. I taught myself how to use the 3d aspect of AutoCAD as a visualization tool for some of my customers and when I started using Blender, you are quite correct that it was difficult for me. Blender didn't work the way I expected. Using the snapping tool took some getting used to as it works so differently than AutoCAD's does. For a while, I found myself creating 3d models in AutoCAD and importing them into Blender to add to a scene. This allowed me to get more precise measurements beforehand but gave me some awful topology. Eventually, I came to prefer taking a project from start to finish completely in Blender.
Regarding CAD options available, Dassault Systems, the company that produces SolidWorks, has a 2d CAD application called Draftsight that is available in a free version.
I enjoyed your post.
You could also bake the scene using Cycles and use the baked results for real time rendering using BGE (or Unity).
Just started using the addon "Blam" . Try it, and you wont have anymore problems with matching that 3d plane.
I love your work, but I'm afraid I don't have sufficient time left to come up to your standards of precision, nor do I have your seemingly innate talent for composition, perspective, color, lighting, sculpting, modeling, drawing, concepts, texturing, or anything else remotely associated with art. I wish I did, but my life took another path. Your dedication to art and the path I both decided to take (and in a way forced to take) always reminds me of the Robert Frost poem (one of my three or four favorite poets), The Road Not Taken:
TWO roads diverged in a yellow wood,
And sorry I could not travel both
And be one traveler, long I stood
And looked down one as far as I could
To where it bent in the undergrowth;
Then took the other, as just as fair,
And having perhaps the better claim,
Because it was grassy and wanted wear;
Though as for that the passing there
Had worn them really about the same,
And both that morning equally lay
In leaves no step had trodden black.
Oh, I kept the first for another day!
Yet knowing how way leads on to way,
I doubted if I should ever come back.
I shall be telling this with a sigh
Somewhere ages and ages hence:
Two roads diverged in a wood, and I—
I took the one less traveled by,
And that has made all the difference.
When I was a senior in college in 1968, I was a history major (Colonial American). The Vietnam War was going strong and my friends who didn't have draft deferments were disappearing into the Army at an alarming rate. It's hard to explain, but I wasn't going to change my major just to get a draft deferment and I'm the type of person who prefers to make my own decisions. So I joined the Marine Corps in order to avoid the draft. That likely doesn't make much sense to the average person, but in many respects it was one of the best decisions of my life. I became an infantry officer and served three years in combat and 21 years in the Corps. Just as you are an expert in art and modeling, I was an expert at winning in combat. After all, combat is an art form if you think about it. Sun Tzu wrote the "Art of War" in circa 512 BC which is still one of the definitive and must read books on warfare today. As Sun Tzu said and I was able to do, I pre-visualized what my enemy was going to do based on what I knew, my experience, my training, the combat readiness of my unit, and of course, guessing correctly.
Marines are a very special breed of volunteers, and I will always feel that I was honored to have been their commanding officer. I wouldn't trade those experiences for any amount of money because those experiences made my who I am today.
But retired from the Corps 30 years ago. I worked for a time as an employee for two companies developing new technologies for the military. In January 2001, I formed my own consulting company and provided independent consulting services to Department of Defense high technology programs including the Defense Advanced Research Projects Agency (DARPA). Those contracts allowed me to travel around the world many times over to provide support for new technologies to military units (mostly special operations units) in unusual locations.
But now, I'm 70 years old. There is not a demand for old broken down war horses these days. But the reality is that over the many centuries of warfare, each generation seems to have forgotten the lessons of the past and so it's wash, rinse, and repeat.
My point is this. After so many years of serving in and supporting the military, I've returned to the road not taken so many decades ago. I am doing my best to become the historian and artist that I would have liked to have been had not world events forced me down the other road. So I've started down the alternate road late in life. I've been modeling in Blender for a few years, but due to my work schedules, progress has been slow. You can see my limited progress on Blend Swap under BMF. I also have a WIP post on Blender Artist under BMF2 (currently PT-109 that JFK commanded in WW II).
However, at 70 years old, there is always the question on which side of the grass you will be every day. I could live to be 100 or I could be room temperature before sunset. You don't think about these things when your are young, raising a family, and working in a successful business. But as you grow older, you become evermore aware that life indeed has an end. That's were I am today. I'd love to live long enough to become an experienced and respected artist, but at my age, the reality? It ain't going to happen.
I think this is why I admire you and so many other young artists. You still have your entire future ahead of you--as long as lightning doesn't strike you, you don't step in front of a bus, or something else happens over which you have no control.
So what I'm I doing to become a better artist in the time I have left? I'm taking drawing and painting lessons on line. I'm following Blender tutorials. I'm attempting to write a novel (a challenge more difficult than marriage and combat combined). I'm involved in photography--including Photo restorations. I study astronomy. I play blues guitar (I can't read a note but I've learned how to finger-pick about 40 or so Mississippi Delta blues songs). I try to keep up with my Spanish. And I'm studying lighting, color composition, texturing, etc. all of which will hopefully somewhat make up for the road not taken so many decades ago.
Like I said, whenever I see beautiful works of art, I am always reminded of The Road Not Taken in my life. But then, I've had a wild ride in life and the Grime Reaper has lost count of the times I've cheated him out of his due. There is a certain art in that as well, although I doubt most would not understand.
My apologies for the long and mostly off topic post. But I'm passionate about both the road I took and the road I would have liked to have taken.
I did the same thing everyone does the first time you download Blender, I played around with the default cube a lot, my friends would come to my house just to see me rotating the cube, it was insane. And then when you learn to extrude and you could make a Salvador Dali out of the cube, that was a whole other level.
But after I came across CG Cookie and saw a few tutorials, the thing that most stood out to me was that I could finally see how my room would look like with the renovations I had had in mind for a while. That was the very first project I did in Blender, the "My Room 2.0" project. Today, I'm sacred to look at those renders, but I re-made my room with the help of Blender and in real life it turned out great.
A constant struggle was with matching the perspective with the photos I took. I saw a bit of tutorials online where people drew out some lines and matched a point on the horizon and tried to match a plane on 3d space, but I never understood it the way they explained. Perhaps that would make a good tutorial topic one day.
Thanks for the tip abot Turbo CAD, cjohnson! And yes, I thoroughly enjoy my bathroom :D
Thanks for sharing some of your workflow ideas on this topic. I myself love architectural design and completely prefer blender over programs like CAD. Check out Turbo CAD Deluxe for your future projects. It costs about $120 right now I think. It's not a membership sort of thing either. You can still buy it and own it unlike AutoDesk and the like. File formats are compatible back and forth with Blender so that's pretty awesome. That way you can model quickly in Blender and jump over to AutoDesk for precision if you wanted to. I personally would love to use AutoCAD more if it wasn't such a pain in the butt to figure out the UI. lol It works completely different than Blender. It's hard to even compare the 2. You can't work in 3D like you can in Blender. Everything is done from "Front view, Top view, right side view". My old version has really limited tutorials. Blender has you guys teaching us. You'll have to self teach a lot to use AutoCAD unfortunately if they haven't stepped it up with their tutorials. Just a suggestion for the "precision" aspect of DIY.
P.S. Good job on your remodeled bathroom. I'm sure you enjoy it much more now that it has your own personal touch to it.