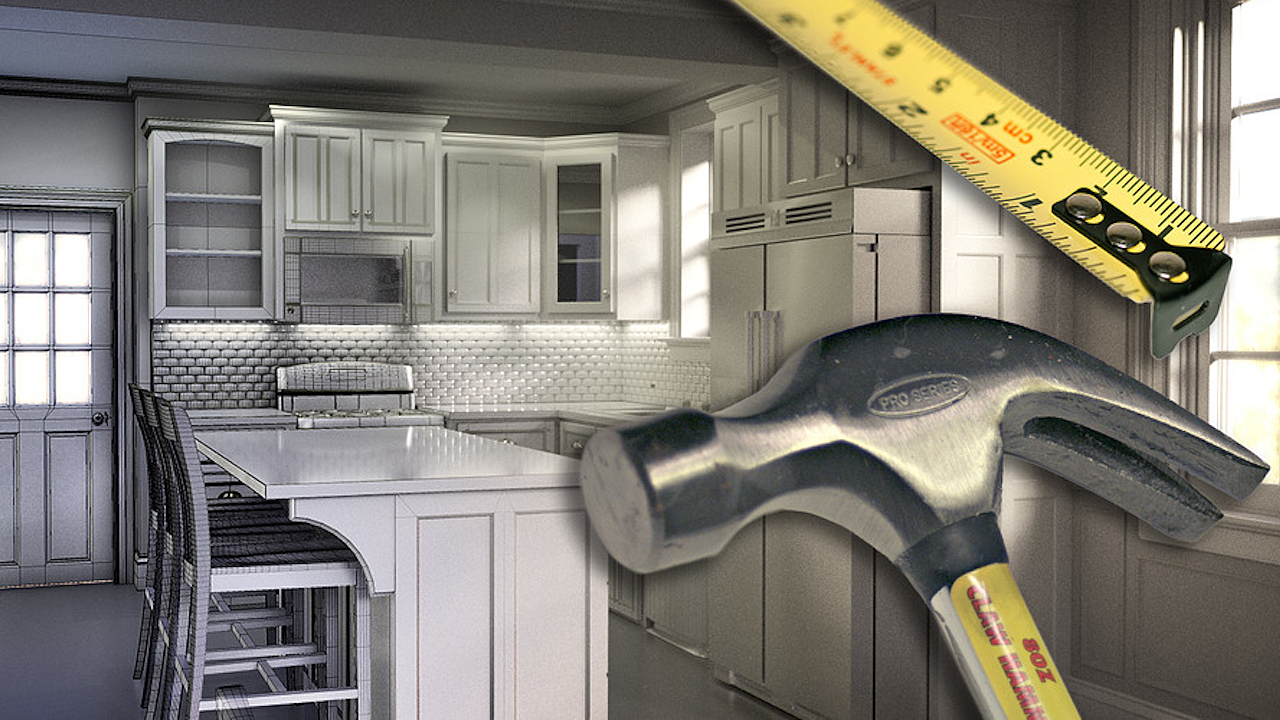
(Check out our course on planning and building custom cabinetry with Blender!)
Renovation and carpentry are on-going hobbies of mine. This may not surprise many of you given my fondness for 3D modeling. I love to build things both digitally and physically. So when it finally came time to 'break ground' on my first renovation project, of course I found myself using Blender to flesh-out my ideas. And I imagine that many of you reading could share the same affinity for DIY and Blender - Let's talk about it!
The Benefits
First, the obvious benefit of visualizing renovation plans is that you can potentially get a very realistic preview of what your result can be. From wall colors to wood finishes to tile patterns - all the important decisions that a renovation requires but is rarely visualized until it happens. Just ask my wife: these previews are extremely important. And sometimes the only way I can convince her to green-light a project ;) Take my bathroom: I suggested to my wife that adding "picture frame molding" on the walls could result in the classic look that she likes. She looked at me blankly. To bring the message home, I showed her Pinterest examples, but these were mostly dining rooms, not bathrooms. She still found it difficult to imagine picture frame molding in the bathroom context. Finally, I built the bathroom in Blender and showed her the render below. That's when the lightbulb turned on and she gave me the thumbs-up.
A second benefit is that your architectural models can double as building plans. This took some initial habit-breaking for me since 3D modeling allows for a lot of "cheating" compared to carpentry. For example, the simple picture frame below could be modeled with Blender using a basic plane, insetting a hole in the middle, and extruding thickness. But to build it appropriately with lumber, it would take several specifically measured pieces with angled miter cuts. If I take the time to model it like a carpenter, I could conveniently use Blender's real-world scale and measurements as building plans.
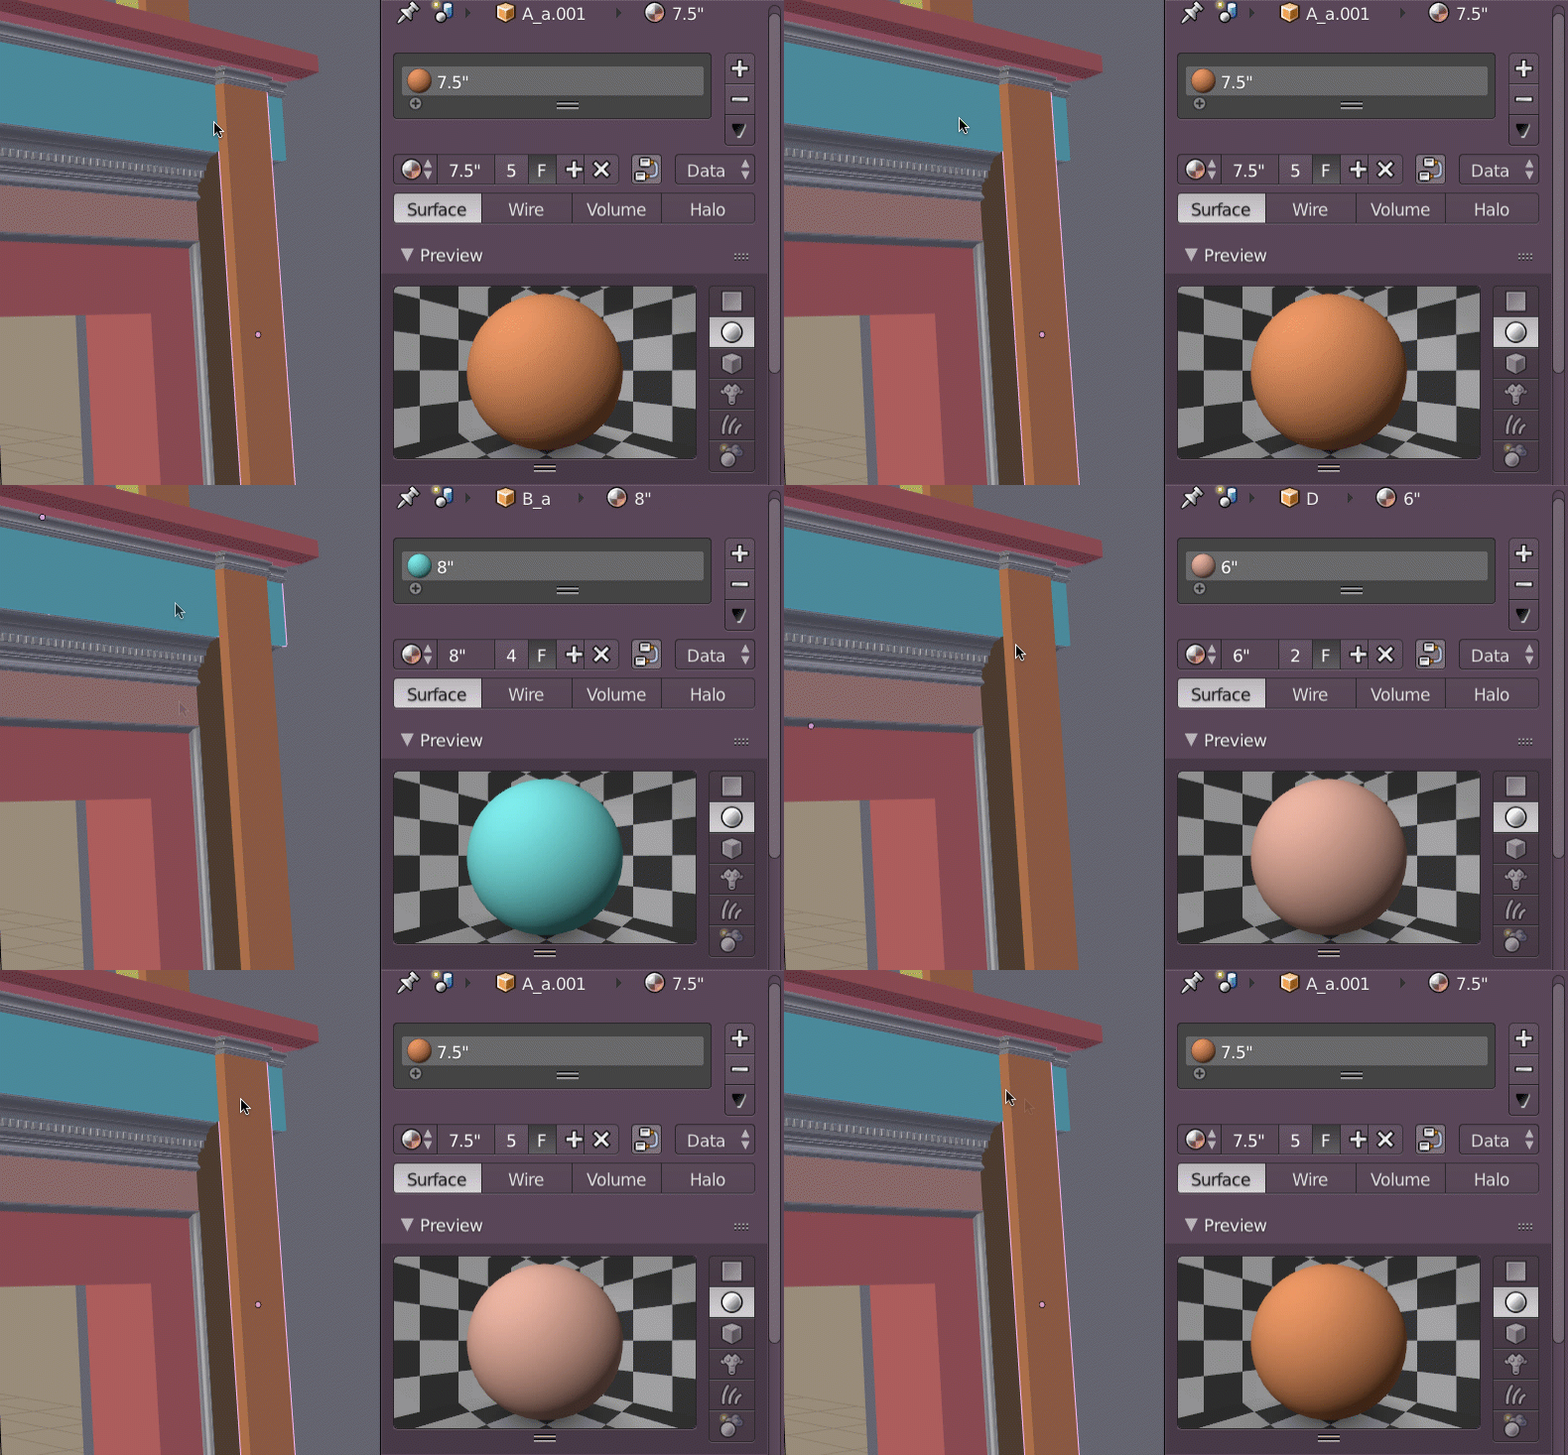
Rethinking my modeling workflow as such took some getting used to, but it's completely worth it. I used the technique to design and build a facade over my fireplace. First, I blocked out the existing structure, then modeled the facade on top using separate pieces that would serve as my blueprint for real-world construction. Note that the "blueprint-style" model is color-coded where matching pieces designate certain widths and thicknesses.
Workflow Tips
First, a preface: Blender is not designed to be a computer-aided-design (CAD) tool. CAD tools are used to design products and structures. Therefore, they optimize a lot of structural design elements for the user, like measurement rules or standards. Blender is more of a free-form, build-anything tool which means it's not optimized (or limited) for structural design. Blender's free-form nature means measuring and structural design is much more of a manual process. If you're interested in transitioning to Blender from a CAD program, you'll probably be frustrated at the onset. If you're interested, know that there is a CAD-like fork of Blender called Fluid Designer. However, seeing as I'm very comfortable with regular ol' Blender, that's what I choose to use. Here are some tips I recommend if you're interested in using Blender to help with your own home improvement needs:
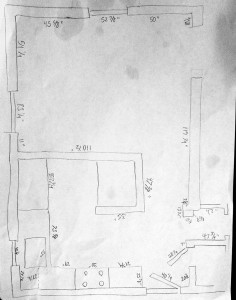
1. Building to Scale: This is a must if you want your visualization to provide a reliable preview and serve as a building plan. The reality is, you'll have to do a lot of manual, real-world measurements along the way. With renovations, for example, I recommend starting by sketching your walls in a top-down view on a piece of paper. Next, take your tape and measure every wall, noting it on your drawing. The more measurements you can fit in one drawing the quicker you will be able to build up the core structure of your existing room/structure in Blender, because the back-and-forth between Blender and measuring can get annoying. Alternatively, I've used blueprint-making apps for iPad to construct a more accurate drawing and imported it as an image template into Blender that I simply built on top of. But along the way I dropped and shattered my iPad, so I've returned to paper for my recent renovation projects...
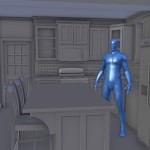
2. Keep a mannequin in your scene: I find it very important to maintain a generic, human scale presence throughout the 3D design process. It's very easy to lose relation between the physical world and Blender's viewport. When I was brainstorming our attic reno, the angled ceiling made it difficult to imagine how much space would be maneuverable for adults. Having a 6-foot male model standing in the room really helped to make practical decisions.
3. Snapping & Measurement Objects:Snapping is crucial for the kind of precision modeling that home improvement projects require. You will find yourself constantly snapping to vertices of other objects in your scene to ensure stuff lines up. Along with this, I find that it's useful to have throw-away objects for making precise measurements that aren't easily automated. Automated the way the Solidify modifier does for thickness. How can you do that? For example, standard hallways should be no less than 3 feet wide. To facilitate this measurement, I'll create a plane or cube and immediately set its Y (and Z) dimension to 1" and the X dimension to the needed measurement - like 3 feet. That gives me a simple yardstick of sorts to easily snap my hallway walls into a proper width. And I will typically leave these objects in the scene on a certain layer so I can quickly modify the X dimension for a new measurement.
4. Solidify Modifier: Material thickness is usually a very standardized thing when it comes to carpentry and construction. The Solidify modifier makes it easy to type in thickness values, like 4" for walls or 3/4" for plywood or whatever lumber/material you plan to use for your project. Maintaining accurate thicknesses will ensure reliable pre-visualizations as well as make your modeling job easier since you only have to deal with planar base meshes.
5. Backface Culling: If you're working on a room design in Blender, you'll frequently find yourself navigating outside the bounds of the room. At which point, just like in reality, you will no longer be able to see inside the room. But since we can cheat inside the computer, Blender has a setting that allows us to look through walls! It's called "backface culling" and you can enable its checkbox in the view properties panel (N-panel) under the Shading drop-down.
6. Scene Organization: I highly encourage that you organize your design as you go. Take advantage of Blender's layer system to categorize before elements, after elements, utility objects (like measurement objects and mannequins), as well as alternative options for your project if you're trying to decide; "kitchen island A or island B?" Also, as I mentioned before, you can color-code your scene for more organization using materials. I find this technique especially useful for isolated carpentry projects where I can visually group pieces based on thickness, length, or width.
Have you ever used Blender for Home Improvement projects?
Let us know in the comments as well as any tips you have to share!


Thanks for the tips on free CAD program! I'm can understand it seems upside down to you, which is why I made sure to preface that Blender is not a CAD program.
Are you suggesting it's so upside down that it's not even worth attempting to do precision modeling with Blender?
Hi Kent
I have used Blender in the same way for quite some years now. I will never grow tired of visualizing before constructing. It improves the end result significantly, avoids quite some mistakes and also the amount of scrap can be limited if you plan your material usage accordingly.
It was interesting to hear you mentioning some of the points I experienced myself and I especially liked your point about "Backface culling" - I didn't know about that so this will save me some time going forward :-)
Sometimes I need to make a quick realization of a design idea so I want to save as much time on the modeling as possible. So rather than modeling the whole scene I put my real life camera on a pole and take a picture of the setting – e.g. our living room. I then build a simple cube in Blender representing the walls and ceiling and add a camera with the exact same position and settings as my real one and put the photo as my background. I then use my panorama camera setting on my iPhone to generate a simple 360 image of the real scene and put this into blender as a very simple image for background lighting. Eventually I can focus on modeling different elements on to the background image like a lamp, wall panel, book shelf etc. Adding planes to the walls and floor and adjusting the ray visibility will even generate shadows and reflections than can be set to work quite okay in the compositor.
I hope to bring this usage of Blender a step further though. My family and I are planning to find a new place to live so we will most likely end up in a situation where we will build a new house or at least (!) reconstruct an old house entirely. I am hoping to use blender to realize our ideas and as such my hope is to apply a real-time rendering engine in the process so me and my family can get a better experience "walking" around in our new home before construction starts. I would love to hear your ideas on this. Maybe this could be an idea for a future article.
Thanks for sharing your ideas and experiences. You are a formidable communicator and a huge inspiration to the community!
I never knew what "back face culling" meant.
Total game changer!!
That was a great article, Kent! I really should try using backface culling more, now that you gave more an idea about how one can use it. I do want to make rooms, and ideas for decorating rooms, too. So this will be helpful to me. :)
Hi Kent
Very interesting article.
Being a mechanical engineer with 26 years of experience with a number of different CAD apps and only 2 years experience with Blender, the topic is sort of "upside down" for me.
If anyone is interested in doing precision work in CAD without having to pay for the software I can recommend onshape.com.
It also contains a 2D module to make the work drawings.
Onshape is a free CAD program which feels very much like SolidWorks.
It's an online app so you will not have to install anything on you PC.
Have fun
Thank you very much for helpful article!
I'm currently in the process of building a custom made house. Been using blender for about 5 years now. I was very particular on the look and style of the house I wanted so I did the preliminary floor plan with measurements in graphic through the App Store and built the walls of the house and exterior structures such as roof line and even outside materials using blender alone. Amazing program even without all the tools and such that Cad would use. Calculating roof pitch was a challenge at first but it gave square footage and with the snapping by increment or point was able to get two story house with attached garage designed and also provide reference to contractors for interior design as well much like what is shown here. I'll definitely be using blender for future smaller projects too.
Great post -the project planning process is critical here since Blender is more suited for "artistic license" which can get you in trouble translating a project to the real world. I'm working on realistic naval vessels based on, in some cases, very accurate construction blueprints. I will be modeling interiors and since they tend to optimize space to fit everything, accuracy counts! This is the greatest challenge I have run across so far and these are excellent tips!
I used Sketchup for years and years in conjunction with the cutlist addon for creating high end furniture and cabinetry in my business. The ability to set exact scales and generate cutlists based on materials helped me to quickly go from sketch to prototype to detailed quote in no time at all. Not to mention the beauty of showing clients a visual representation of the end product.
I never did get good at texturing in sketch up though but thats what an endless scrap bin for samples was for.
I used blender to see what a brick wall in my front yard would look like before building it. Also, when re-painting a bedroom which I converted to an exercise room, I used blender to show my wife what the pattern would look like. It was a lot of fun and helped with developing my skills within blender.