CLASS ANNOUNCEMENT #5 (Feb 1, 2018): The class is officially closed! Thanks to all who participated. Be sure to check page 43 for the closing "statement" and commendations.
CLASS ANNOUNCEMENT #4 (Jan 30, 2018): The timing worked out where this week's homework stretch is 10 days instead of the usual 7. So you've got extra time to complete the assignment! I'll look for submission through tomorrow, the 31st, and then I'll do a final post to close out the class.
BTW week 4's live event is archived if you missed it.
CLASS ANNOUNCEMENT #3 (Jan 15, 2018): Week 2 is done - We're halfway through the class! Today WEEK 3 begins where the focus is digital sculpting. This is a far more artistic method of shaping 3D models, so if you struggled in week 2, week 3 should be refreshing.
- Only 1 course to watch this week: Fundamentals of Digital Sculpting
- Live Event tomorrow at 2pm EST
- Please submit homework anytime between Jan 15 - Jan 21 with "BC1-1801 Week 3 Homework Submission" at the top of your post.
Keep up the awesome work, Class! So much creativity and hard work being contributed from everyone 🤘
CLASS ANNOUNCEMENT #2 (Jan 8, 2018): Week one is accomplished! Today WEEK 2 begins. We're moving forward from basic viewport interaction and into mesh modeling; into Edit Mode and the modifier stack.
- Reminder that you have 2 courses to watch this week: Mesh Modeling Fundamentals and Modeling with Modifiers.
- Live Event tomorrow at 2pm EST
- Please submit homework anytime between Jan 8 - Jan 14 with "BC1-1801 Week 2 Homework Submission" at the top of your post.
As always, don't hesitate to ask questions in this thread!
CLASS ANNOUNCEMENT #1 (Jan 2, 2018): The class has officially started! Today we held the first live event to kick things off. The recording will be published by tomorrow at the latest is now available in "Past Events".
That means it's now up to you to watch the Blender Basics Course and submit your homework to this thread. Please add a big, bold title to your homework submission reply so I can easily tell. Like this:
"BC1-1801 Week 1 Homework Submission"Also don't hesitate to ask questions along the way. I'll be checking this thread daily to answer questions, give advice, check homework.
This thread is for CG Cookie Citizens that are participating in the "Getting Started with 3D Modeling and Blender" class! Its purpose is to serve as central communication for all participating Citizens (excluding Hobby plan Citizens) to ask me and each other questions and to post homework. As the instructor of the class, I will be monitoring this thread on a daily basis (especially Mon-Thurs) throughout the month of January to review homework and answer questions.
This thread is intended only for Citizens who are participating in the class. Free members are welcome to observe the thread but please respect that communication is reserved for Citizens.

Welcome to the CGCookie Class: Getting Started with 3D Modeling & Blender! This is the first "Class" format where Citizen members are invited to focus together on a particular topic/skill together for a month. Participation is this:
It will take place from January 2nd through January 31st and the topic is for beginners that want to get into 3D modeling. The class is based on pre-recorded courses that students are expected to watch each week along with weekly Live Events.
Download the latest official version of Blender and watch the Blender Basics course. The goal this week is to simply get familiar with the application. We’ve all been there: Opening Blender (or any 3D package), gazing at all the crazy UI, trying to orbit in the viewport, crying...Ok, maybe you were stronger than me and didn’t cry. But the reality is 3D software is daunting. There’s SO MUCH to digest especially when you’re a beginner.
This first week we’re going to overview Blender and 3D from an absolutely beginner perspective. What is Blender for? What can it do? Wait, this isn’t a juicing seminar?
During the Live Event we're also going to open the floor, ask me anything (AMA) style, so I can answer all your questions about getting started with Blender.
HOMEWORK: Create a scene out of primitive shapes. It can be anything from a landscape to a spaceship to a character. Just get comfortable with creating and positioning mesh objects. Here's an example:
Take a screenshot of your scene and post it in a reply to this thread *during the week of Jan 1-6*.
Enter the world of mesh modeling! The oldest form of building objects in 3D, in the computer. We’ll discuss the technical art of “pushing and pulling verts” as modelers often call it. First, watch the Mesh Modeling Fundamentals and Modeling with Modifiers courses to be introduced to this wild, geometric world.
Practice makes perfect here and during this week's Live Event we’ll be mesh-modeling a few objects to demonstrate tools and workflow available with Blender. It’s ideal if you practice along with me!
HOMEWORK: Model either 1, 2, or 3 unique objects using mesh-modeling techniques. They can be as simple or as complex as you like, but they can't be primitives. I want to see that you've used mesh tools to significantly customize your shapes. For example, you could model a hammer, a cell phone, a keyboard, a game controller, a picture frame, a coffee cup - choose something fun!

Take a screenshot of your shaded model + wireframe-over shaded (as pictured above) and post it in a reply to this thread *during the week of Jan 7-14*.
Digital sculpting is the more artistically intuitive method of 3D modeling. If pushing and pulling verts felt like the hard way of doing things, sculpting will be a welcomed alternative! Watch the Fundamentals of Digital Sculpting course this week.
During the Live Event, we'll discuss the pros and cons of digital sculpting as well as how it compares to mesh modeling. Again, practice makes perfect with any craft, and we will also practice sculpting. Be sure to have your pen and tablet ready!
HOMEWORK: *Submit during the week of Jan 15-21*
There’s still much more to learn about modeling with Blender. Remember, it’s a craft. Time + practice is the only way to develop your modeling skills.
This week your challenge is to dive into the Modeling in Blender Learning Flow. While the class gives you a boost, the Flow takes you further into intermediate and advanced modeling techniques/workflows. Test the waters and see how far you can go this week.
During the Live Event we'll discuss the journey of becoming a skilled modeler as well as the potential for turning it into a career. Finally, I’m going to sift through homework submissions to commend my favorites and offer critiques!
HOMEWORK: Model and/or sculpt something challenging this week! Try tackling a character or a complex vehicle, etc. Show me what you've learned; what you're capable of!
Take a screenshot of your shaded model and post it in a reply to this thread *during the week of Jan 21-31*.
Really cool looking. This looks like it could be an asset in a Laura Croft style adventure game.
Very nice details in the statue and the scene is very cool. Maybe all the sharpness takes away the cuteness :D
Agree with ![]() ljsstudio and remember, when in doubt, start over :D The result is always better when you do it again :)
ljsstudio and remember, when in doubt, start over :D The result is always better when you do it again :)
Oh yeah, you have used your creativity with modifiers when doing a model from reference. Brilliant and inspiring!
Lovely and natural looking facial expression. I really like how you've done it with the cheeks and eye wrinkles
Haven't taken time yet to do this last homework.. .though finding something that could be done in a relatively short time frame that would push me might be a challenge... Most of my better stuff I find take several weeks (or more) of work before I like them... outside of the abstracts that are more exploration anyway.
But as this week comes to a close, I wanted to pass on one more nugget of wisdom by sharing my biggest mistake when it comes to Blender.
Believe it or not, it's not anything to do with anything inside Blender itself.
No, my biggest mistake the first 5 or 6 years of learning Blender... Was simply not opening Blender for long stretches at a time. I'd pull it up to do a project, do a few tutorials.. then abandon it for months at a time.
The problem with this approach is that you don't get any consistency.
Even after I took Jonathan Williamson's "Mastering Modeling in Blender Workshop" (a lot of the stuff we learned in Week 2, but with a little more detail... an old thing they did here at CG Cookies several years back), I would go weeks at times without opening Blender. I was more consistent, but still didn't use it as much as I intended.
It wasn't until I made a conscious effort to spend time at the least every week but more often on a daily basis before I began seeing big improvements in my work. Now, I'm not perfect with this effort even now. But I'm far more consistent than I was.
Judging by the work I've seen this week, many are at least where I was 3 or 4 years ago. Keep learning. Keep pushing. If not daily, try to learn something new every week. Try to work on something at least 3-4 times a week. More if you can.
While this course instruction can teach you the how to, you won't acquire the skill at a deeper level unless you keep practicing. Kent (and the others at CG Cookie... or any other person who makes a tutorial) can only tell you how to do so much. The best way to learn is by doing, and the more you do (and the more often you do), the more (and faster) you learn.
I mentioned in week 3 my 30 day sculpting challenge I did. One of the reasons that was such a big boost for me at the time wasn't just the sheer quantity of stuff that I did, but the daily effort of trying to do something. My ability to sculpt was vastly improved just in 30 days by that daily effort.
Looking back, if I had started this quest of daily learning and daily practicing in Blender way back when I started 10 years ago, I would be so much further along in my own journey and way closer to being able to produce the kinds of things I want to do.
Now that you have a model, if you haven't already, I'd recommend looking at the Fundamentals of Texturing, Shading, and Lighting courses. These will show you how to add materials to your objects and prepare them for rendering. And Kent's Shading Forge series is another great set of lessons on making the materials for your objects.
Or you could dive into creating characters and rigging, another fun area to explore.
Either way, find something. Take the next step. Keep learning and growing. And someday, we just might be seeing your work featured!
That's some solid advice there, and I'd like to add to that that allways push further, its easy to stagnate when you hit a certain milestone and keep doing things you find comfortable. Personally this was eye opening for me that even though i'm fairly comfortable with hard surface modeling, i need to up my game on sculpting, and only way todo that is getting back on the sculpt saddle. just need to get 1-2 hours for it per day. (same i should do for drawing) :D
I agree ![]() louhikarme! More words of wisdom from
louhikarme! More words of wisdom from ![]() gradyp. And I'd like to give a shout out to Grady for taking the time to share all his encouraging and insightful thoughts during the course. His, in addition to everyone's contributions here, has in some way, helped me on the path to becoming the artist I'd like to be. Best of luck to everyone on their own creative journeys!
gradyp. And I'd like to give a shout out to Grady for taking the time to share all his encouraging and insightful thoughts during the course. His, in addition to everyone's contributions here, has in some way, helped me on the path to becoming the artist I'd like to be. Best of luck to everyone on their own creative journeys!
I don't see any special addon being used in that video - Just the screw modifier which comes with Blender.
It's a cool technique shown in the video! I personally would model it from an 8 or 12 sided cylinder by cutting and scaling edge loops to match the reference image. The bottle shape could be achieved with many fewer polygons in the basemesh than what the tutor demo'd.
I would like just again ask regarding the "shrinking" effect of the Smooth brush.
Watching the tutorials like for example at the scuplting of Melvin, after the smooting of the body Kent switches to the camera view and the with the Grab brush adjusting back the outlines to the artwork. Is that a correct perception from me or missing something?
Anyway okay basically that is not "shrinking" by the Smooth brush as it just simply averages the surface, but so in summary by that finally making the object slightly always smaller. Presumably that happened also at several homeworks here at the sculpting of the mesh primitives, especially at the Cone examples.
Could you please advise by your experience, is that not disturbing in the precision of sculpting? Would not be better in Blender to calculate the averages towards the closest face to the camera? Then maybe the size of the object would not be changed
I also agree - pretty dang good! The human face is arguably THE easiest model/sculpture to critique (and picked apart). Sure the sculpt and anatomy may not be perfect (as if anyone's has ever been 'perfect') but it's clearly humanoid and it's clear that you're learning. You aimed high this week and you have something to show for it, both it knowledge and in this image. You've earned an A, my man 👍
What a unique, super cool way to apply everything you've learned in this class! I love that damage detail. Very convincing model. This would accept textures and shaders beautifully.
I just love it! Excellent work this week and thanks for sharing about your workflow too. Grade-A work 👏
Wow this is turning out really well jjmac05. You're keeping very true to the artwork. I know that face a mile a way 😀
Even though you're not quite done, it seems apparent that you challenged yourself and your succeeding. Great stuff for the last week: You're earning your A.
I agree with Kent... I probably would have used 1/3 or 1/4 of the verts that he used and maybe half the steps since he used the subsurf after, but I likely would have used a cylinder as well. One detail I note he left out is that indention on the bottom every plastic and glass cup have.. but that's probably just nitpicking, as you wouldn't see it unless the bottle was animated and lifted up in a way that you could see the bottom.
Here, he used the modifier, but you could also use the spin tool in the T panel... the difference being if you wanted to adjust it, you'd have to make sure to select the entire loop and scale or move it rather than a single vertex.
If you want to fill it with water (or give it a glass or clear plastic material in general), you'll want to add some thickness. The Solidify modifier would be good for that. Otherwise, it won't look quite right.
![]() alexsr if you were inspired by that video, you might would be interested also in this one https://youtu.be/Nb3WT5MmAW0 which details how to "lathe" in Blender.
alexsr if you were inspired by that video, you might would be interested also in this one https://youtu.be/Nb3WT5MmAW0 which details how to "lathe" in Blender.
It is just 8 minutes and showing a very interesting way where the shape of any bottle, vase can be changed fast and dynamically, in the meantime also controlling the number of vertices around.
BC1-1801 Week 4 Homework Submission
I honestly spend the least amount of time on this submission over my others due to work time constraints this week. With my limited time I wanted to tackle a unique shape: a folded paper boat.
I am excited to take what I have learned and continuing courses on CG and bettering my abilities as a modeler. I got to use 3D modeling for my first time this week at my job to show a mock up of a live event space, and we landed the job!:)
I look forward to the March class! Excited about the subject.

BC1-1801 Week 4 Homework Submission
Ι spend couple of hours to create this creature , i wanted to do retopology plus uv mapping and paint also
but did not had the time .
https://sketchfab.com/models/65a775f02d0e4d6e9f79de1ccc522ae1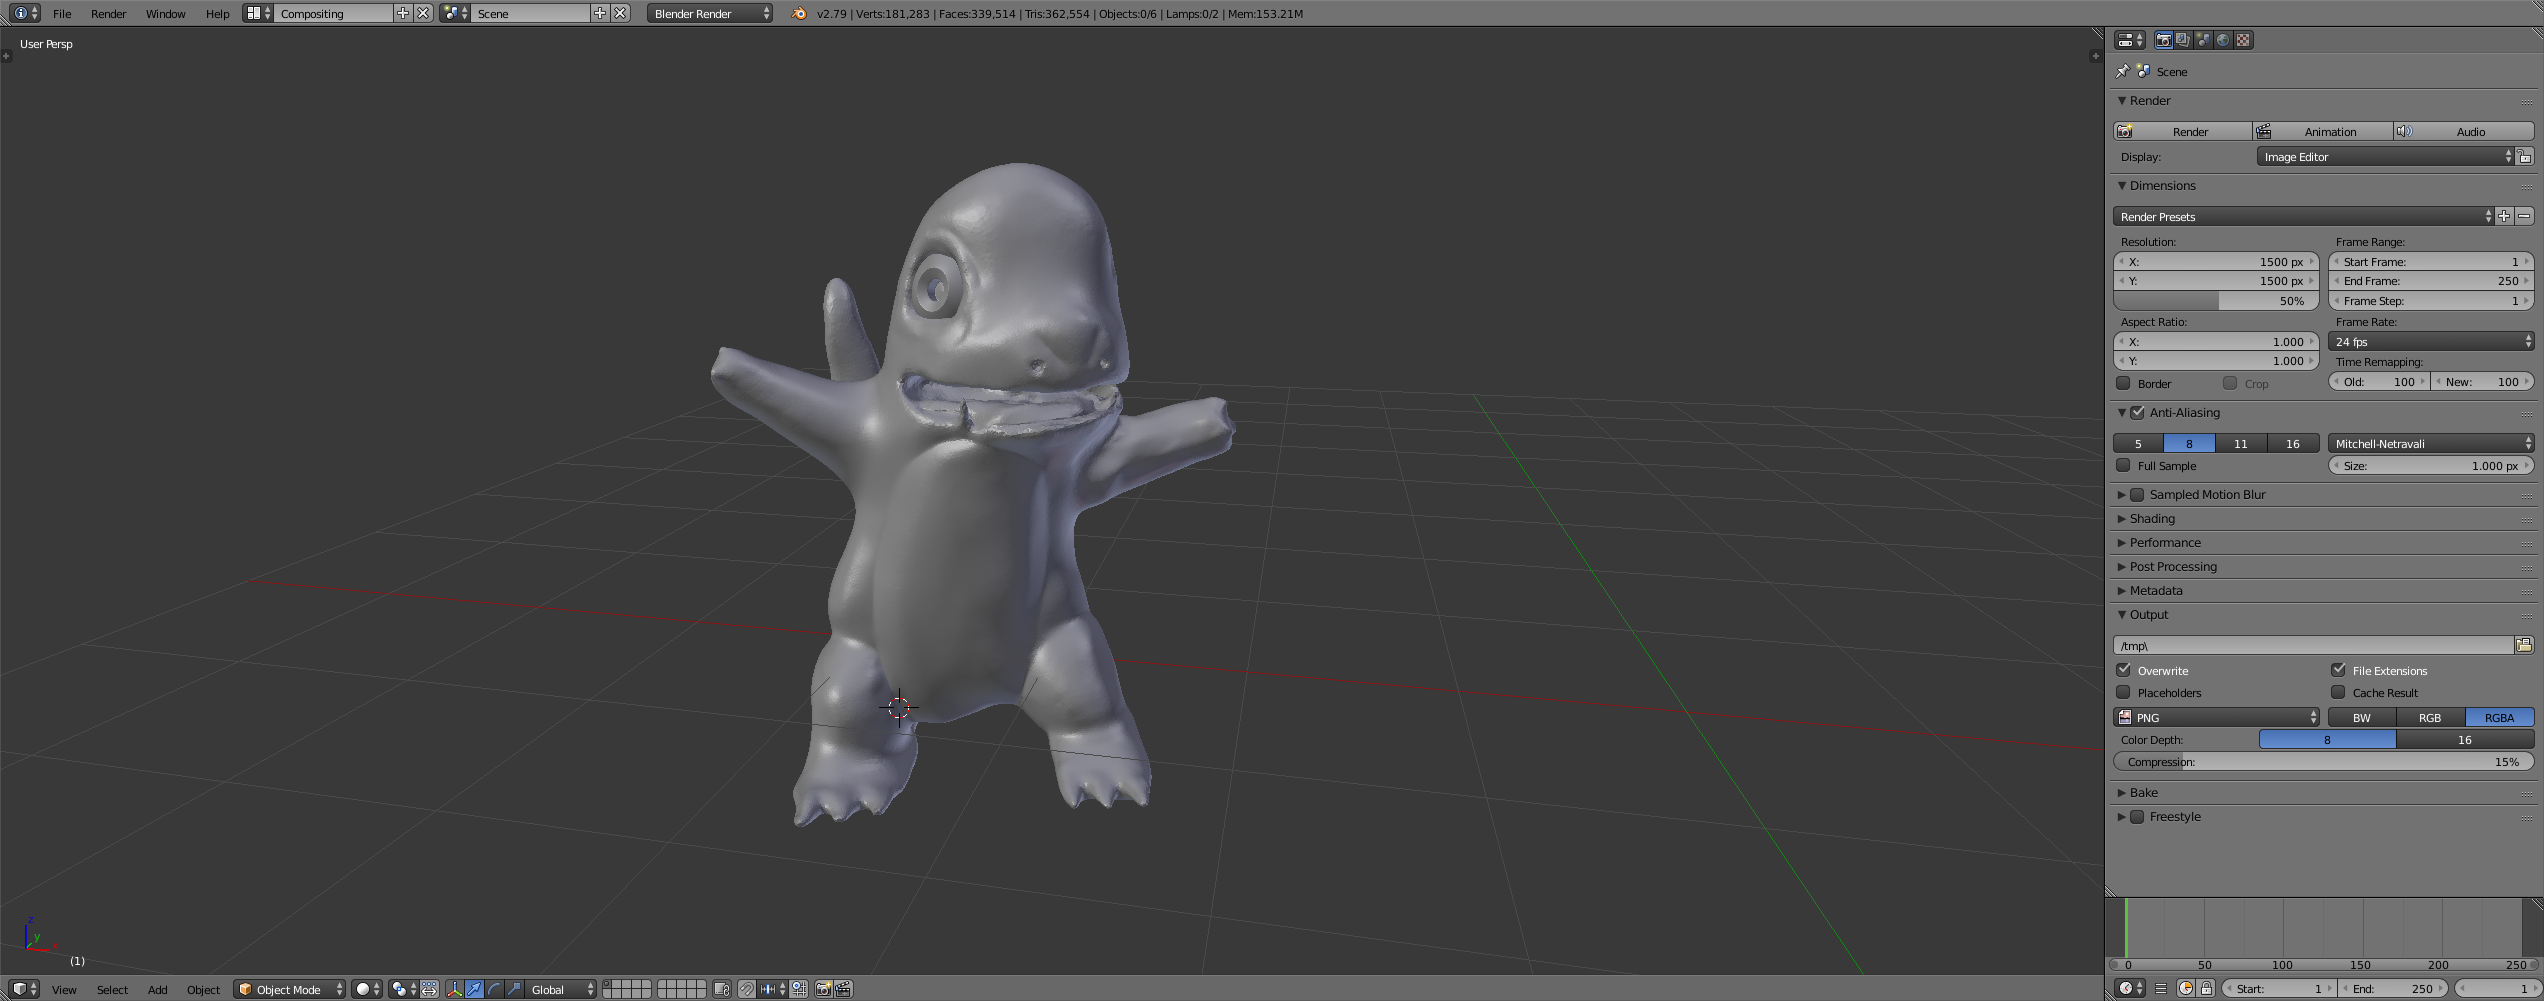
Something else I thought I'd share... One thing that having this class has done for you is provided you with a place to get (and give) feedback. While you can get some here, you might actually find it easier to find feedback (maybe even faster) other places. For example, there's a number of groups with Blender as a focus on Facebook. Another great place is BlenderArtist.org. Some places aren't as great at "catering" to new users, but you can still get some valuable feedback.
Feedback is important. Sometimes, we get so close to our projects that we start to overlook something that might be obvious to someone else. Finding even 3 or 4 people you can ask for feedback can really do wonders to helping make your work better.
Sometimes, though, people are too general in asking questions. They ask a question, but don't provide enough details or any visual reference to help illustrate the problem. If you are trying to get feedback, try to be clear on what you need help with and if you're having a problem, pictures and/or blend files go a long way to helping to find what needs to be done to fix a given issue.
If you're nearing the end of a project, it can still be helpful asking for more general help. When you are going general, try to give some clue as to what you see is the point of the image or the intent behind the image. It may be obvious to you, but it might not be obvious to someone else.
On the other side, when giving feedback, try to take into account any stated intent. Nothing annoys me more than when I have a stated intent and I get feedback that goes contrary to that intent. (Believe it or not, it happens all the time.)
And on any feedback you get, it's ultimately up to you whether to take it or not. I've had a number of times where I got feedback that I didn't think was right for my project, but upon reflect, I realized that it was exactly what I needed. It helps to keep an open mind. At the same time, though, just because someone says something about your piece doesn't make them automatically right. If at first you don't agree with it, let it sit for a day or two. And if you still feel it's not right for what you want to do, then don't take it. It's your art. Let your vision for it be your guide.
If you're unsure, it can be helpful to ask someone who's opinion you've come to trust. It may be that they've offered you advice in the past that at first you didn't agree with but ultimately decided to follow. After the same person has given you advice you've followed (or you trust them because you've watched their tutorials or read a book from them), if that person gives you feedback, you're more likely to take it in the future even if you don't think you agree with it because they haven't steered you wrong before. (Similarly, someone who keeps giving you bad advice that ignores any stated intent you provide is likely someone you'll start to ignore when they give you any advice.)
My point is, just as me, Kent, and others have given you advice throughout the course, keep seeking advice on your future projects. Advice taken can only make your work stronger, both on the piece you're working on as well as future pieces.
And don't limit yourself to "just" Blender artists or even CG artists. A lot of the streamers I watch on Twitch don't even use Blender, but I like watching them for style, composition, color theory, techniques, and more. And I think I said something on one of the posts this month about wood grain. Guess what? That tidbit came from someone that works in wood and has influenced the way I've modeled and textured everything I've done since learning that. In fact, seeing how things are made in the "real world" can give you ideas on how to model them in CG.
So in addition to using plenty of references, make sure you're also getting lots of feedback to make your work better!
