I'm really interested in all these tools and shortcuts. For example, when the rip vertices/rip and fill was shown, it was like I got an 'aha' moment on how this can be useful for creating mouths. With so many ways to get something done, I'm worried about forgetting things, however as long as I ask myself 'is there a better way to do this?', I think I can retain it all, just comes with practice.

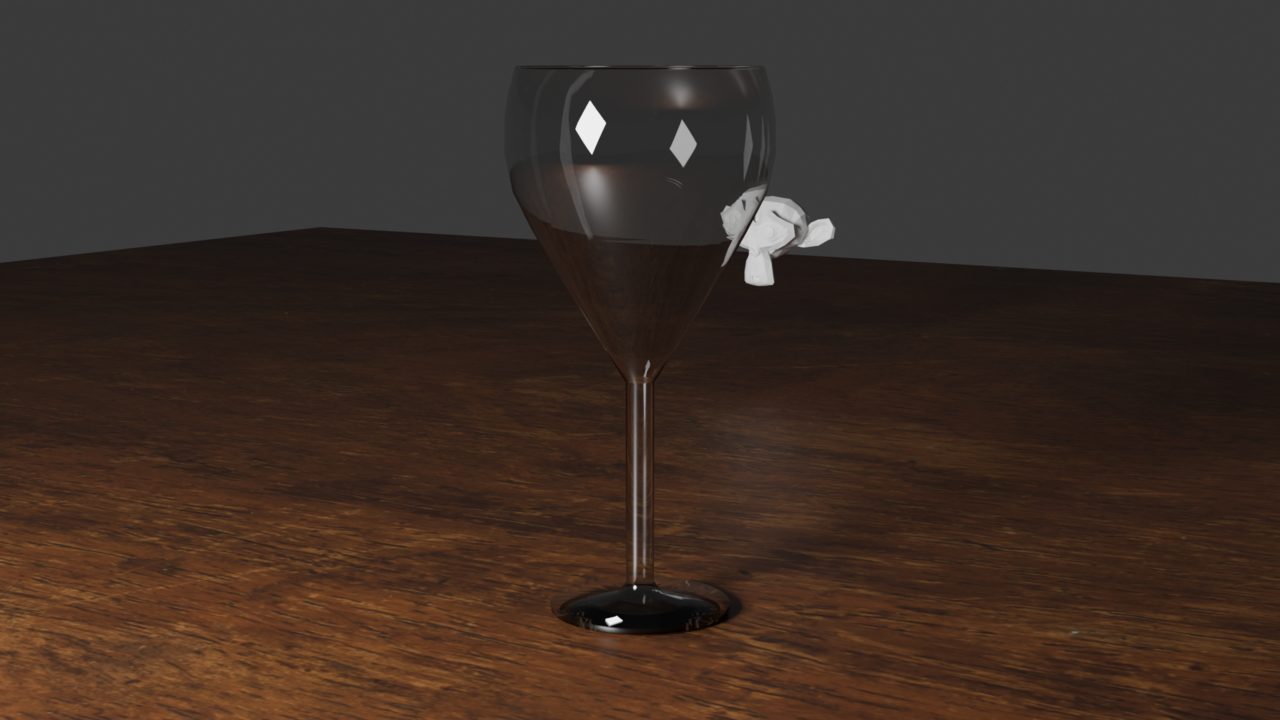
Something to note too is that I am finding ways to accomplish something faster. For example, I made a wine glass in Blender. A month ago I'd extrude the top-most vertices up to make the cup shape, but I found proportional editing + adding loop cuts and scrolling accomplished a better shape and saved me so much time compared to the old way I was doing it.
Always great to be learning different ways of doing things :D as far as wine glasses, I find the easiest way to start them is a UV sphere stretched on the Z axis with the top 1/3 or 1/4 deleted... with that extruded outward (excluding the z) and then extruding down the point and the last row or two of vrets at the bottom down to form the stem and the base built up from there. Except for more blocky stylized goblets, most wine glasses have that kind of shape.... Learn to see what primitive shapes you already have that you could build on, modify, or tweak to get the shape that you're looking for. These are great! Keep it up!
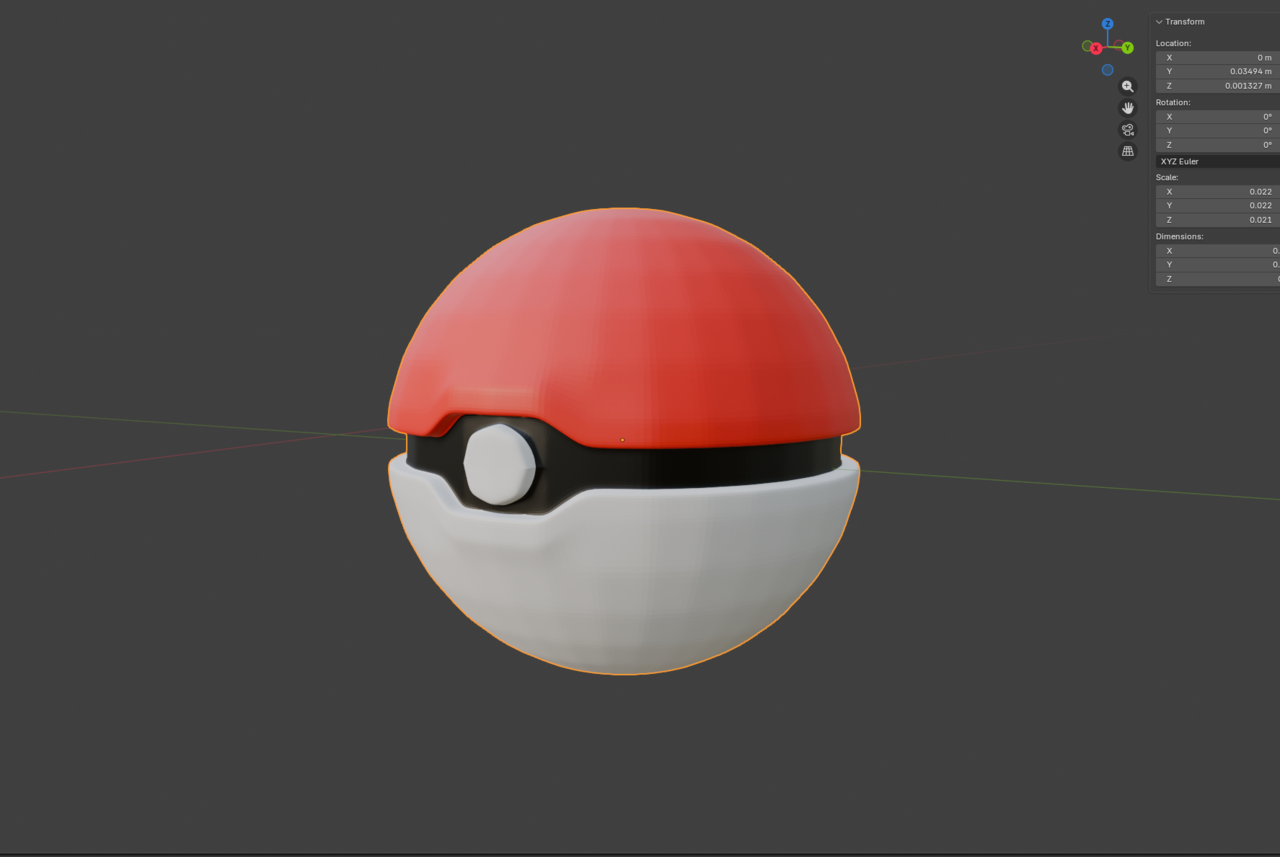
Not really a model update, but I'm finding how I could have done things differently even in my most recent projects. Take this circle for example that I thought was hard previously, now knowing boolean tools as well.
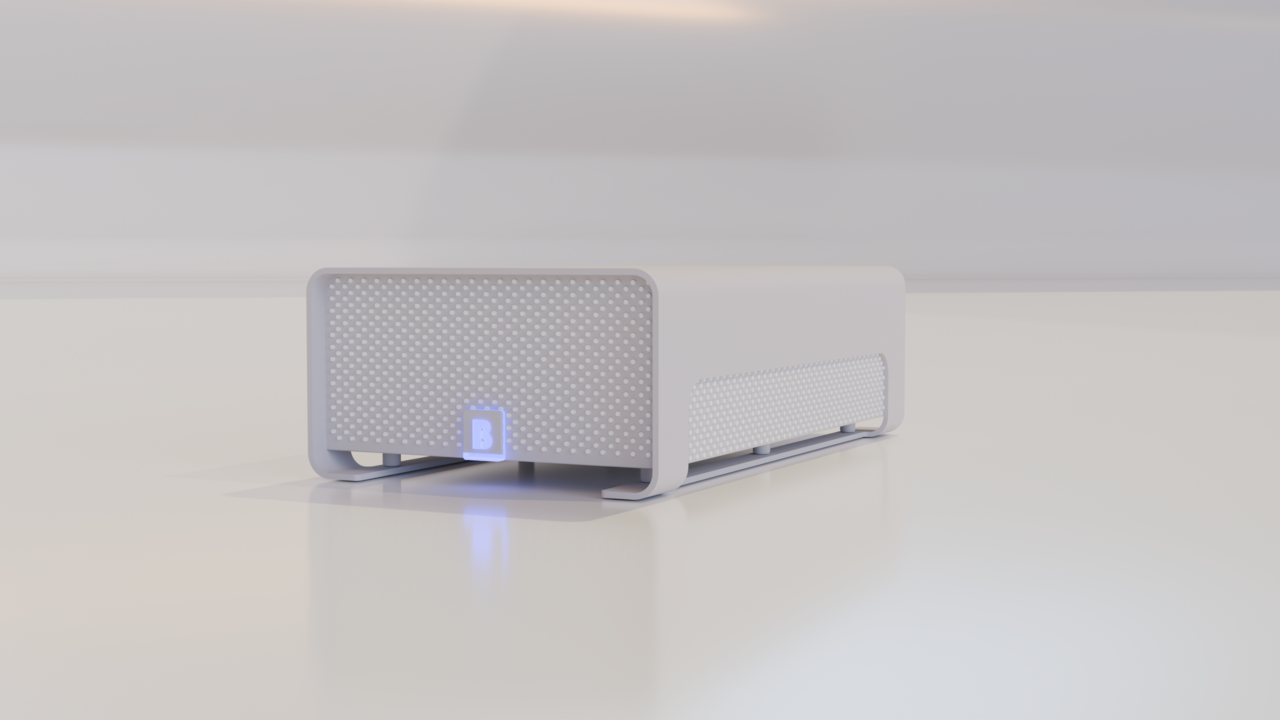
Made this very quick, didn't take too much time to do at all but figured I'd get some practice in to remember the tooling.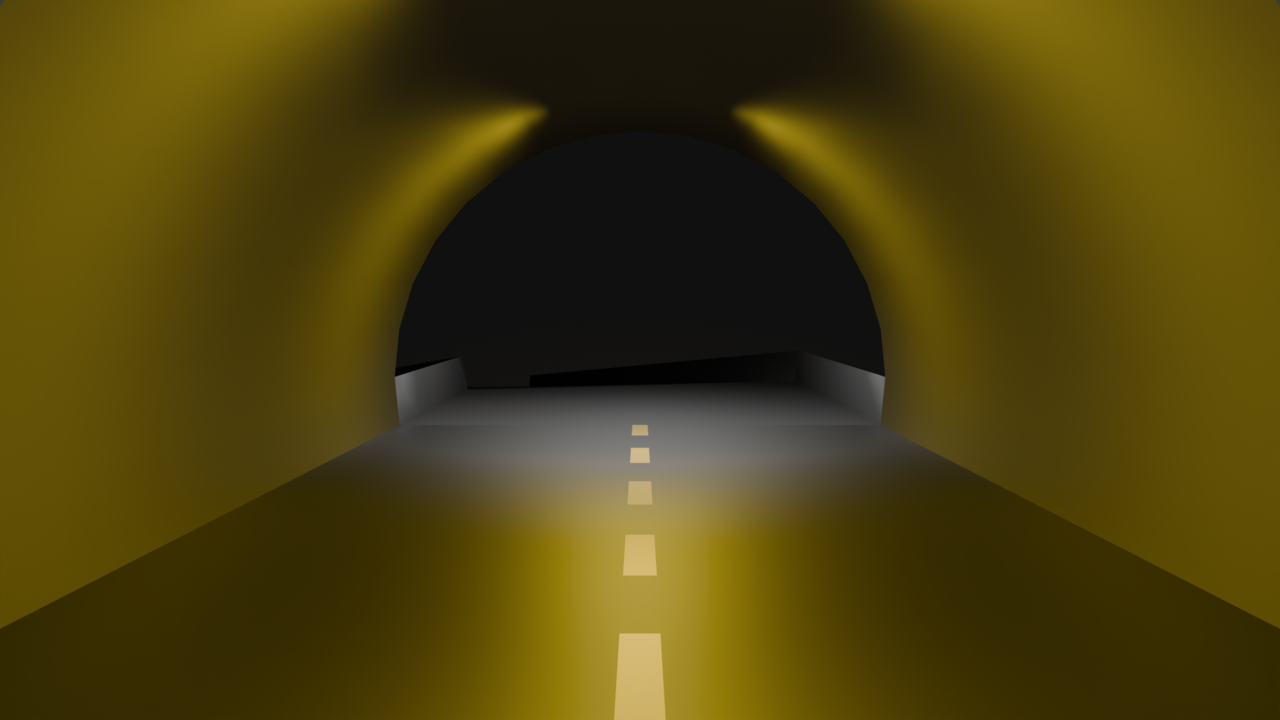
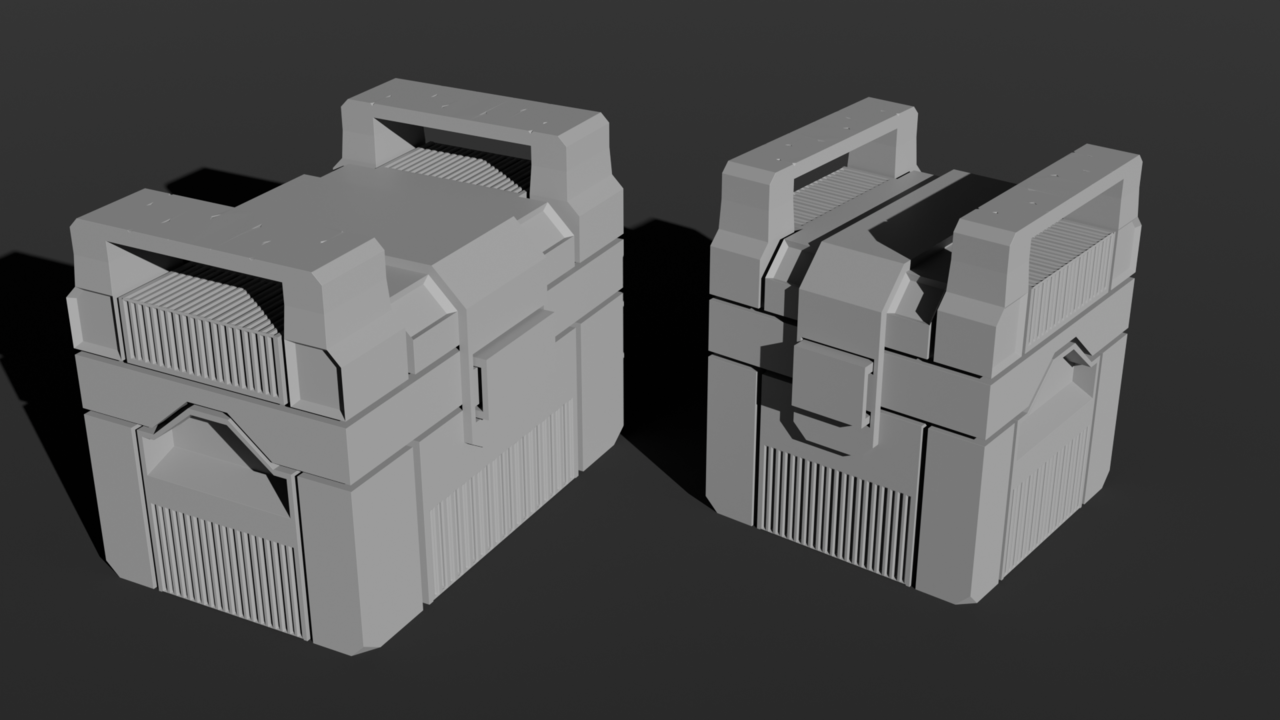
Did this all on my own, no tutorials! Only from the notes I've taken in the course so far. Used modifiers, remembered to keep it simple, and experimented a little until things clicked. Thoughts?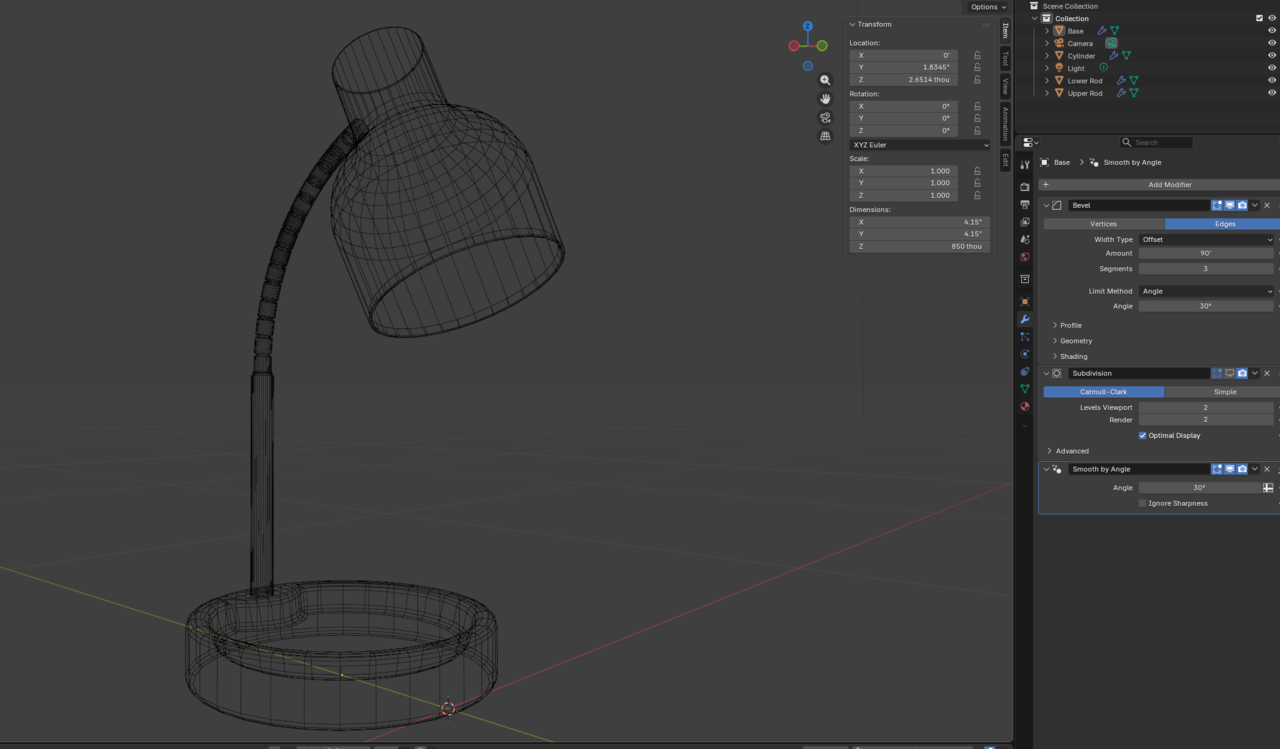
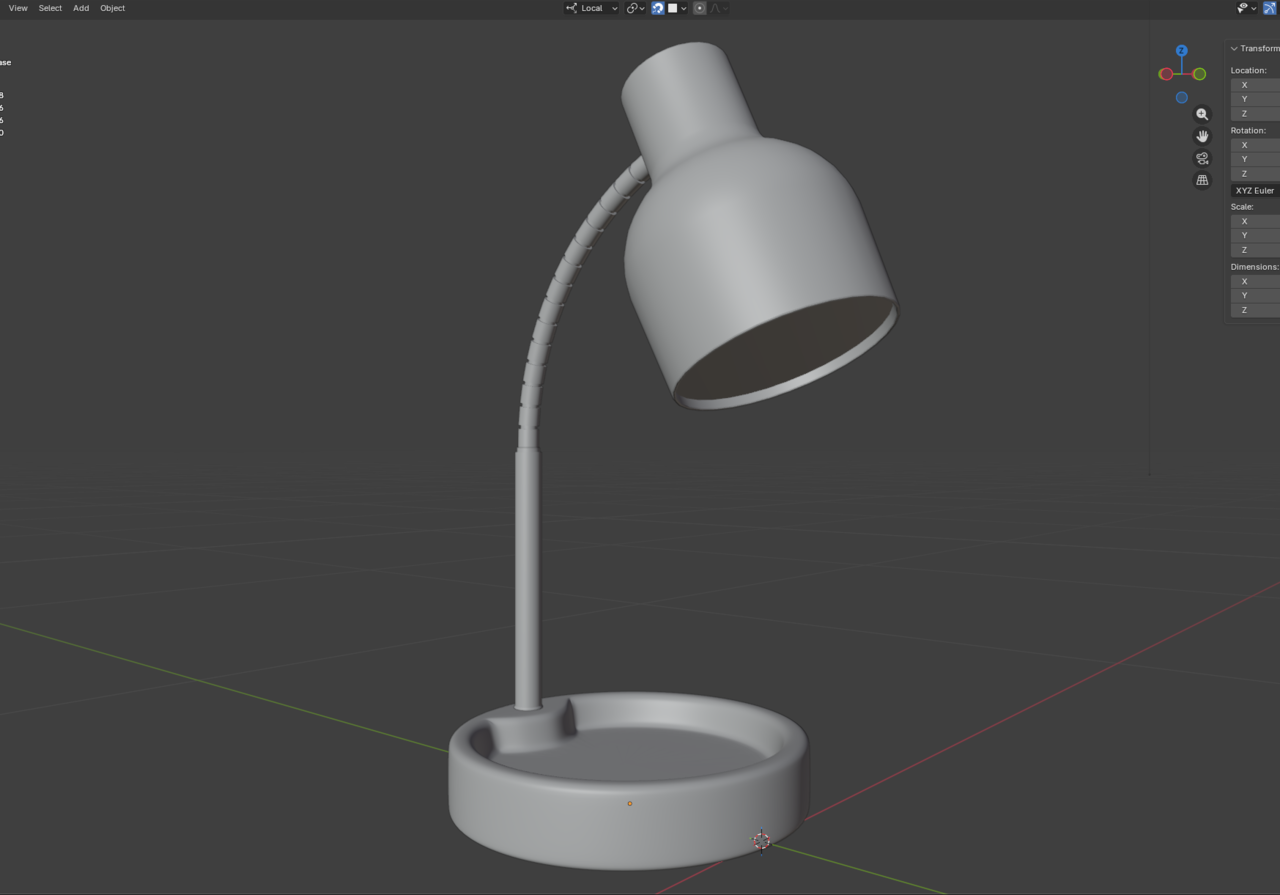
The rods I know could have been a little less dense in geometry in my opinion, all good though.
Is there a way to limit the light bleed from a light source? Maybe using a lattice?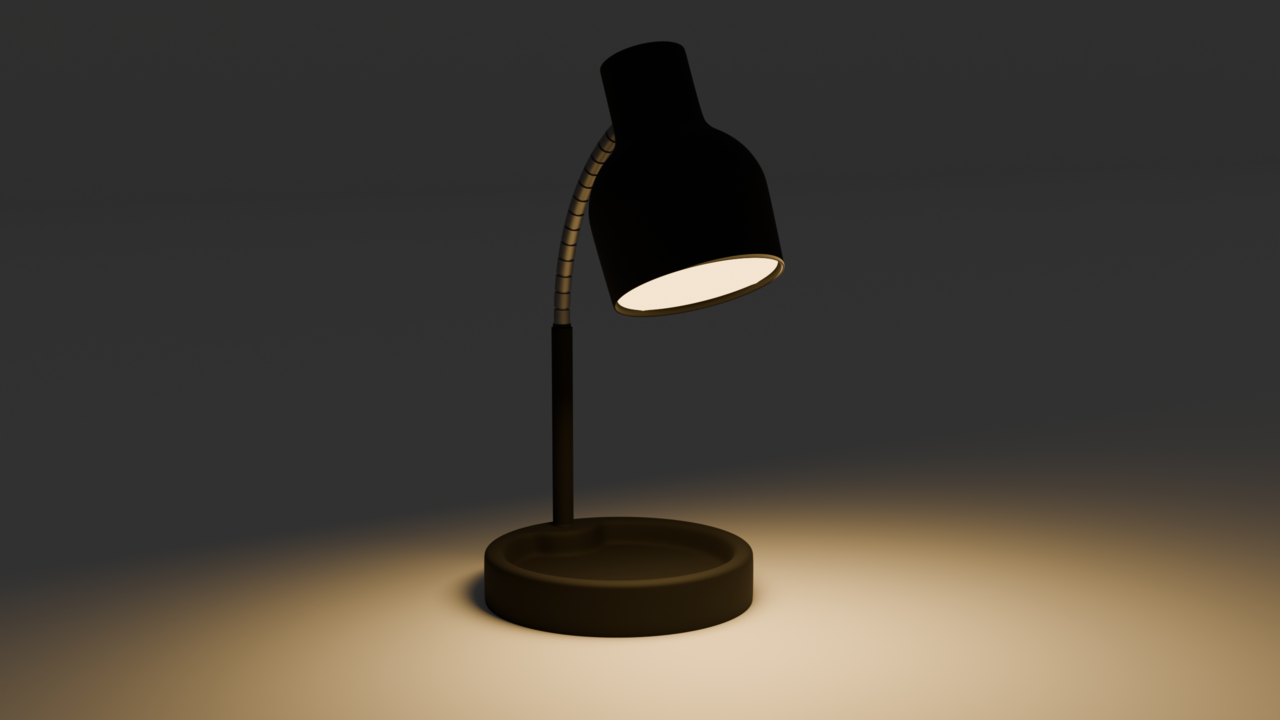
HI Blake, Cool lamp!
That might have to do with the Radius of your Light (and what sort of Light you are using). Part, might also be coming from Indirect Light, as you can see in this small example:
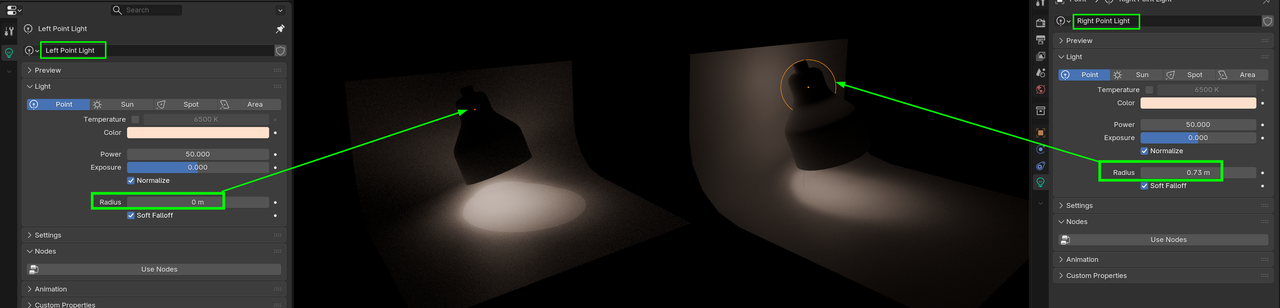
In your case, it looks like you are using a Point Light and reducing the Radius will give you a harder Fallof, so maybe use a Spot Light. That doesn't shine in all directions.
More advanced, would be to use IES Lights, but that seems a bit overkill in a situation like this.
Or even using Light Linking, by making the 'bend' a separate Object and exclude it from being lit by that Light.
But by light bleed you mean the spread of the light or the thing that happens where light shines through the mesh in parts where it's not supposed to? Light bleed happens in Eevee all the time, specially in interiors. It's better now with the new engine, but light bleed is more referred to that and not the radius of the spread. I'm guessing you mean the radius so as Martin points out that should do it.