Hi Omar and Martin,
A spotlight would indeed be better; I'll go with that option next time. I think what I was meaning with light bleed is for example taking an area light, and blocking out where light is dispersed across the scene. Maybe I didn't want the light to bounce behind the lamp, although I had used a point light. Can I basically set an invisible boundary to how far this light can travel without having to lower the strength?
Hi Blake,
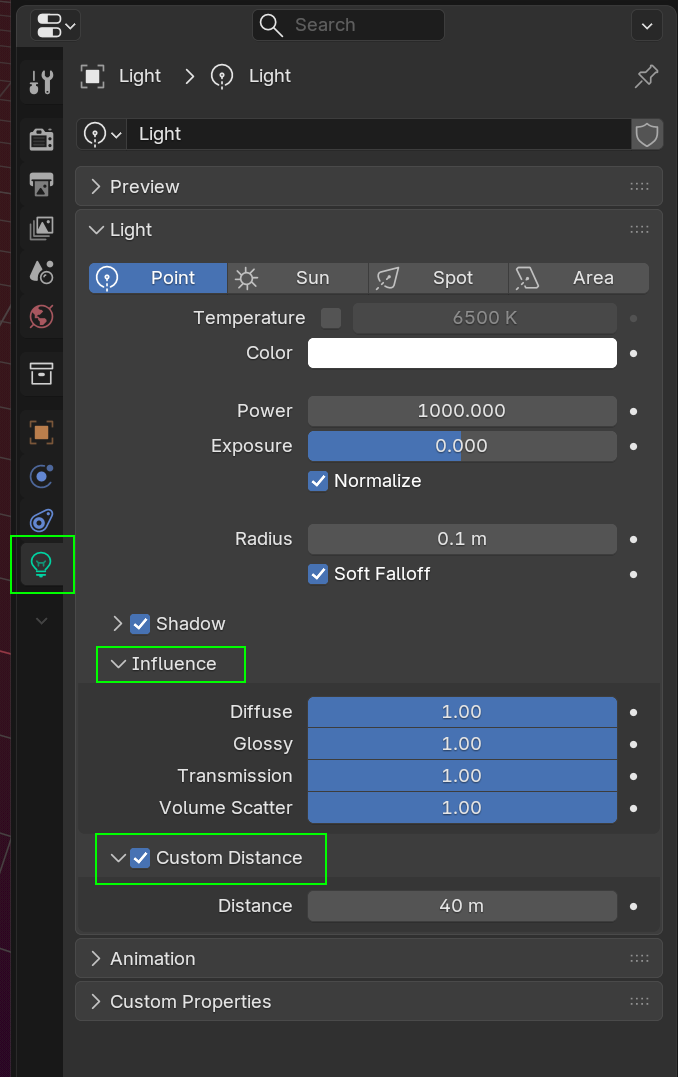
There are many 'hacks' to control Lights in Blender, for instance, EEVEE has a Custom Distance for Lights (apart from a Sun Light):
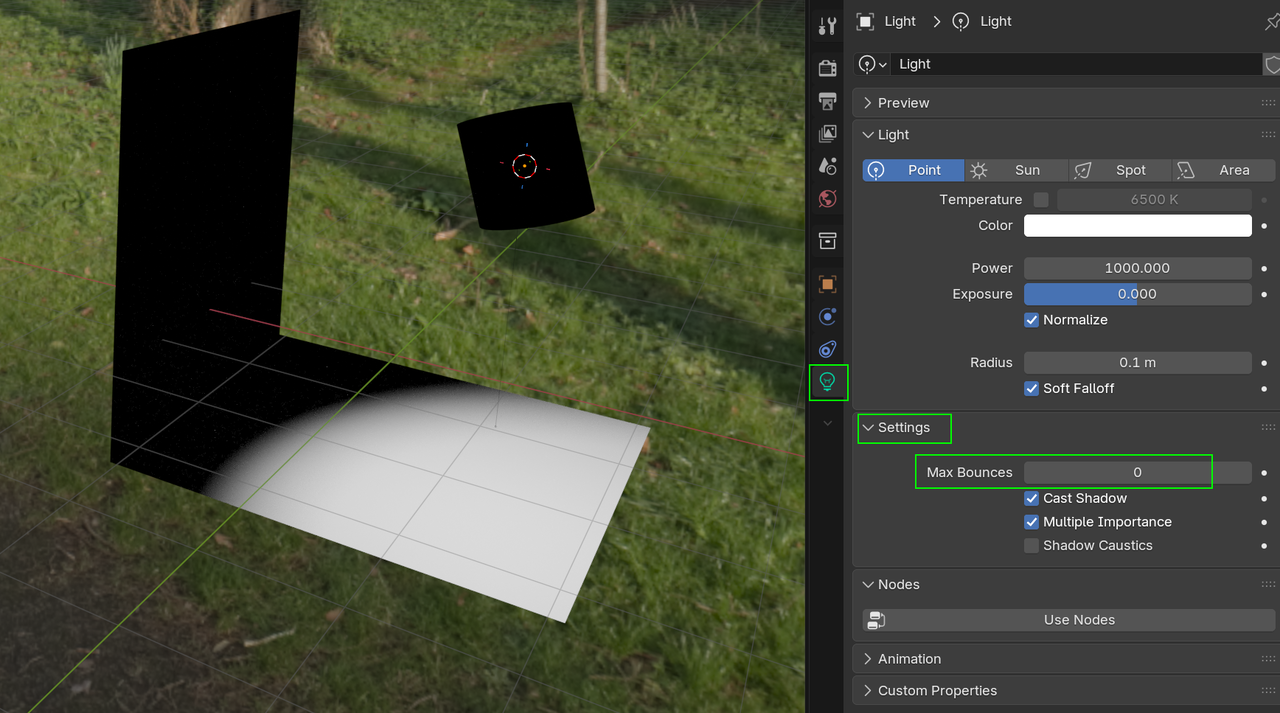
In Cycles, you can set the Maximum Bounces for a Light (attention, 0 means 1 Bounce):
Already mentioned: Light Linking.
In Cycles, you can also do crazy things (not only with Lights) with a Light Path Node.
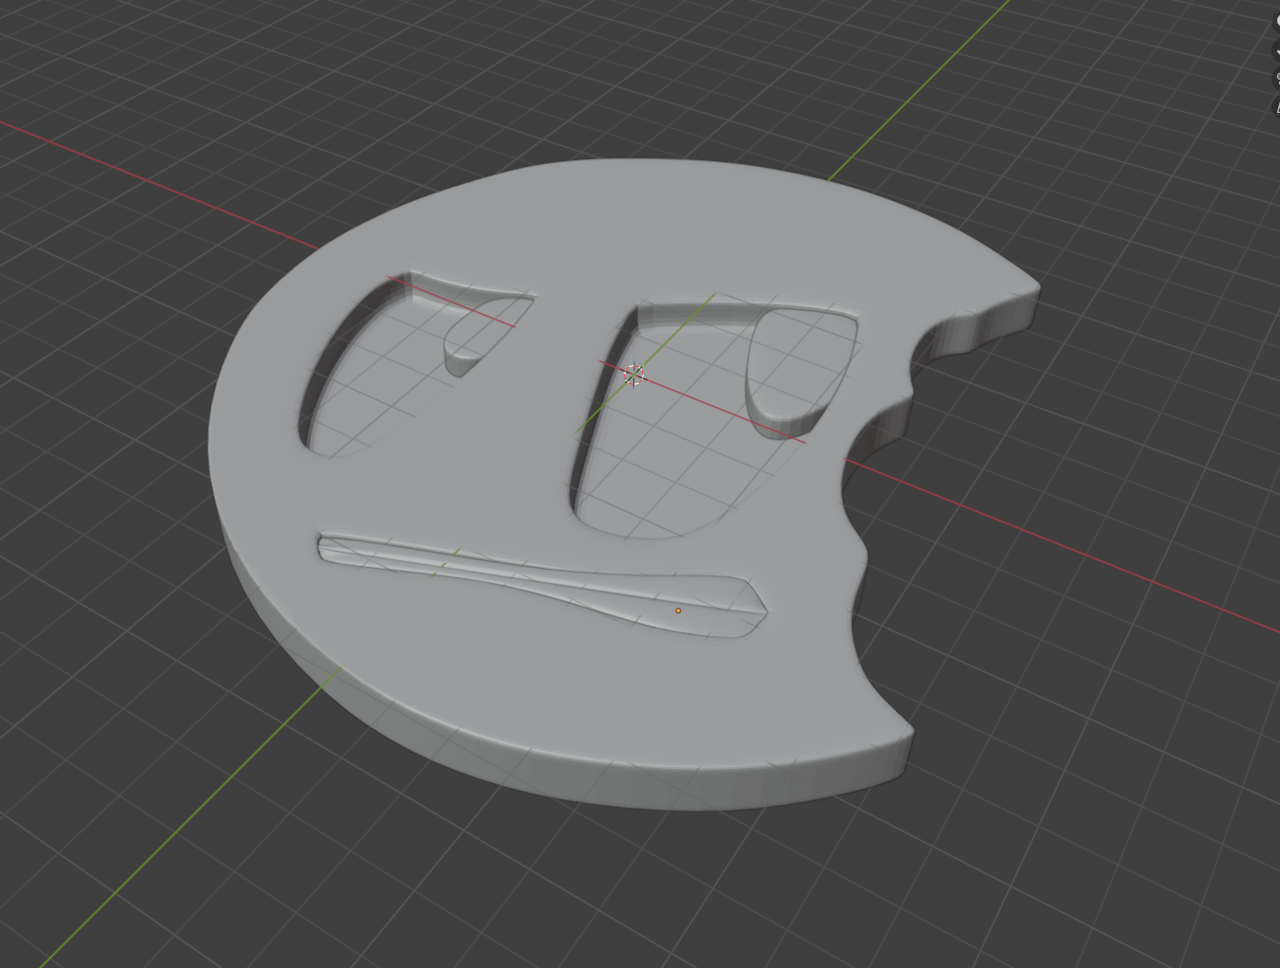
This tutorial really taught me how important it is to sort of pre-plan your model. I.E your support loops, outlining the major points of a model (eyes, mouth) and working around those created loops to complete a model. It seems a little bit more complex than meets the eye due to the art of managing your quads and loops to make the topology look good. Admittedly, I left one or two triangles in the model. I'm a little sick but wanted to get my Blender in either way so maybe I should revisit this down the line.
I guess my next question here though is how to approach subdivision surface modeling on more complex shapes? For example, creating a dog or an organic shape? Or would one sculpt it and retopologize? I guess I'm trying to figure out my workflow here when it comes to these models and what's best.
Hi Blake,
In the Modeling Bootcamp: https://cgcookie.com/courses/blender-mesh-modeling-bootcamp
more organic subjects are covered:
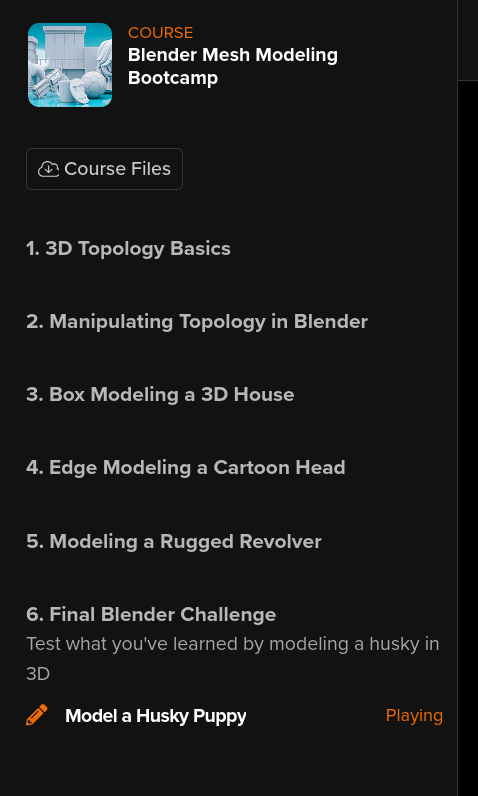
It's in an older Blender Version, but the techniques are still valid.
Normally you'd probably Sculpt and Retopologise those, but it's definitely worth doing these at least once.
Kent is a super supporter of sculpt it first and then retop, instead of box modeling everything without a guide mesh. It's a longer process, but I like that approach as well, because when you sculpt first, you get a freedom of just creating without worrying on topology and stuff. It's harder when there's nothing there to just box model away. But when you have sculpted a base mesh first, you have something there and then it's easier to visualize the edge flow.
Thank you. I would like to animate at some point, so I suppose sculpting is the way to go to retain detail when I retopologize. I'll play around a little.
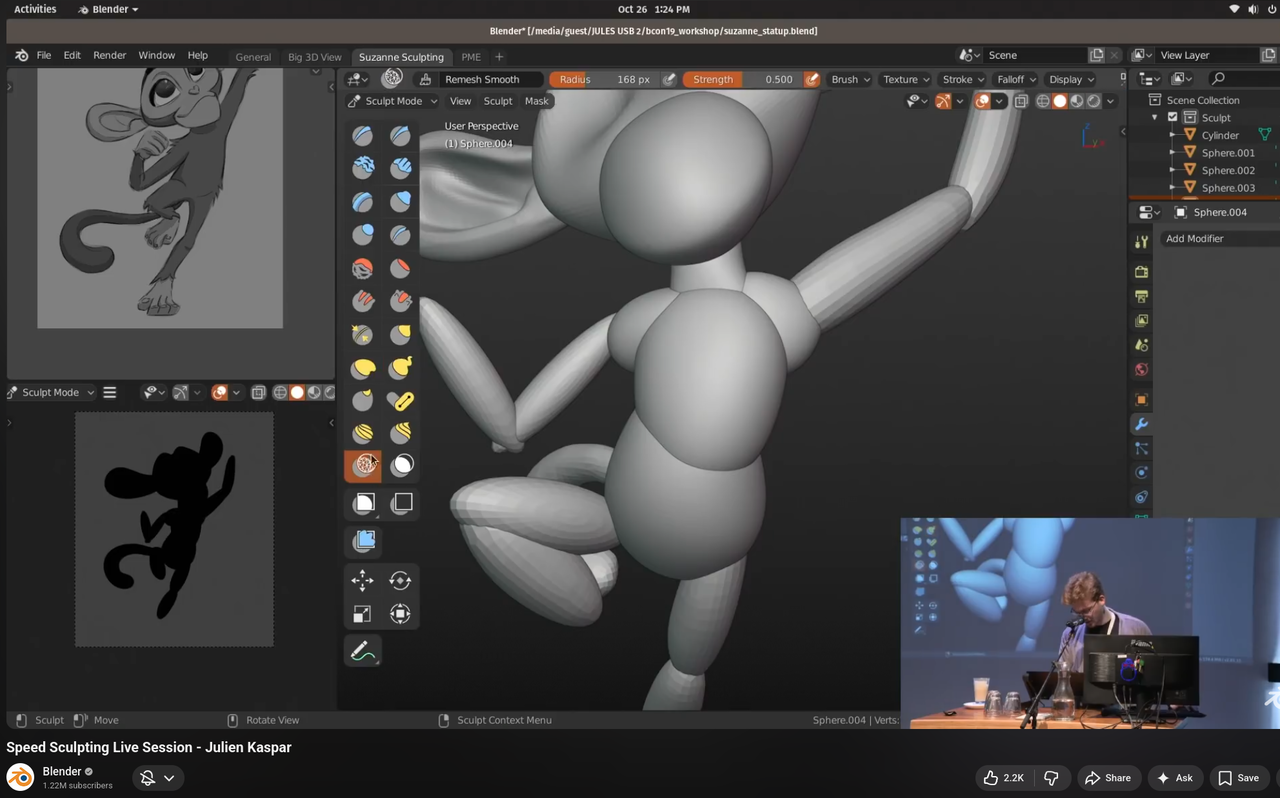
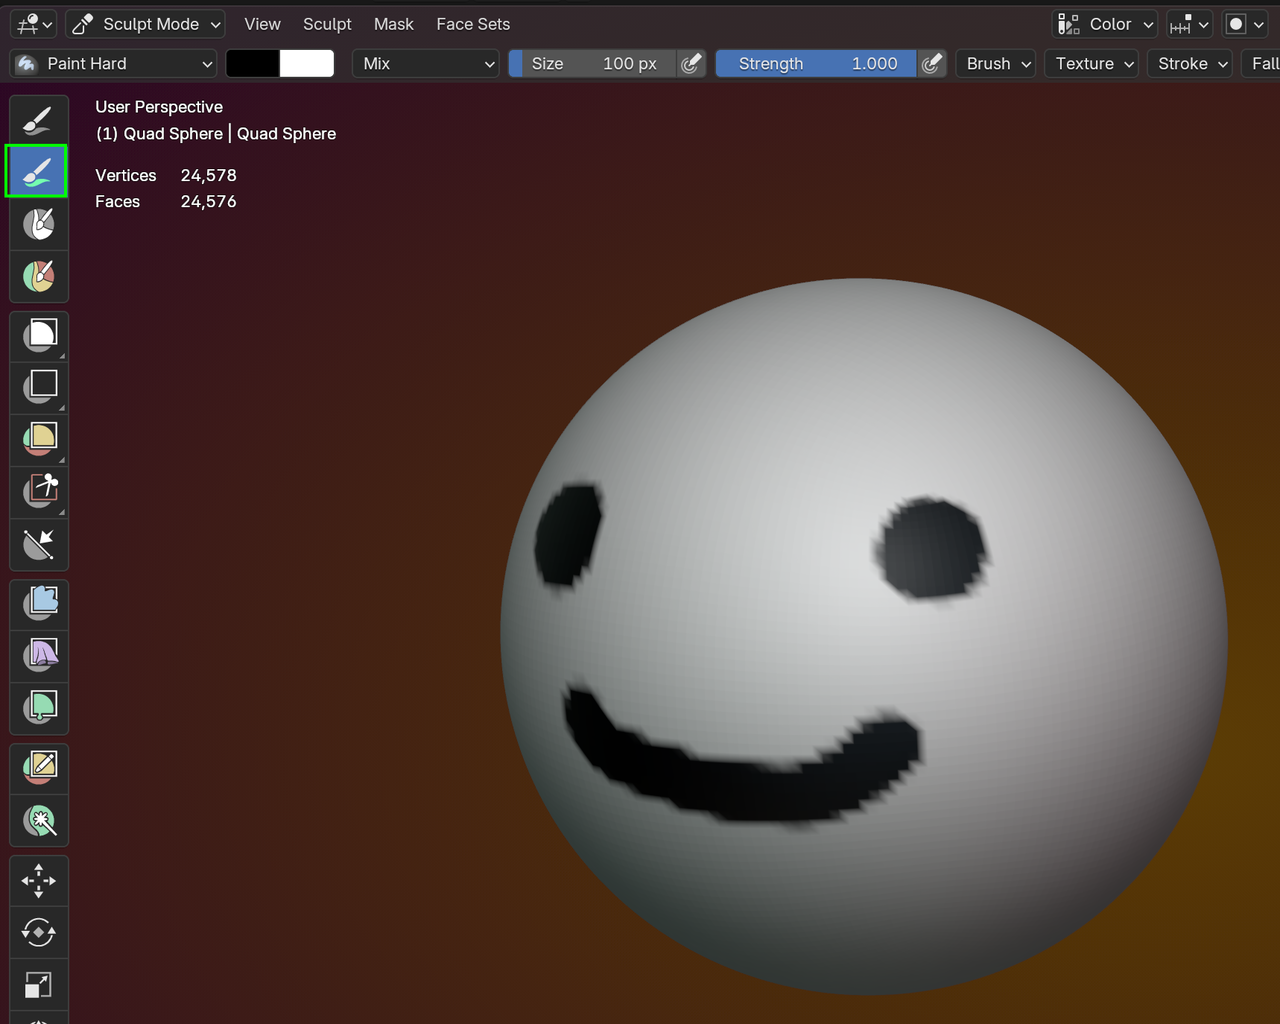
Lol, I obviously need more practice here, it's okay... I found that I accidentally went too high of detail and was trying to re-lower the density with remesh with no success, so I just stuck with it. This is going to take a long while and lots of practice if I want to get better at this, so.. Oof, haha.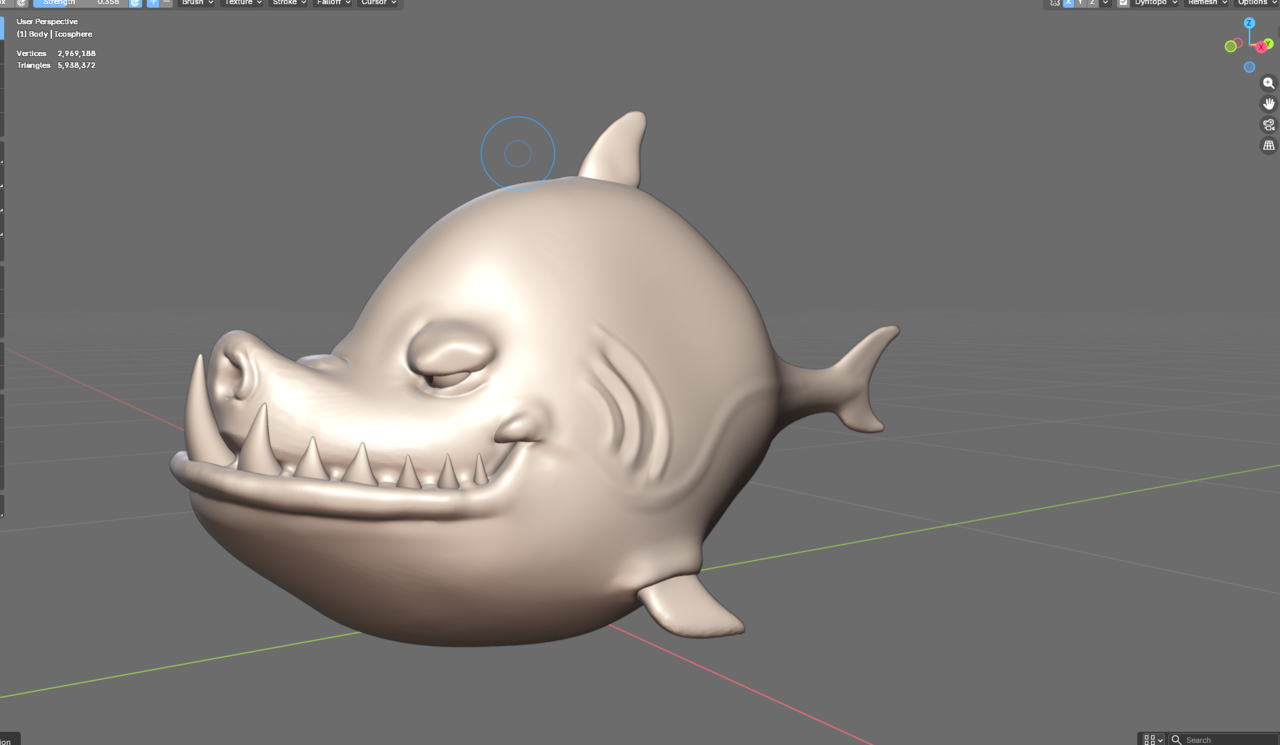
Looking good.
And yes, Sculpting requires a lot of practice.
Also Remesh is not very good at lowering the resolution, because it can merge things that are close together (separate fingers on a hand, for instance, becoming connected). You can (temporarily, if you want) switch to Dynamic Topology and use the Density Brush to reduce the resolution of parts of your sculpt, or if you set it to Constant Detail, you can use Detail Flood Fill.
Thanks! When sculpting bigger creatures (i.e dog), is it better to block out each limb or major feature and then join + remesh, or would pulling the anatomy together with a single object worth of clay be better?
Hi Blake,
It is very common with larger (many Vertices) characters to Sculpt parts of the Mesh (like limbs) separately and then Join them together, although I'm not sure if they'd use Remesh for that...Boolean might be better...
Another thing, and that's probably what you are talking about, you see often, is to quickly block out body, head, arms, legs with, for instance elongated Spheres and then Remesh to join them together.
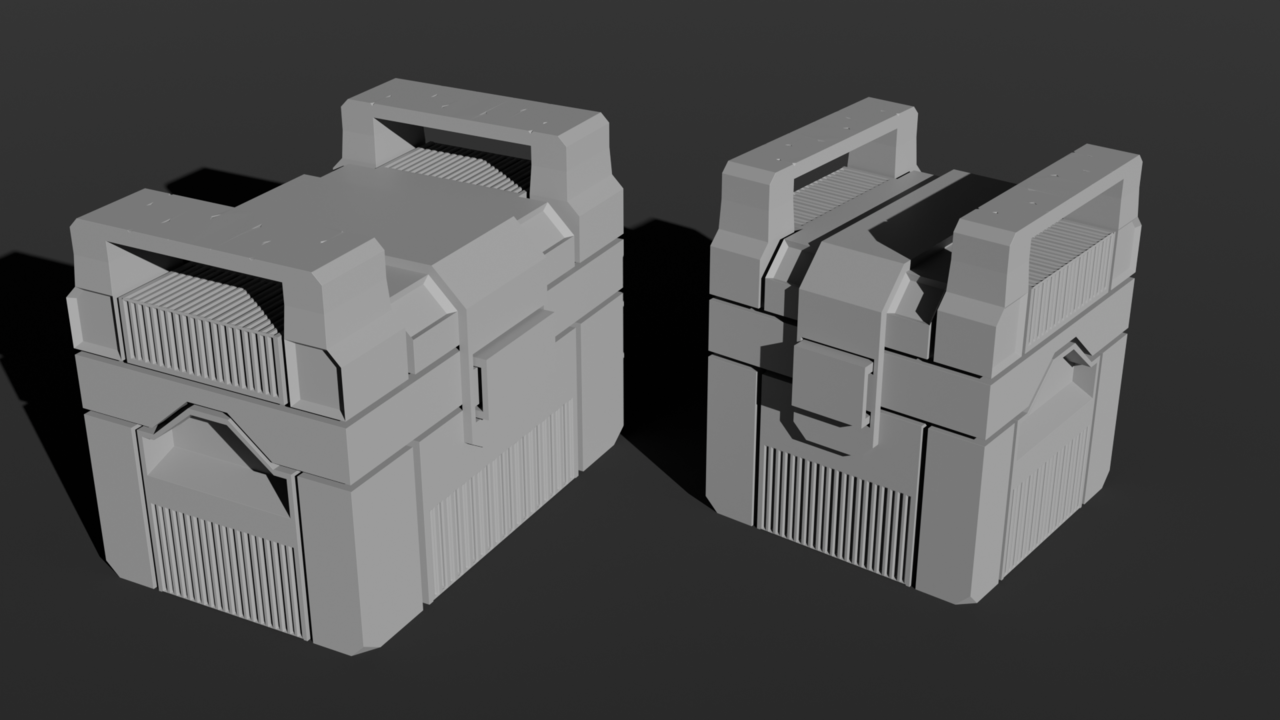
Messed with lighting on my old lamp after taking the lighting fundamentals course.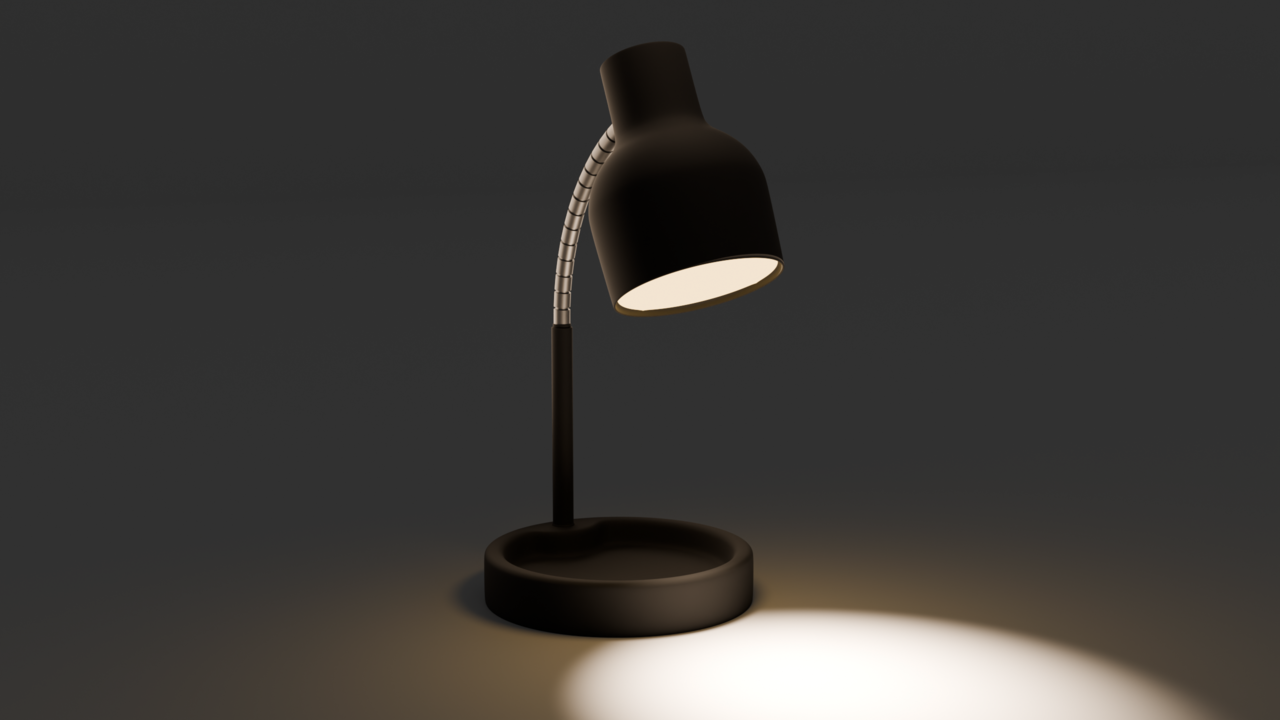
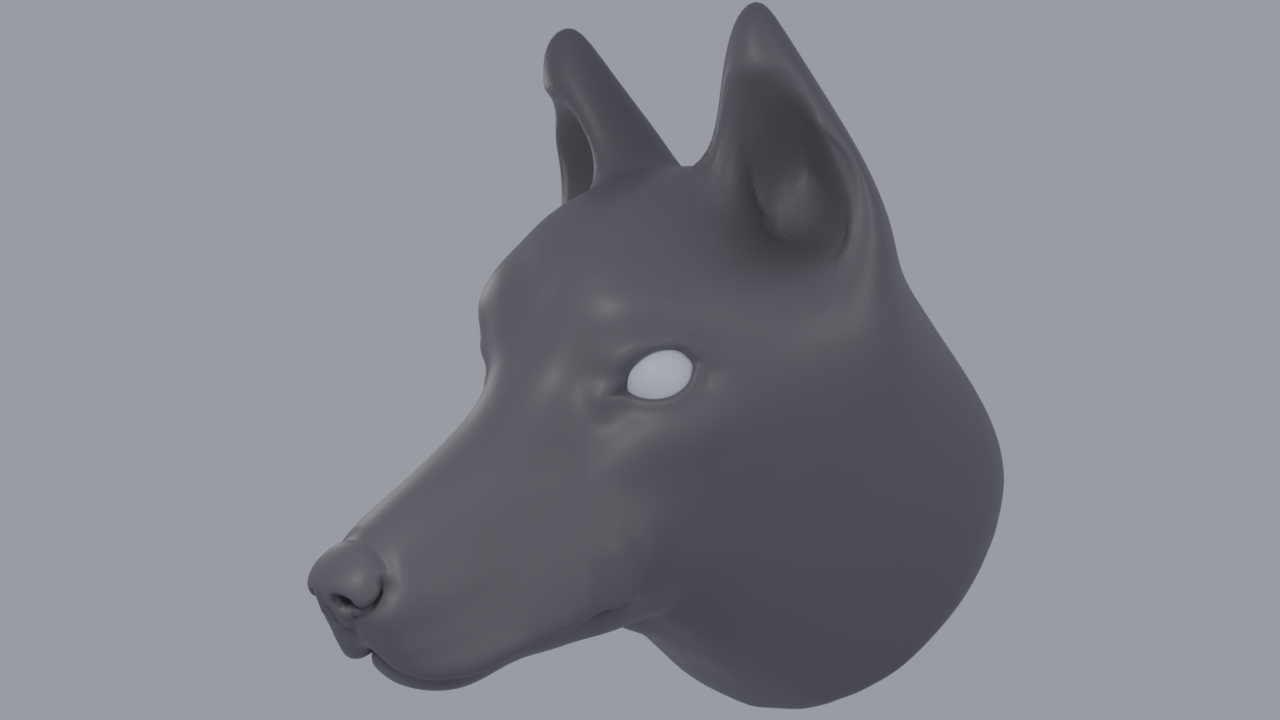
If I wanted to take the nose and make it black, add shaders to it, etc, would it be best for me to retopologize the dog head *first*, and then assign the portions of the nose as a separate material/shader? Or do people just spend the time selecting each vertex in their dense mesh (lasso select etc) and use vertex groups, or separate the nose as an object? What would be a good way to go about this?
HI Blake, that's looking good!
Most people would probably just Retopologize it, but there is another way; if you you are not going to deform the Mesh, you can Paint directly on the Sculpt:
You just get the Color this way though and if you take the longer way of Retopologizing the Sculpt, it'll be a lot easier, to Assign different Materials to each part (like the tip of the nose would be shinier, than the fur part).