This is my thread documenting my progress in the Collab2021 project -- more to come (soon!)
![]() lucky Yeah I was playing with sculpting it this morning. I only plan on doing sculpted detail on the rocks and probably the center bearing. I tried sculpting a bit and it makes baking normals a pain. I think it definitely makes sense to do on metal objects, but on wood I'm not so sure. Also, i suck at sculpting textures. 😅
lucky Yeah I was playing with sculpting it this morning. I only plan on doing sculpted detail on the rocks and probably the center bearing. I tried sculpting a bit and it makes baking normals a pain. I think it definitely makes sense to do on metal objects, but on wood I'm not so sure. Also, i suck at sculpting textures. 😅
EDIT: Ugh, I am going to have to sculpt all this. Very out of my element so this is gonna take a lonnnng time.
![]() lucky Yeah, the workflow for this is going to straight up need to be sculpted to get the result Kent is asking for.
lucky Yeah, the workflow for this is going to straight up need to be sculpted to get the result Kent is asking for.
I'm sure once I get one plank of wood done the rest will come naturally, but this definitely not within my comfort zone.
Very nice progress. I was also thinking about which workflow is right and the best.
Do you bake the normals with cages? Interesting, haven´t done this often so far. In the past (Blender Version 2.4.xxx) I´ve done some normal maps, but havent done much since version 2.8.
Normally I made the UV`s before the High-Poy Mesh. That works well with small objects, not so detailliert one and rather low poly. Sometimes I run into the problem to have to redone the UV`s, because of some changes I made.
It is possible to copy UV over, little bit tricky and I can´t explained the workflow anymore- sophisticated ;)
but therefor there should be not too much differences.
So, I think the optimale workflow depends on the particular model.
Something else comes into my mind right now. When you sculpt with dyntopo. That definitely destroys the UV map and a new one has to be found;)
mmonaloren I also haven't baked normals in a long time, but it would have been 2.7. Which is why I mapped things just to figure out baking again. 2.9 is so different that I thought the process might be different, but it's pretty much the same. The retopo won't be bad for anything I'm working with, but I think it will be essential to get the geometry to match up with wood cracks and things.
Also yeah, I usually sculpt in dyntopo. But I also usually sculpt objects that have more .... form. It's so much harder working with all these wood boards. Hahah
mmonaloren @lexicolopolis Only the UV map for the low poly model matters. The high poly sculpt doesn't need to have any UV maps.
![]() lucky Oh I know. All I was saying is that by the time I finish sculpting this, it certainly will likely a new lowpoly model to match all cracks I'm putting in the wood. If the Silhouettes don't match it'll break the illusion. But we'll see after I bake one.
lucky Oh I know. All I was saying is that by the time I finish sculpting this, it certainly will likely a new lowpoly model to match all cracks I'm putting in the wood. If the Silhouettes don't match it'll break the illusion. But we'll see after I bake one.
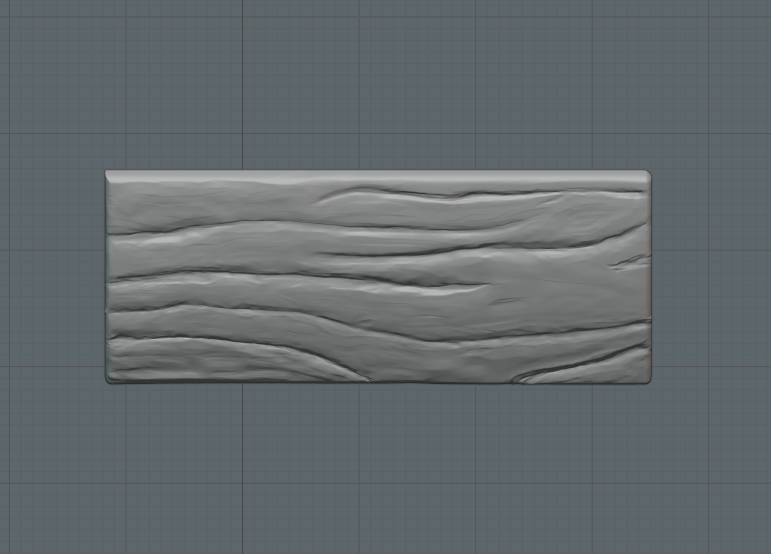
First stylized wood sculpt attempt. I think I have a technique down now. I made kind of a mess of the plank during my hours of experimenting, so I'll probably scrap this and start over with what I figured out. But I think from this point I'll be able to make my wood parts a bit quicker and consistent across their topology.
![]() lucky Actually, I'm surprised. Multires worked without any extra help. I tried it earlier and it didn't bake well at all. Need to work on my sculpting still. hahah
lucky Actually, I'm surprised. Multires worked without any extra help. I tried it earlier and it didn't bake well at all. Need to work on my sculpting still. hahah
I still wonder if my pieces with silhouettes will look alright
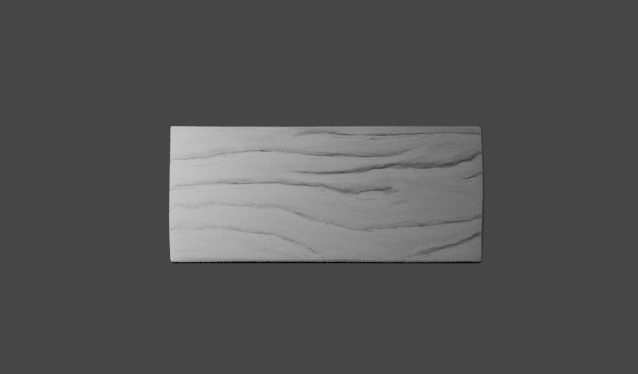
@lexicolopolis How are the faces looking with Multires on? Are they square or more rectangle. If rectangle it could give distortion if you sculpt in a certain direction. Hope I make sense 😉
Well today was kind of a wash. I wanted to see if I could emulate the style sheet's wood effect so I explored how I might do it.
Made a mask.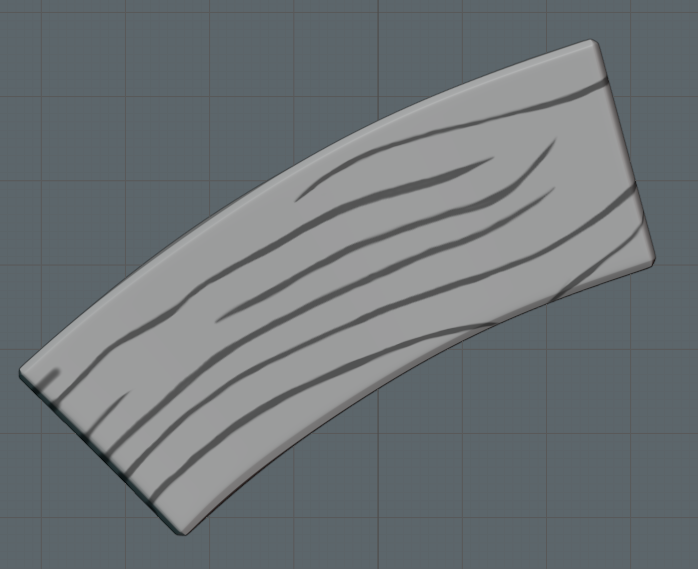
Inset the cracks, rough beveled the edges to make them choppy, and then used clay layers to get some wood grain. The result turned out pretty cool.
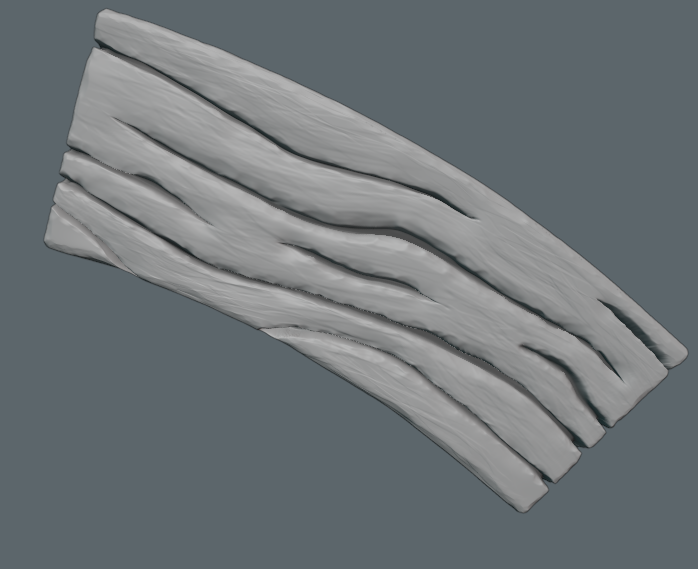
But multires hates this mesh. Cages hate the mesh. And even if I reset all the geometry using the erase multires tool, all results end up having the same issue. So I actually don't think its the sculpt at all. Especially cause the normal maps look... ugh... normal. lol
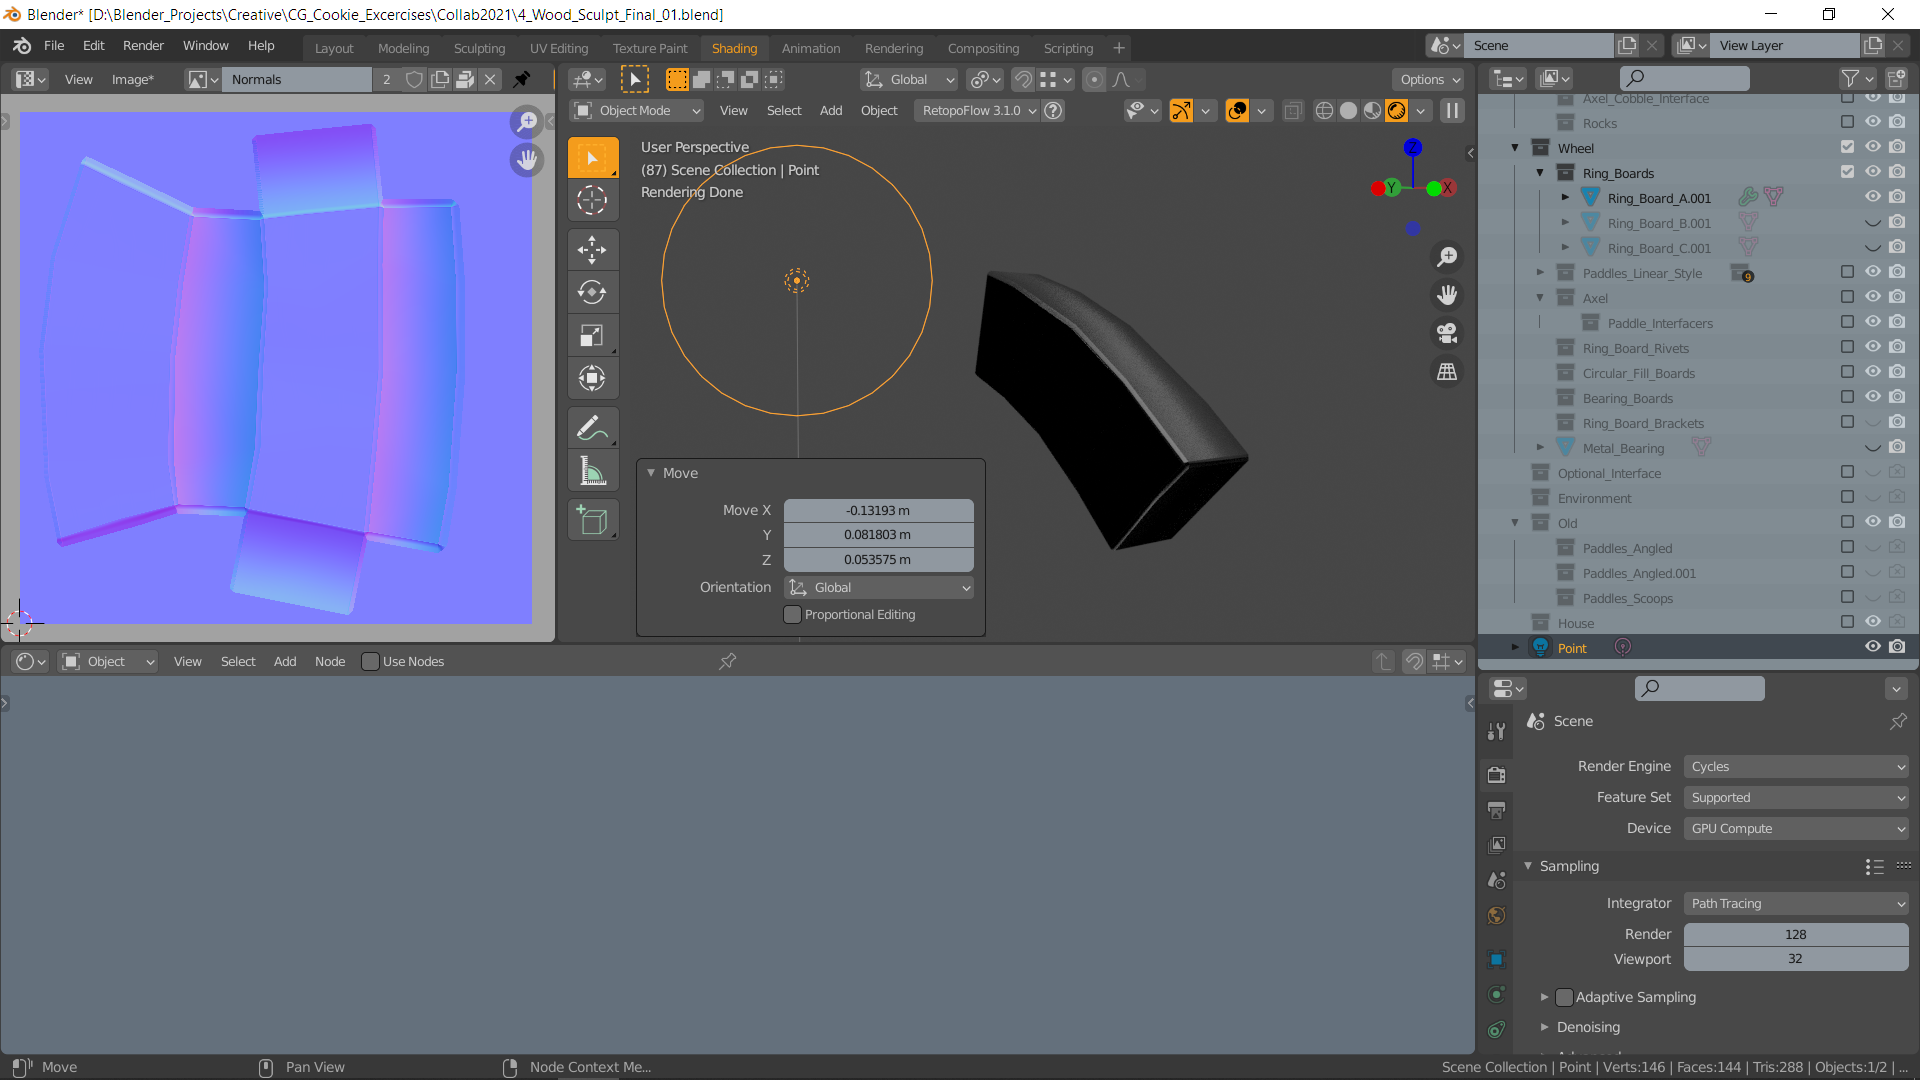
Most of the faces are unaffected by light, and project any surface displacements in reverse direction.
After hours of testing, it seems to be associated with the object itself, but I can't figure out why. The faces all show up with backface culling, so they should be oriented the right way. The UVs don't affect it. I have no idea what I'm missing? Anyone?
![]() lucky Well now I'm super confused, cause I hollowed out that file, sent it, and now in that file killing the old multires and putting a new one on works just fine.
lucky Well now I'm super confused, cause I hollowed out that file, sent it, and now in that file killing the old multires and putting a new one on works just fine.
@lexicolopolis I checked it and you should add an image node, select the image, with the node selected click bake and it works. When you want to test the Normal map on your lowpoly model you have to select non-color in the ColorSpace. Connecting the normal map to the Material Output can cause problems.
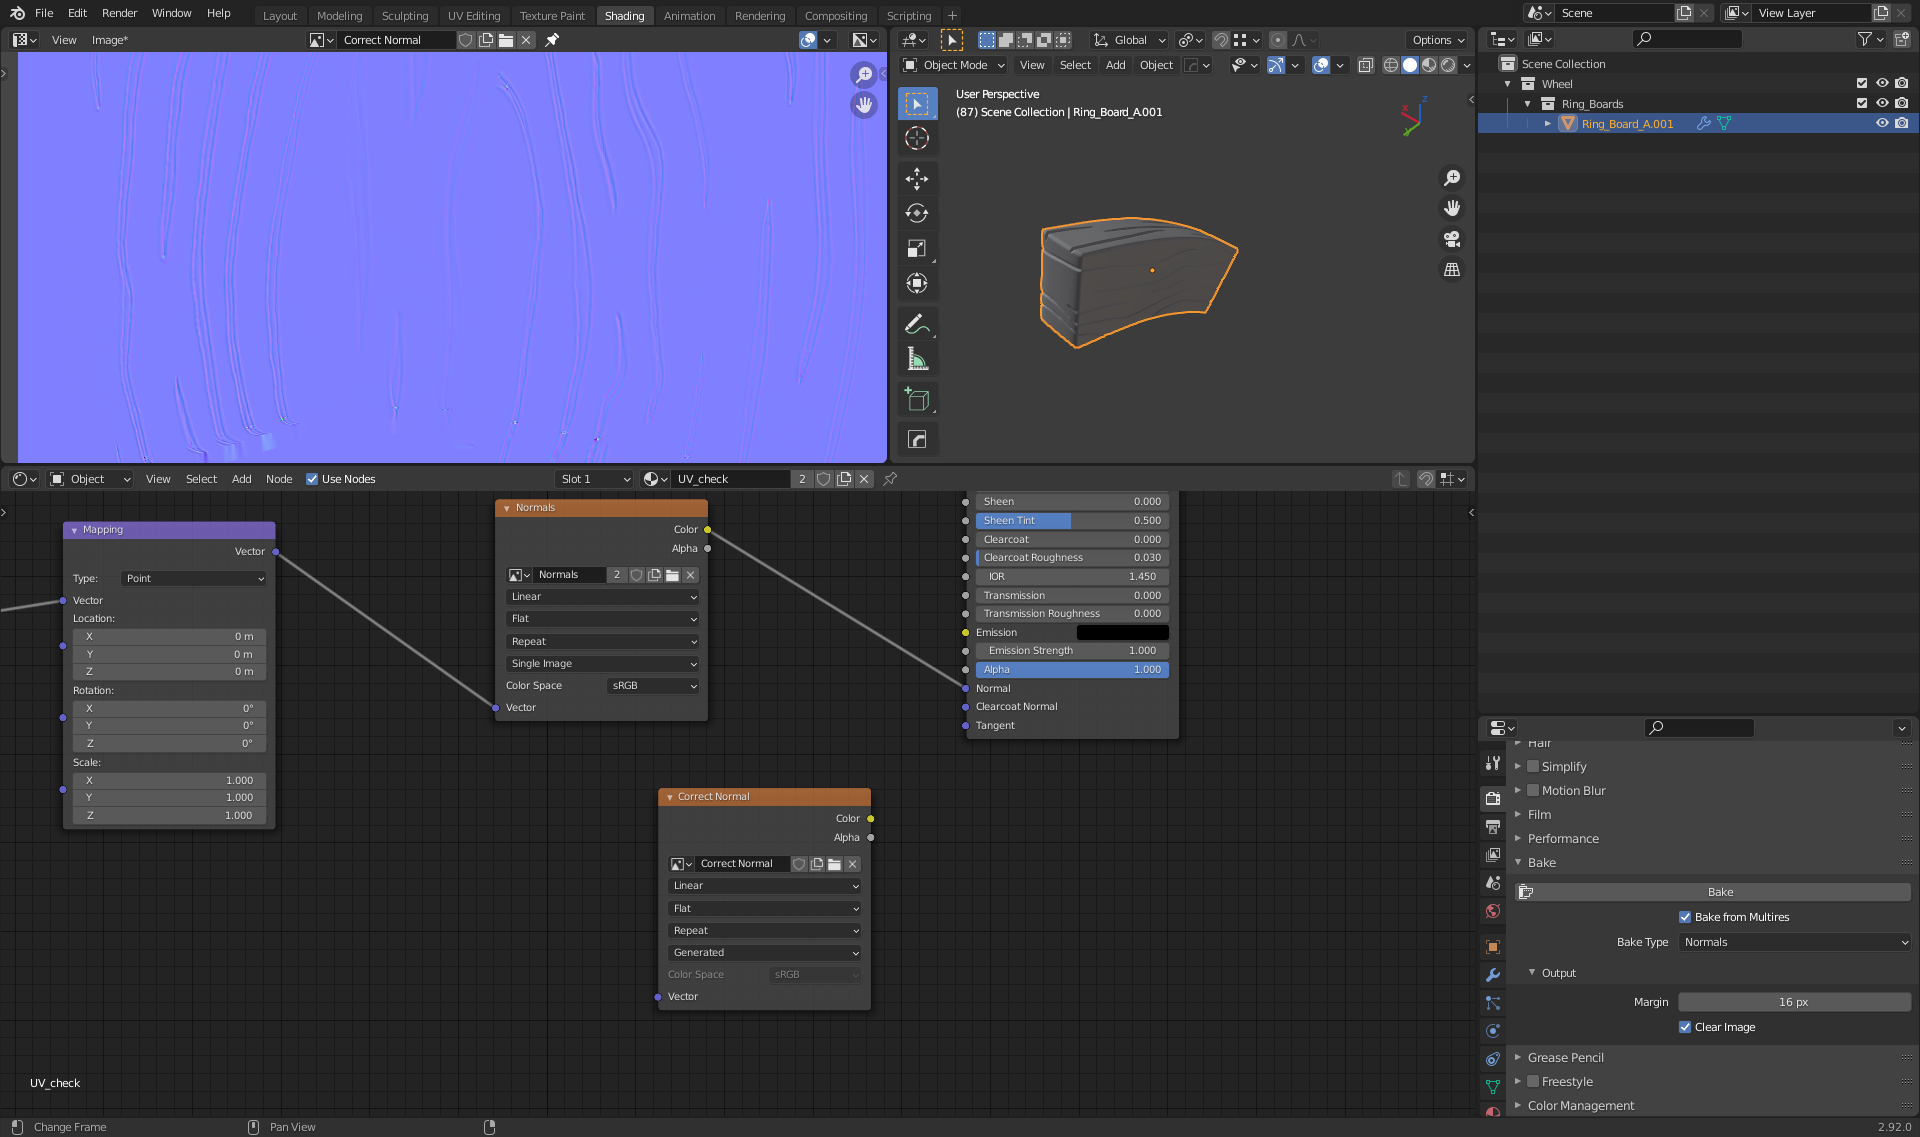
![]() lucky Ehhh what did you change? My bakes do this:
lucky Ehhh what did you change? My bakes do this: 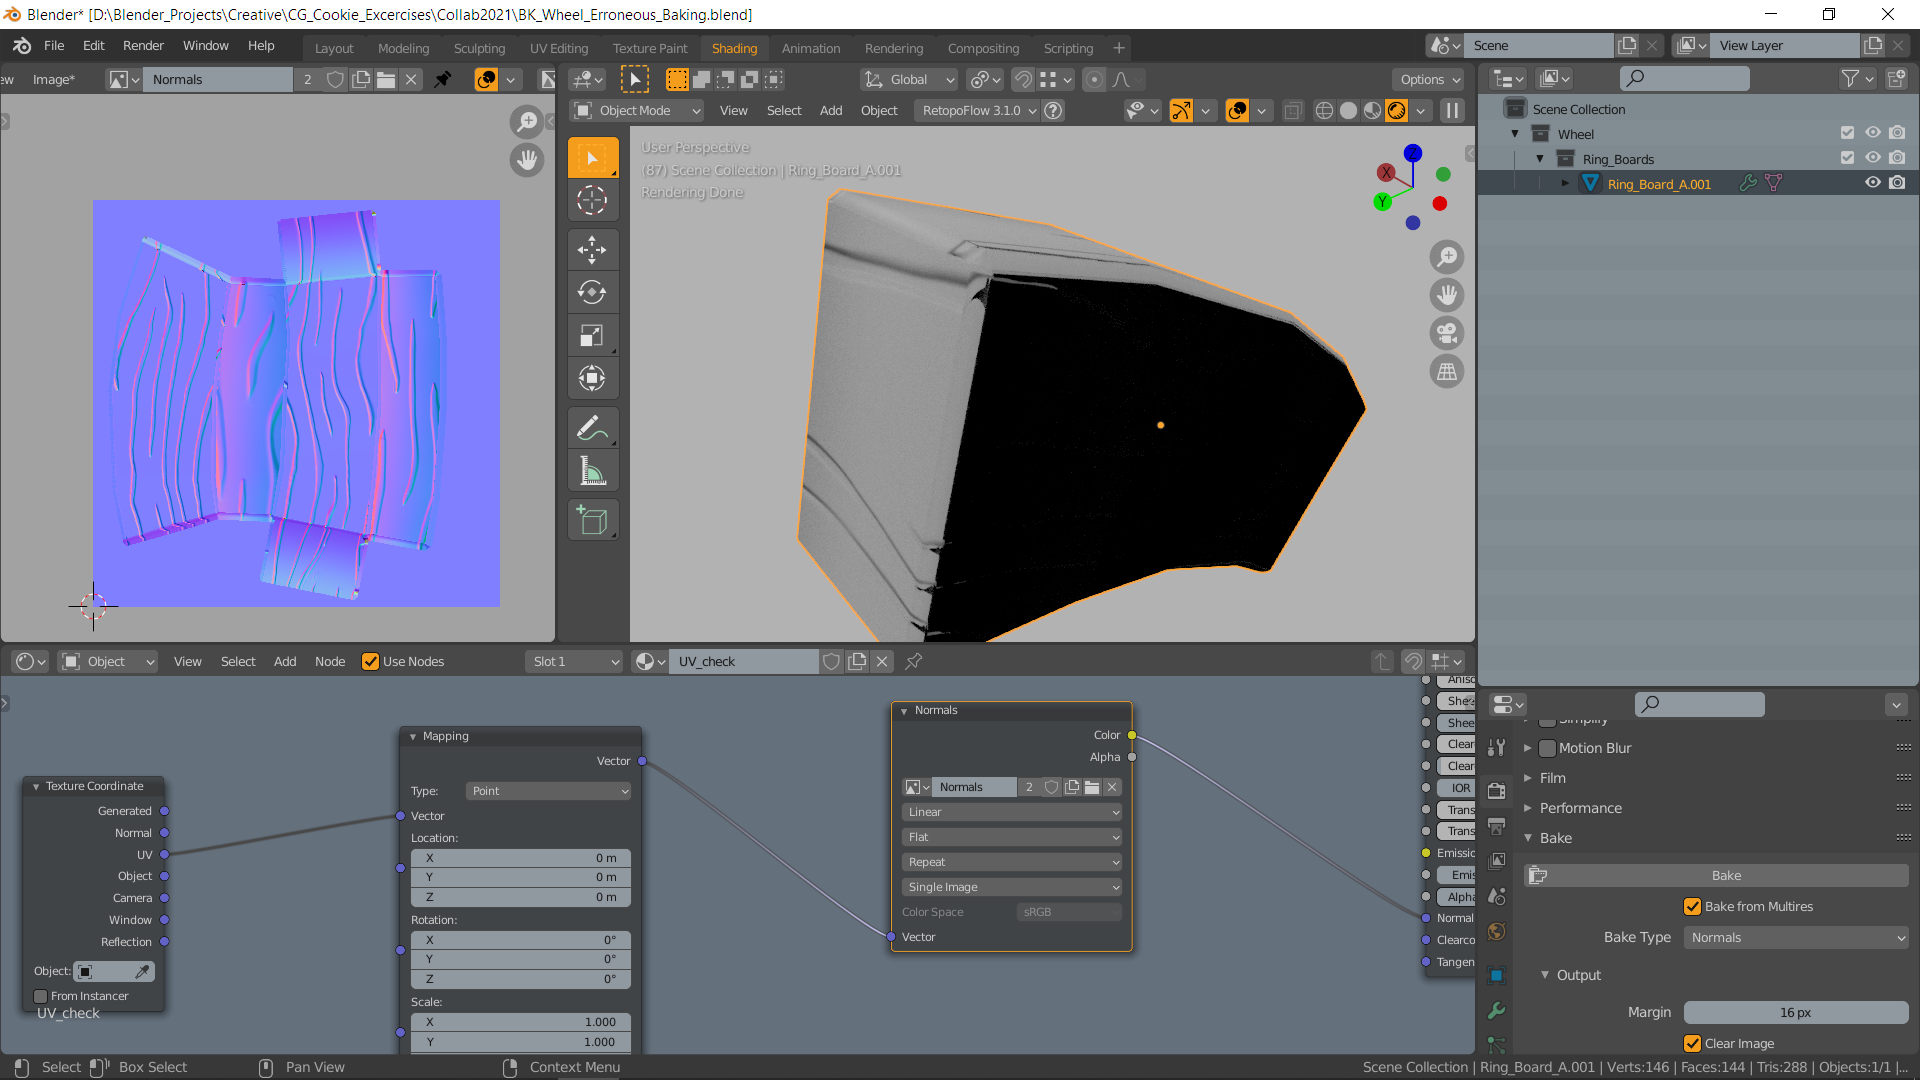
At first glance it looks right but then isn't.
![]() lucky Removing the multires and making a new one works fine using the same method. I just have to repaint a mask which is irritating. But I'm just gonna do the lines, find an inset that doesn't make multires freak out, and call it good. Too close to the deadline at this point to get too crazy with the sculpt now.
lucky Removing the multires and making a new one works fine using the same method. I just have to repaint a mask which is irritating. But I'm just gonna do the lines, find an inset that doesn't make multires freak out, and call it good. Too close to the deadline at this point to get too crazy with the sculpt now.
Here I applied the normal map to the lowpoly model. With non-color the color of the normal map is lighter. In de 3D view you now see the correct normal map on your lowpoly model.
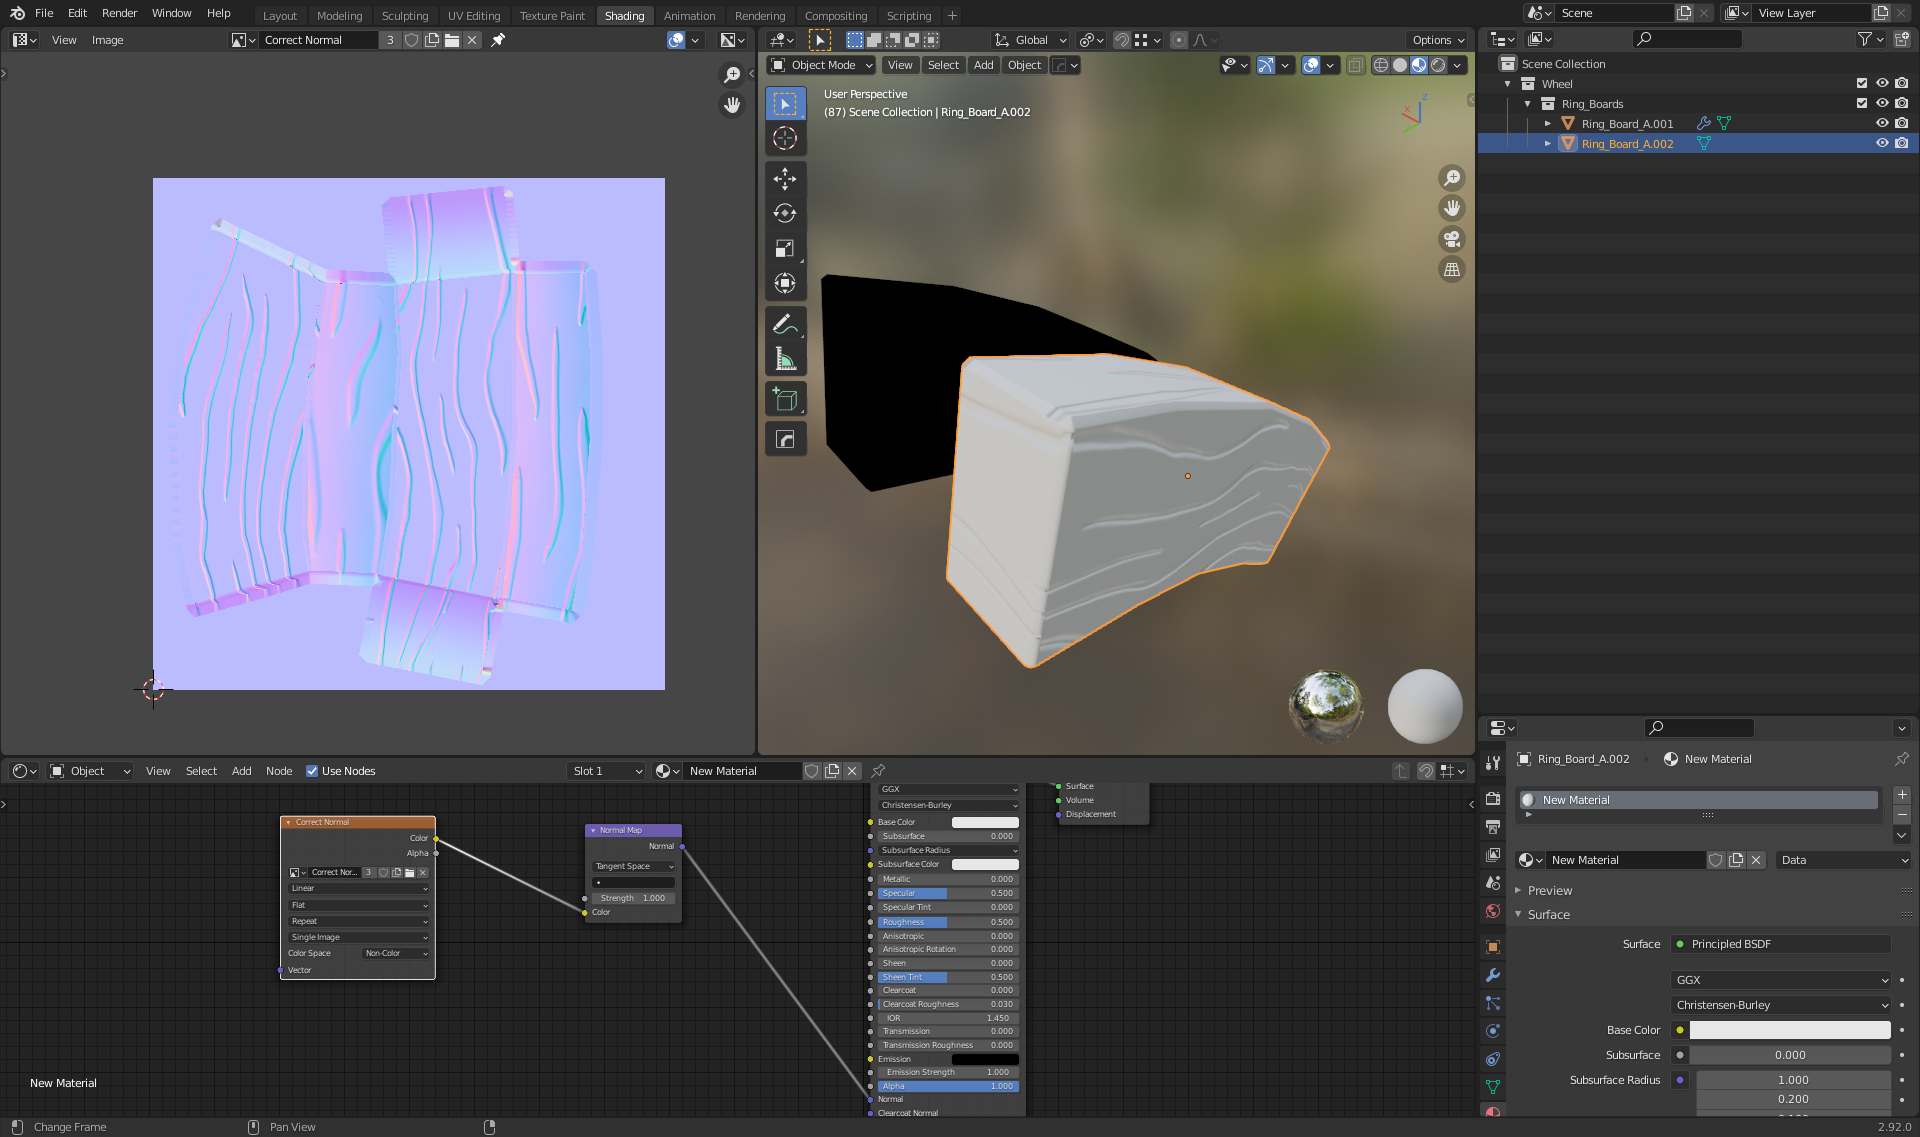
@lexicolopolis Save the normal map first, then change color space to non-color