These courses should help you get up to speed in no time.
The best method for building anything is to start simple. In 3D, a "blockout" approximates general shape and proportion much faster than a final-quality model. Don't skip this step!
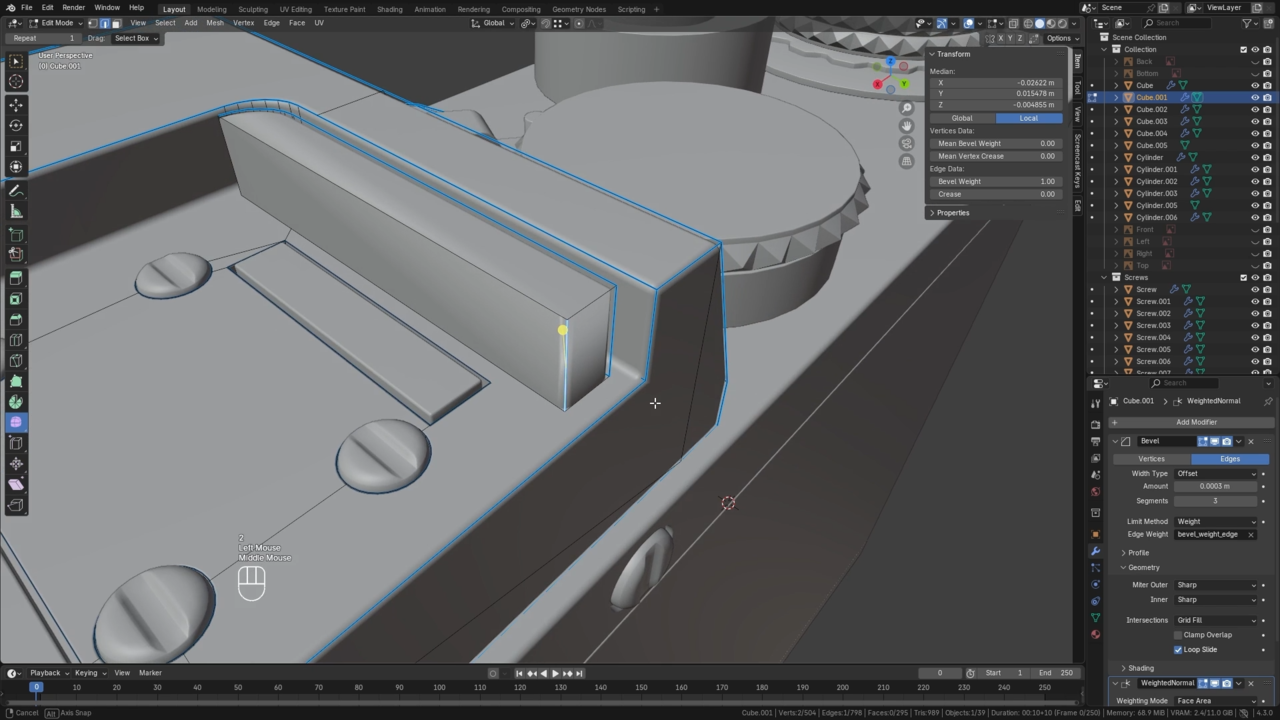
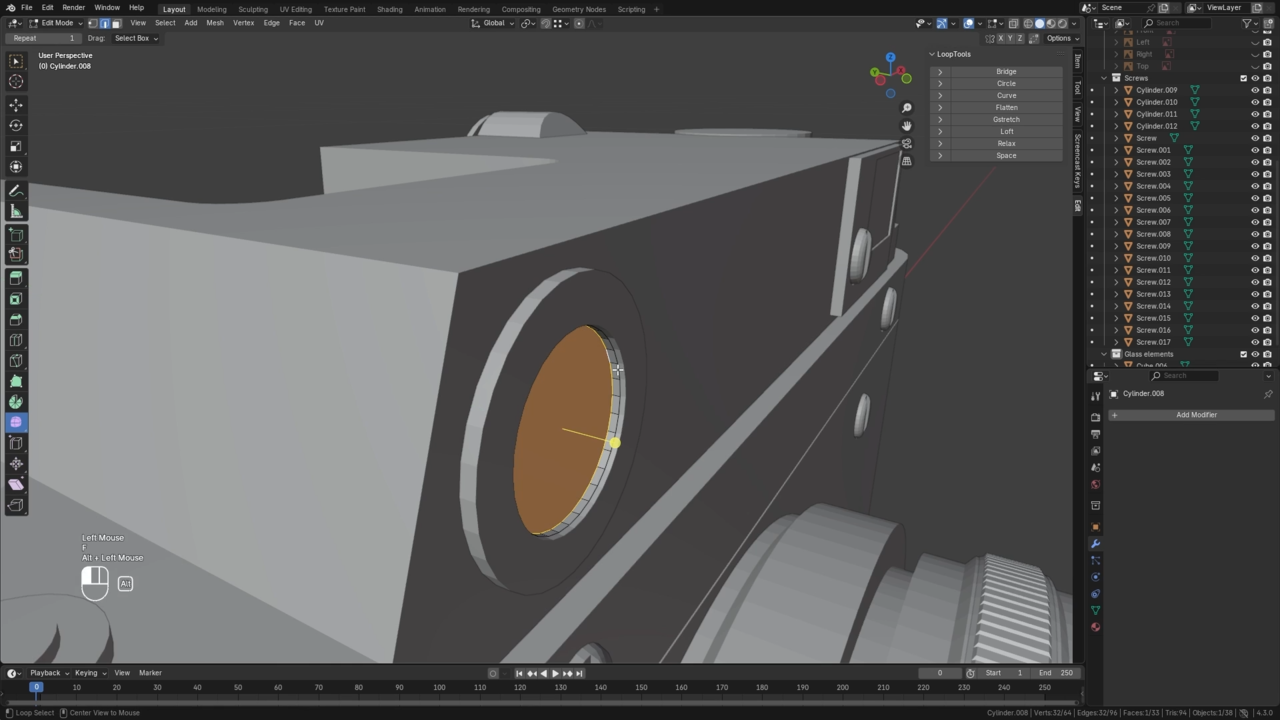
With our blockout complete, we can switch into "detailing mode" and finalize the geometric fidelity of our model. Here we add bevels to edges, geometric patterns to dials, screws, etc.
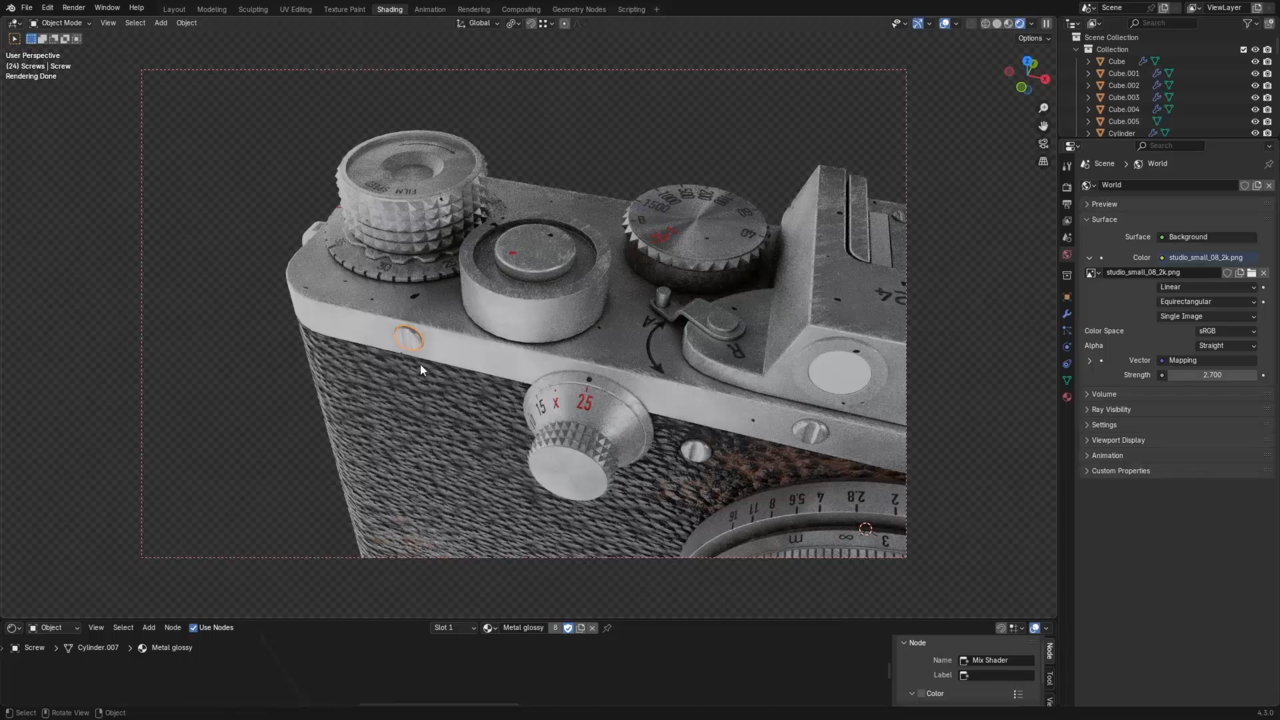
Here we shift attention away from geometry and shape to color and surface qualities. Procedural textures, decals, and material parameters will fully realize our camera asset!

A finished asset must be presented in the best light! Here we'll explore two different visual styles, refine their render setups, and perfect them with post-processing in Blender's compositor.

Hi! I'm self-taught professional 3D artist specializing in modeling and texturing high quality assets for various application. I also like creating photorealistic scenes with atmospheric lighting. Check out my ArtStation portfolio for work examples.
Get this course and 285 others by joining CG Cookie


Fantastic course. Ewa shows how simple geometrical meshes can be modeled and turn into realistic product. Vintage camera in this case. With good use of UV maps, textures, materials, lighting and blender "camera", she turns a not so complex meshes into photo realistic scene. Great tutorial. Very well structured and presented.
I enjoyed going through this course. The instructor provided knowledge in a way that helped me understand the material. The results were phenomenal. I can honestly say that my skillset has improved/expanded because of this course. Kudos to Ewa Wierbik-Ziąbka and CG-Cookie for making this content available to members.
A minor request would be to update the compositing section to Blender 5. The compositing area in Blender 5 seems different making follow along challenging for me.
Overall, the course was well done, and the delivery/teaching method was a pleasure.
This is a great course that really highlights how you can do more with less, I think. With just some relatively basic shapes and a few layered materials you can create something that looks very visually complex and interesting and that is a very good skill to have in the world of 3D.
My only critique, and it's a very minor one, is that I wish the shader node organisation step happened earlier (or while the materials were being constructed) instead of as a step later. The nodes got a little tricky to follow at times but it wasn't unmanageable.
Overall a great lesson and I am very happy with the result I got from it.
Amazing course. Ewa's a great teacher and explained everything clearly. The resulting model looks incredible and I learnt a lot of skills along the way, including some that don't come up in many other tutorials.
Thanks for publishing this course!
I'm happy to hear you've learned a lot of skills! Thank you for takking the course :)
Quite an awesome course! Ewa has a very easy to follow way of teaching and some incredible texturing skills!
The modeling was quite simple to follow along, and I was surprised with how crazy good the textures can get when you know how to layer them right. I was halfway expecting to have some external texturing, or at least some downloaded PBR textures when I saw the teaser. Having the whole thing done procedurally and within Blender was pretty awesome.
I also love that we got to see more than one setup for presentation. Thanks for the great course!
I'm glad you liked it! Blender is magical and that was the point of this course - you don't really need anything else. Thank you! :)