![]() blanchsb as promised (and everyone else that's interested, of course) a 'small' video going through the principle of the Drivers and Custom Property and how I set it up. I started from scratch and didn't make the exact one from my entry, because I thought that it would be nice to see the whole process. It's a uncut realtime recording and I am not very good at doing more than one thing at the time (like talking and modelling), so it's not perfect (lots of "ehhh's" and pauses), but real;)
blanchsb as promised (and everyone else that's interested, of course) a 'small' video going through the principle of the Drivers and Custom Property and how I set it up. I started from scratch and didn't make the exact one from my entry, because I thought that it would be nice to see the whole process. It's a uncut realtime recording and I am not very good at doing more than one thing at the time (like talking and modelling), so it's not perfect (lots of "ehhh's" and pauses), but real;)
Have fun!
Spikey, this is an excellent demo. Far superior to my bumbling demonstration on stream. You've got a clever, technical mind. A very impressive 15 minutes 👏👏
Thanks for taking the time to record this tutorial. I hope you won't mind that I added the video embed to the bottom of your post.
sshanr It doesn't get better than this.
Thank you Master! That means a lot to me, coming from you!
|I hope you won't mind that I added the video embed to the bottom of your post
Of course not;)
That was an excellent demo, so cool how it rotates just by moving the empty. Great how the scale changes in relation to number of treads to keep a consistent size. sshanr you really need to see this, you will never need to watch another tyre tutorial again.
@theluthier watch out, someone has got there eye on being Top Dog.
This is, without a doubt, the coolest way I have seen a tire made.
Plus I learned about drivers, which was on my bucket list.
Thanks Adrian!
so cool how it rotates just by moving the empty
Yeah that was a fun discovery, but wouldn't be useable as a rig the way it is now, because turning the wheel (rotating around the Z-axis) would mess everything up;)
sshanr if I remember correctly, I discovered Blender somewhere in 2012. I'm a slow learner, but I use Blender, like at an average of 10 hours a day.
But I still haven't learned Blender,; there is still sooo much I don't know..
For me Blender is like life: too big to know everything about it, but I appreciate everything I learn and don't worry about all the things I don't know yet and maybe will never know...
![]() spikeyxxx This is the best and cleverest way to create a tyre and keep it easily editable 👍 and it's an excellent tutorial, too 🙂!
spikeyxxx This is the best and cleverest way to create a tyre and keep it easily editable 👍 and it's an excellent tutorial, too 🙂!
This is how I felt after I watched this video ![]() spikeyxxx
spikeyxxx
 Shock and Awe
I also just noticed after watching it another time: He doesn’t delete the default cube!
Yeah, some other funny things:
Caps lock when you meant to shift: I do that all the time. My new keyboard lets you turn caps lock off!
Rotate instead of loop cut (or vice versa): It's like we're brothers in Blender because this is another thing I do all the time!
Chewbacca grows while making the treads: Classic!
Man there sure are some funny "Delete the Default Cube Videos"
(My personal Favs: 1: Delete Default Cube; 2: What happens to the cube when you delete it )
This is my favorite meme of Blender Instructional Videos: 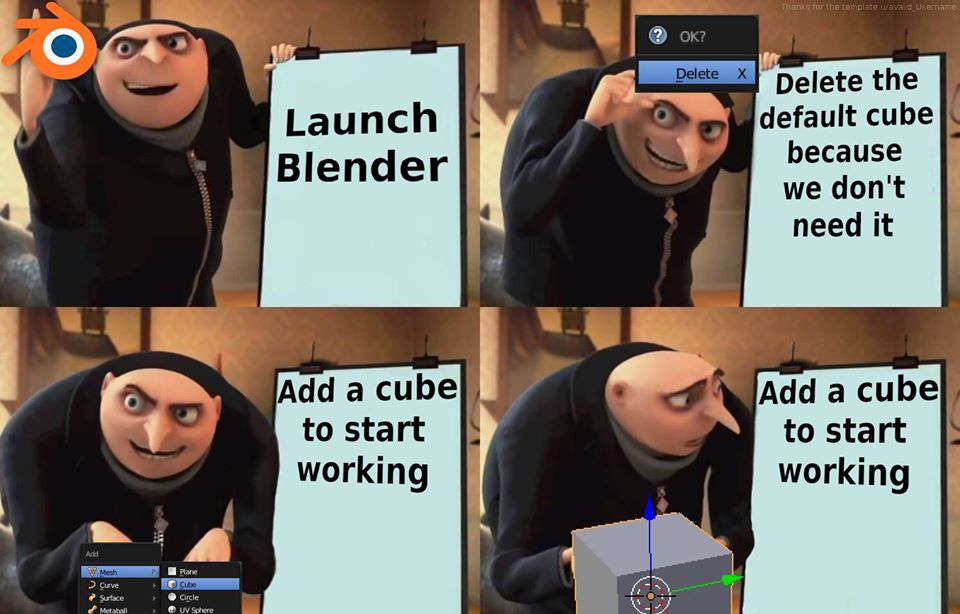
![]() spikeyxxx : I tried to follow the tutorial which you prepared. But even though I have 360° bend. There is gape in the tyre tread. While I did another tyre, it worked there.
spikeyxxx : I tried to follow the tutorial which you prepared. But even though I have 360° bend. There is gape in the tyre tread. While I did another tyre, it worked there.
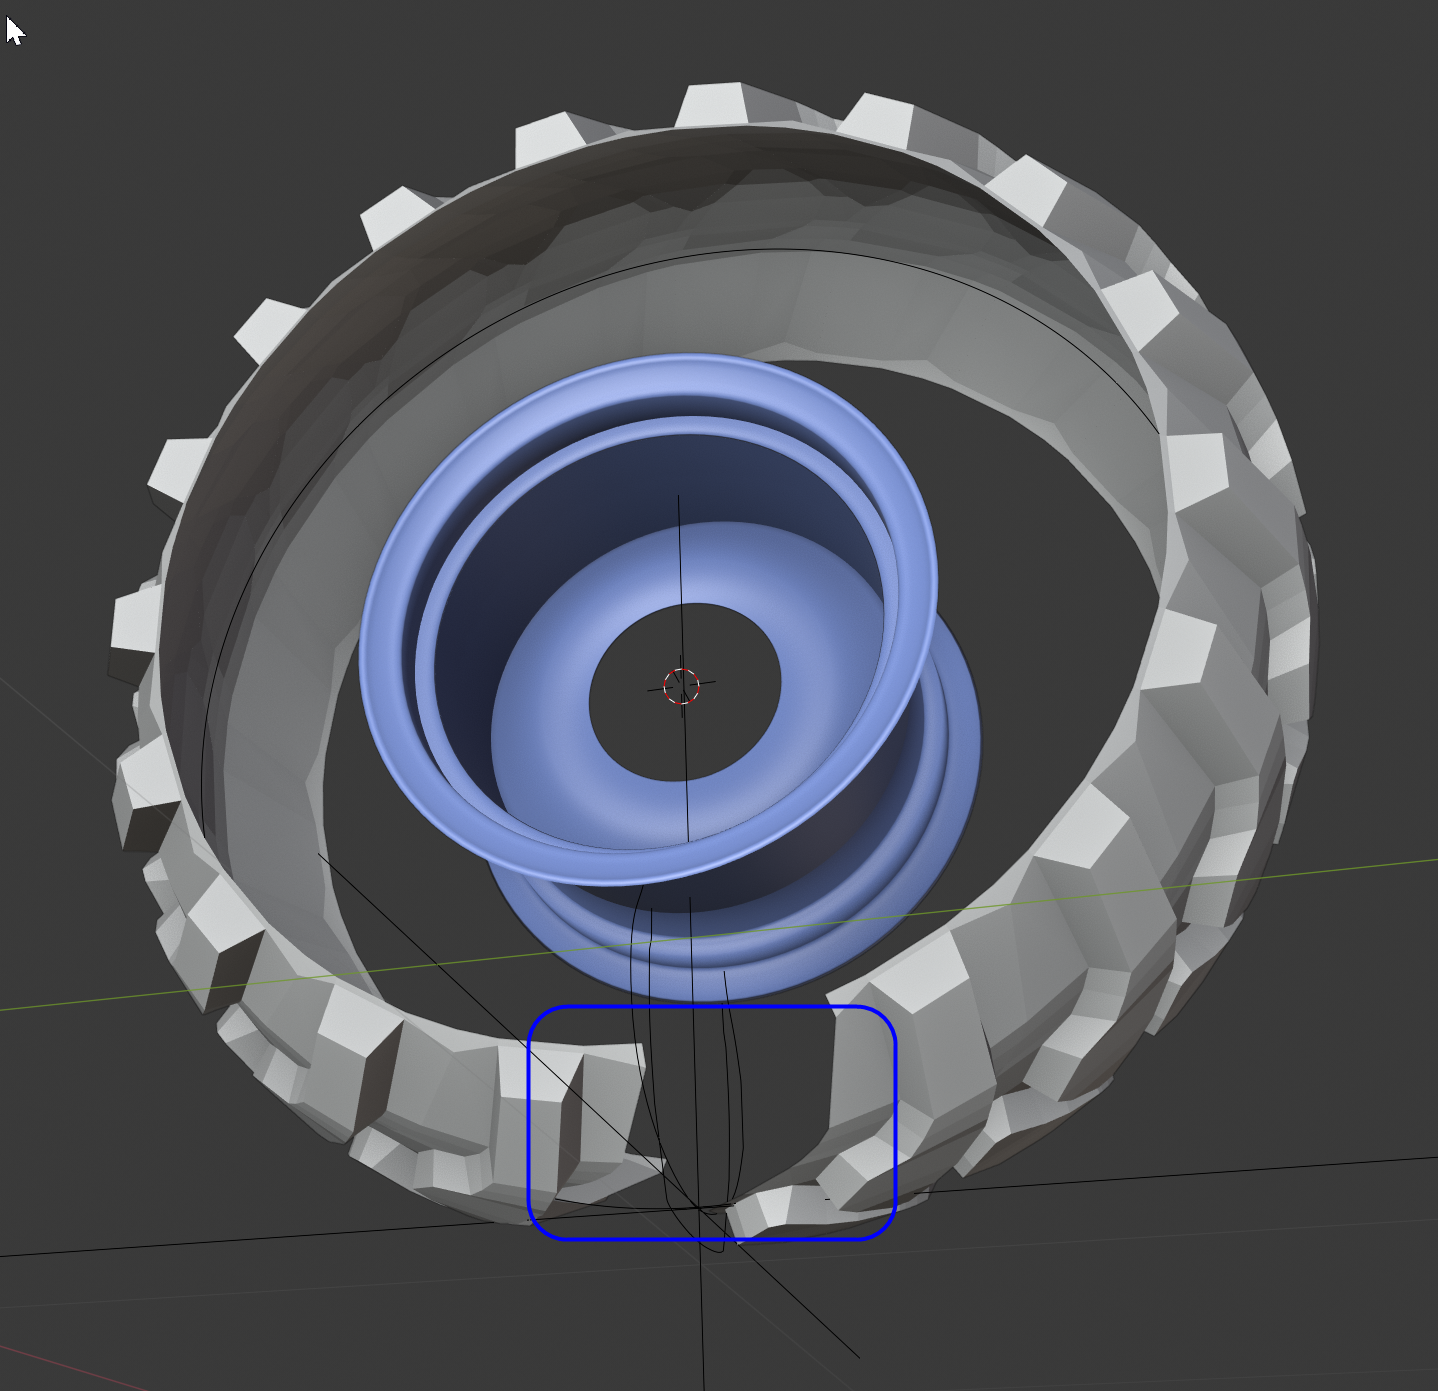
Above tyre tread has a gape.
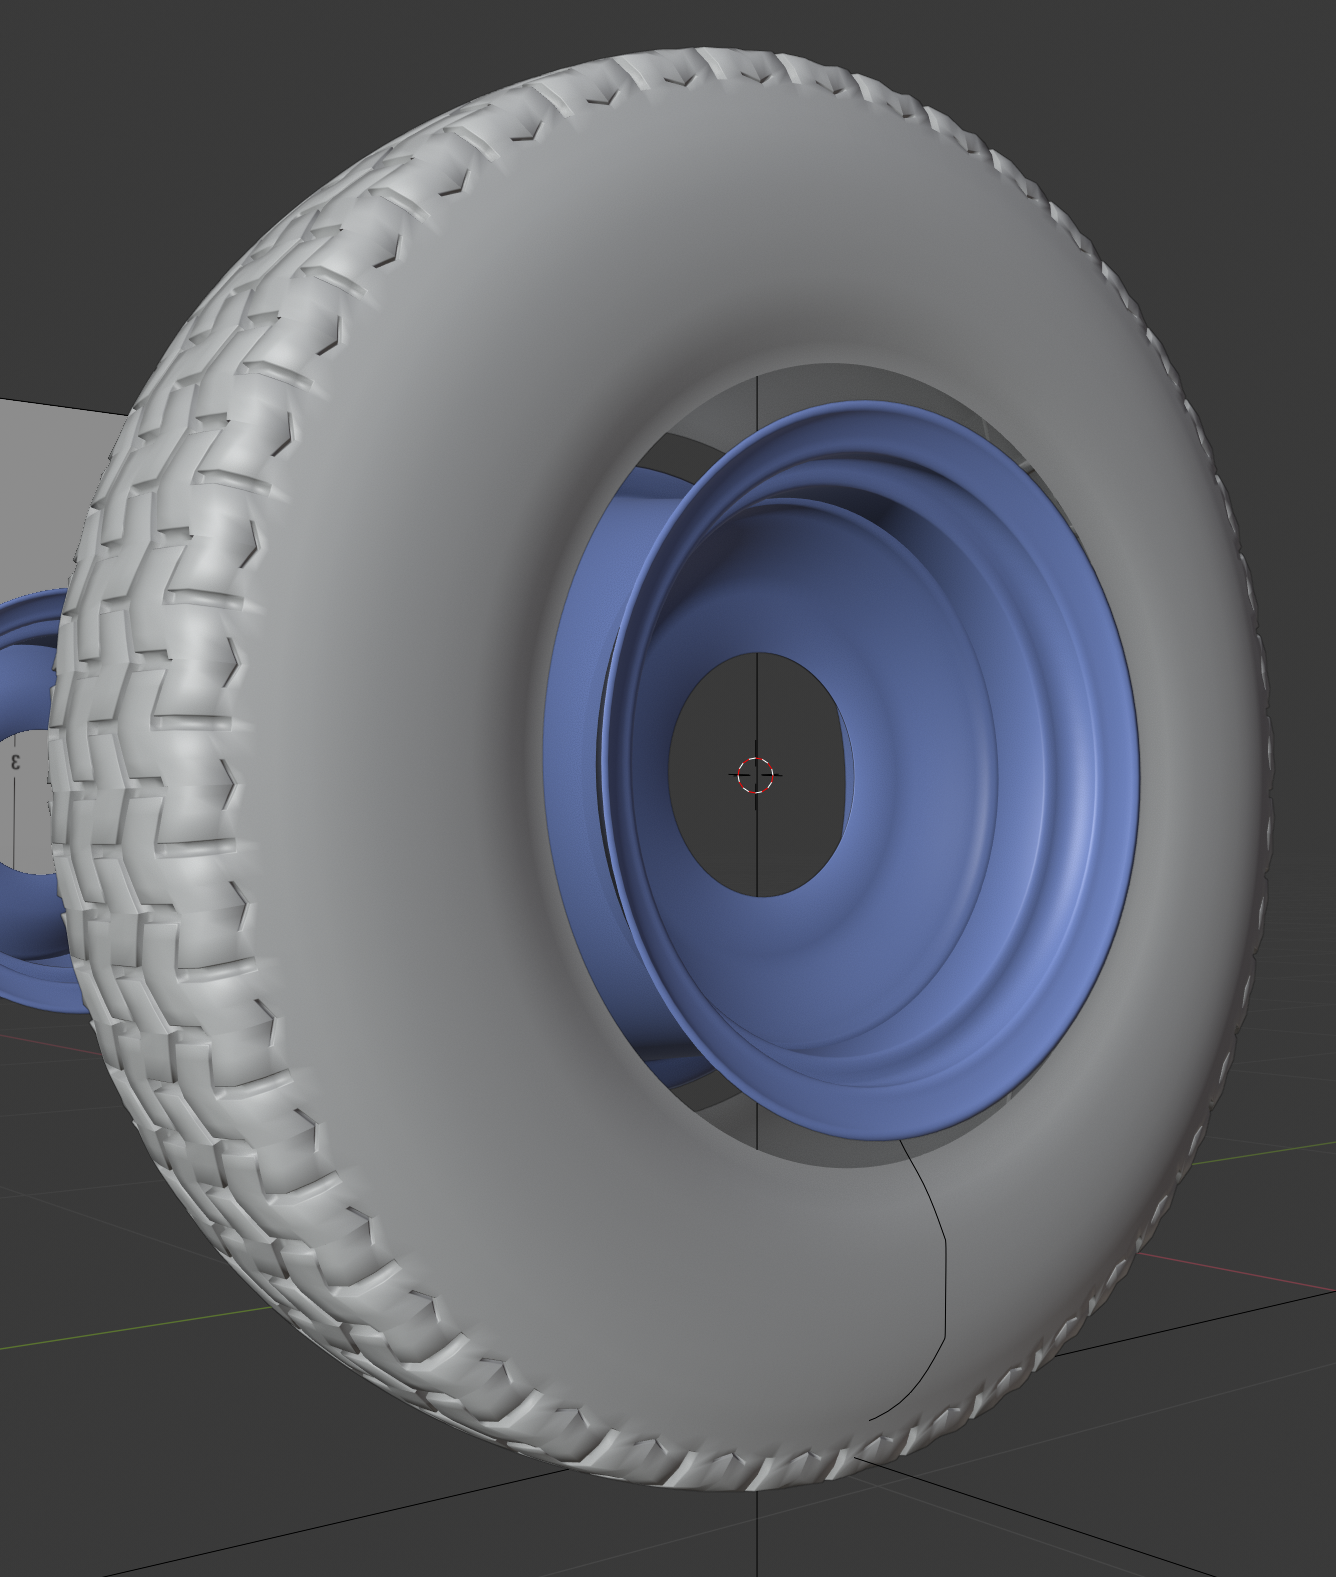
This one worked perfactly.
Do you know why it happens?
rryzen7 I have absolutely no idea how you managed to do that.
Looks like your original segment is missing. One way to create a gap like that would be to have an angle less than 360°. but even then would the gap not be where it is now.
My guess is that you used a Count of 18 in your Array Modifier. Now only 17 are visible....Strange.
Make sure that your segment is straight at the connecting edges, so not something like:
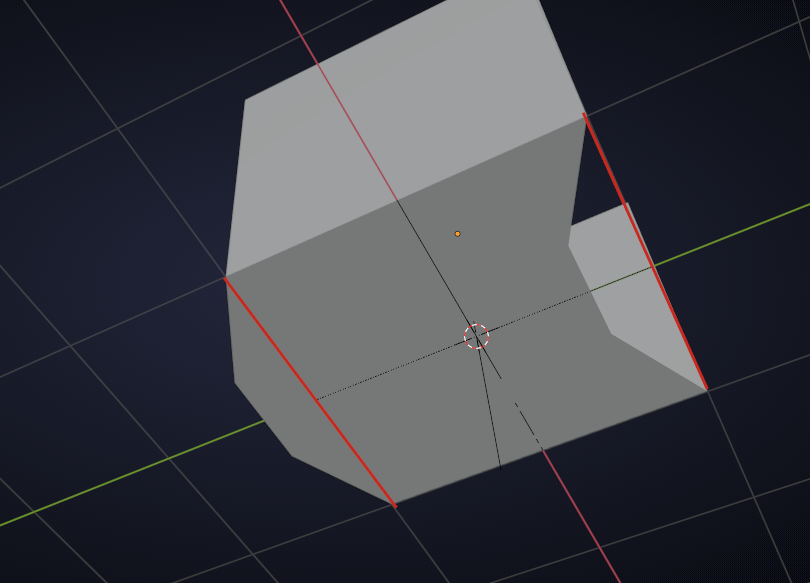
The beauty of the 'Bend Modifier' is that you can set the angle and 360° is always a full circle (unless you are in a country where they still use a 400° circle...).
No matter what I try, I cannot accidentally create a gap like that.
The closest I could get to something like your screenshot is by applying the Modifiers and then deleting the original segment and I don't expect you to have done that.
Or by using a Curve Modifier instead of a Simple Deform.
Long story short: I'm clueless!
(Do you still have that .blend file????)