I'm excited to join the CGCookie community to push myself further into the realm of 3D! My progress may not come from a 100% beginner level, but having something to keep track of where I'm going seems extremely helpful. I've completed a few tutorials on YouTube provided by Blender Guru and Grant Abbit and decided to come to CG Cookie for more focused learning. I'm definitely serious about honing 3D skills for various applications, namely VFX and video work. If I could get some 3D models into games one day, that'd be pretty fun too!
For this log, I'm going to keep track of anything I've created by means of CGCookie.
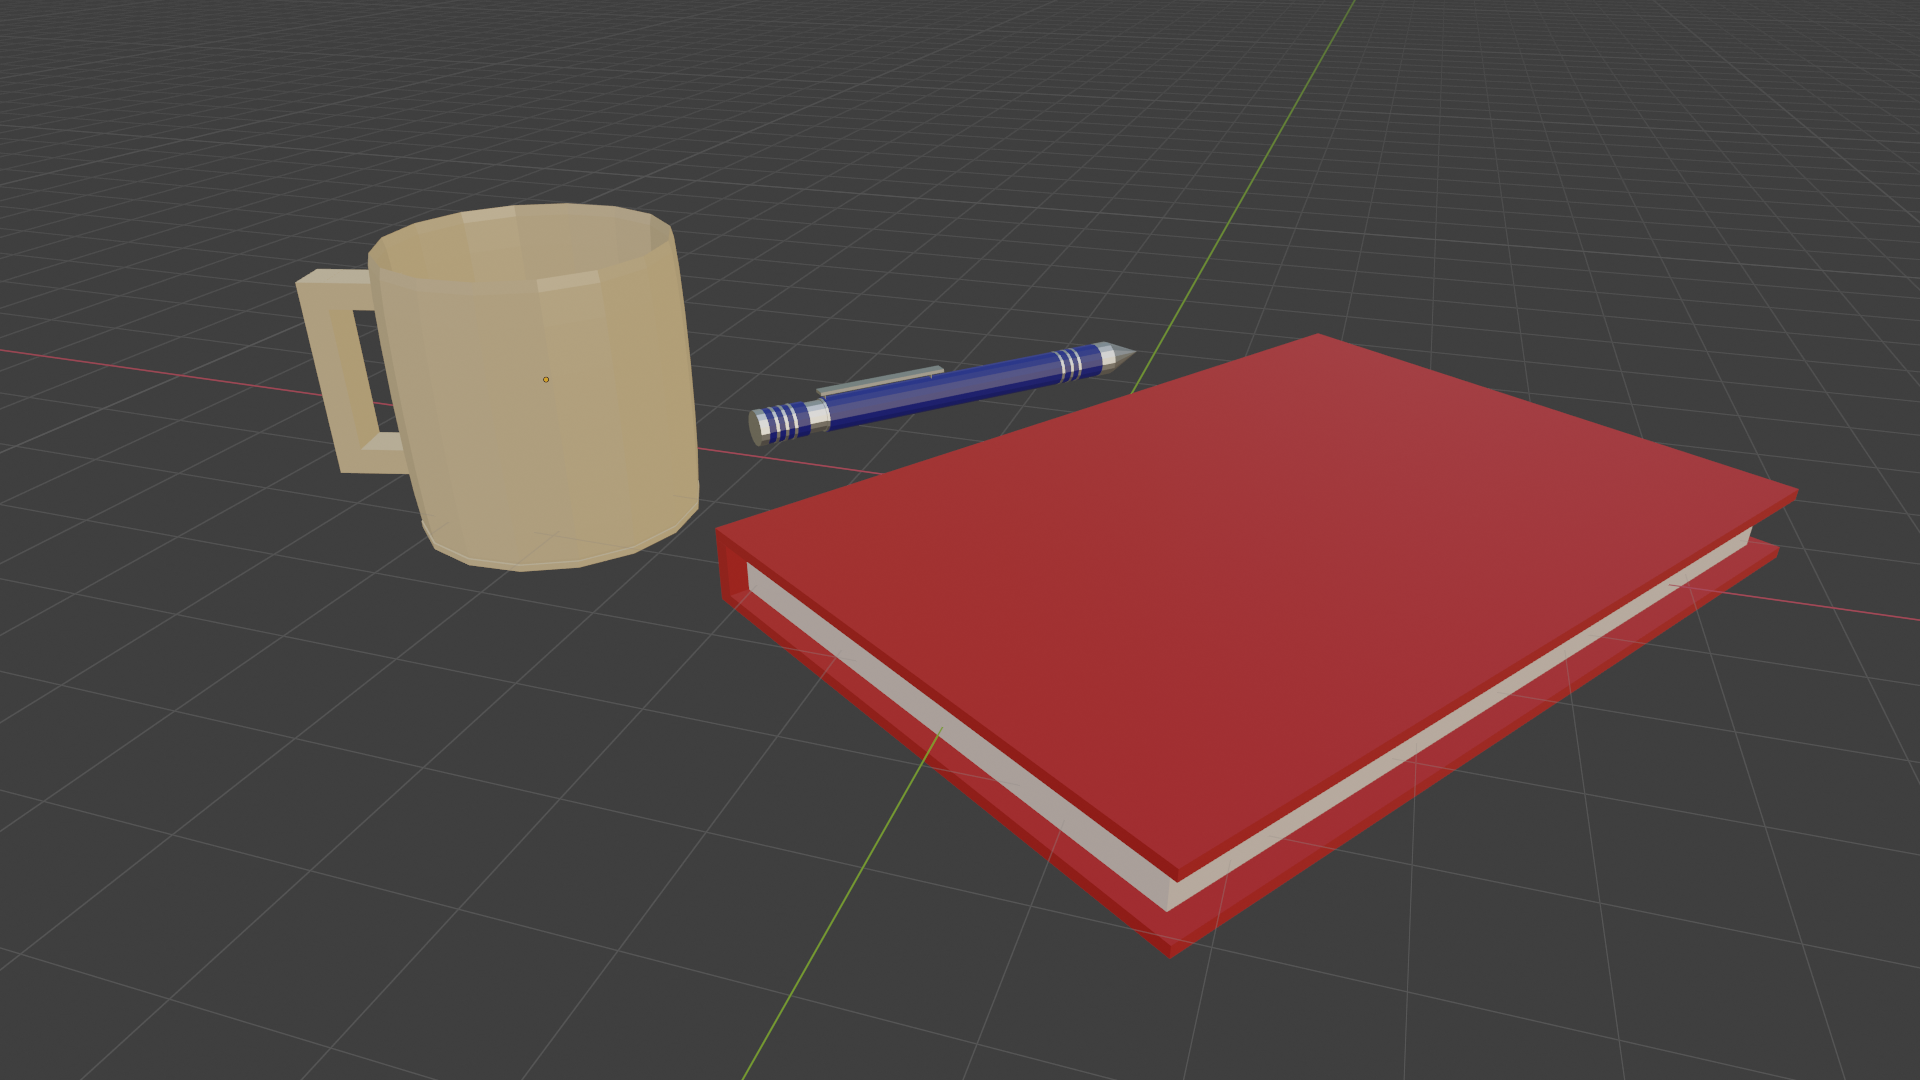
I'm starting the Fundamentals of Modeling course and I've completed the exercise in primitive modeling. My example here:
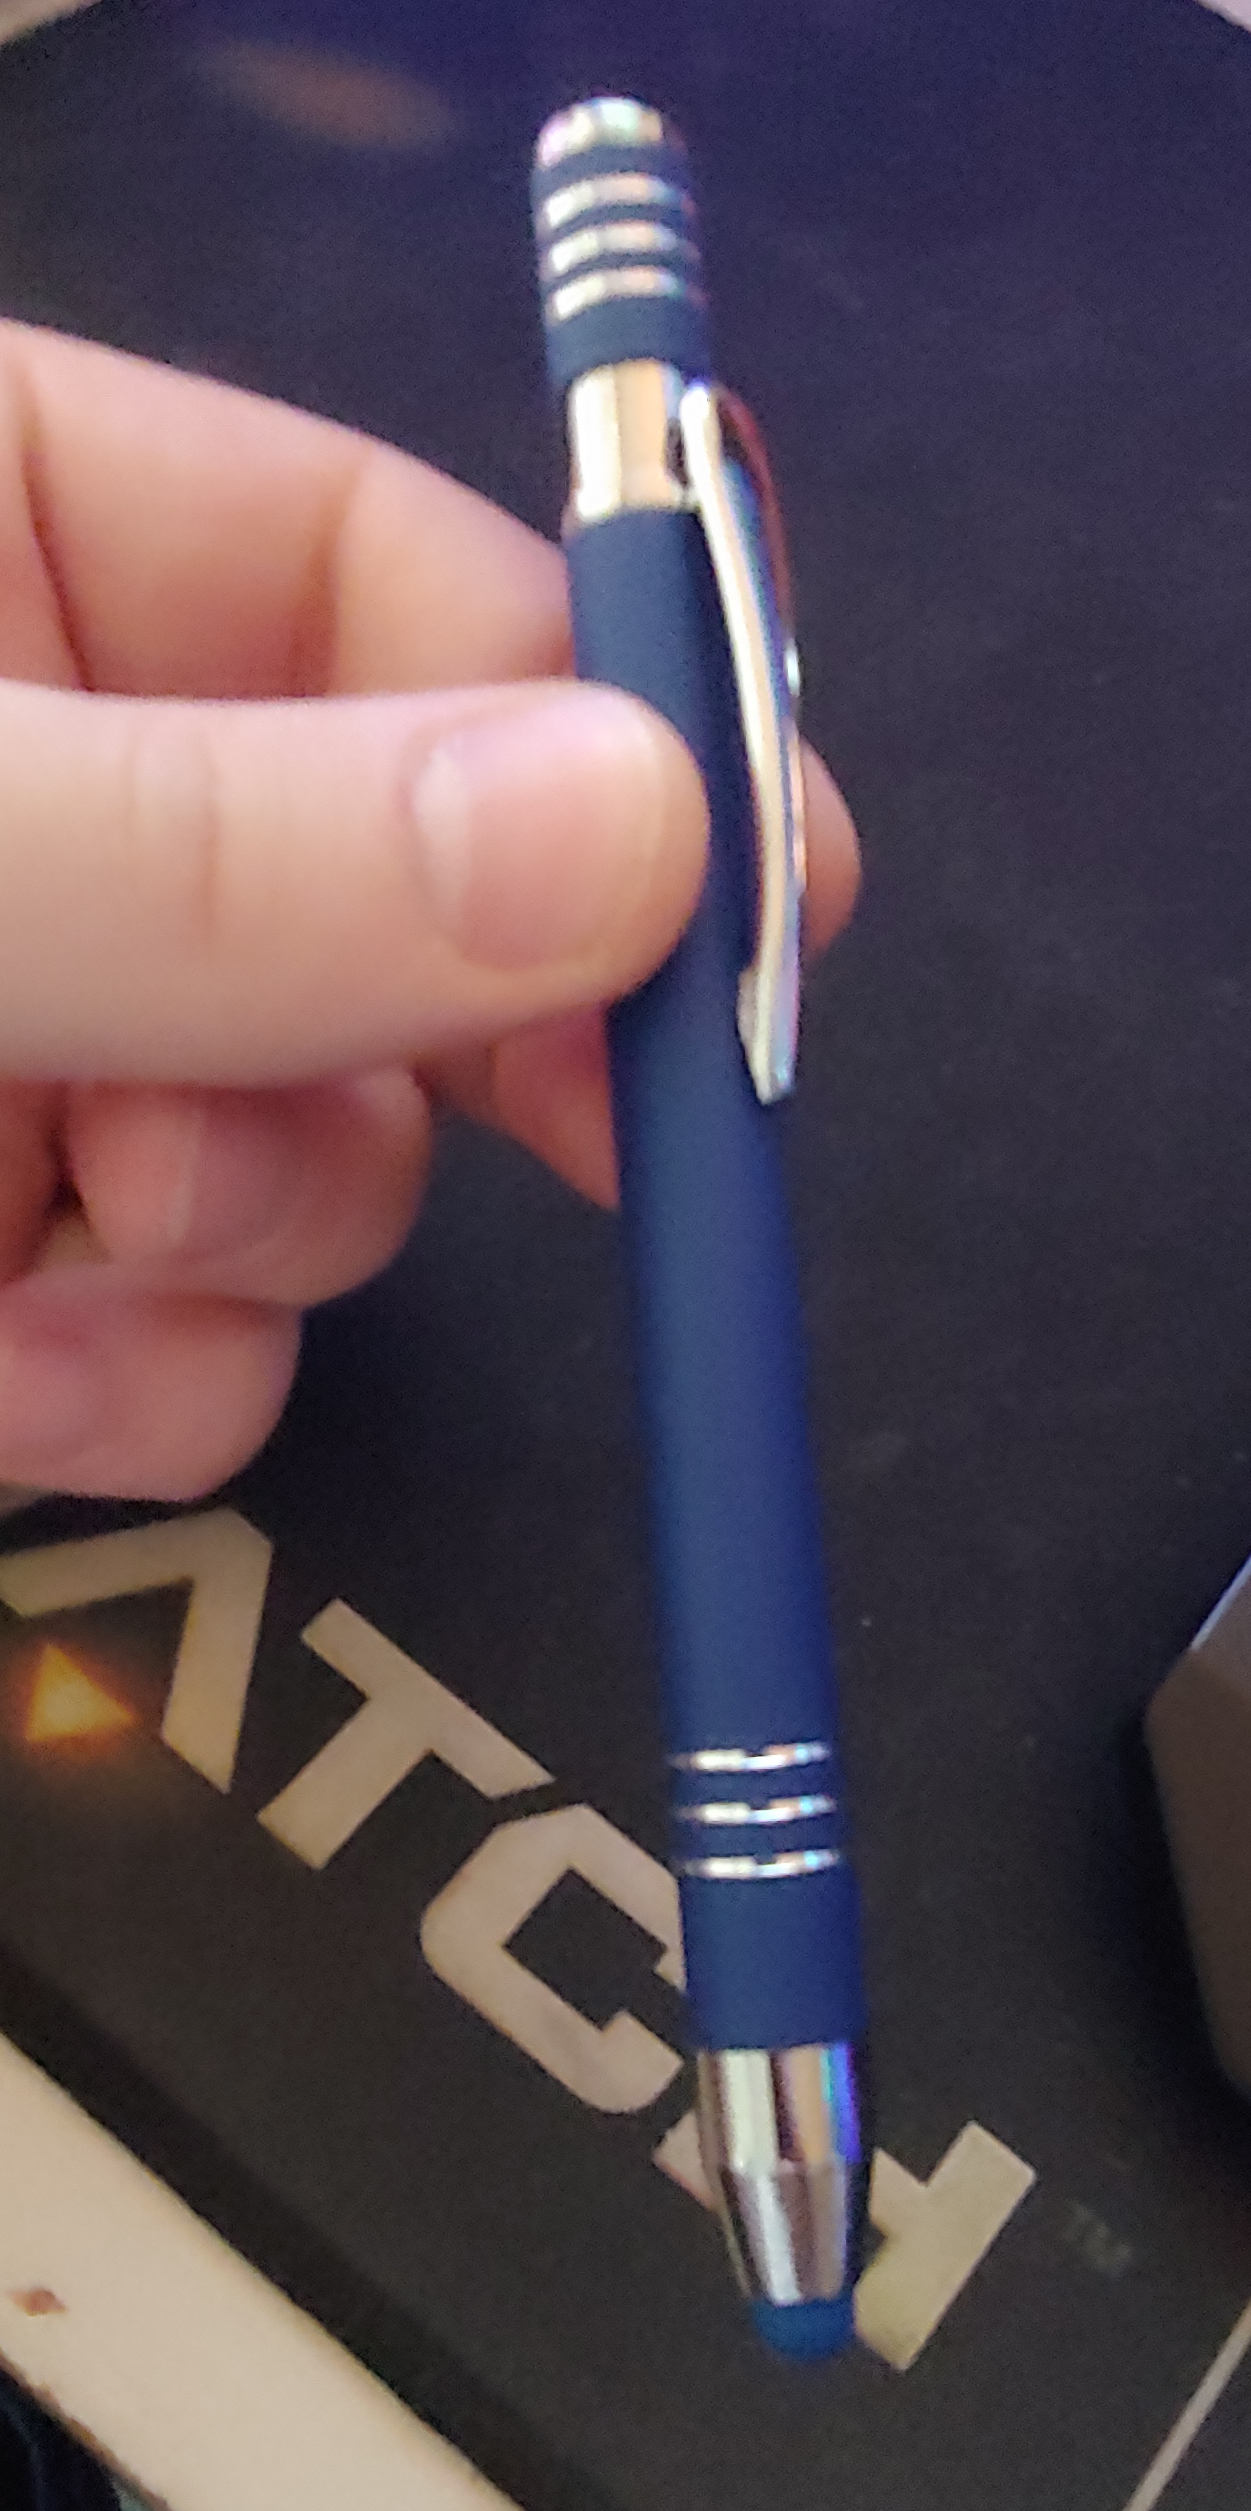
I based the pen off of one of my stylus-pens as seen here:
Thanks for the encouragement, @jlampel! Once I get the 'bigger blocks' of furniture created, I'm looking forward to adding smaller items like pots, pans, and various little kitchen items. Your teachings and encouragement in the course are doing a lot for me, and I also wanted to thank you for that. Onwards!
I completed the Room Assignment today and submitted it for grading. I feel the desire to add more, but I think I'm ready to move on from it and learn more. Modeling is definitely far more fun that I thought it would be, and I'm glad I decided to really start learning during these strange times holed up at home. In between my working hours, I've been adding little bits here and there. I'm happy with how it turned out. I'm open to constructive criticism, as I may decided one day to revisit it for a final polish run. Not sure yet, haha!
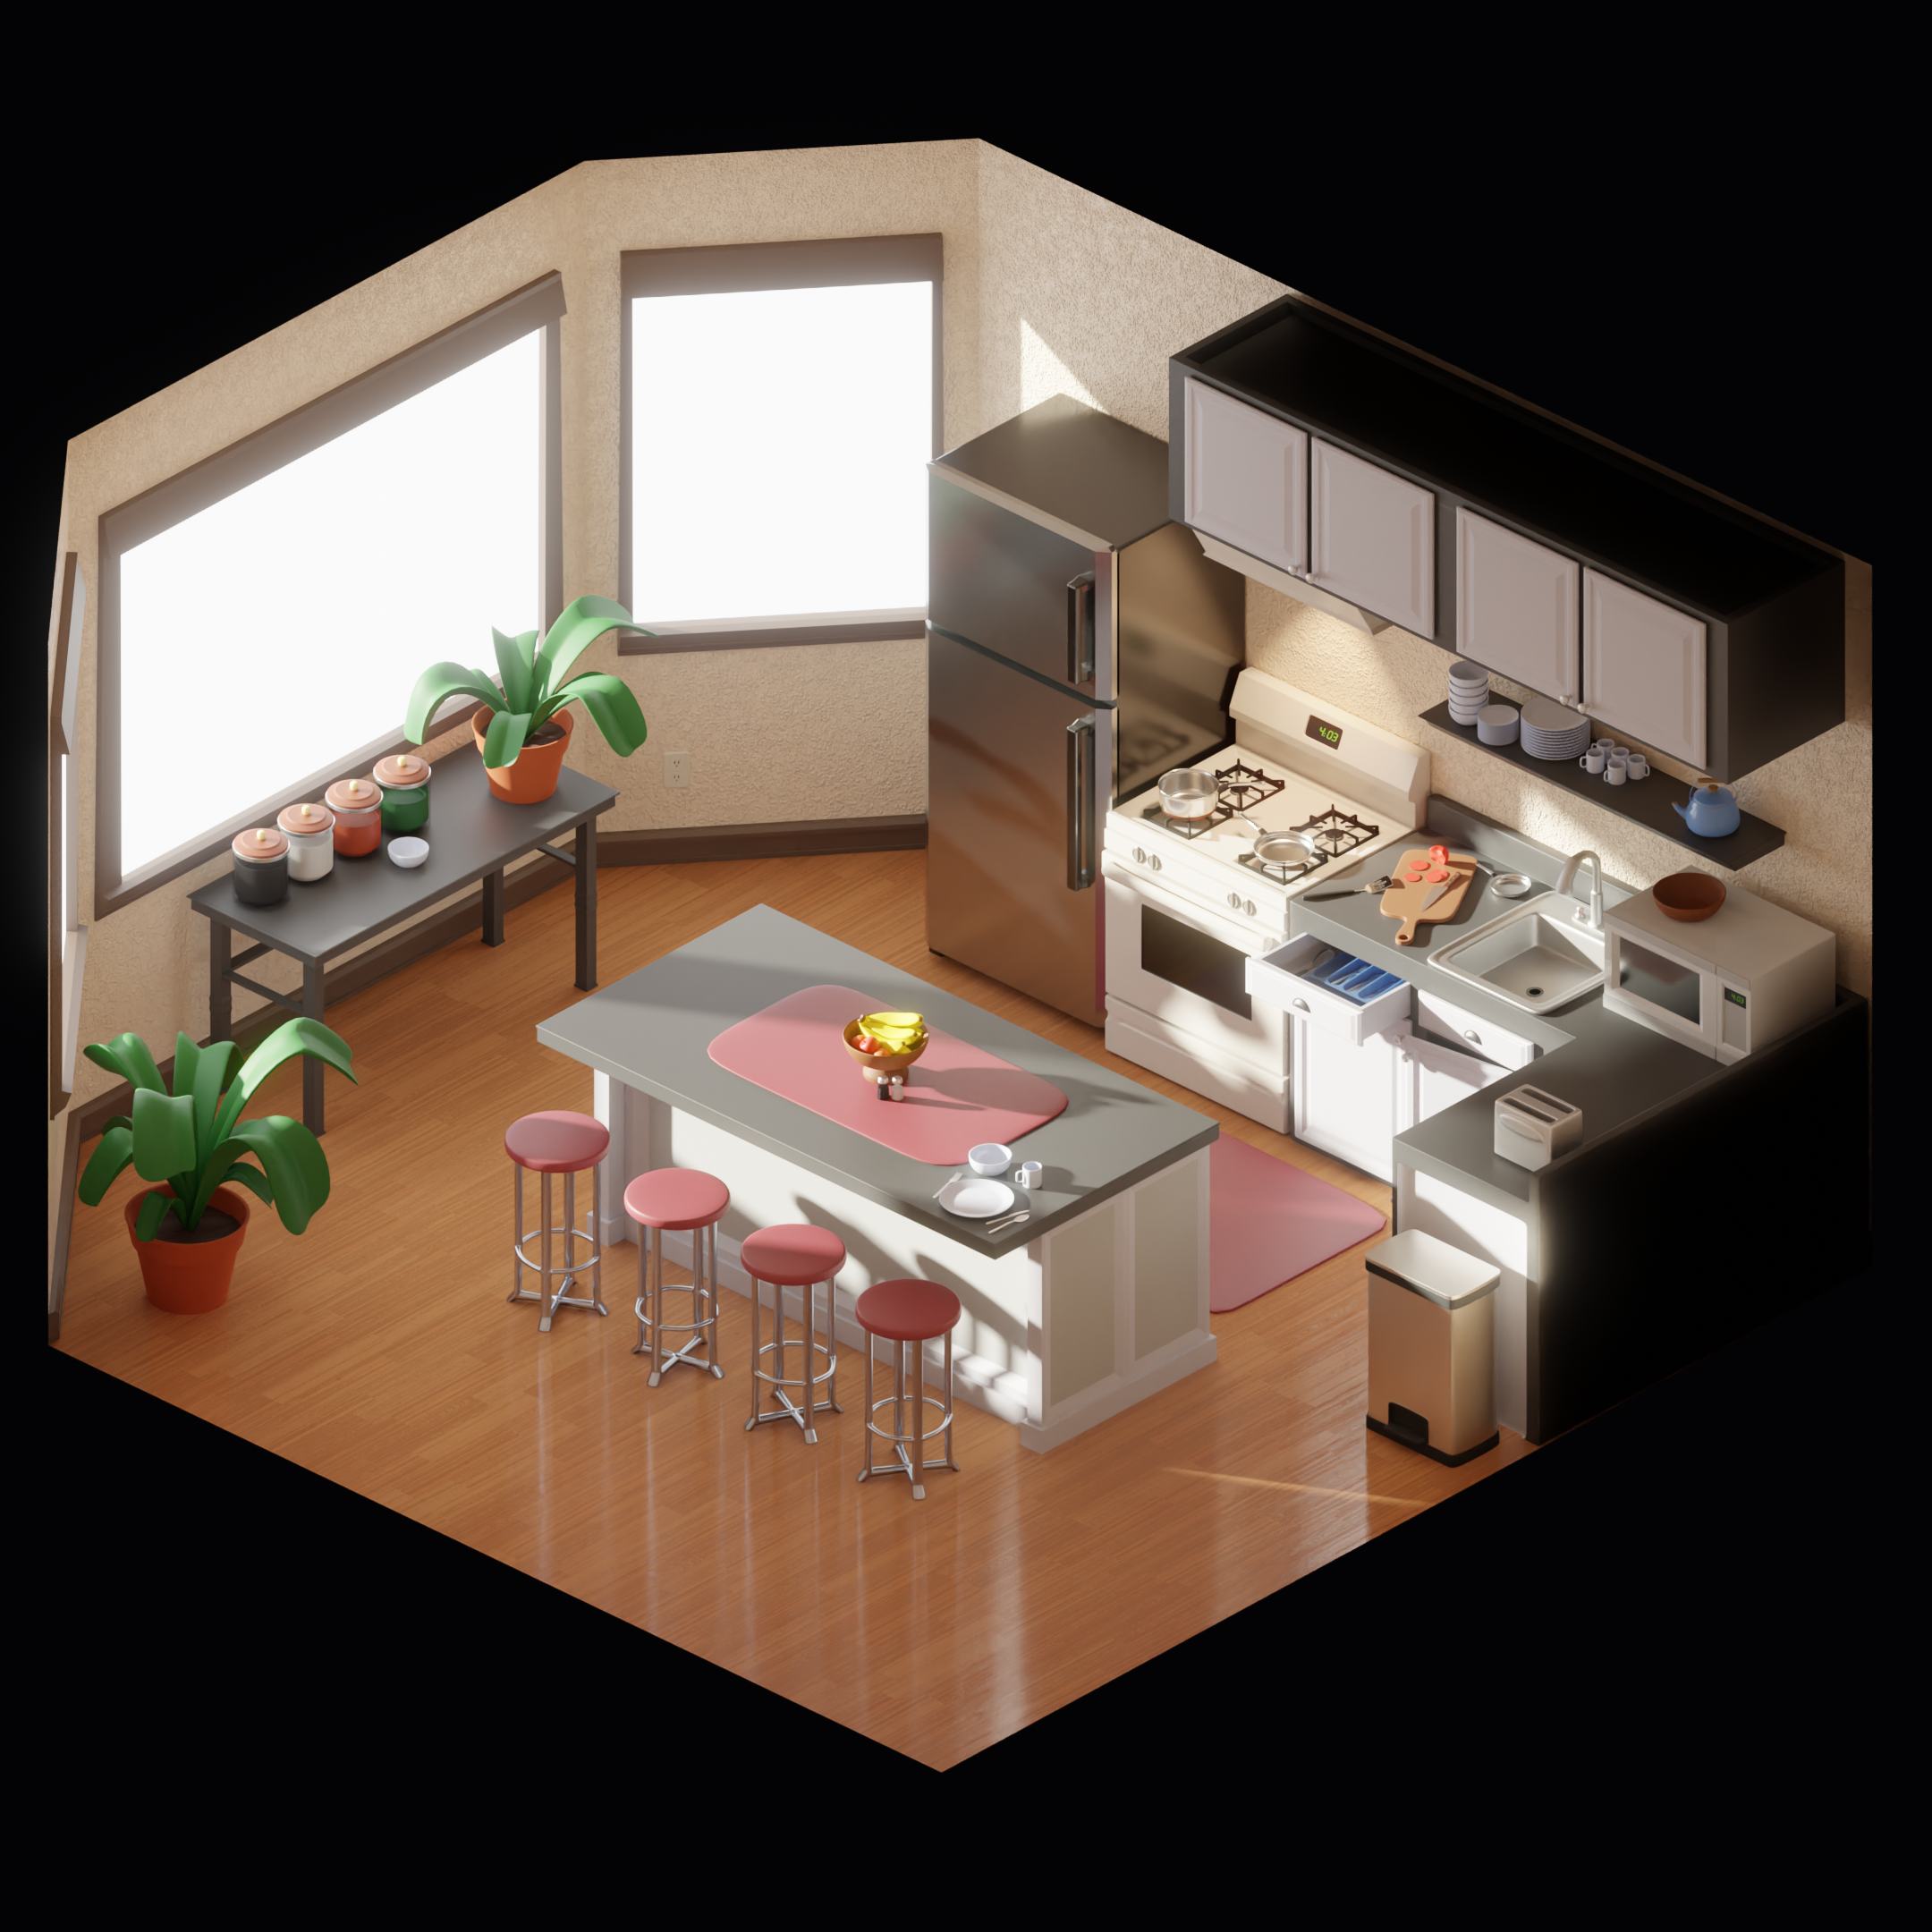
Yup that's a keeper. Put this much heart into all of your projects and you'll be doing great things.
Thank you so much ![]() blanchsb! I've been finding a strong passion in the 3D world, even doing the basics so far!
blanchsb! I've been finding a strong passion in the 3D world, even doing the basics so far!
Great work, Antonio!
Had fun zooming in on all those details;) (Thanks for rendering this in such high resolution,)
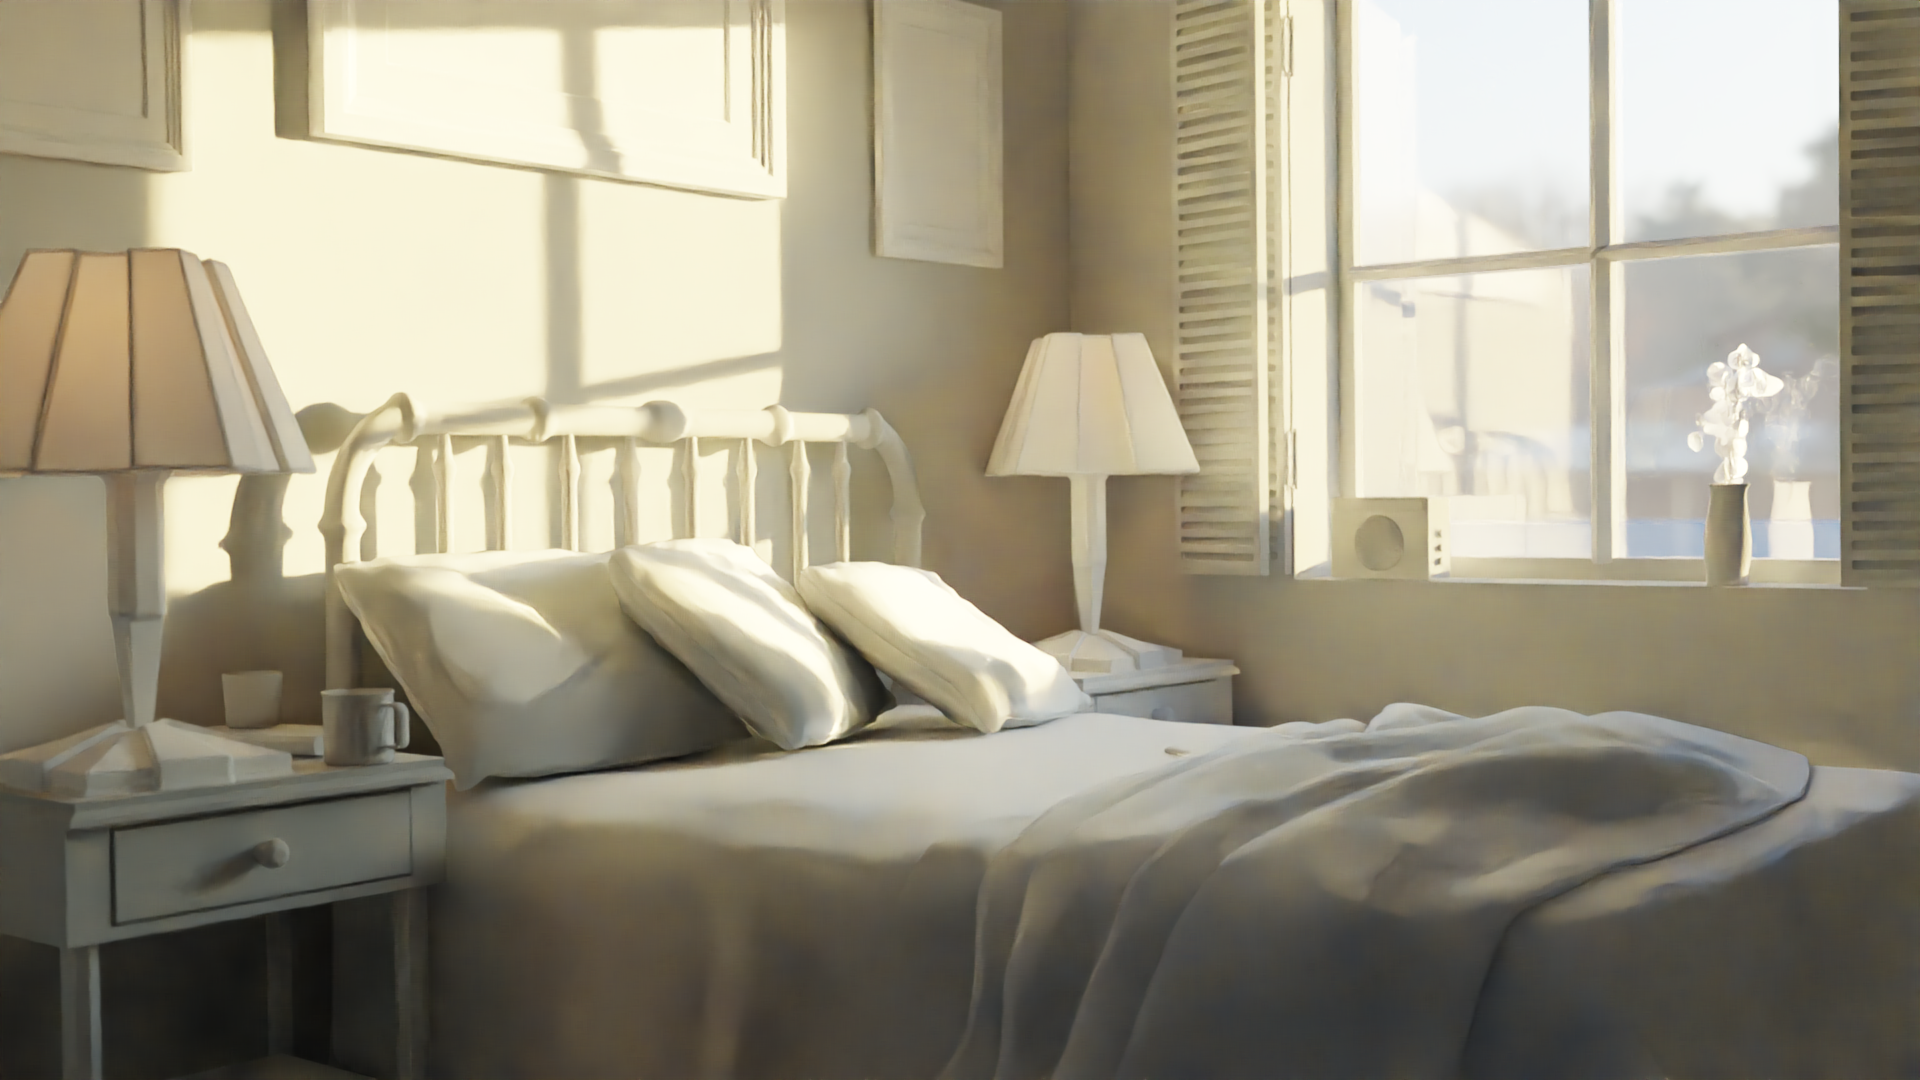
I'm still running through the blender learning flows and enjoying the progress so far. At the end of the lighting course for Cycles, a challenge to make a sunrise or sunset version of what we learned is imposed.
Here is a sunrise. Thanks for the learnin' @jlampel !
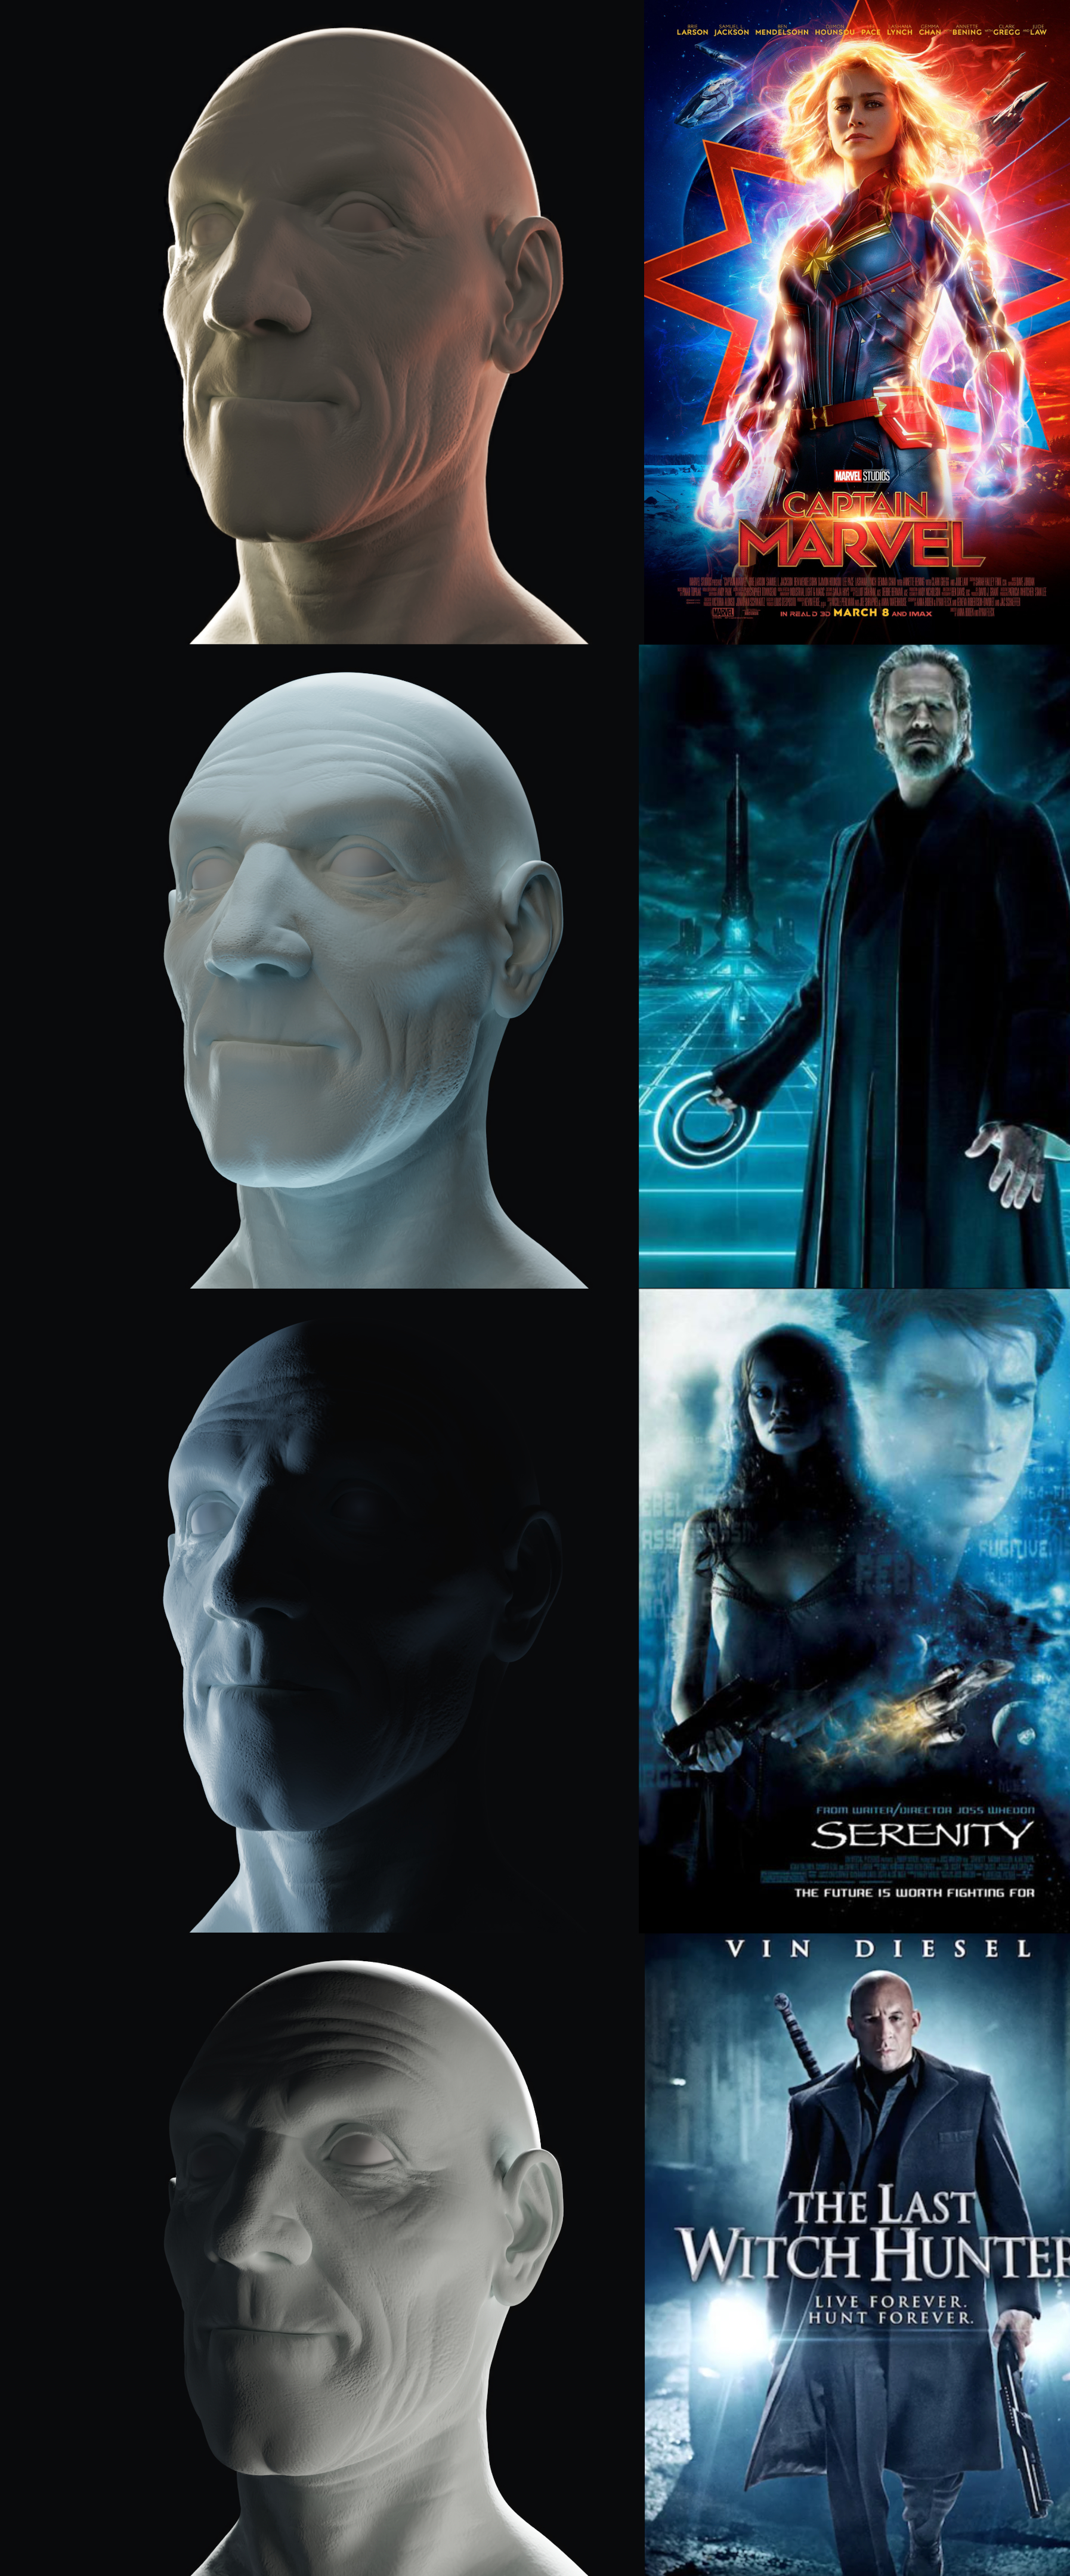
I've completed the Portrait Light Matching exercise. Here's my references and submission! Lighting in 3D space is a lot more fun than I thought it would be, and coming from a Video Production background, the concepts are very close to the same. Learning a lot, and ready to push into new territory.
yes, this is very impressive and goes way beyond just satisfying the assignment!!
These are really great!
Captain Marvel
The rim lighting here is perfect. The light coming from the left could probably be increased a bit and shifted right just slightly as you can see it hits her forehead and chin a bit differently. It's pretty close though.
The red light coming from the right could be more saturated for sure though. That's an interesting one because it seems to be coming from the energy that's around her, so it would be easier to recreate with a couple really close but very soft area lights that hit his forehead, cheekbone, and neck.
Tron
The under lighting could be moved forward a bit so that it's hitting the bottom of his brow like in the reference, but beyond that I think it's spot on.
Firefly
Nailed it. It's simple but effective.
Vin Diesel
The rim light could probably be moved farther left so that the highlight is balancing out the key light, but that's a nitpick.
Overall, very good work and I'm so glad to hear you had fun and learned a lot!
Thanks for the feedback Jonathan! Your mentions across the board all make perfect sense to me. I definitely had a harder time with the Captain Marvel reference, haha! Some of the red light looks 'brushed' on her face, so I wasn't sure how to simulate the red better. I'll take a look into using smaller soft lights to get that effect like you mentioned, that sounds like it'd do the trick.
Thanks again. Your instruction and resources are invaluable!
Hey ![]() antonioc !
antonioc !
I just wanted to let you know that I loved this and it's definitely been an inspiration while I've been trying to put my room together.
One thing that I'd love to know more about is how you have your lighting setup? Would you be willing to share what you did there?
![]() joshcanfield I'm glad this inspires you, thank you for the kind comments! The room being used comes directly from the lesson's source files. I modified the room size a bit and the light angle, but otherwise the set-up is provided for the assignment. I suggest opening up that source file to inspect how the room is built, and how the light interacts with it. It's not terribly complex, but picking it apart may prove useful in understanding how you'd go about doing it in your own scenes.
joshcanfield I'm glad this inspires you, thank you for the kind comments! The room being used comes directly from the lesson's source files. I modified the room size a bit and the light angle, but otherwise the set-up is provided for the assignment. I suggest opening up that source file to inspect how the room is built, and how the light interacts with it. It's not terribly complex, but picking it apart may prove useful in understanding how you'd go about doing it in your own scenes.
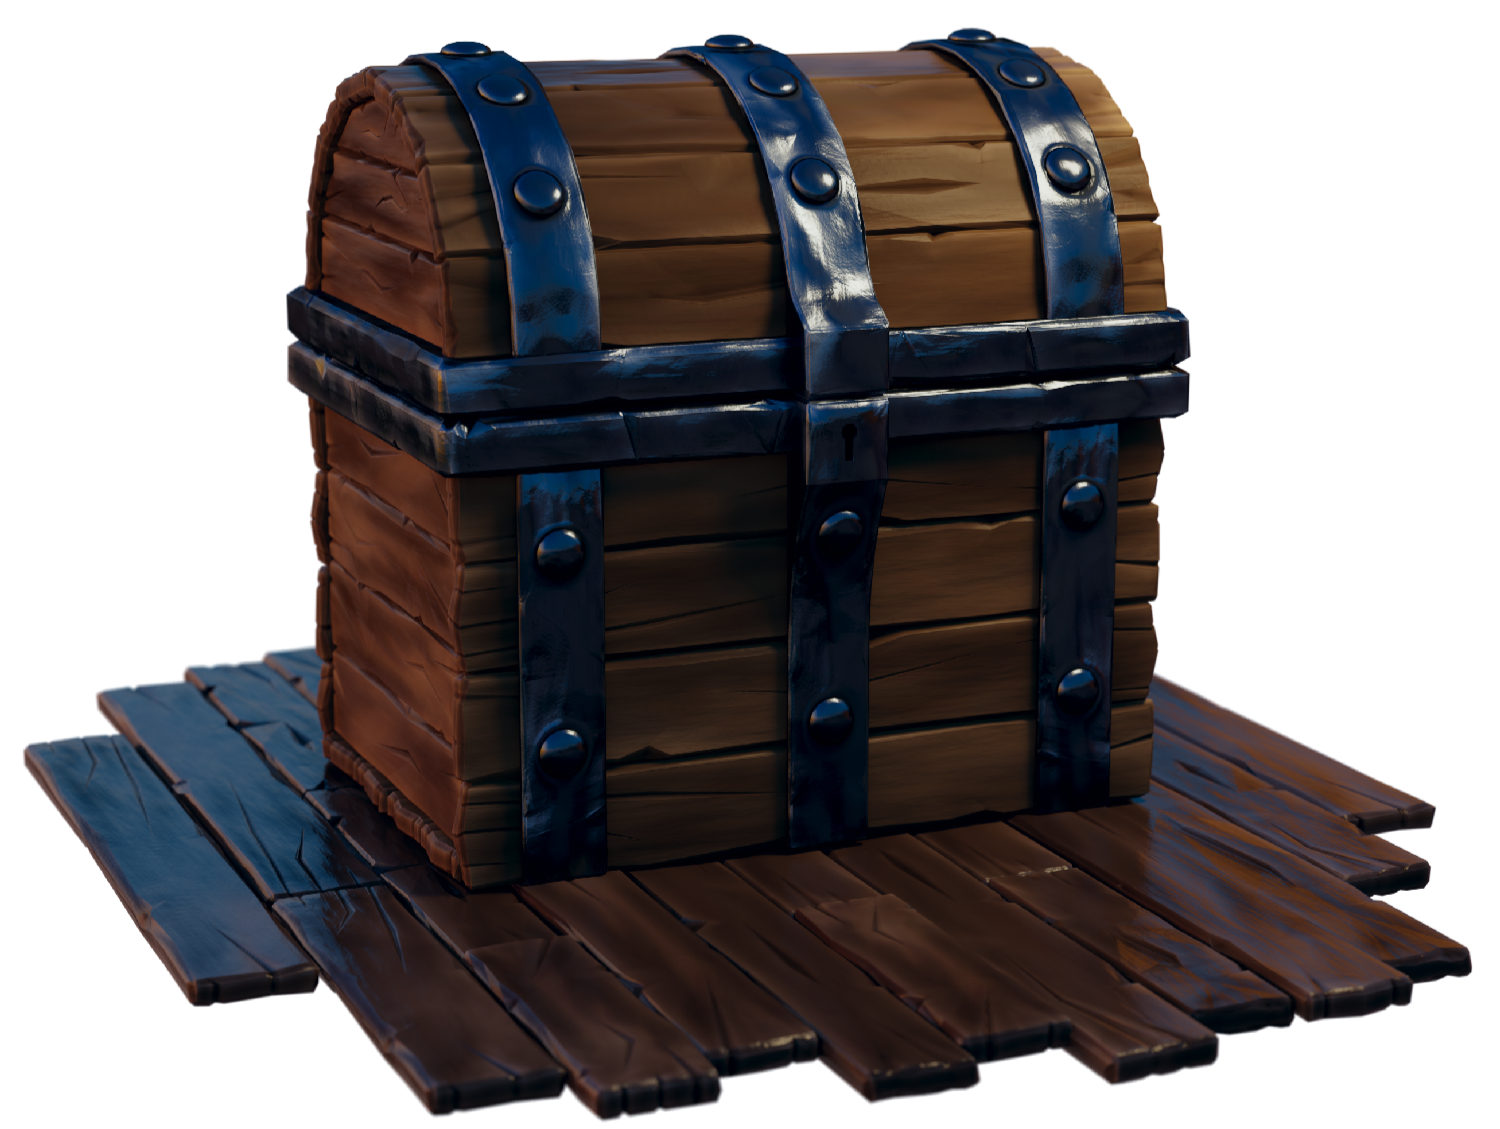
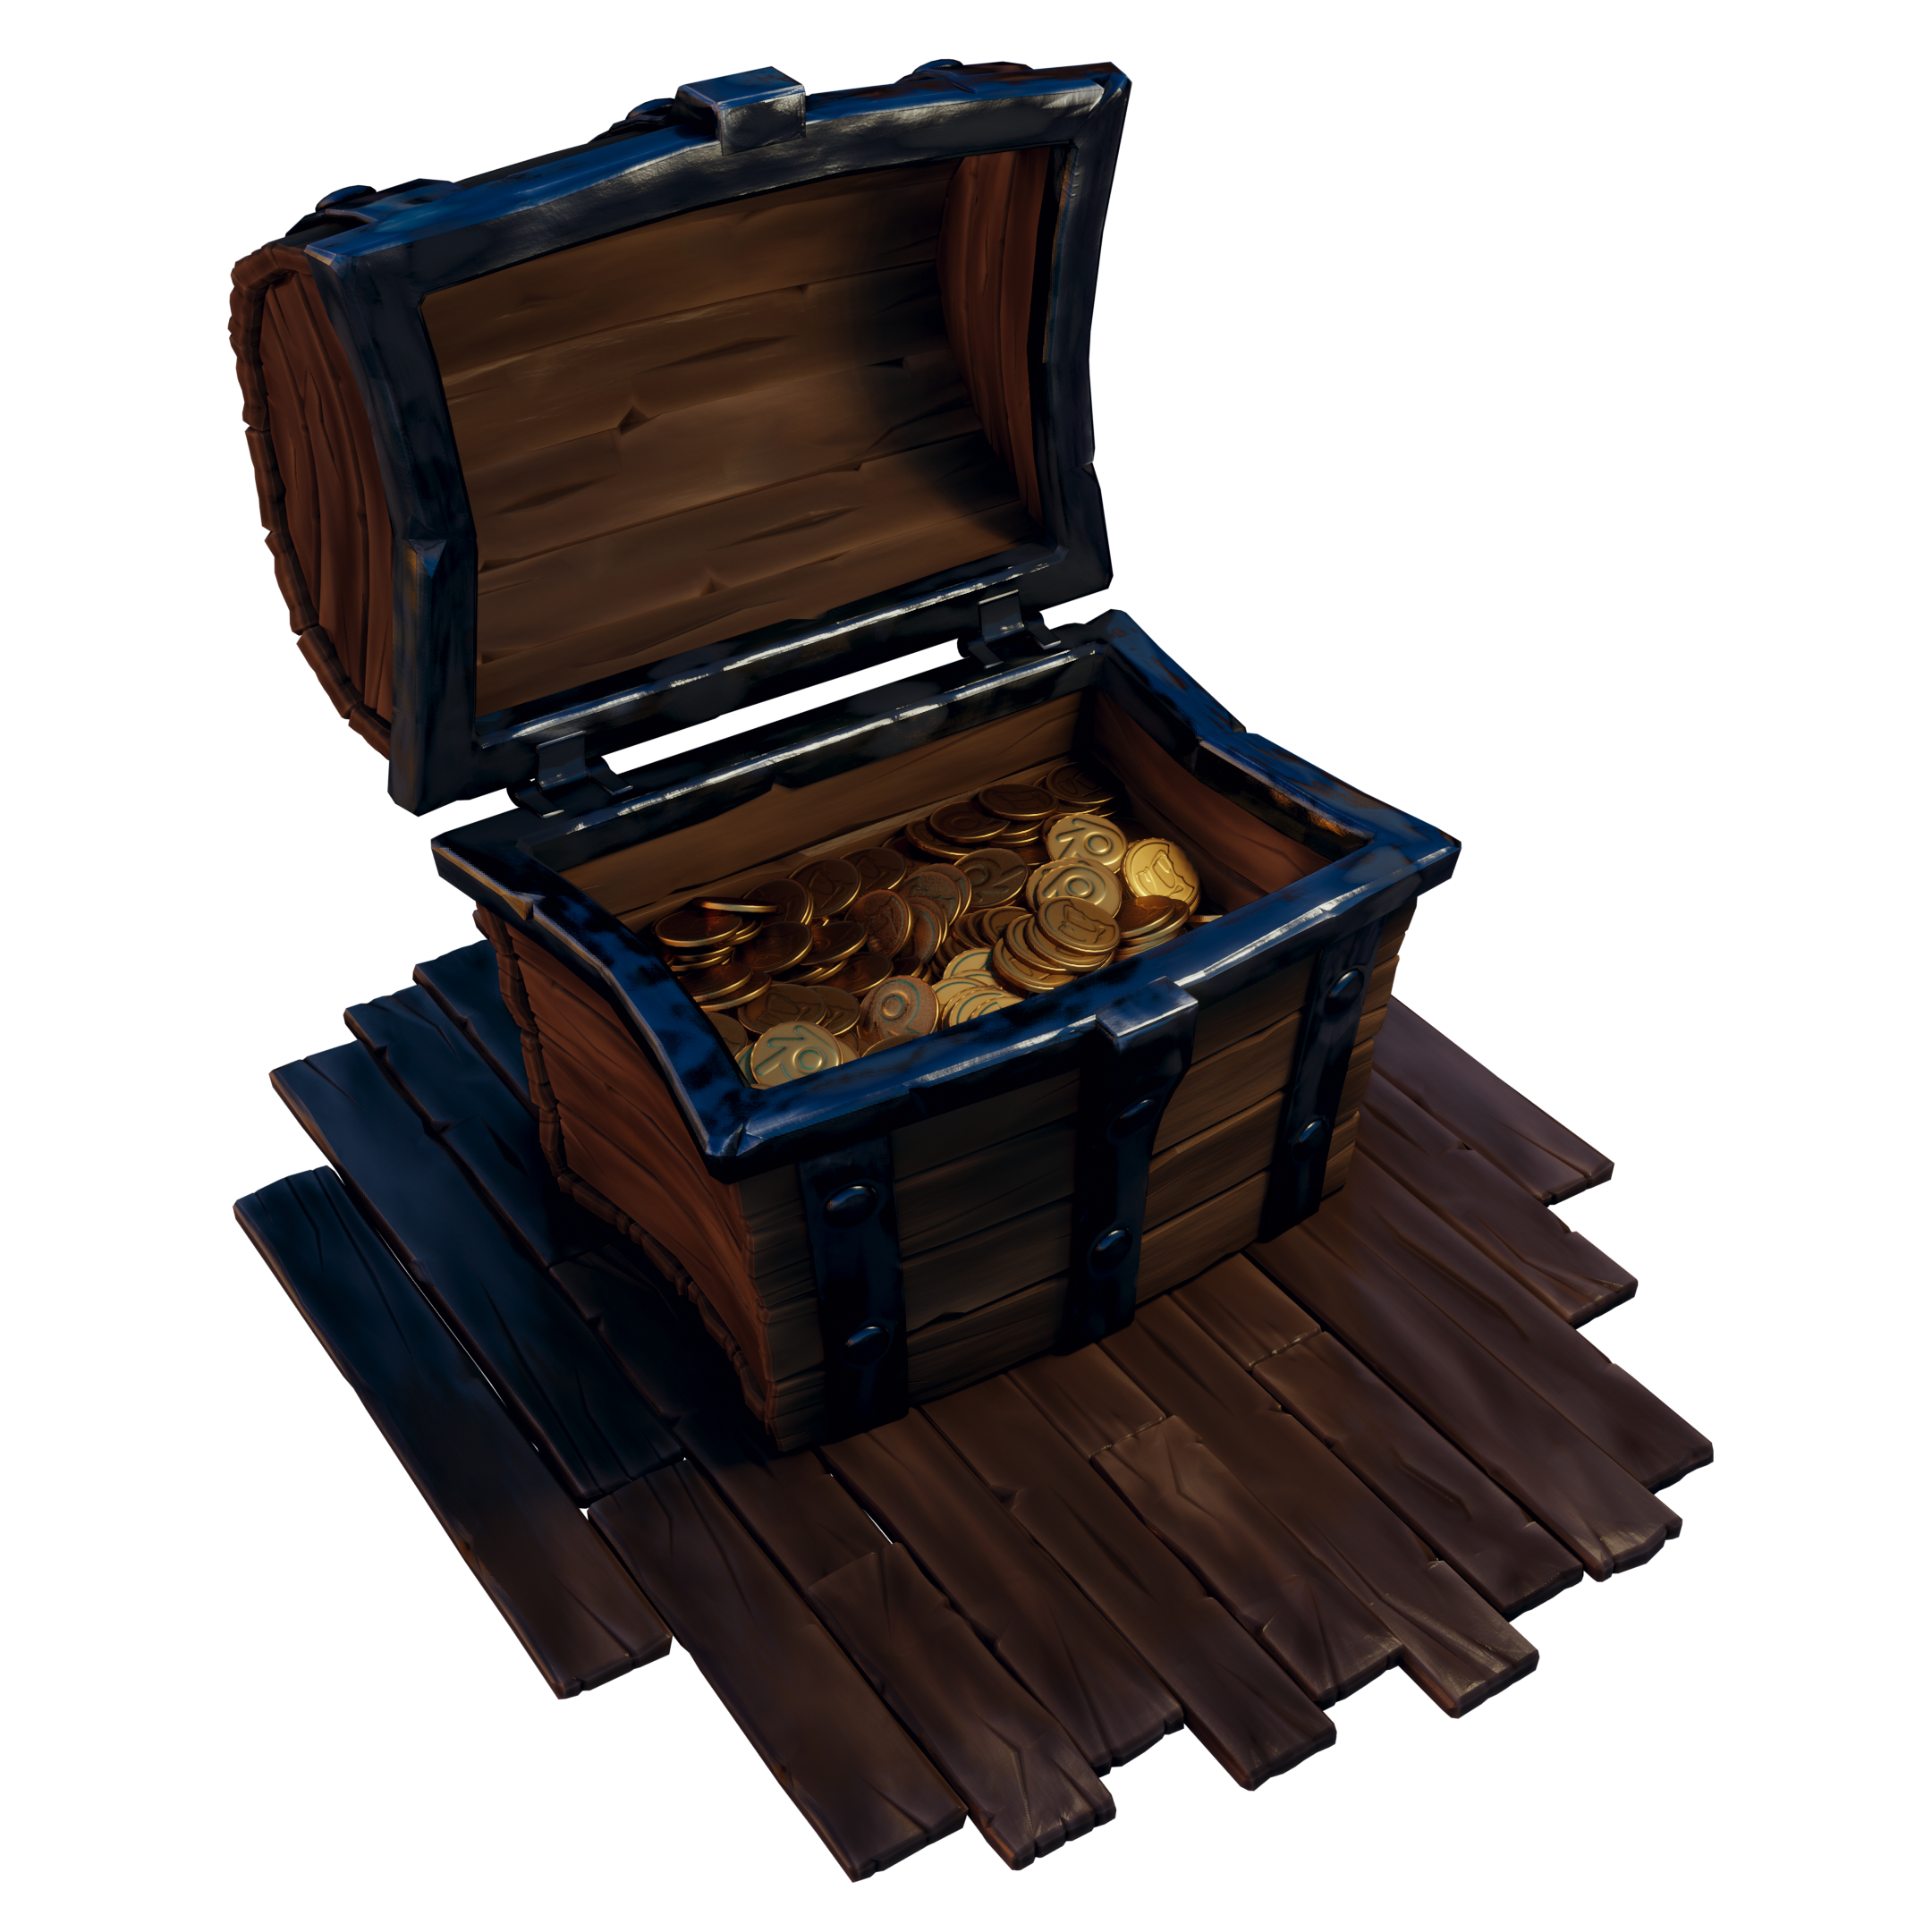
I took a lot of time to understand how the shader editor works with the 3D Chest course provided by Kent @theluthier and modeling it was a lot of fun. Definitely picked up more tips on effective modeling flows. Sharing object data is probably the most important thing I took away from this course, and I can see it saving me HOURS in the modeling and texturing process.
Also, this course pushed me to purchase my first drawing tablet for the sake of texture painting. I may take up the sculpting lesson again (I was having a very hard time with how unnatural the mouse felt). What a great way to interact with 3D though, I can see a tablet improving my experience quite a bit as it feels natural.
