
See my posts for latest updates or visit the Gumroad page for more info
More detailing today. I am finding it harder to watch more of the tutorial videos because I am having so much fun on my own detailing. I gotta sit down and catch up more to what I need to be focusing on.
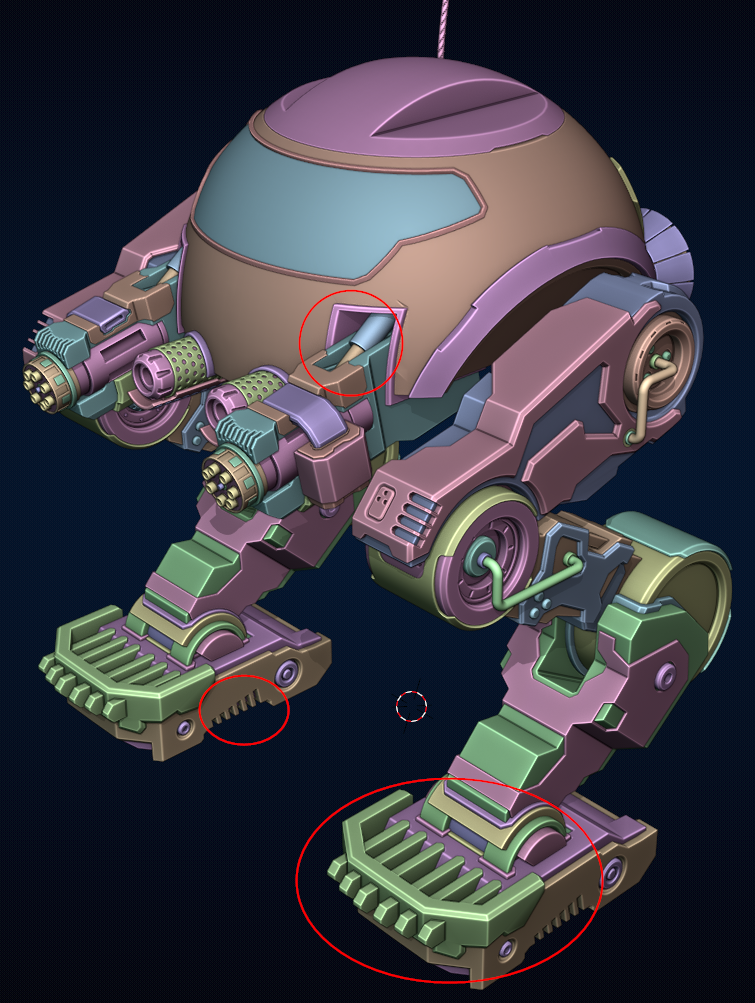
Feet detailing is coming along better.
I also reworked the main guns and applied most of their mods to parent them to the main gun frame and then dropped it to add some hydraulic pivoting supports to give the effect that the guns will be able to tilt vertically as needed. I think it sells the flat sides into the main body more now.
I have a little artifact issue that I will sort out in a little bit on the head piece. Hopefully I will get to that tomorrow.
Time for my gratitude journal for the day: I am grateful that blender supports community add-ons. It is just another cool thing that you don't really see in other software. I am really digging the HardOps quick use of mirror and symmetry shortcuts along with the BoxCutter quick cutouts. Hard surface projects just seem more fun cutting around and making a cool machine.
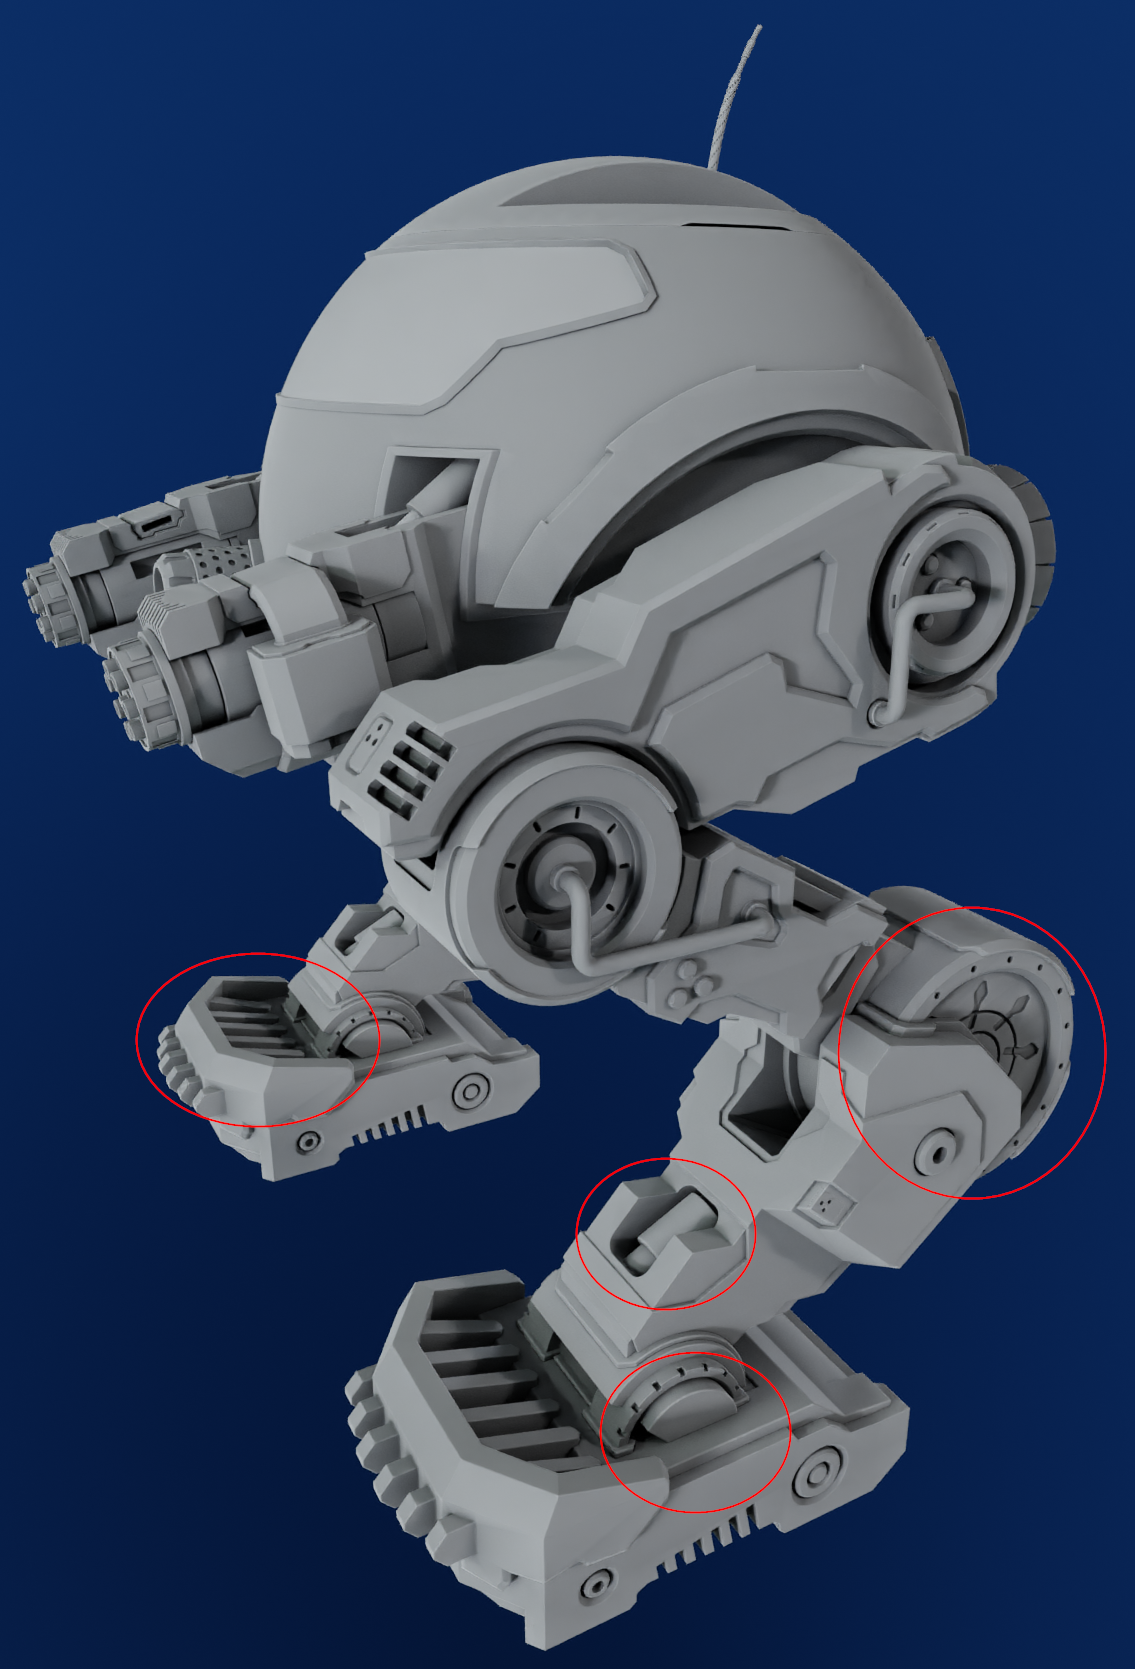
More cuts and hydraulics added to the mech. I added upper leg hydraulics and lower leg hydraulics and adjusted the foot guard some more. The feet kinda have their own character vibe going on.
I also cleaned up the shading artifacts on the head.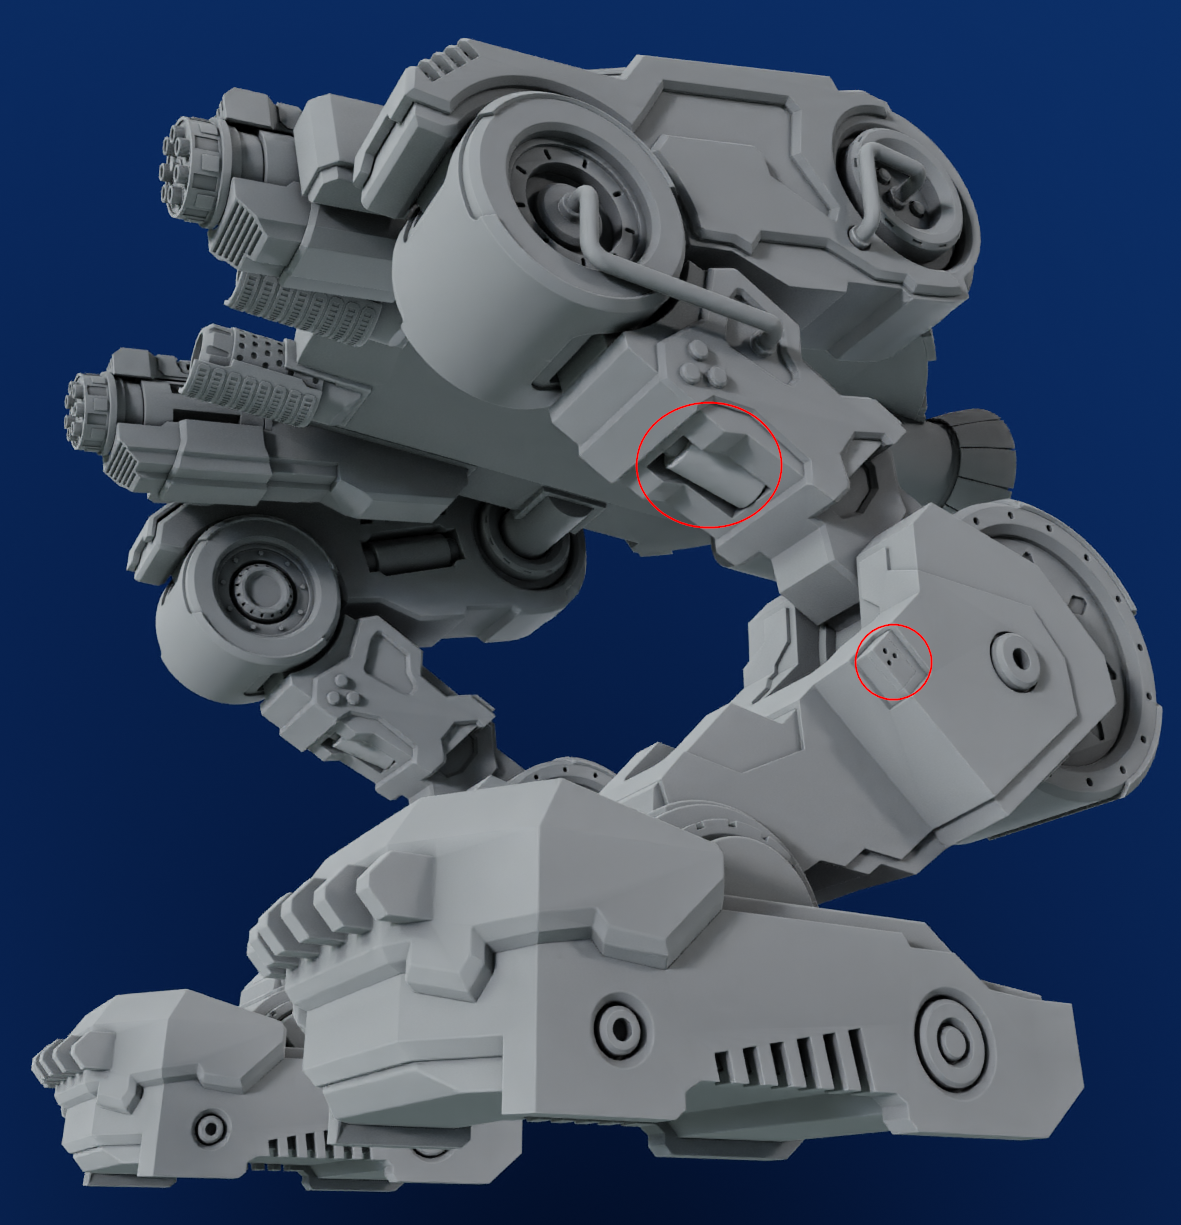
Looking really, really good, blanch! :D
Keep it up, I love seeing your process!
Thanks Ingrid @fide I didn't make any progress on it today since I was up late working on it last night.
I took a break to make some beat saber maps for my exercise routine today. I redid the Old Town Road song by Lil Nas X and Billy Ray Cyrus. It was sooo much fun haha.
I'll get back at it tomorrow.
I'm grateful for good music and for good health. The ability to exercise and express creativity with my body has been very therapeutic as well. Thanks @jlampel for showing me the beat saber workflow. P.S. the custom sabers are back and a new saber factory mod is available in mod assistant.
![]() blanchsb oh, nice! I also play BeatSaber to get myself to move :D
blanchsb oh, nice! I also play BeatSaber to get myself to move :D
I still need to check the video from Jonathan on how to make custom sabers....
@fide I love playing with custom sabers and the new saber factory mod from the mod assistant lets you build some from a kit that is built into the game if you are feeling lazy. But personally I found it fun making my own with my kids.
Okay on to the progress update.
Today's was not much but it was a much more complicated set of boolean operations. That being said it certainly was nice having both add-ons (HardOps and BoxCutter) to make easier work of the overall shapes.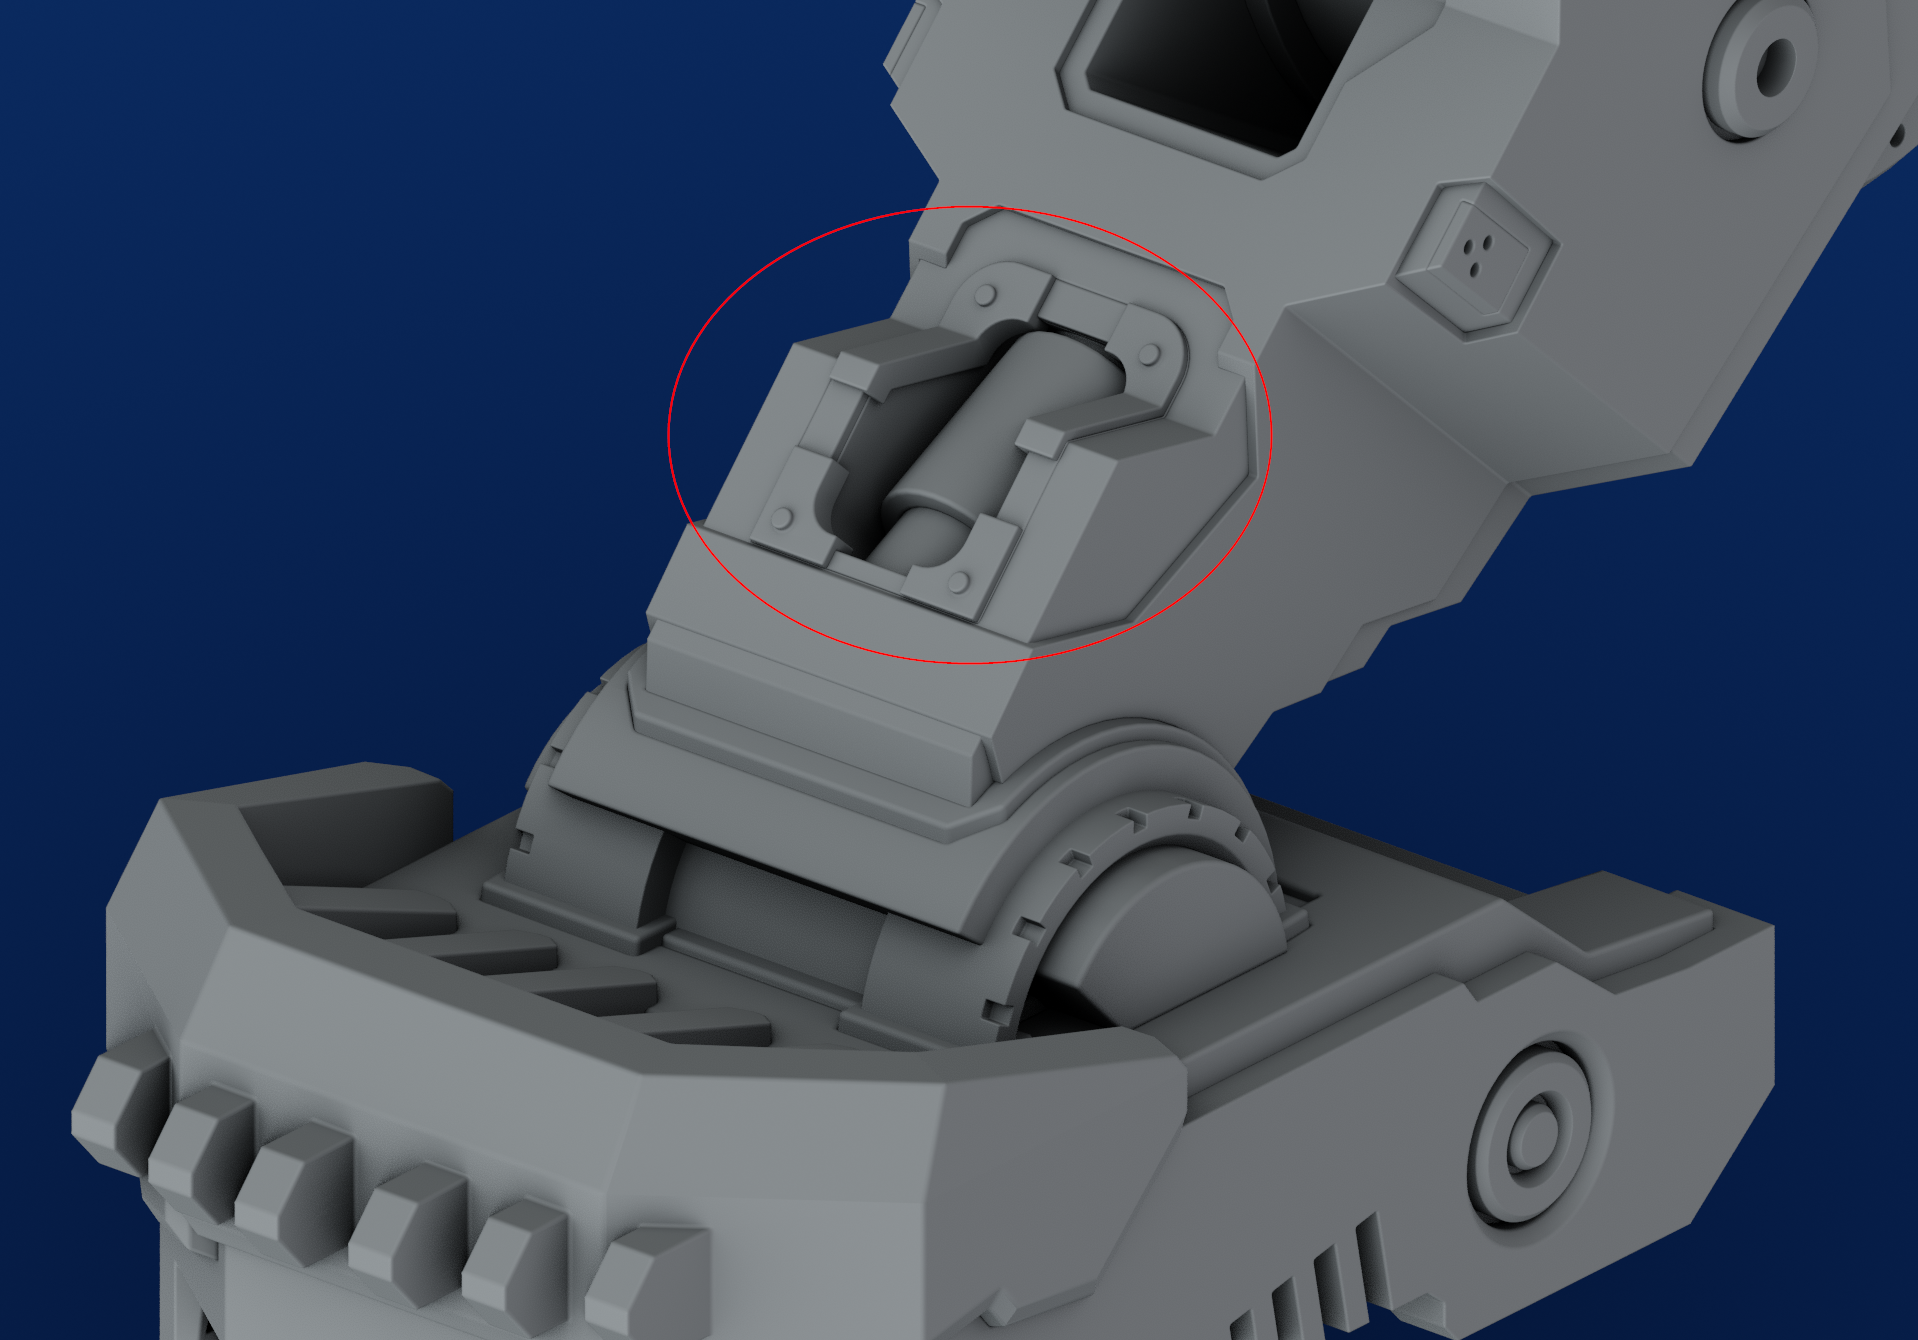
My gratitude journal today is about family. Got to spend a good portion of the day with the kiddos and we colored with crayons on a Thanksgiving table cloth. I'm glad to have time to do that sort of stuff while they still want to haha.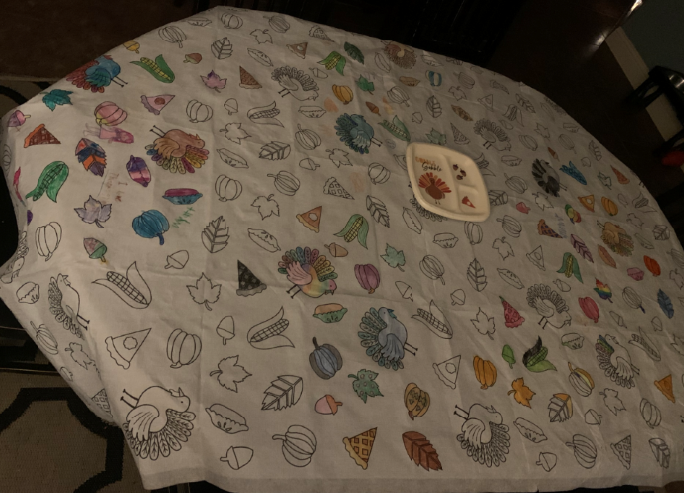
Lots of complex goodies modeled tonight. I have been toying around with more of my add-ons but nothing too crazy since my workflow is still mostly HardOps and BoxCutter. I did buy speedflow along with a plethora of other add-ons that were on my Wishlist (hello Kit Ops!)
I felt like the side of the upper leg needed an exterior weapon and what better to place there than a pivoting rocket launcher and mine launcher.
I also played with some curves more and made some cabling on the lower leg and upper main gun hydraulic cylinder using my Fluent Power Trip add-on.
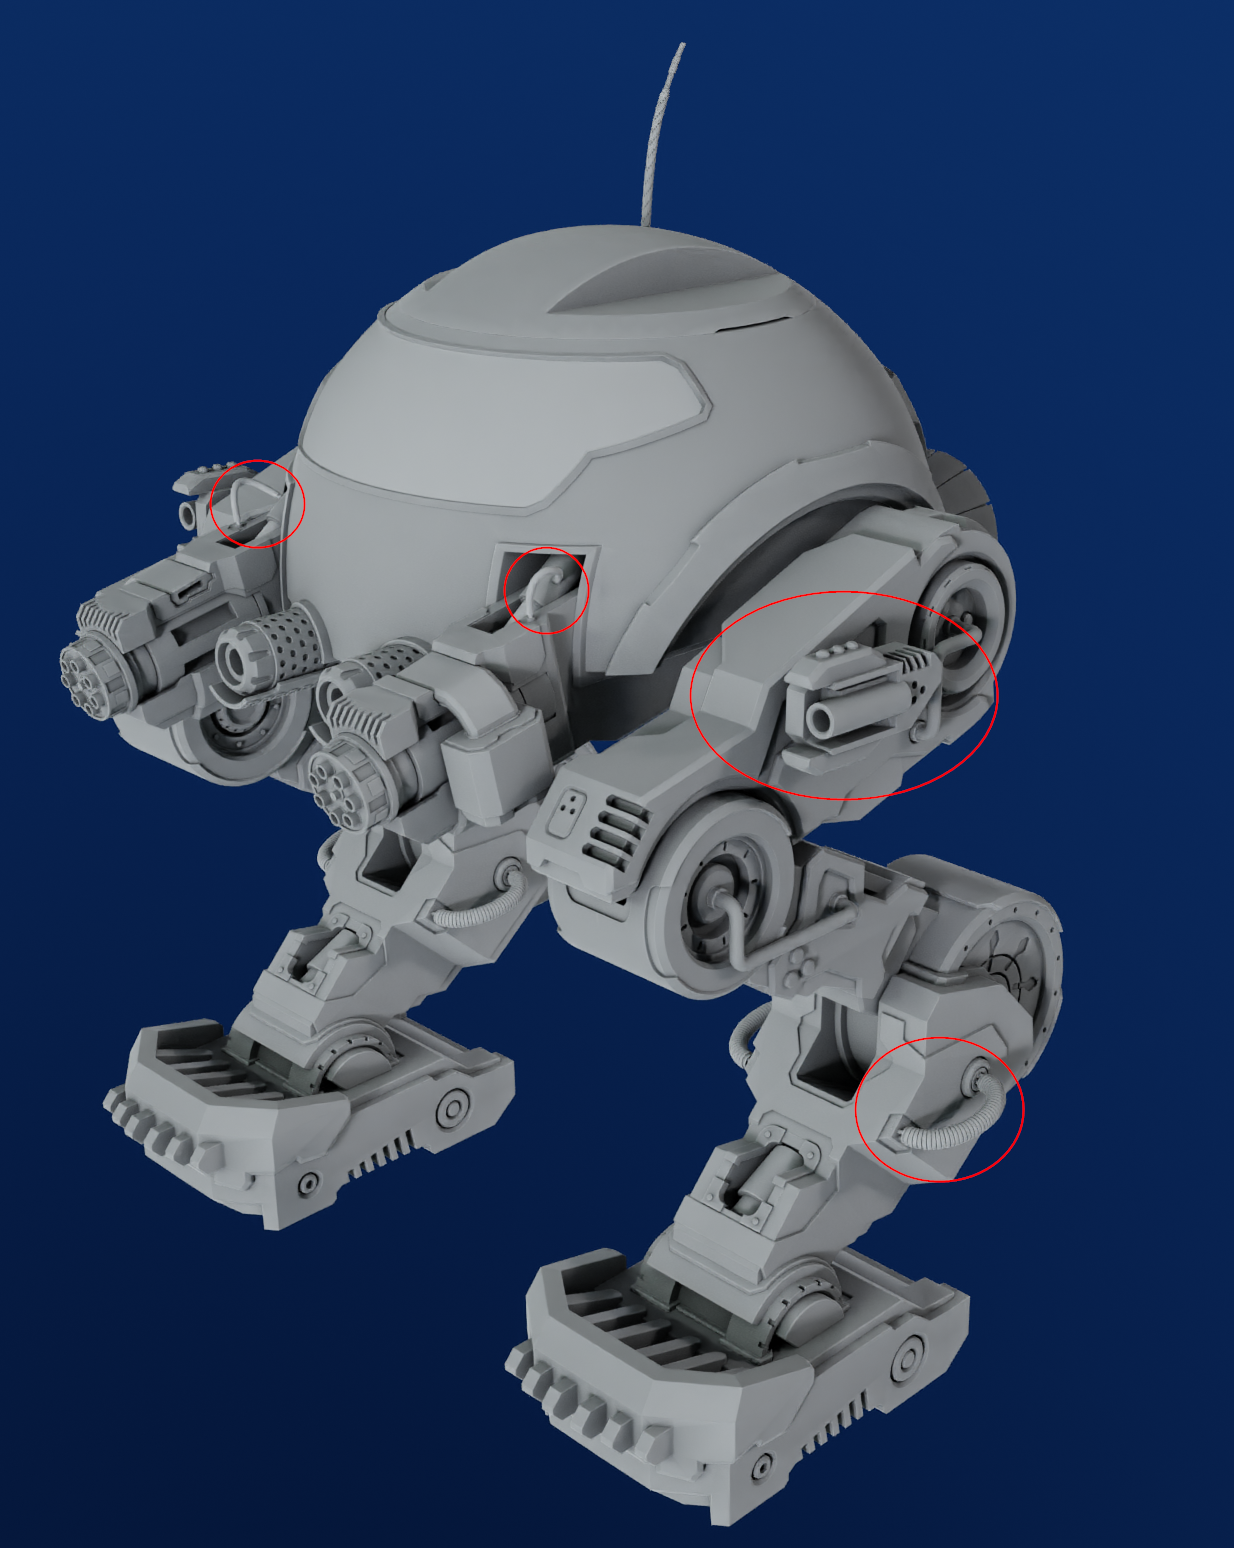
Some good additions today!
I changed the rocket launcher to grenade launcher with a laser guide. I needed a little more detail and I think I like it better that way now.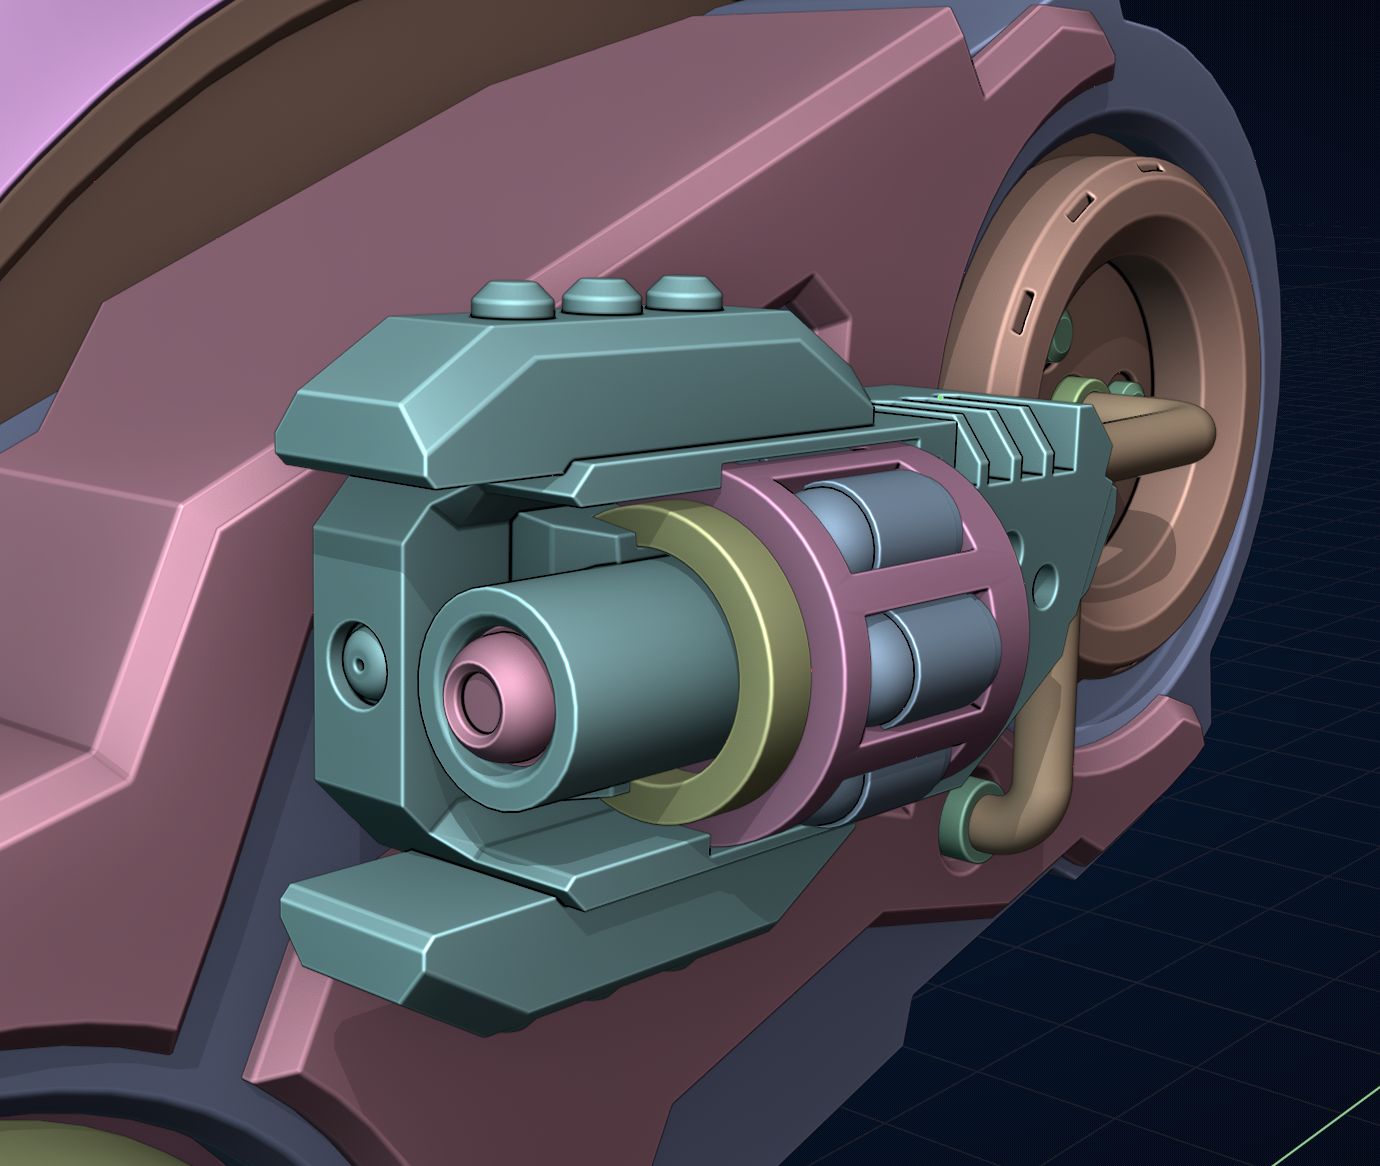
![]() blanchsb This project is looking so good! I love it. That's some crazy progress since last year :)
blanchsb This project is looking so good! I love it. That's some crazy progress since last year :)
Thanks @jlampel. That really means a lot to hear those kind of encouraging comments!
This mech is not a topology beauty in edit mode but with the HarOps and BoxCutter workflow it looks great still. Just so interesting how the effects work out. Doesn't mean I won't use good topology practices from here on out but I wanted to get some training in other ways to think about things when modeling
I had a small break due to my work week and I got a fun Christmas request from my boy who has taken an interest in my harmonica. He also is obsessed with Mario and asked Santa if they could make him a Toad Harmonica. (P.S. I checked with Santa's elves and they don't exist). Thank heavens I know how to model in 3D and my friend has a printer. I'm going to try for a cover that accomplishes what he is hoping for. I told him Santa showed me what to do and I could model it while the elves build it for him.
Build with BoxCutter, Curves to Mesh, and Super Mario Font converted to mesh and stacked twice on 3D extrusions. Then I used Hard Ops for some bevel details. Finally I spent the remainder of my day getting the mesh water tight with a remesh using voxel remesh.
For the time I put into it (roughly 2 days) it doesn't look half bad and my boy loves the design so I am satisfied if he is. Here's hoping I measured correctly and modeled to scale. I am sending it over for 3D printing this week.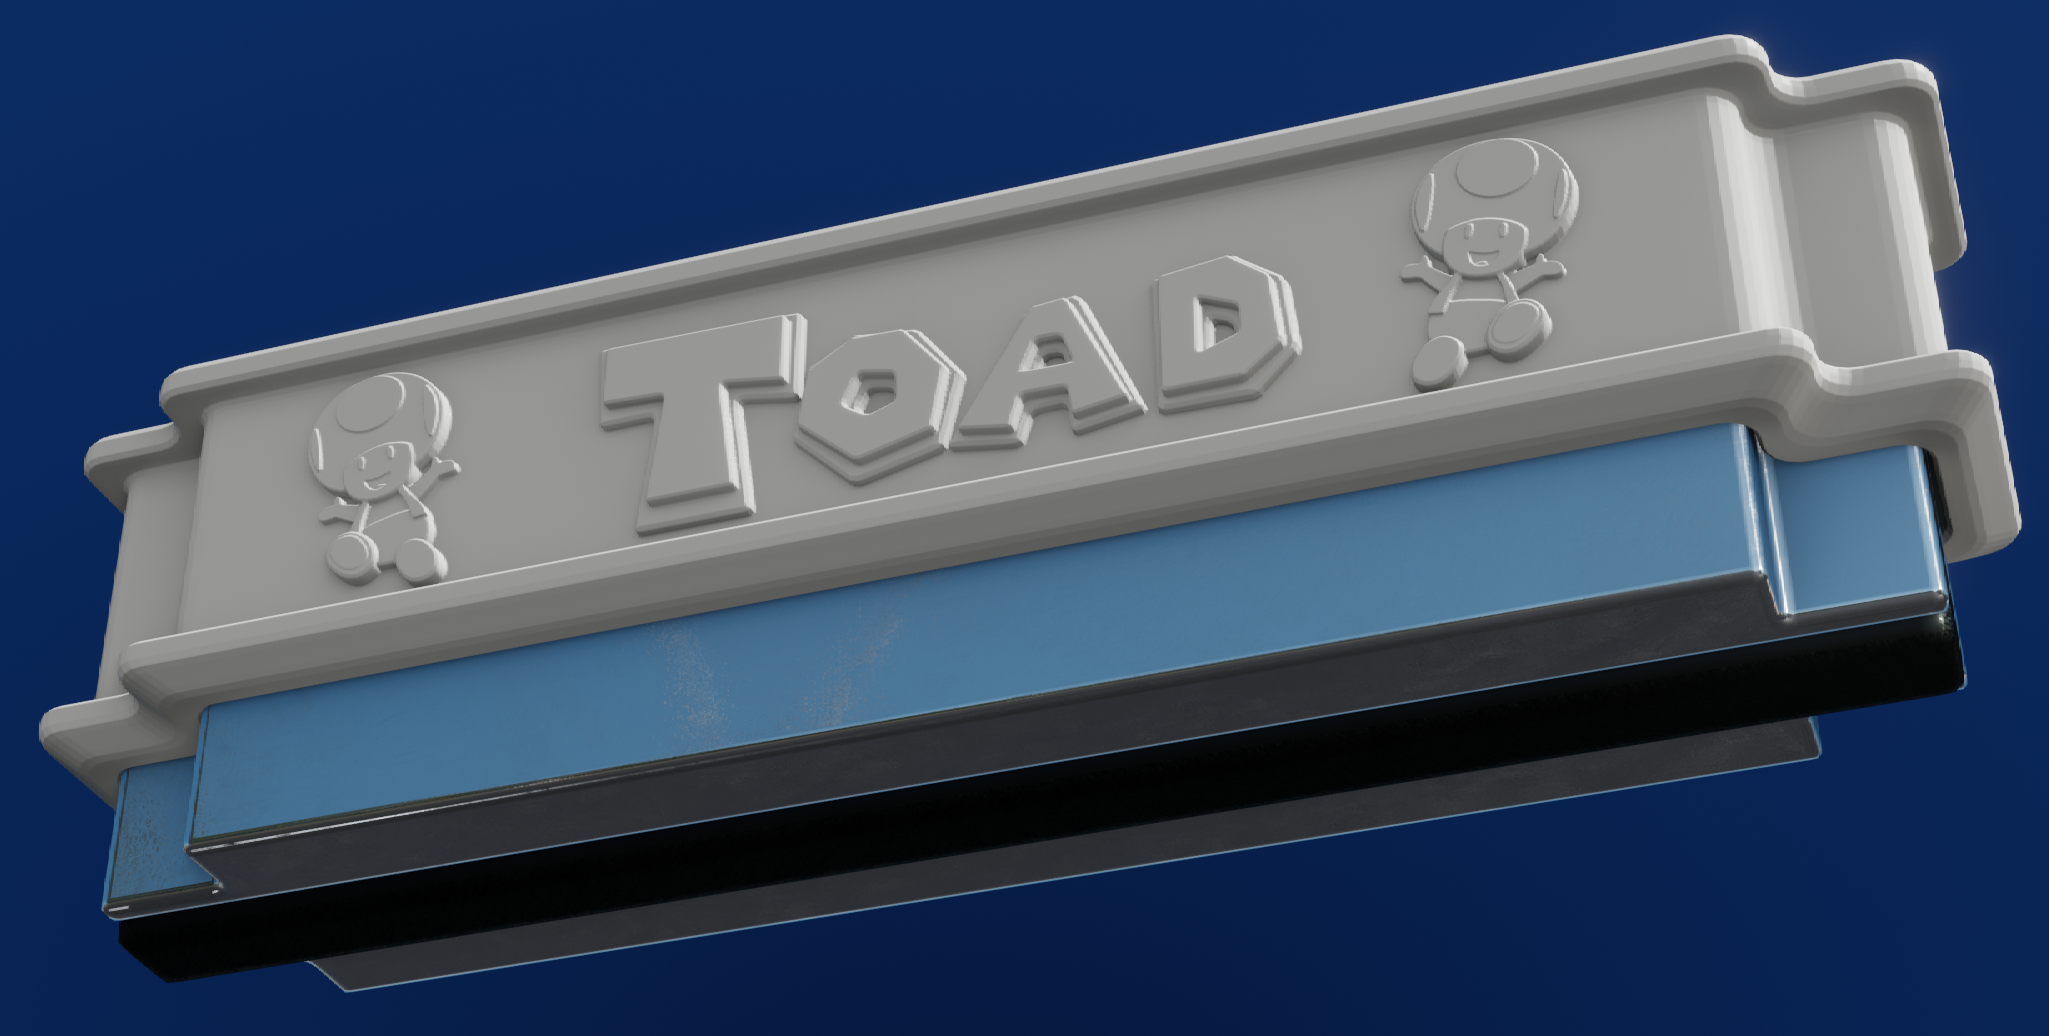
I printed a very small test rig for my harmonica so my friend wouldn't waste any additional filament. And it fits really close to how I measured it!
I made some minor adjustments and then re-did the model without a voxel remesh and tried sending over just a water-tight version with a little boolean cleanup and fixed any non-manifold and overlap issues using the 3D print add-on for error checking.
I sent it over to the Cura application and it sliced successfully with a much smaller face count. Yippee!
Here's the slice'd preview in Cura: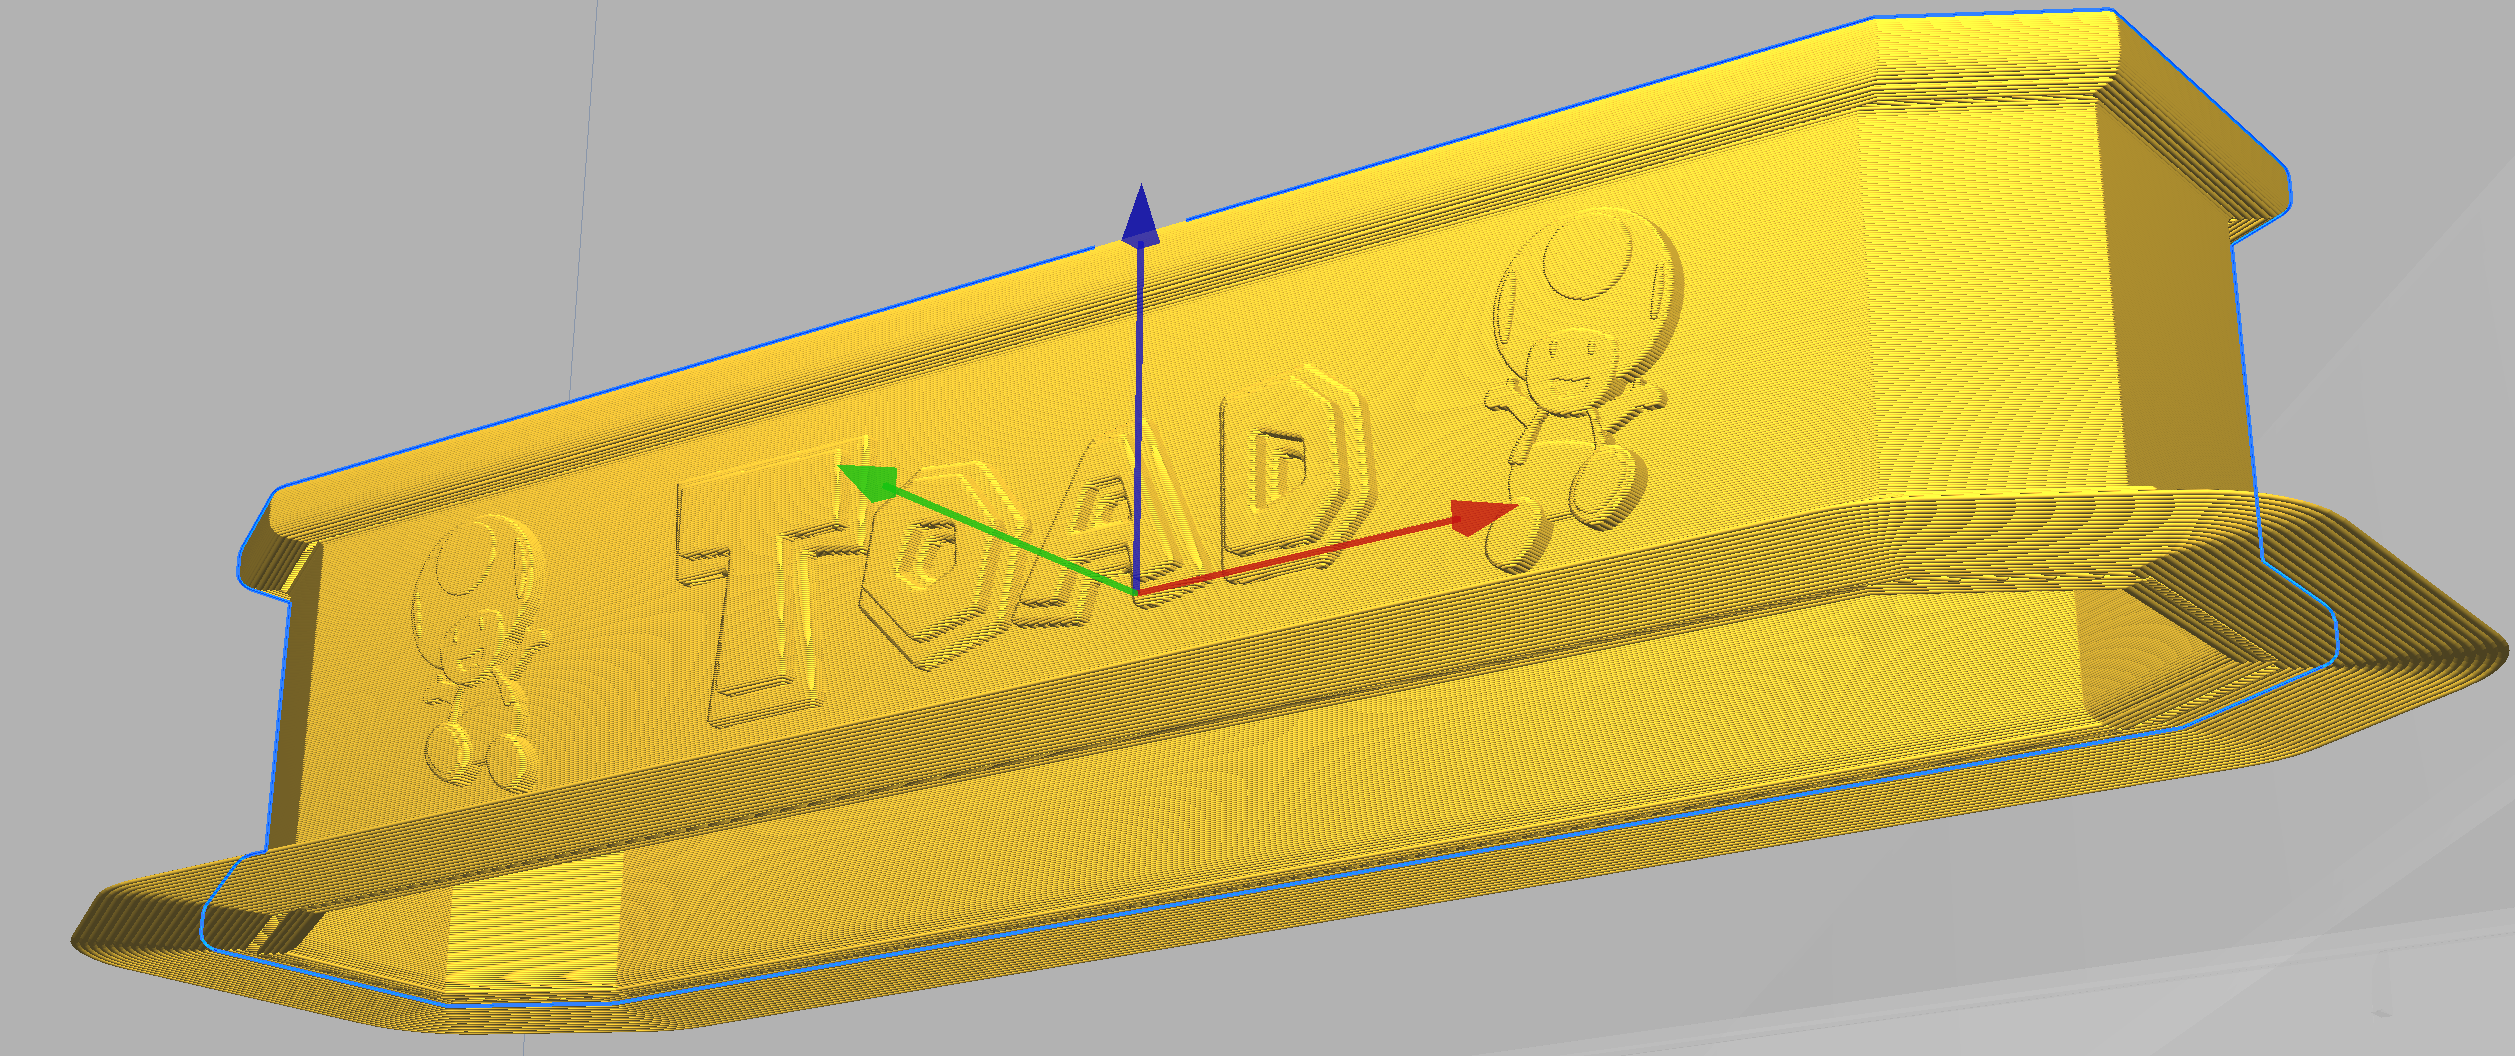
Now just to wait for Santa's workshop and see how it turns out. Fingers crossed......
Tonight I wanted to get into Fluent more so I took on the starters video and followed along and added a little of my own flare to it. I wanted to grab the grids/grates workflow to add onto my mech and I learned some interesting difference in modeling than I used with boxcutter and hardops. I think these two add-ons compliment each other nicely to be honest.
Here's my tutorial tribute: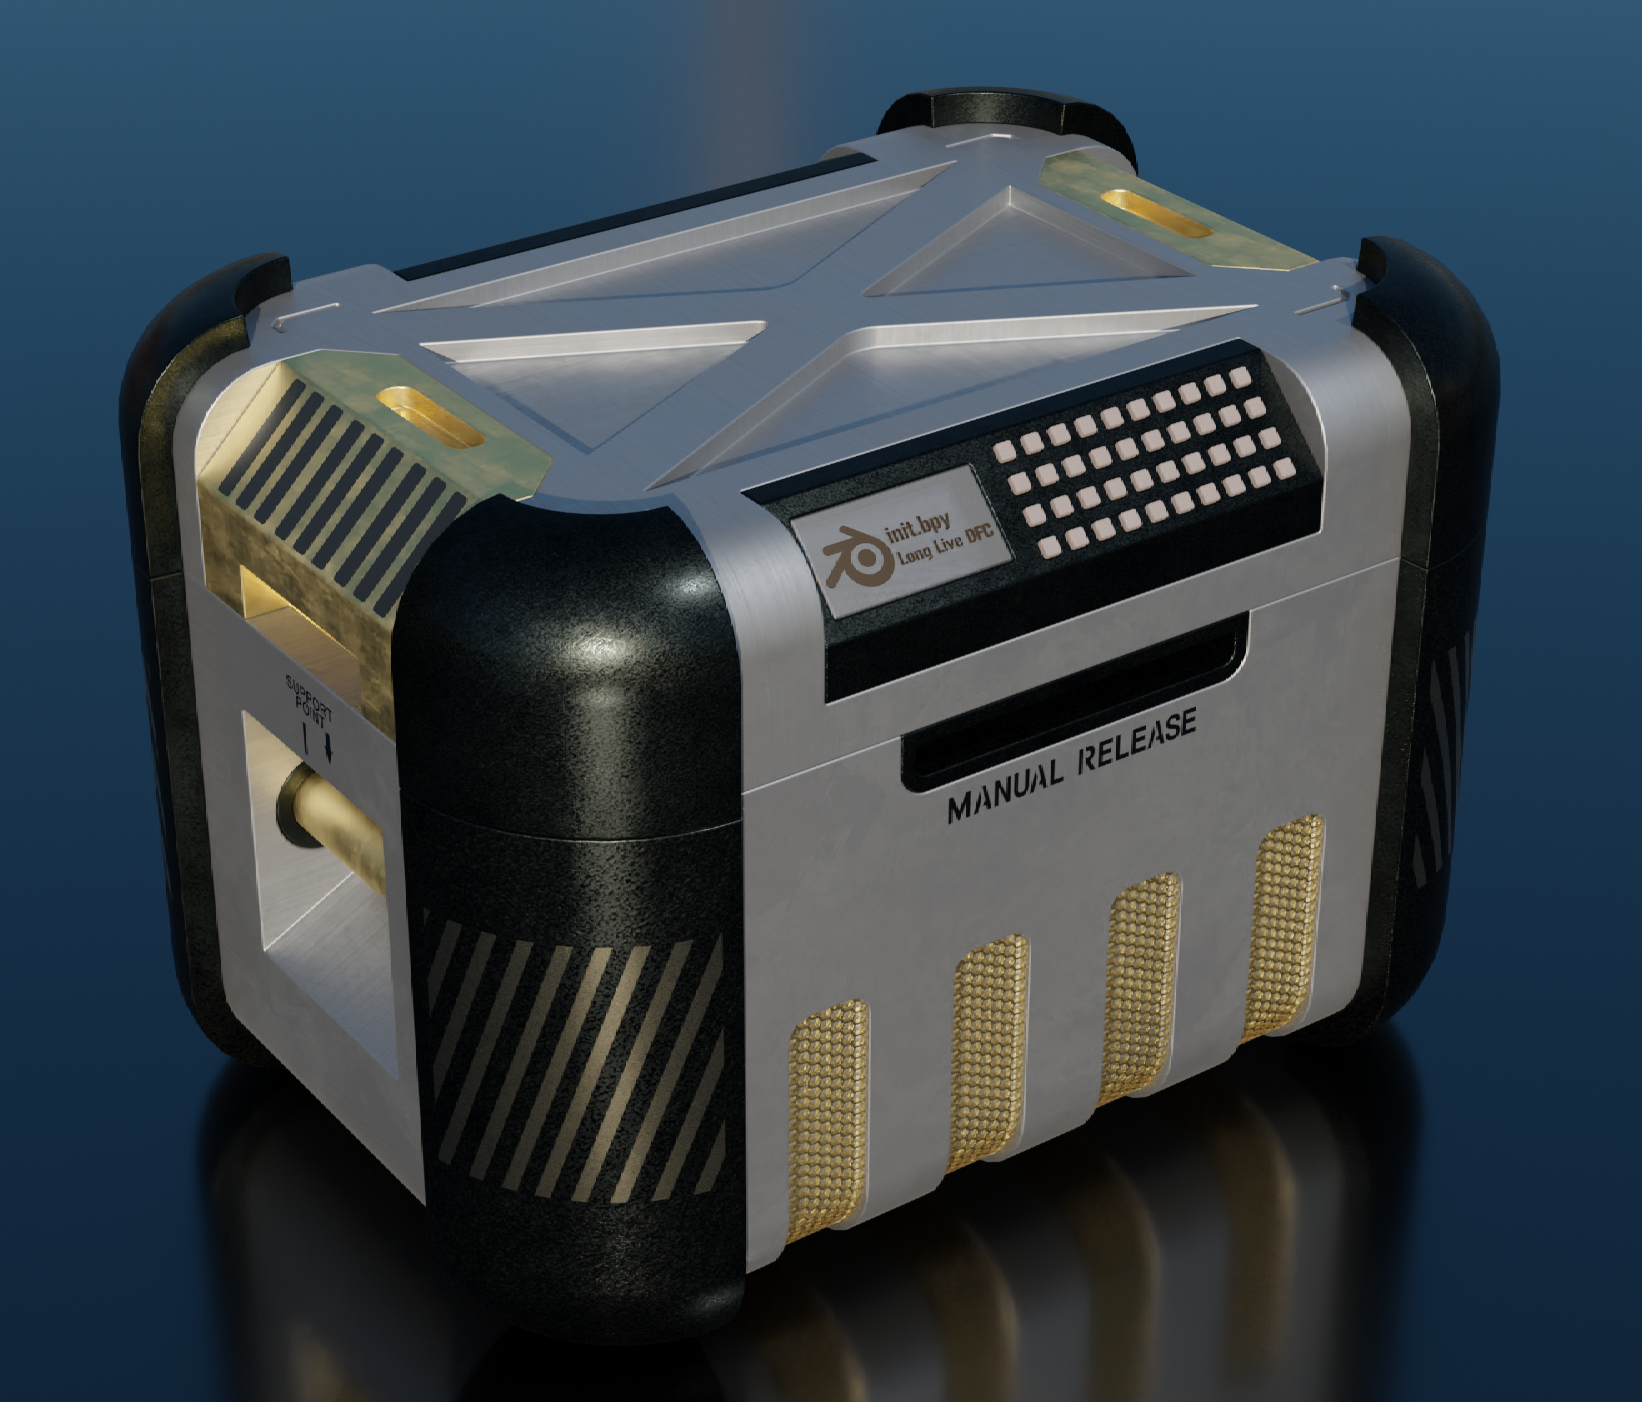
I did one more tutorial from the blender bros. I want to do two more fluent tutorials before getting more detailing going on the mech.
This was combining add-ons: BoxCutter, HardOps, Fluent, Cablerator, Vanila Blender techniques, and using materials from ExtremPBR and KitOPs.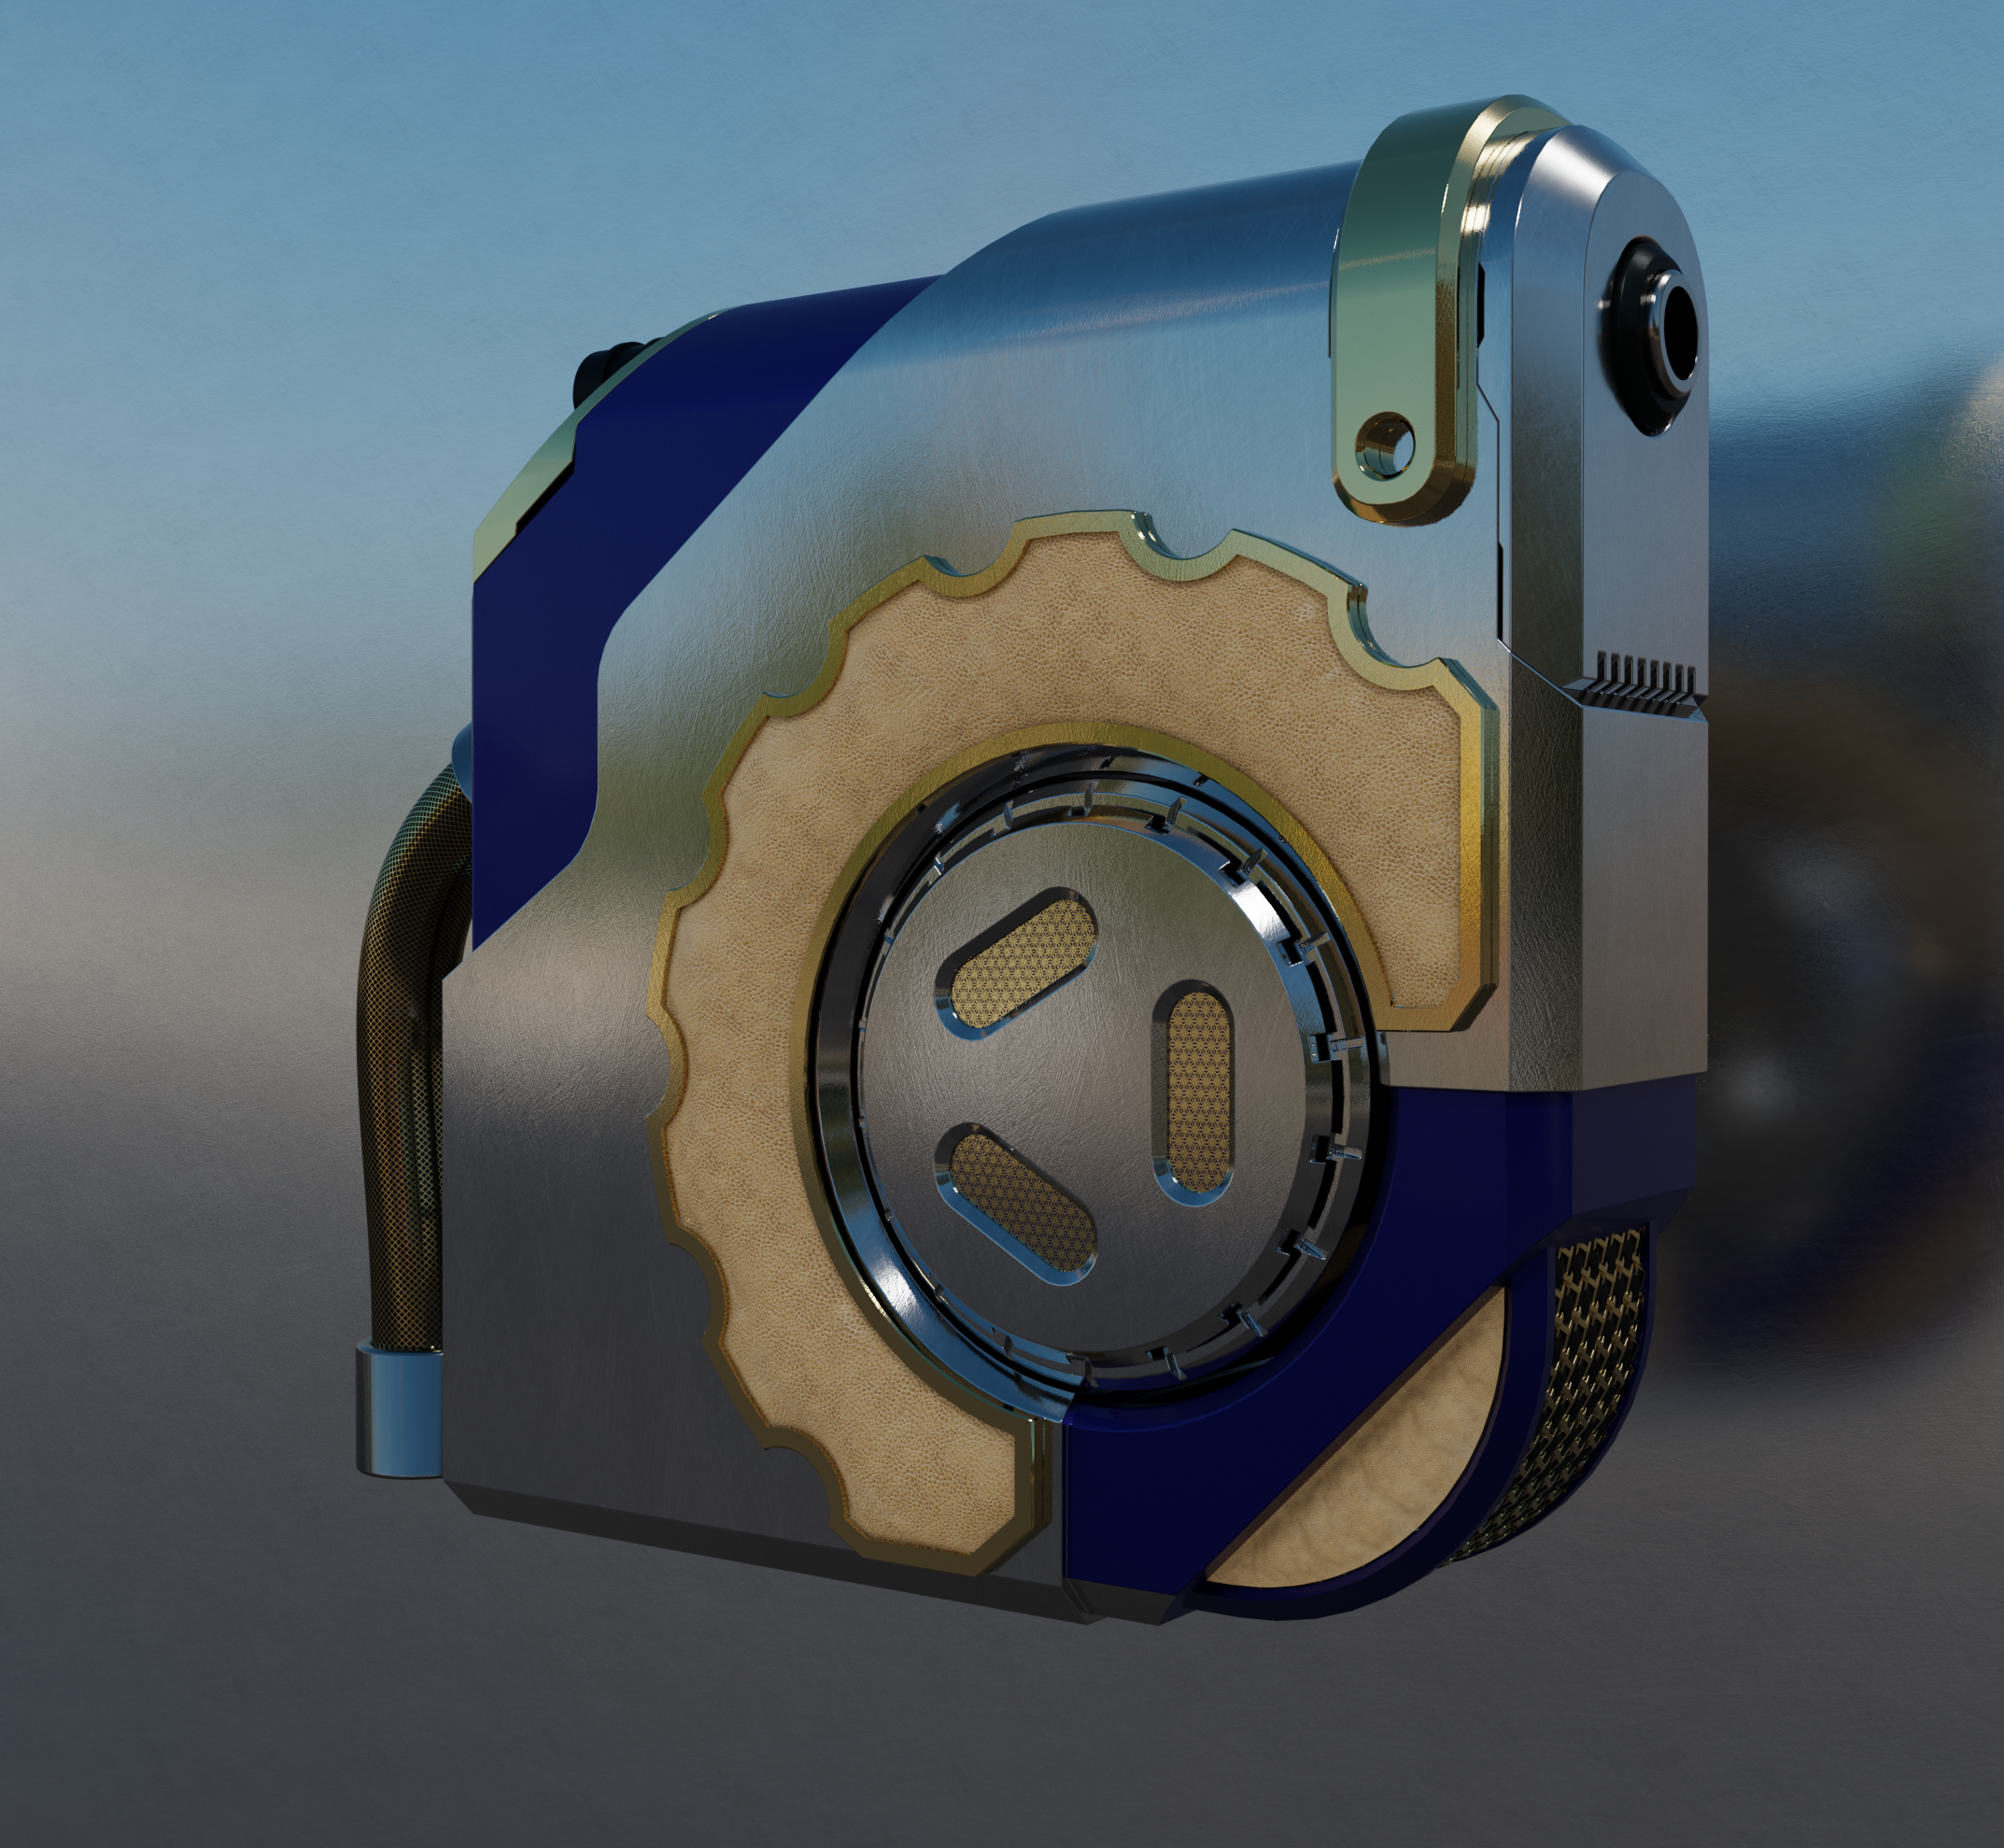
Here's a wire-overlay: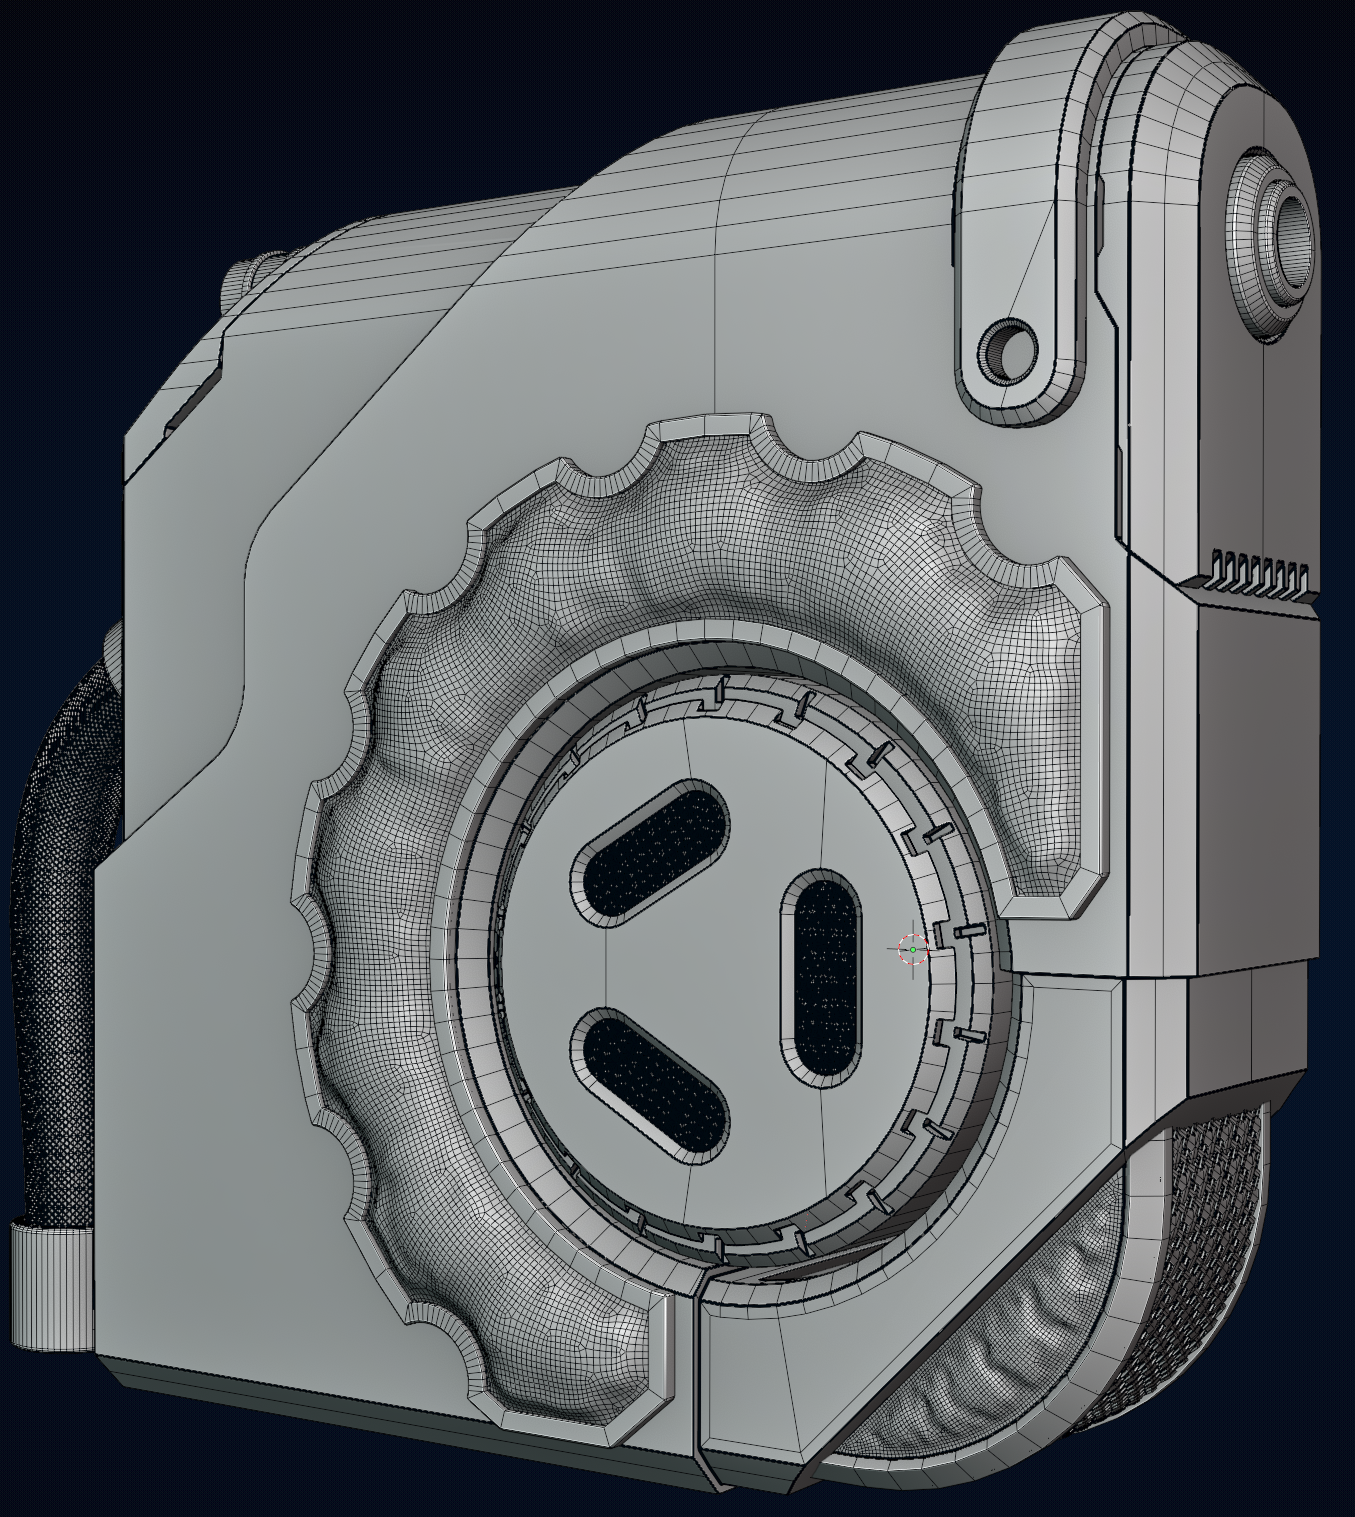
My friend finished the 3D prints for me and it turned out great. The Toad Harmonica cover is now complete and cleaned of it’s slicer supports.
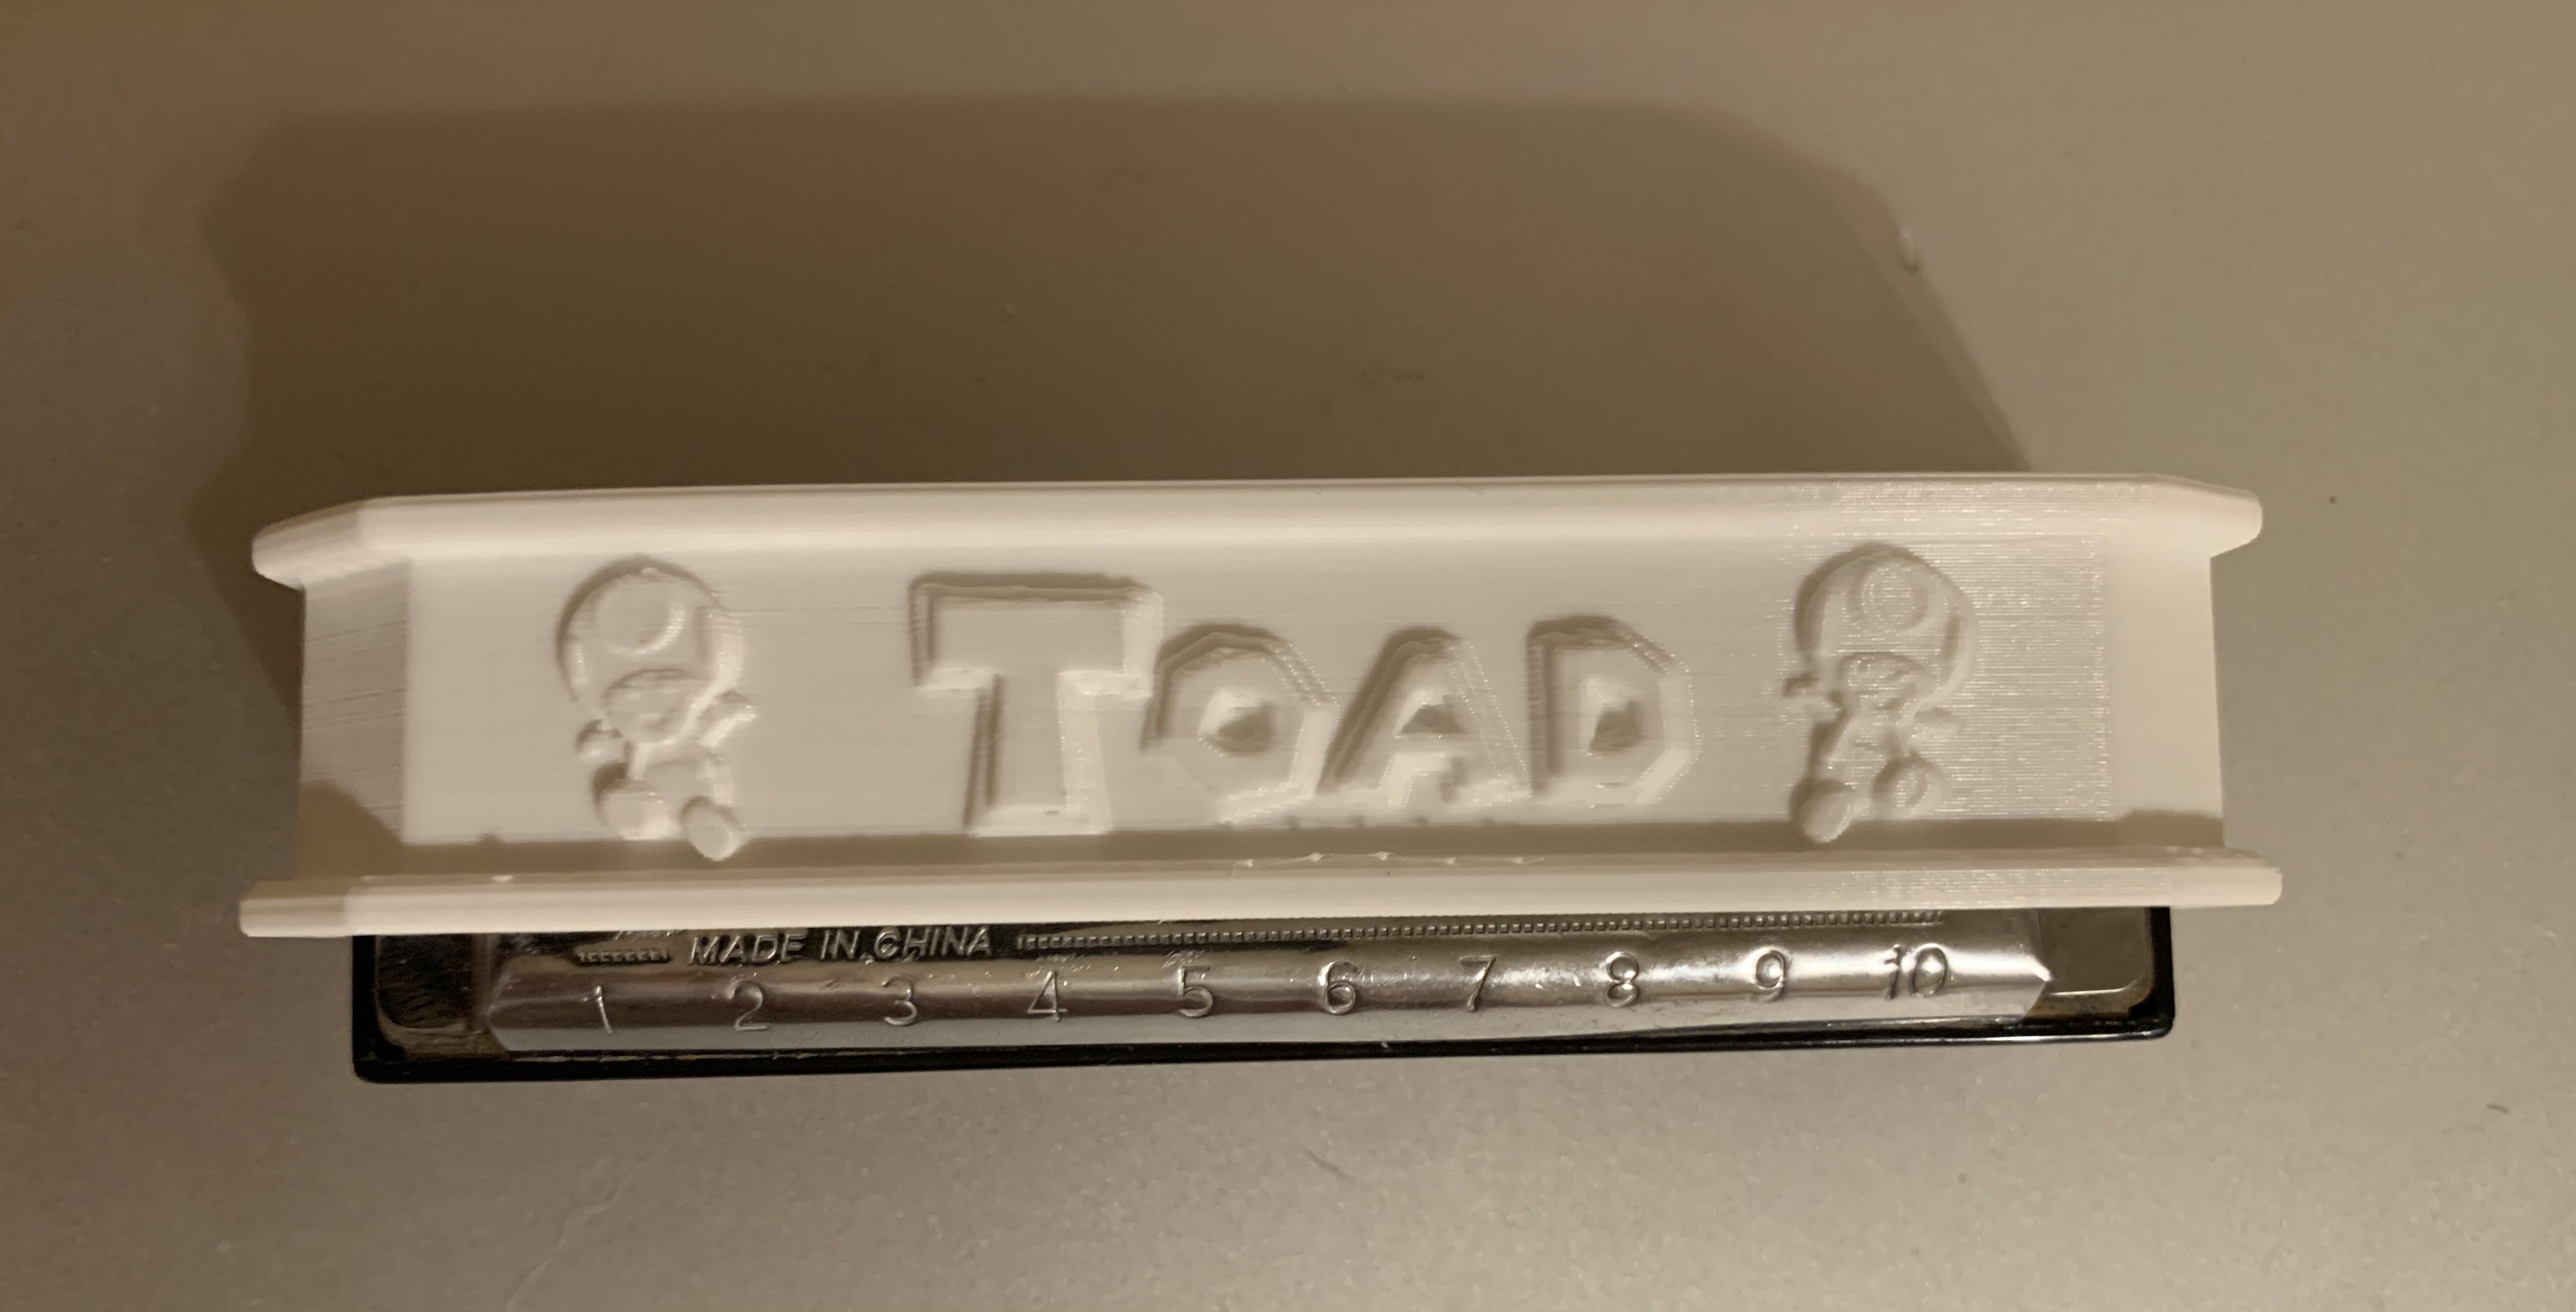 My son will get his crazy fun Christmas wish now. Huzzah!
Nice one! I'm glad it worked out for you and your Son is going to love it!