
See my posts for latest updates or visit the Gumroad page for more info
Here's the latest update from following videos and making it more of my own.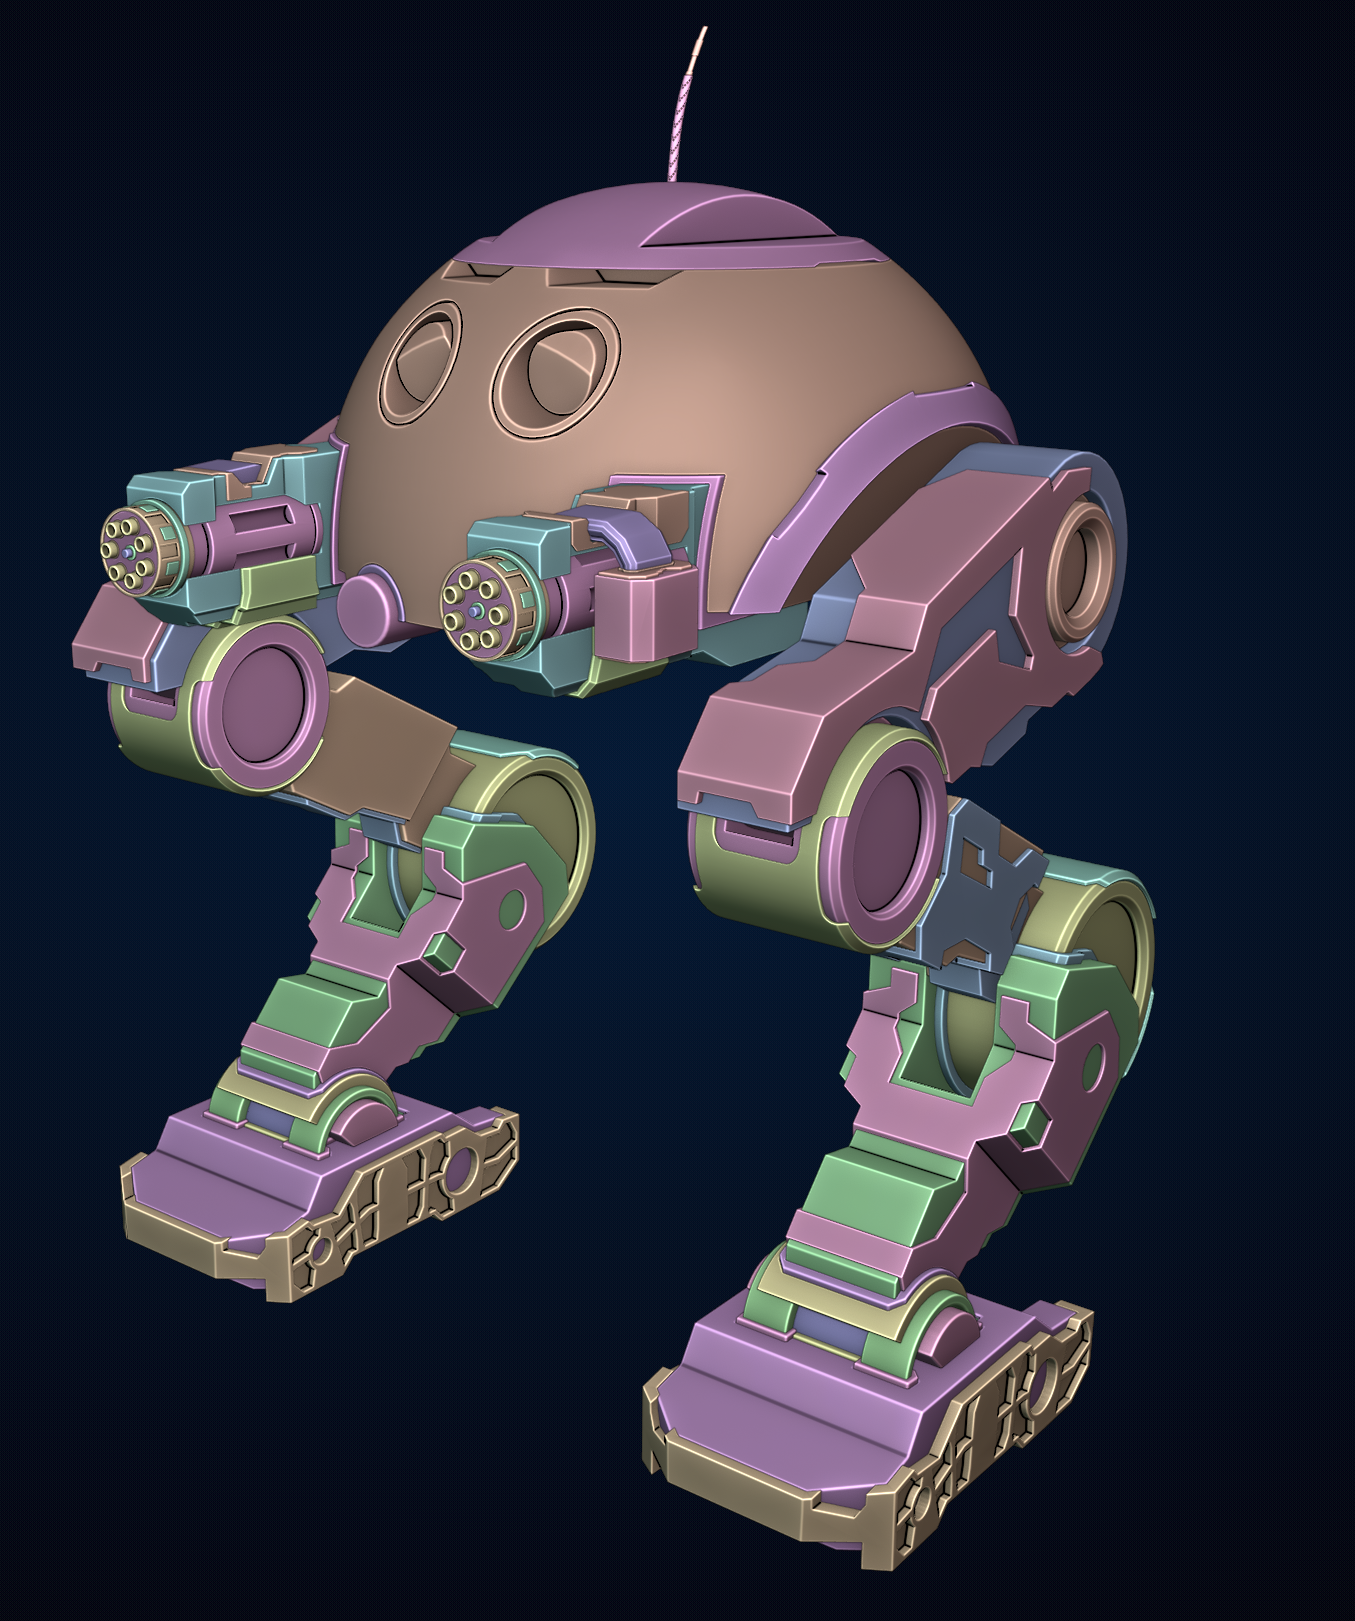
Got the flamethrowers on the bottom more detailed and decided to go away from the video reference on the mech head and try my own style.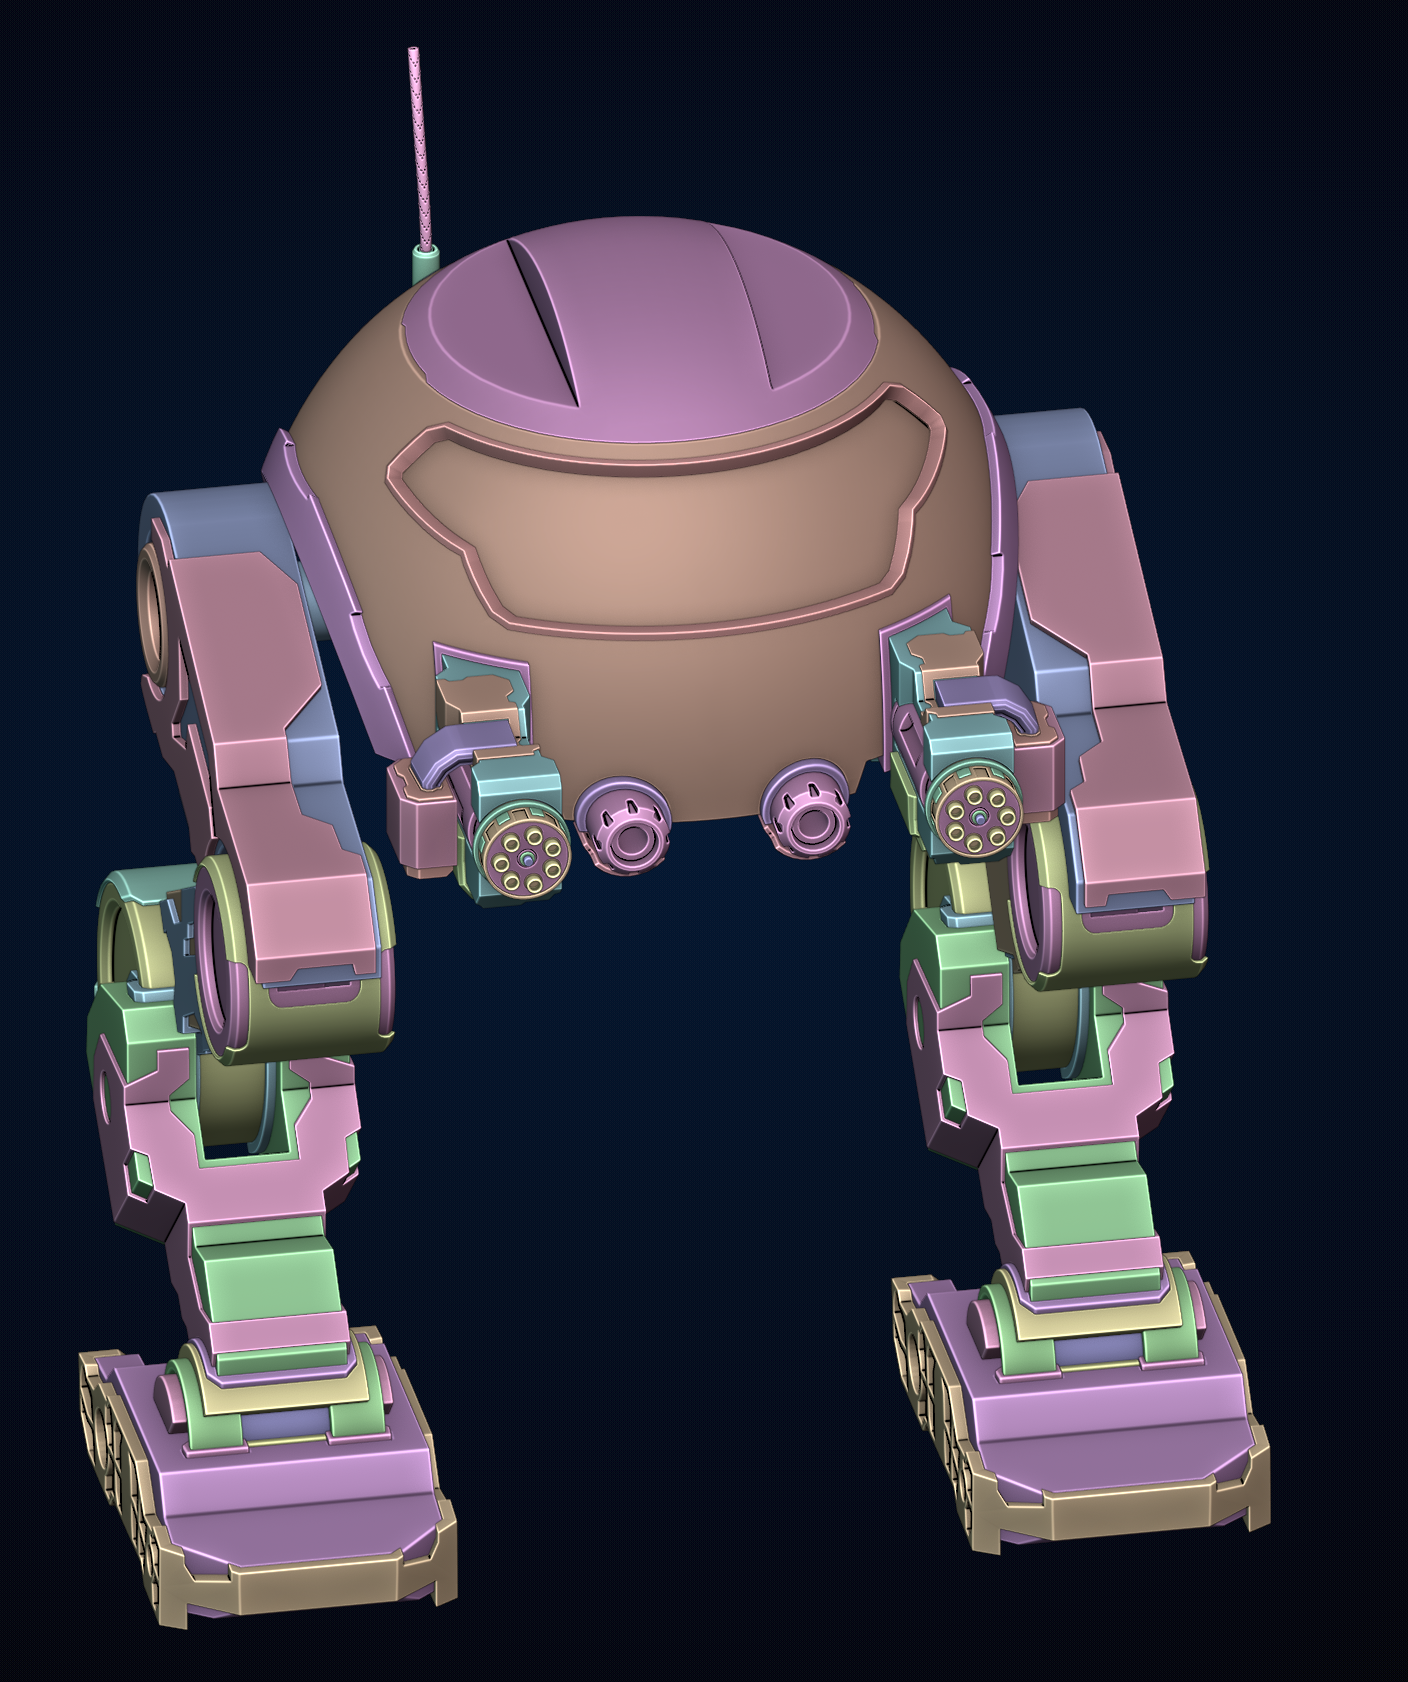
Great details! That is always the fun part when things really come together and your blocky model starts to come to life :)
Slow. We are waiting for the architect to draw everything up before we can apply for building warrants and planning permission so we can begin the work.
Thanks Ingrid @fide I am definitely going to get some mats and most likely textures on it. Decal machine usage is a part of the course. Really looking forward to decal machine training.
Nothing much to update tonight just some cleanup work on the feet and undercarriage. I made the feet guards more simple. Decals will probably be useful for them later.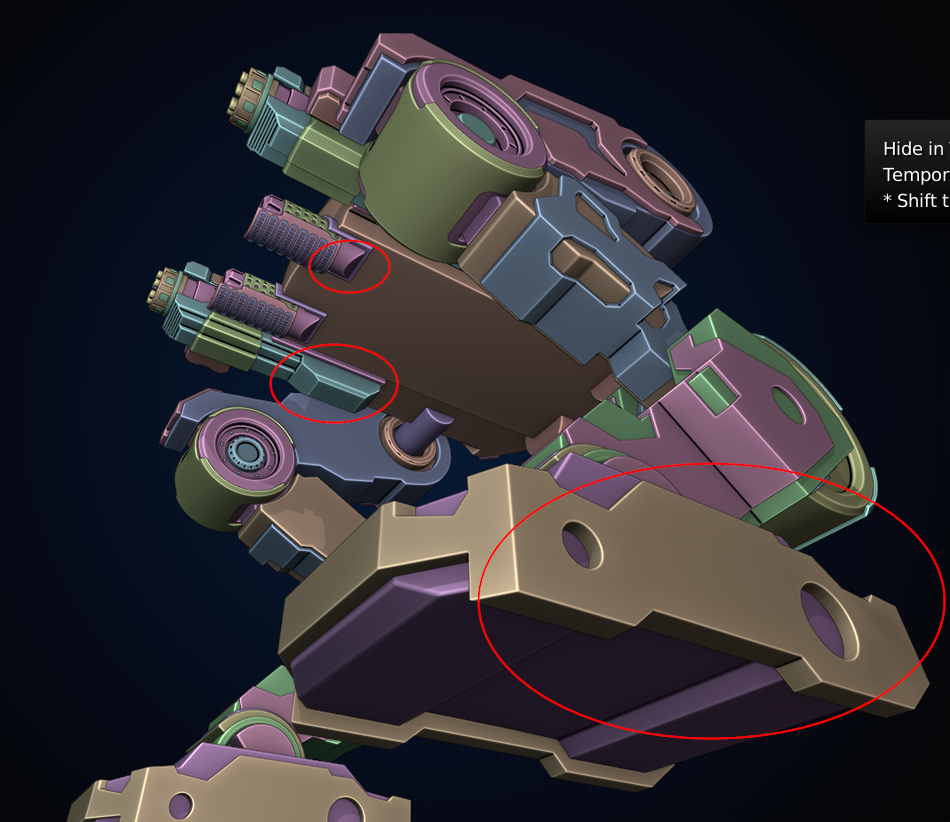
Some more level 3 detailing on the legs. I ended up using Fluent - Power Trip for the twisted-shielded wire array connection, it's super fun to play with curves and fluent makes the basic setup pretty darn easy so I can enjoy the more creative part.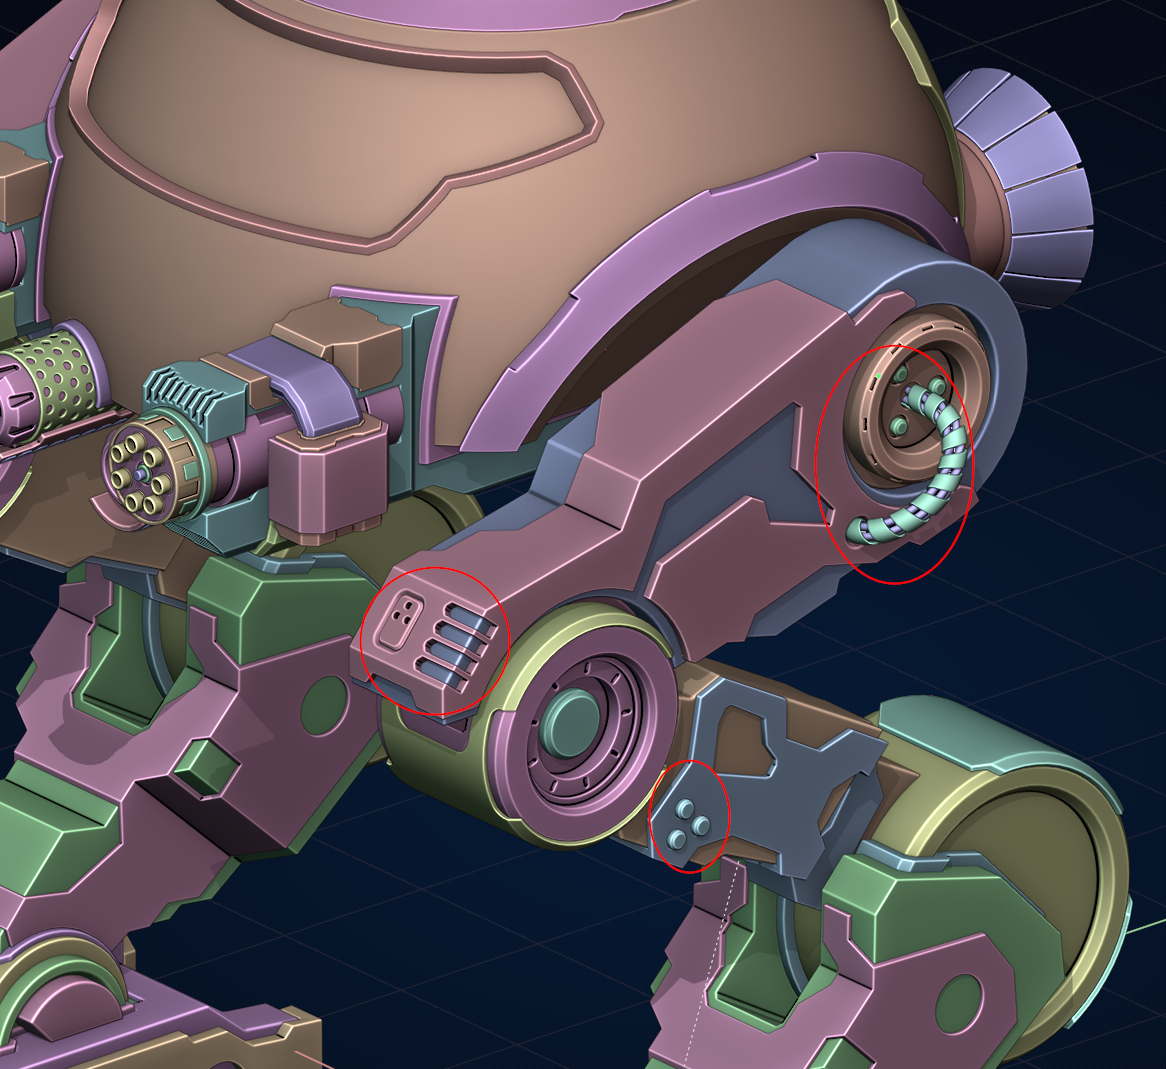
Small side comment today. I got to talk to Grant Abbit in a livestream on Discord while they were doing a live-Q&A on their new kickstarter project from Gamedev.tv with drawing for game design (link here for anyone interested).
I can't say how cool it is to talk with your hero's. Grant and CGCookie have really pushed me to work on the stuff that I find therapeutic and fun in life. I get to check that box off now!
Took a break from the robot today to make some assets for a work flow-diagram for our test cells on the hardware we use for DAQ.
This is going onto a 2D paper but I just couldn't help make them on my own because 'The Google' pictures just didn't quite cut it for me.
I have a few more things to make but I think this is coming along quite nicely so far!
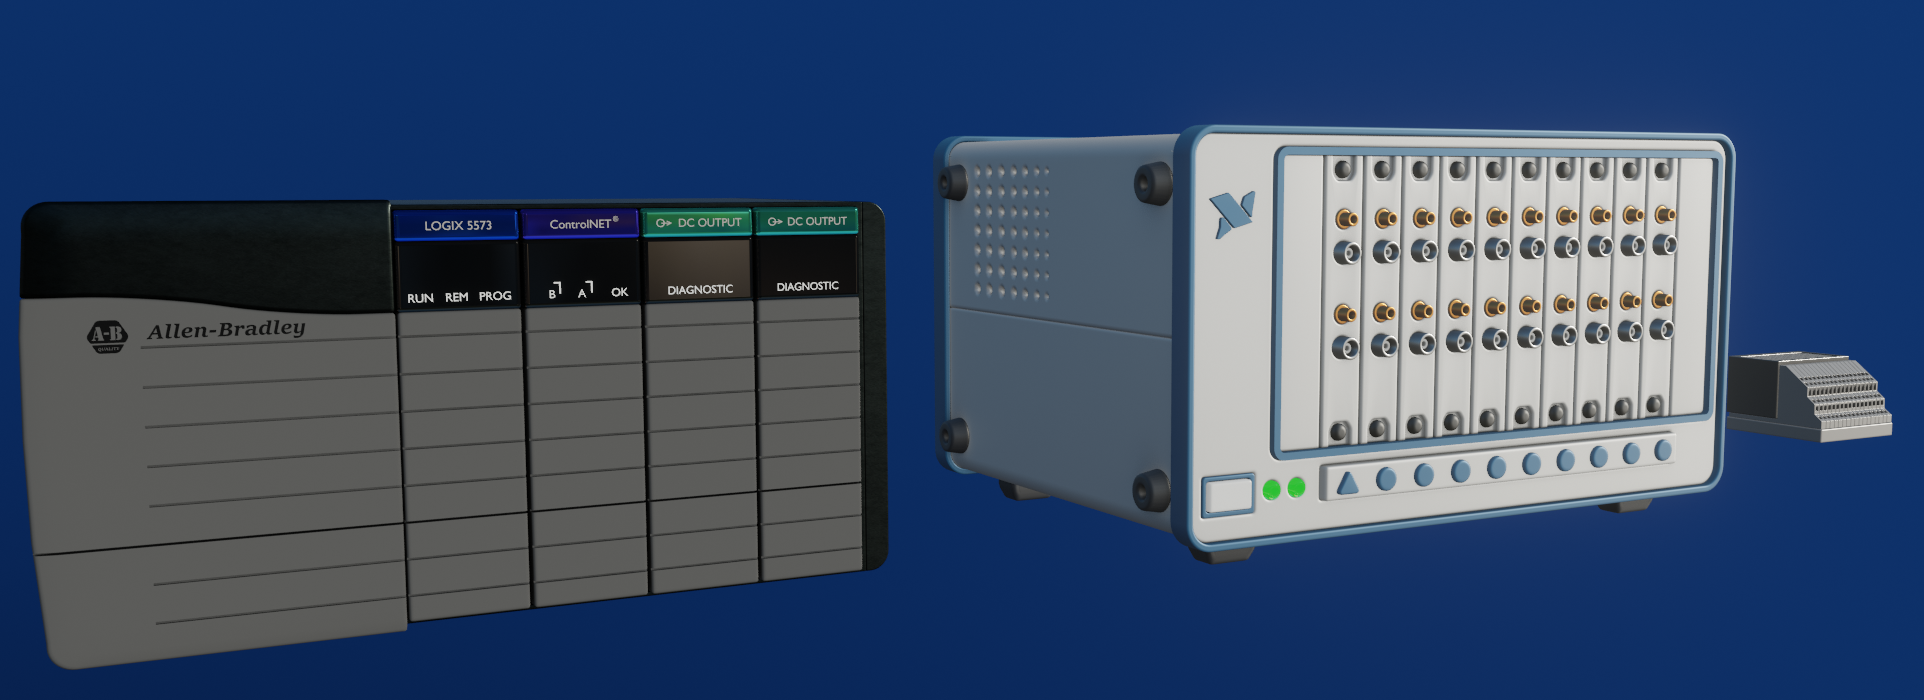
Here's the final systems layout that I put together (no labels but you get the idea):
I used the Desktop Monitor/PC/Keyboard, Network Icon and the YOKOGAWA and Gas Chromatograph from other sources but all of the custom monitor images are done by me along with everything else. I think it turned out pretty nice!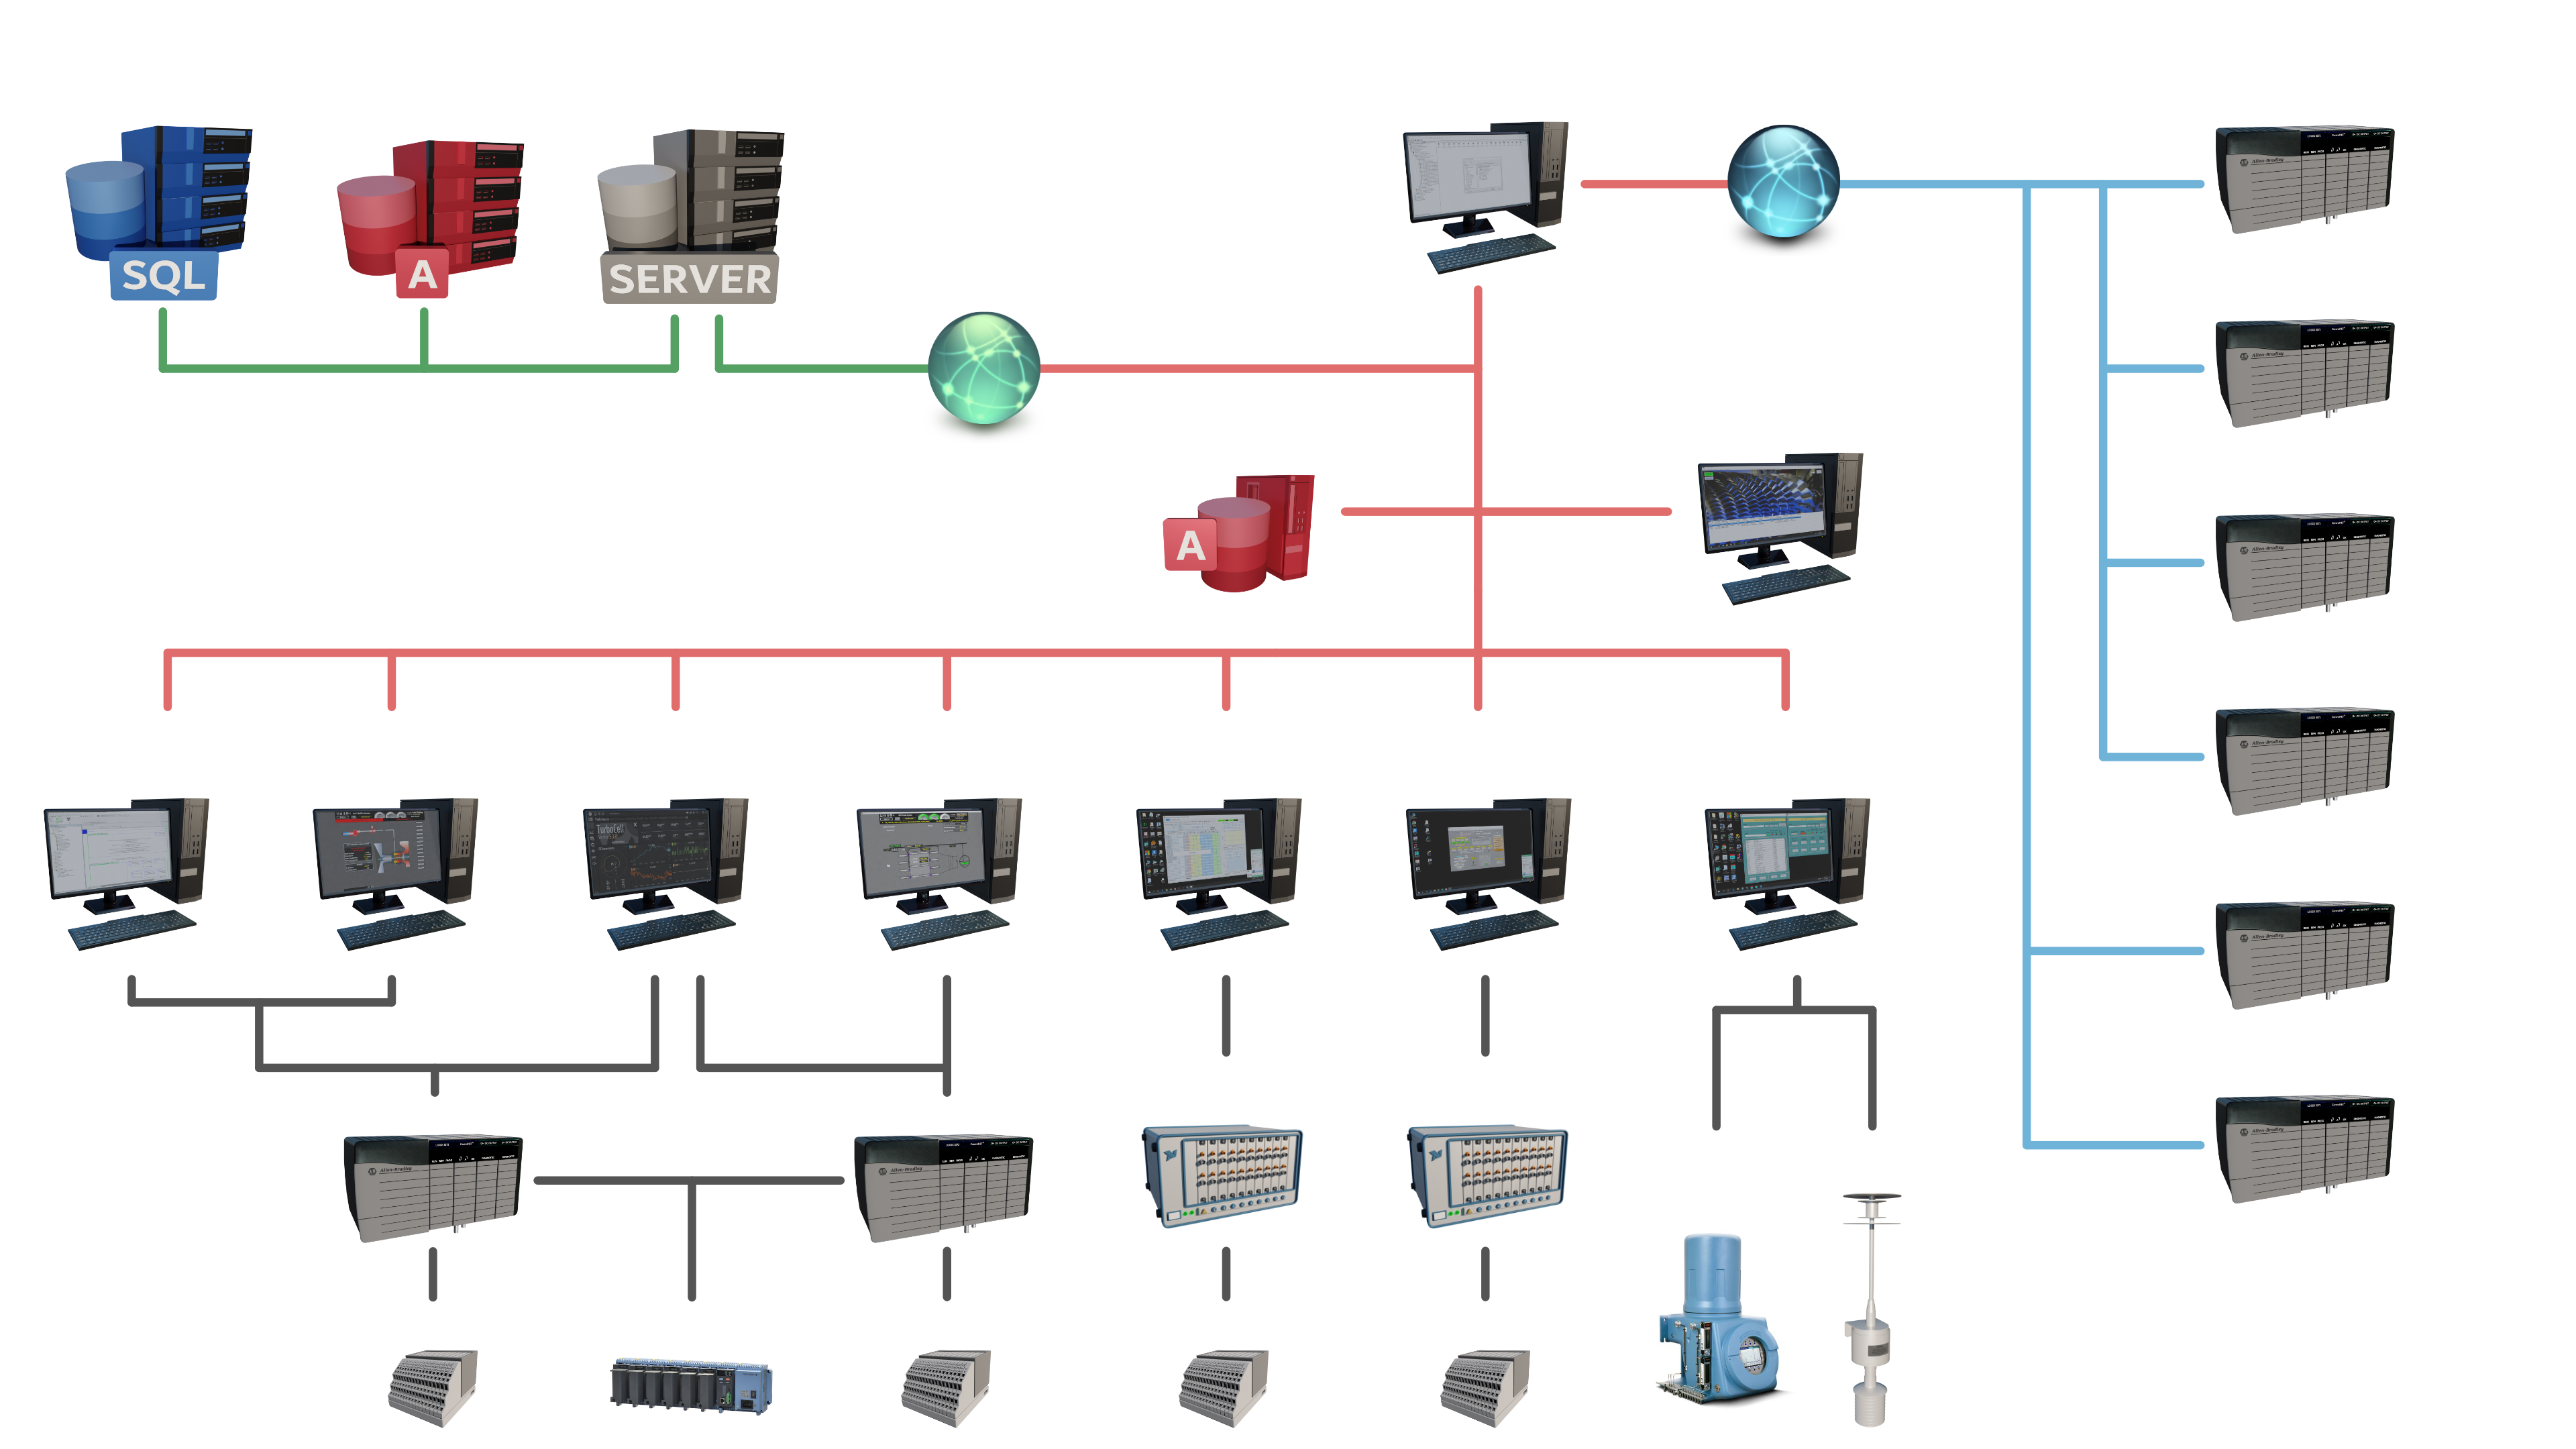
Back at the mech. Did some more leg detailing tonight: adding chamfers and piping.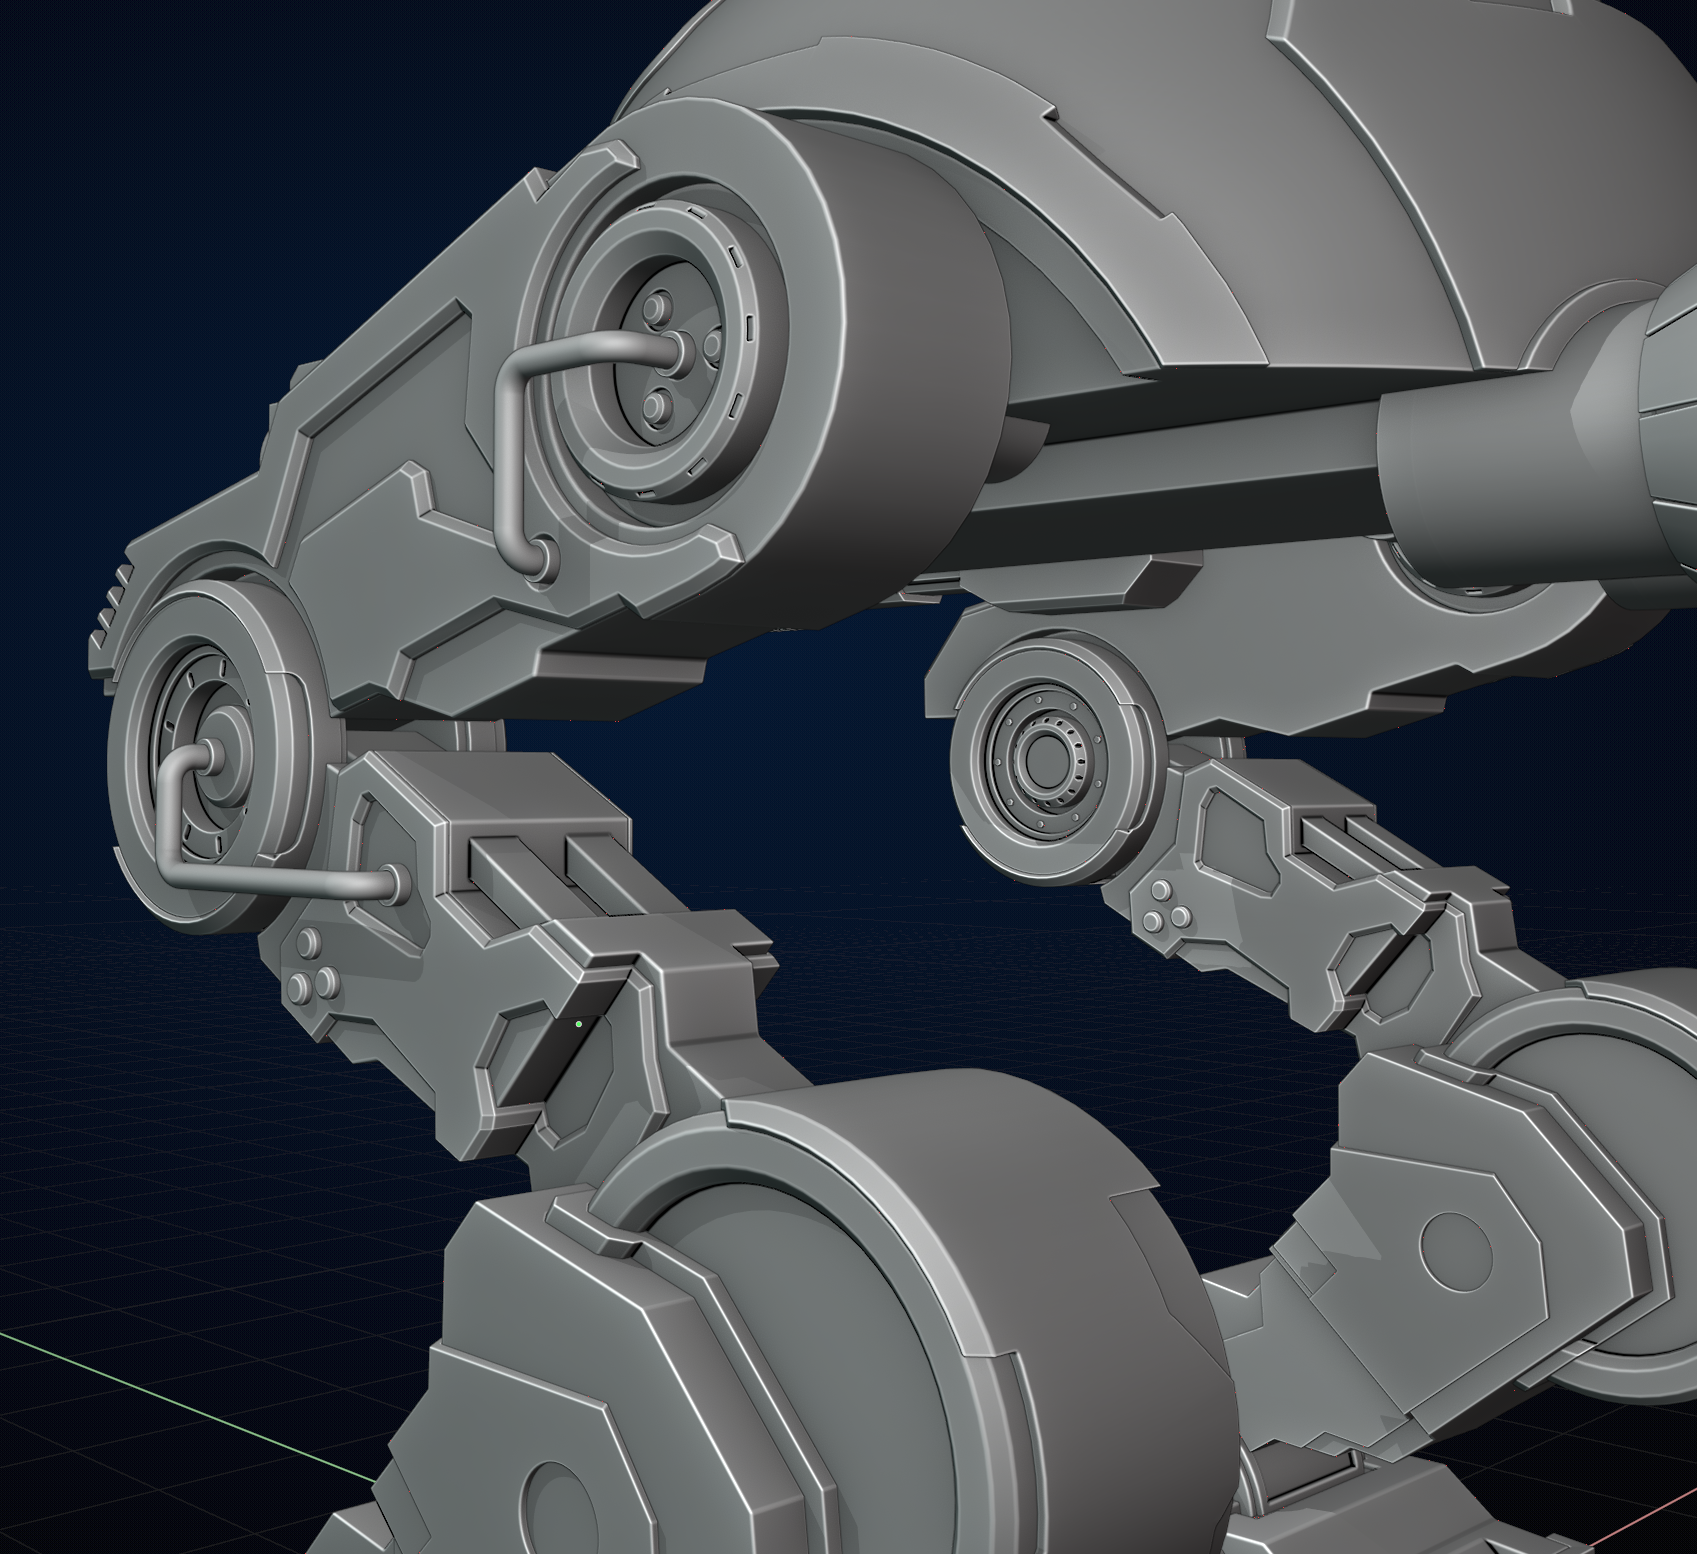
Looks already great👍! I especially like the indentations in the round parts.
I made some decent progress then blender crashed while using boxcutter on an operation and I lost a few hours worth of work since the auto-recover file never got generated.
But as they say "you do your best work the 2nd time that you do it" haha.
Added some more detailing and chamfers and bevels. I also got some AO and pointiness added to the basic material shader to see how the cycles basic render looks. It's a lot of fun but a lot of work at the same time. There's another mech in this series and I wonder if I should take a break and come back to it or power through them both haha. I'll just focus on this one for now and decide when I finish I suppose.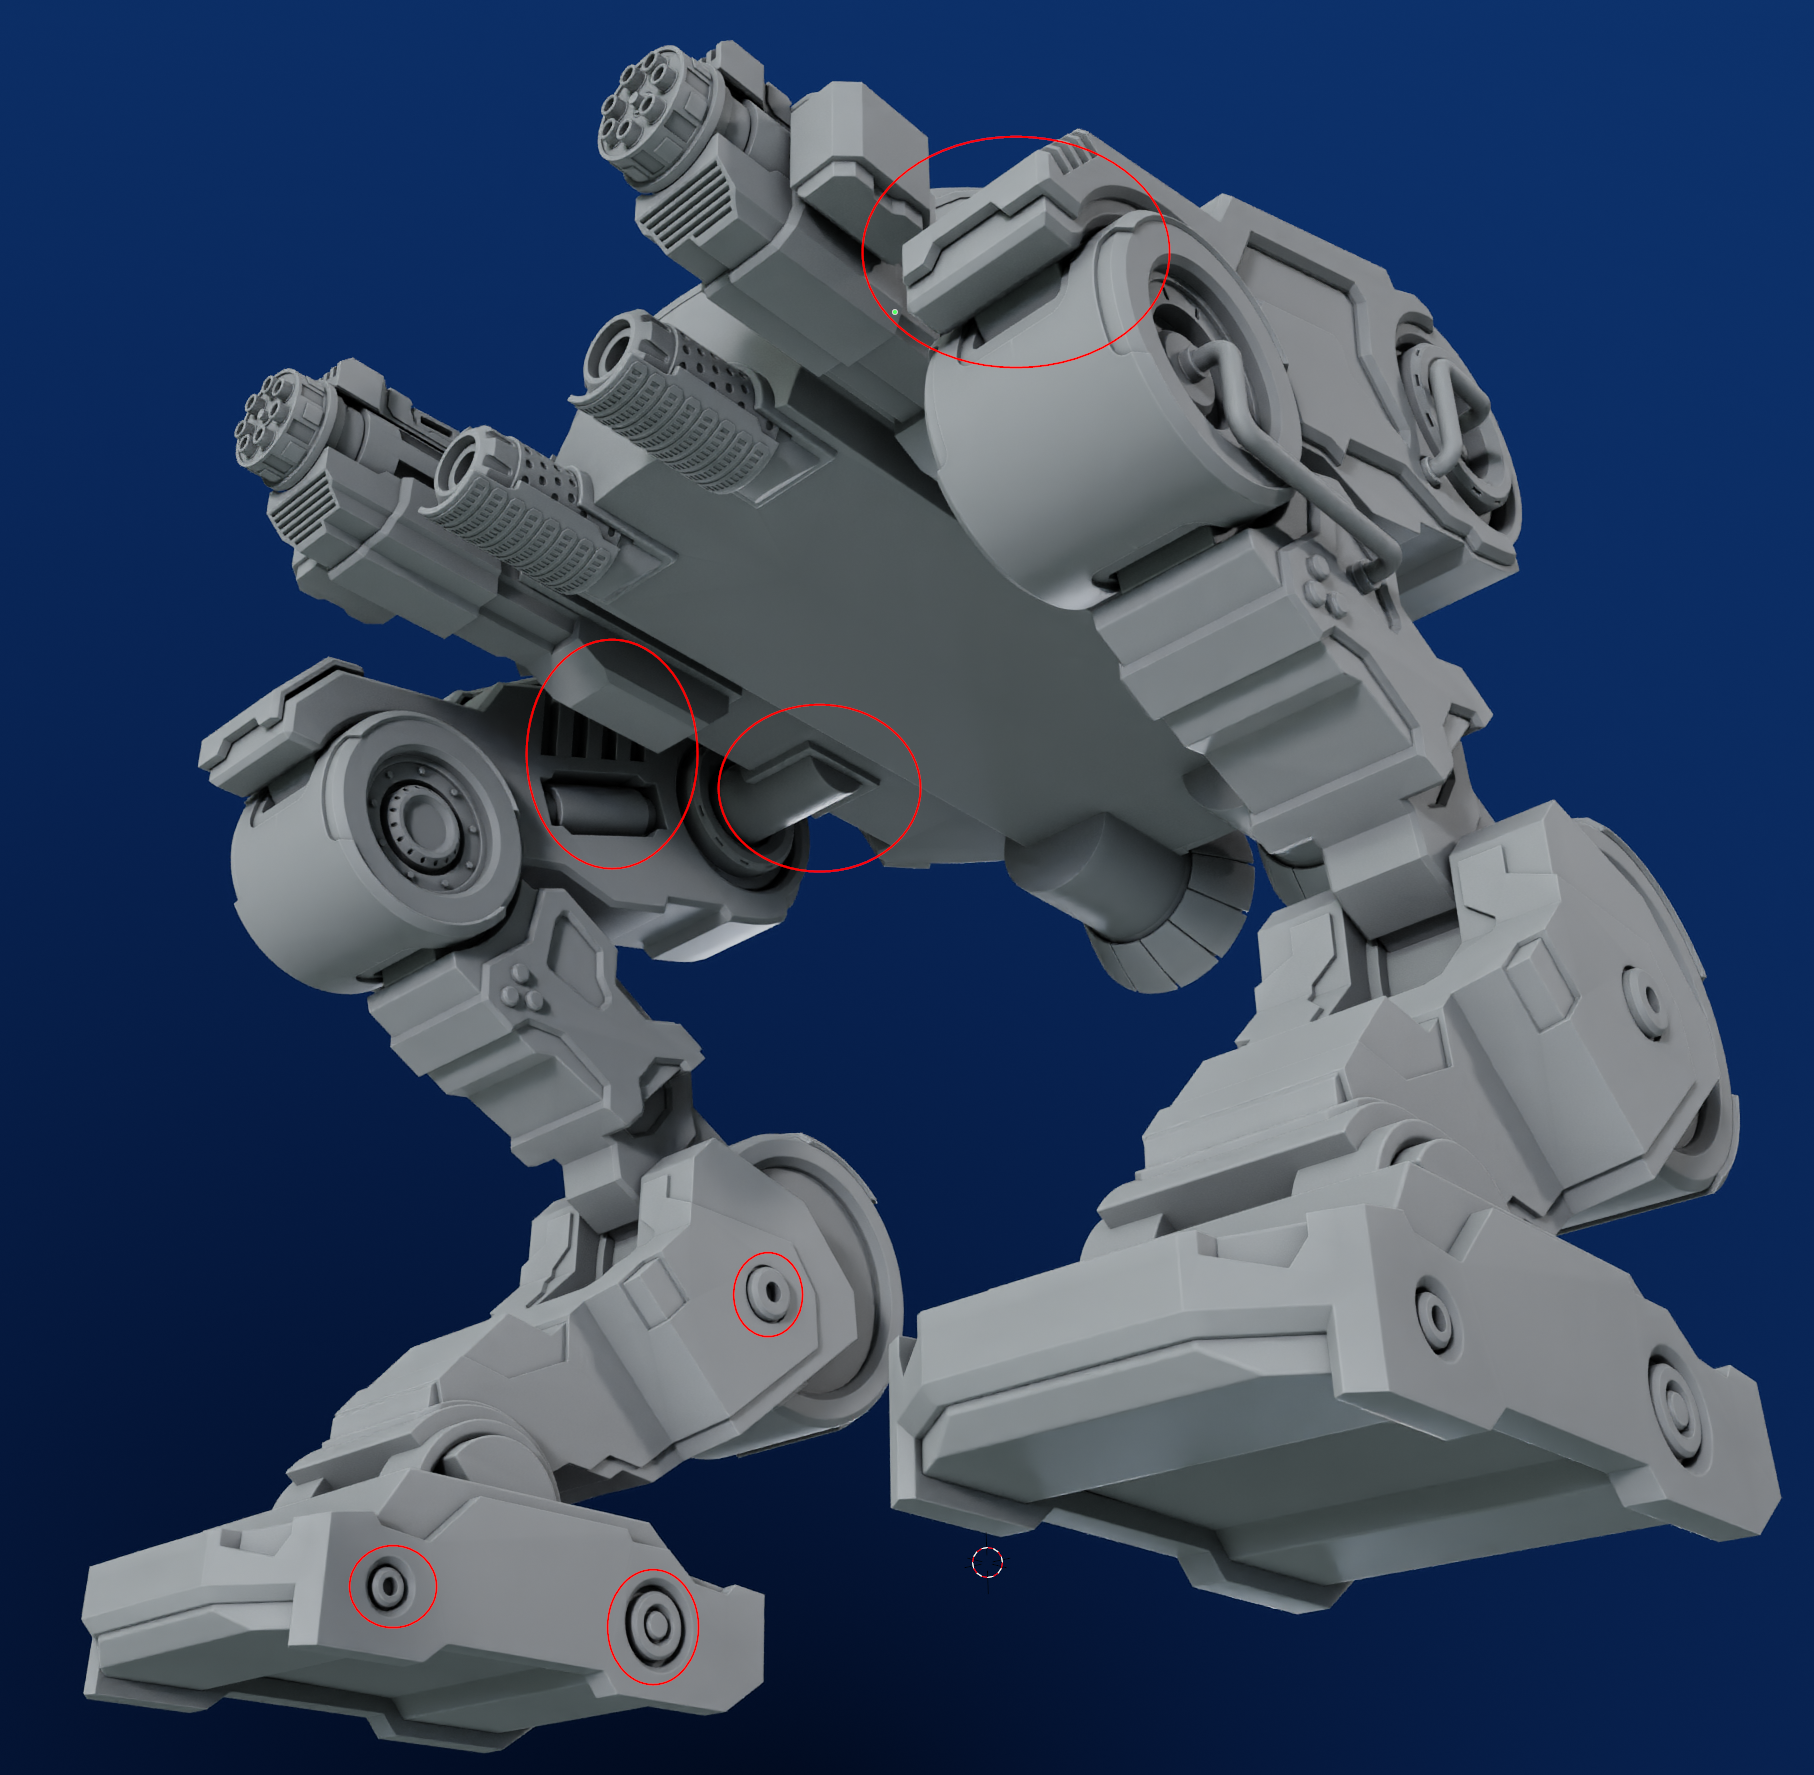
I am so grateful to have c.g.cookie and blender in my life. The ability to create anything from imagination in 3d has been extremely therapeutic. Thanksgiving is coming up and I figured I'll start a grateful list each day as I update my progress