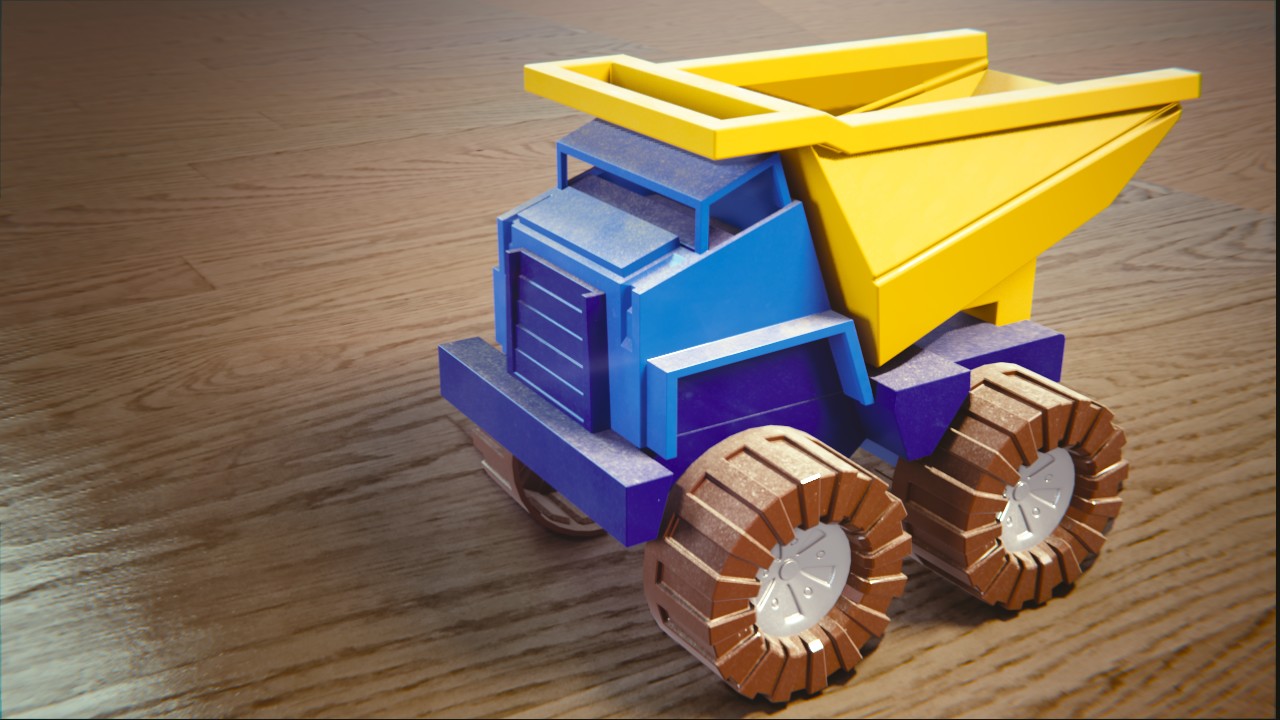
Hi there. I decided to recreat Toy Truck as old metal toy. I am trying to make dust, grime and scraches without creating special textures like in tutorials for begginer cause I don't know how to make them. I used wertex paint option "Dirty vertex colors" for dirt and noice texture. Its not the greatest so if anyone would have some other ideas I will be happy to listen (or read) them.
For scraches I download a free texture. I want to use "pointiness" value (pink group) to get more scraches on the edges. I don't know how to connect that to the rest and make it work.
Could someone help me pls :)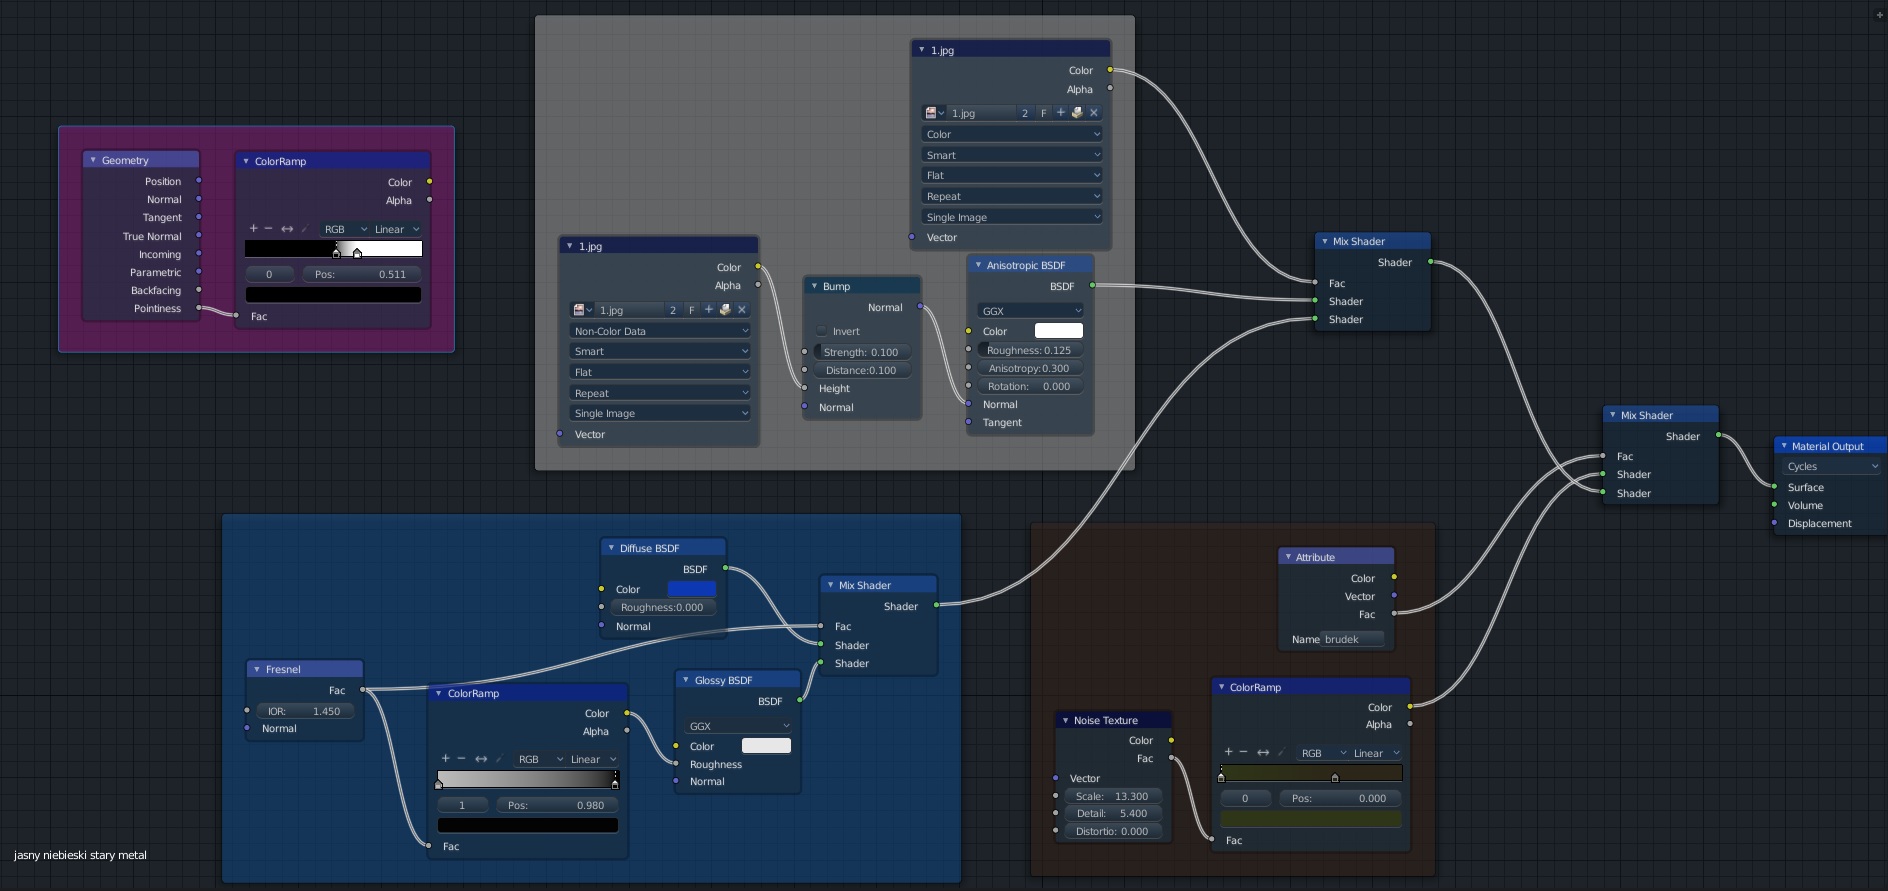
![]() dragonice69 Hi dragonice! I'm not a shading expert (more beginner 😛), so I'm using this tutorial on YouTube to create procedural grime and scratches on my truck, by far the best explanation I found on YouTube on how to do this! And it uses the pointiness. Funny enough it's made by cgcookie instructor @jlampel so when I recognized his voice I knew it would be good 😬 Hope this helps you too! It might at least give you an idea on how to use the pointiness and how to connect things, if you want to continue on with what you already got instead of changing it all to what he does in the tutorial.
dragonice69 Hi dragonice! I'm not a shading expert (more beginner 😛), so I'm using this tutorial on YouTube to create procedural grime and scratches on my truck, by far the best explanation I found on YouTube on how to do this! And it uses the pointiness. Funny enough it's made by cgcookie instructor @jlampel so when I recognized his voice I knew it would be good 😬 Hope this helps you too! It might at least give you an idea on how to use the pointiness and how to connect things, if you want to continue on with what you already got instead of changing it all to what he does in the tutorial.
ssmurfmier1985 Miranda I love You! <3
I was looking for tutorials on YT myself but nothing was good enouth. This one is exacly what I needed.
I am trying very hard to not only copy someones nodes but o actually understand what are they doing. This is not easy task but I like it :D
![]() dragonice69 Glad I could help you out 😊 Looking forward to seeing that old busted up truck you're making!
dragonice69 Glad I could help you out 😊 Looking forward to seeing that old busted up truck you're making!
![]() dragonice69 Just some tips: The pointiness value can often replace the dirty vertex option - less steps to go the pointiness route. And you can simply think of it as a black-and-white mask (or factor) for a mix color node or a mix shader node. The same way you're using the dirty vertex colors in your current node.
dragonice69 Just some tips: The pointiness value can often replace the dirty vertex option - less steps to go the pointiness route. And you can simply think of it as a black-and-white mask (or factor) for a mix color node or a mix shader node. The same way you're using the dirty vertex colors in your current node.
Does that help?
@theluthier I already made that change cause I noticed that I can manipulate settings easier with pointiness. My tree is getting bigger one minute after another :D
OK so. I have couple problems I dont know how to solve.
1) Pointiness is not working exacly as I would like it to work. As you can see sometimes only edges have scraches but sometimes whole side. Also I wish to know if there is an option to deselect part of a mesh. Like here there is this part above wheels that if child won't scrach it in purpouse should be rather smooth.
2) I don't know why texture on wheels is streched around. I wanted to apply mirror modifier like I did to other parts but I'm getting an error saing "Modifiers can not be appllied to multi-user data". I remeber that this was to do with linked objects and data but don't know even if that will help.
I would love to link in here my blend file but don't know how :D
Edit:
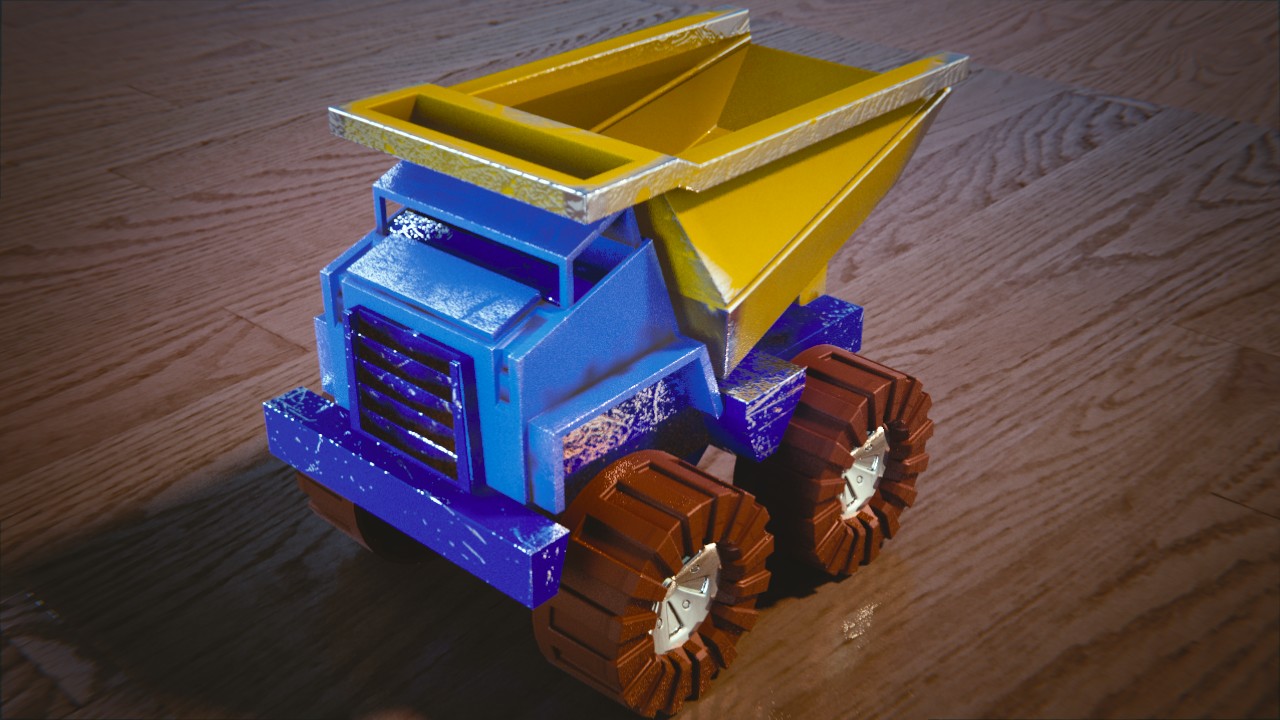
Toy Truck rework :D I'm learning new stuff every day :D
![]() dragonice69 Hey, looks like a good start! You can assign different materials to the same mesh by having multiple material slots, selecting the material you want, select part of the mesh, and click Assign under the material.
dragonice69 Hey, looks like a good start! You can assign different materials to the same mesh by having multiple material slots, selecting the material you want, select part of the mesh, and click Assign under the material.
What are you trying to do when applying the mirror modifier? What's the thought process there?
![]() silentheart00 Before applying the modifier my scratches texture was mirrored as well and that didn't look well, so after applying I unwrapped mesh again and it fixed that.
silentheart00 Before applying the modifier my scratches texture was mirrored as well and that didn't look well, so after applying I unwrapped mesh again and it fixed that.
First off - I highly commend the effort to add wear and tear to the toy truck. You're on the right track for sure. Unfortunately you may be approaching the limits of procedural grime/scratches, especially in terms of masking. The issue you describe of needing to exclude a certain area is tough to do procedurally (without painting custom UV texture maps)
Silent's suggestion is valid about assigning a different material to the faces in the wheel well that you described. You could duplicate your shader, remove the scratches component from the duplicate, and assign to those specific faces.
So I wanted to try different things this week. I really likes Kents examples of copying lightning from different pictures. I wanted to try that to. So I've made this:
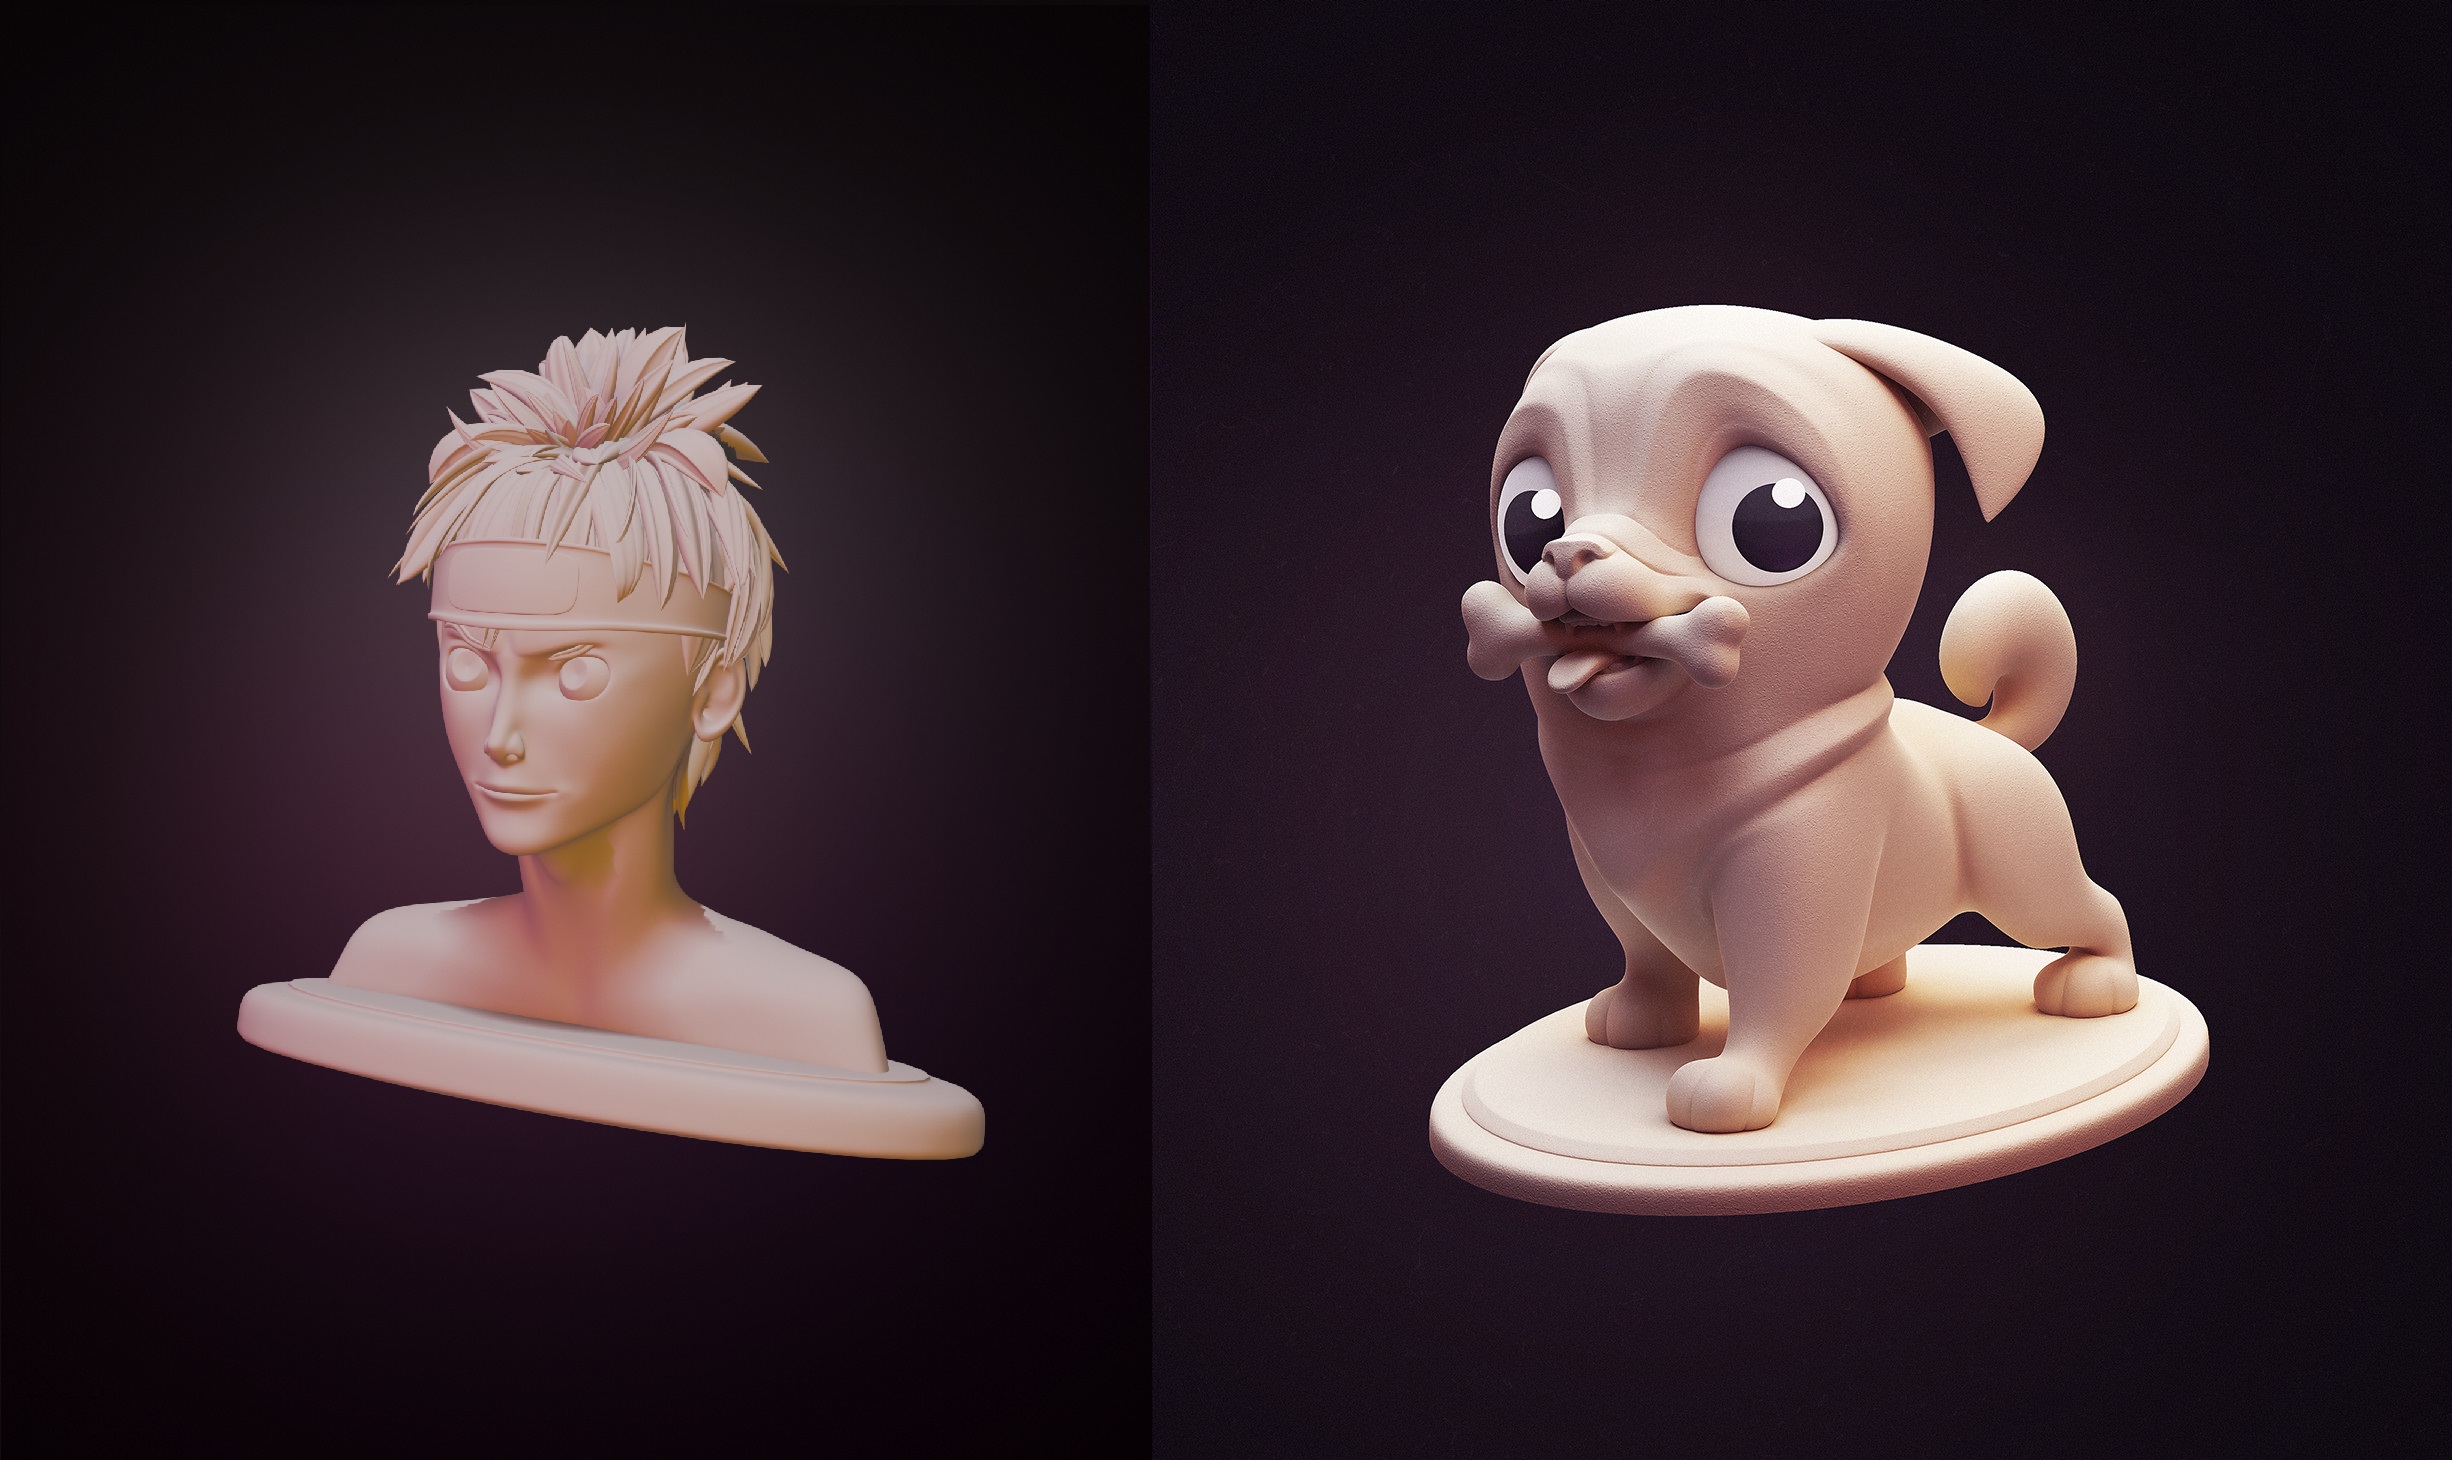
Naruto head is my own model.
![]() dragonice69 Hey nice work already also the lightning match is good trough i think there is a bit of a harder light on top of the head of the puppy . maybe if you add that on youre naruto character it will even resemble more . but really nice work here :)
dragonice69 Hey nice work already also the lightning match is good trough i think there is a bit of a harder light on top of the head of the puppy . maybe if you add that on youre naruto character it will even resemble more . but really nice work here :)
yyukinoh1989 Wow. Thank you. I will try to play with it a bit more :)
![]() dragonice69 Your lighting match is a good start. I agree with yukinoh's critique.
dragonice69 Your lighting match is a good start. I agree with yukinoh's critique.
Kudos for trying a light matching exercise! It's quite good overall. I think you're spot on with the colors. Though I agree with Yukino about the brighter highlights toward the top. In general there's more contrast in the source image: Brighter highlights and darker shadows.
My suspicion is that Filmic is dulling down the highlights too..
@theluthier Ok so. I've been trying to improve the contrast changing some lightning settings and doing some compositing. I have this feeling that more I do, it's getting worse that better. I think My knowledge is just not enouth yet. But it was fun trying :)
I end up here and I think I am going to leave it for now. Probably will go back to this matching exercises after some time cause I really like them.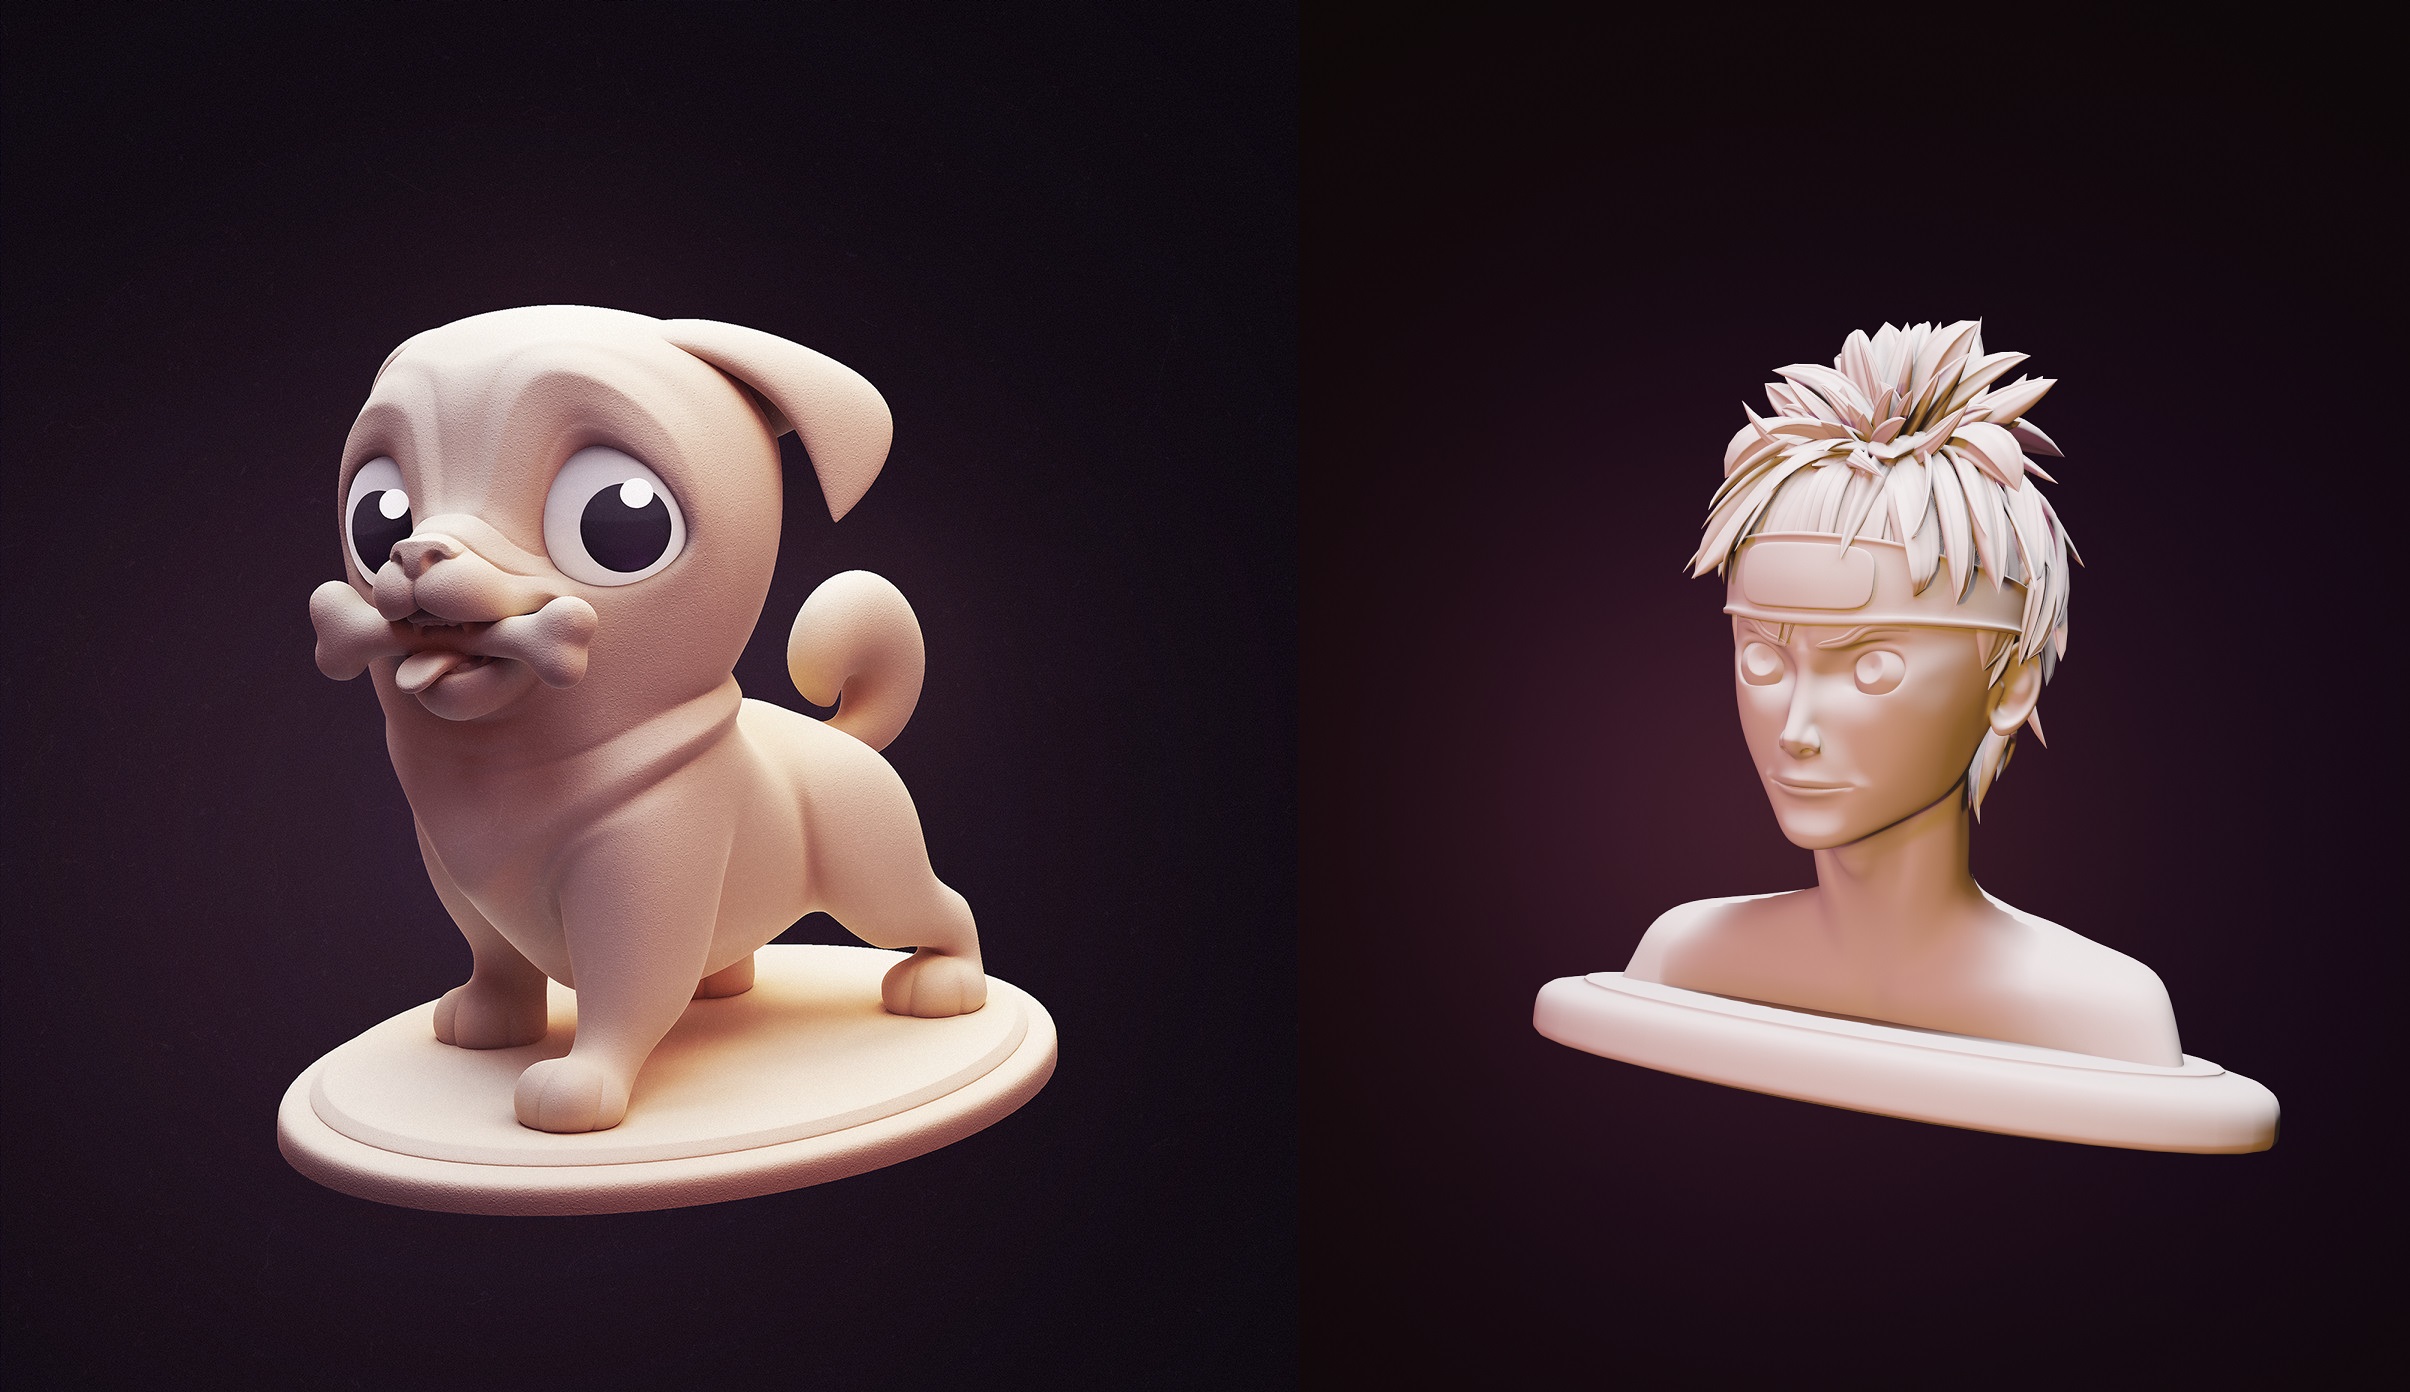
I don't know how this happened but i lost my background color ( and I wasn't changing it :D).
And this is Eevee btw.
![]() dragonice69 not bad done the way I think how you can get the light on top. Of hair is I think with an area lamp I think it was called? Try to play with the size and intensity with it. Of course I am not sure it will be good. I do still keep comparing a lot with different lights, sizes and intensity. But you sure did a good job I love you're work. Also nice work on the Naruto model.
dragonice69 not bad done the way I think how you can get the light on top. Of hair is I think with an area lamp I think it was called? Try to play with the size and intensity with it. Of course I am not sure it will be good. I do still keep comparing a lot with different lights, sizes and intensity. But you sure did a good job I love you're work. Also nice work on the Naruto model.
yyukinoh1989 Thank You :) Naruto's hair were a bit of a challenge :D I made them with Modeling Stylized Hair tutorial.
I wanted to go back to my Toy Truck but found out that drawing scratches or anything to make a texture is imposible without a tablet so I am going now to talk about that issue with my husband. Wish me luck :D