I used to sculpt in clay as a hobby for a while, but the limited space and constant struggle to manage it have made it mentally challenging to continue and turn it into something more than just a hobby. For now, I’ve decided to put traditional sculpting on hold and focus on digital art, which takes up much less space. Over the years, I’ve revisited Blender on and off with long gaps in between, but this time, I’m committing to giving it a proper go, starting with the basics once again.


Before returning to texture painting, I wanted to share an update on the changes I made.
In hindsight, I’m glad the two-UV-map setup didn’t work out—it led me to discover UDIM tiles and the Texel Density Checker add-on.
I’ve always known I’m terrible at eyeballing. The moment I’m asked to eyeball something, my brain lights up like an emergency zone—rotating red beacons, warning signs popping up, the full internal alarm system screaming that I can’t guarantee accuracy or quality. But not knowing better tools existed, and not wanting to give up on Pothead, I tried it anyway. Spoiler (though you won’t see the evidence now)—the result would have been atrocious.
Using the Texel Density Checker, I assessed my initial guesswork. It was way off: some secondary or tertiary objects had triple the texel density of critical ones like the face, hands, or pot.
After watching Chunck’s lesson on UV packing in the Relic course, I liked the idea of using colorful checkers and manually rotating islands based on object orientation (skipped the pot due to already painted texture). This will later help with text alignment and fine details.
I’m now using two 4K UDIM tiles. All islands are at 64–65 px/cm texel density—even the tiny ones—and have a margin of 0.007. I chose to keep texel density consistent across the board since I don’t yet know which areas I might want to show close up. This way, everything has the same quality and flexibility.
Once I fixed the texel density and manually rotated the islands, I began packing. I assumed Blender’s packer would distribute islands across both UDIM tiles, but it only packs into the active one. So I split the islands visually into two sets. I activated tile one, selected and packed that set; then switched to tile two and did the same. It worked beautifully.
For packing, I used:
Margin Method: Add
Margin Value: 0.007
Scale: Off (to preserve texel density)
Rotate: Off (to keep my manual rotations)
I was initially worried I’d have to repaint the pot’s texture, but after adjusting the texel density, the pot’s islands didn’t change scale. To preserve their location, I pinned those islands and used Lock Pinned Islands during packing.
Lastly, from what I’ve gathered, UDIM tile seam margin (for baking/painting padding) and packing margin (space between UV islands) don’t need to match.
If I’ve misunderstood how anything works and it might lead to major fixes down the line, please let me know now. I’m already recovering from a prolonged toxic work environment that led me to resign from my day job to protect what’s left of my well-being. I wouldn’t want my first proper Blender project to crush me in the end. Technically, I’m still employed until the end of the month, but I’m using my accrued holiday days so I don’t have to be there for the full notice period.


Hi Guna,
Th Uv Islands look beautifully packed!
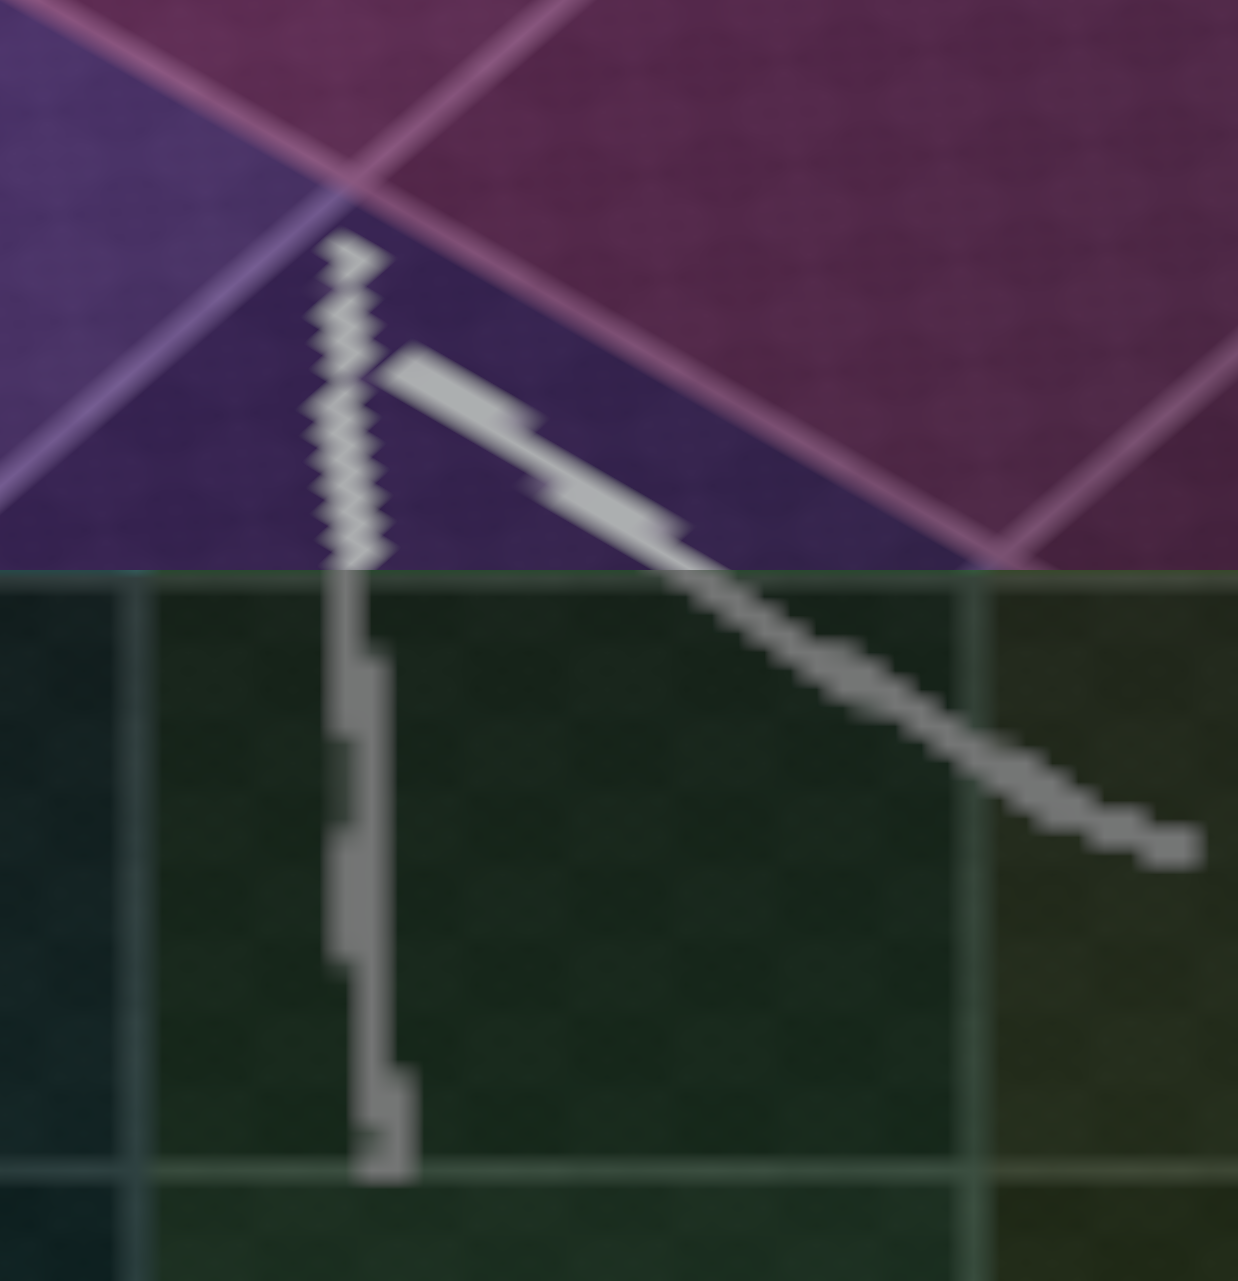
Although I am a bit worried about the bending of some of the UV's in the face area (forgive my Mouse drawing, I was too lazy to get my Pen&Tablet out):
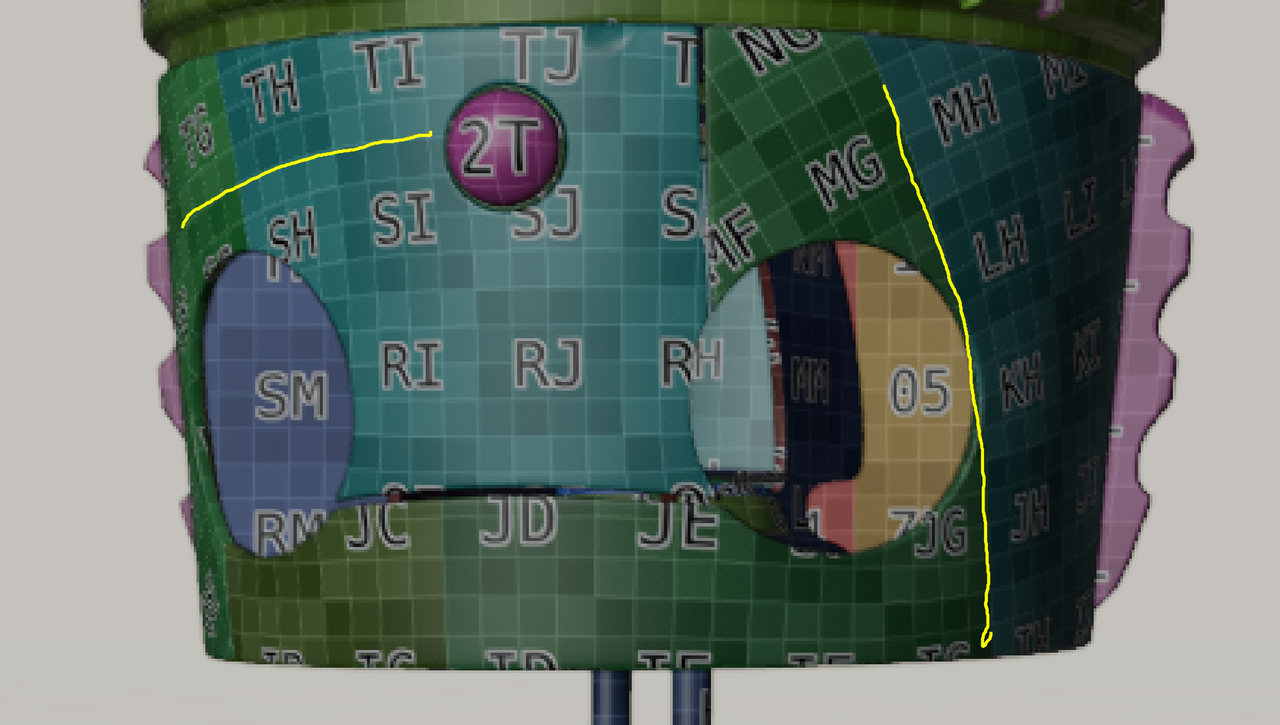
Maybe it won't be a problem, the density is consistent after all, but here's an exagerated example of what might happen if some UV's are oriented different from their neighbors:
Thank you! And no worries about the mouse drawing—it’s more than sufficient. The texture won’t actually need to connect, since there’s a design gap between those two parts. The islands connect at the back, where the heater part covers them.


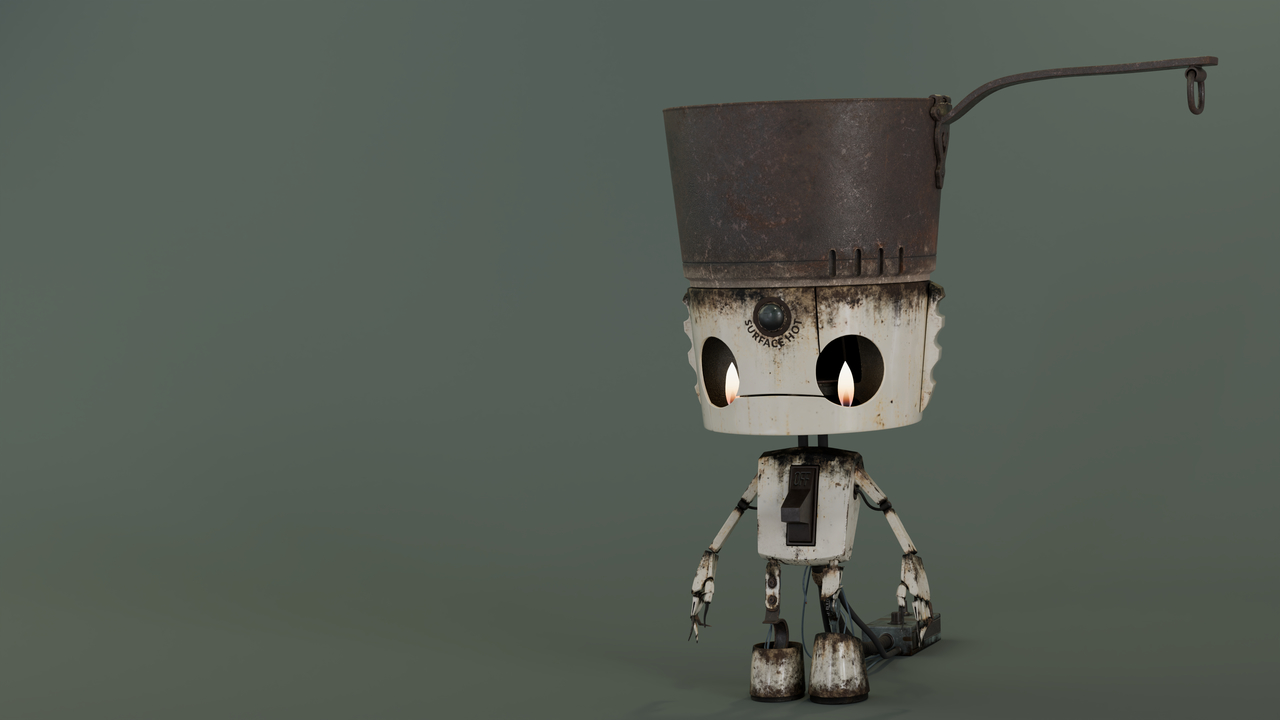
It has been "a minute" and a rollercoaster of ups and downs (a lot of downs). This is a quick render on a plain, one-colour background with a bit of depth of field and some lights. To be honest, I am anxious about posting him to the gallery and submitting my work for grading. While baking texture maps on the smaller parts, I realised I ran really short on pixels. Therefore, I might render him partially with raw material setups for some parts and leave others with baked textures. I thought that posting him here first might help me feel less anxious. It is okay to give your thoughts if you have any. Thank you!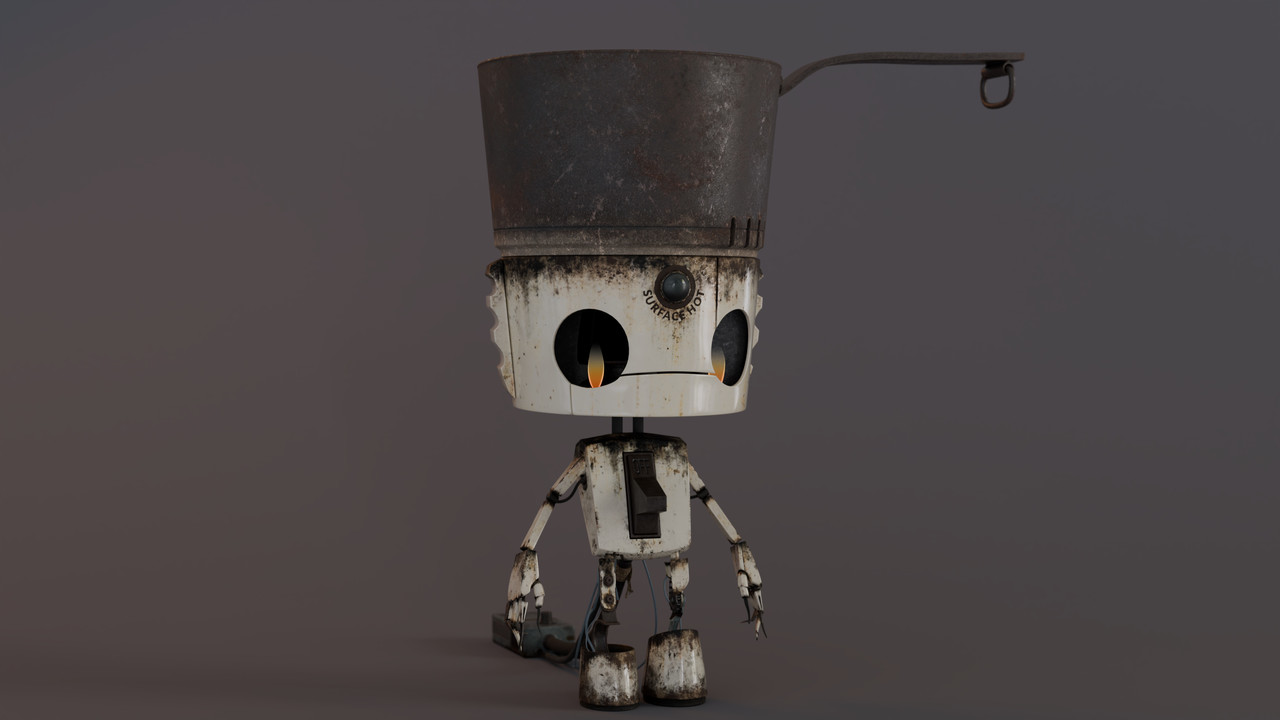
Martin, now that you've pointed out the flames, I think that's exactly why the model felt a bit off. They really conflict with the rest of the piece—it almost feels like 'the lights are on, but nobody's home.' It will probably take me a couple of evenings (in a best-case scenario) to give the flames some liveliness and integrate them into the rest of the model.
Omar, thank you! Once I've made these final changes, I will post and submit. Quick question: are submitting for grading and posting on the gallery two different things? I've never submitted anything for grading before.
Yes.... Submitting for a grade I don't think posts it to the Gallery. The Gallery is taken from things posted to My Projects.
Also... I know I'm seeing this way late... Love the balls on the first page. My only issue with the basketball is that it's too pointed where the arcs meet. that should be more rounded. (It's very subtle, but it's paying attention to subtle things like that help them feel more real.)
Hi Grady ![]() gradyp, thank you for stopping by! :) Nothing is too late if it's fixable. At first, I didn't understand what you meant, but then I googled a basketball, and now I see it! It will definitely bother me if I don't fix it. Let me wrap up the Pothead first, and then I'll fix the ball. I might even add PBR materials for practice, since that's what I'm struggling with the most. It actually took me about 8 to 9 months to figure out how to set up the materials for Pothead in the shader editor.
gradyp, thank you for stopping by! :) Nothing is too late if it's fixable. At first, I didn't understand what you meant, but then I googled a basketball, and now I see it! It will definitely bother me if I don't fix it. Let me wrap up the Pothead first, and then I'll fix the ball. I might even add PBR materials for practice, since that's what I'm struggling with the most. It actually took me about 8 to 9 months to figure out how to set up the materials for Pothead in the shader editor.
One last quick render before spending hours and hours perfecting the final renders. The difference is striking! The flames now = no more 'dead weight walking.'