Best Practices?

Are there any best practices in terms of light set up for main use cases. For example, if I'm working on a low poly but believable environment, or realistic product visualisation, are there commonly used setups?   

Thanks

1 love
Reply
  • Omar Domenech replied

    I think that's the peculiar thing about lighting, it varies wildly. And it also has to do with what specifically you are trying to achieve. Are you going for a happy mood? A terror and scary feeling? Dramatic? Etc. I follow two instincts, what would real life do, so basically trying to imitate how real life situations would behave. Where the sun is, where we usually put lamps, the value in the power of the lamps mimicking real life, etc. And just the gut feeling in general of artistic license, just putting lights here and there, experimenting, seeing what works and what doesn't, but that is all feeling based, not in a science way.

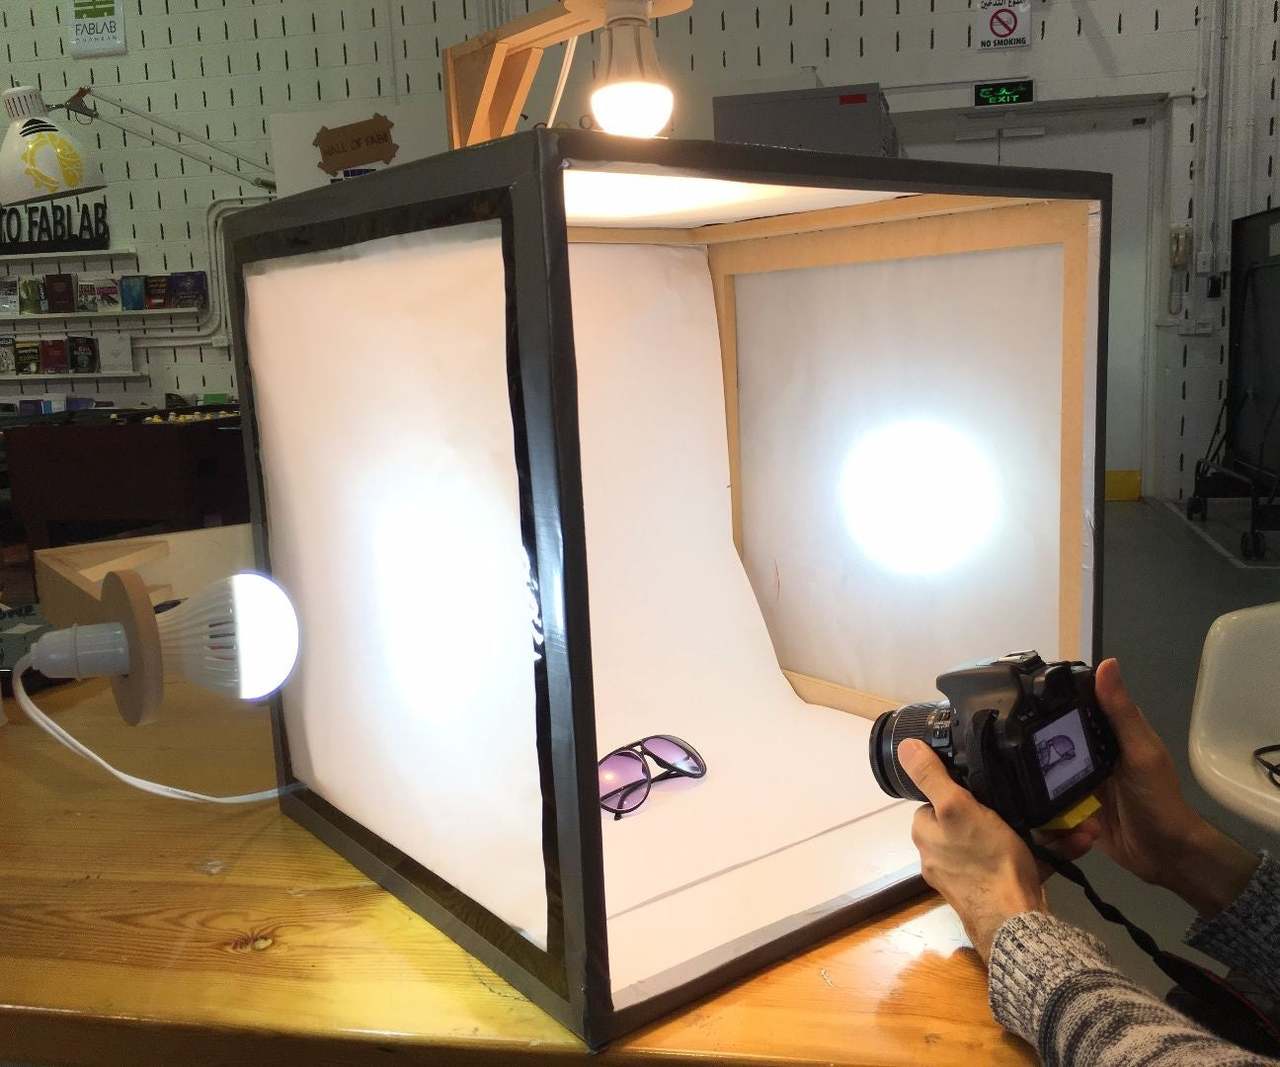
    So yo your question, maybe a best practice approach would be to try and imitate real life. If you follow common sense of where things are, it'll get you realistic approximations in the least. And there's usual stuff like three point lighting, you know text book cases to try and cover the basics, which Jesse goes through in the course.

    1 love
  • Dwayne Savage(dillenbata3) replied

    For environment lighting the only constant is that you'll have at least 1 sun lamp and an environmental lighting(world tab of properties editor in blender.)


    For product visualization: you will want 3 common assets. For the meshes you want an infinity screen and a photographer's light box also called a soft light box. The 3rd asset is a black shiny material to be used on a floor or pedestal object. I personally recommend the extension tri-lighting which makes setting up a 3 light setup quick and easy. It also targets the lights which helps a lot as you move them around. With product lighting you usually want either the key light or rim/hair light to be above the product or slightly closer to the camera. Usually it's the rim, but with cars that have a lot of curves it will be the key. Speaking of cars and larger products you will want to use the shiny material with those. At least you don't have to run a water hose like they do in real life photos. For medium size or figure based products you'll use the infinity screen. Figure or organics things will use 3 point lighting as default and adjust from there. Others will usually have the rim above the product. Note: in the overhead lighting it is common to use an oval or circle area lamp instead of the square. For small products you use the light box with overhead lighting. This is usually the key light. Sometimes lights will be used on the sides. In cycles you can achieve this using emission materials on your light box mesh. For eevee you will need area lights for the top and usually coming from front. Sometimes you will need to add area lights to the sides as well. 
    So you know what I'm talking about. 
    Infinity screen:
    3-12-30 01-22-18.png
    Light box:
    FXG2KUPIJSV0BYH.jpg

    2 loves