CORE | Fundamentals of 3D Mesh Modeling: Sci-Fi Crate viewport render; added detail to latch and crate body
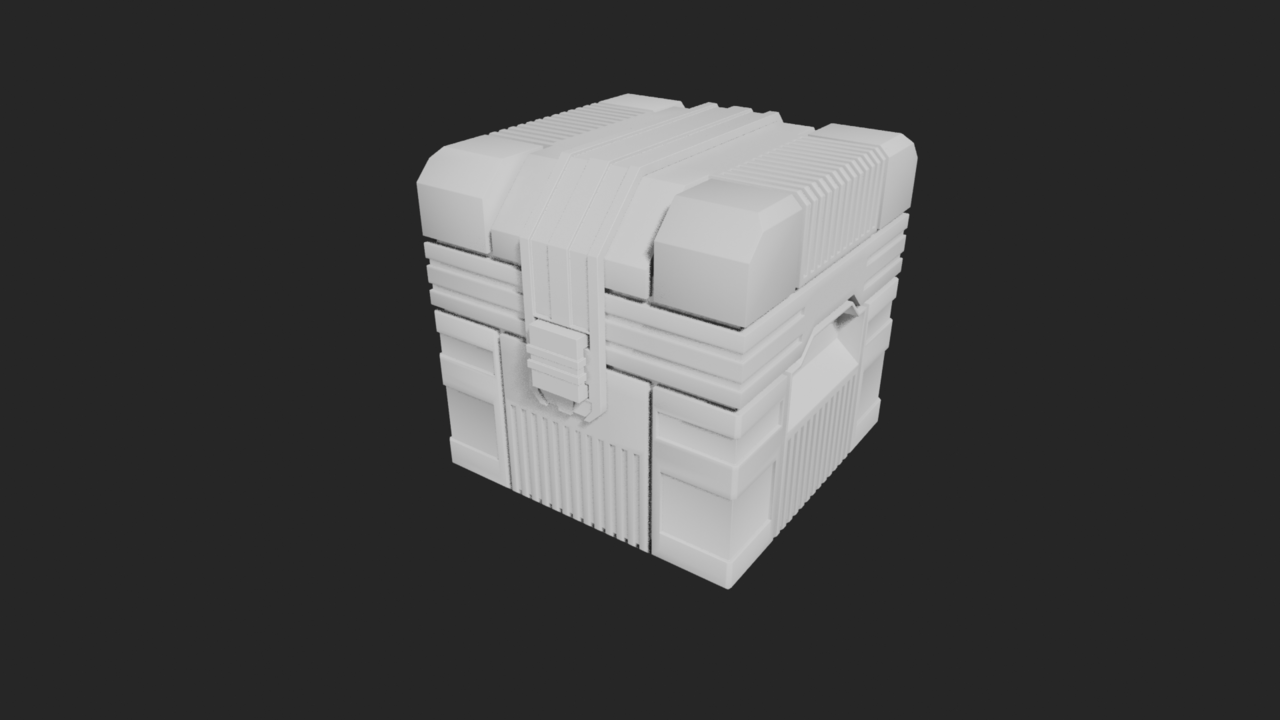
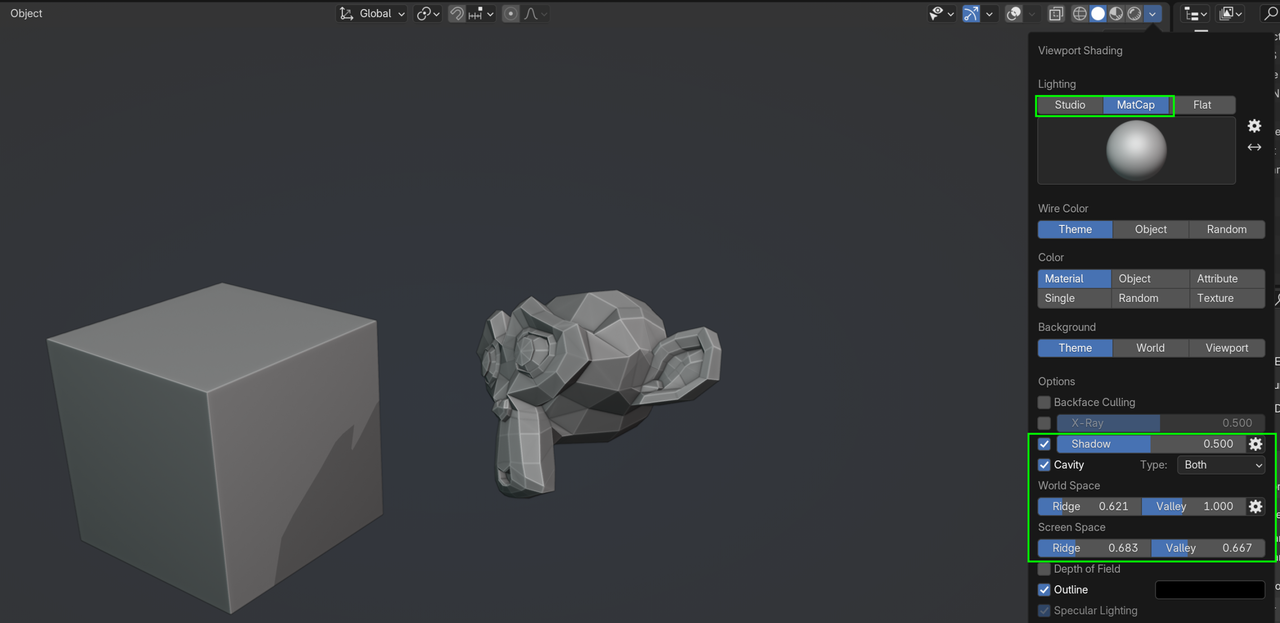
Heh...Yeah, I have that turned on but ran into what looked like shading artifacts, so tried to hide my inability to resolve them by using the rendered view. Have no dupes that I can tell, played with the bevel settings for an hour, gave up and switched viewport modes.

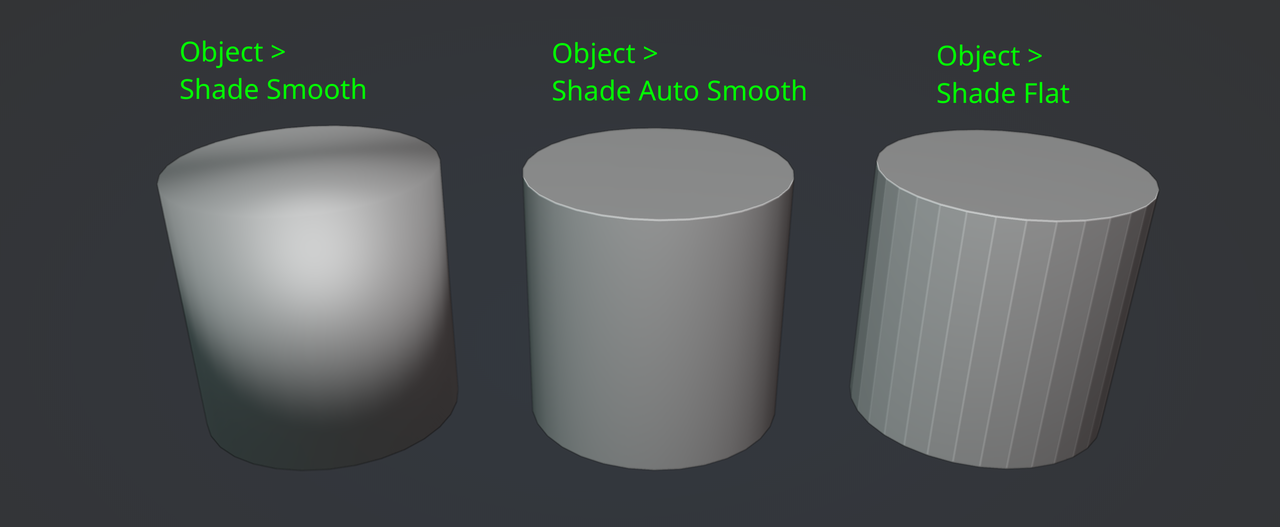
Yep, tried "normal" Shade Smooth and the newer Shade Auto Smooth modifier. Looked at normals...really can't tell what I did wrong or if it's just my eyes playing tricks on me. Wasn't really part of the lesson so didn't want to dive into any more than I already did. Interestingly enough, if I render in cycles, lines on the mirror axes look even worse. Lemme look again...
(...intermission...)
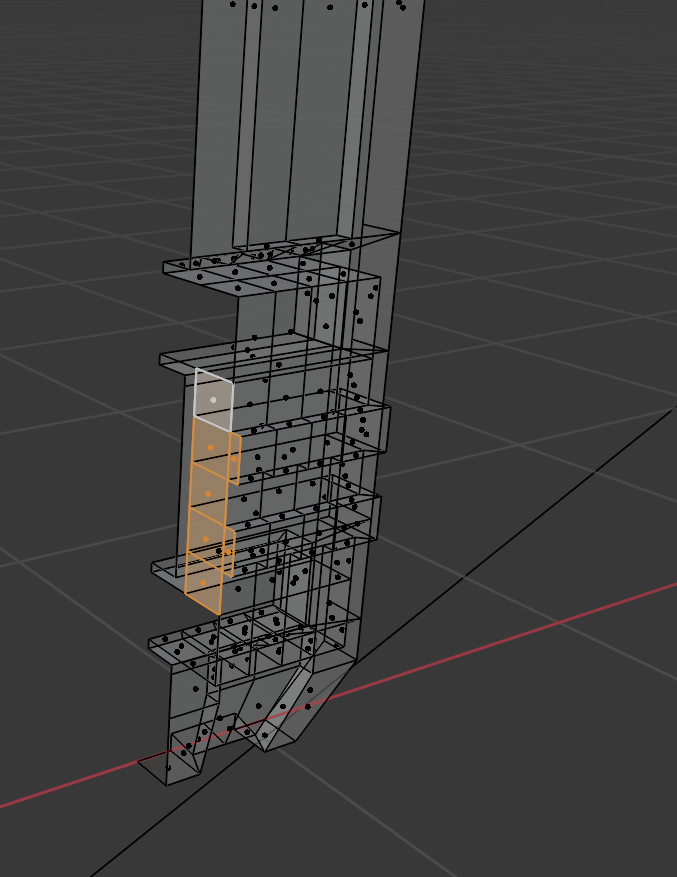
Bingo...found 'em...extraneous faces. Problem solved. Thanks for not letting me give up. *smirk*
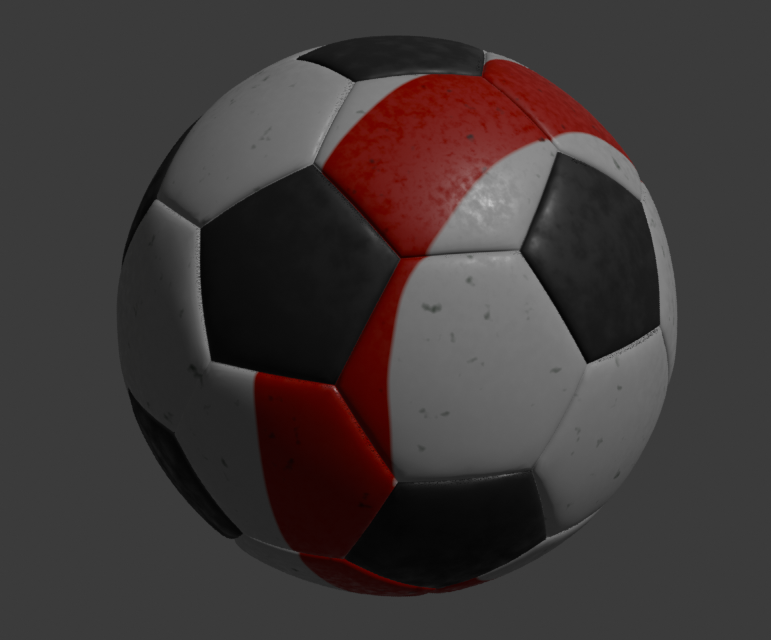
CORE | Fundamentals of 3D Mesh Modeling: Modeling a Soccer Ball
Do any of them have stripes? I think they should.
CORE | Fundamentals of 3D Mesh Modeling: Modeling a Hard Drive
Even after looking up aluminum's IOR and messing with shaders in both EEVEE and Cycles, it still looks..."rendered". AgX, Filmic...hmmm. Some shading artifacts on the 1000's of holes, but was so happy they didn't crash my machine I'll live with them. As for smoothing the hole cuts, changing the angle of the hard drive's auto-smooth didn't effect anything even though it was the last modifier in the stack and the boolean was above. I needed to smooth the cylinder used to cut the holes. Not sure why I couldn't reproduce what Jonathan showed in the course.
On the plus side, getting better with the compositor and gaining a lot more muscle memory in general.

CORE | Fundamentals of 3D Mesh Modeling: Modeling a Coffee Cup
Well...decals should be easier. I found that if I let a monkey bang on my keyboard and mouse he'd eventually find the proper settings on the shrinkwrap modifier for things to work, so that's cool.
Added a spoon. Experimented with some Fresnel/shader mixing for the top coat on the ceramic mug. (Used my favorite NSFW mug for reference.)

CORE | Fundamentals of 3D Mesh Modeling: Modeling a Cookie
Chocolate chips are the best, right? With some icing for eyes and teeth? The main cookie deforms pretty well so the hours of moving vertices around, ripping here and there paid off. Towards the end of the night though, I filled in some remaining gaps with grid fill, which seemed to do in seconds what I had been trying to do manually for a while.
Is it possible for modifiers to operate on a collection or a parented hierarchy of objects? If I wanted to twist the "whole" cookie it seems I'd need to put all the geometry in a single object and deform that "uber" cookie.

You can also use a Lattice with the Lattice Modifier. Here is a lesson where Chunck applies such technique:
https://cgcookie.com/lessons/the-lattice-modifier
And a lesson from the Modifiers course where Paul explains it in detail:
Aha...I see what you're talking about. Joined objects together, used a lattice to give the cookie some curvature on the top...which really can't be seen because I then...deformed with a modifier:
Session Practice: Graphic Landscape
My take on the assignment...the temple of Kukulcán at Chichen Itza.
http://www.regalmedia.com/video/GraphicLandscape.mp4
(Might have to right-click below and Show Controls)
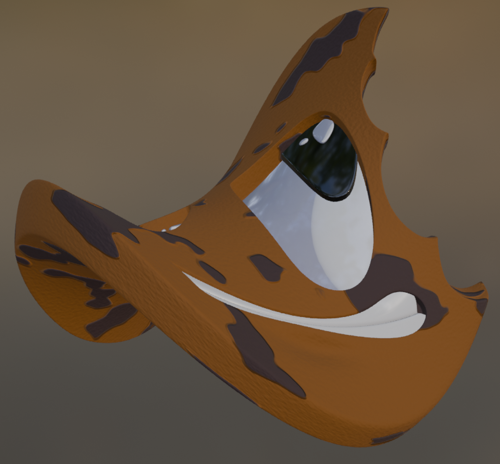
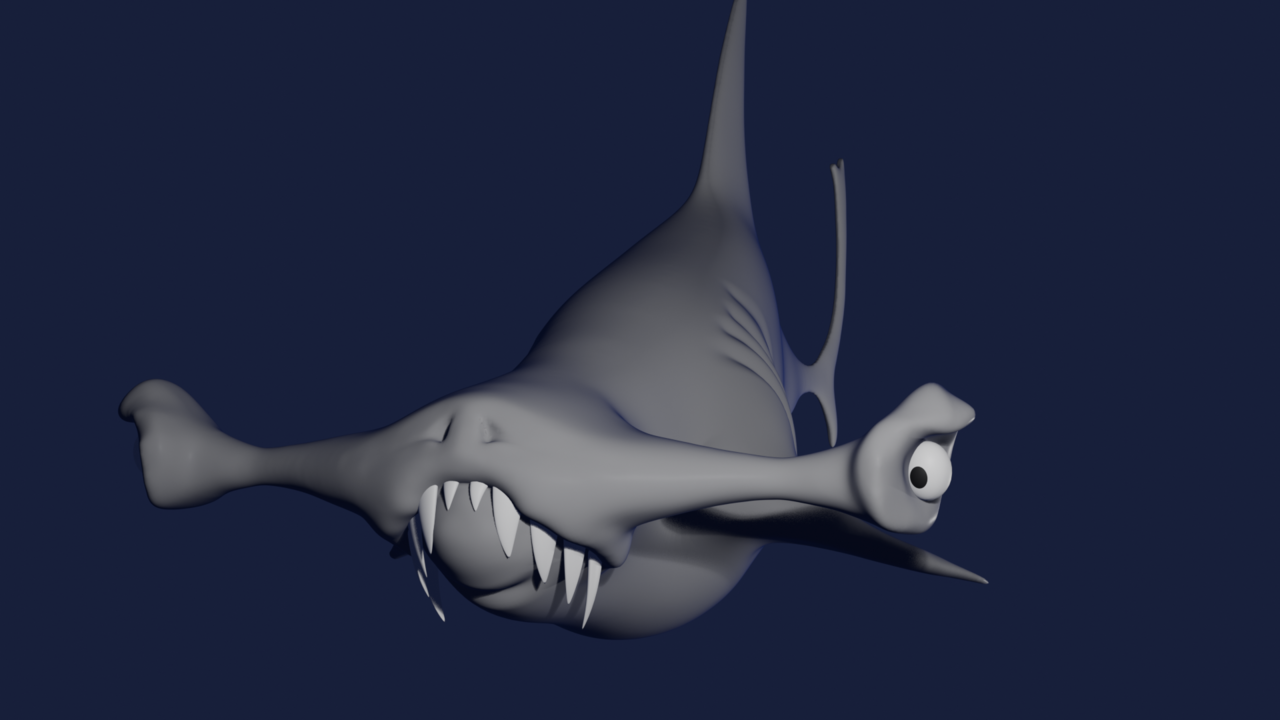
CORE | Sculpting: Sculpt a Stylized Shark (2024)
First (worst?) sculpture ever; stylized hammerhead shark.
OMG I cannot sculpt. Wish I can blame the fact I'm using a mouse, but I'm pretty sure it has more to do with the fact that I have no artistic skill whatsoever.
Wow, is this different than modeling. For the life of me I could not get the tools to affect the surface to match the idea in my head. Resizing brushes, adjusting falloff, masking, smoothing, repeat. End result looks like a preschool class of little fingers went to town on it before the clay dried.
http://www.regalmedia.com/video/Shark.usdc
Self feedback: