Exciting times welcome to my thread for COLLAB2021
Please feel free to peruse, I hope you like pottery and rock.
thanks dude, i've focussed way to much on the detail though haha, need to catch up to your blockout!
llangleyjij Great work so far 👍! The goal is, of course, not to xerox an artwork (which will probably never be 100 % possible) but to match the key characteristics of a stone that make it look unique. Jonathan Williamson @jonathanwilliamson and Kent @theluthier explain it very well in their rocks modeling course here.
Thanks ![]() duerer i really appreciate the feedback. I'm taking a much more open approach now and not getting as bogged down in the details for the block out stage.
duerer i really appreciate the feedback. I'm taking a much more open approach now and not getting as bogged down in the details for the block out stage.
That's the tutorial I've followed so far and it's been super helpful. I've gone through it again now to make sure I'm pickup up more of the context like you've mentioned above as once again I got stuck in the finer detail.
"Homework Submission - Week 1 - Rocks"
@theluthier
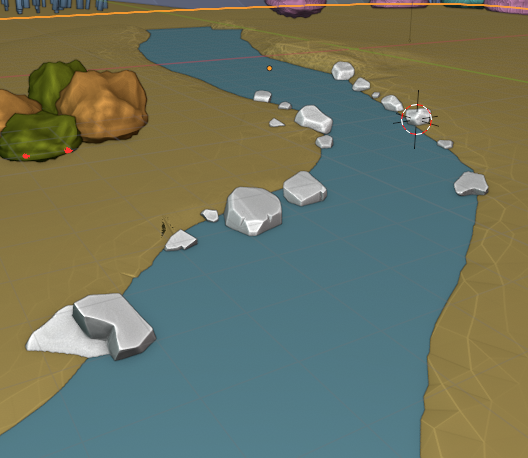
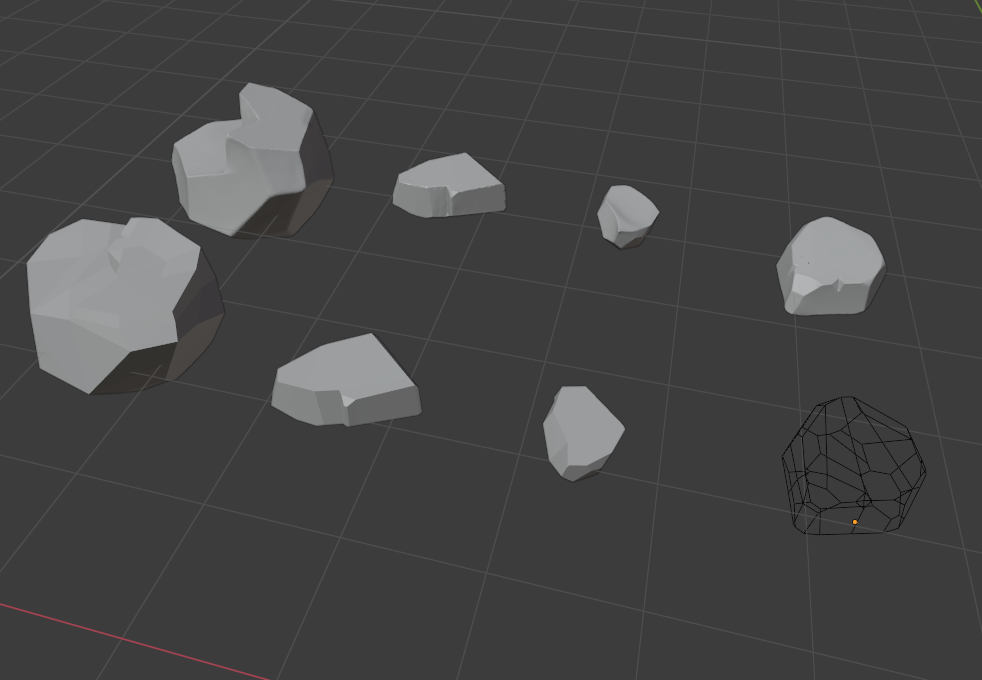
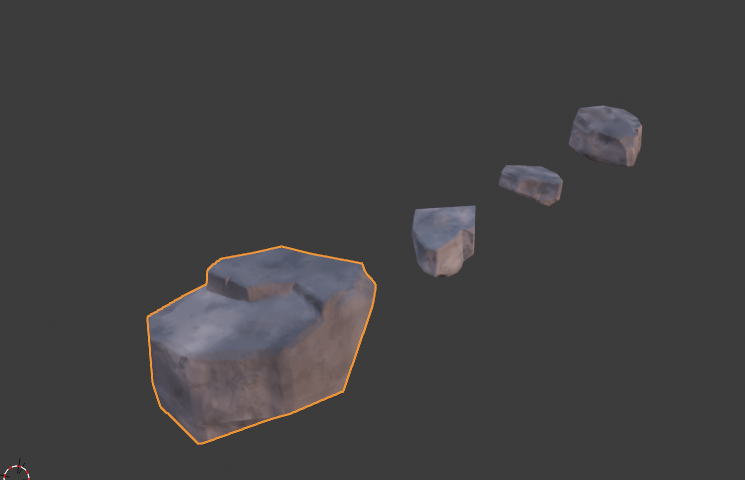
Here's my submission for week 1, It's not as many rocks as I'd have hoped but I've done all the ones directly on the stream. I've also modelled the underside very basically with the intent that the rocks could be flipped and used elsewhere.
You'll notice the first few rocks are a lot more high fidelity than the ones in the background, this is after realising that i could not feasibly put the same amount of time into each rock especially at this stage and after Spikey and Durer's advice. I've taken less time on the others focusing on approximation and the general silhouette.
Be as harsh as you like, any feedback would be much appreciated.
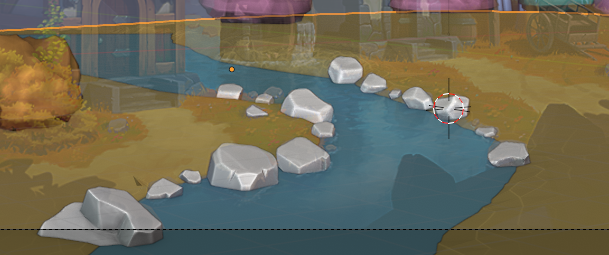
Less detialed blockouts
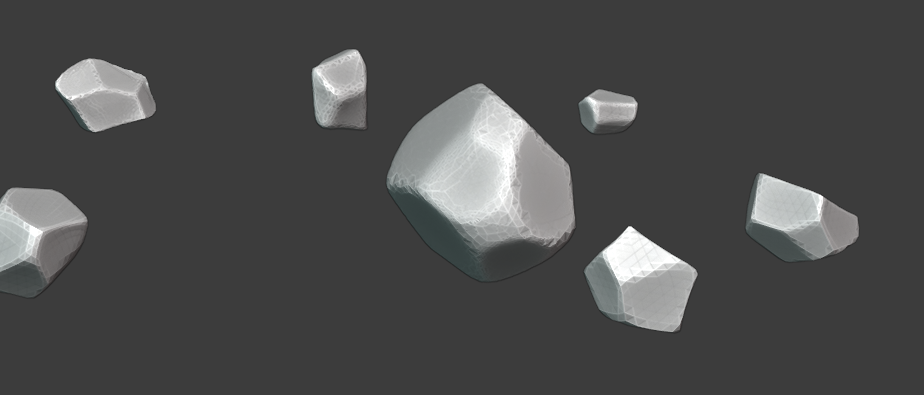
First few more detailed rocks
Wonderful progress llangleyjij! I'm very impressed with how accurately you're matching each rock to the art. You've earned full points + some extra from me 👍
I'm conflicted about the advice I'm going to give you. I never anticipated each rock to match 100%. If I were doing the rocks, I would create about 3-5 variations and duplicate them around as needed to match closely enough. This way creating a limited number + smart duplication is a much more efficient that modeling + sculpting + texturing each rock individually.
But of course your way is most authentic to the art...still for the sake of texture space and geometry savings, I think I have to be Mr. Buzzkill and recommend you go with a library of 3-5 rocks to be duplicated around. Maybe 2 of the rocks can match the most recognizable from the art and the other 3 can be more generic?
@theluthier thanks so much for the grade and feedback. I'm really chuffed and I've already learnt a lot doing this.
I had got it in my head I needed to sculpt each rock individually but that makes complete sense. I may try to make some of the rocks two sided so they fit two positions well.
A progress update
Unfortunately, life and work have gotten in the way this week, I have managed to retopo all my rocks but I have been unsuccessful in providing all the detail to the rocks before the deadline. I'm still working on my rocks every spare hour I get, this specific task I've found harder than I'd expected and time has rushed by.
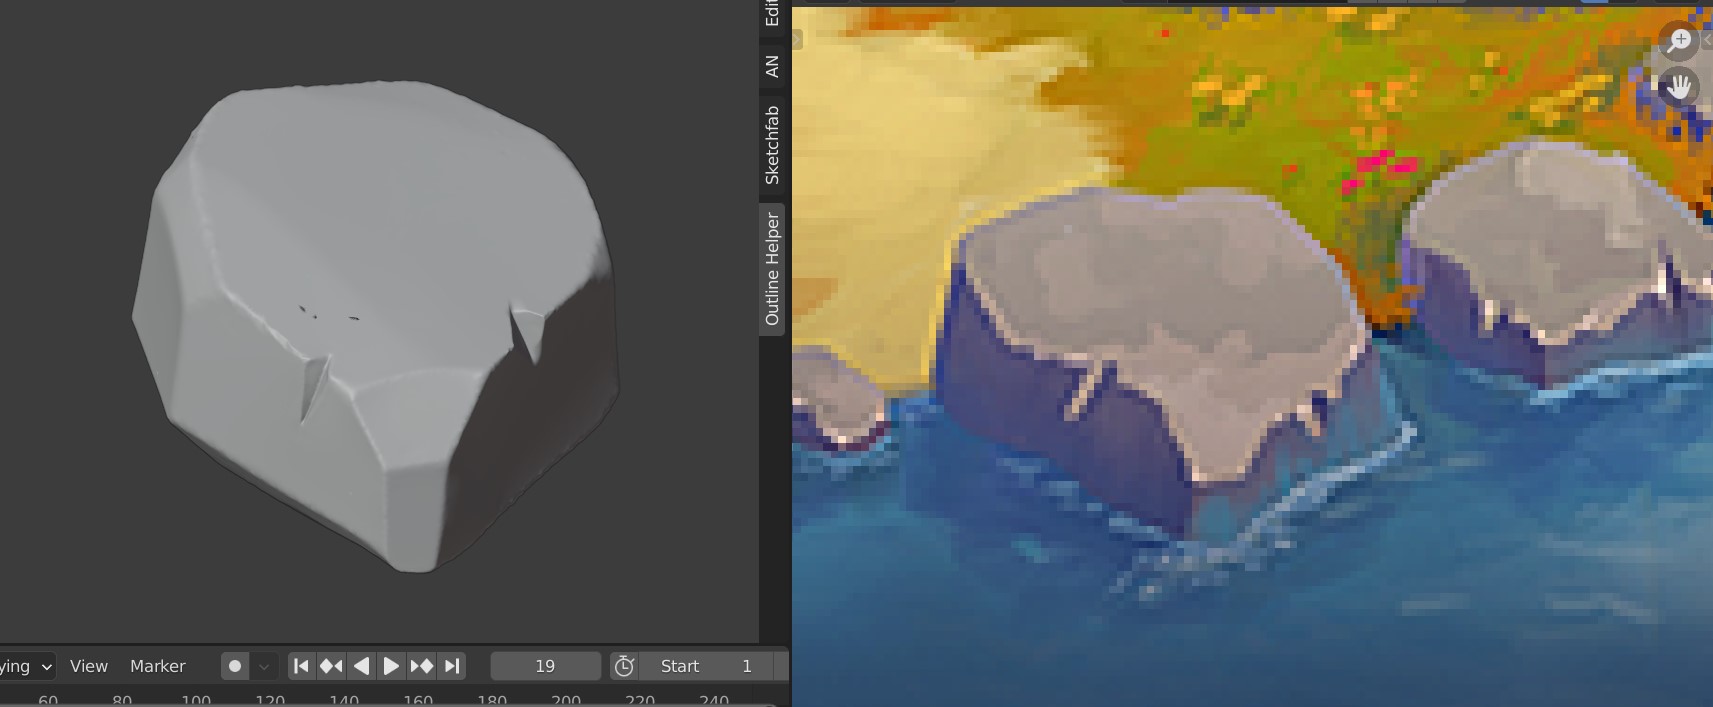
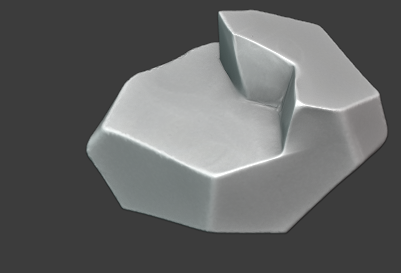
* I've also reshaped this rock slightly according to the image I felt the lip was way too high for the artwork piece.
sspikey is this enough geometry for our low poly or does it require a few more polygons? Also when saving the file do we need to create a new file for every rock? as there is only one proxy rock in the file. 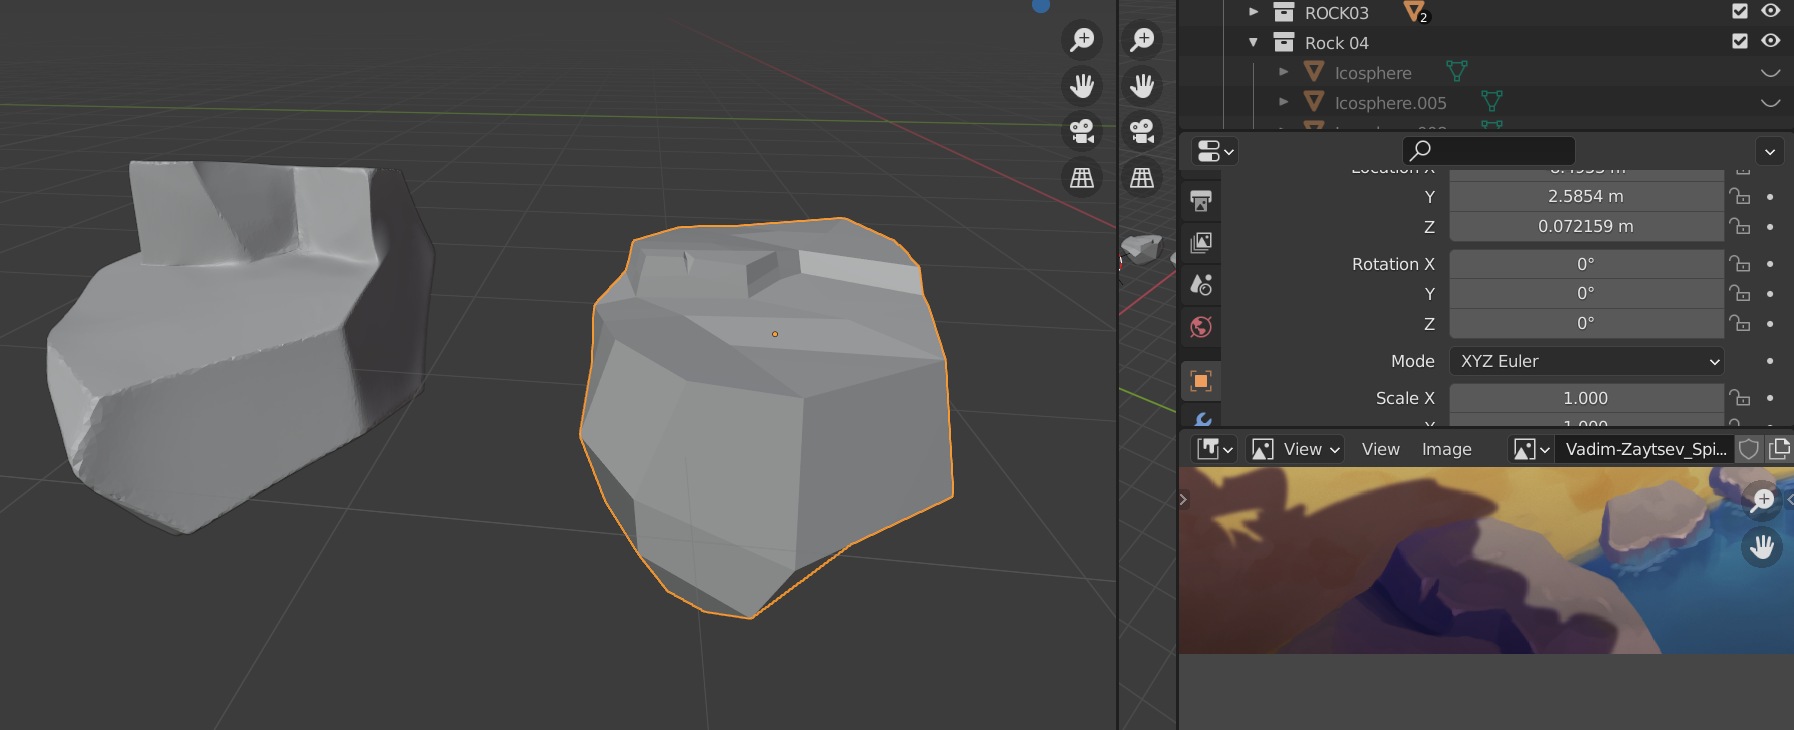
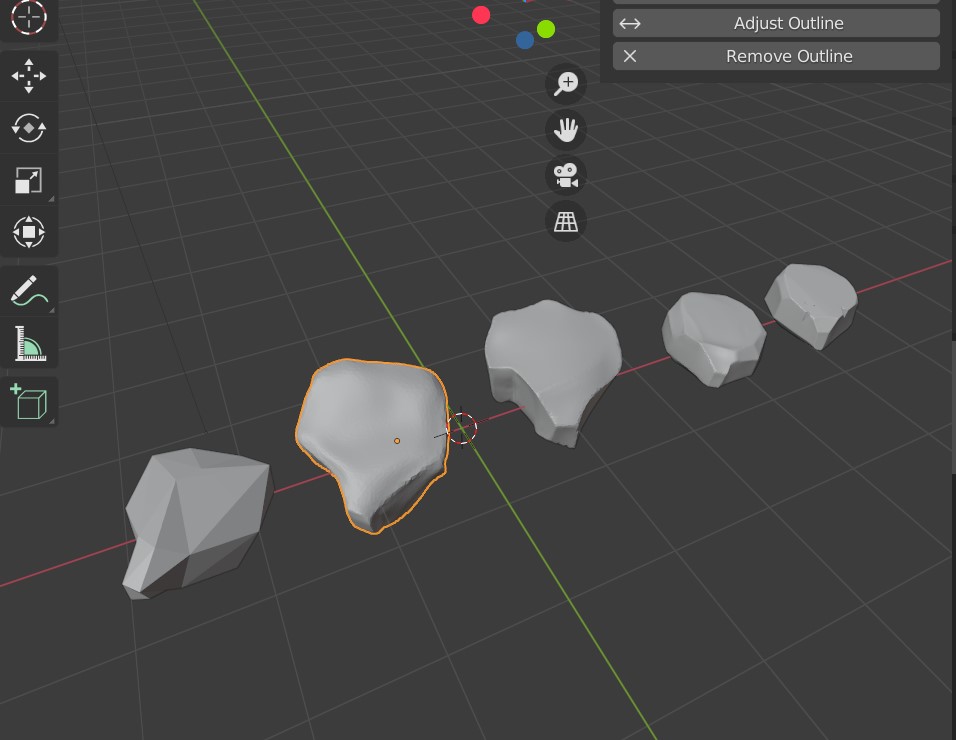
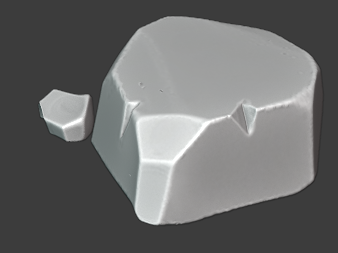
My retopo'd rocks with their OG sculpts
Hi James, I think you can get away with this amount of geometry.
And I wouldn't create a new file for each rock.
Kent will surely be able to give more definite answers, but anyway, I like your result so far!
Wow, that's really low poly. Much less than mine. Great work. And yes, the retopo workflow is really tedious.
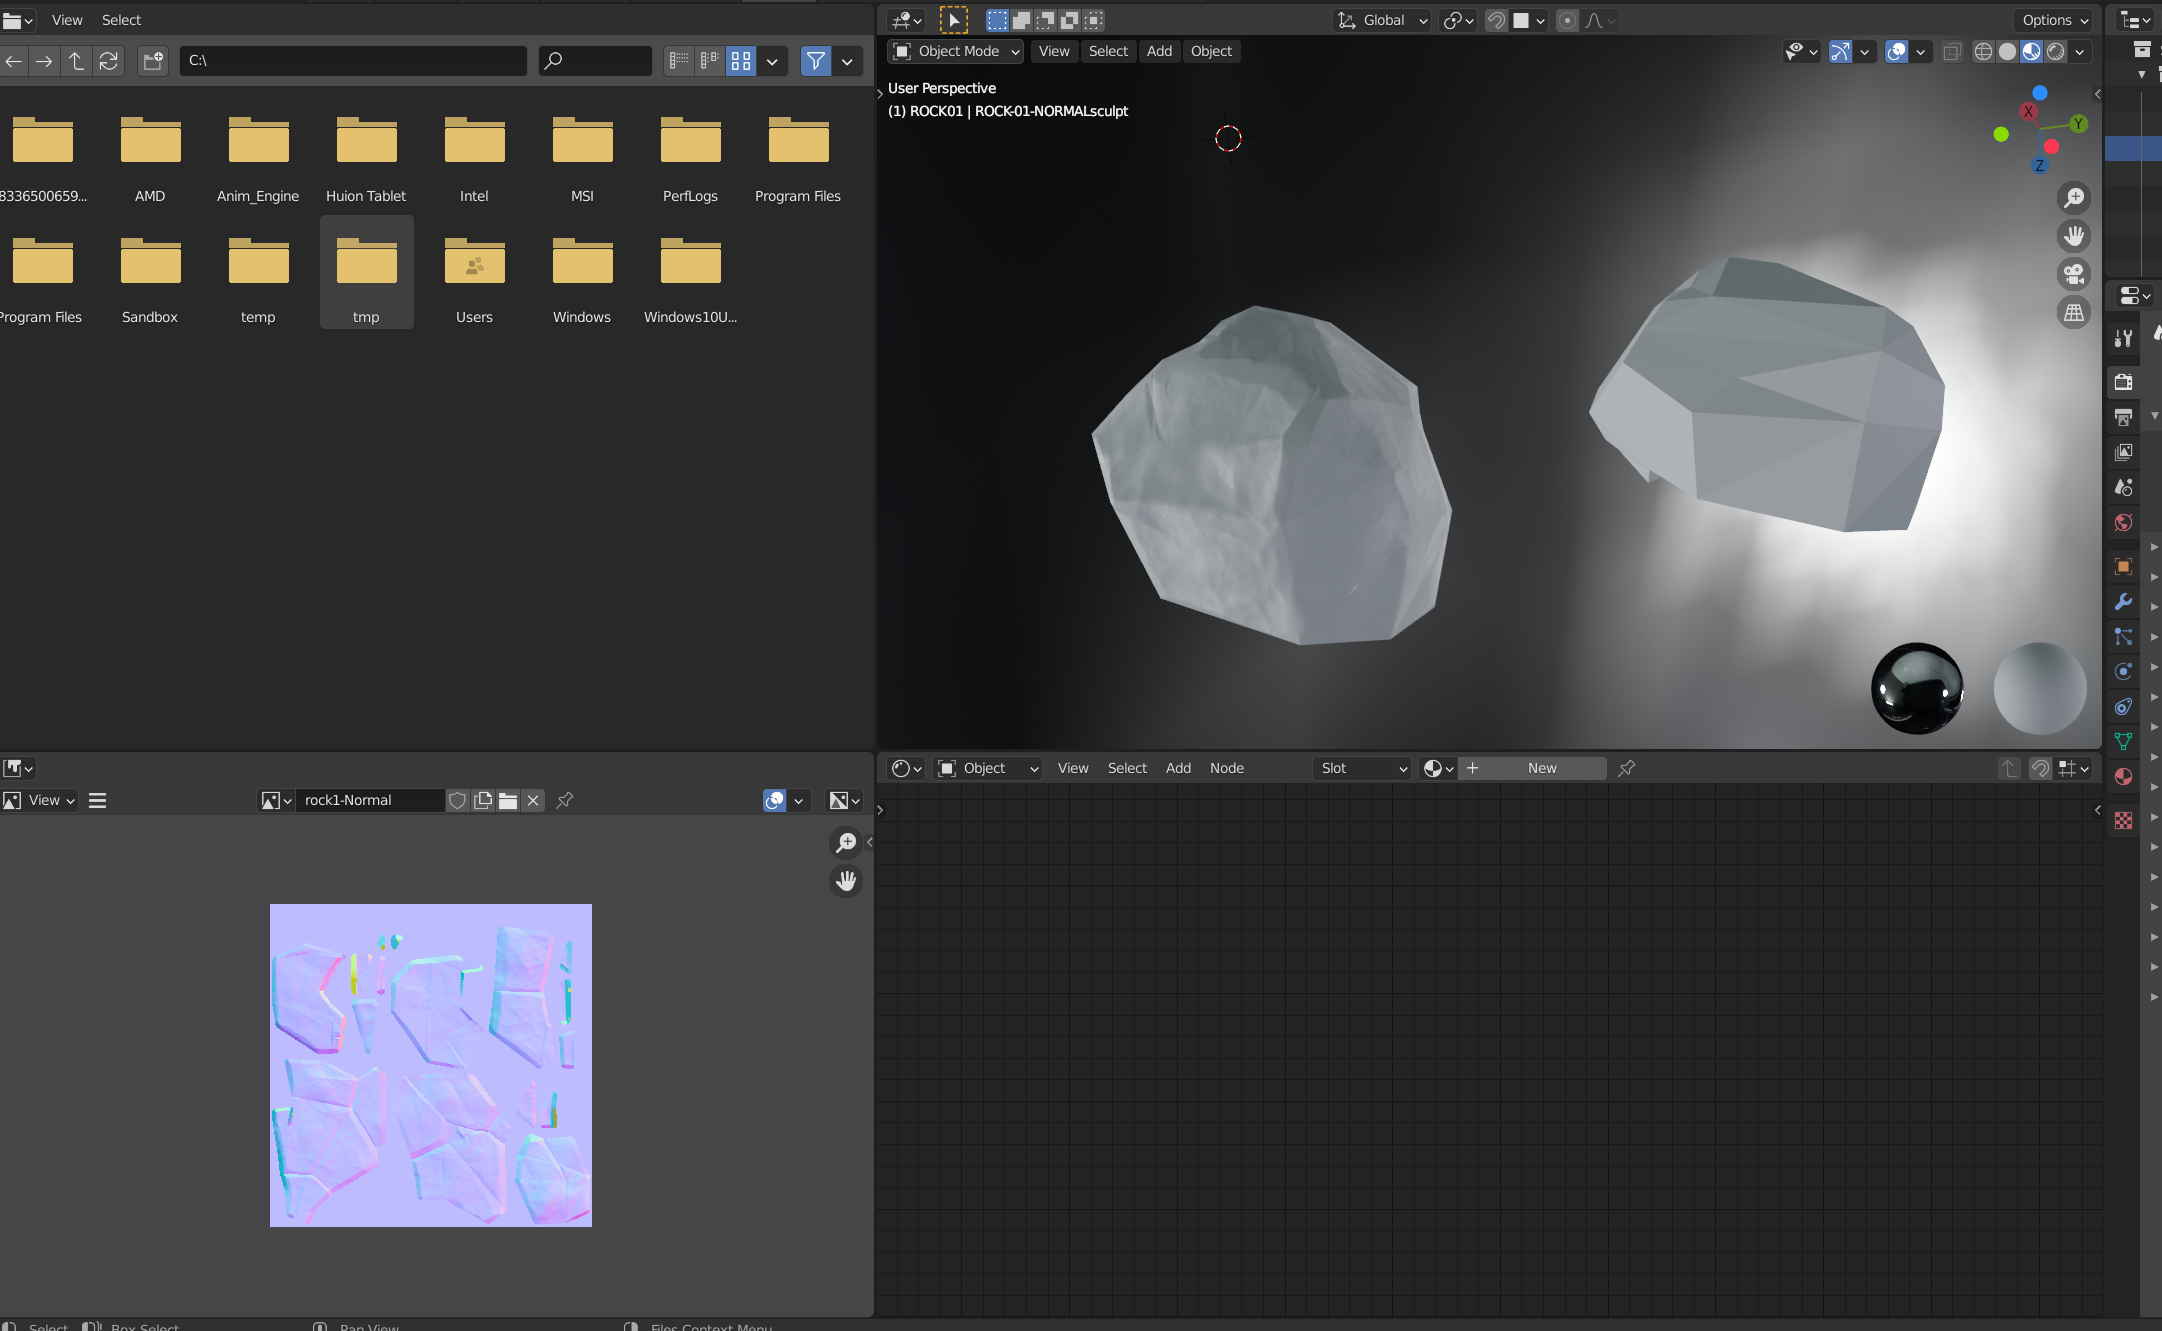
Eureka, finally wrapped (pun inteded) my head around it.
First wrock normalized XD
These are looking awesome! Full points for week 2.
I checked out the normal maps and they have some artifacts along a few of the edges:

To fix this, make sure both the high and low poly are smooth shaded - we're not looking for hard surface corners for this one. I love how simple your low poly rocks are and I don't mind the use of n-gons at all, but I would suggest applying a triangulate modifier to the mesh so that you can see exactly what the render engines will be seeing.

This may look 'worse' initially in the viewport, but the result we're after is the normal map doing its magic.
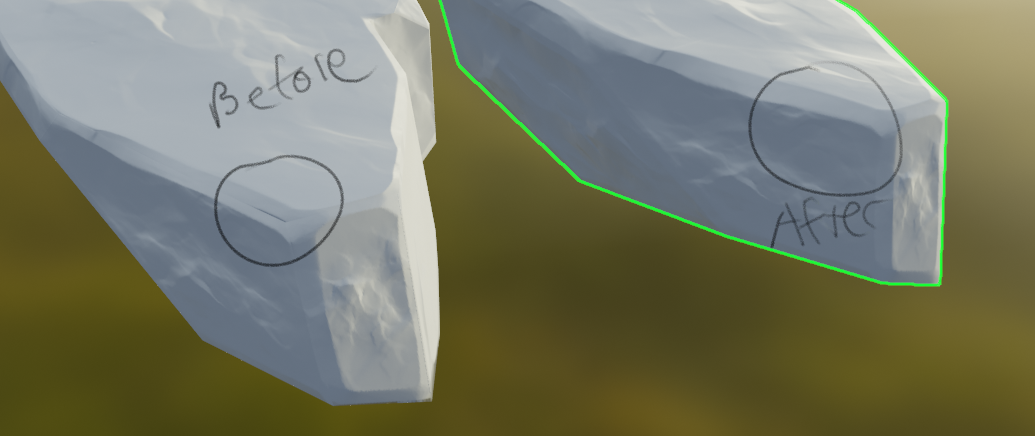
Keep up the good work!
@jlampel thanks so much for the feedback I honestly thought I hadn't done enough for week 2!!
Amazing that was annoying the crap out of me!!! Thank you!!!
llangleyjij Well, I can always find more for you to do if you want ;) One thing you might want to consider before baking again if you're going to do that anyway is adding just a bit more geometry to the low poly rocks. For example, you can see pretty much exactly where the low poly edges and vertices are in this one:
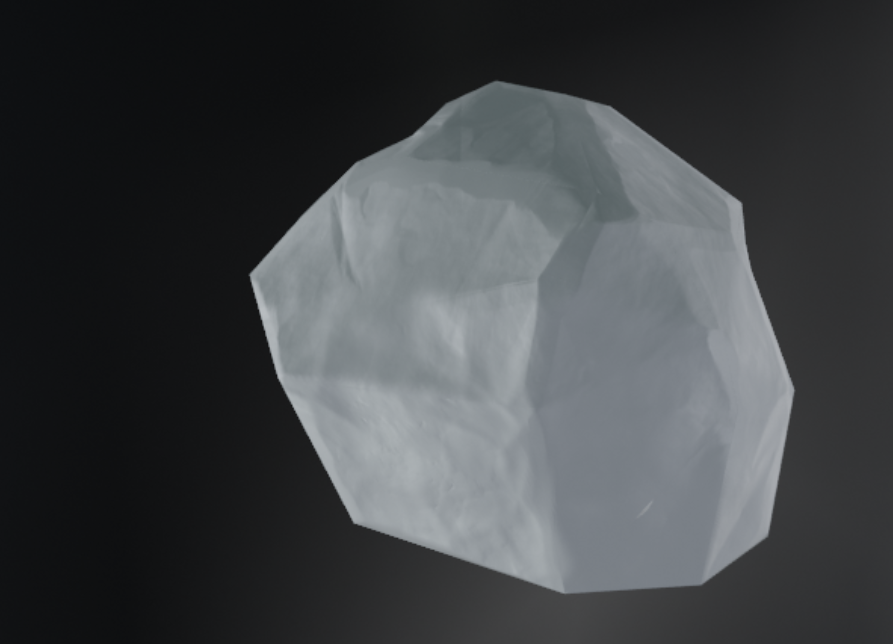
I'd rather you err on the side of too low than too high, so I like what I see, but some extra definition could help take these to the next level.
Okie doke, Here's an update.
I've finally found time to work on the textures for the rocks.
I started out using this tutorial that I believe 3dbanana suggested (https://www.youtube.com/watch?v=FHeBI5tAGP0) . I worked through this and created a similar texture. I also downloaded and appended the source files to go through the node structures and compare what I had created.
I then hacked the texture to pieces and took out elements that I didn't think worked for this project. I also messed around with a lot of the scaling and colours to make something that suited the style of the spice vendors' rocks.
As this texture is built using an emission shader I then baked out the textures into PNG's.
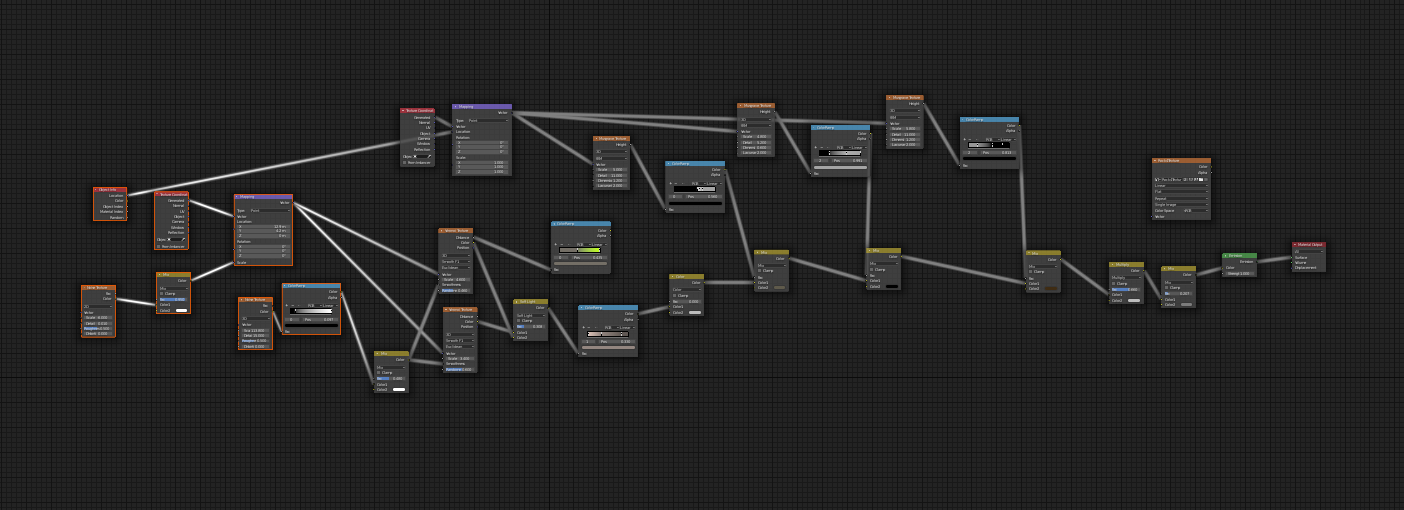
Here's the wonder procedural rock nodes
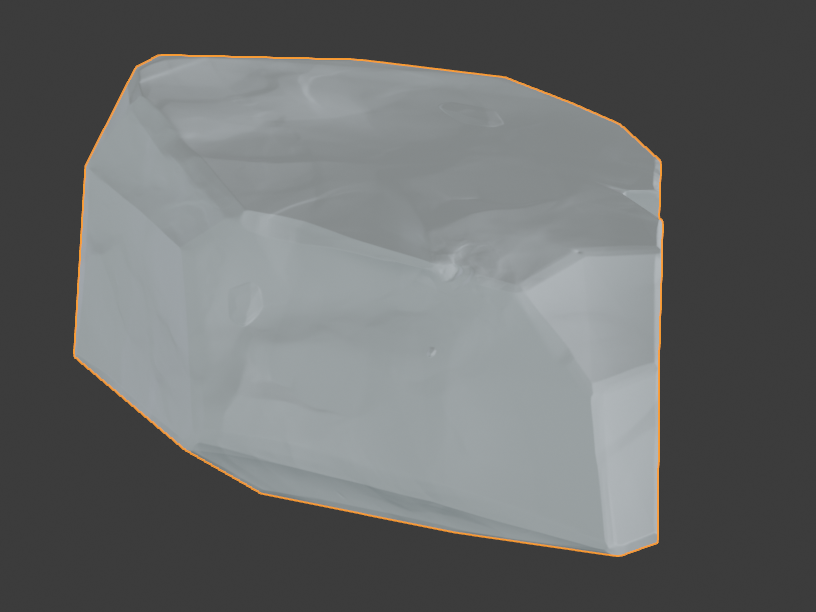
Rock with just normal map:
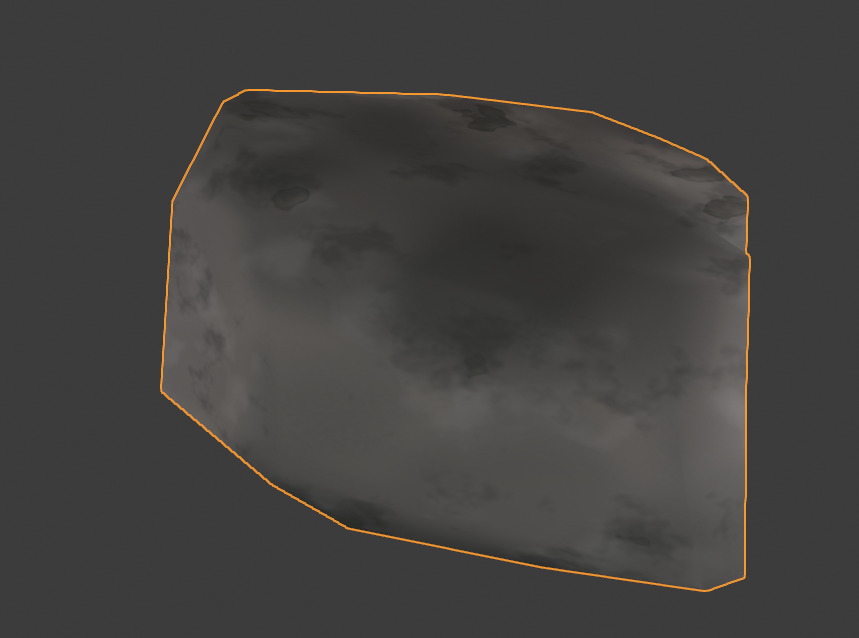
Rock with just texture:
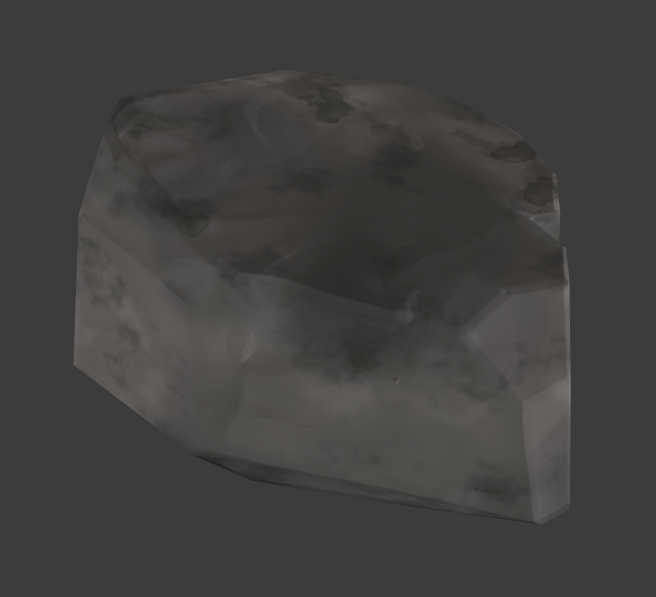
Rock with baked normal and texture in dark light
Rock with baked normal and texture with sunny field HDR:

Here's all of the together
As @jlampel mentions above, i still need to increase the poly slightly on these rocks.
I sort of get a feeling for what is happening in that nodetree, but there is a point:
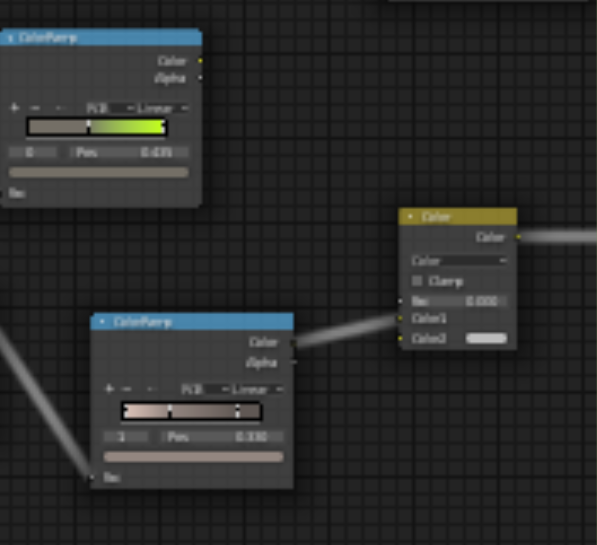 There is an unconnected Colorramp...and you are using a Color MixRGB set to Color, with, what looks like a grey-tone, and completely de-saturated colors do not color something...and having the Factor set to zero, makes it do even less ;)
But the final result (last screenshot) looks cool.
Personally, I'd like to see the edges worn, like in the artwork, but still...Great job, James!