One more thing... should I be creating holding edges around the major cracks in the wood?
I "wood" say yes....
When Kent added the holding edges with the bevel tool he described it as a "dirty subsurf modeling" method for only the edges that understandably would need to be harder and reinforced. [CRTL+B] with a little bit of offset (EX.0.0006) and a segment of (3.)
He tested it with the Subsurf modifier just to see how it will smooth, then removed the subsurface modifier in order to add the multires. He then added the Multires and set the level to (5.) You can also sharpen edges in Sculpt Mode with the Crease Brush [SHIFT+C], but it is easier to create those sharp edges with the bevel tool.
I concur with ![]() ullreym that the "dirty subsurf" method of beveling everything is a decent way to get to sculpt mode faster.
ullreym that the "dirty subsurf" method of beveling everything is a decent way to get to sculpt mode faster.
One thing to keep in mind once you're done adding sculpt accents: All the little nicks and cuts you modeled in the base mesh (as I did in the treasure chest course) - those could possible be removed in the final model for each fence piece. This would optimize the geometry where such details would only live in the normal map. Food for thought!
I see.... so keep a Lo rez model for the baked maps to attach to. Then make a medium rez model based on the Lo rez to prepare for a high rez sculpt to produce said maps. Then at some point lose the medium and high rez models when you don't need them anymore.
Would that apply only to cuts and nicks that do not show up in the silhouette?
👆👆 @createtaiwan Yes, I believe that that would only apply to anything that doesn't affect the objects silhouette.
The sculpted wood looks good, although I don't think that there would necessarily be that much wood grain on the shorter sides of a fence post. 🤔 👍
@createtaiwan Cracks that help defining the silhouette or are casting significant shadows should be modeled, the rest is baken into normal maps. Listen @jlampel talking about this here. Your first sculpting attempts on the fence are already very promising 😀👍!
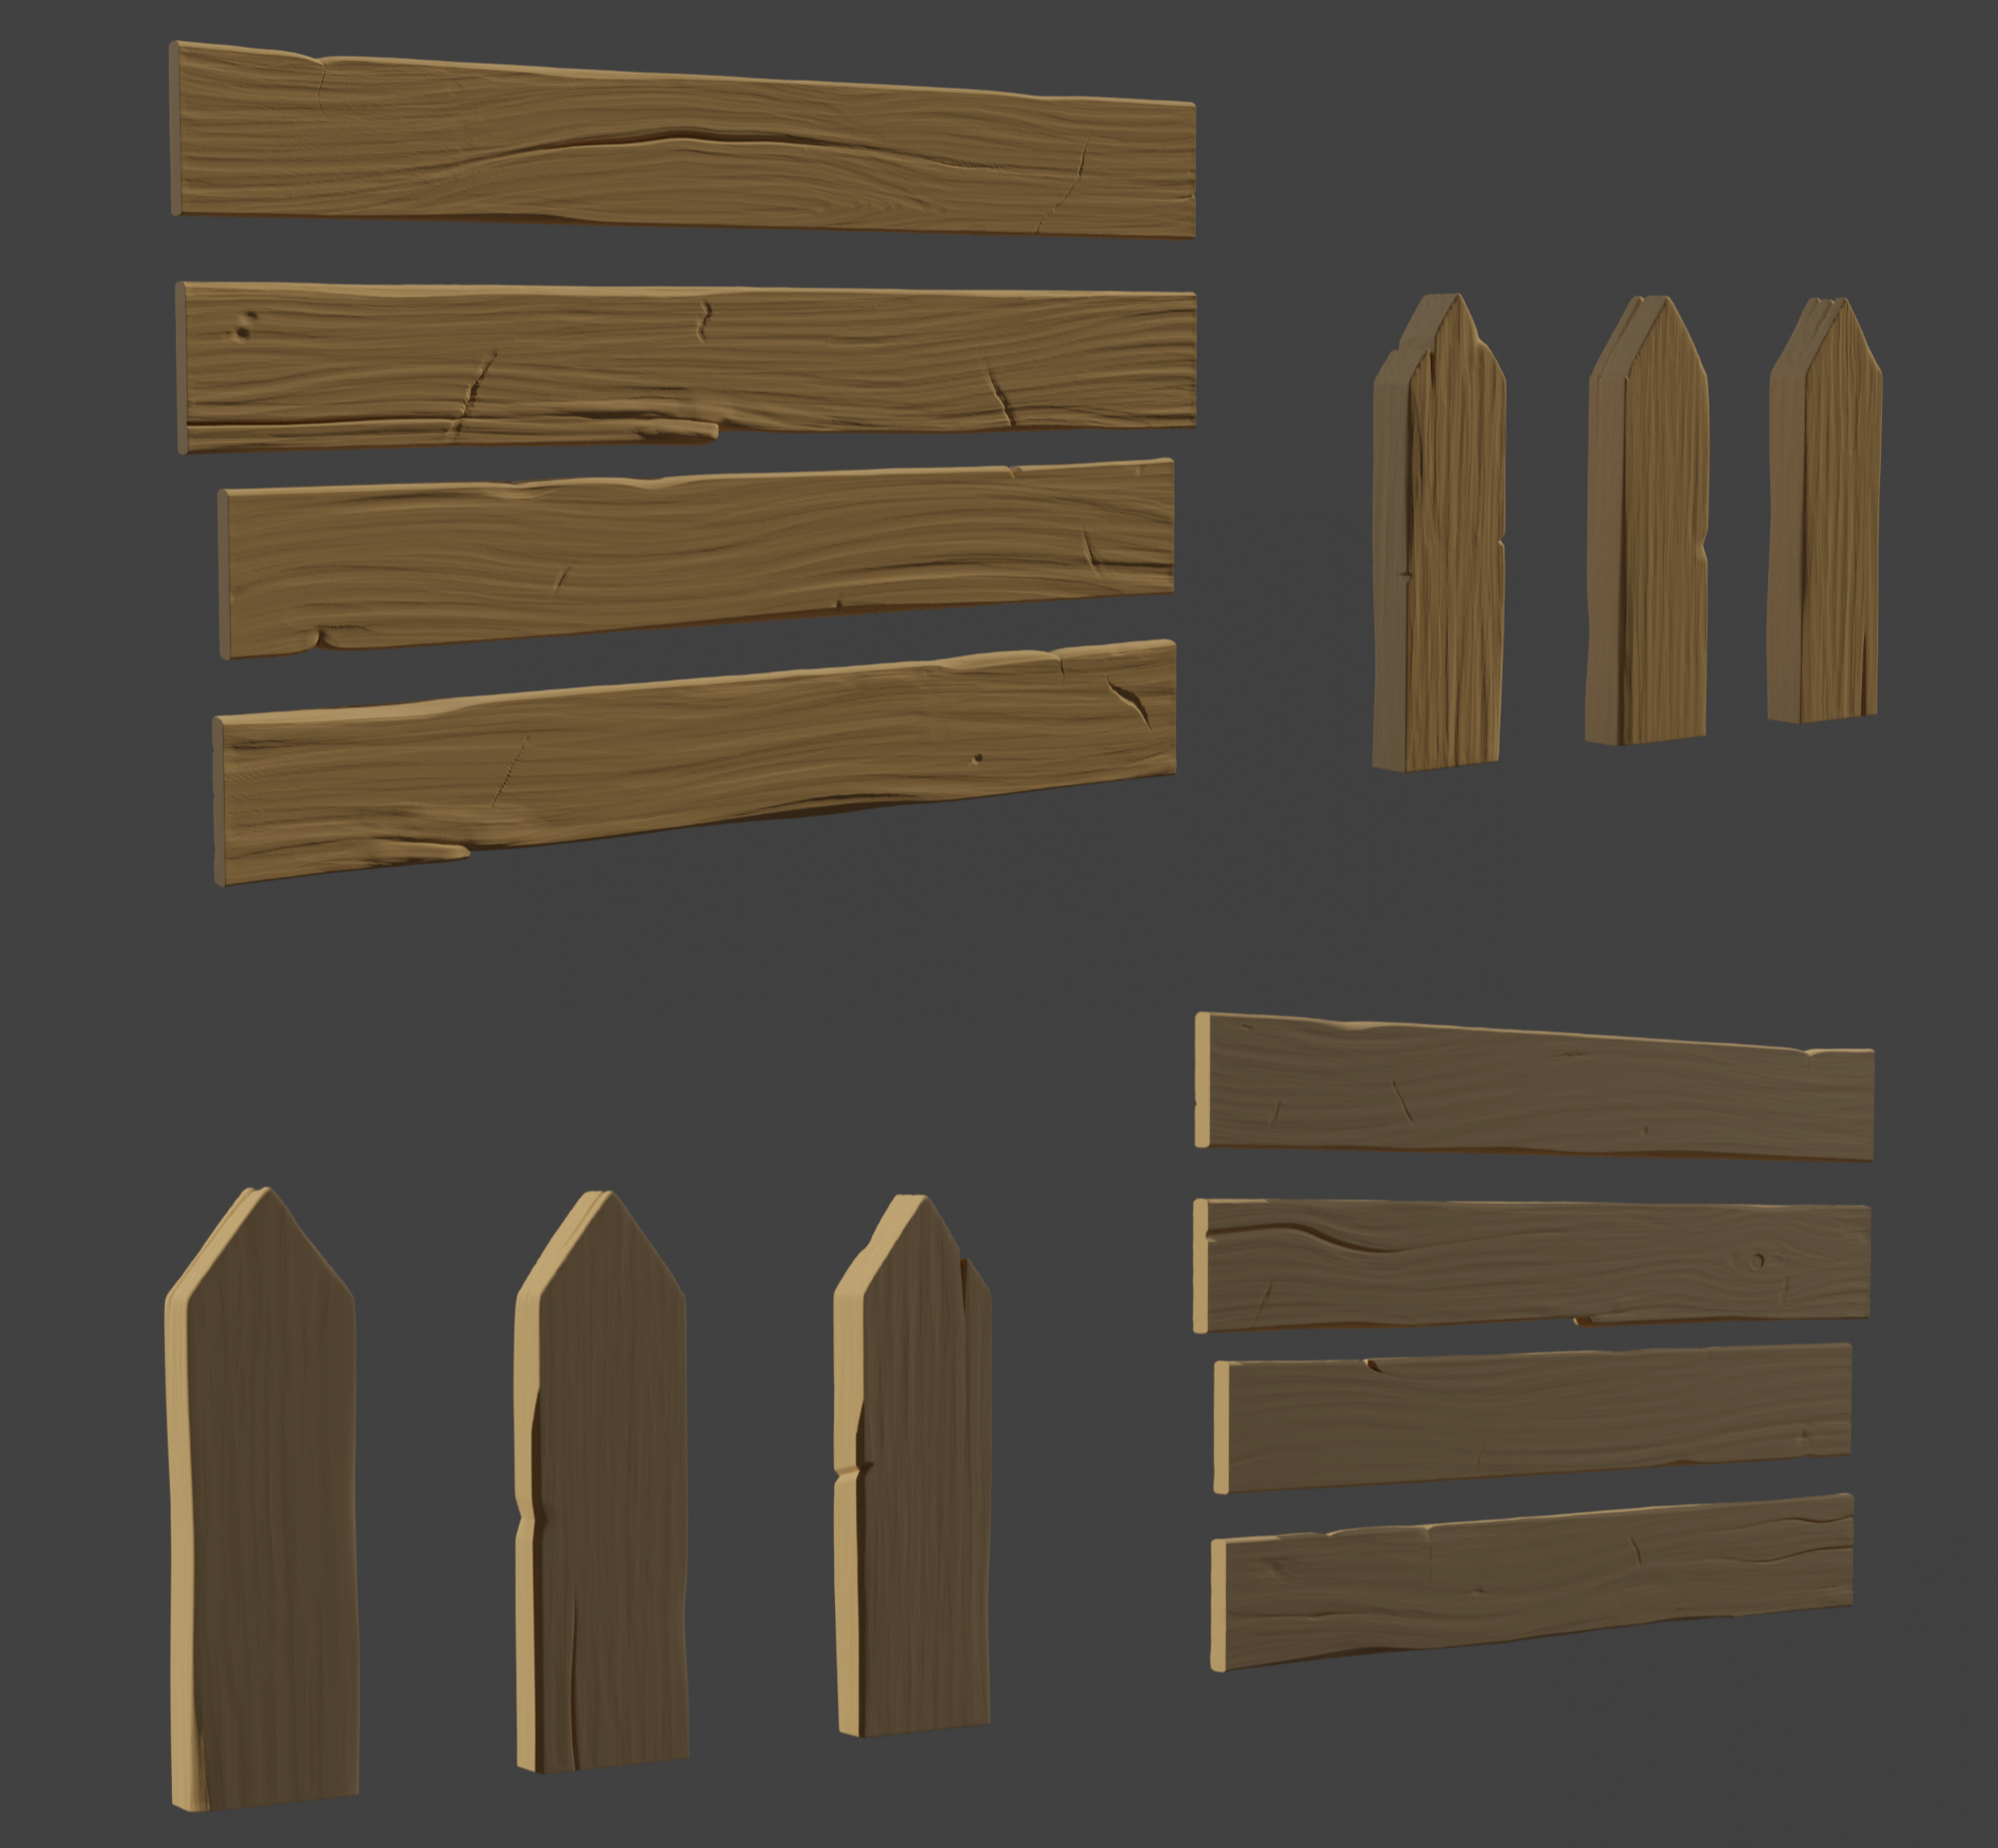
I have already cleared the sculpting and will start again after watching Kent's upcoming livestream. It looks too much like melted cheese and not wood. I think the cracks need to have harder, finer edges and I'm not sure what tool/brush would work best to achieve that look.
I'm not sure what tool/brush would work best to achieve that look.
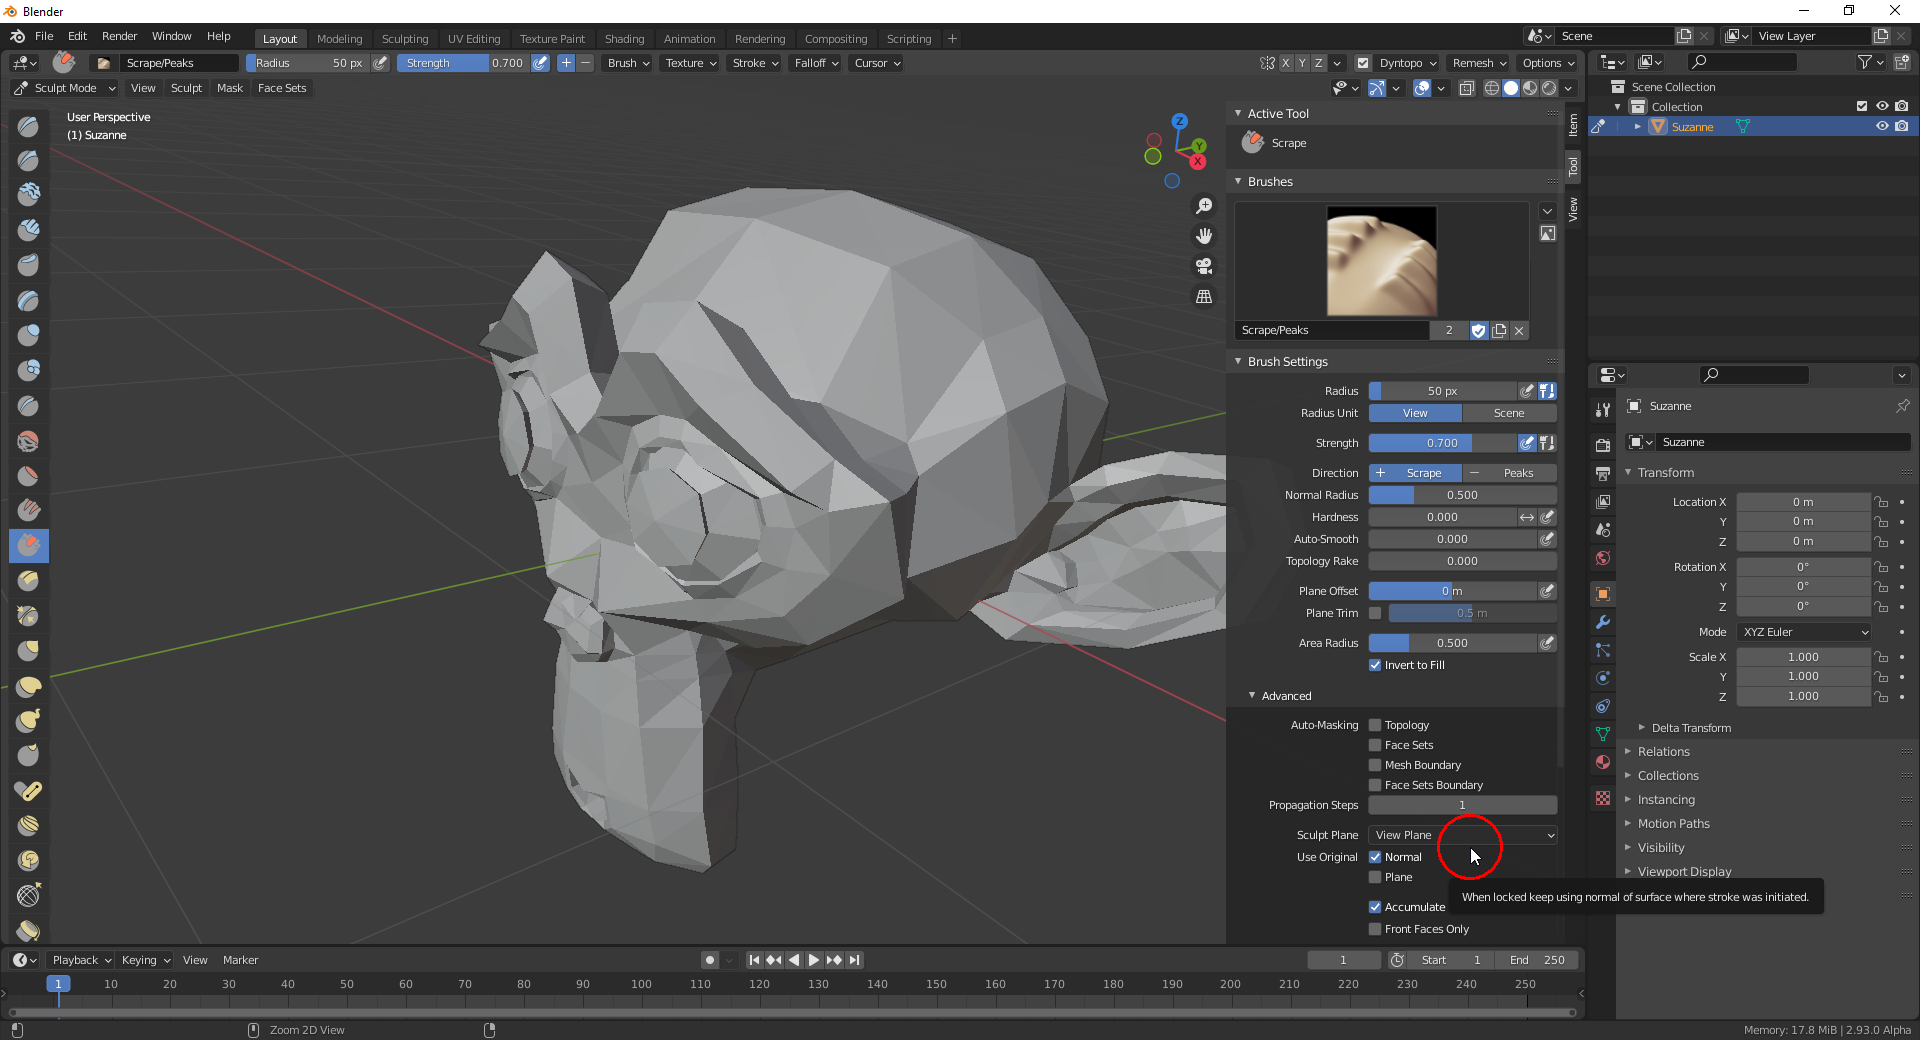
@createtaiwan I think, it's the "Scrape Brush" used by Kent @theluthier here (already in minute 1; Kent renamed the brush to "Carve") with the "View Plane" set as "Sculpt Plane" which has to be locked.
In Blender 2.9x check "Use Original Normal" for the locking:

What these settings do, as far as I understand it, is that the brush projects the mesh along the "Face Normal" that the brush detects directly when the stroke is started to a plane parallel to your screen surface in the 3D scene running through the surface point currently under your brush. You should also check "Use Original Plane" if you don't want to reduce your mesh to nothing 😉😁! With the last mentioned option checked, the distance from your viewpoint to the surface point where your stroke starts is measured and only mesh parts up to a plane parallel to your screen and running through that "stroke start point" (my naming 😉) are affected. You need that option in your use case.
Homework Submission - Week 2 - Fence
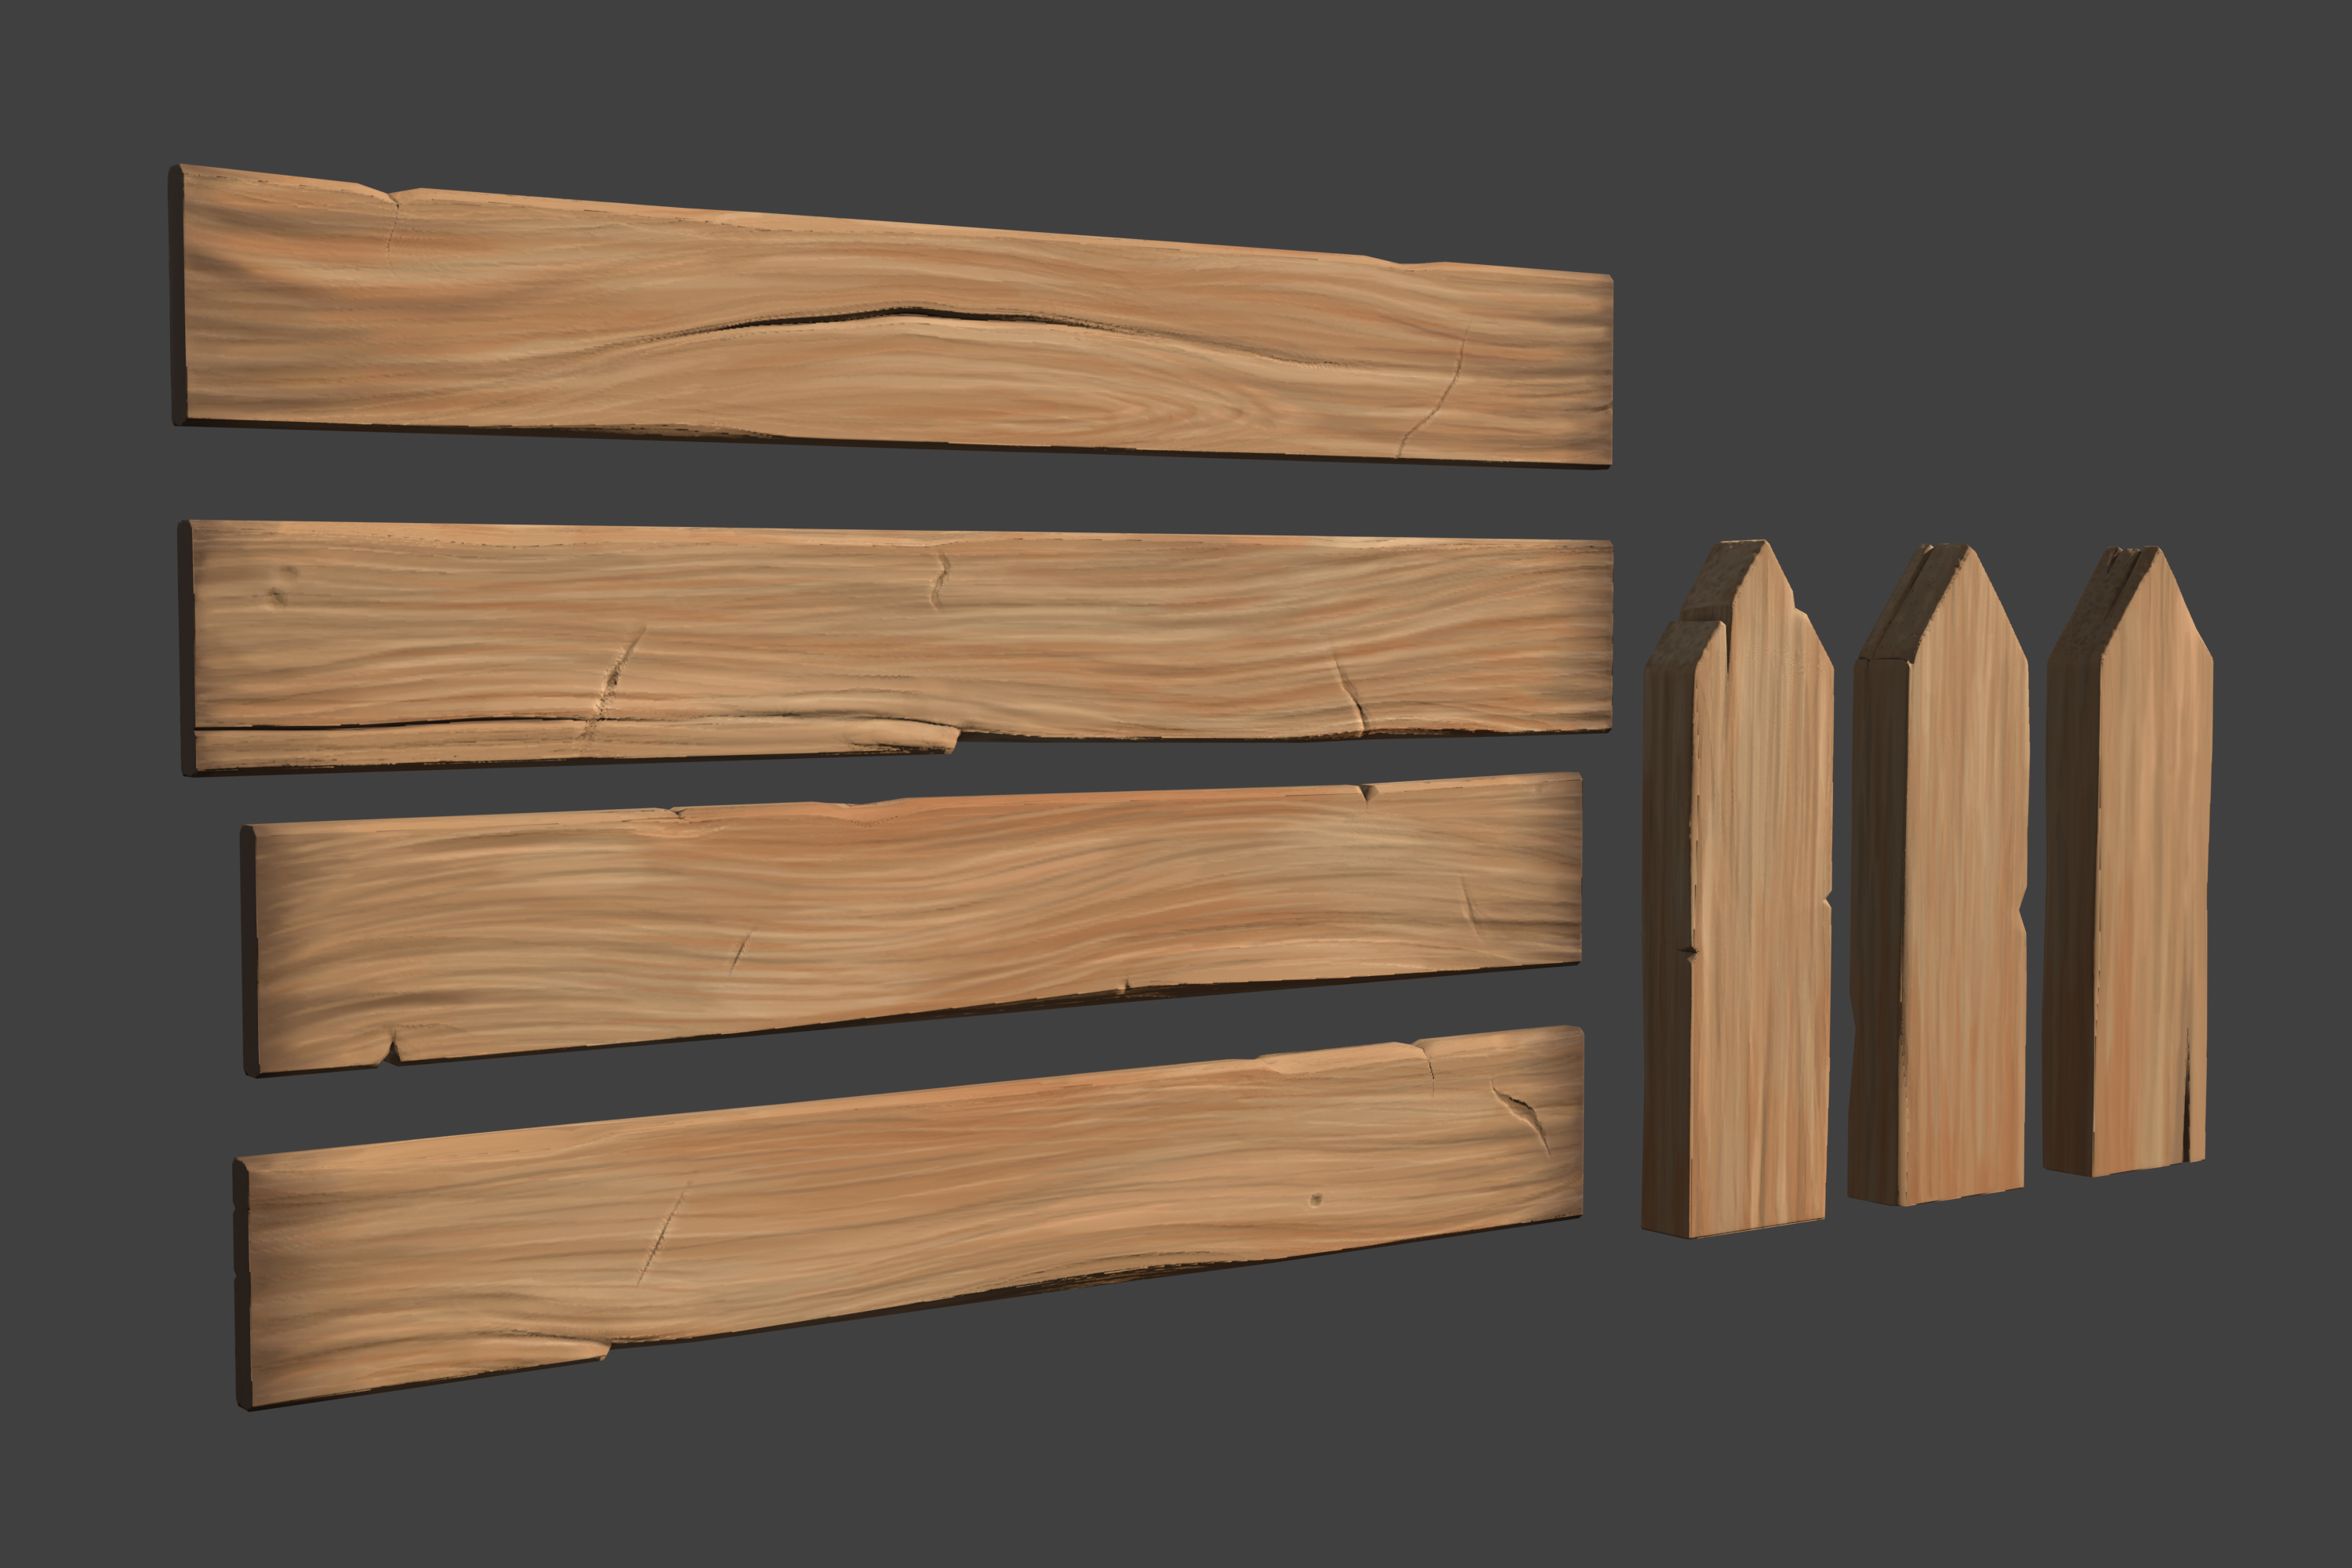
Official homework submission for Week 2. I optimized the high-res mesh for the boards and sculpted using mostly Scrape, Draw Sharp, Pinch, and Clay Strips.

@createtaiwan That's looking great 😀👍! Congratulations to well deserved full points from Kent @theluthier 😀!
PS: Kent's username needs the article "the" 😉. So, I'll tag your
Homework Submission - Week 2 - Fence
@theluthier
Oh, dear. All this time I have been tagging the wrong person! So there must be another GC Cookie member with that name. SO sorry, @theluthier!
@createtaiwan No worry, can happen 😉! But I think that Kent isn't maybe so unhappy if he gets tagged a little bit less 😉😁.
Homework Submission - Week 3 - Fence
@theluthier
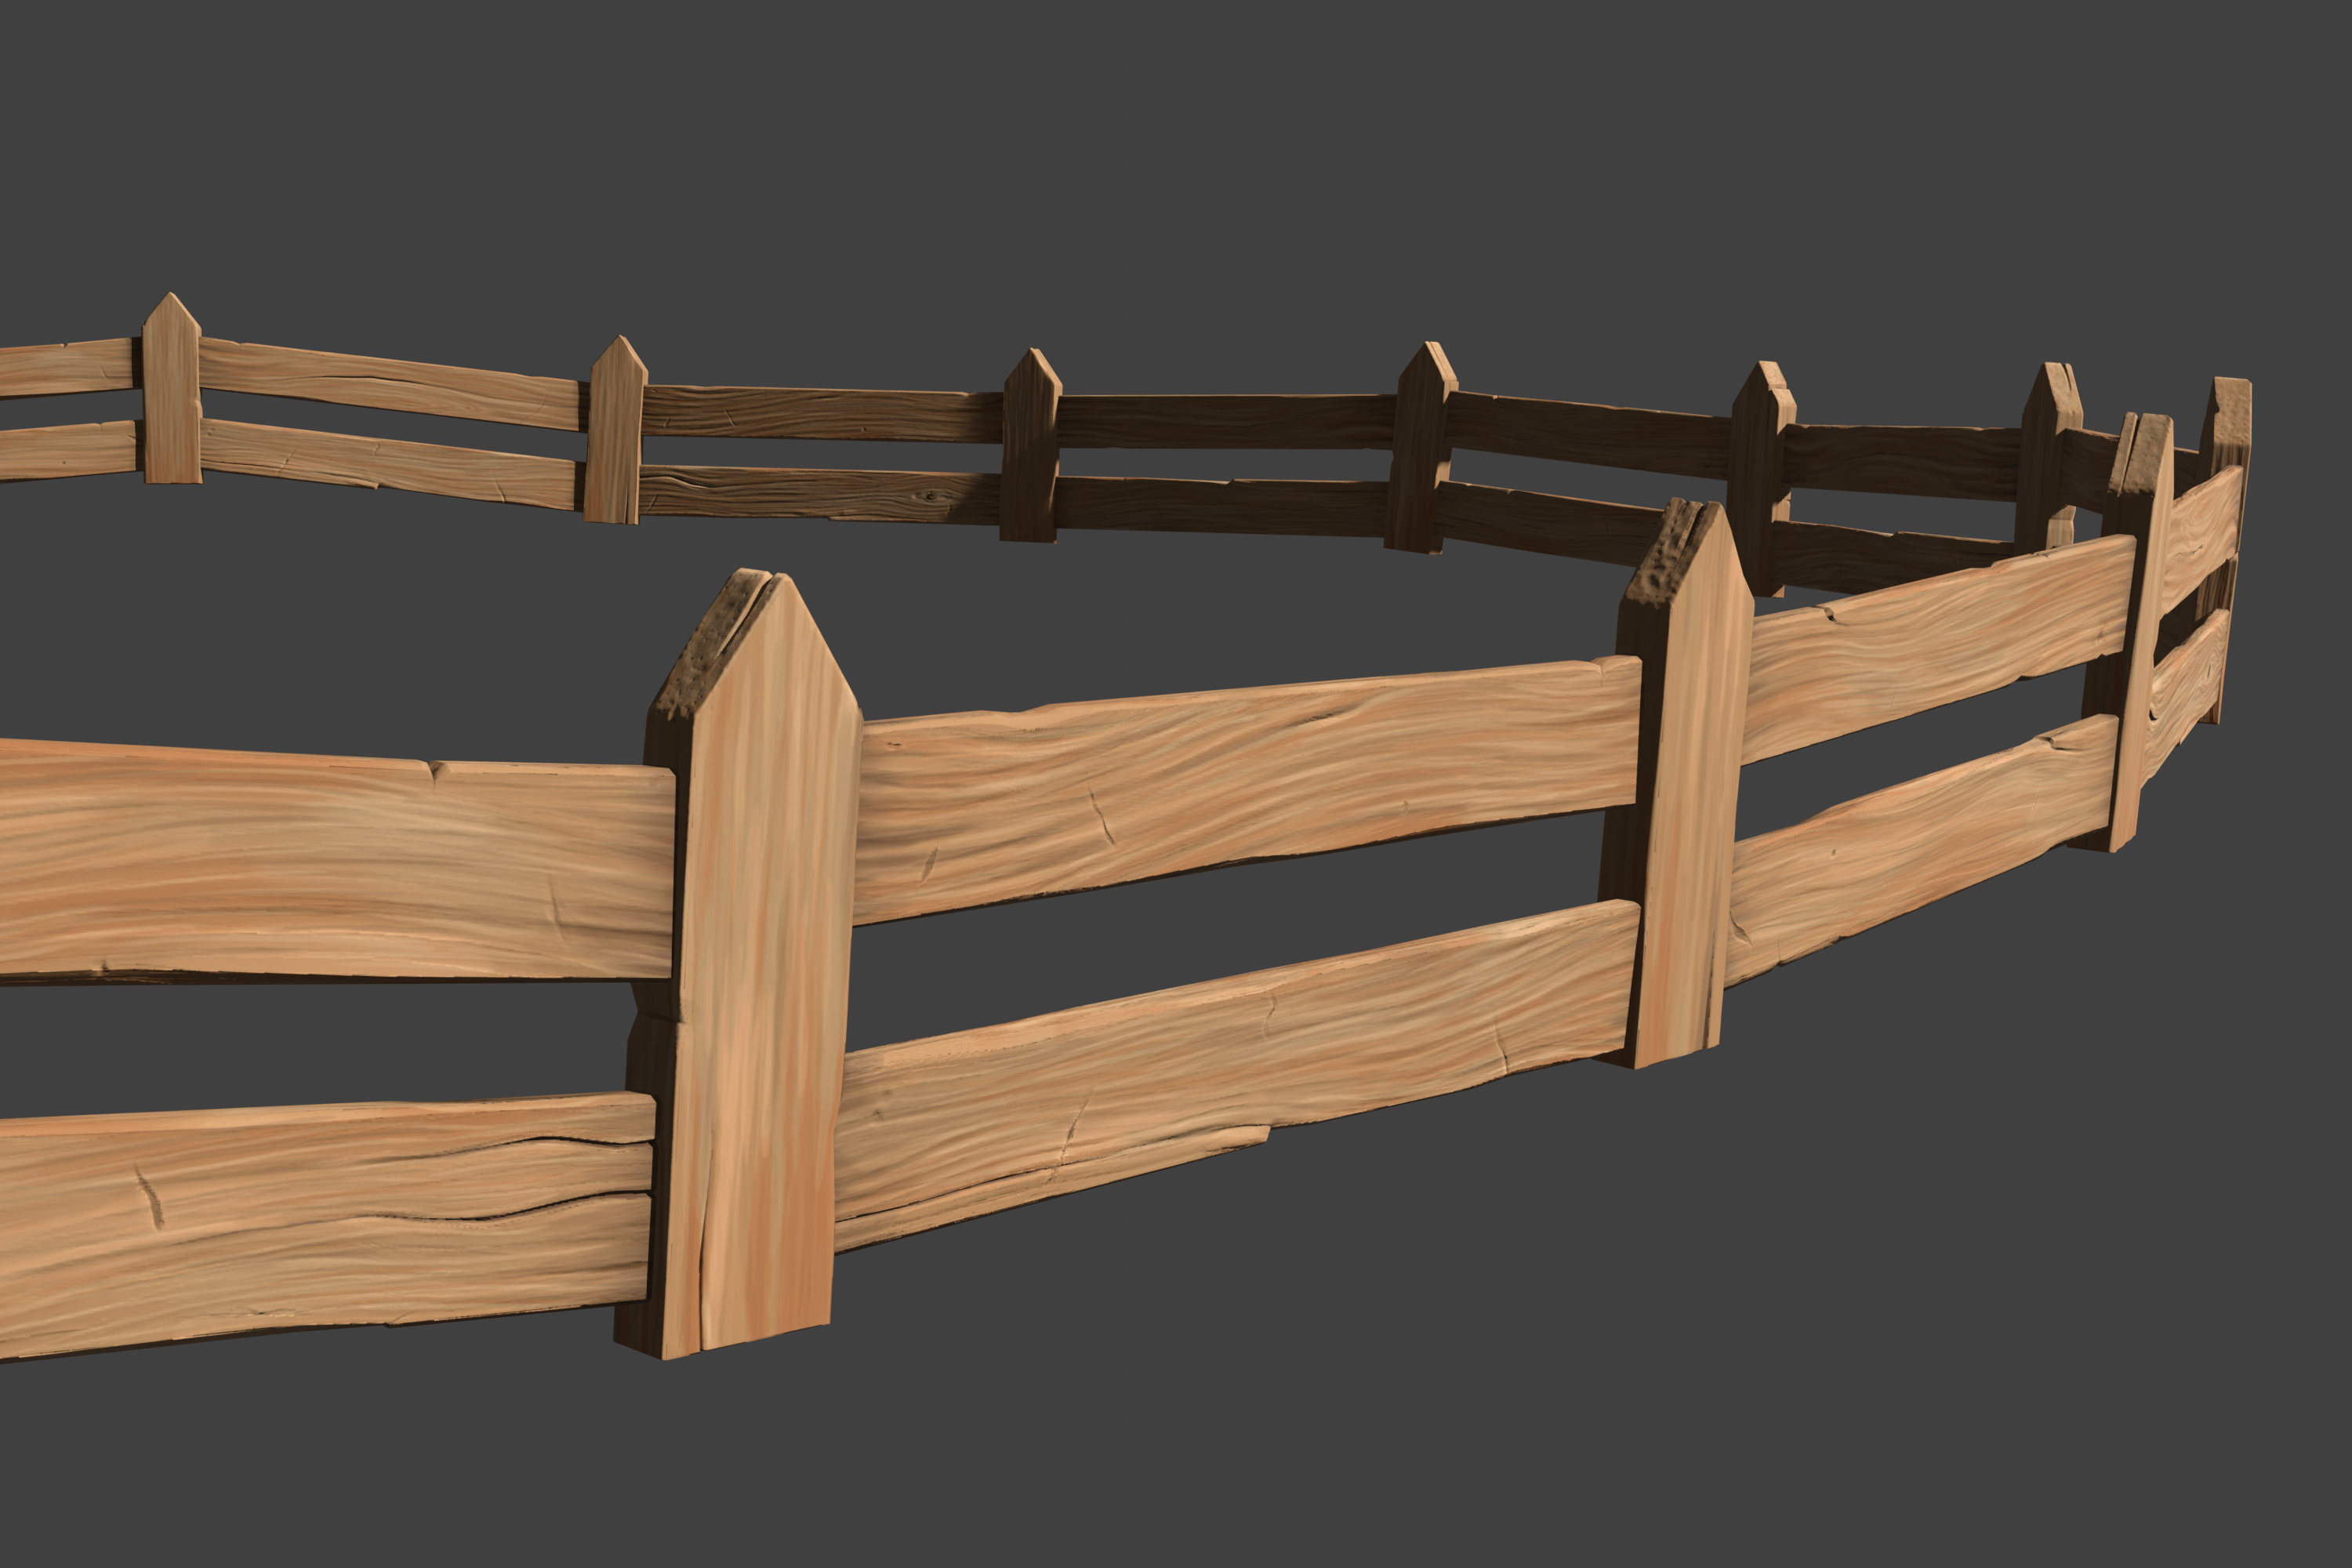
Here is my homework submissions for Week 3... by far the MOST FUN I have had so far. I am learning so much.


@theluthier ![]() duerer - So, I have copied and pasted the ground plane into my WIP file, and I am starting to adjust the fence to follow the ground plane. I have two questions...
duerer - So, I have copied and pasted the ground plane into my WIP file, and I am starting to adjust the fence to follow the ground plane. I have two questions...
(1) Where the fence is visible in the original artwork, I am having a bit of a struggle matching the location on the art and still having it touch the ground plane. If I move it back away from the camera view to match both the ground plane and the artwork, I would have to scale it up, and then it becomes too big as a fence. So either (A) I can just lower the fence on the Z axis and not worry about matching the art exactly or (B) we will need to raise the ground plane in that area on the Z axis. Which solution would you prefer?
(2) There are about 90 pieces to the fence, and I built them by using linked duplicates from 7 original pieces. The original pieces are currently at the world center. Should I leave them there and just keep them hidden or move them somewhere else (like, below the ground plane in the basement of the house)?