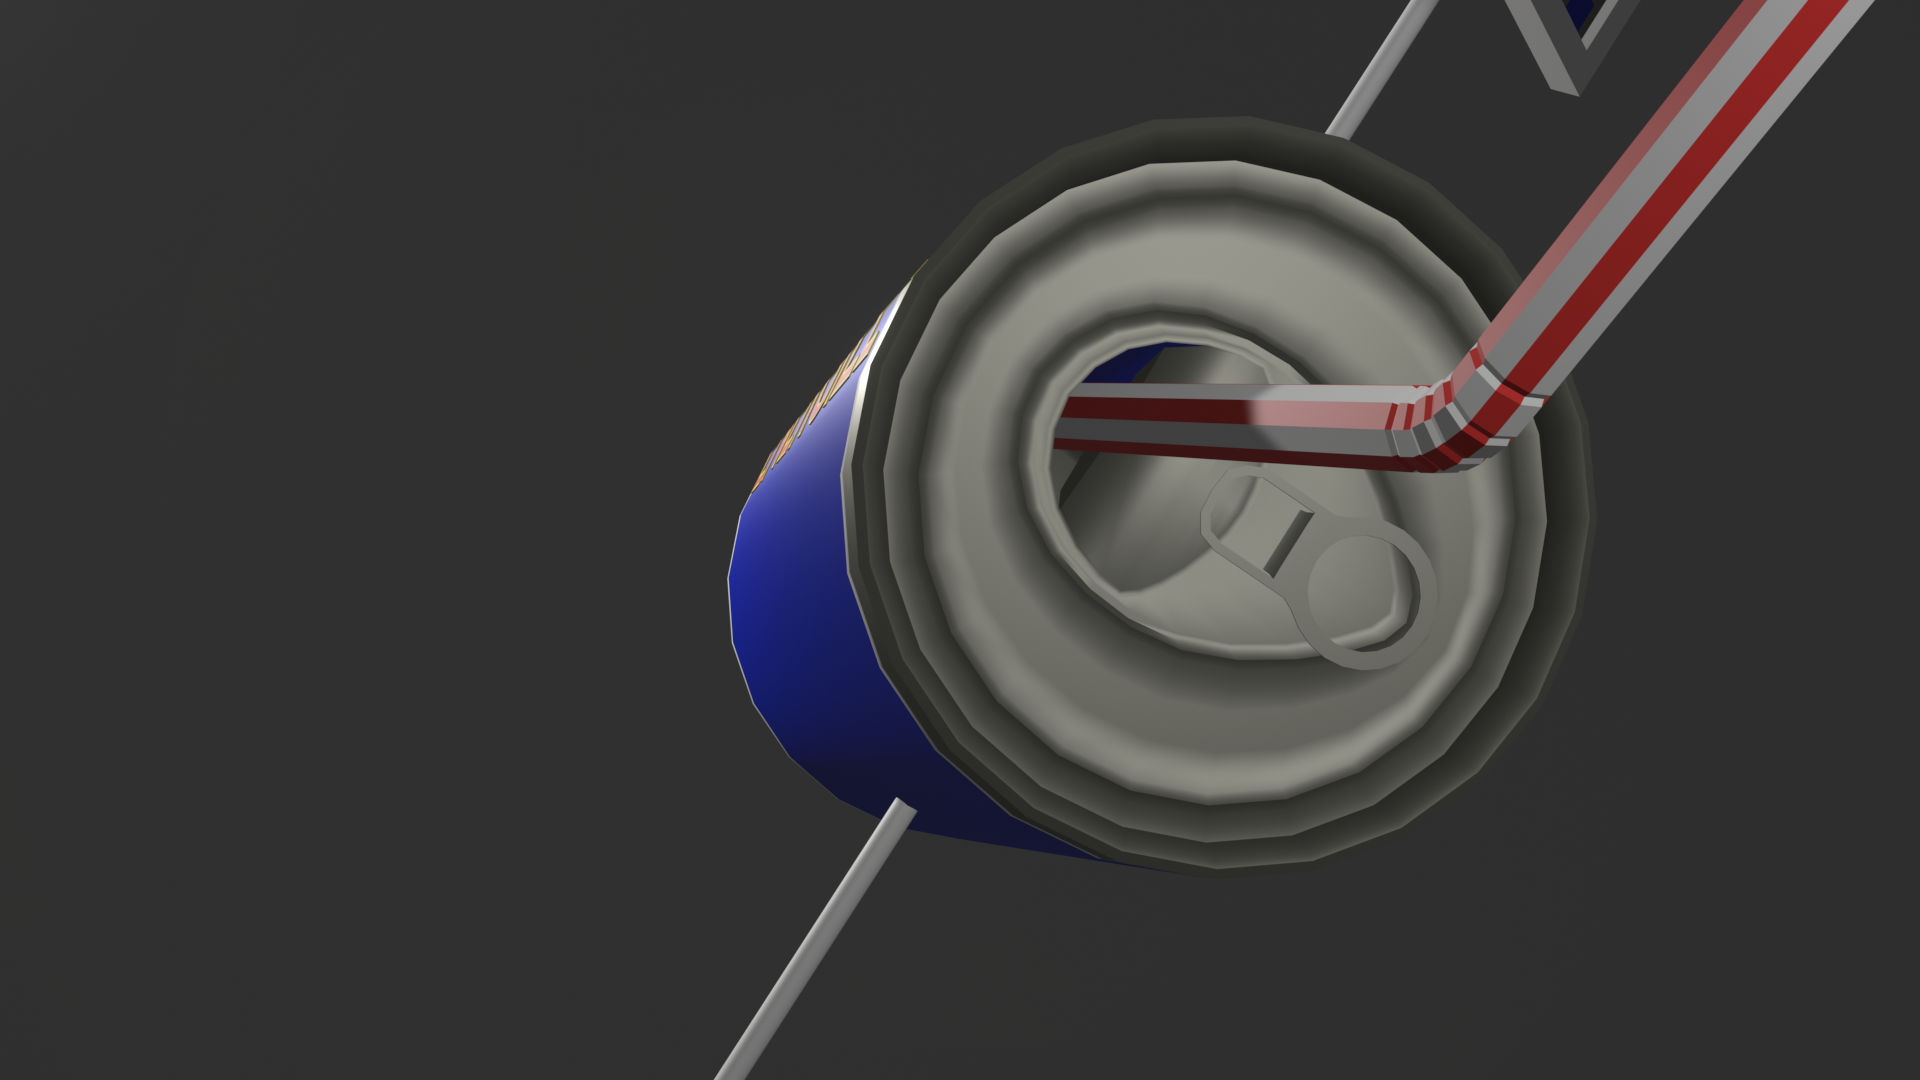
Here is the place where I would like to share my Blender projects, document my progress and hopefully get some feedback about what's already good and what can be done better and/or faster.
I've already set the influence of "Harmonic Force Fields" on the dead hair particles at the tips of the green hairs to zero so that they only attract the pink emission particles but aren't moved by the "Harmonic Force Fields" on the pink particles. The hairs are only moved by the "Turbulence Force Field".
If you have two particle systems with equal number of particles and an "Harmonic Force Field" on each particle, then you have a one-to-one relationship between one particle from the first particle system and one particle from the second particle system (Default settings with "Multiples Springs" unchecked!). So, I don't know why Blender is complaining about "Dependency Cycles" since that's how "Harmonic Force Fields" if used on two particle systems. See here.
Thanks, ttobles, I have to review that head since it doesn't look as natural as it should. The cheeks are probably a little bit too pronounced and have to be slightly repositioned. Also the area between nose, eye and cheek on each side don't please me yet since it's probably too flat. I'm wondering what @theluthier would say about this head but I don't want to bother him right now with that since he's currently very busy with the Collab2021 Fantasy House and environment in general and especially the review of the homework submissions! But there will come out a complete head creation course by Kent @theluthier probably this autumn which will be for sure amazing !
Oh, I just made it to level 10 with that post 😉. I like that "woot" 😉🎺🎵!
In a Harmonic force field, the source of the force field is the zero point of a harmonic oscillator (spring, pendulum).
Nowhere in the text do they say, that you could also make the source (your Suzanne) also a harmonic force field, with your hairy Suzanne.001 as source.
In the video, the emission particles are set to fluid at a certain point (although Newtonian Physics also work), but never to be a harmonic force field!
Think of it like this:
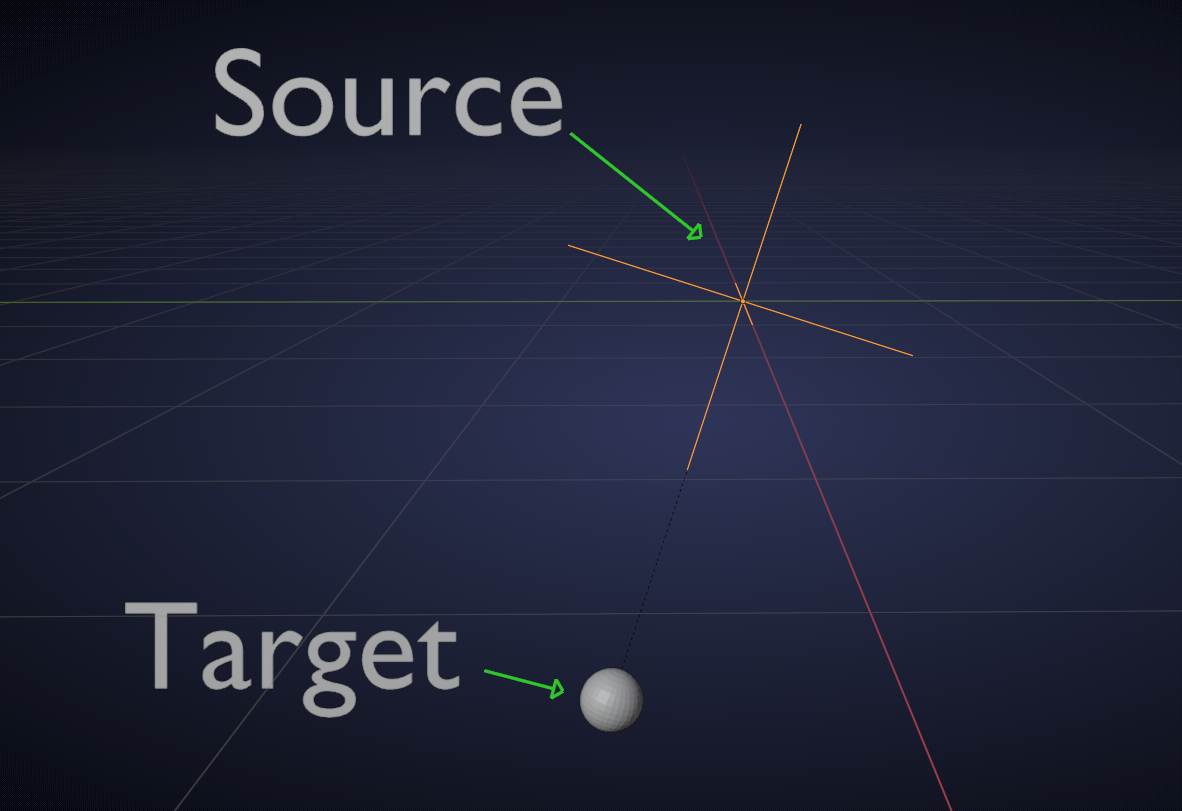
In this situation making the Source also the target of the Target (which then is also the source)...no wonder Blender is complaining...
The fact that it still works, is actually pretty amazing.
You control if the (source) Particles System is affected by the Harmonic force field here (left cube is affected):
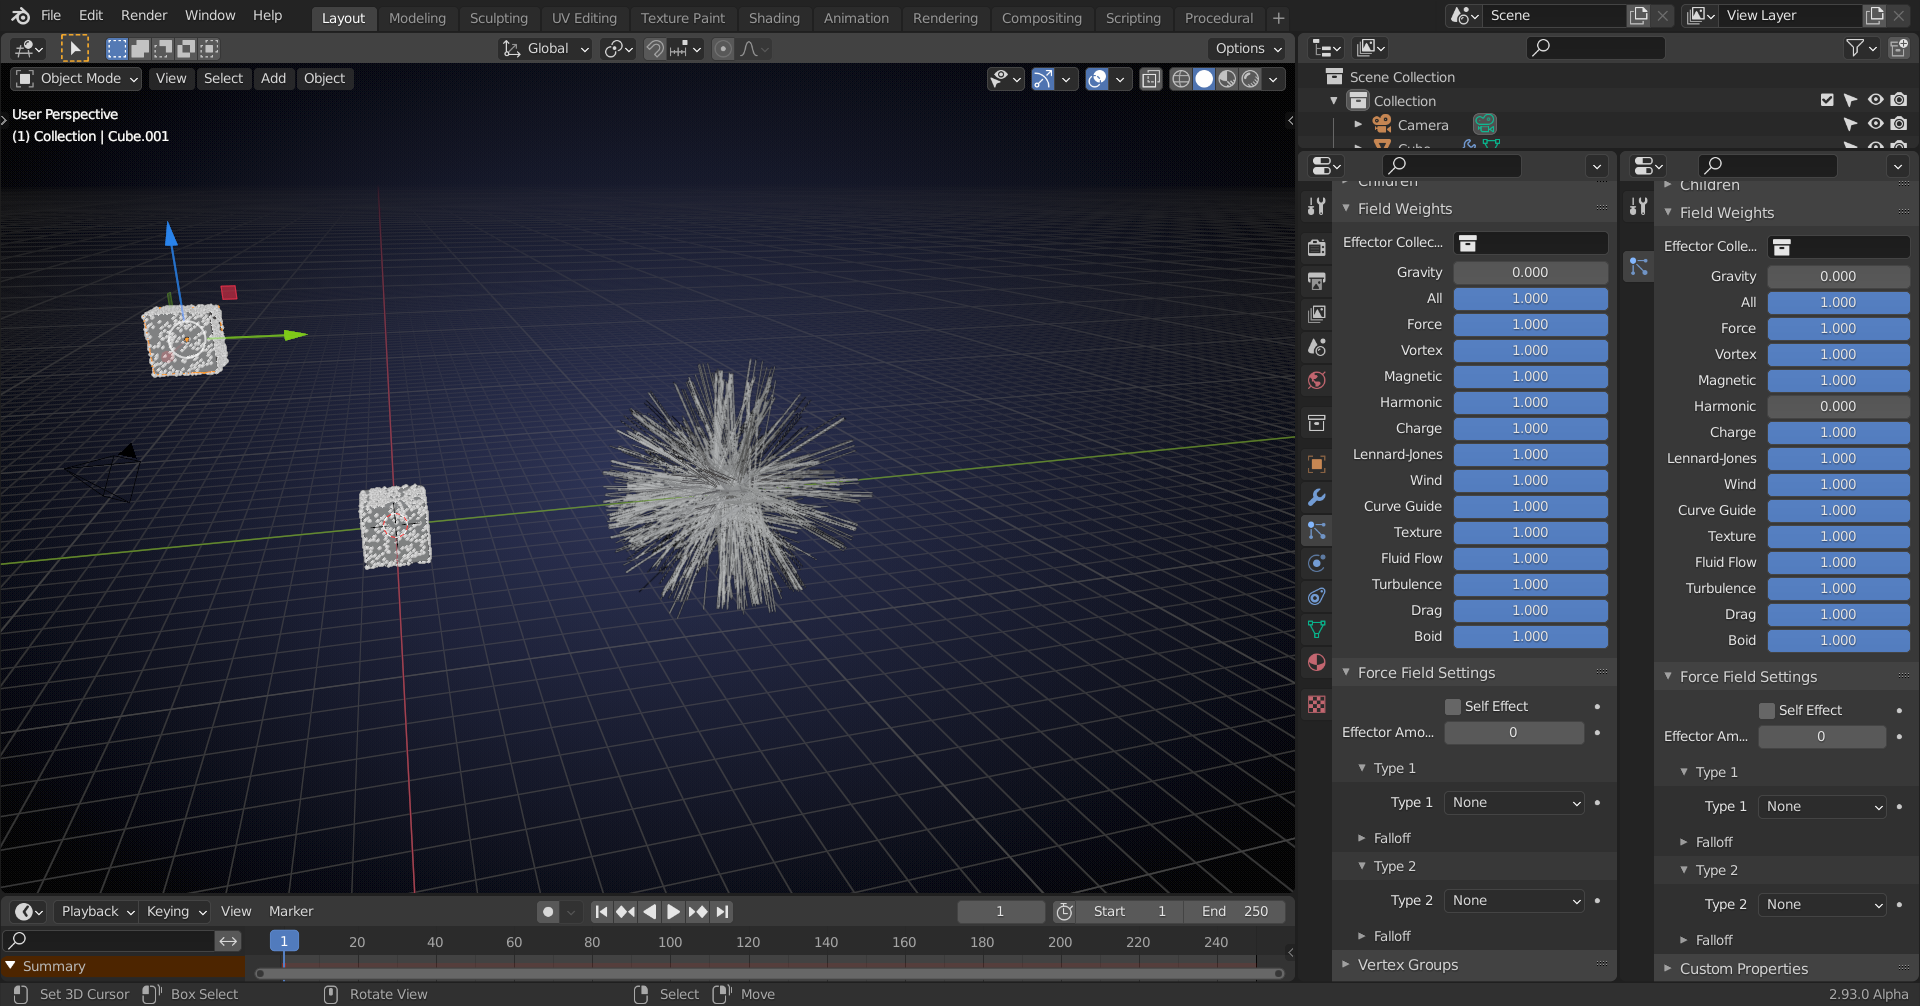
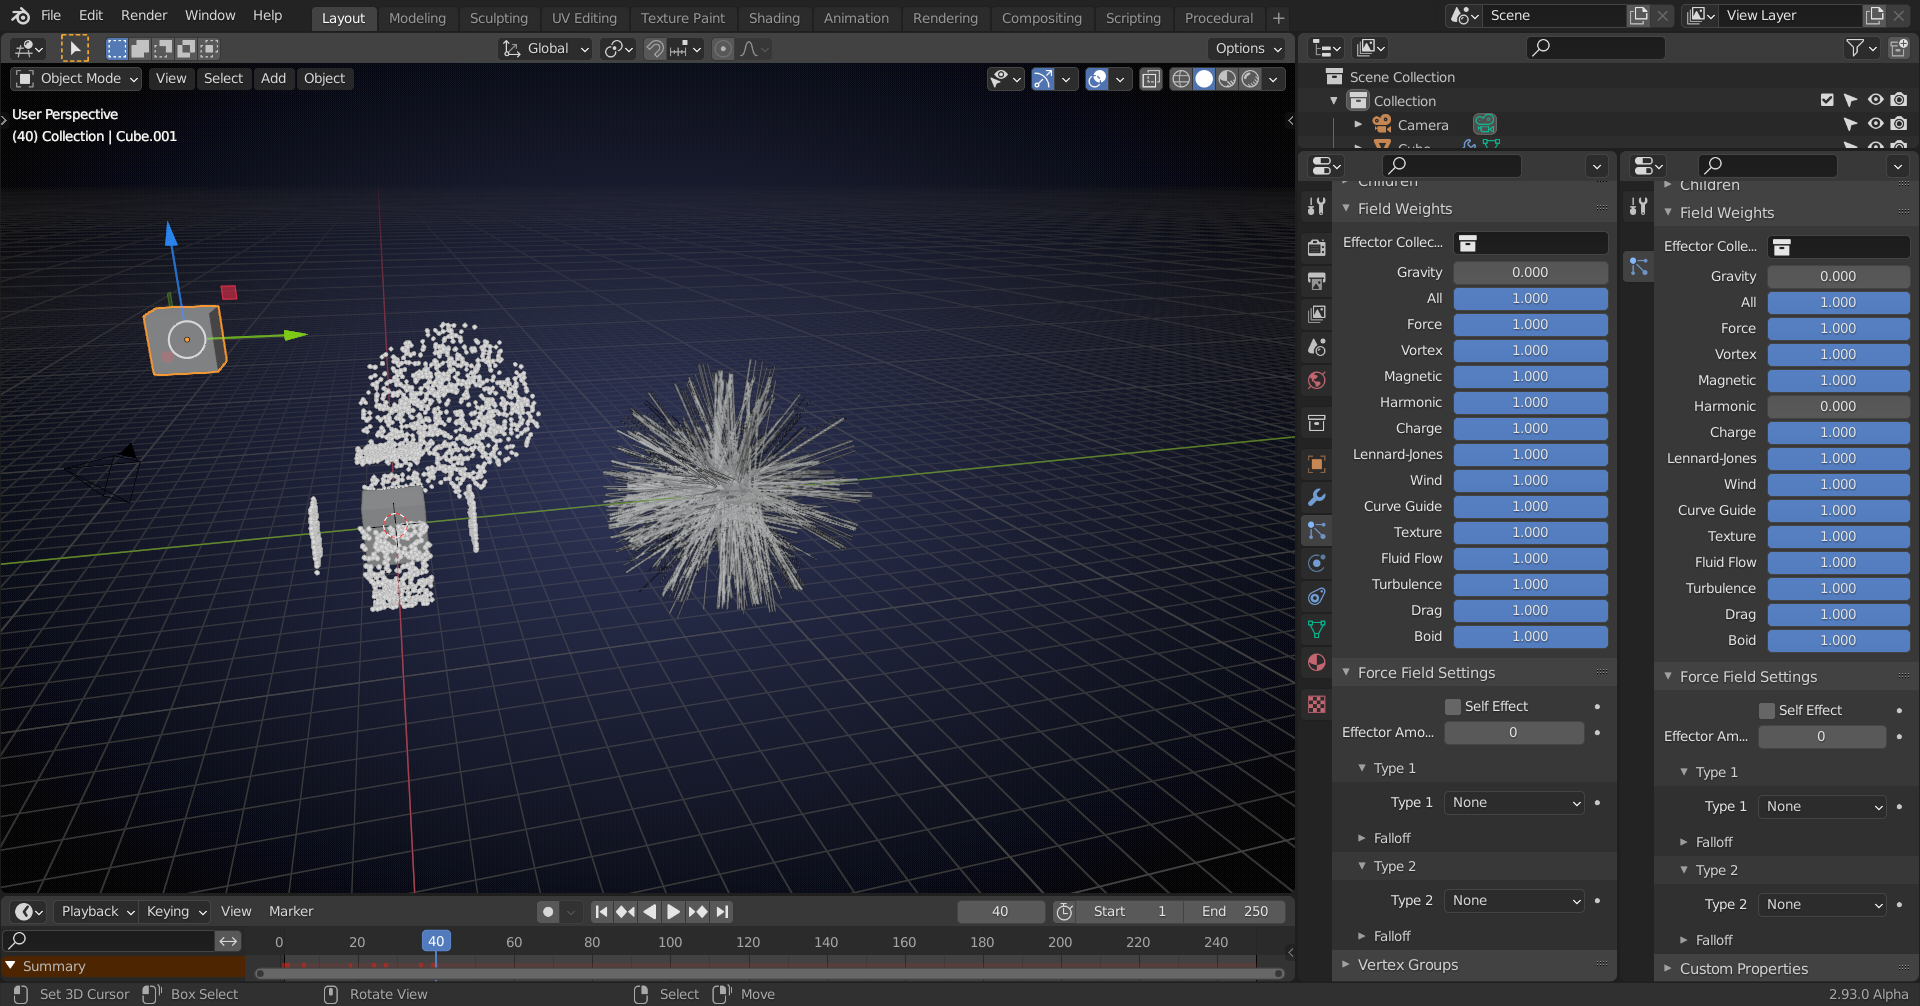
At least, this is how I understand it ;)
Ok, in my special case, since I don't want the hair particles being moved by the pink emission particles, I only need the harmonic field on the hair. But if I want something similar to celestial bodies attracting each other (of course they can't pass one through the other without damage 😉😁) then I need harmonic fields on both particle system. Maybe there's some "Dependency Cycle" error message popping up somewhere in the universe if two celestial bodies attracting each other are on a collision course but this won't prevent the catastrophy 🥴.
Harmonic fields on two particle system even work as I've found out now with different numbers of particles as can be seen here:
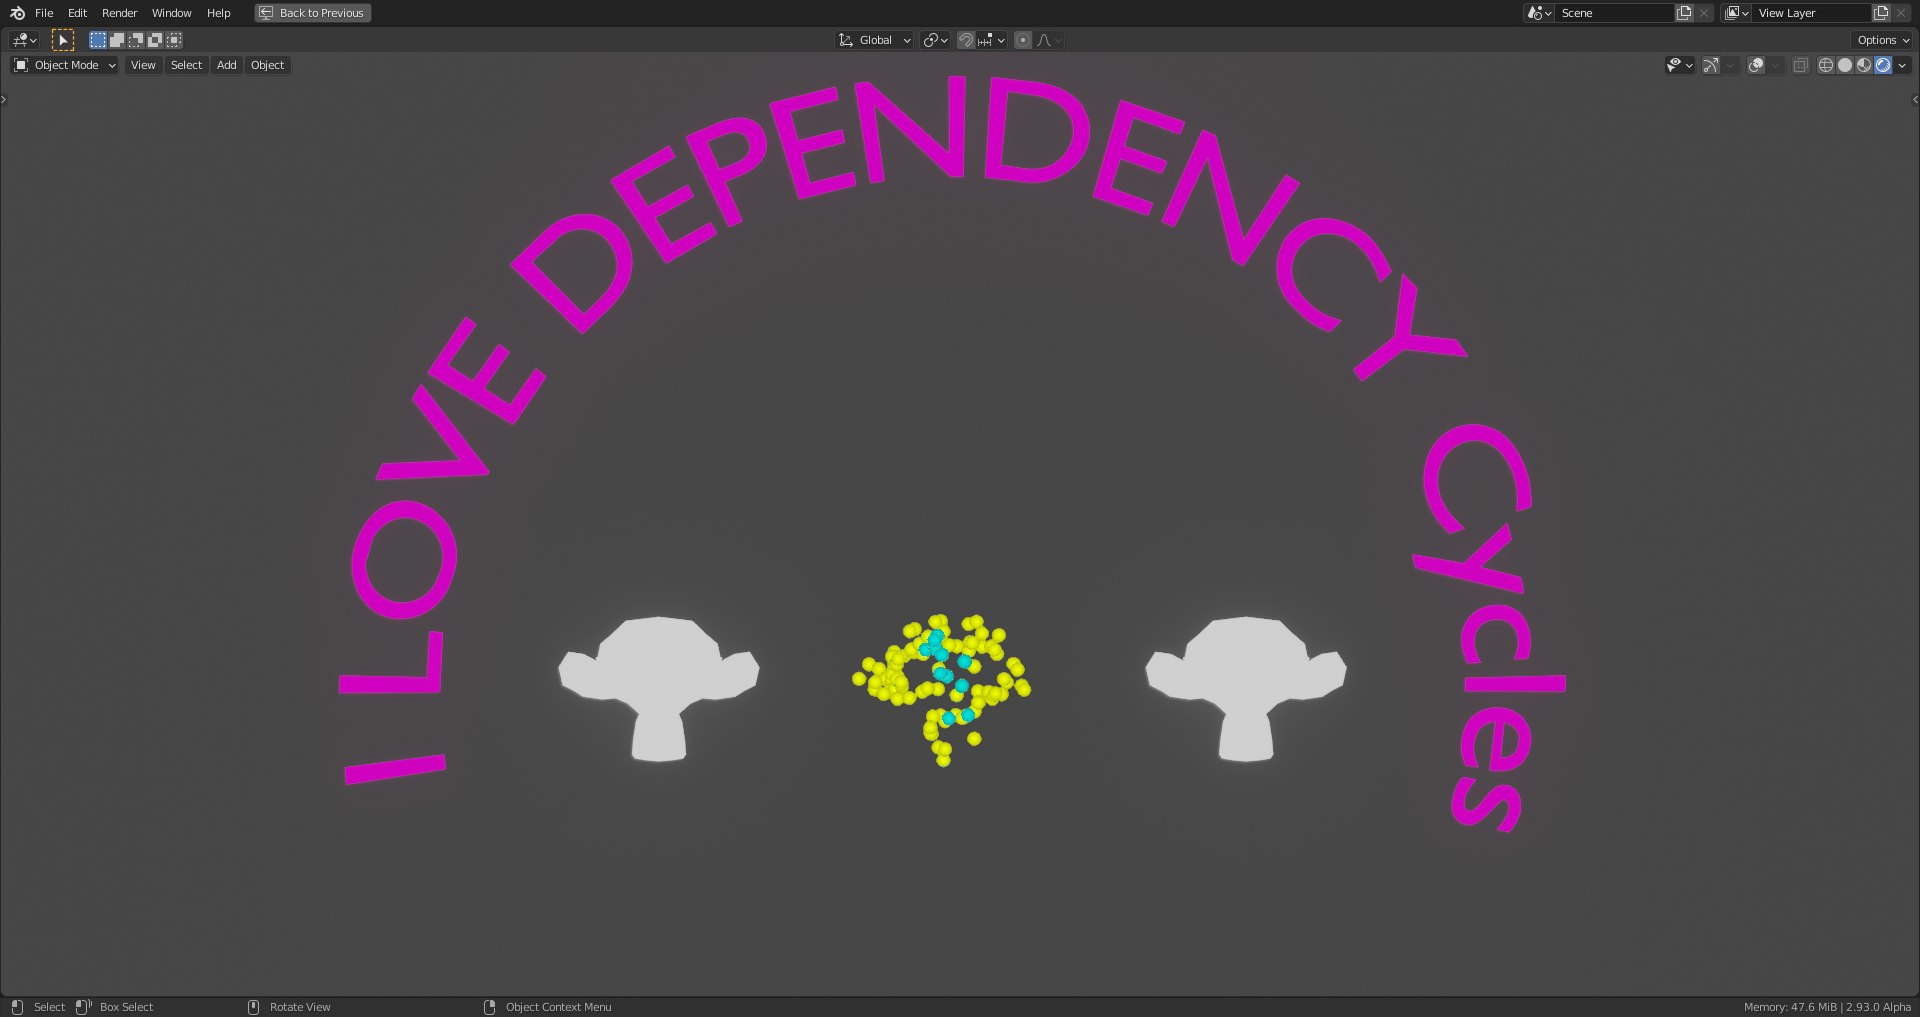
File is here 😉😁.
I still have a feeling that you are doing something 'illegal', but if you get the result you want, then who cares about some Dependency Cycles ;)
As long as the Blender Foundation doesn't open its own prison for "cases" like me, I'm not afraid 😉😁! Or do you know more🤔? Please speak 🙏, ![]() spikeyxxx !
spikeyxxx !
Playing around with some procedural textures and creating a space scene:
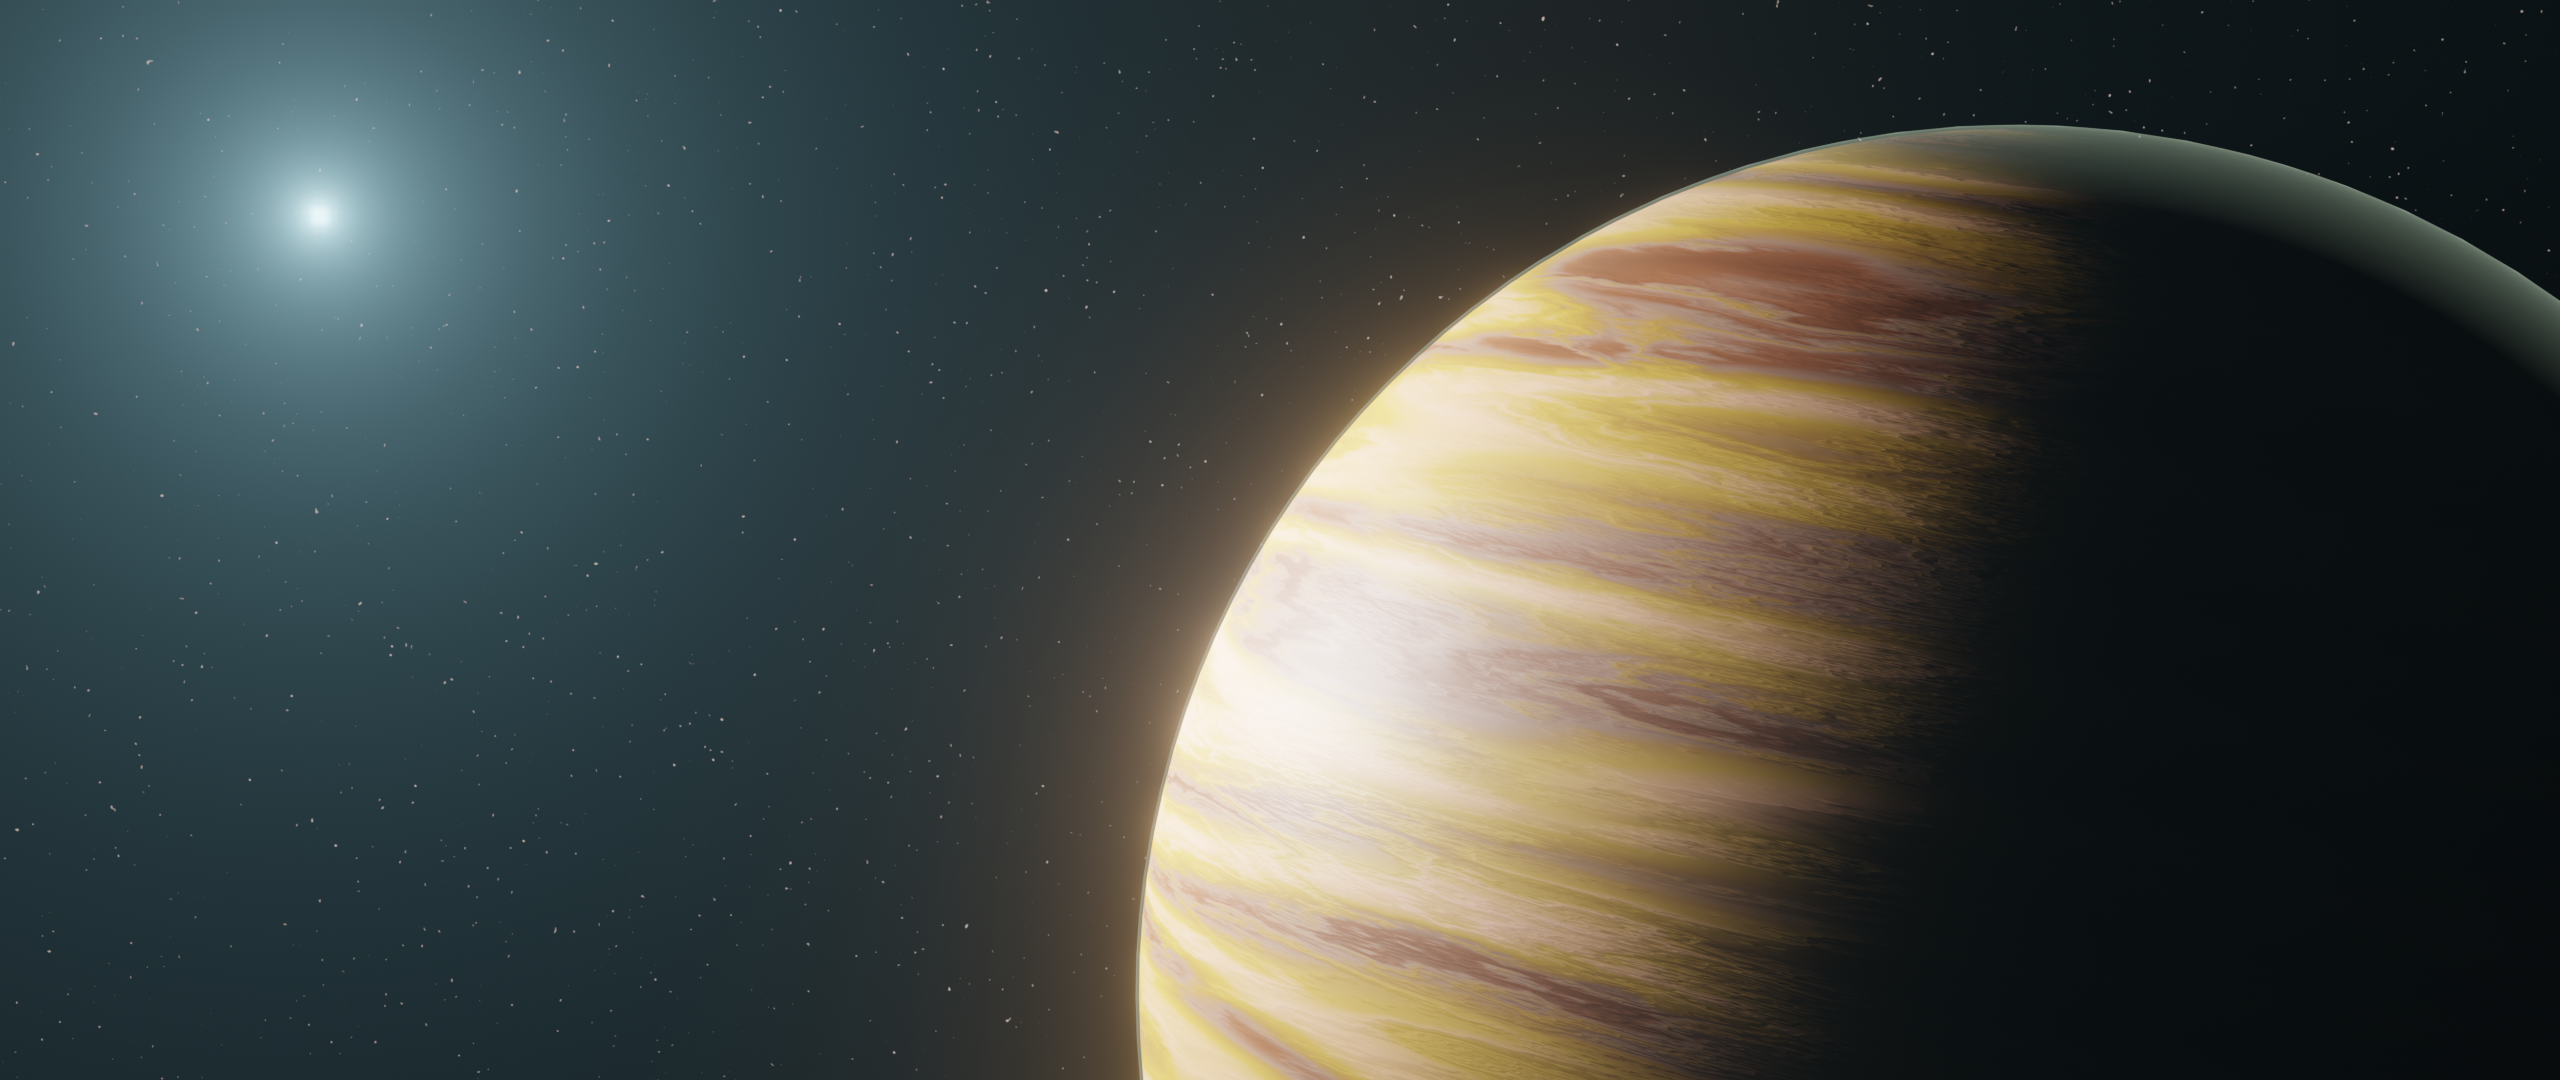
Thank you, Adrian @adrian2301 😀! It's my version of a gas planet following the "" livestream by Chris Bailey ![]() cbaileyfilm here:
cbaileyfilm here:
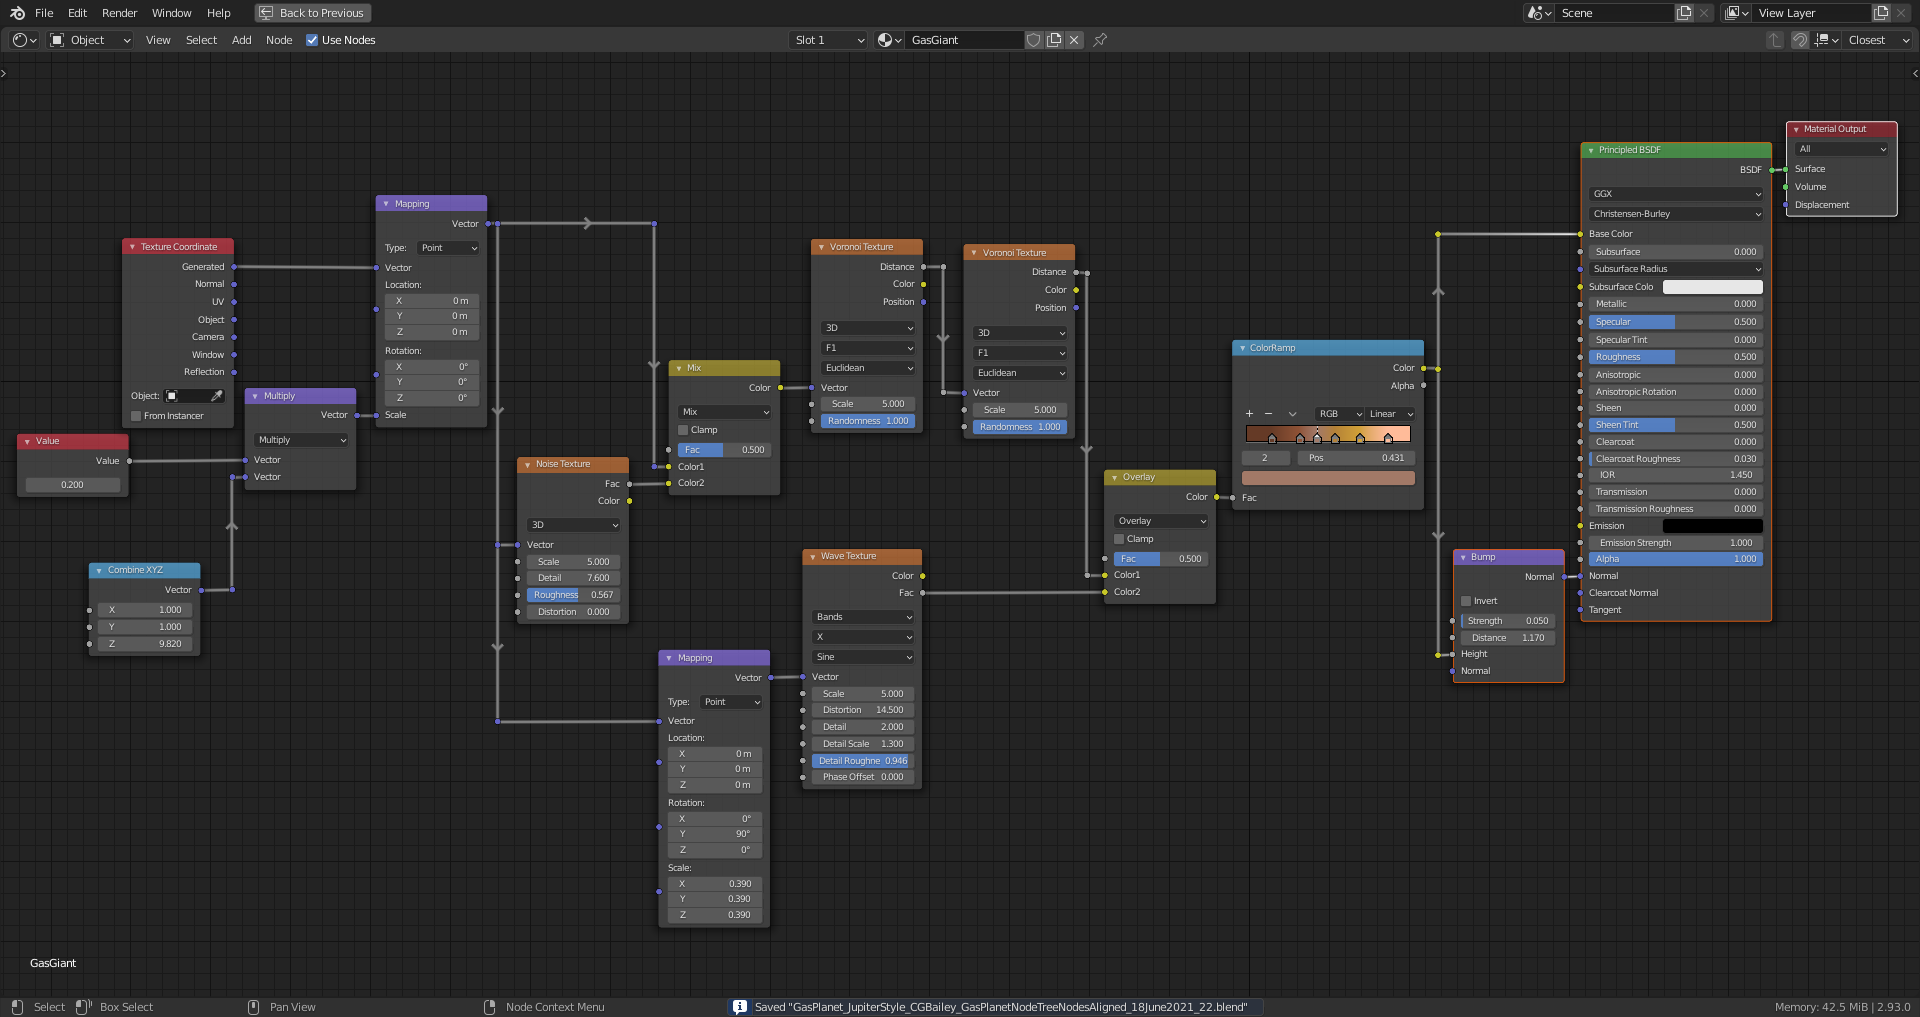
I've added a bump effect in order to make it look more like cloud layers, but I didn't add that extra glow in some spots of the planet's dark side as Chris did.
A sun flare:
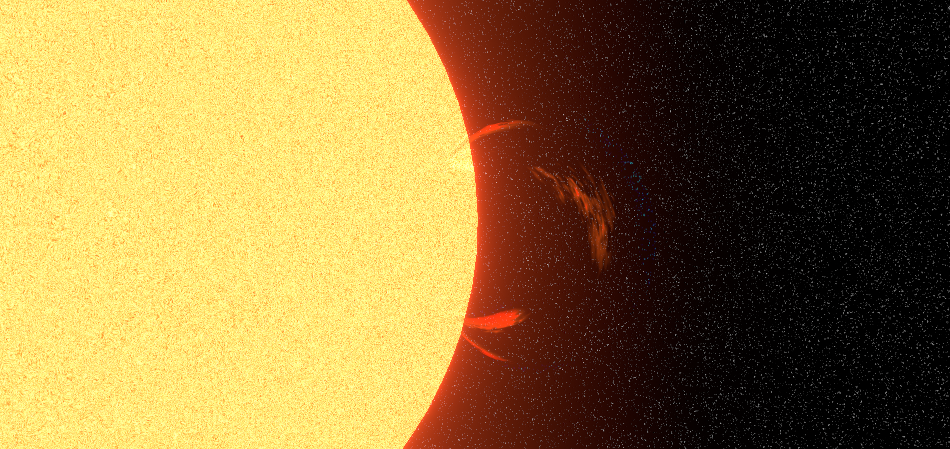
And animated (reduced quality for a manageable file size 😉):
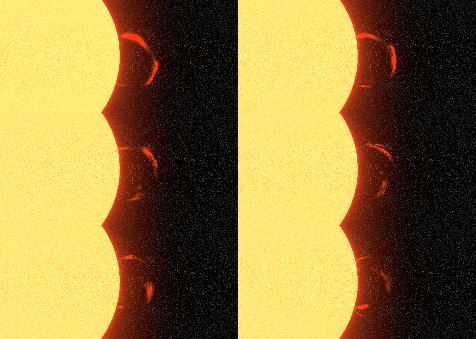
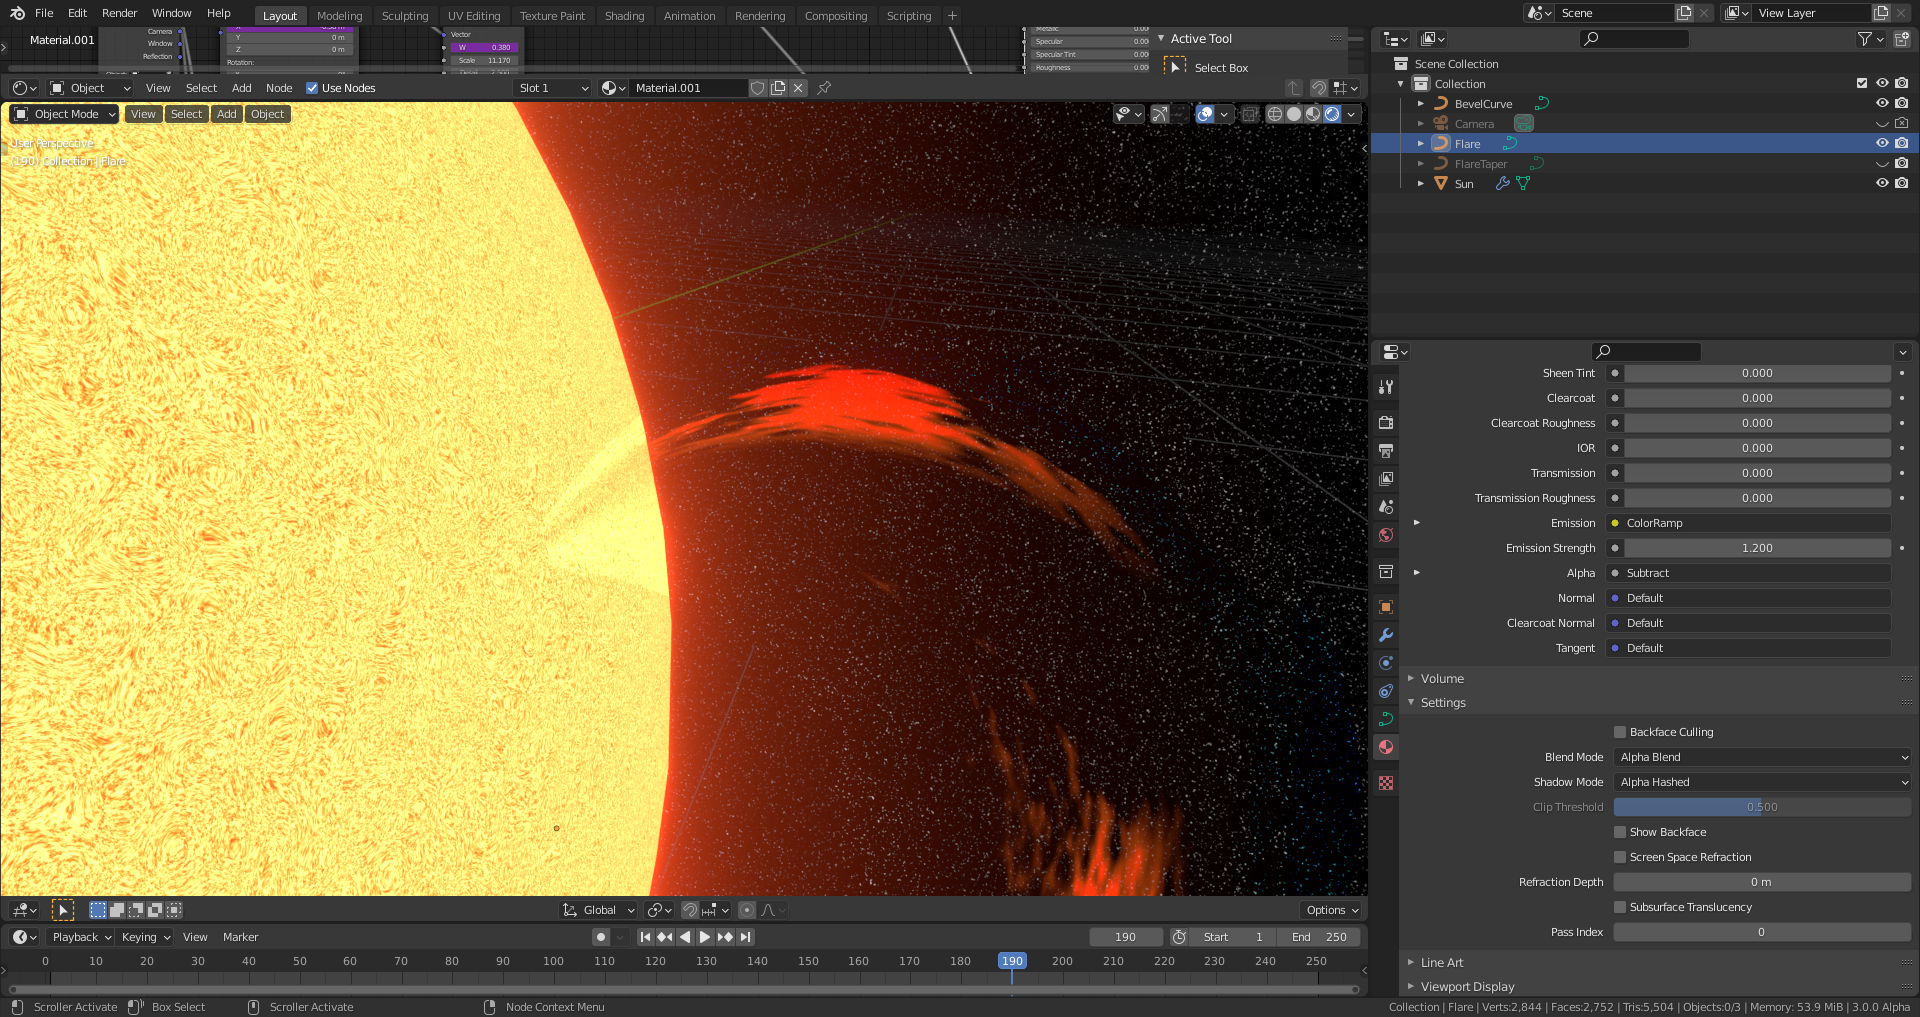
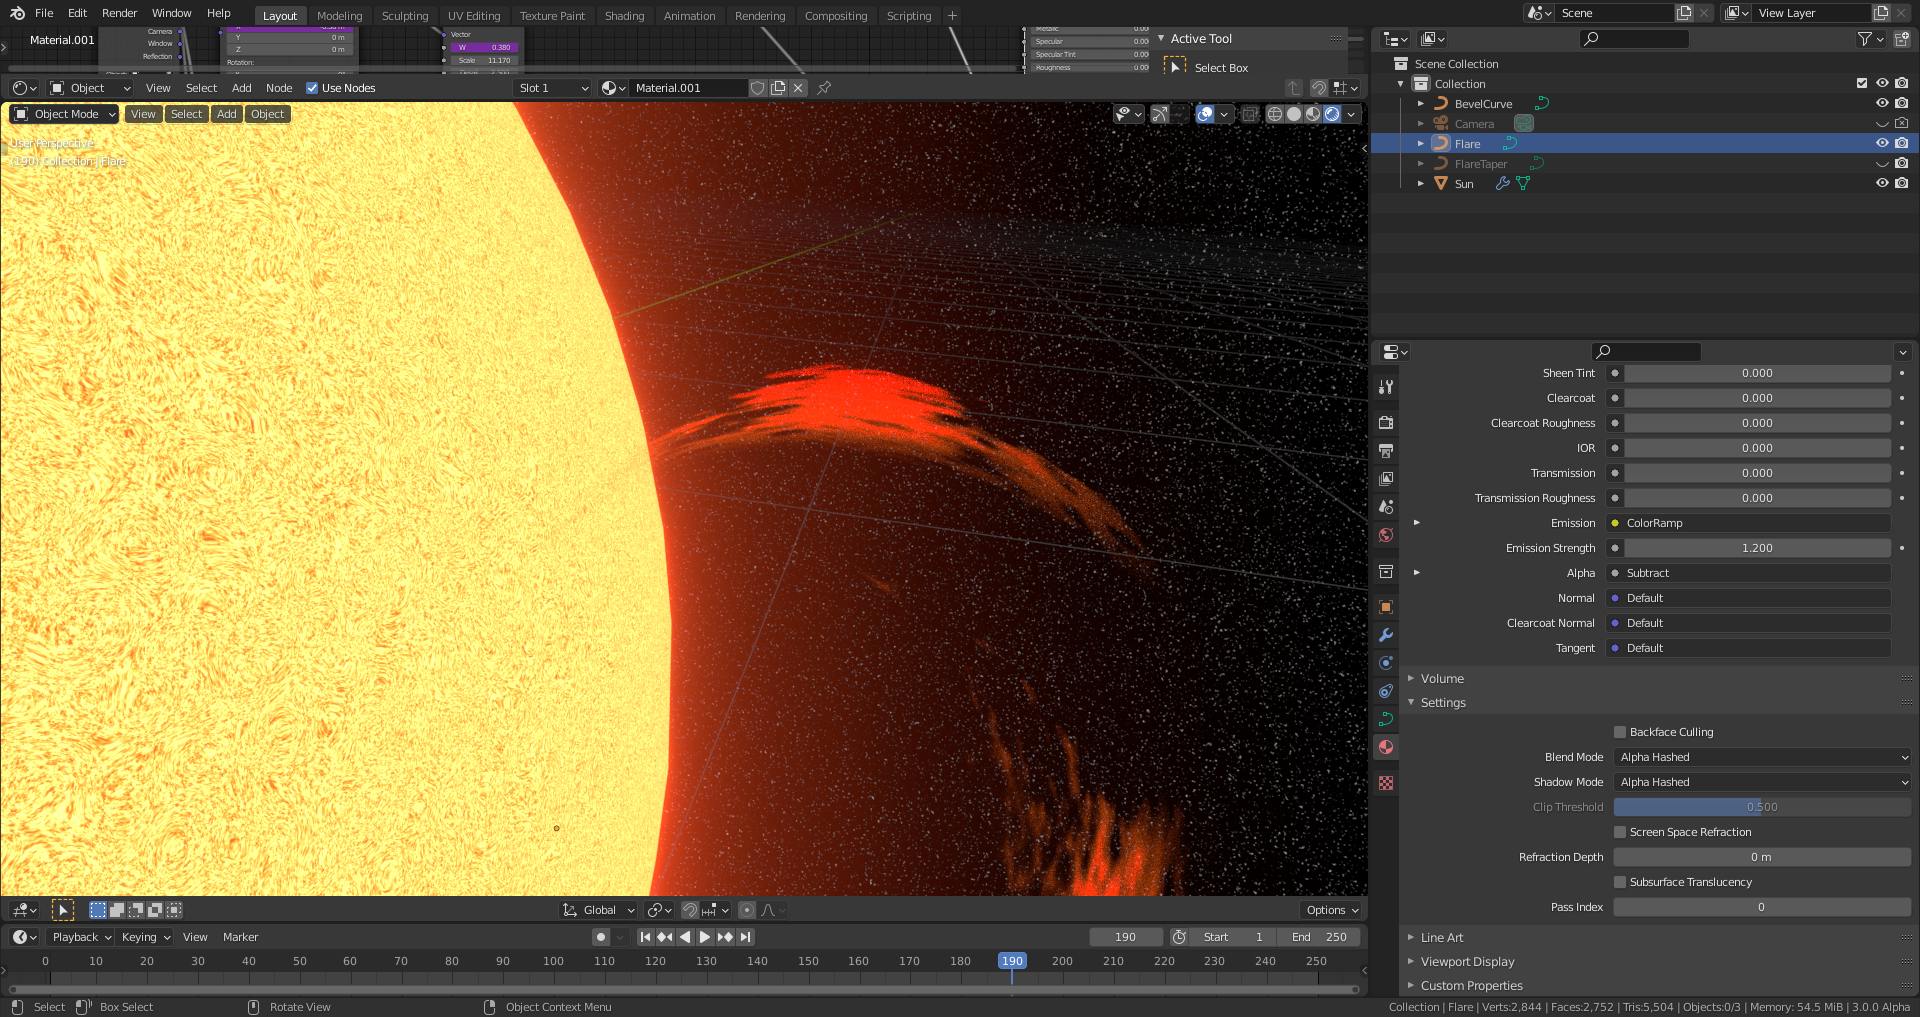
In order to protect the grainy sun surface from beeing "erased" at both ends of the sun flare I had to switch the "Blende Mode" for the sun flare material from "Alpha Blend" to "Alpha Hashed" and crank up the number of samples significantly in order to approximate to the look of "Alpha Blend":
1) Alpha Blend:
2) Alpha Hashed:
My node trees for
1) The Sun Surface
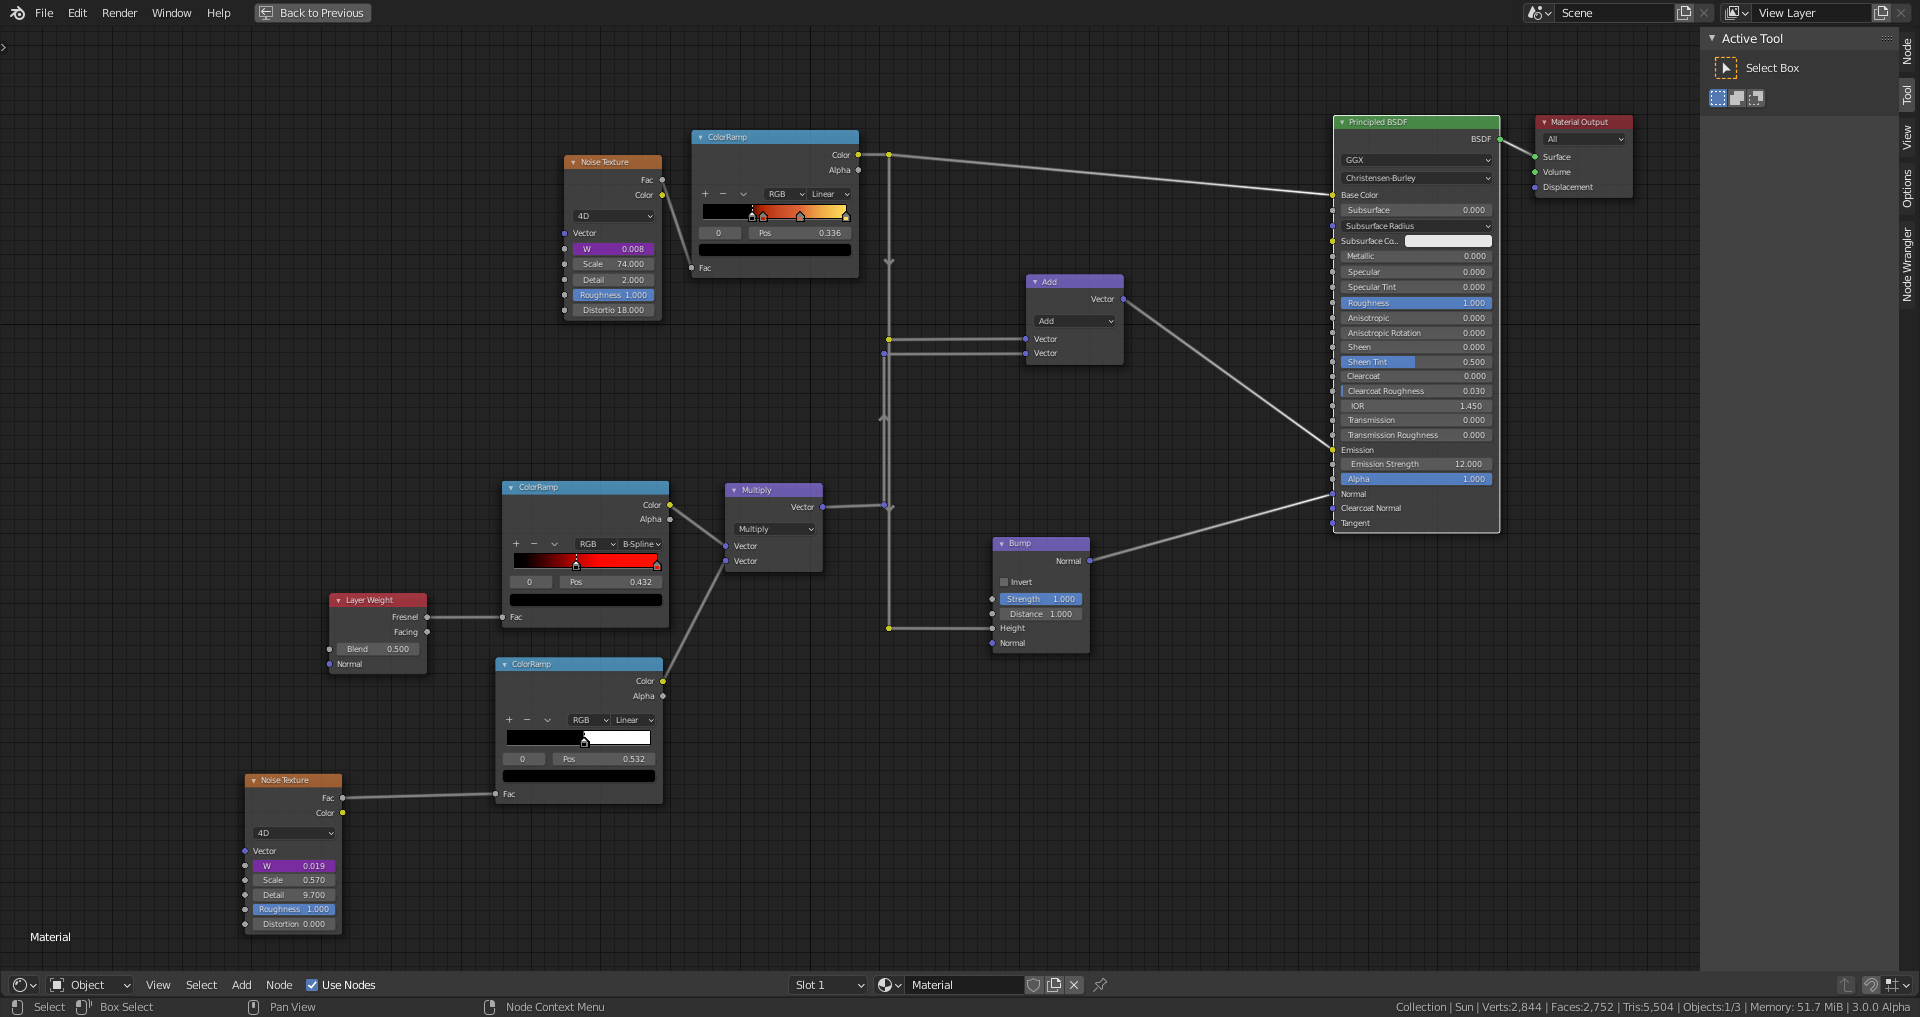
2) The Sun Flares

"#frame" with a sufficent high divisor served as "Driver" for the "W" value of the "4D Noise" textures.
Working on Zach Reinhardt's "Cubic Worlds" course (WIP):
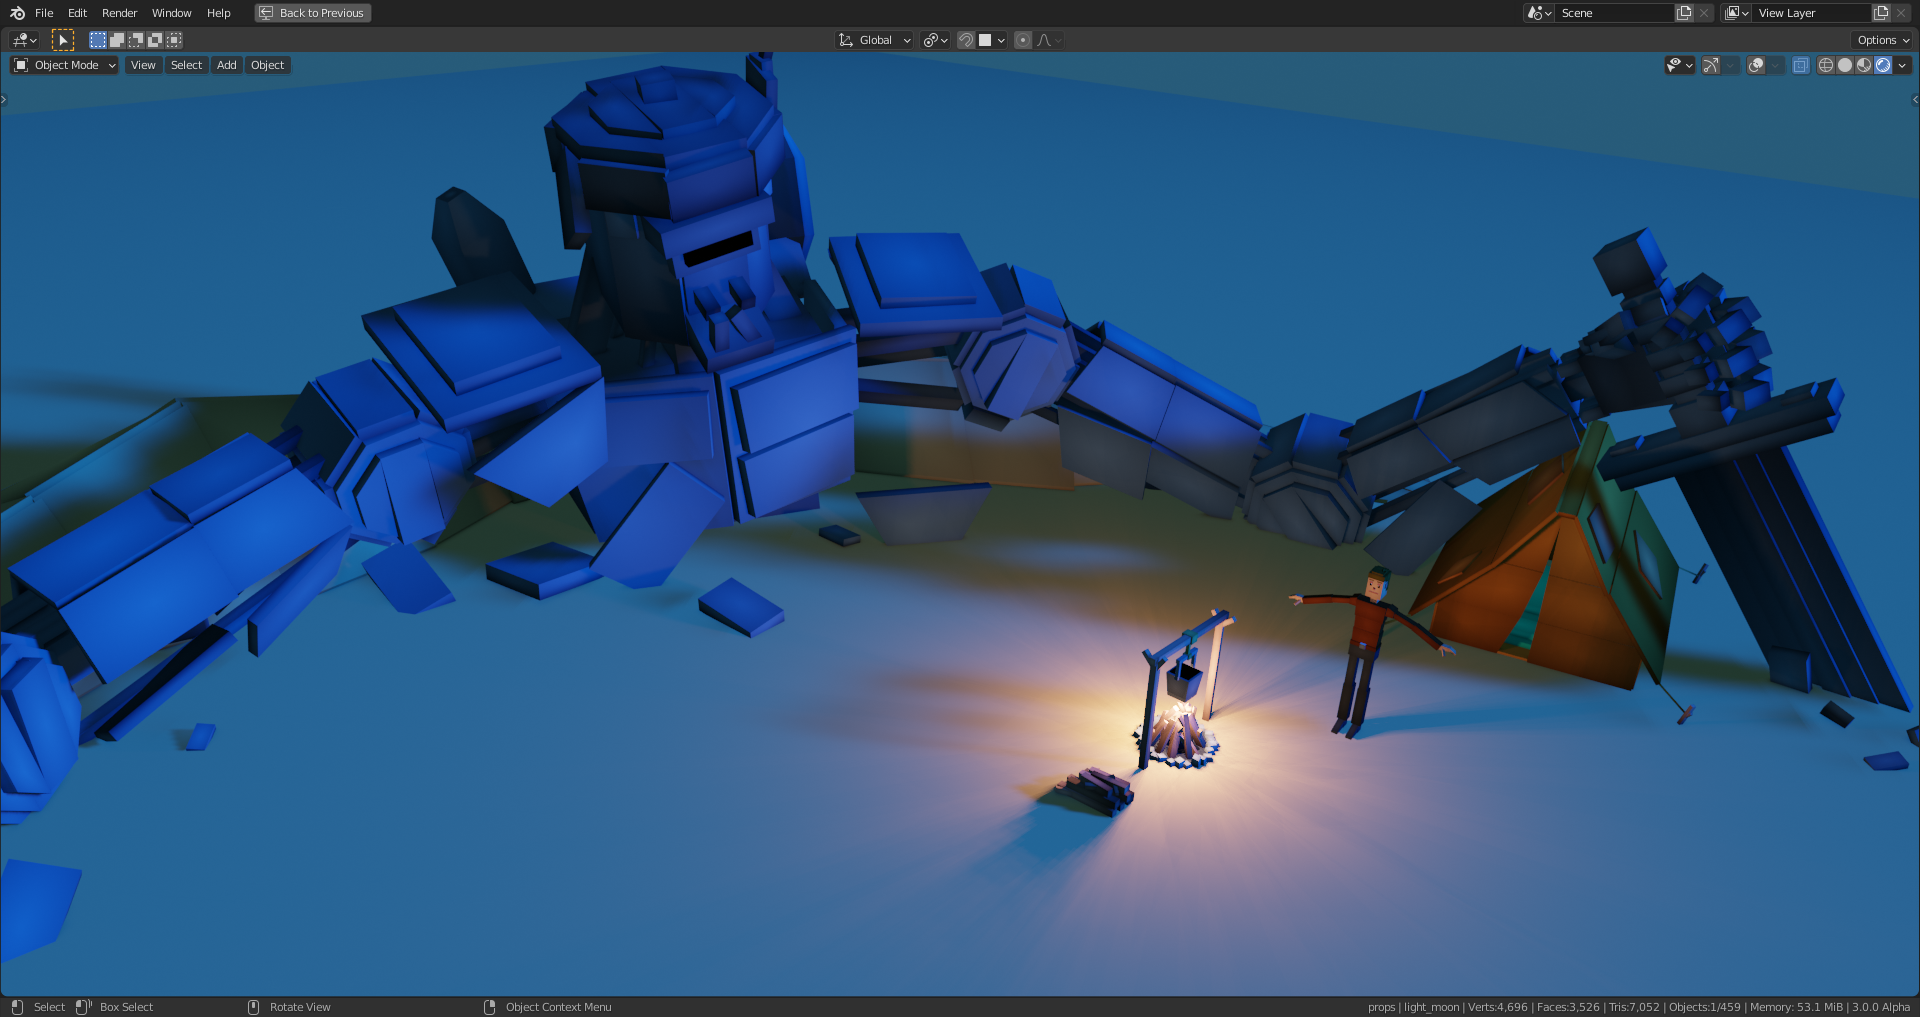
PS: The male character is from the course's assets pack as well as the gradient materials (all the same setup, just with different colors).
After having read in ![]() stickdonkey 's "Space Station Challenge 2021" WIP thread here about his idea of a solar energy collecting space station, this came into my mind 😉😁:
stickdonkey 's "Space Station Challenge 2021" WIP thread here about his idea of a solar energy collecting space station, this came into my mind 😉😁:

