This can be used for a "Boolean Cut":
After "Make Instances Real":
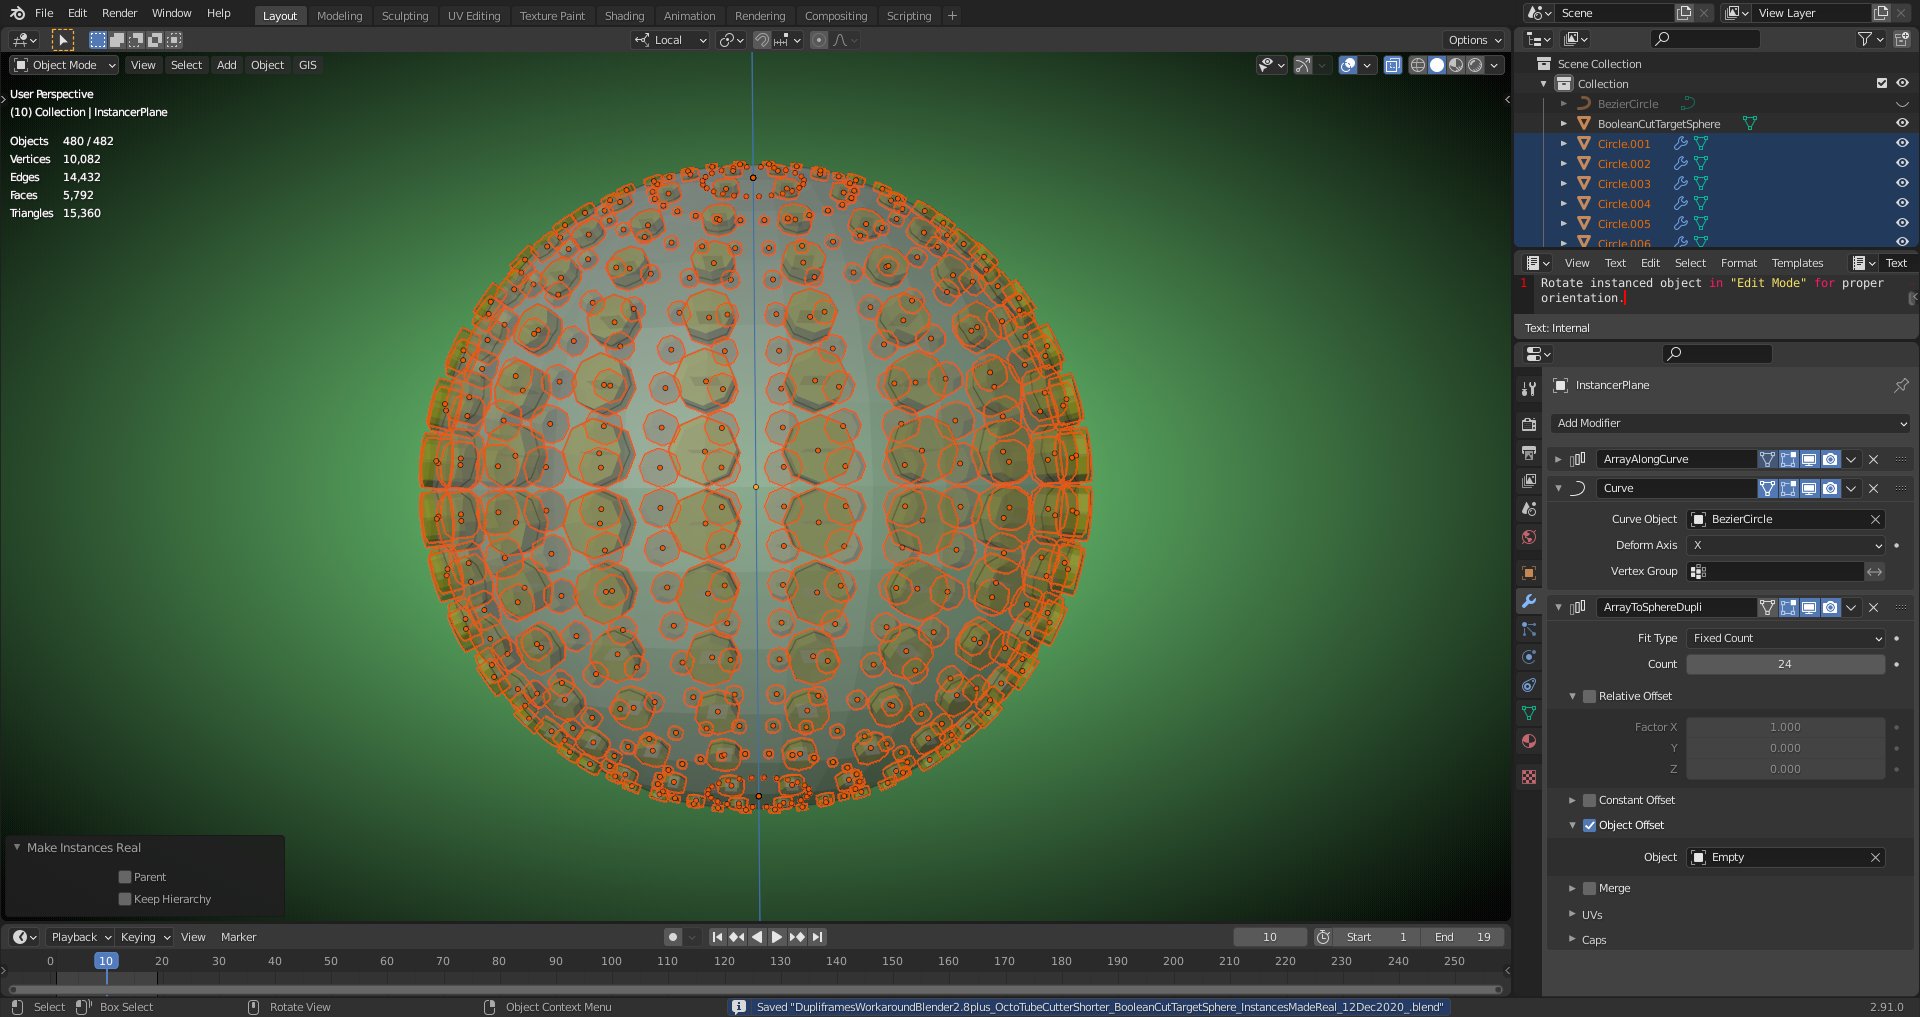
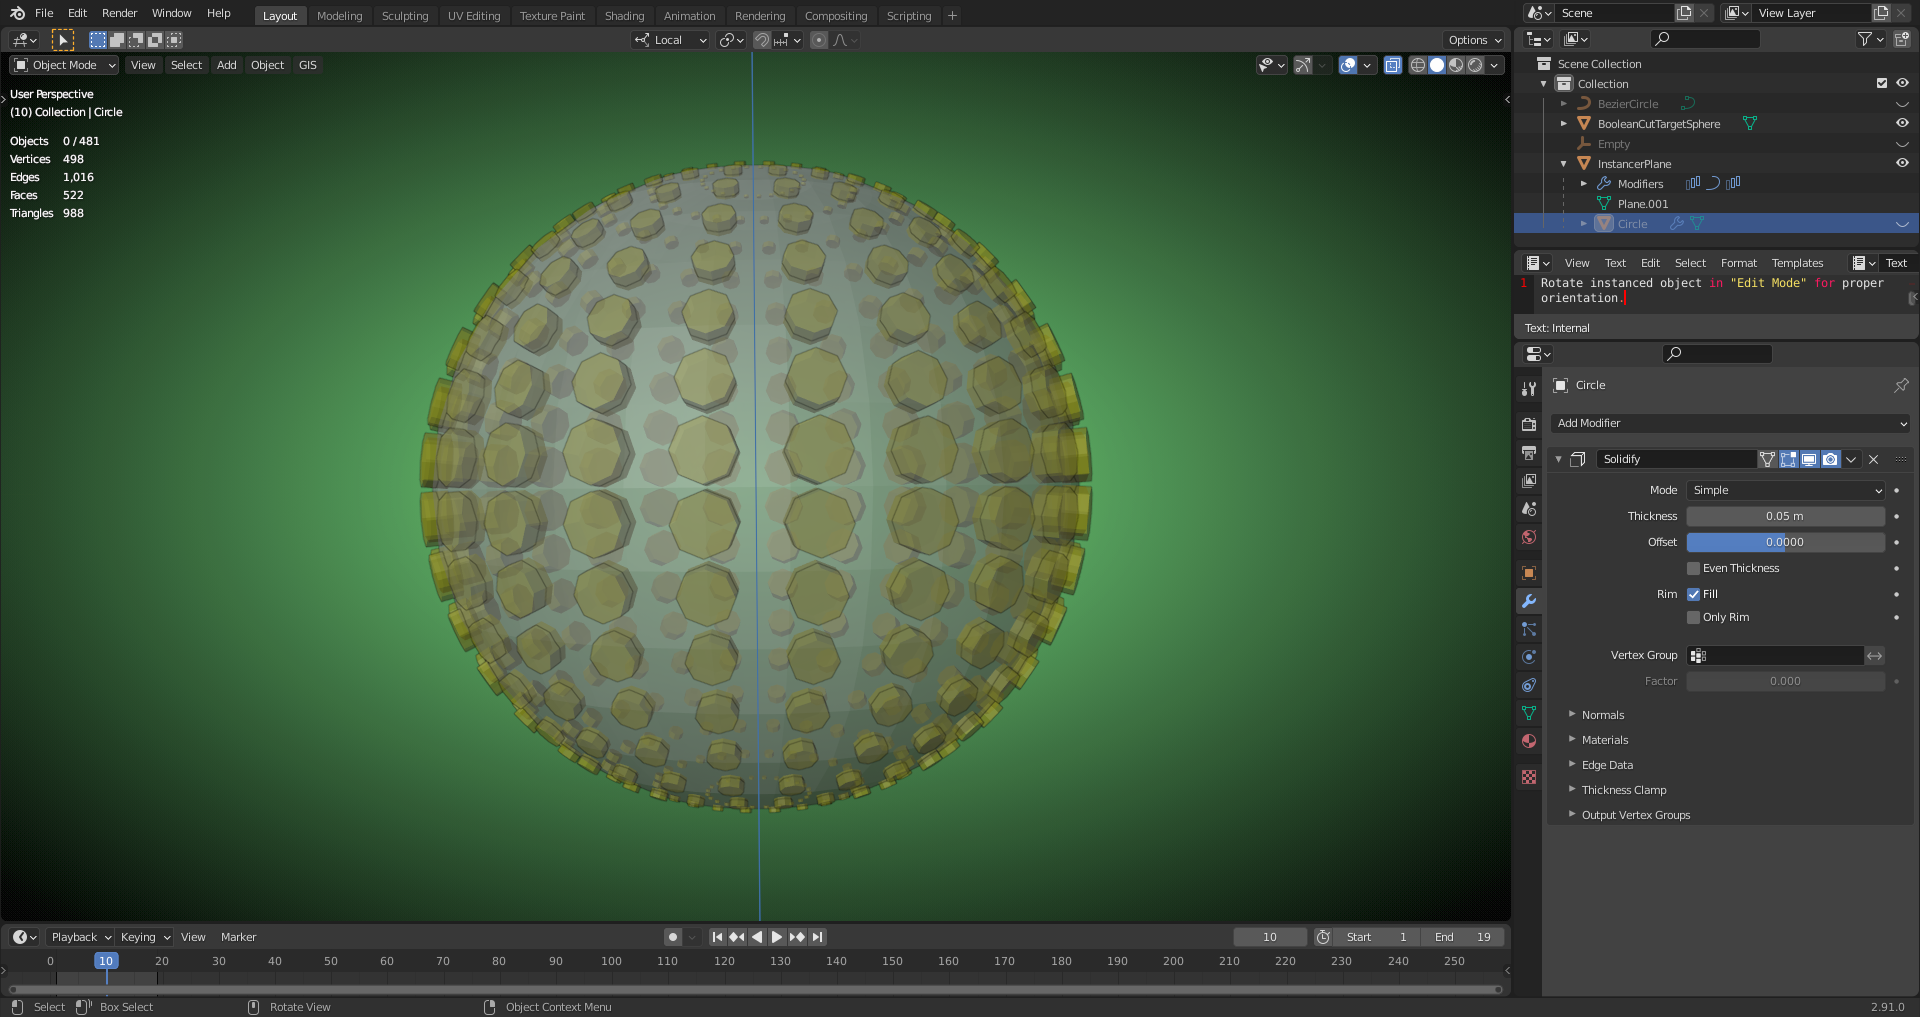
These individual cylinders have to be joined to one single cutting object for the "Boolean Modifier".
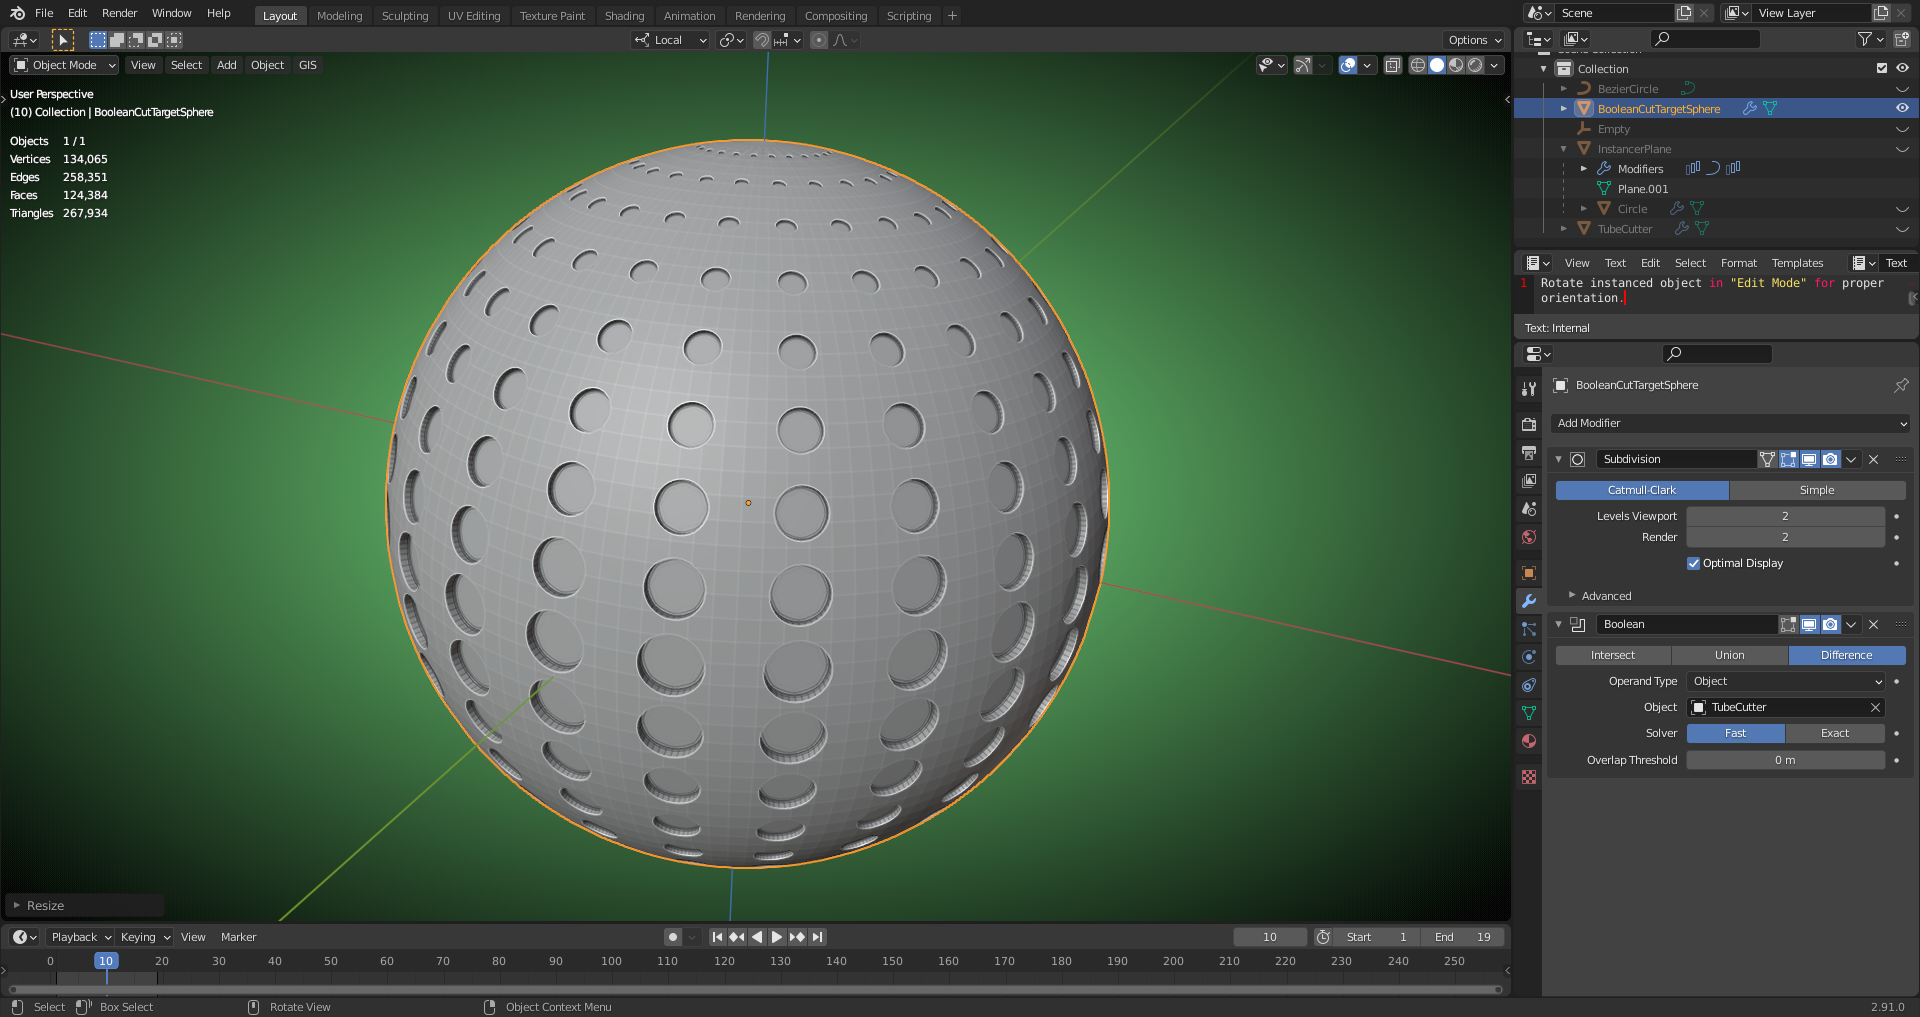
"Boolean Modifier" with "Fast Solver" and "Overlap Threshold 0":
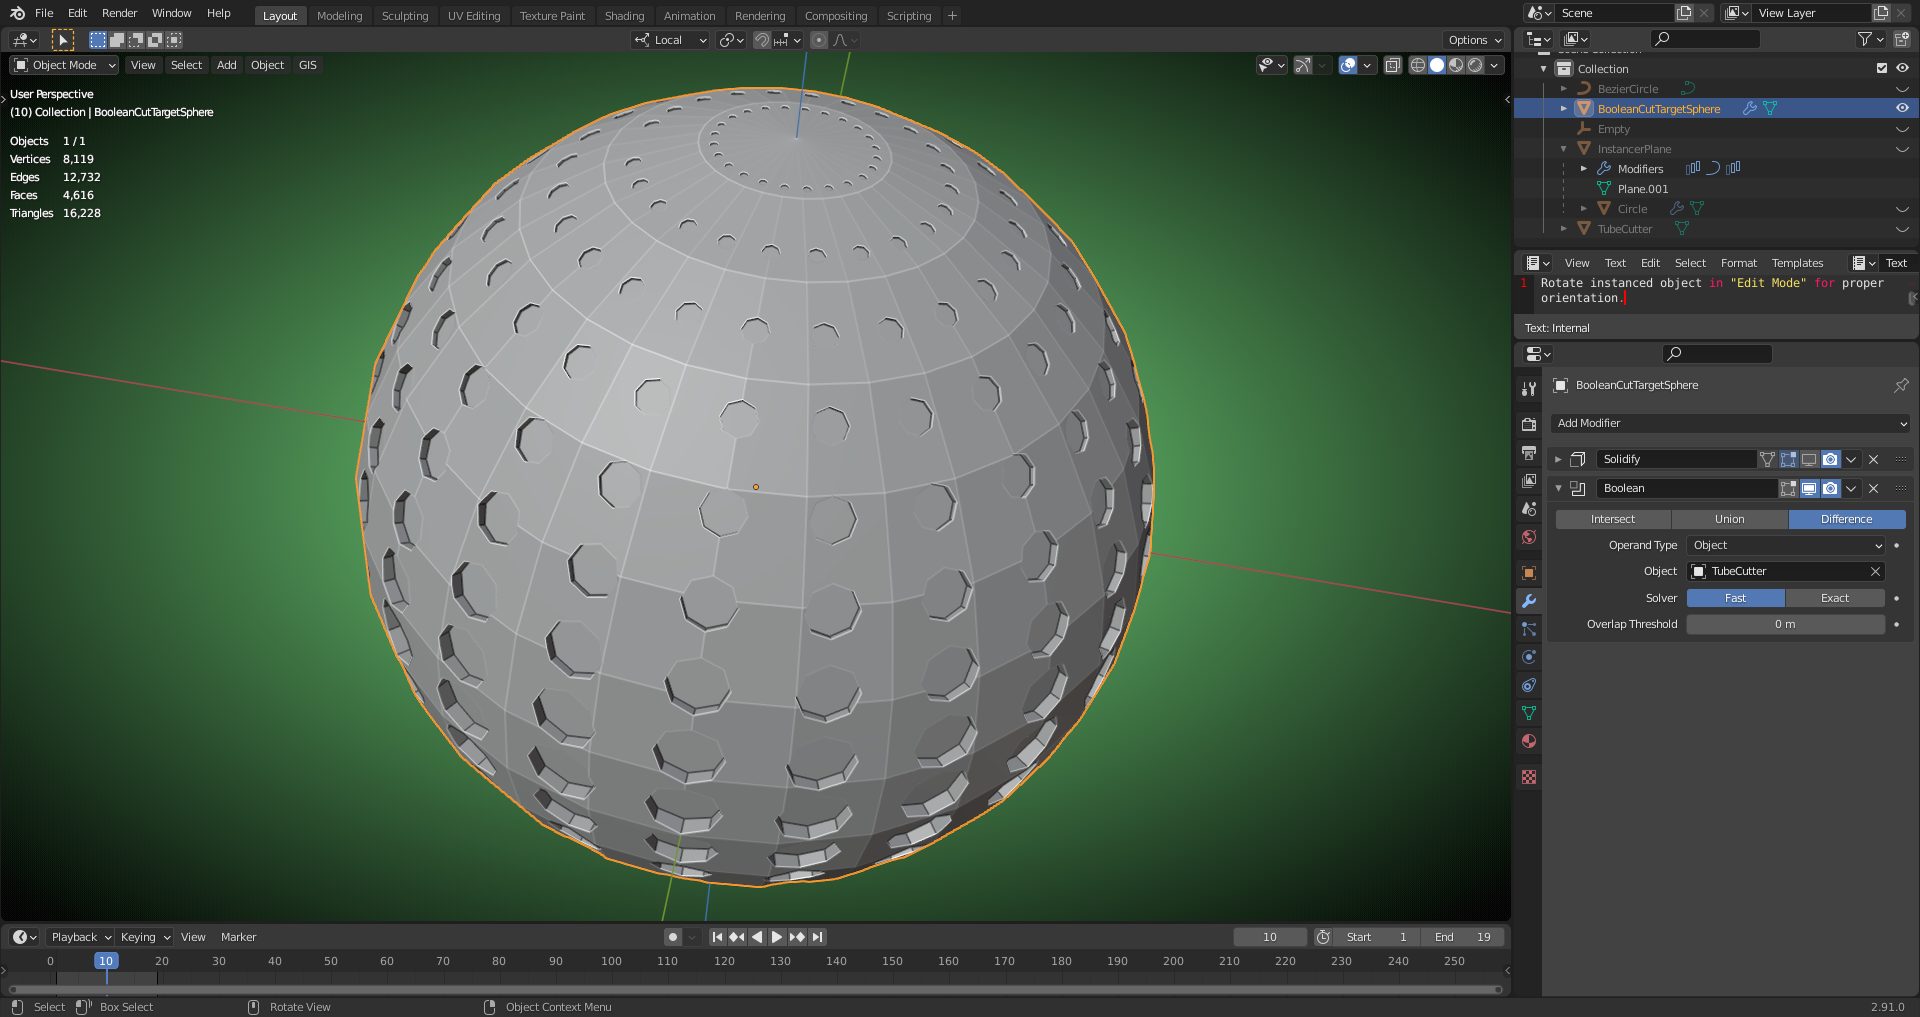
And with the "Target Sphere" smoothed ("Subsurf Modifier"):
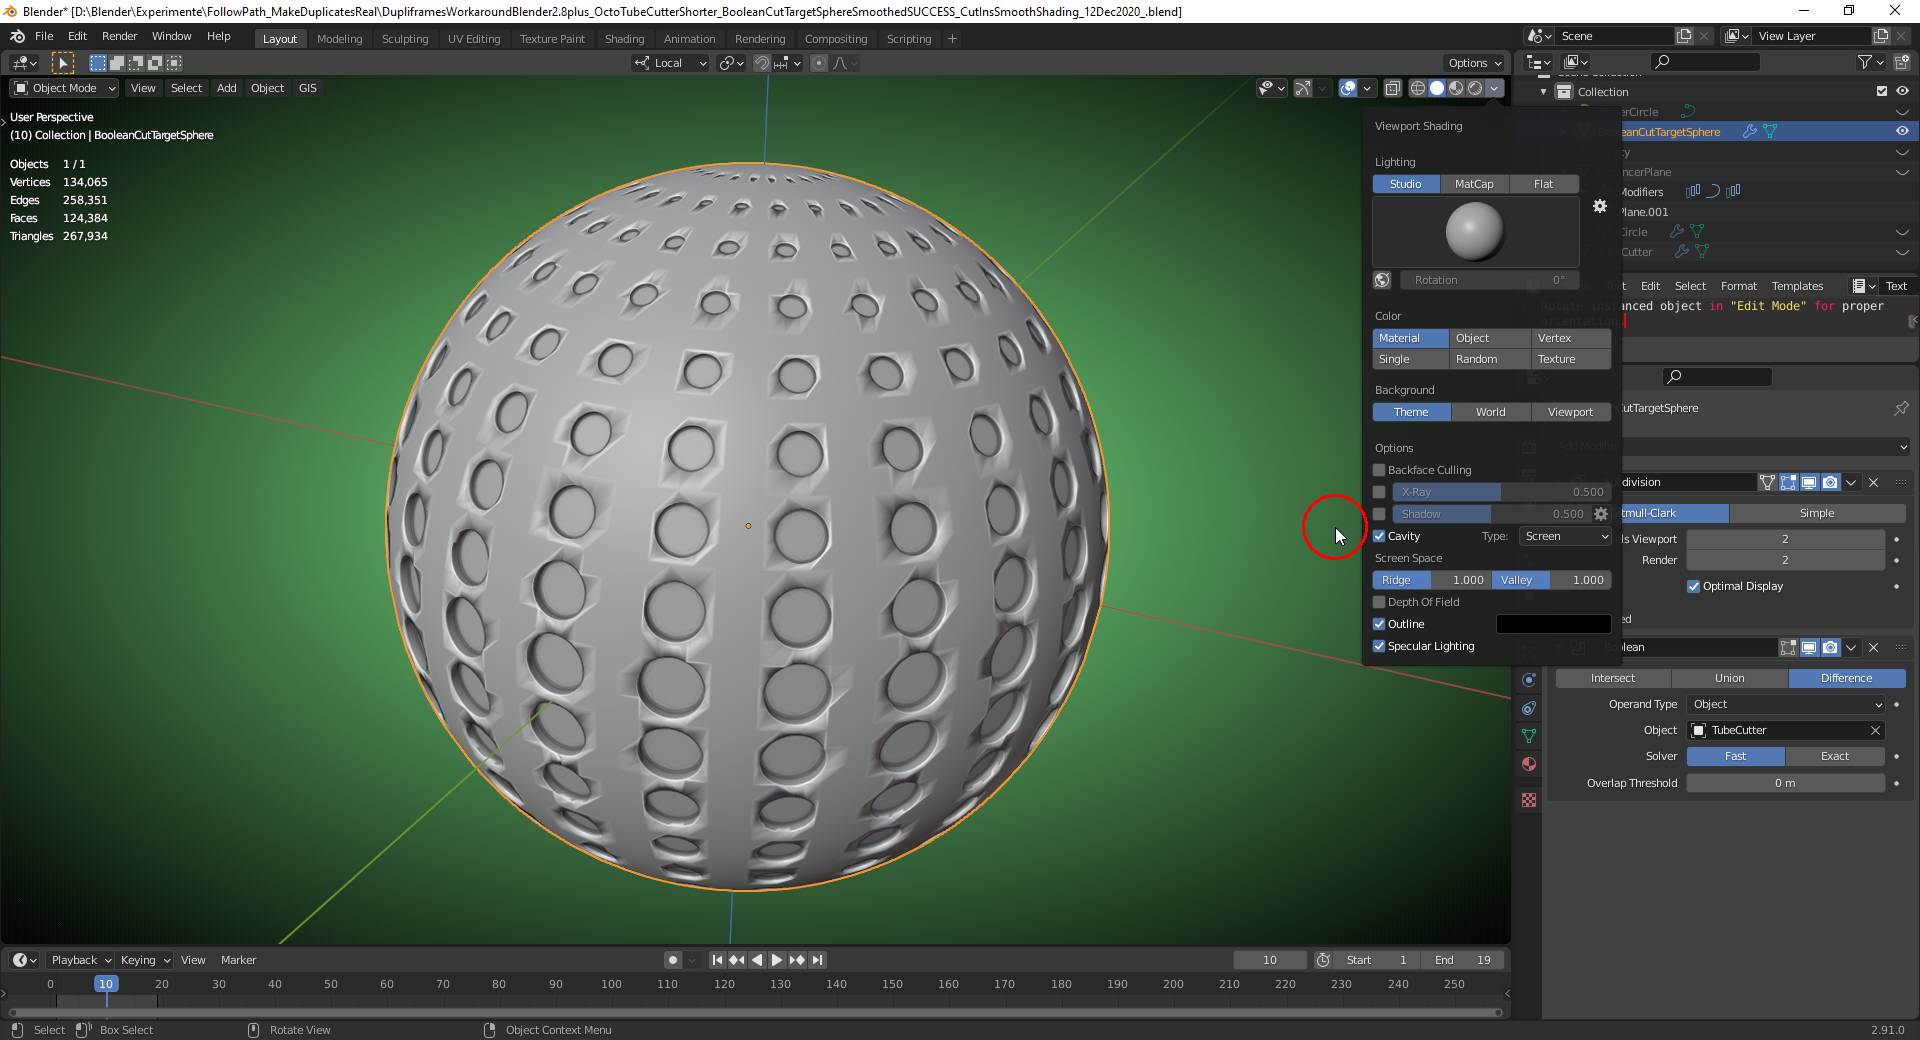
With "Smooth Shading" and "Cavity" turned on:
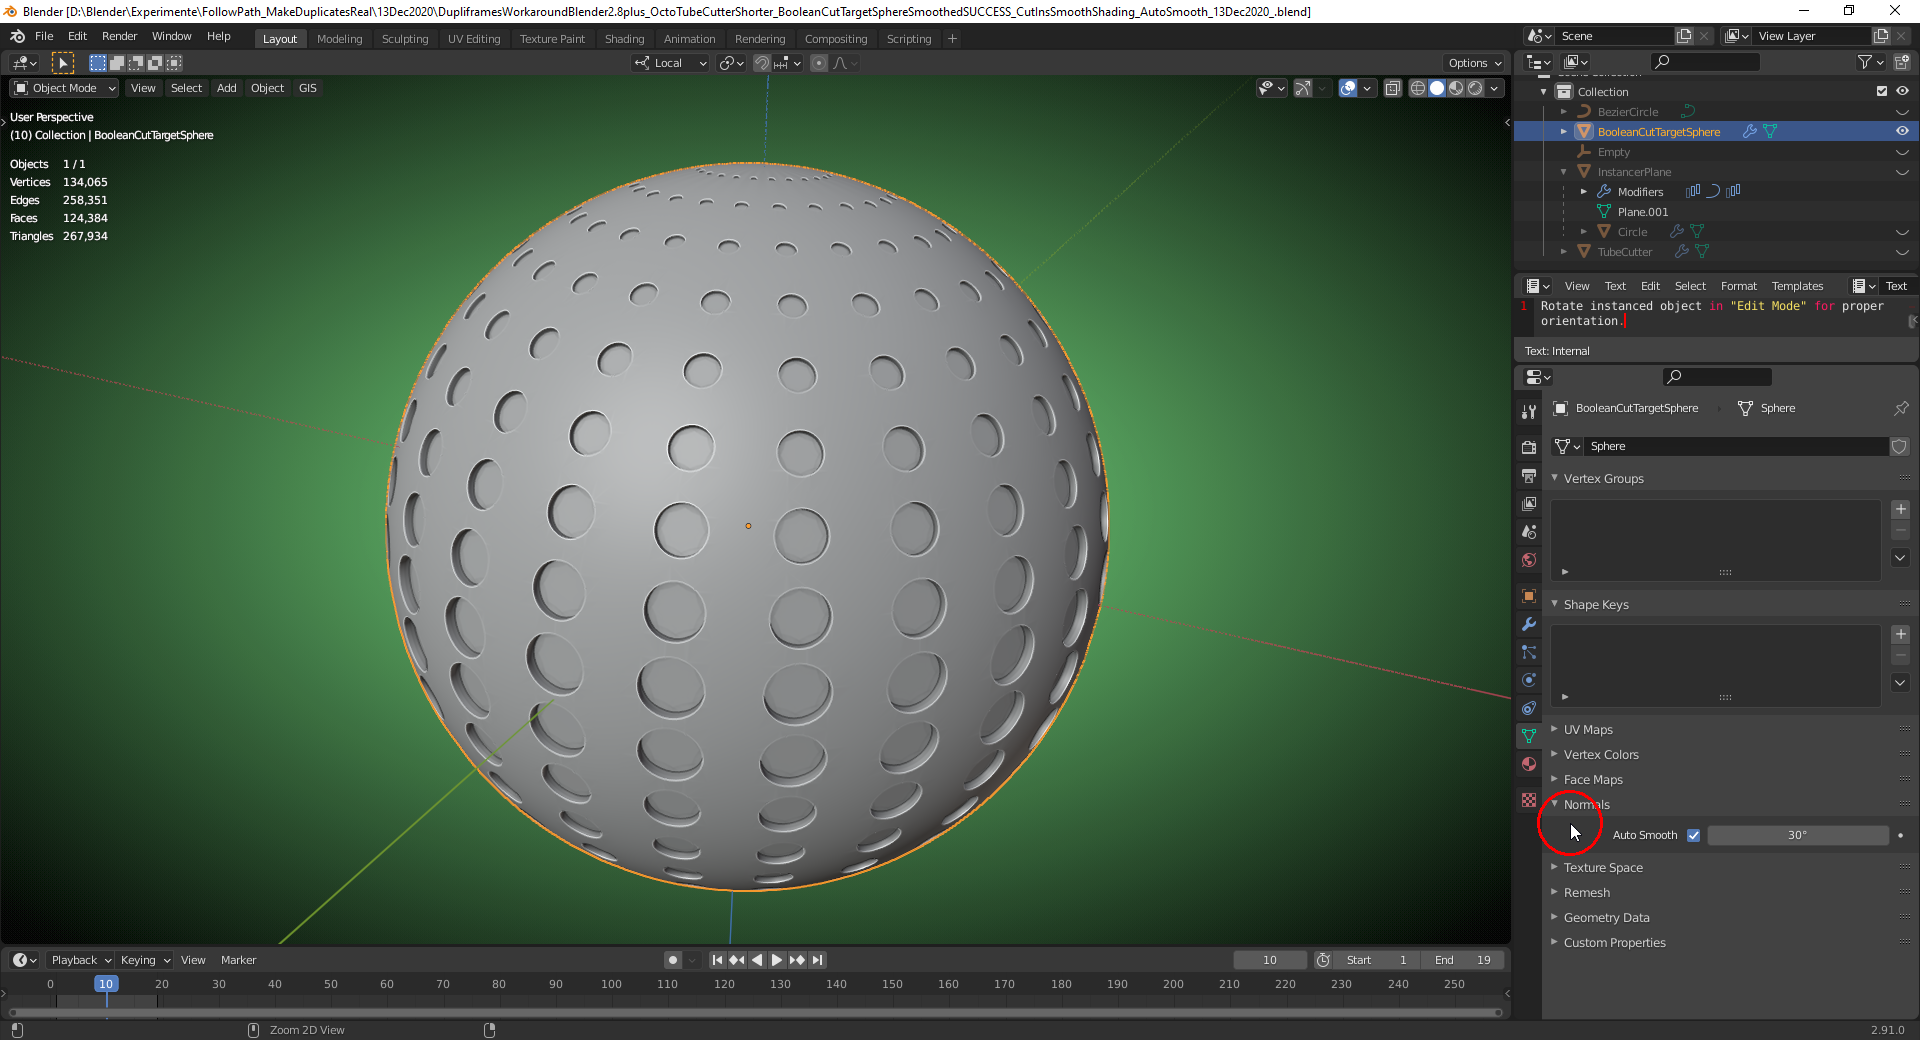
And without "Shading Artifacts" if "Auto Smooth" is checked (using the default setting of 30°):
File is here.
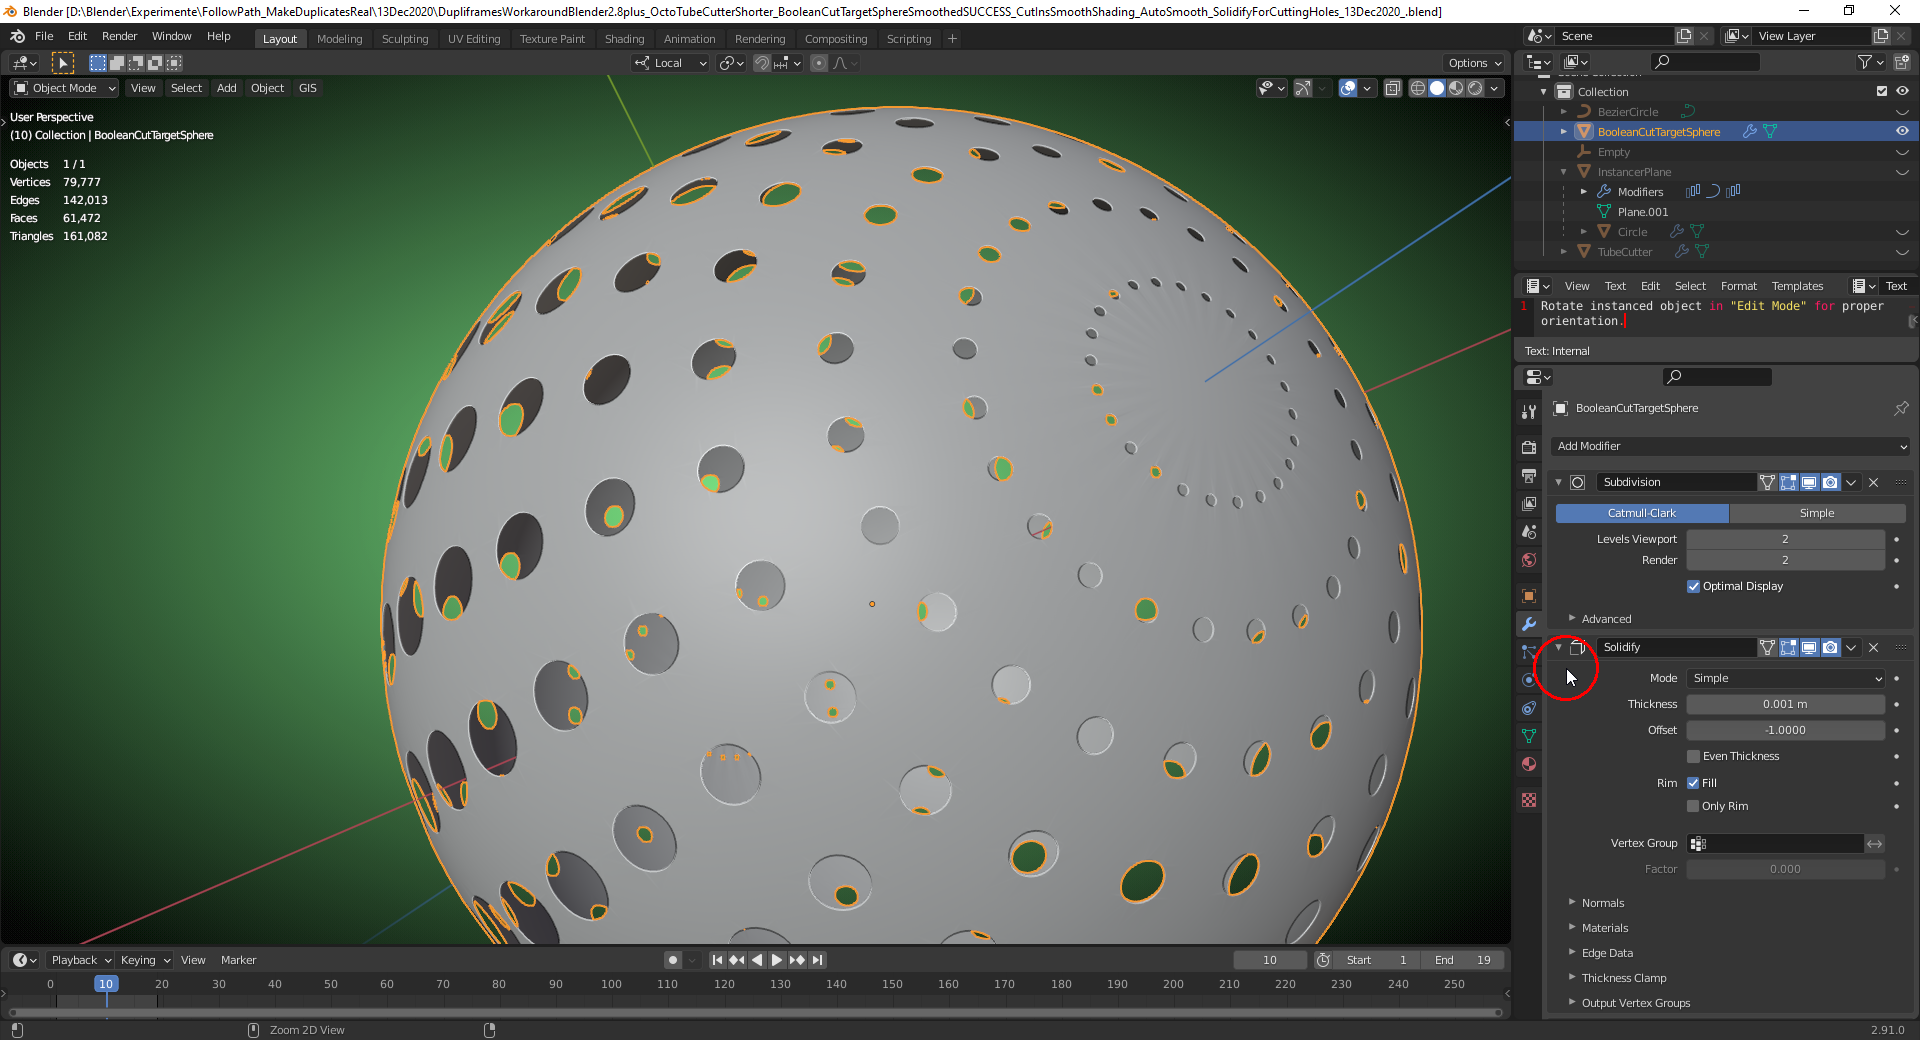
If you wish to cut out holes from your sphere, then add a "Solidify Modifier" to the sphere and choose a thickness that is thin enough so that your cutting object goes completely through that shell:
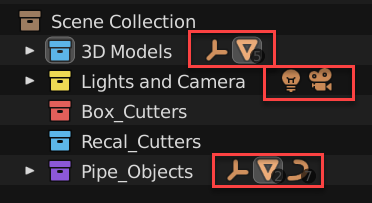
I stumbled on this and not sure what version it became available but the ability to click on icons to select objects quickly is really nice when you want a minimal view of the outliner. What's even better is that it activates the Object's more important properties by default when you select the objects this way. For example: clicking on the lamp will instantly show the lamp properties menu automagically highlighted. There is also a search bar for those of us who name our objects for easier narrowing.
You can click on the light and camera quickly too which means I don't have to open collections to find certain objects.
Here's a quick gif showing easy selections from the outliner.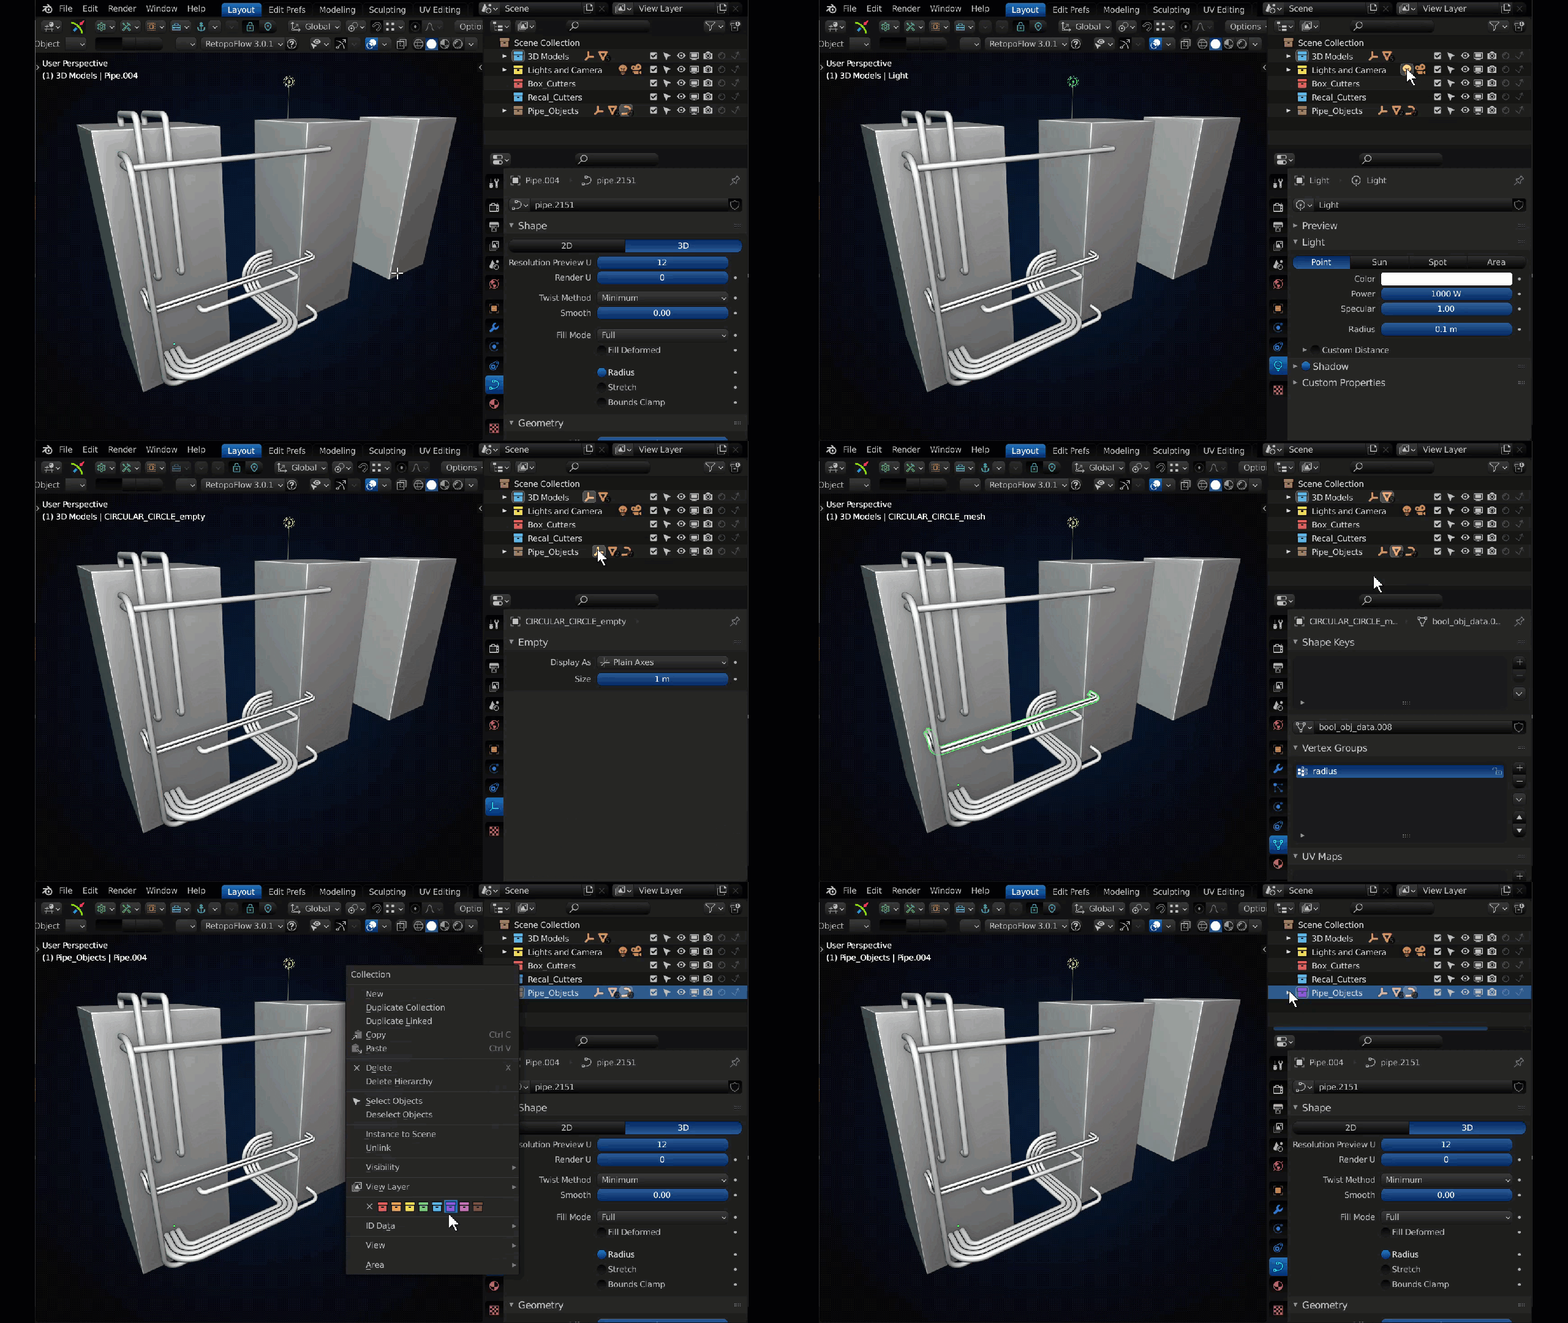
Remember to give your beloved collections some nice new colors to activate your right brain for better memory book-keeping. When your outliner is open and becomes infinitely long the color is displayed on a line all the way down the collection and is there to remind you which collection you are in even if you don't see it's name.
Also don't forget to move items easily between collections using drag and drop in the outliner (along with some additional key operations like holding Shift while using drag and drop to make quick parents) OR in the 3D viewport you can select your object and it the M key for quick movement.
That's totally why I started this thread. If you find something super helpful then feel free to contribute.
Thanks ![]() duerer it has been on my to-do list ever since I made it for my assembly on our Dog. I finally got around to rendering it out. I hope it doesn't look too mean lol.
duerer it has been on my to-do list ever since I made it for my assembly on our Dog. I finally got around to rendering it out. I hope it doesn't look too mean lol.
I hope it doesn't look too mean lol.
![]() blanchsb Your new avatar looks determined to master all challenges 😀👍!
blanchsb Your new avatar looks determined to master all challenges 😀👍!
You are most welcome. Feel free to contribute as you find something that truly helps your workflow ![]() beefkeef (hint hint, share your meatball wisdom with the community!)
beefkeef (hint hint, share your meatball wisdom with the community!)
With pleasure! Such great nuggets in this amazing program. There will be more to come I am sure of it.
Just checking whether new nuggets have been panned from ![]() blanchsb 's Klondike 😉💰🏞🤠 . . .
blanchsb 's Klondike 😉💰🏞🤠 . . .
I’ll post the next nugget I learned shortly. It’s an outliner nugget and has to do with modifiers
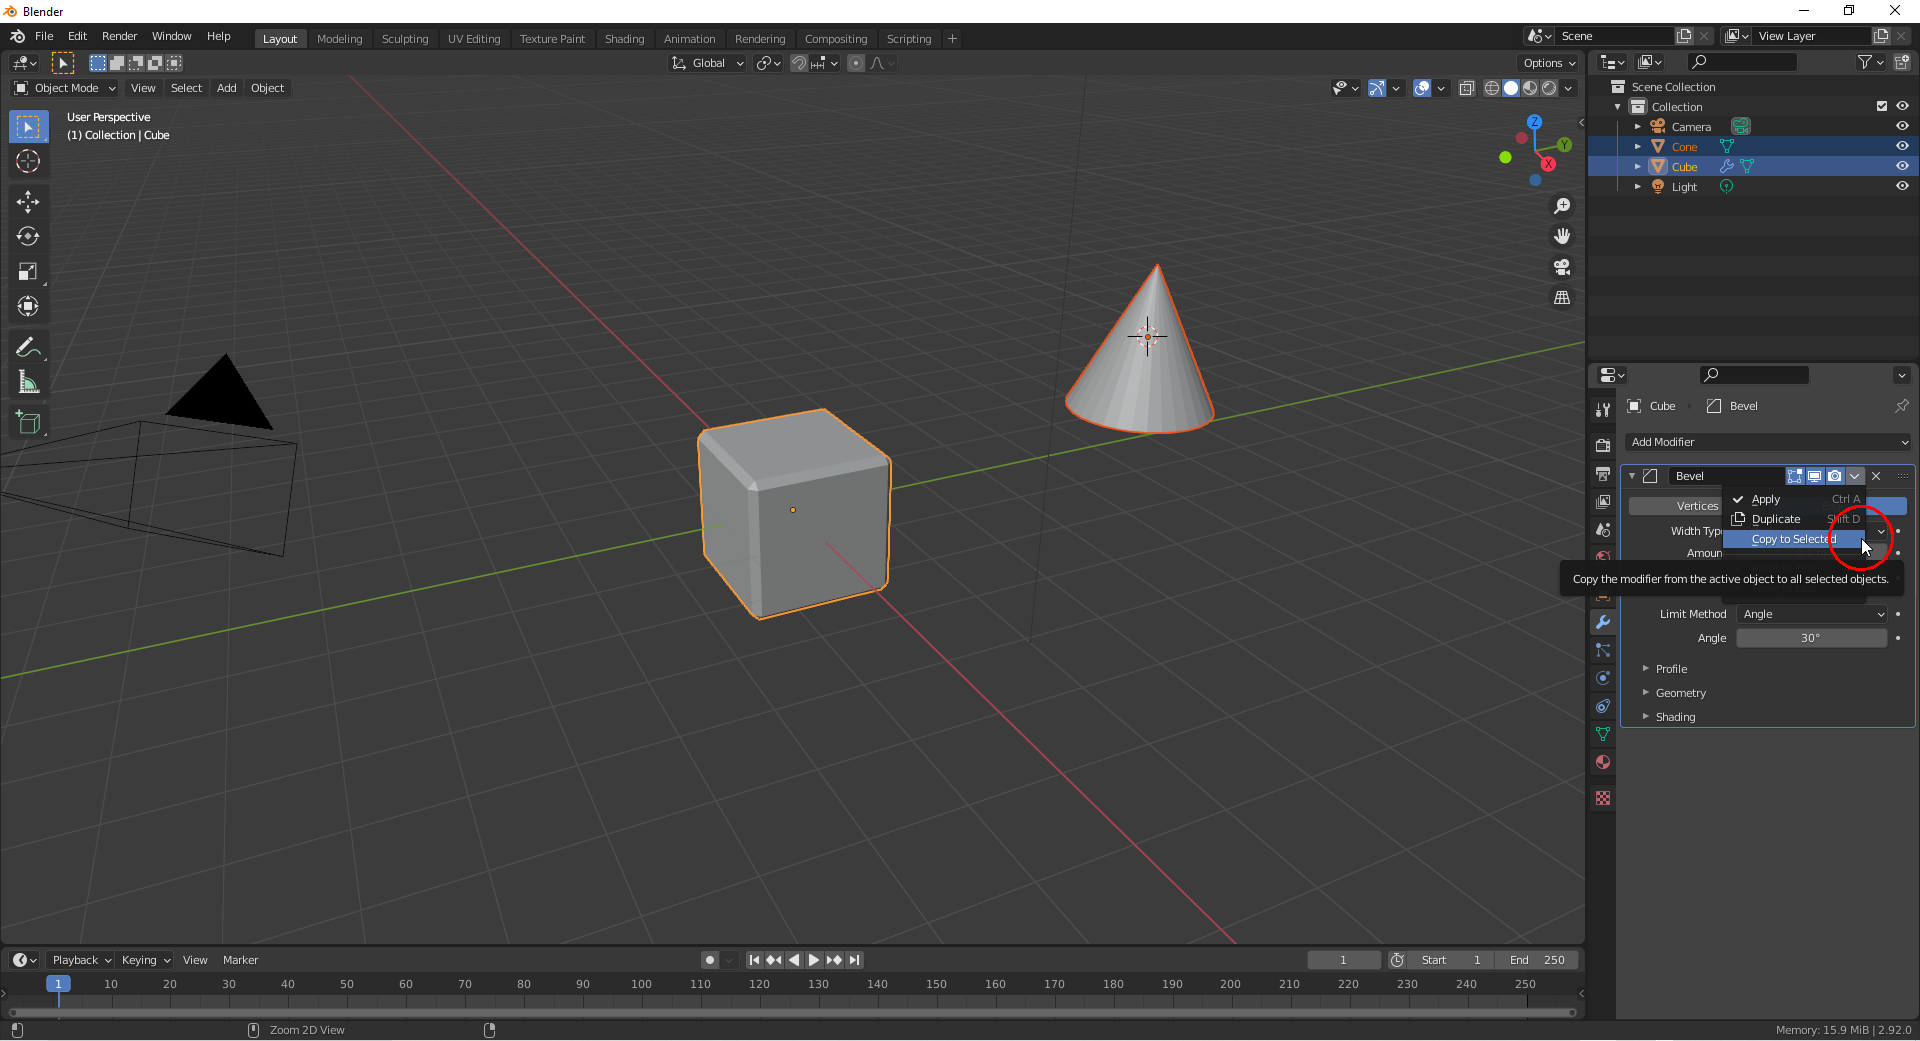
![]() blanchsb I also have one nugget with modifiers: Since Blender 2.92 (but not in the Alpha version) you can copy a single modifier from the active object to all other selected objects where it is added to the already existing modifiers:
blanchsb I also have one nugget with modifiers: Since Blender 2.92 (but not in the Alpha version) you can copy a single modifier from the active object to all other selected objects where it is added to the already existing modifiers:
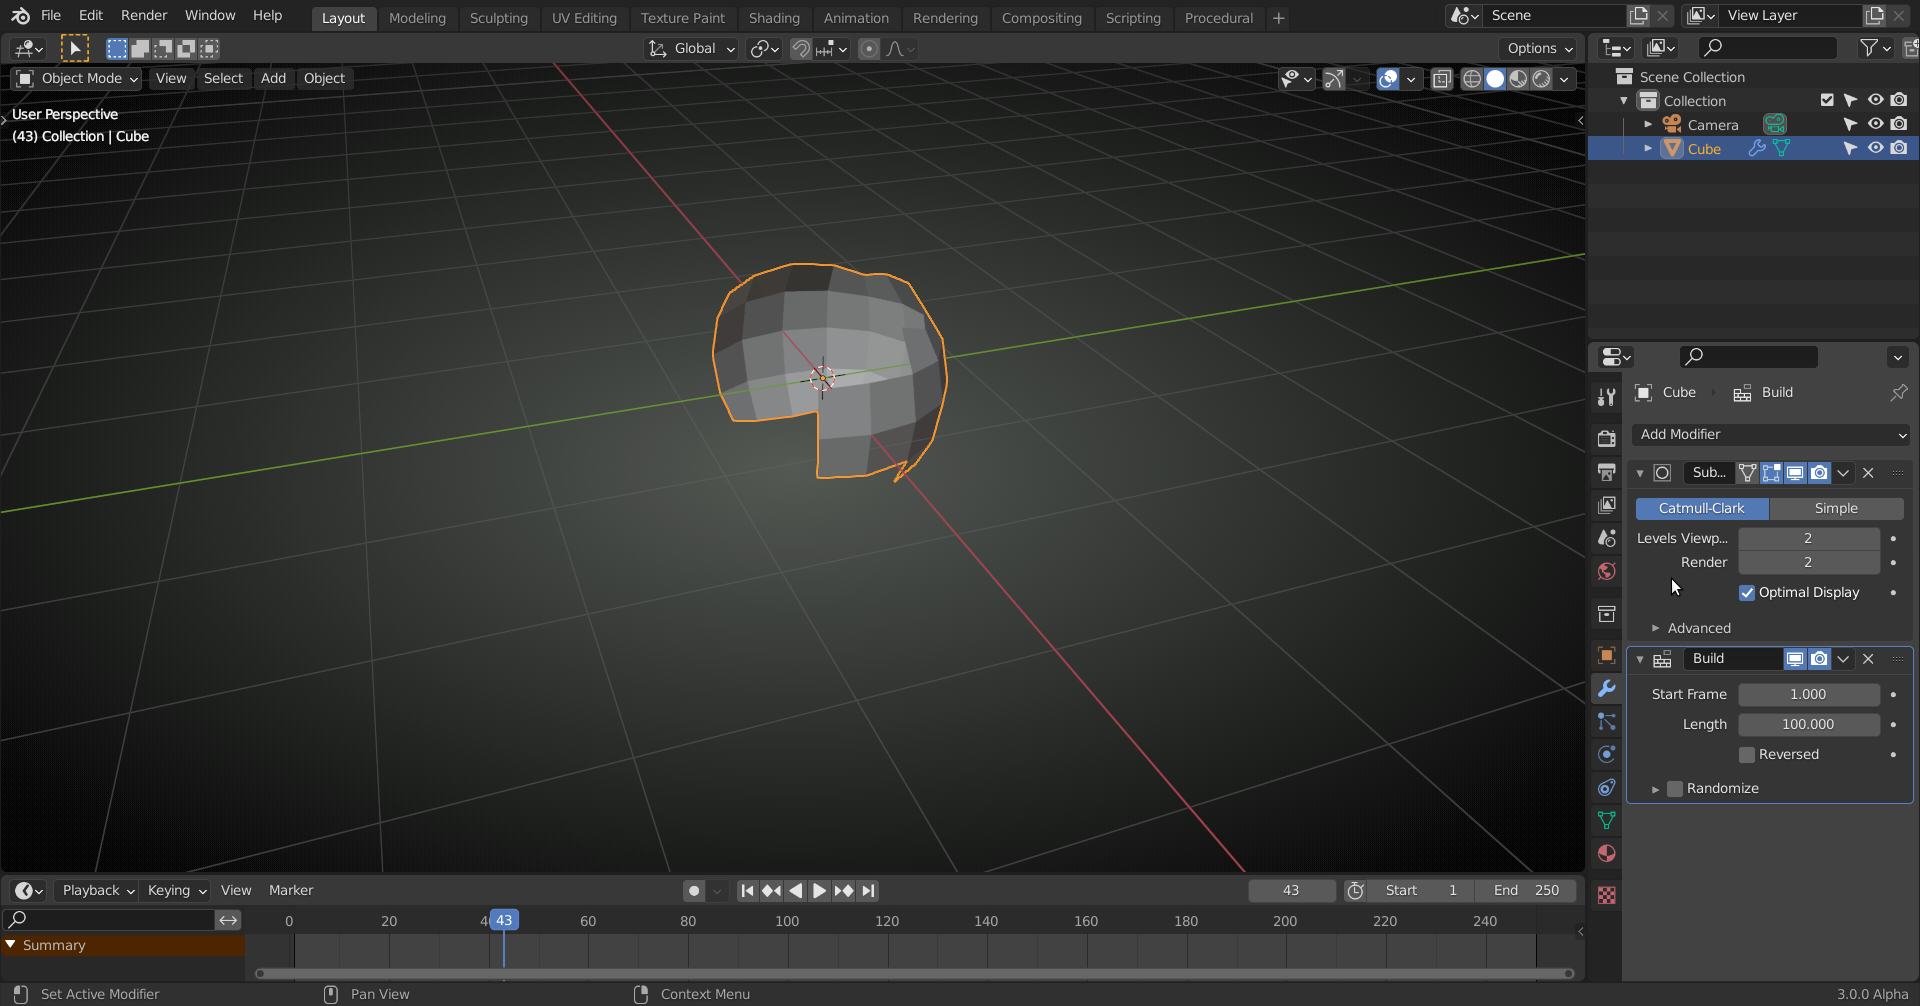
A useful shortcut for the application of modifiers exists in Blender since version 2.9 (but not in the Alpha version!): Click on a modifier in the stack so that it gets highlighted with a blue frame:
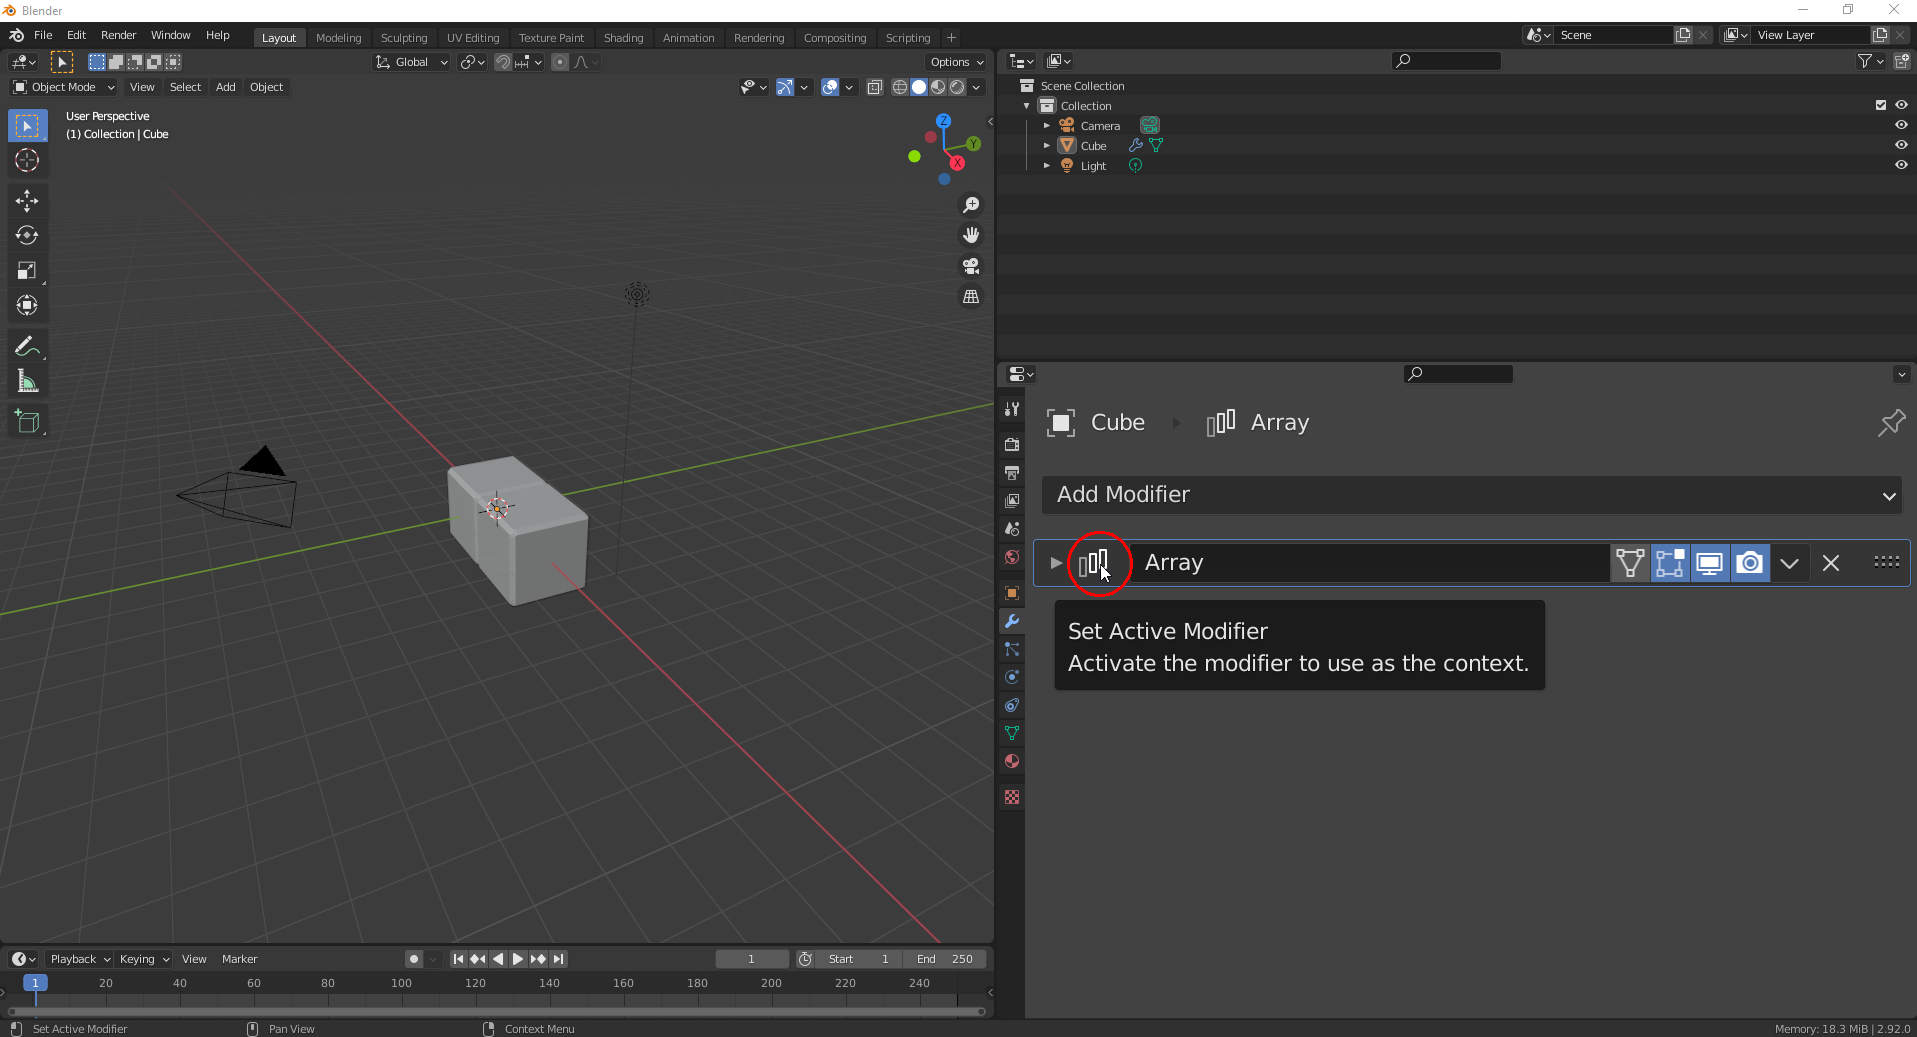
Now, you can press CTRL + A (whith your mouse pointer still in the "Properties Editor") in order to easily apply that modifier.
This one comes from ![]() phoenix4690 kindly showing me this awesome nugget.
phoenix4690 kindly showing me this awesome nugget.
You can drag individual modifiers from one Object to another Object in the outliner.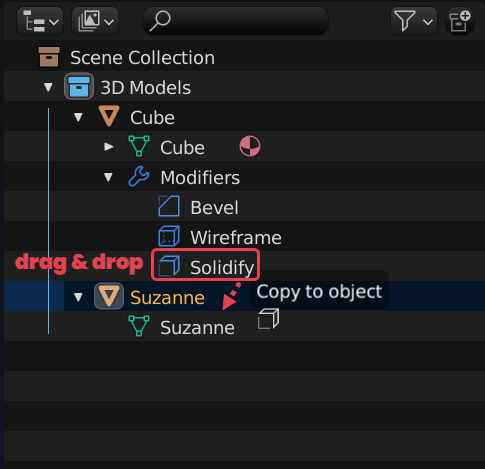
My favorite it dragging all of them..... like below:
Linking was never easier!
![]() duerer and all that follow this great thread, from 2.93 onward, this behavior has been changed (luckily!).
duerer and all that follow this great thread, from 2.93 onward, this behavior has been changed (luckily!).
CTRL+A now Applies the Modifier that the Mouse Pointer is hovering over.
Here CTRL+A will Apply the Subdivision Surface Modifier, not the active (with the blue outline) Build Modifier:
