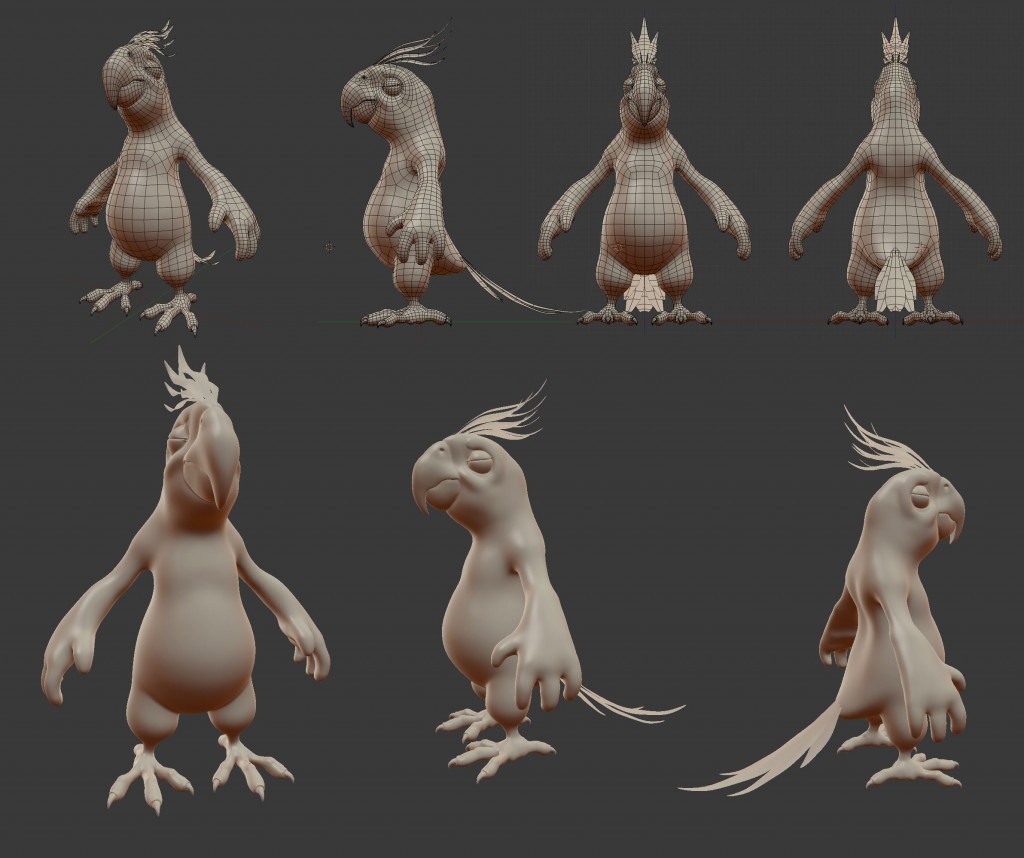
Pierrick Picaut recently shared with us how he created his freelancing career in Blender. Now, he is back to reveal a few handy workflow tips for a stylized character.
Step 1: Getting Started With References and Dyntopo Sculpt

Once you've defined the style you want to give to your character, it's important to gather as many references as possible. Next, I like to start sketching my character using dynamic topology sculpting. You can create your rough shape using simple primitives and boolean them, use the skin modifier or directly sculpt from a sphere or a cube. Detailing is not important at this stage. Make sure your character proportions works! Adding detail later won't save a bad base shape.
Step 2: Time to Retopologize

For an animated character, topology is very important. I always refer to Jonathan Williamson's topology tutorial when I start this step just to make sure I keep the basic rules in mind. Try to define nice loops around every joint, around the mouth, and the eyes. Build your topology flow by following the natural muscle flow. If needed, now is also a good moment to revise proportions and UV unwrap your model. Finally, I add a new sculpting pass using MultiRes modifier and, later, Zbrush to refine my character and go into detail creation.
Step 3: Let's Paint the Textures!

I always keep it very simple when it comes to a stylized character, using solid color with a soft brush. I play with the occlude and normals option to paint seamlessly through my character. I start broadly: again, if main colors don't work together, adding details and textures won't make it better. Next, I enhance my base textures by mixing the base color with baked displacement, AO, and curvature maps. In this case, I also used some photo projections on the beak to get good roughness and scratch information.
Step 4: Adding Particles and Fur

Creating fur is quite a long process but I enjoy it a lot because the editing is quite natural and you get real time visual feedback. A piece of advice I wish I was given when editing my first fur system years ago: use multiple hair system! If you try to get nice hair design with only one particle system, it will be a pain even if you master vertex group. Just think of your fur as layers of nice and combed hair. They are not uniform: there are rough ones, short ones, long ones, maybe some locks, etc. You should create a particle system for each of them. That way, you'll have way more control over the final look.

Good job, friend! I will try to creat a lively bird like this one.
Thanks for this summary, finding it very clear
Nicely done :-)
这个很好玩
I love it!!!!!! Very great nice job Pierrick! Thanks for showing it!
I loved how that character turned out, specially the clean lighting on the video. Keep up the good work Pierrick.
Thanks for these useful tips, Pierrick!