INTRO
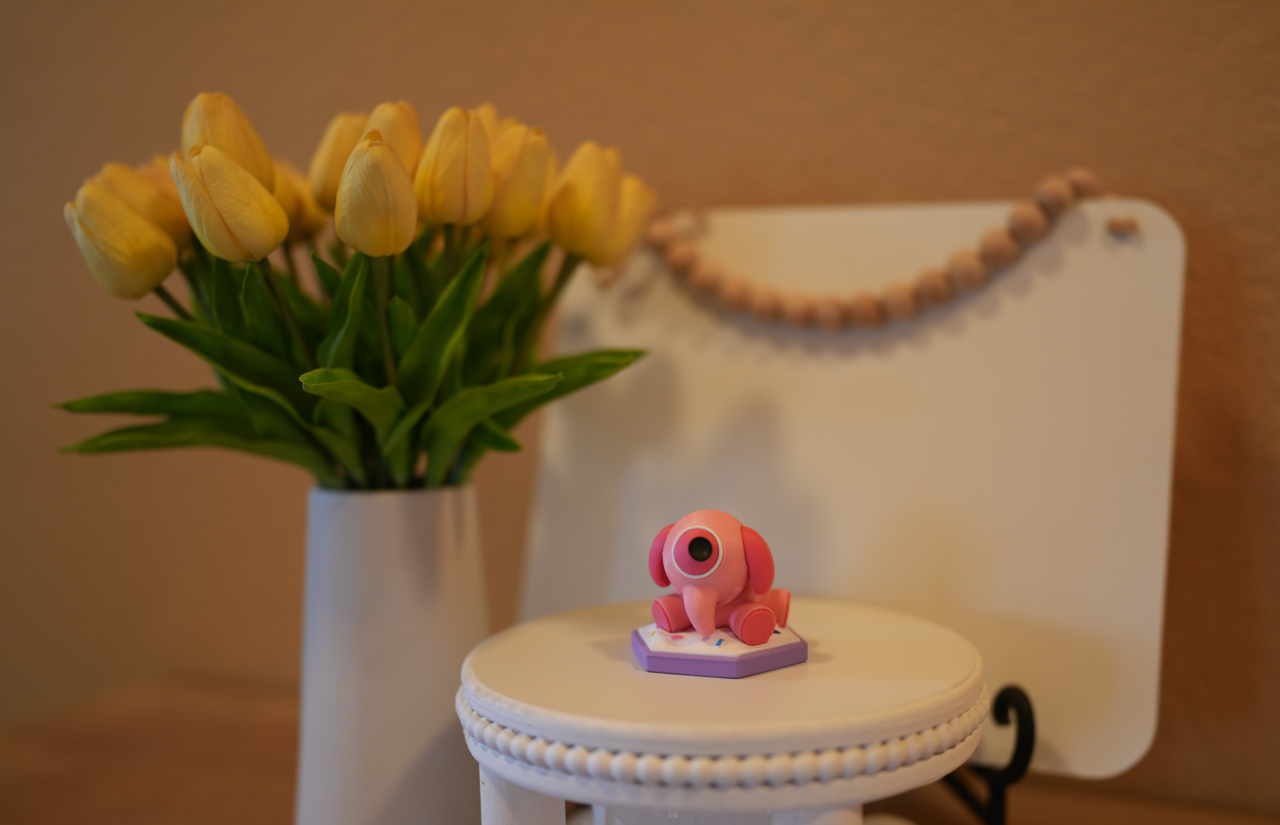
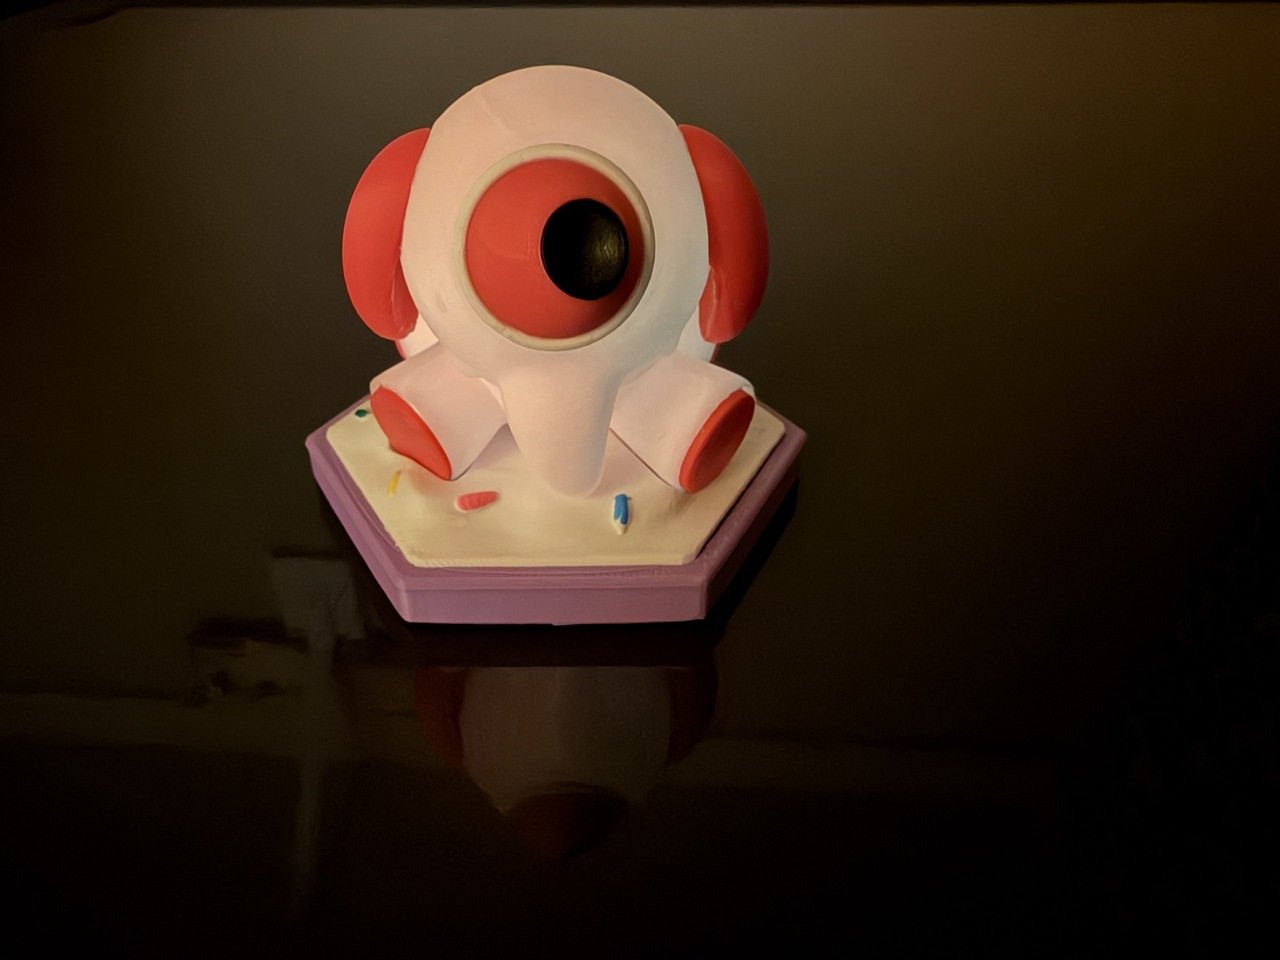
I give you the most adorable sniper that you ever laid eyes on. The Adorables team Sniper unit from the beloved game, Outwitters on iOS (now discontinued).
ADORABLES TEAM SNIPER UNIT STRATEGY
Coming in with a cost of 3 Wits, you get a unit that can only move 1 space with 1 health. What do you get for the least mobile and equally weak unit? A ranged attacker of course! These little guys can deliver 3 damage from up to 3 spaces away, making them capable of insta-killing many units on the map. They serve as great defense and when paired with the Adorable's special unit, the Mobi, they make for a sneak attack of elephantine proportions.
He must have a good eye and a strong snout to deliver all that damage! Unlike the other team sniper units this one leaves us with an interesting question: What type of projectiles does he shoot?
PRINTING WORKFLOW
This print took part in several recordings for you to see how it came together. Feel free to watch the videos and enjoy the pictures as I present my latest 3D Print tribute from the game that got me started with Blender.
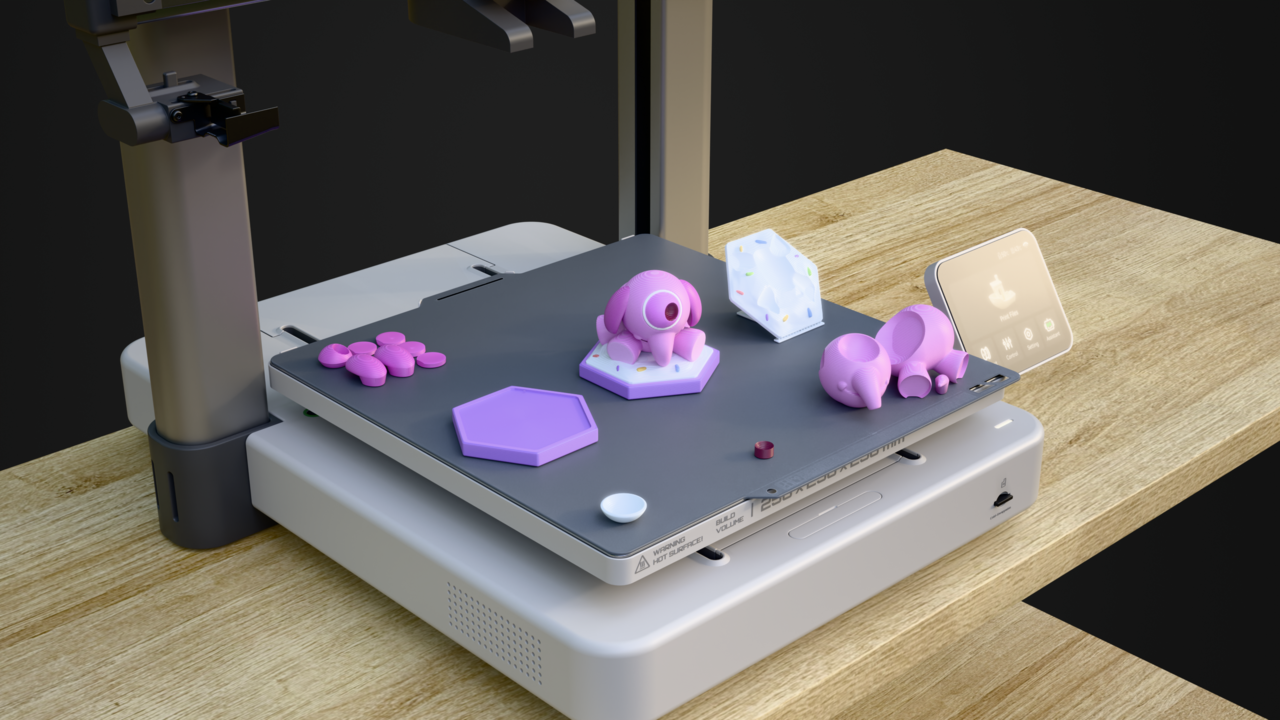
If you have seen my other works, you'll know that I like to visualize my 3D print attempt in Blender on a mockup of my 3D Printer. This doesn't resolve every issue but helps me remember scale and maintaining a sense of direction during the print prep process.
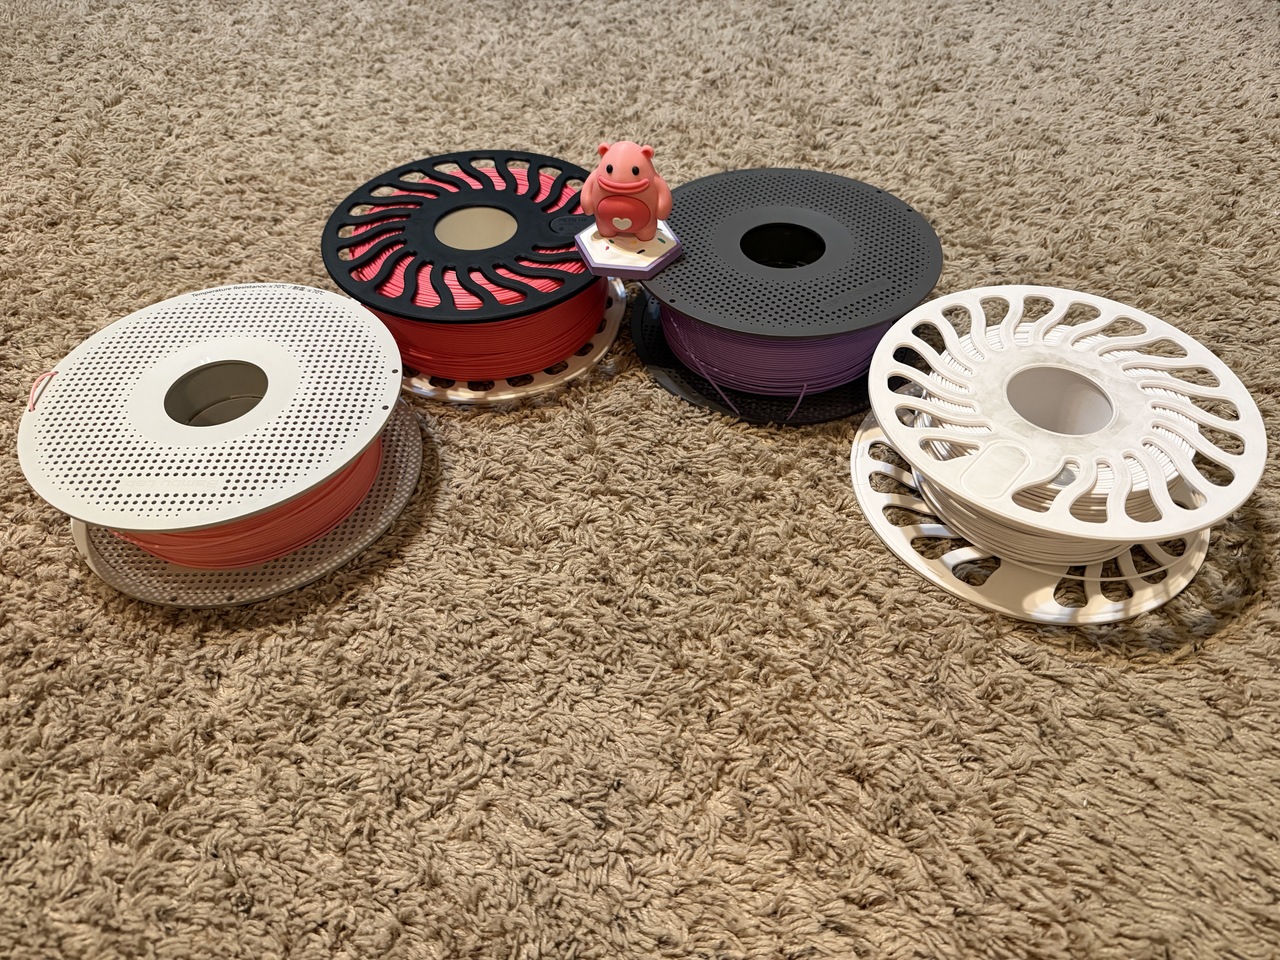
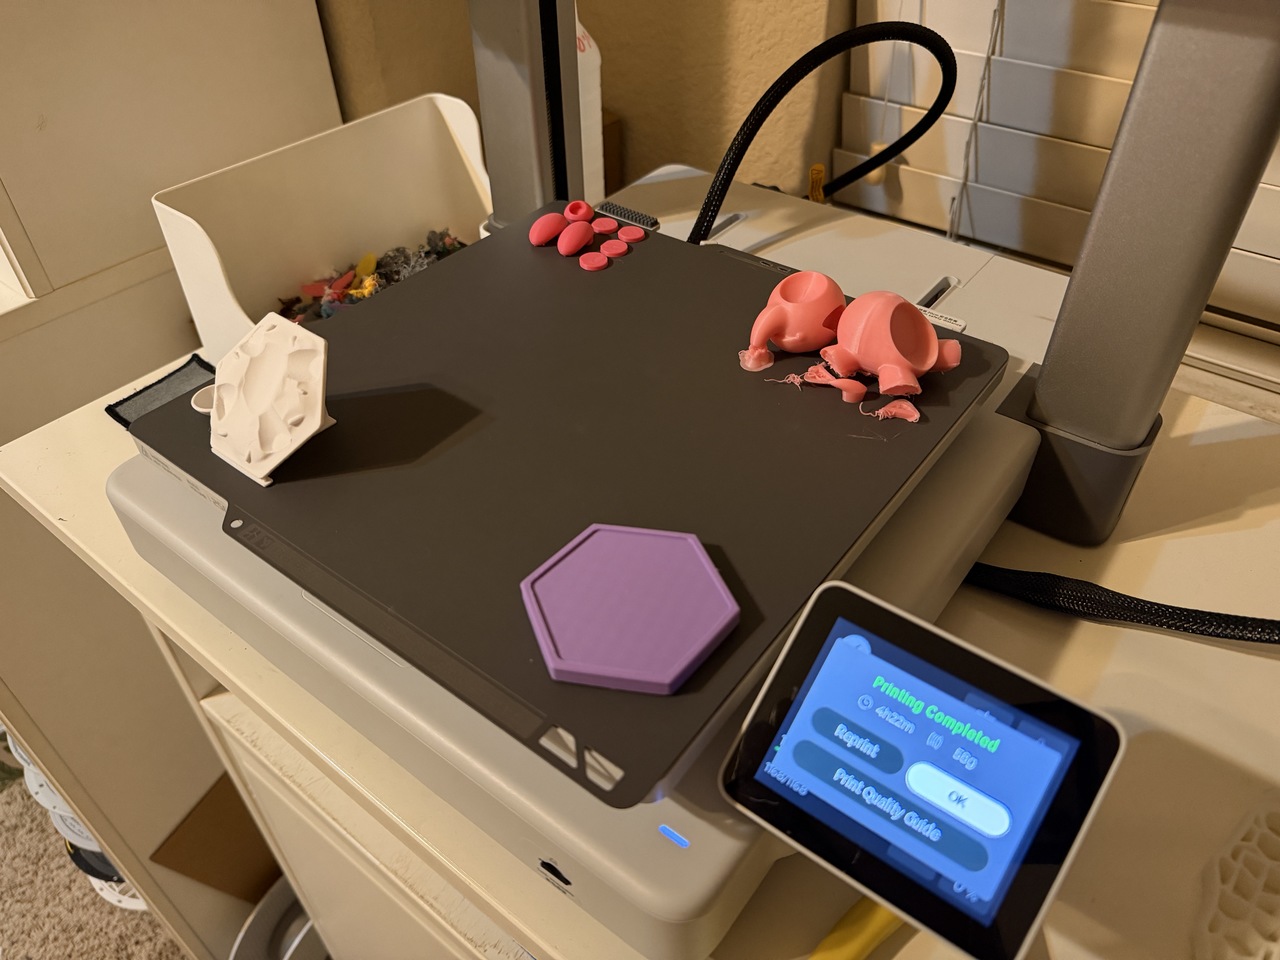
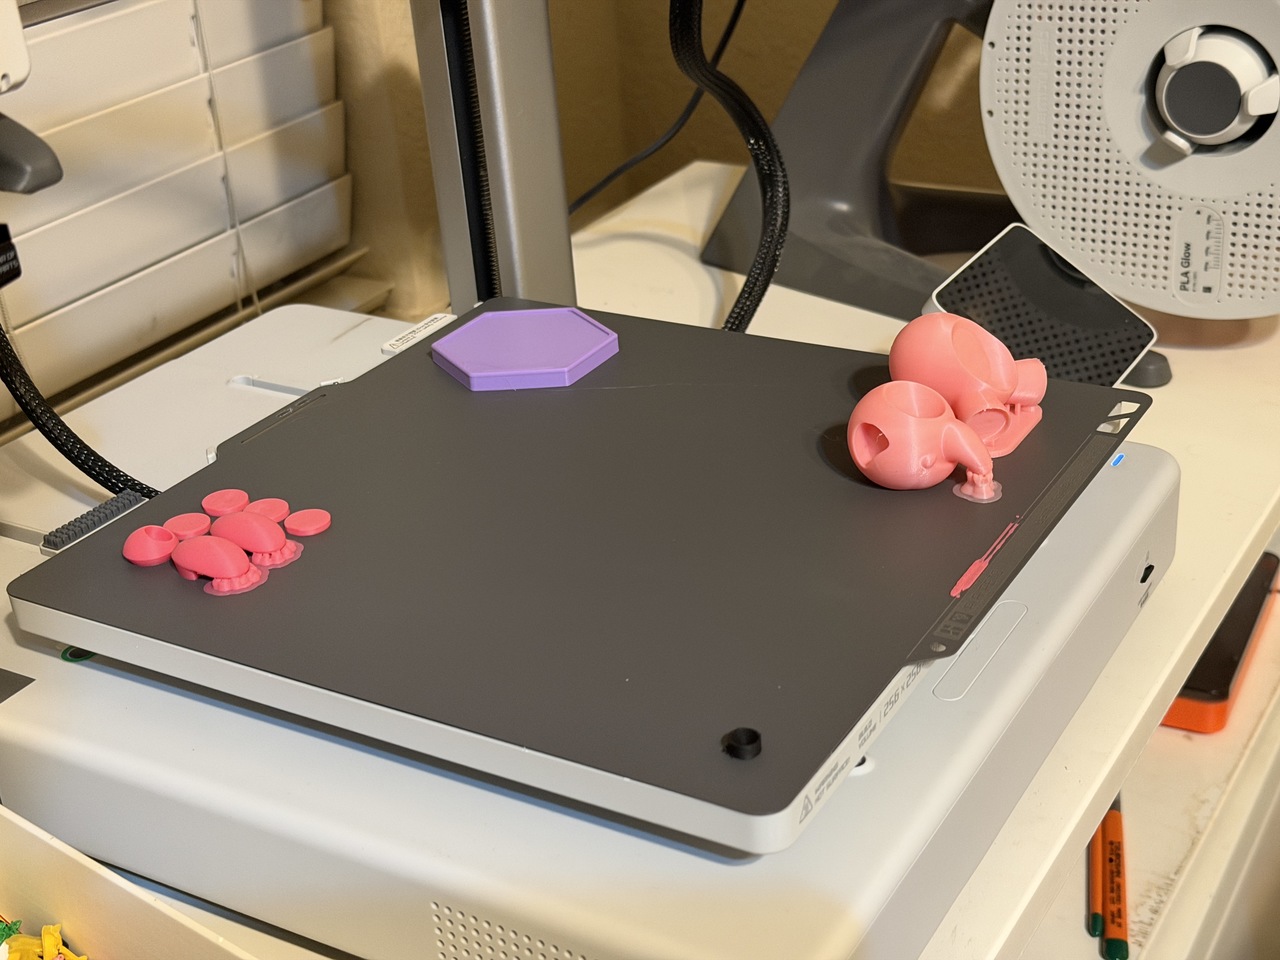
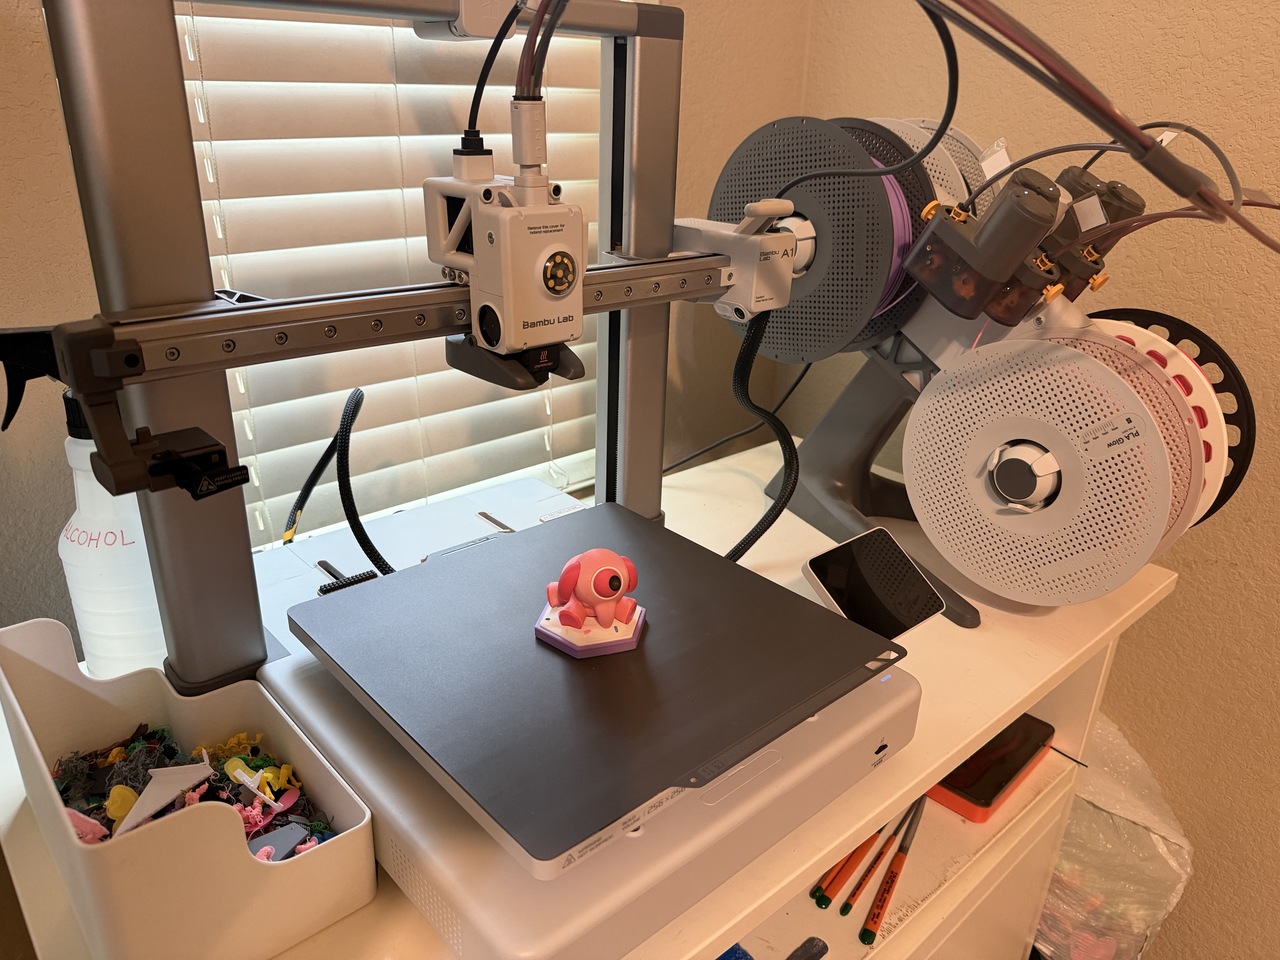
Then I move on to Filament selection for a multi-color print. I have a BambuLab A1 Printer with an AMS Lite that can print up to 4 colors at once. I am using the same color scheme as the other Adorables team members (like the Heavy unit shown in the picture resting on top of the filament). The cool part is that I can mix colors without needing a lot of filament changes by grouping similar colored parts together as though they were one object. Then I print per object in the slicer settings.
PRINTING LESSONS STILL BEING LEARNED
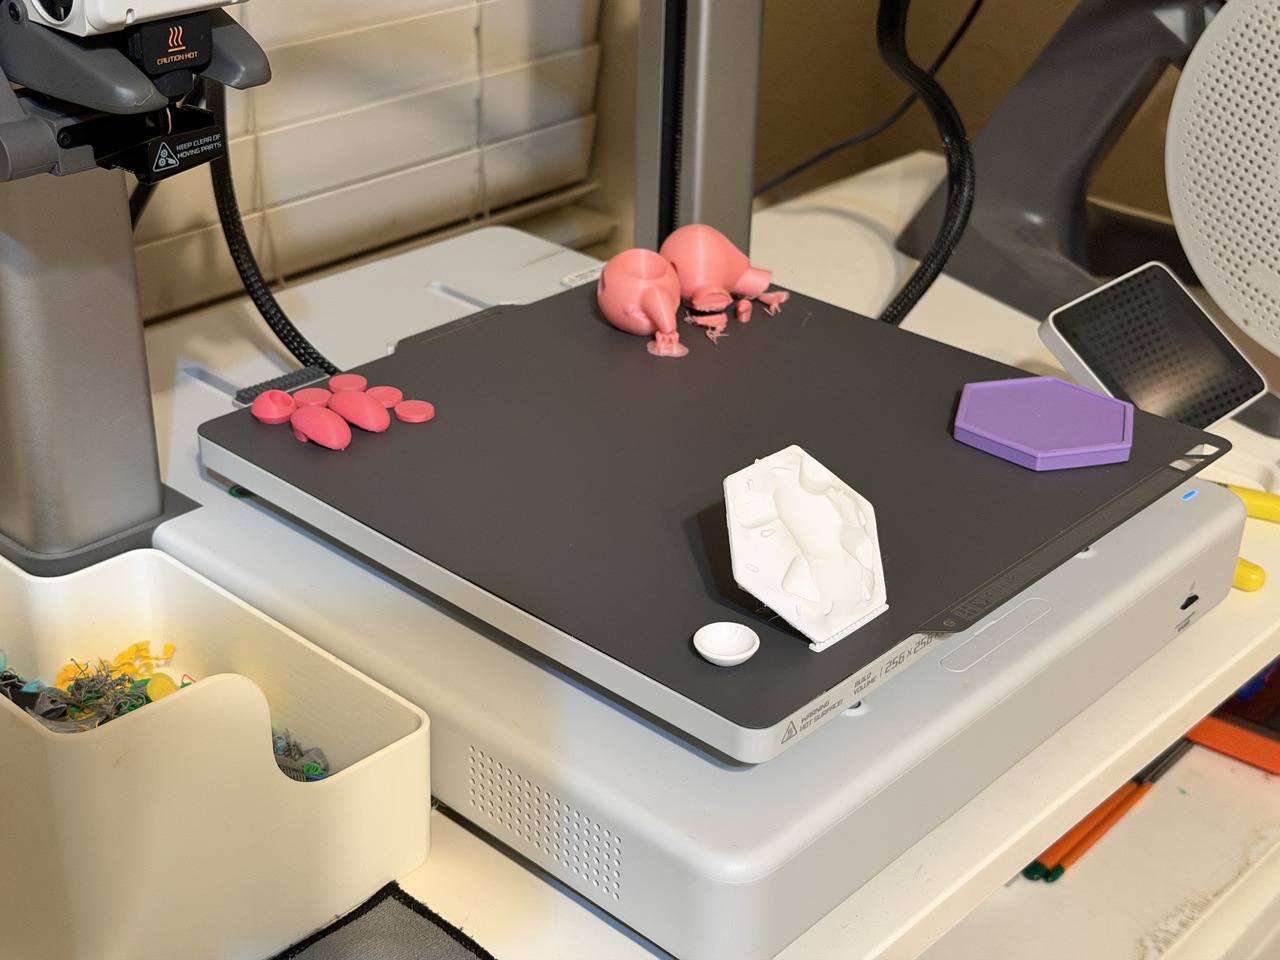
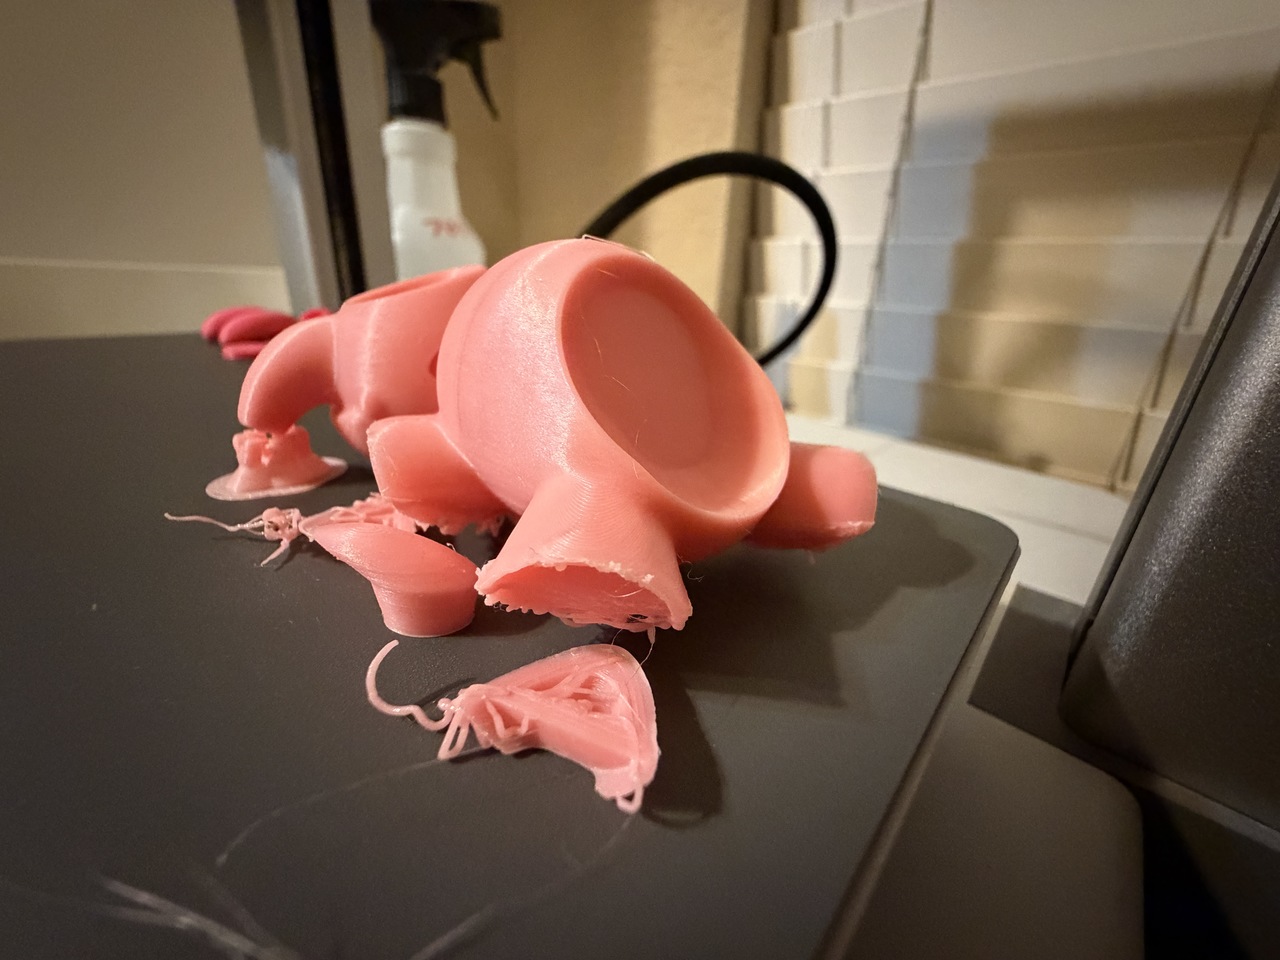
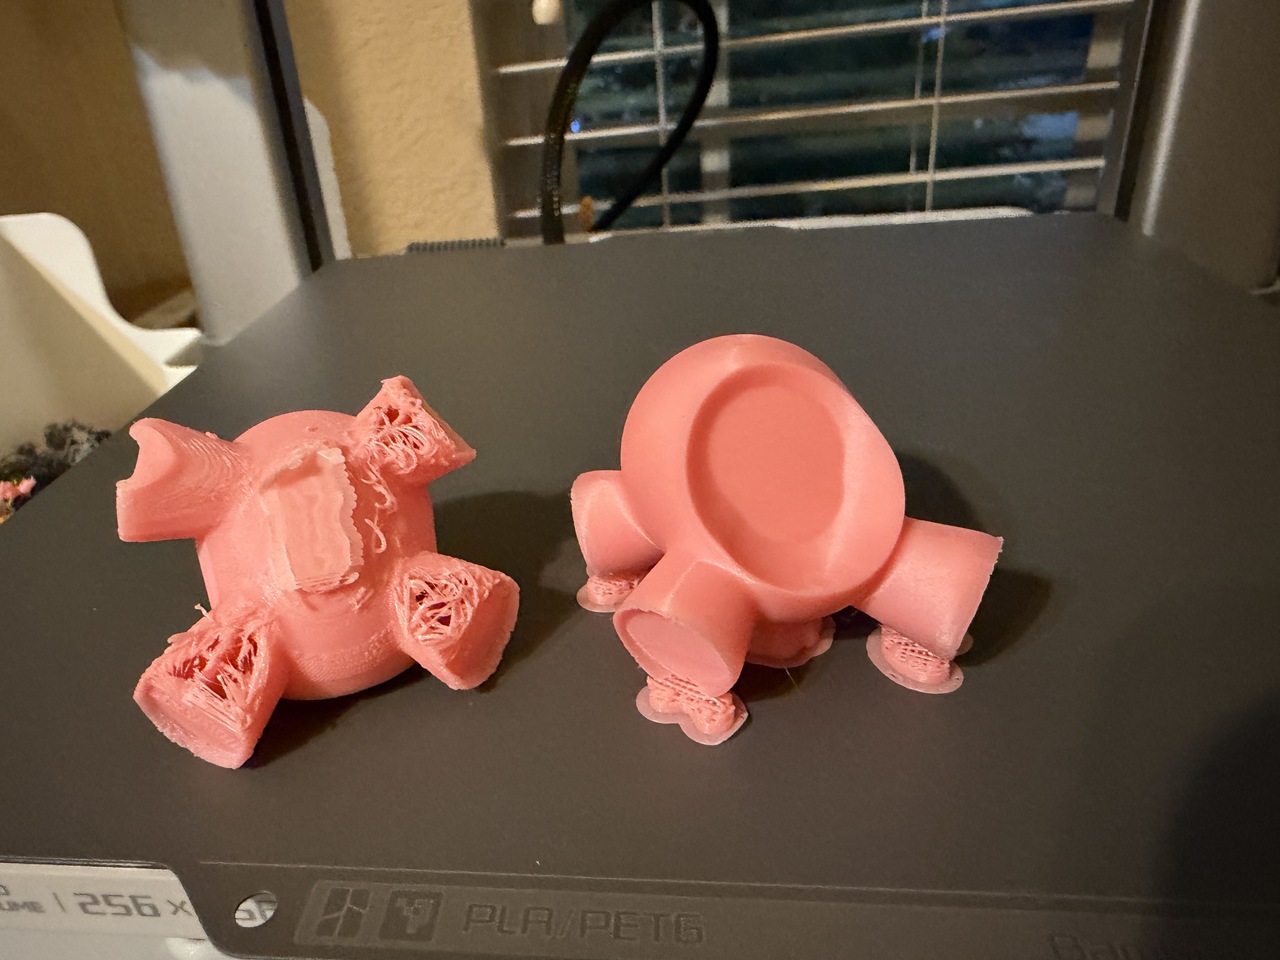
The first print attempt didn't go exactly according to plan. I don't always know what to expect and approach the printing process just like a typical trial and error process. With re-prints being a great opportunity to learn what works and what doesn't.
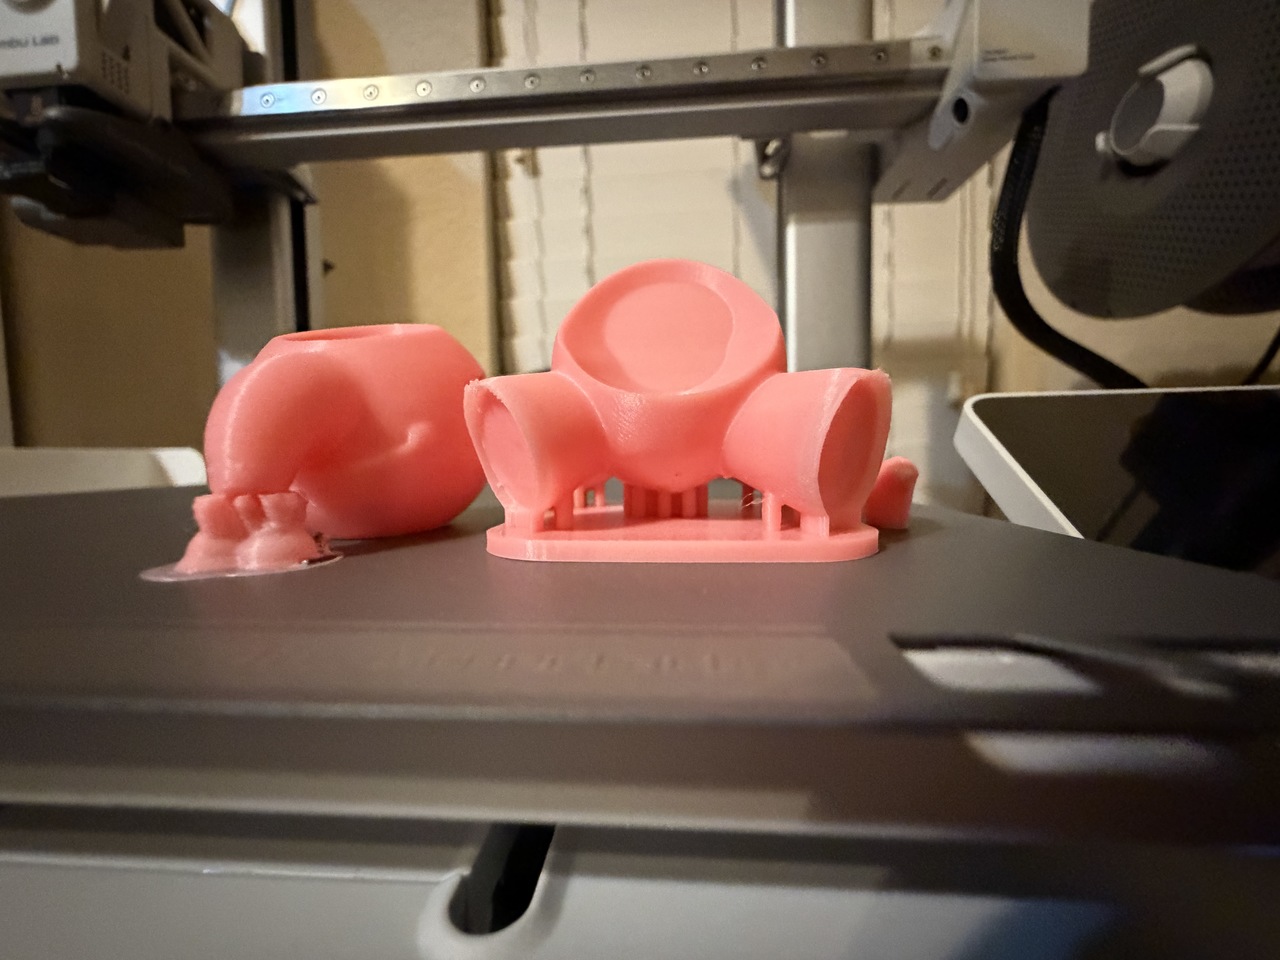
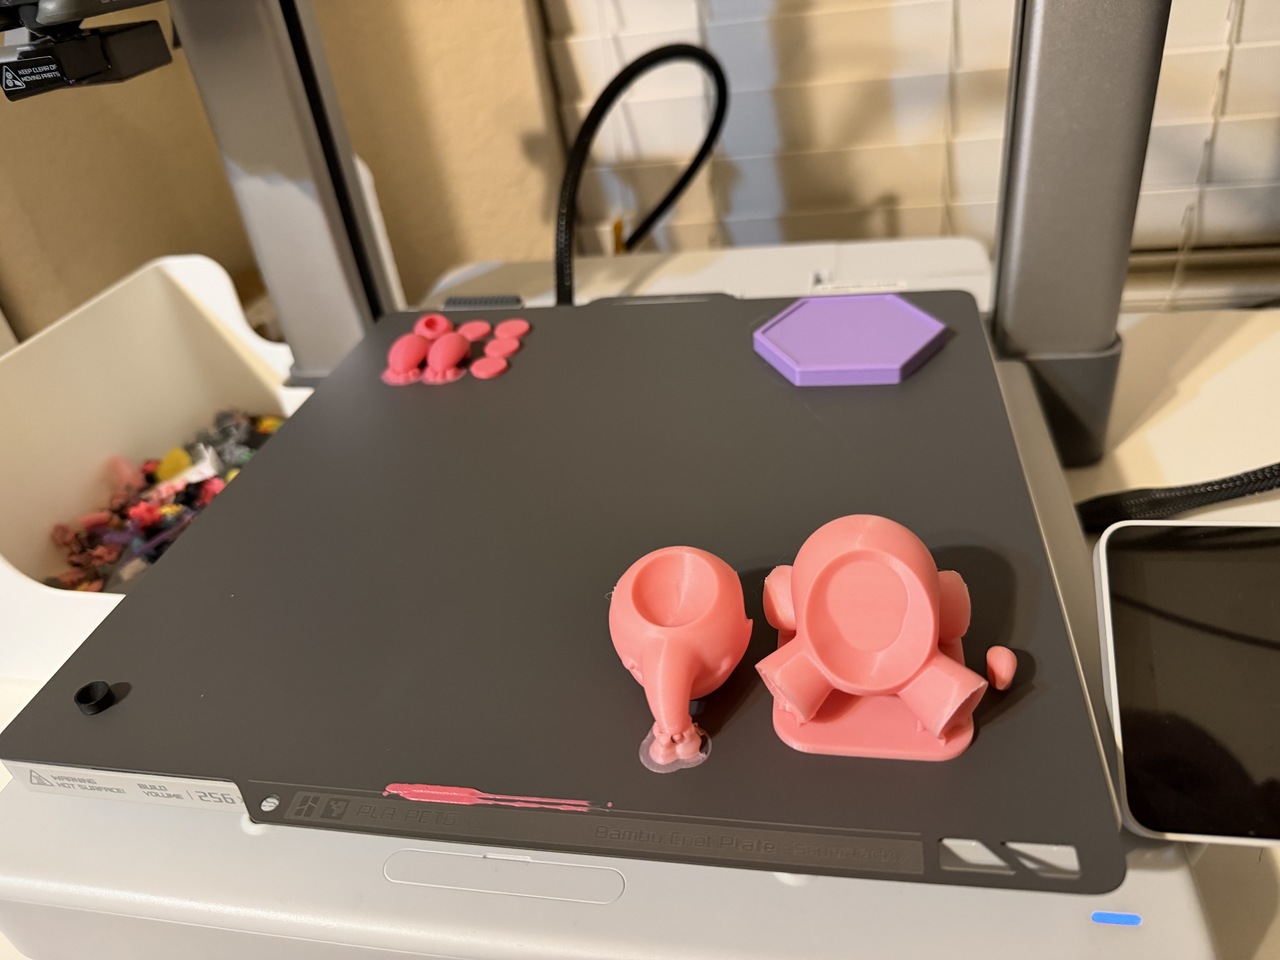
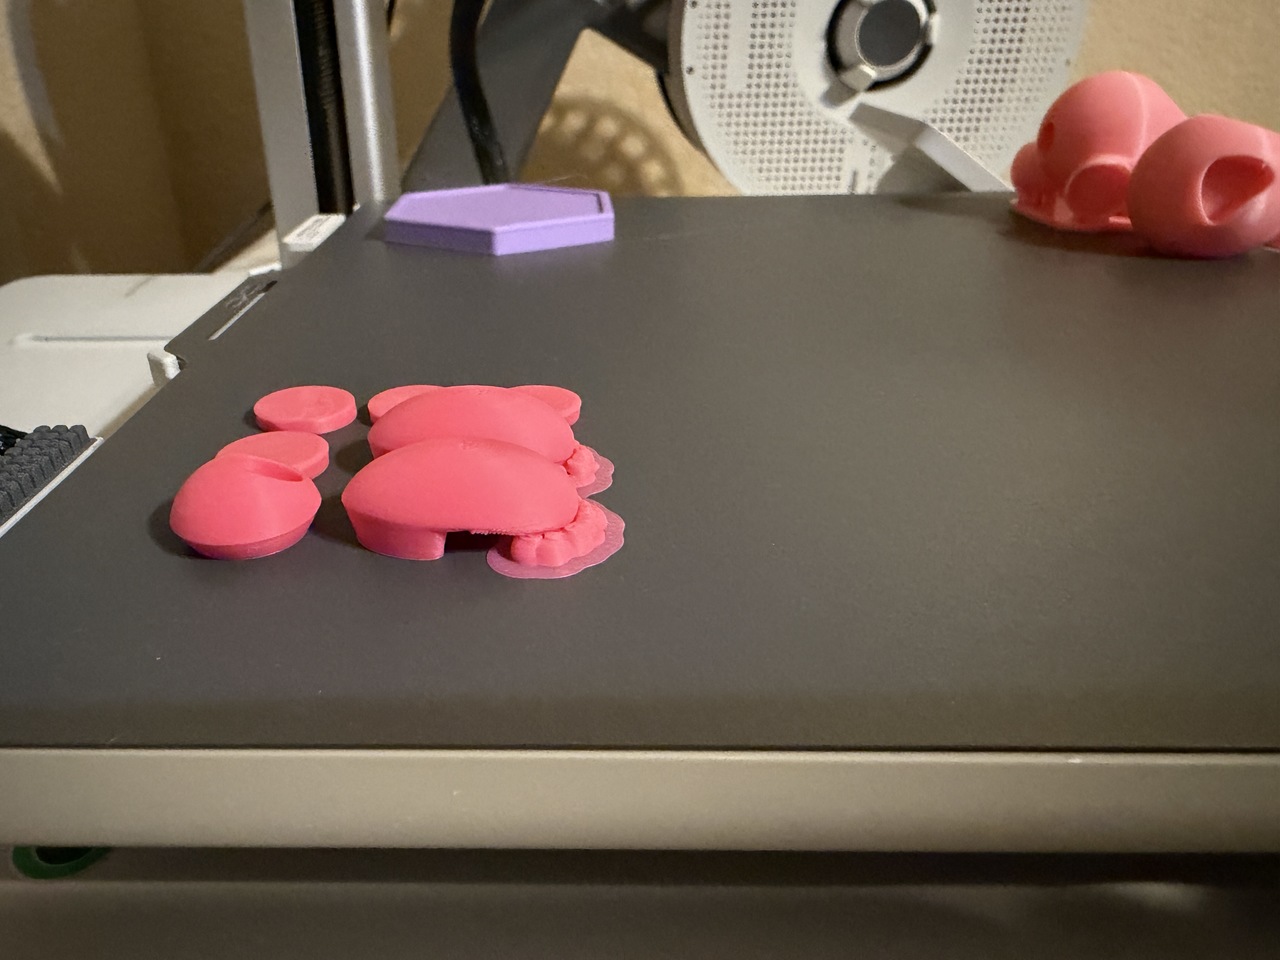
As you can see the body suffered from far too little surface contact while the filament layers were growing upwards towards the print head and it ended up pushing them down on a slight angle (like a cantilevered load) and caused the leg segments to topple over. On my second attempt I simply placed the legs on a raft. That worked but I wanted the printing process to go without needing special "per object settings", so I designed my own "raft" on the 3rd print attempt and that worked well. One of the videos covers the 3rd print attempt and takes you through the slicing process and shares a timelapse of the 3rd print.
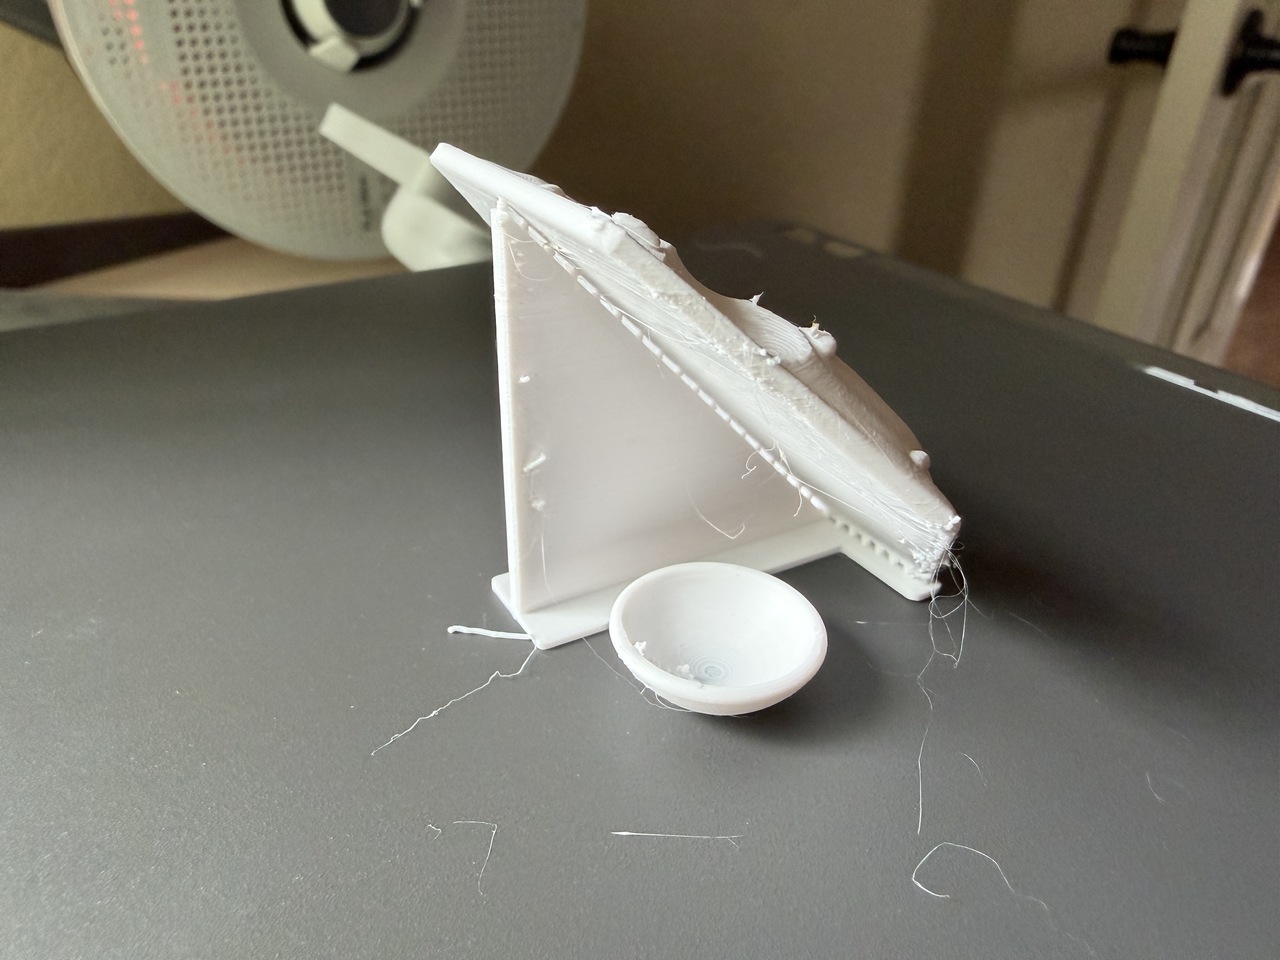
FROSTING in PETG
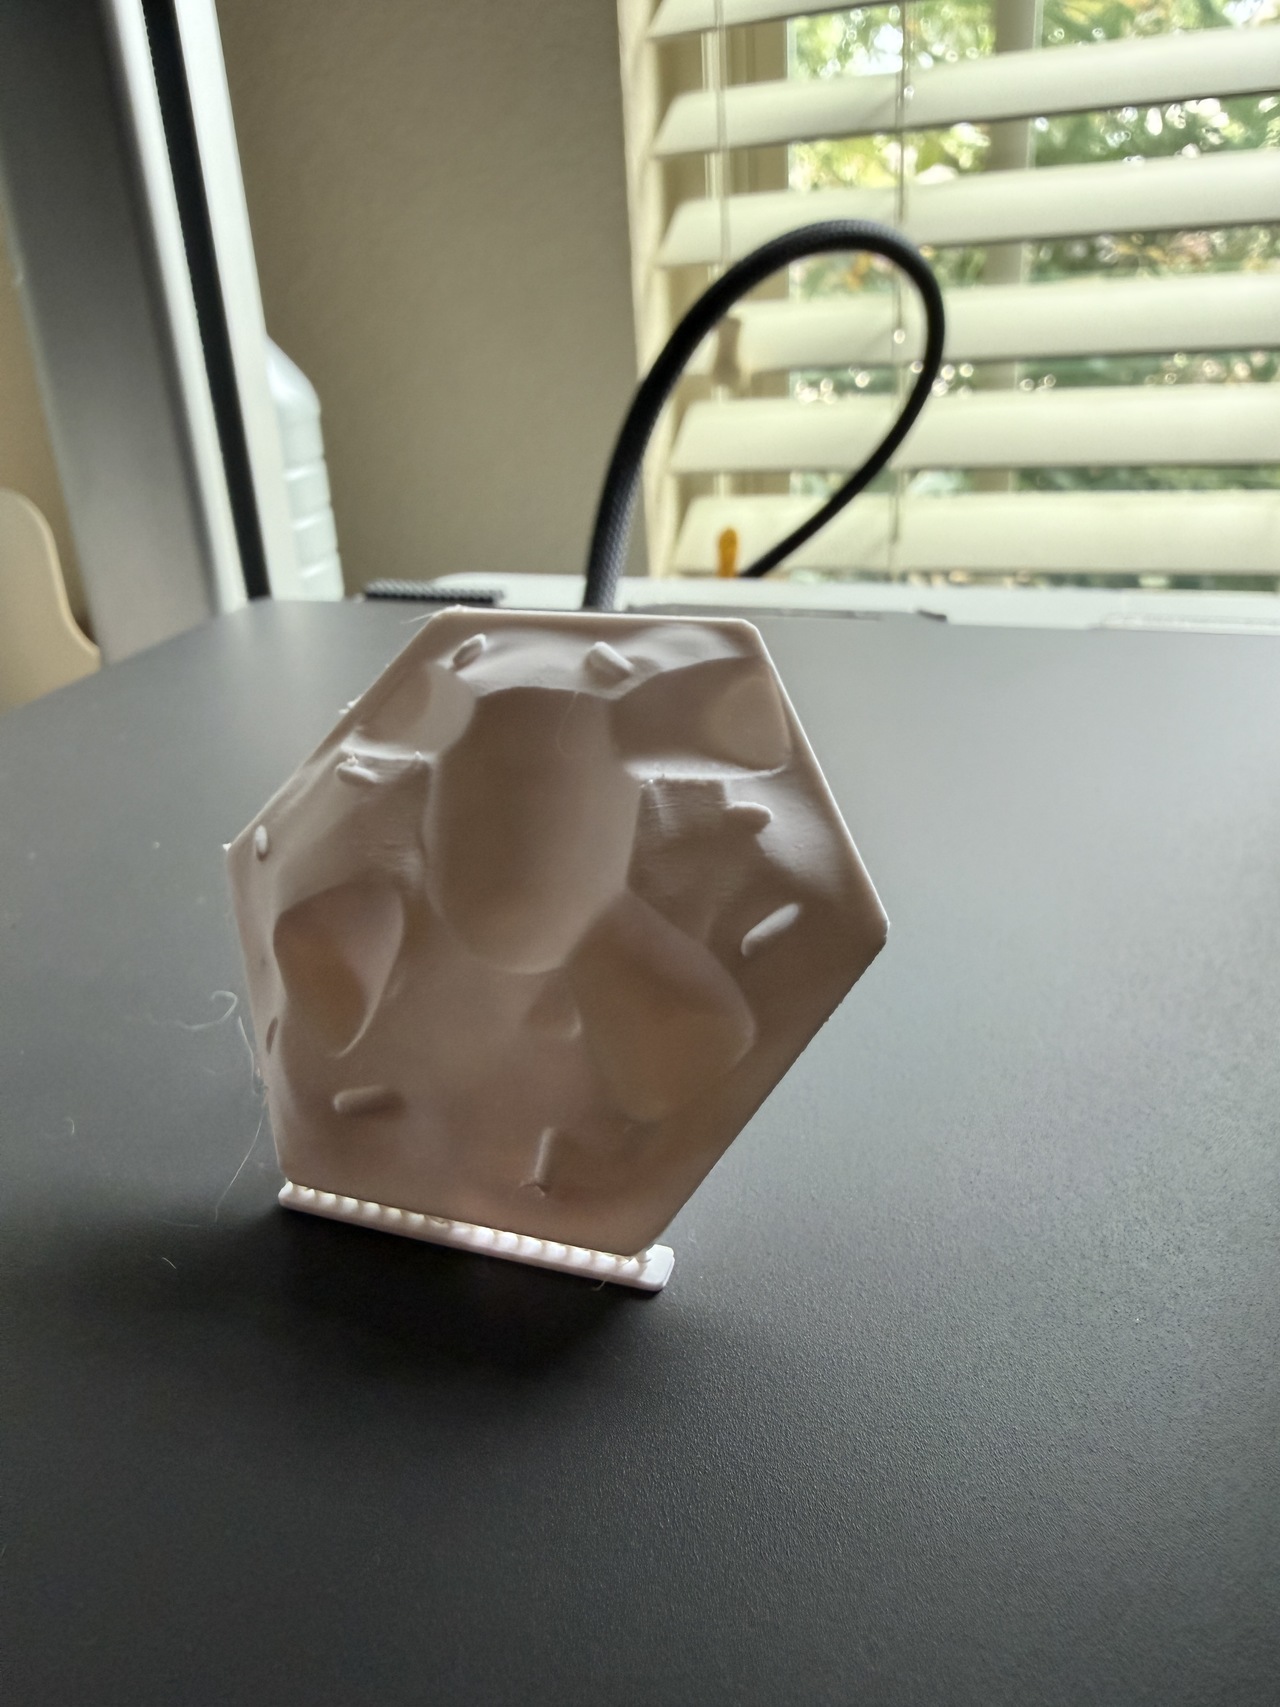
The frosting is a fun print that I like to do on an angle to get the most detail out of the sprinkles on my 0.4mm nozzle. There is a simple support I learned how to do from Slant3D that works amazing and it is easy to break off and clean up. The filament I am using is PETG and I have left it out in the humidity, so it is rather wispy and stringy when it prints. I have a lot of PETG white that I want to use up, so I use it on things like this project. I haven't had any issues with it even when "wet", it just takes a little clean-up and sanding on some of the edges. The close-up image shows this off as well. Mixing PLA and PETG with this glue has not been a problem for me so far. They both adhere to each other without issues.
MULTI-COLOR WITH A DASH OF ACRYLIC
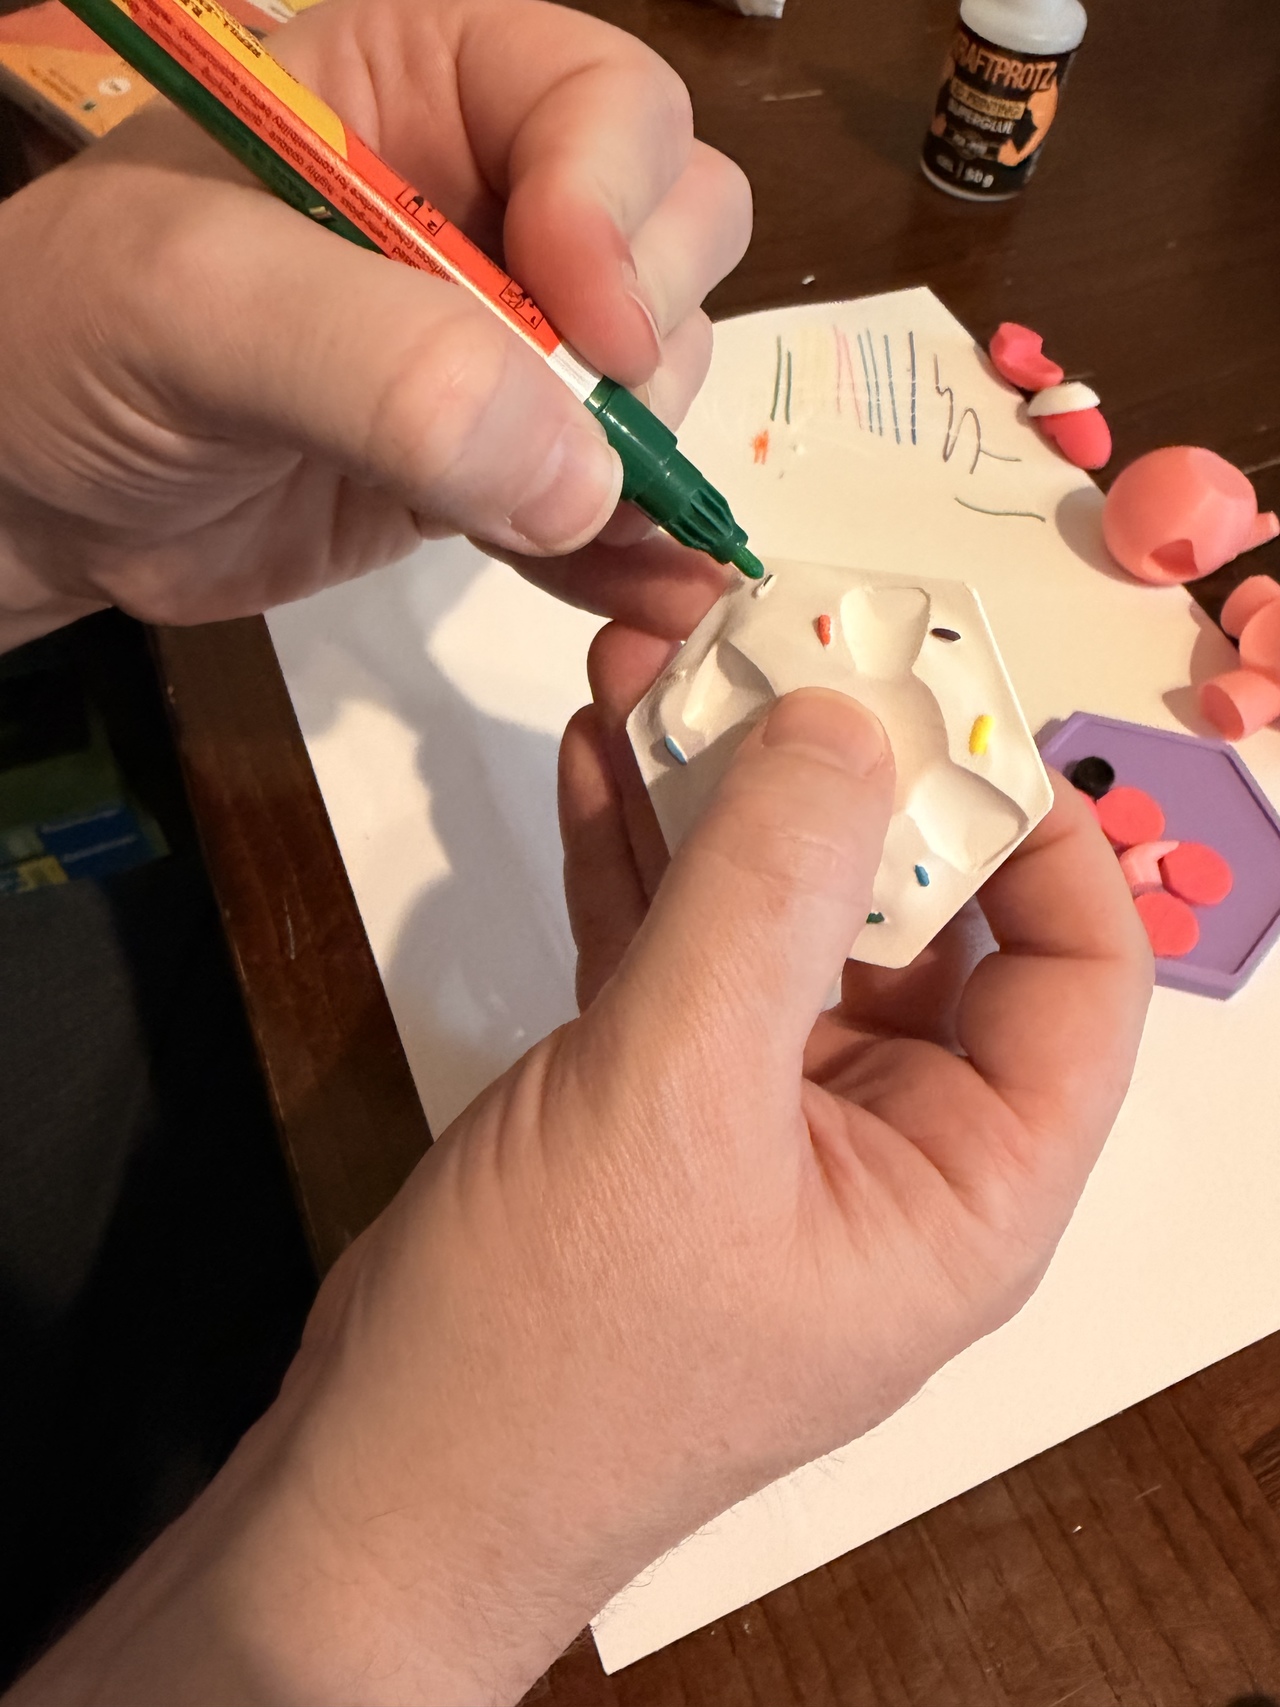
This is my first official print using Molotow Acrylic Paint Markers for the sprinkles and I am really liking them so far. I recorded a video showing them being used by me for the first time. They really are easy to use and require just a little patience to let the paint fill the tips before using them.
I also recorded a video showing the full assembly process (takes about 10 minutes to go from pieces to finished product). I show my favorite glue for PLA, which is called KRAFTPROTZ, which sets extremely fast, allowing for quick assembly.
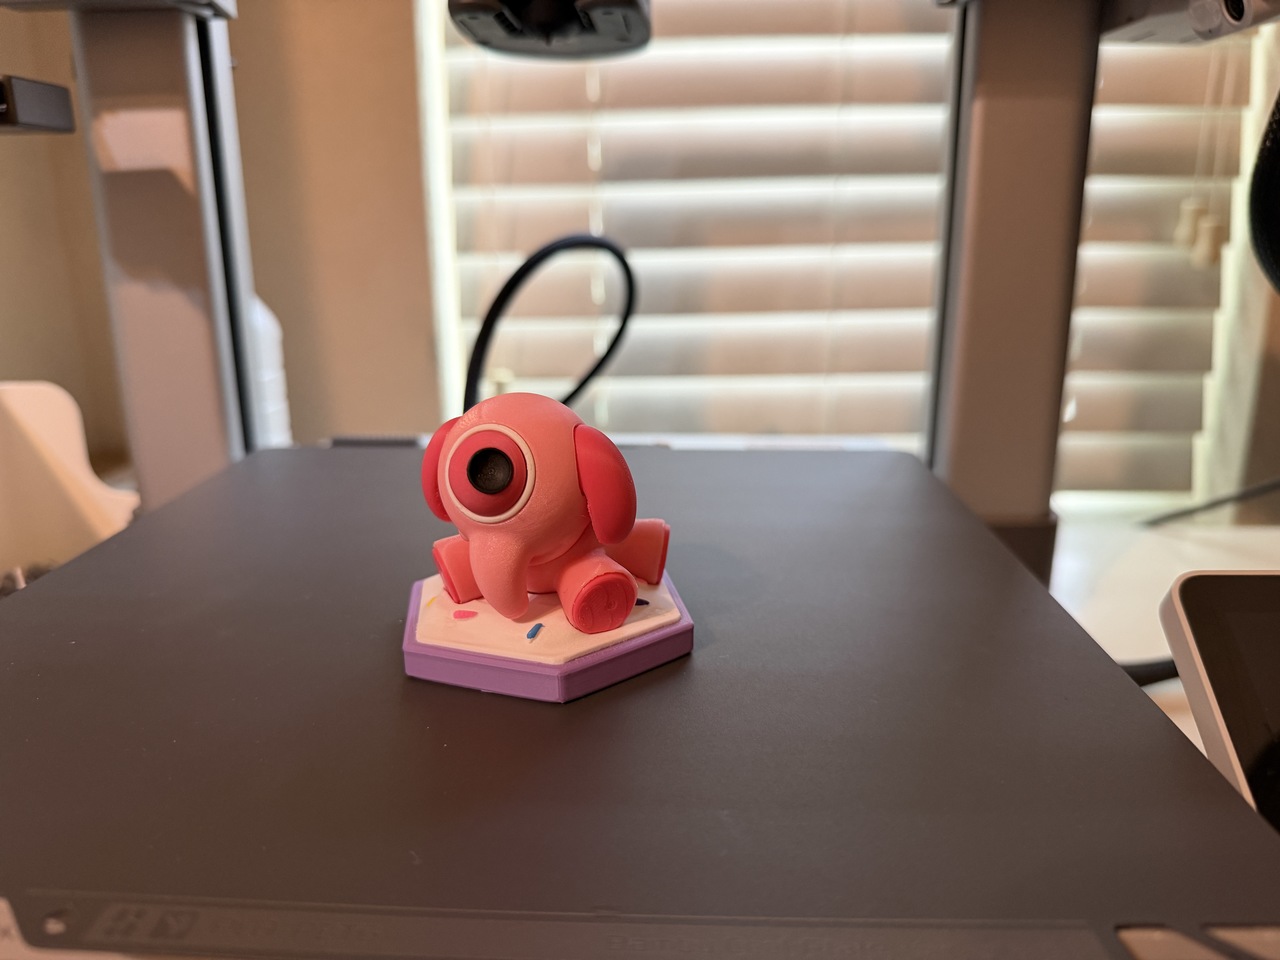
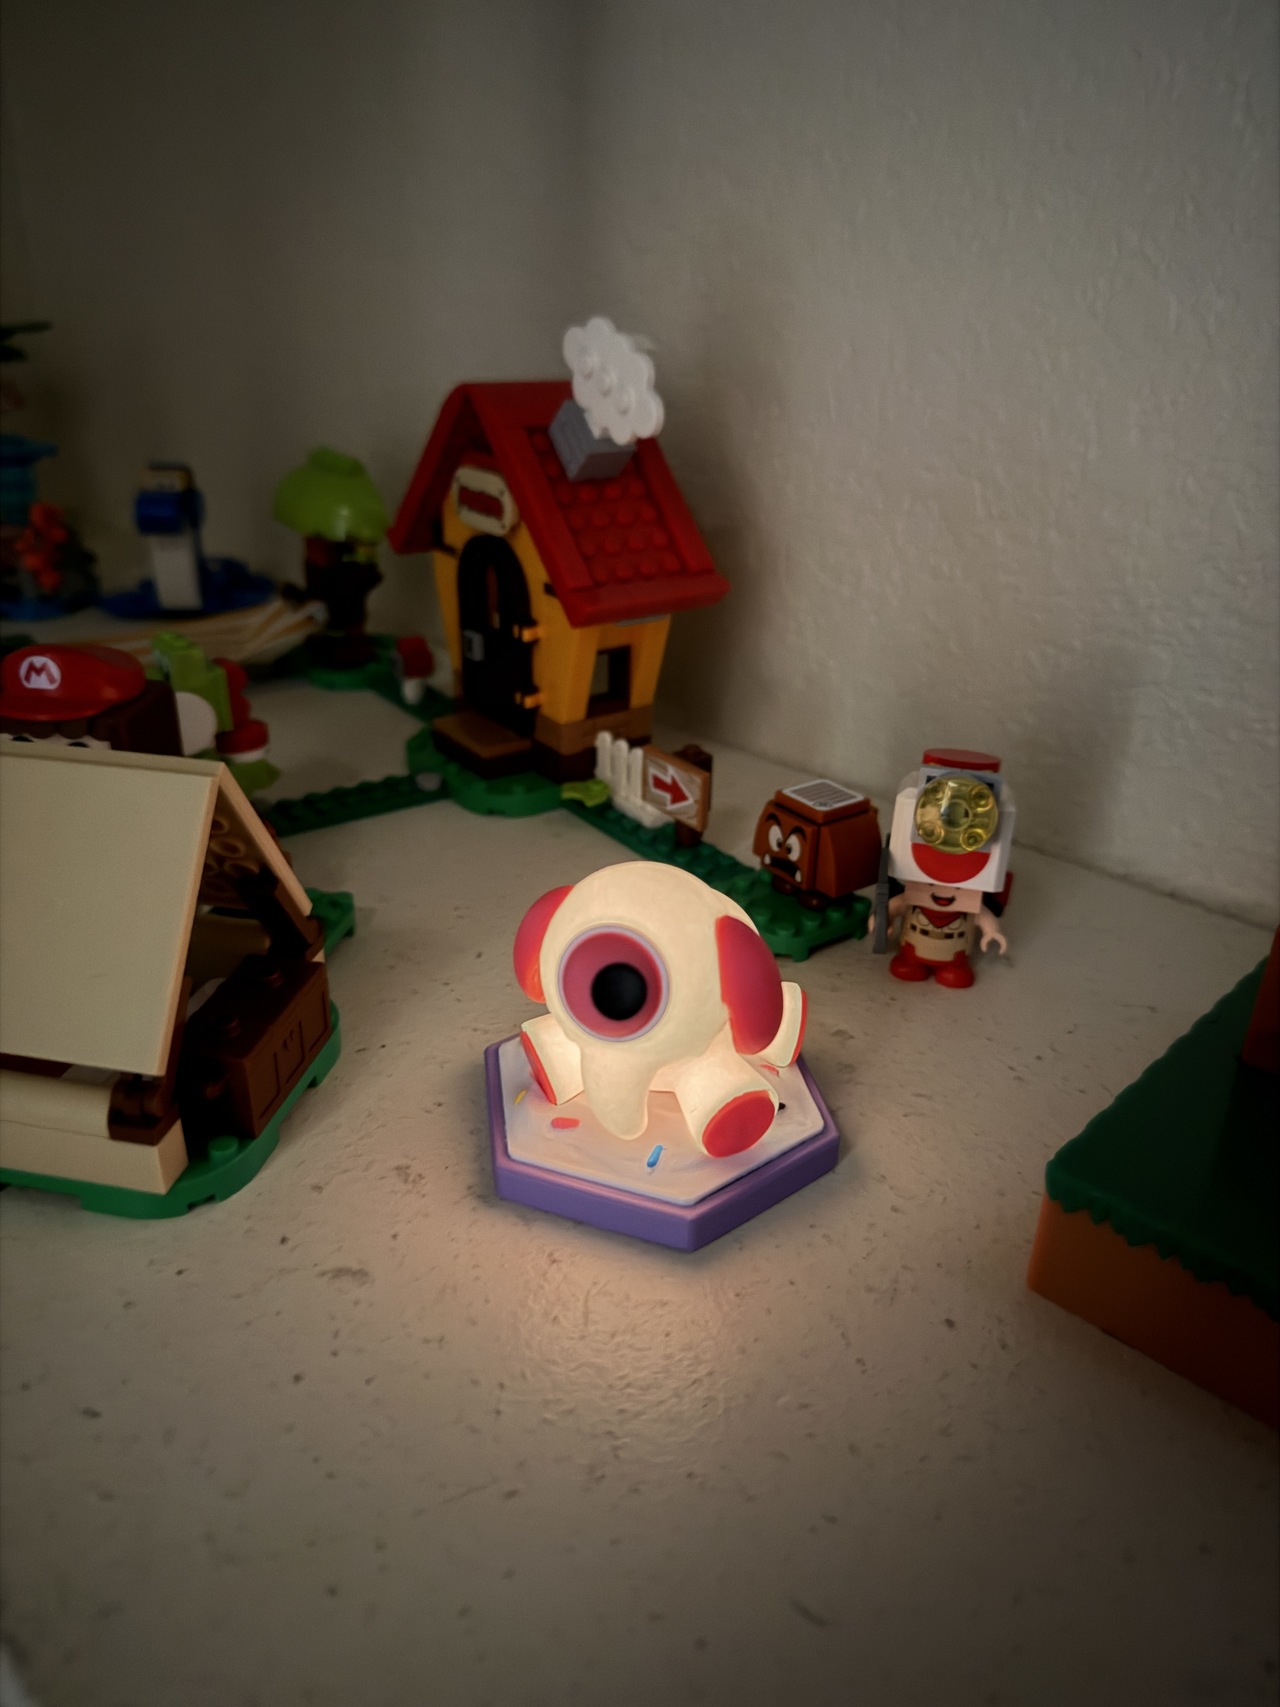
The remaining images show off the print after assembly, including the use of Pink PLA Glow, similar to the other Adorables Team Characters that I have made up to this point.
FINAL REMARKS
Congratulations on making it this far in my ramblings. I hope this has been an educational post. I spent a long time documenting this project to help you see behind the scenes on what it takes to print an appealing character in multiple colors.
I'll be hosting a live workshop in the 2026 BCONNA Blender Conference in Austin, Texas. Since I live nearby, I will be bringing my printer as well and running it through a similar print. I'm excited to take y'all through my process on the Outwitters Adorables Team Special unit, The Mobi. I even graciously received permission from the developer to present it. I'm sure he is just as excited as I am to have his 2D art showcased in 3D fashion. I hope to see you there!


Your work is definitely inspiring me to eventually invest in a 3D printer. Your work is so dang cool and impressive 😍
Thanks Joe. Yup it is a labor of love. The more I labor the more my shelf shows off the love. You don't need anything amazing. My BambuLab A1 was not that expensive even with the AMS lite it was $700 two years ago. I almost bought another one cheap used for $300 with the AMS lite. Keep a lookout for them.