Let's Model Easy-to-Change Hair in Blender for Your 3D Character
What do we want? Full control over hair placement! When do we want it? Faster than you can say "silky, smooth and stylized!"
Let's go over a foolproof technique for modeling hair in Blender using the big-medium-small forms technique. If you're looking to learn how to create realistic human portraits, check out that Blender tutorial here.

No more bad hair days for your Blender 3D models
But not just any technique...we're looking for a hairstyle you can adjust by quickly repositioning the hair strands or the cross-section of the hair without too much noodling.
If that's not enough, we also want to be able to quickly adjust the polycount, so you can optimize your character for a game engine or production.
Step 1: Recognize the three main hair shapes

Note: When modeling hair, using a photo reference is highly recommended.
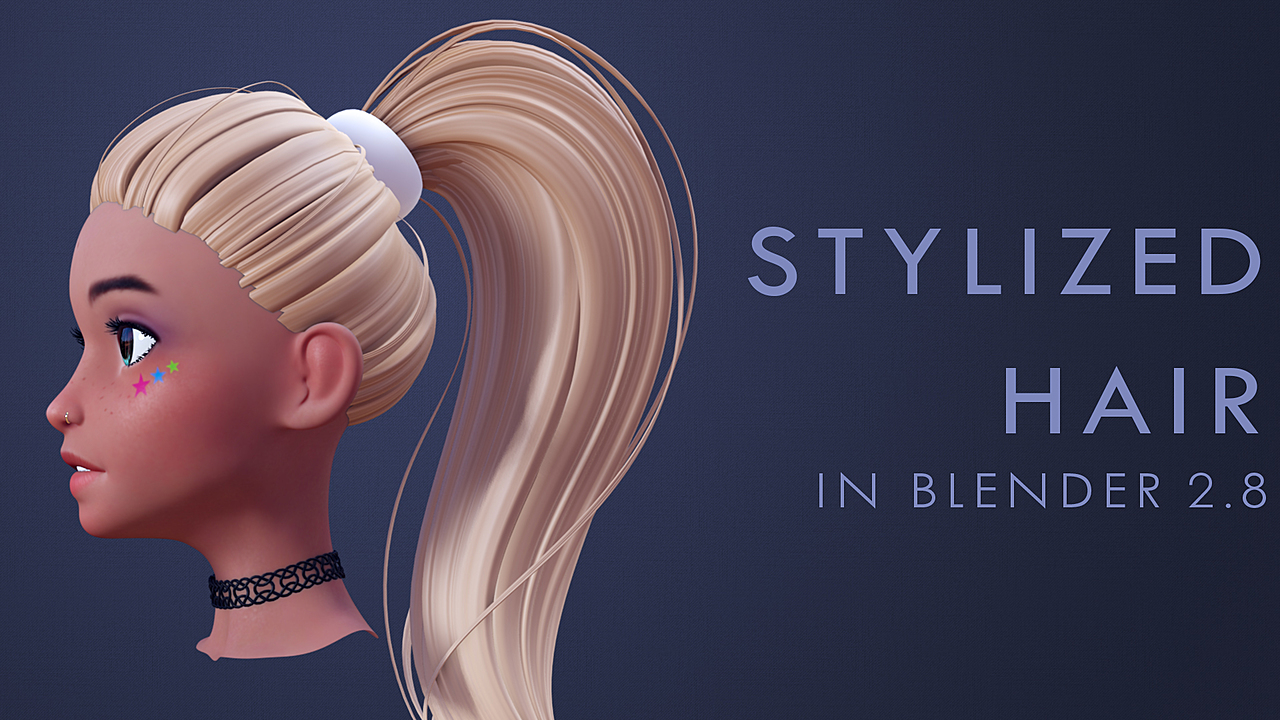
As you look at hairstyles, you'll notice 3 primary forms: big, medium and small.
- Big shapes are the overall forms that make up your silhouette. In the above example, it's the top of the head and the ponytail.
- Medium shapes are the clumps and main strands that make up the big shapes.
- Small shapes are the finer strands that tend to live within - or break away from - the medium shapes.
Step 2: Block out the main Hairstyle Shape
Just like any 3D modeling project, modeling a hairstyle is best done when moving from big shapes to small.
Need a model to work with? We have you covered download this Blender 3D Model of a human head here.

Starting with the big shape, the key is not to spend too much time tweaking these.
Eventually, you will be covering them up with the medium shapes, so all you want to do at this stage is to get the main shapes right.
It's best to start with a ponytail hairstyle, which is simpler because you can use the character's head to create the first shape.

First, highlight the faces on the head to indicate the hair outline. Next, duplicate and separate the faces from the mesh.
Now that the scalp outline is its own object, we'll scale it up a little, then, in edit mode, we scale it onto the head.
You'll end with a very basic shape to work with - the body of the hair that your ponytail will sit on.
Next, use Sculpting Tools to Establish the Directionality of the Hair
You might like using Clay Strips with Dynamic Topology and Symmetry turned on.
Note: with real-life like hair, you should try to avoid unrealistic symmetry. But at this stage, we are not looking for perfection yet. Instead, we are roughing out the basic idea which we will cover up later.
Step 3: Block out the primary shape of the ponytail

First, we'll place a curve at a position where (roughly) our ponytail is going to sit. Again, no need to be absolutely accurate at this point yet.
Next, add in a Bezier Circle and set it to be the bevel object of the curve. This is found under Geometry in the Curve Properties panel.
We can now start to refine the shape of our ponytail by using handy hotkeys:
- Alt + S lets you scale points on the curve of the ponytail, to adjust its thickness
- Ctrl + T lets you twist points on the curve - at this point, it's not doing much yet, but will be really useful later for the medium and small shapes
Need more points to control your hair?
Select two of them, Right-Click and hit Subdivide.
Have you got too many points making it difficult to control?
Just dissolve them with the hotkey Ctrl + X.

Pro tip: To wrap up this step, make sure the final big shape of your hair looks good from all angles, including from above and below.
Step 4: Block out the Medium Hair Shapes
To get started with the medium shapes, we'll simply duplicate our ponytail to use it as additional hair strands.
Remember, the ponytail is now controlled by the Bevel object (a circle) so we need to duplicate it as well and assign the new circle as the new Bevel object.
Try making the medium shape a bit wider and flatter. That way, you'll need fewer strands to cover a wider area.
Pro tip: Create a second 3D view so that you can adjust the shape and adjust the result at the same time.

Once you're happy with the shape of your secondary hair strand, place it on top of your main ponytail shape.
Next, duplicate it and place this one, too. Keep repeating this process.
To tweak the design and add some variation, you can also change the shape of some of the underlying Bevel objects.
Before you move on to the small hair objects, check again that your model looks good from all angles.
Step 5: Create Small Hair Objects
This is no rocket science: as we did before, we'll duplicate the medium hair objects to create the small ones.

In real hair, the small strands can be outliers that move in different directions and shapes. Since these strands are so thin, we would expect them to be more affected by wind and less by gravity.
Pro tip: to make the result look more appealing, add in some negative space. This will also give volume to your hairstyle.

This part of the workflow is similar to the previous step, refining the placement of each strand and ensuring it looks good from all sides, including the top and bottom.
Step 6: Optimize the Polycount of our Hairstyle

You may have noticed that each of our strands has the same polycount - and it can be quite high, making it tough to use for a game engine.
By changing Resolution Preview U in the Curve Properties panel, we can control how many edges wrap around a strand. You can also control the resolution down the length of the hair by selecting its Bevel object and again changing Resolution Preview U.
For very thin hair strands, we don't need elaborate Bevel objects. So to optimize these, it's best to give the Bevels a basic pattern like a rectangle.
Step 7: Finalize the Hair Model
Once you have all the shape, join all the strands into one object. You'll probably want to convert them from curves to polygon meshes.
If you're doing that, make sure to convert them first, then join them - otherwise, they will all end up using the same Bevel object.

In the end, don't be afraid to reach out for the sculpting tools and pull the ponytail around to achieve the perfect final shape.
Final Tips: Keep on Learning Blender
Once you're comfortable with creating this ponytail, channel your inner Vidal Sassoon and give it your own twist!
The best way to progress is to take what you've applied and turn it into an original creation.
Share your results to CG Cookie gallery for friendly feedback - we always love seeing what our community creates!
If you're looking to take the next step in learning Blender 3D, take a look at our HUMAN course now streaming on CG Cookie.
But wait! We've got more Hair-y Blender Tutorials
To become a true pro, check out more video training:
- Creating Hair Cards for Realtime Blender Characters - a full 8-lesson video course
- Styling and Shading AAA-level Realistic Hair in Blender - a full 12-lesson video course (for CG Cookie members)
This tutorial was made for CG Cookie by Danny Mac - check out Danny's amazing Youtube Channel.