I'm trying to export stuff from Blender to Substance painter. And sometimes some of the faces are disappearing from my meshes.
For example, here in Blender the sides of my chest look fine
However when I look in substance painter, the outside face is missing
any ideas?
kkroneborge I wonder if you have your face normals flipped on some of those faces? Highlight everything in edit mode and flip the normals (I believe the hotkey is Shift + N)
If that is not it then I am a little stumped. Unless your faces are not connected and are facing the wrong way. Start with that though and lets see.
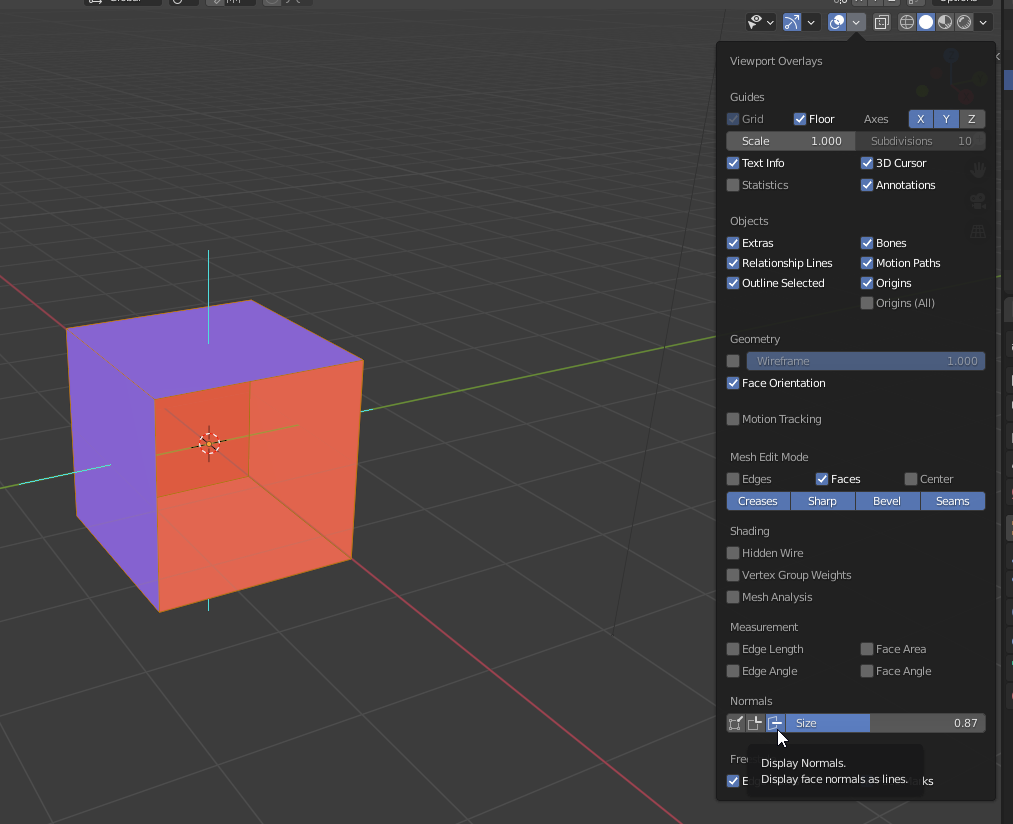
Yes, I agree with ![]() blanchsb. I had this happen to me and it was the face normals being inverted. You can view your face normals this way. Red means the faces are facing inward and blue means they are facing outward. You want blue.
blanchsb. I had this happen to me and it was the face normals being inverted. You can view your face normals this way. Red means the faces are facing inward and blue means they are facing outward. You want blue.

If you need a more explicit way to view the normals, you can view it in Edit mode and in this window:

The way the line points is the way the normal is facing.
That would be the first thing to check and reimport to Substance.
Second question, I have my chest looking pretty good in iRay. but it's definitely loosing something when I take it into Blender
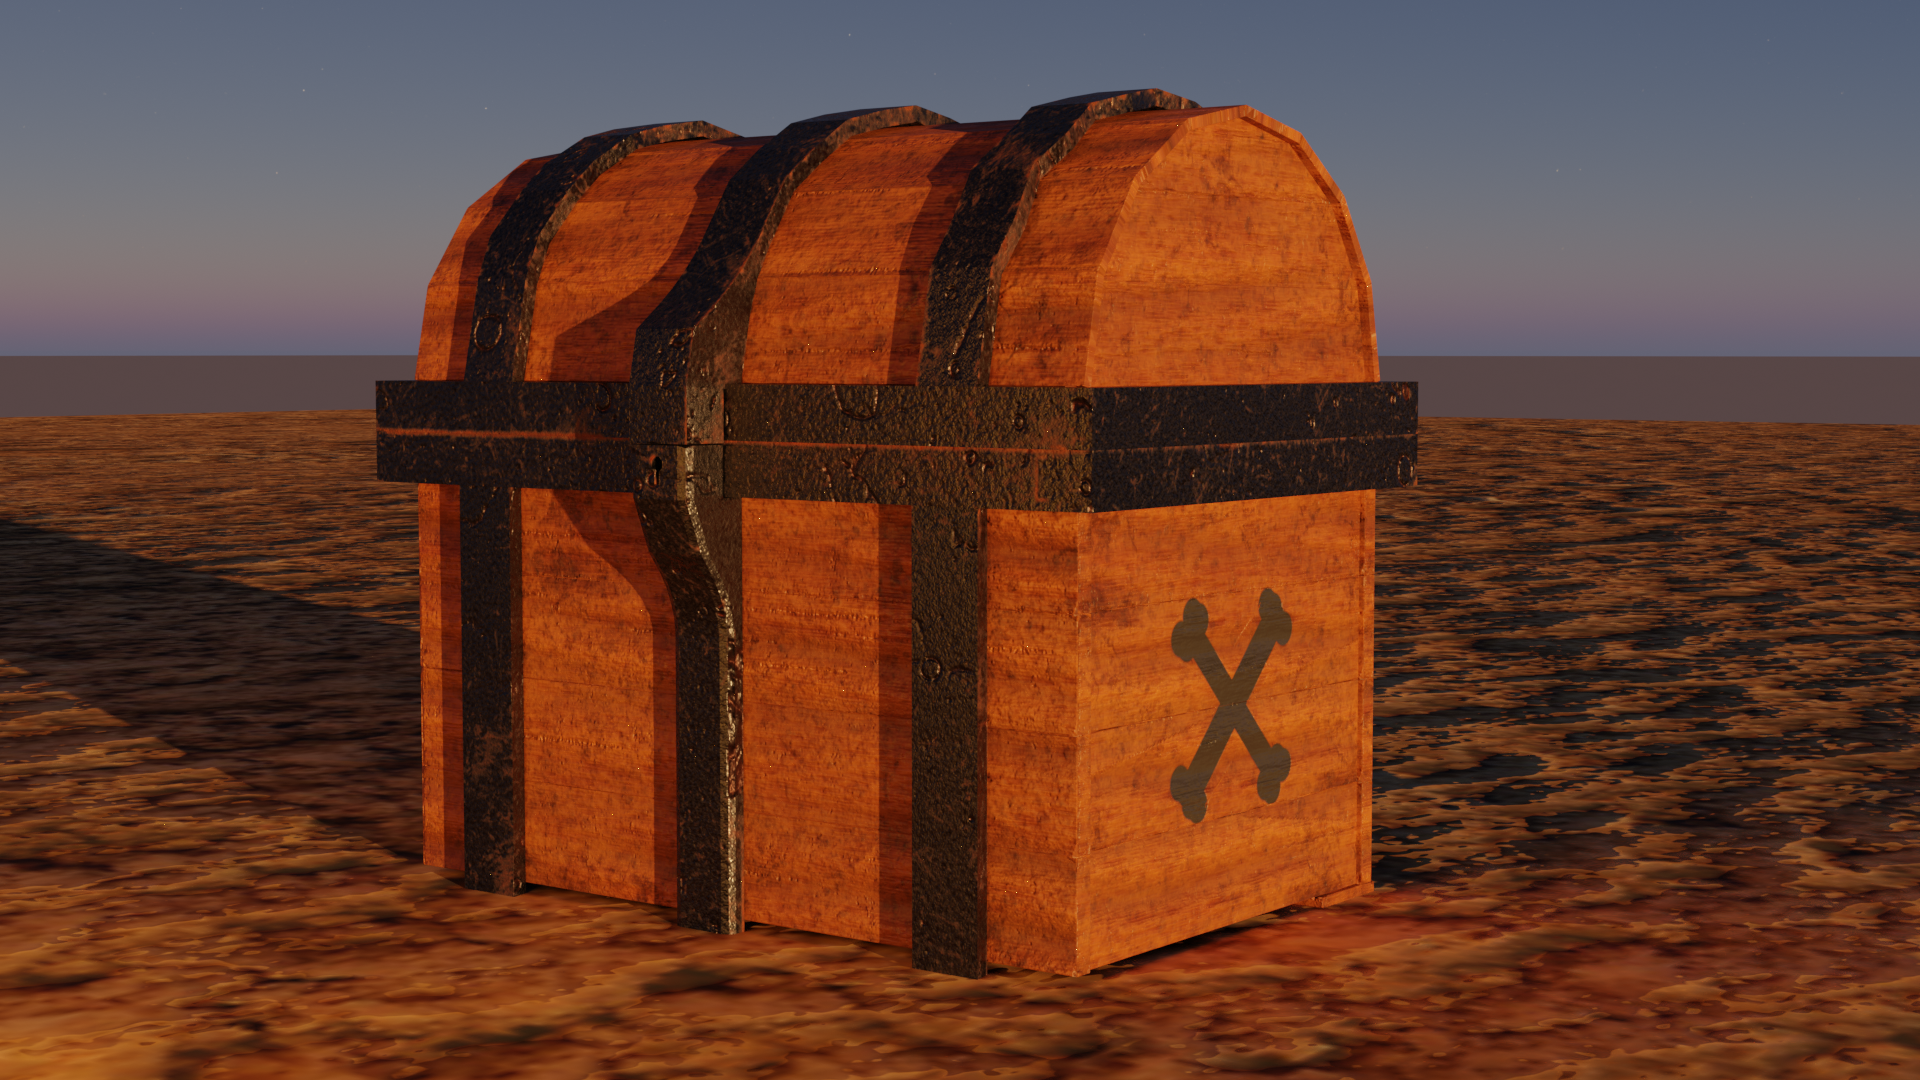
Here is the iRay version. Looks pretty sharp I think,

Here is the blender version

The blender version doesn't look bad by any means. But I don't think it looks quite as sharp.
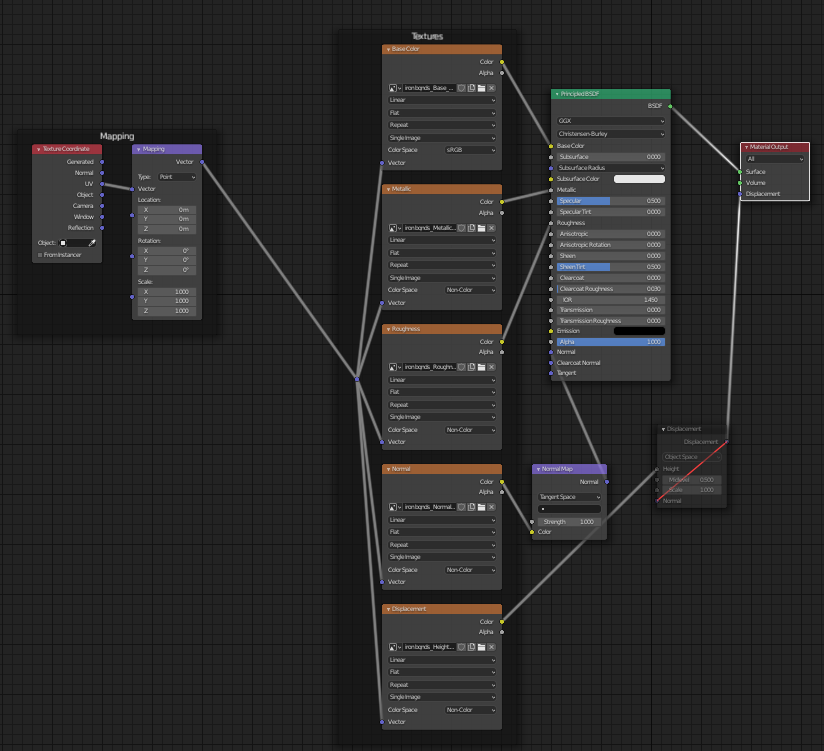
I brought in the texture maps with the auto mapping from node wrangler. Though I did disable, displacement, I couldn't get it to look quite right. Maybe that's it. Or is it just lighting differences?
Any tips?

Hmm, if I were to venture a guess, it could be the lighting. There are really harsh shadows on the box, which puts it in the "early CG" look. There also doesn't appear to be an Ambient Occlusion map in your texture setup, so maybe that could help with the "realism" aspect that is in the Iray. I am also not very familiar with Iray to be able to understand what it's made to do and to replicate it in Blender, so I'll look into that.
Do you have an HDR active? Is this a real-time asset or a film asset? The answers to those questions may effect how I can answer your initial question.
I don't have an HDR, instead I have the Physical starlight and atmosphere plugin
https://blendermarket.com/products/physical-starlight-and-atmosphere
Maybe I should try a HDR instead. I kind of suspected lighting myself. I did watch the lighting course, but I think I still have a ways to go before I'm actually making good lighting.
Also I'm using cycles. This is all just for fun, but I'm trying to make it look the best as possible. Would I need to use ambient occlusion maps in cycles? Substance painter did export then, but to be honest, I'm not always sure when do use them
Ah, if it's Cycles, you should get AO for free as it's a different rendering engine than a real-time engine like EEVEE. Then I would suspect it's the lighting that's throwing everything off.
Huh, that's in interesting plugin. I'll look deeper into it. But there should be some default HDRIs in Blender and you can download free, CC0 ones from https://hdrihaven.com/ if the default ones aren't to your liking.
Color > MixRGB set to Multiply.
Multiply the AO with the Base Color Texture.
Where the AO texture goes towards black, mutiplying it with the color will darken the base color. Simulting that light gets 'trapped' in crevices and corners. Where the AO is white, the color won't changes, because multiplying by 1 doesn't change anything...
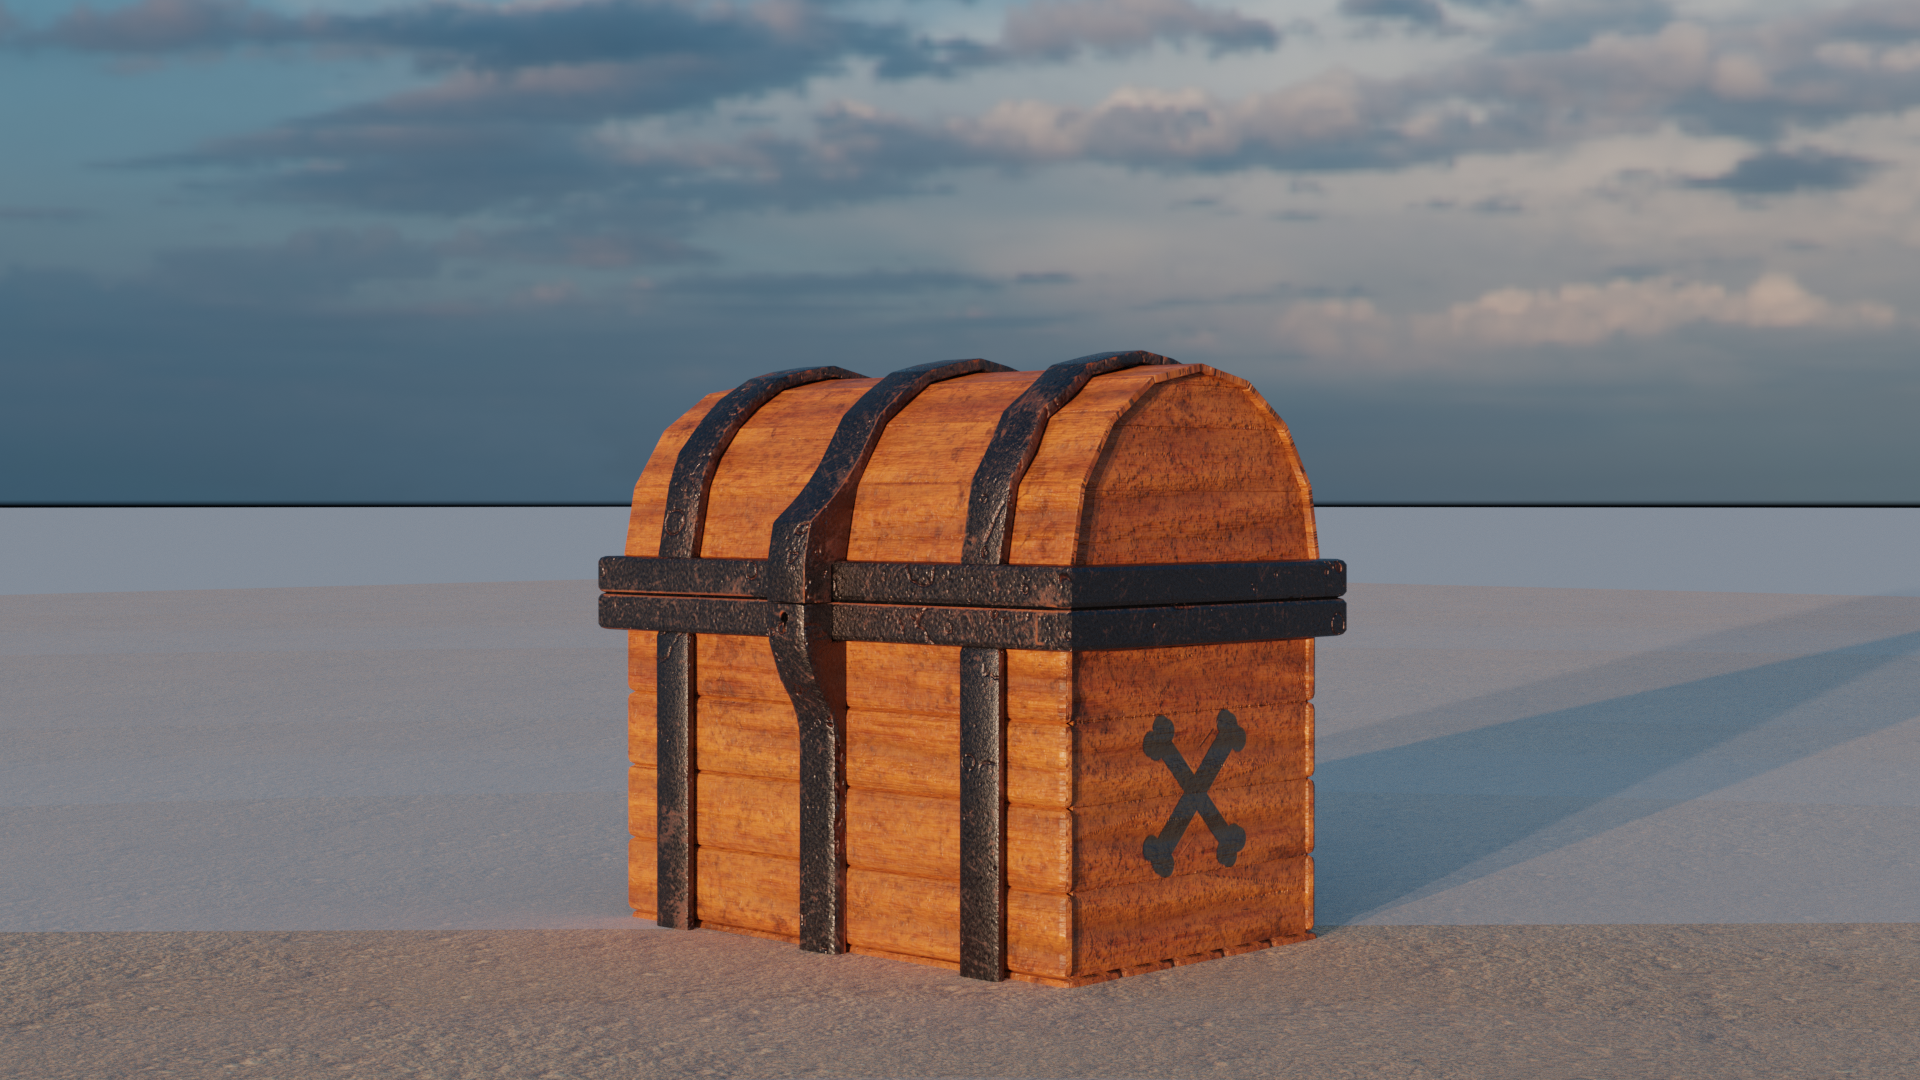
Here I did just a regular HDRI from sunset. I do think that made it look a lot better. So the next question is why was the addon, washing stuff out, light too strong I assume
