Hello,
I am wondering if anyone knows how to combine sculpted Meshes into a single Object. I attempted this myself, but the mirror modifiers for thje Right and Left Meshes were offset and the Joined Meshes were not properly joined for refining and later retopology.
Could someone point me in the right direction, please?
Here is the google drive link if you are interested in helping out. (Updated with ears)
https://drive.google.com/file/d/1atVHbVufd6l6-Cr-BkILp8BDRisD1mkC/view?usp=sharing
File also attached below.
You could use the "Bool Tool" which is integrated in Blender but has to be activated in Blender's "Preferences":

Select the meshes which you want to join in "Object Mode" and press in the "Properties Panel" 's "Edit Tab" under "Boolean Tool" => "Auto Boolean" the "Union" button. This joins the meshes (applying all modifiers on the choosen objects) under the name of the object which you selected last:
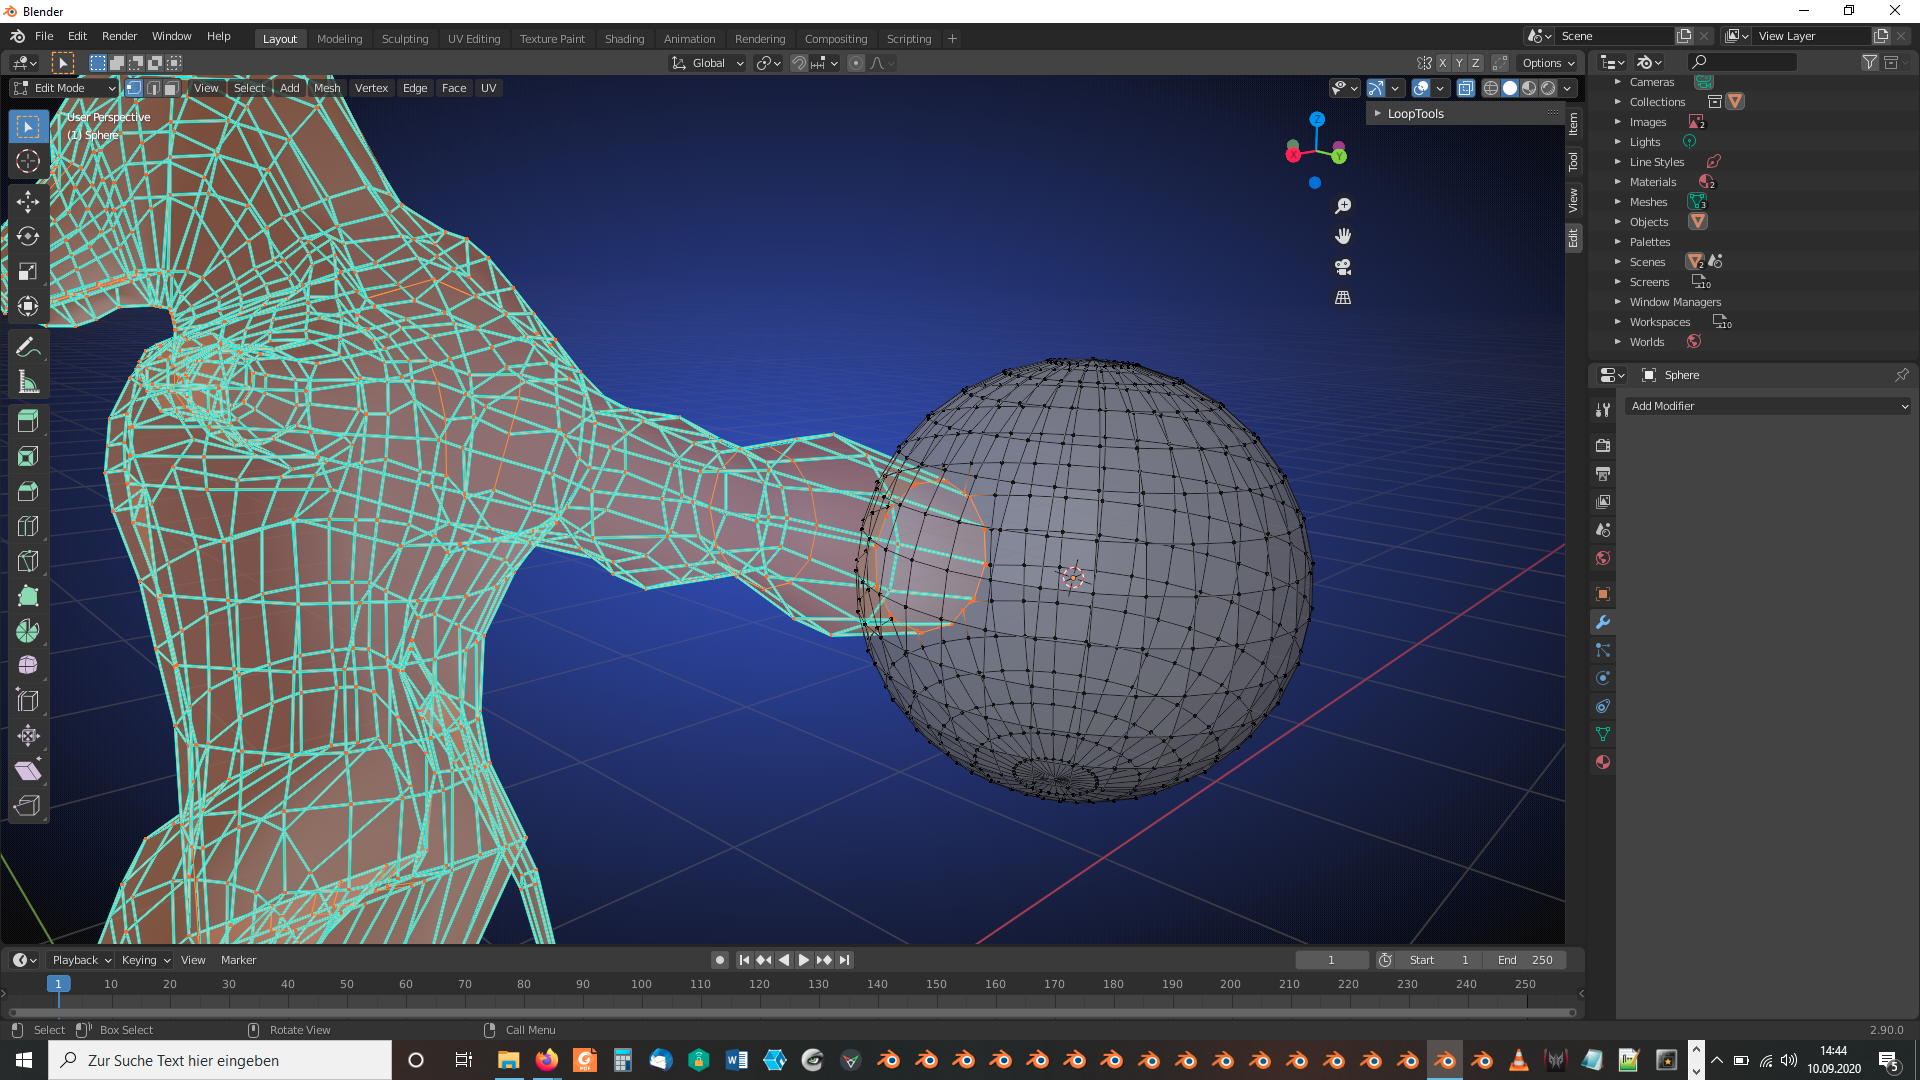
One new issue, Having used Bool Tool Union, I now have seemingly random objects dissappearing after attempting to use Bool Tool. What should I be looking out for to trouble shoot this new issue?
https://drive.google.com/file/d/1Y4gIP69mmY-4TgKjFwG8wpwKqHzJ_ZkQ/view?usp=sharing
Which objects are randomly disappearing? Do you have a screenshot? I've tried it joining everything with the "Upper Torso":

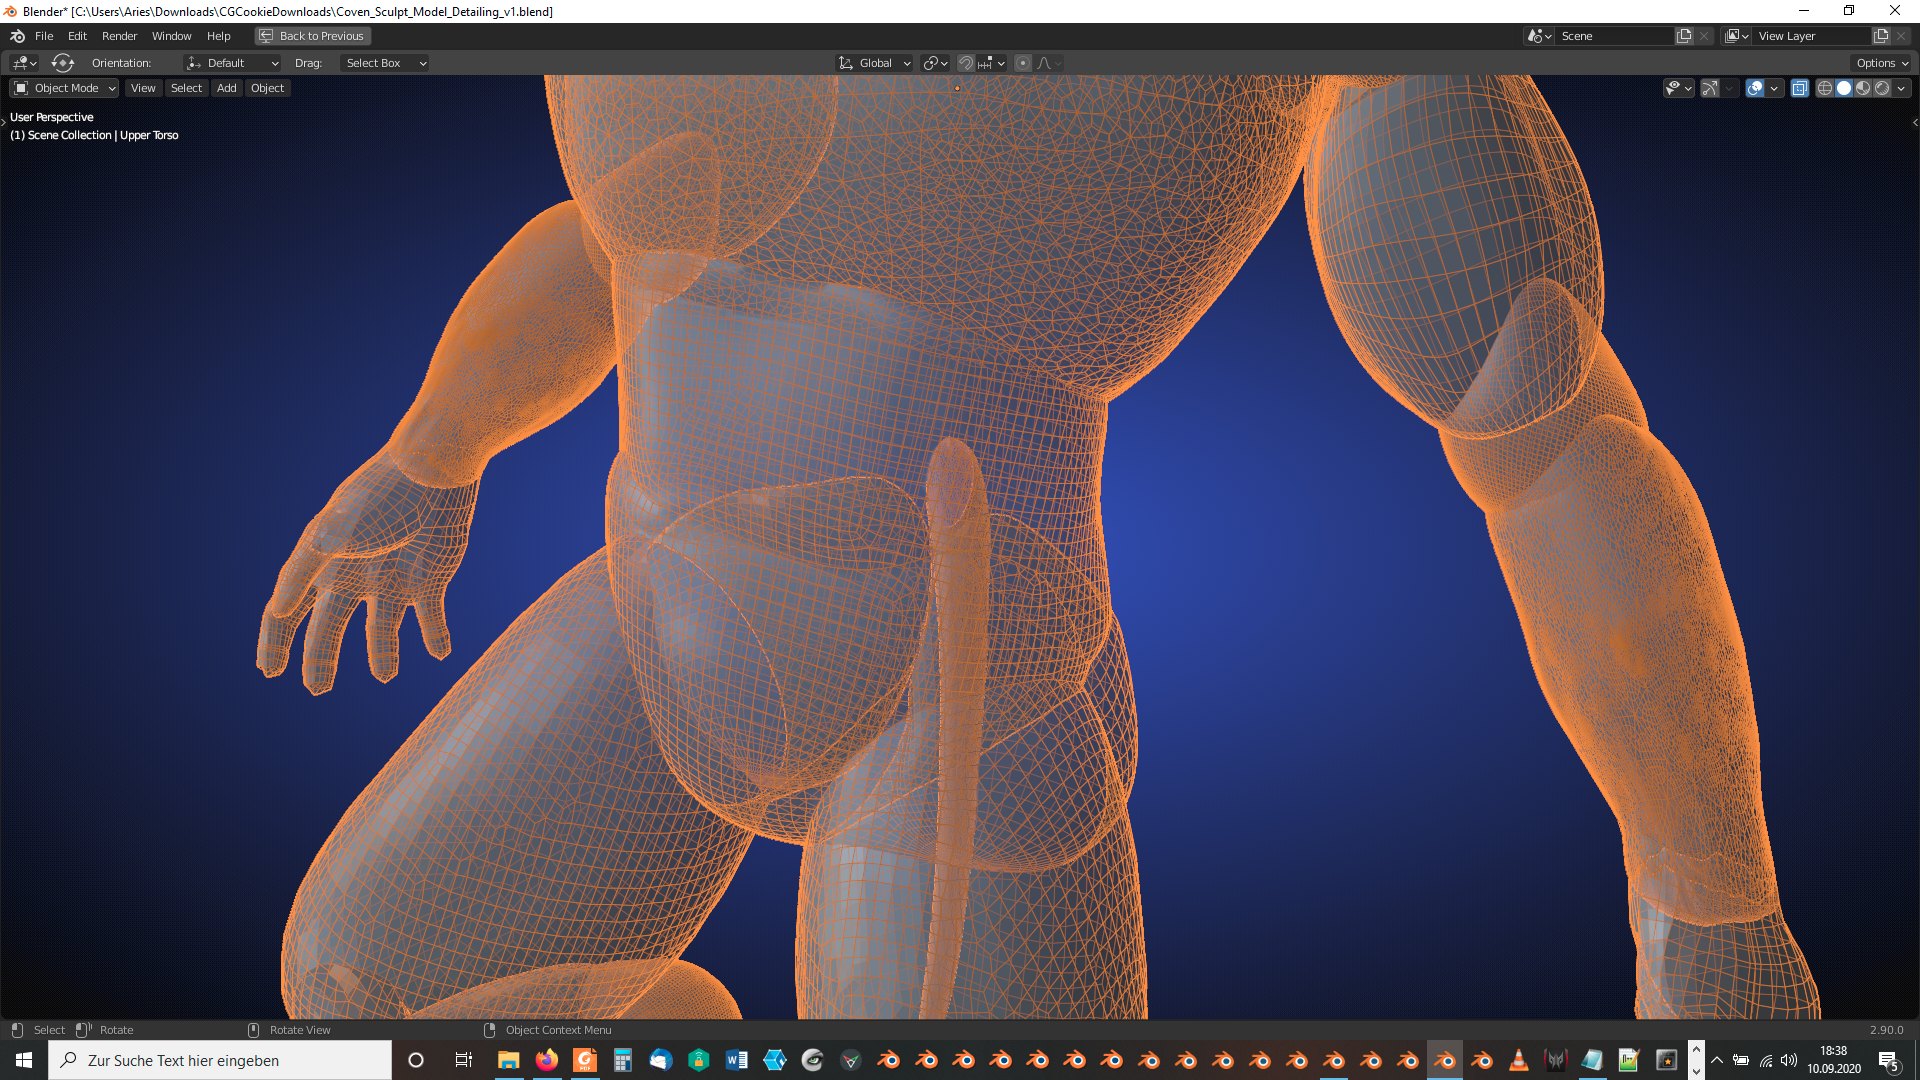
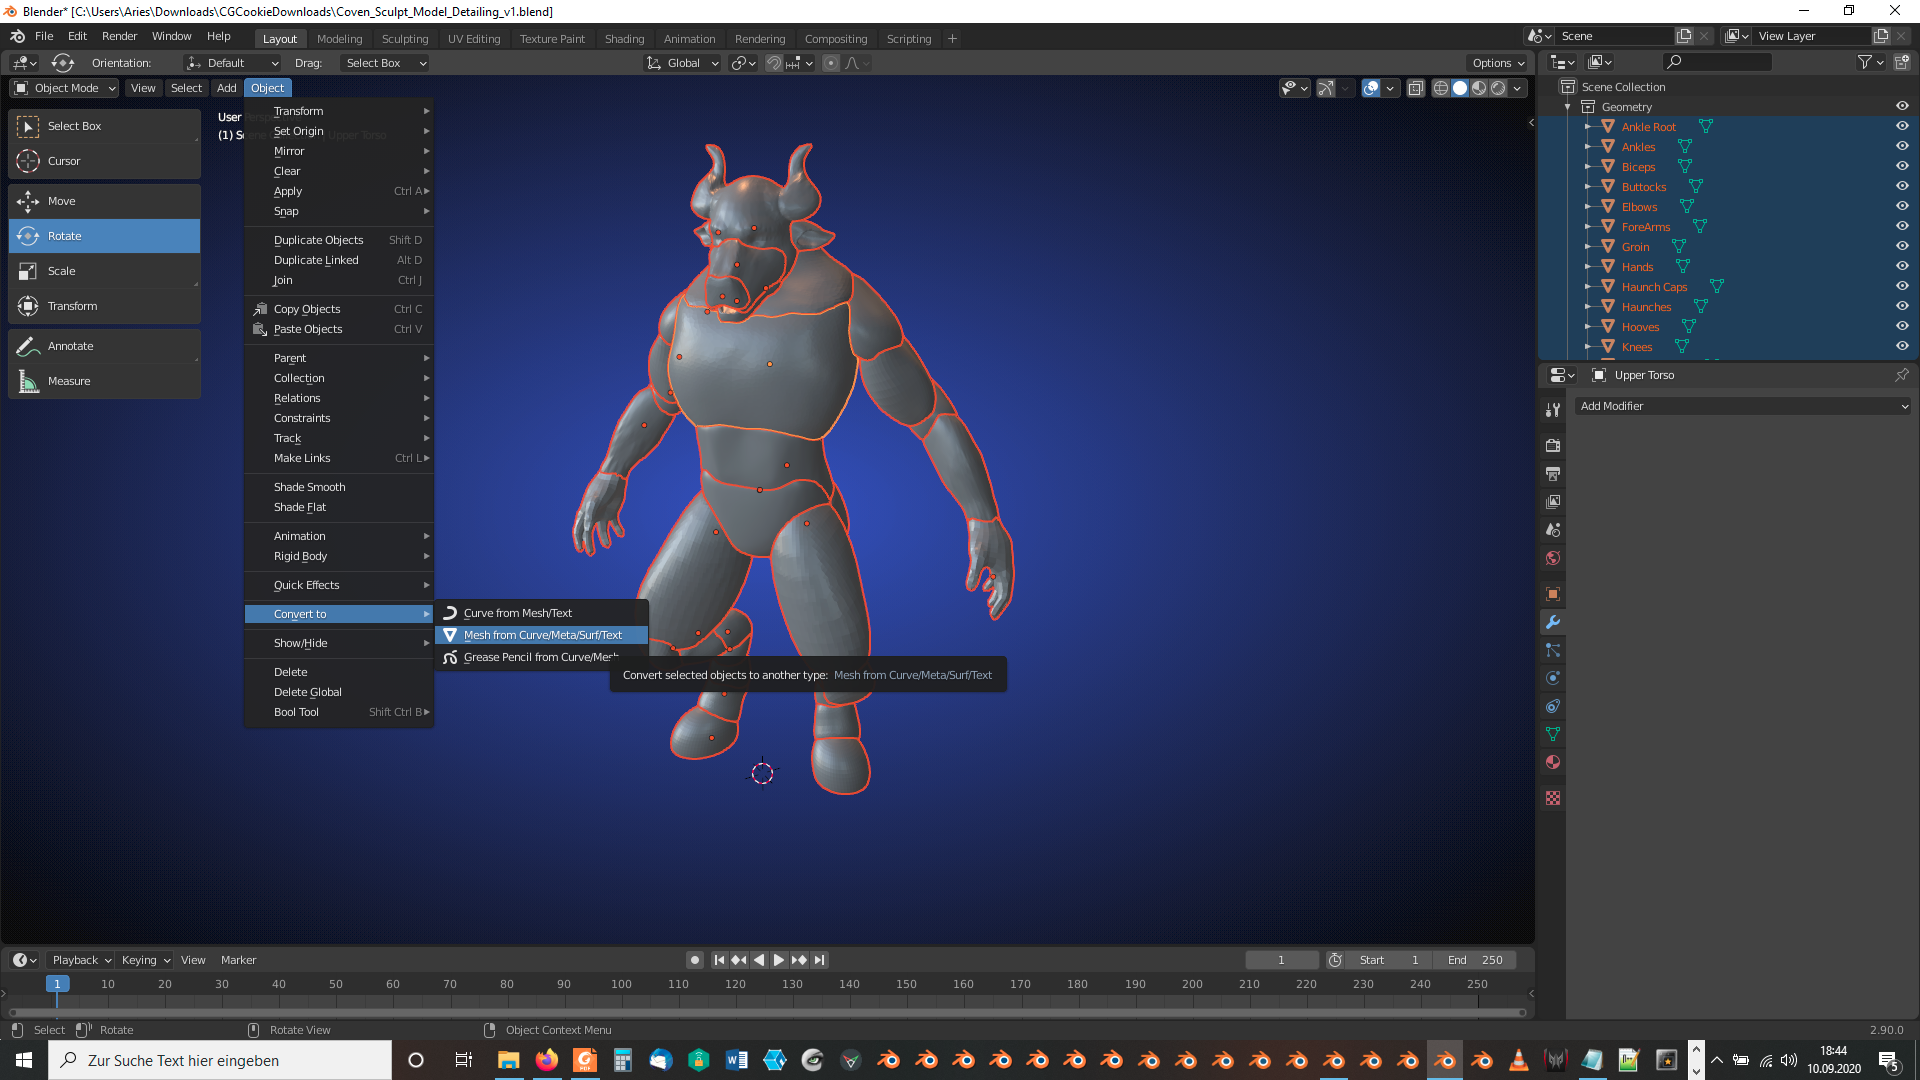
Maybe, it's the modifiers that are causing trouble. Select all parts and select in "Object Mode" under "Object" => "Convert to" the entry "Mesh from Curve/Meta/Surf/Text" which is an easy way to collapse the modifier stacks on all selected objects:
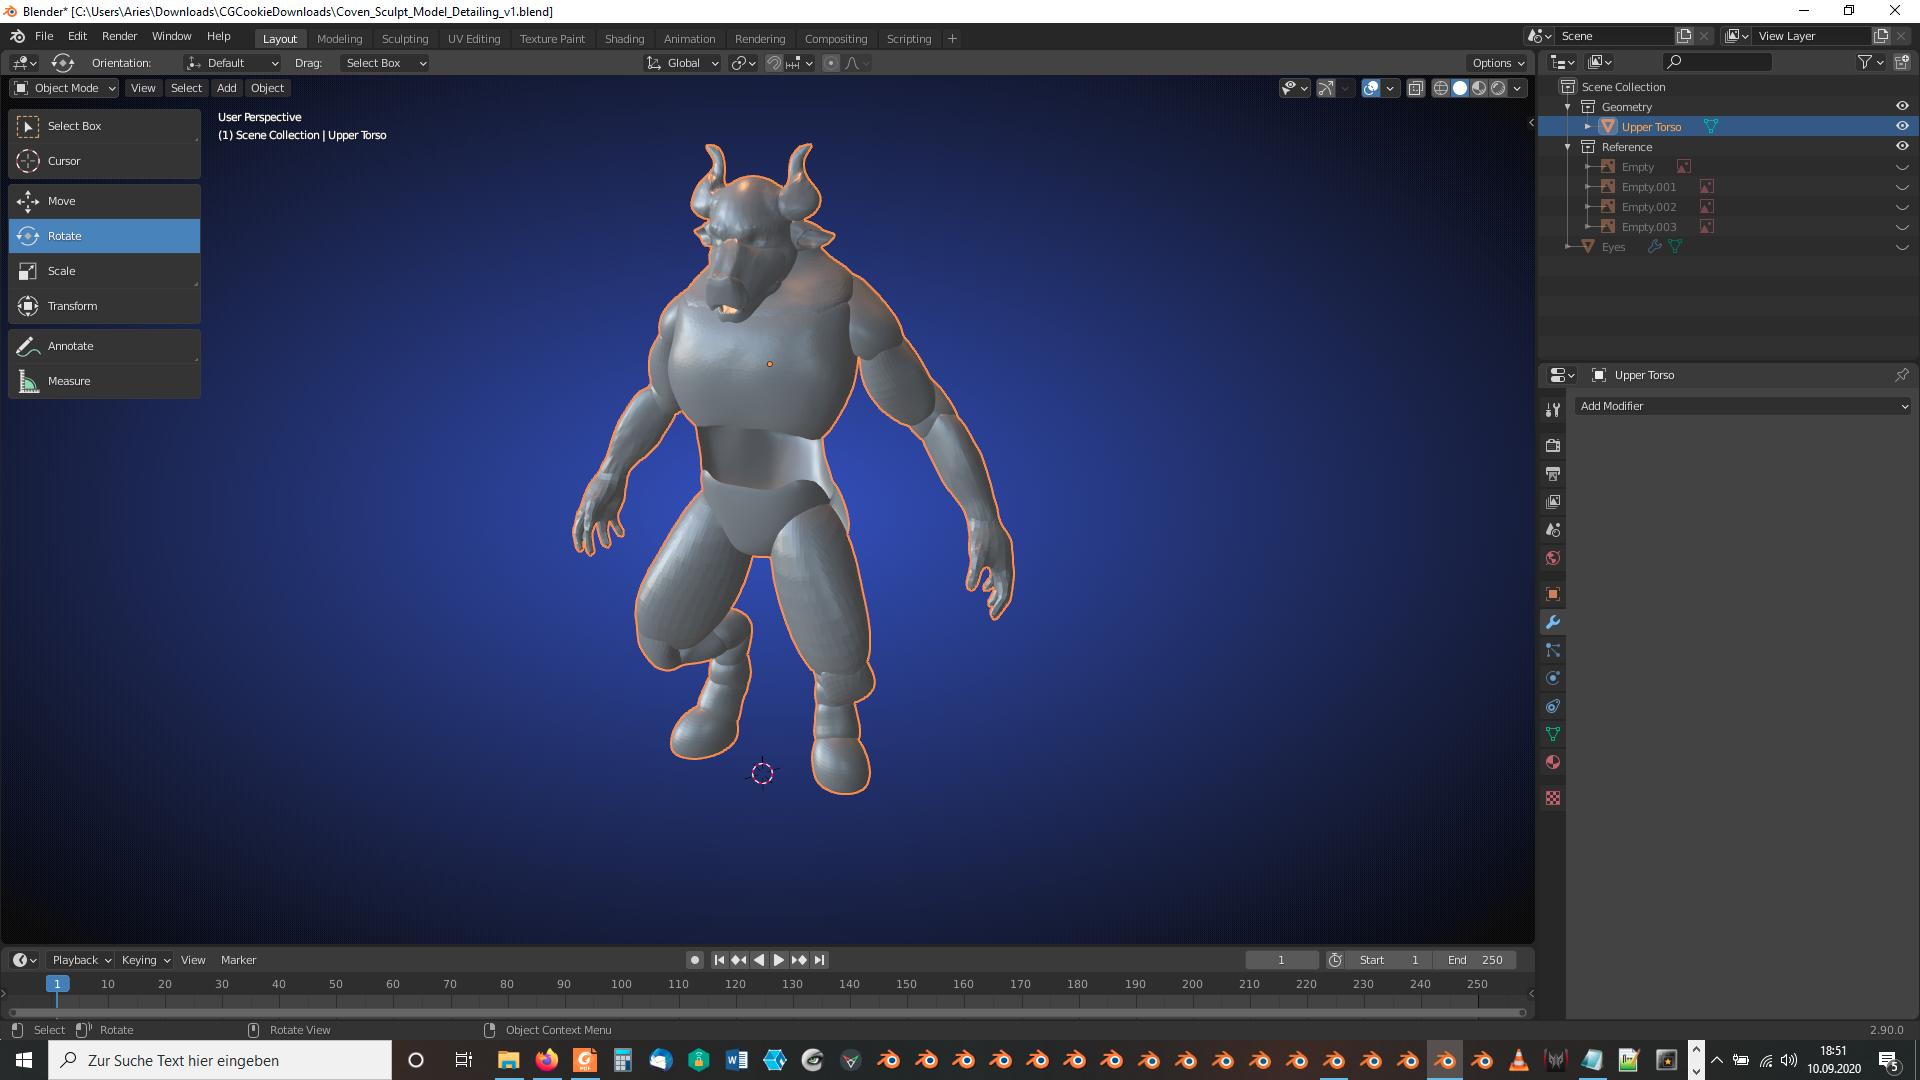
If "Bool Tool" still doesn't work for you, you can now join the parts manually with CTRL + J under the name of the part selected last.:
The "Lower Torso" front looks now transparent which indicates an incorrect face normals orientation pointing inside the mesh instead of outside:
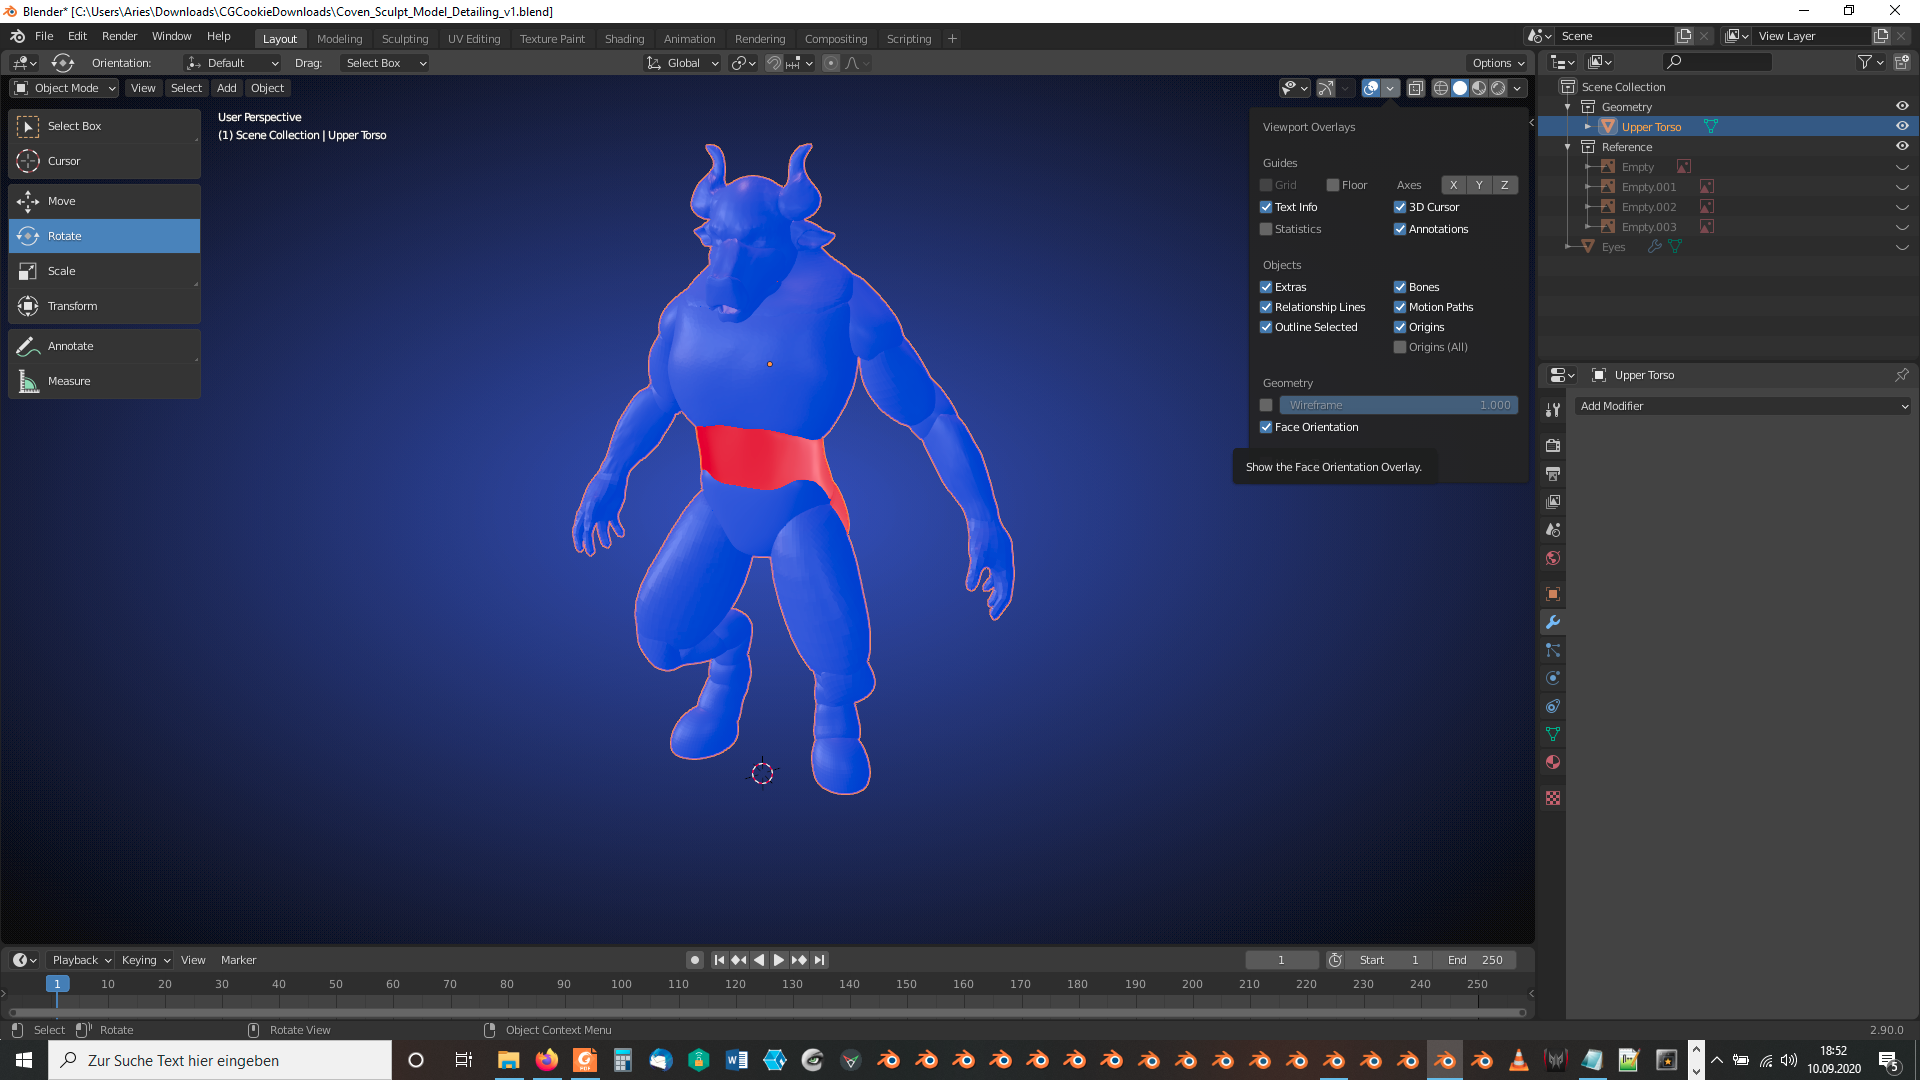
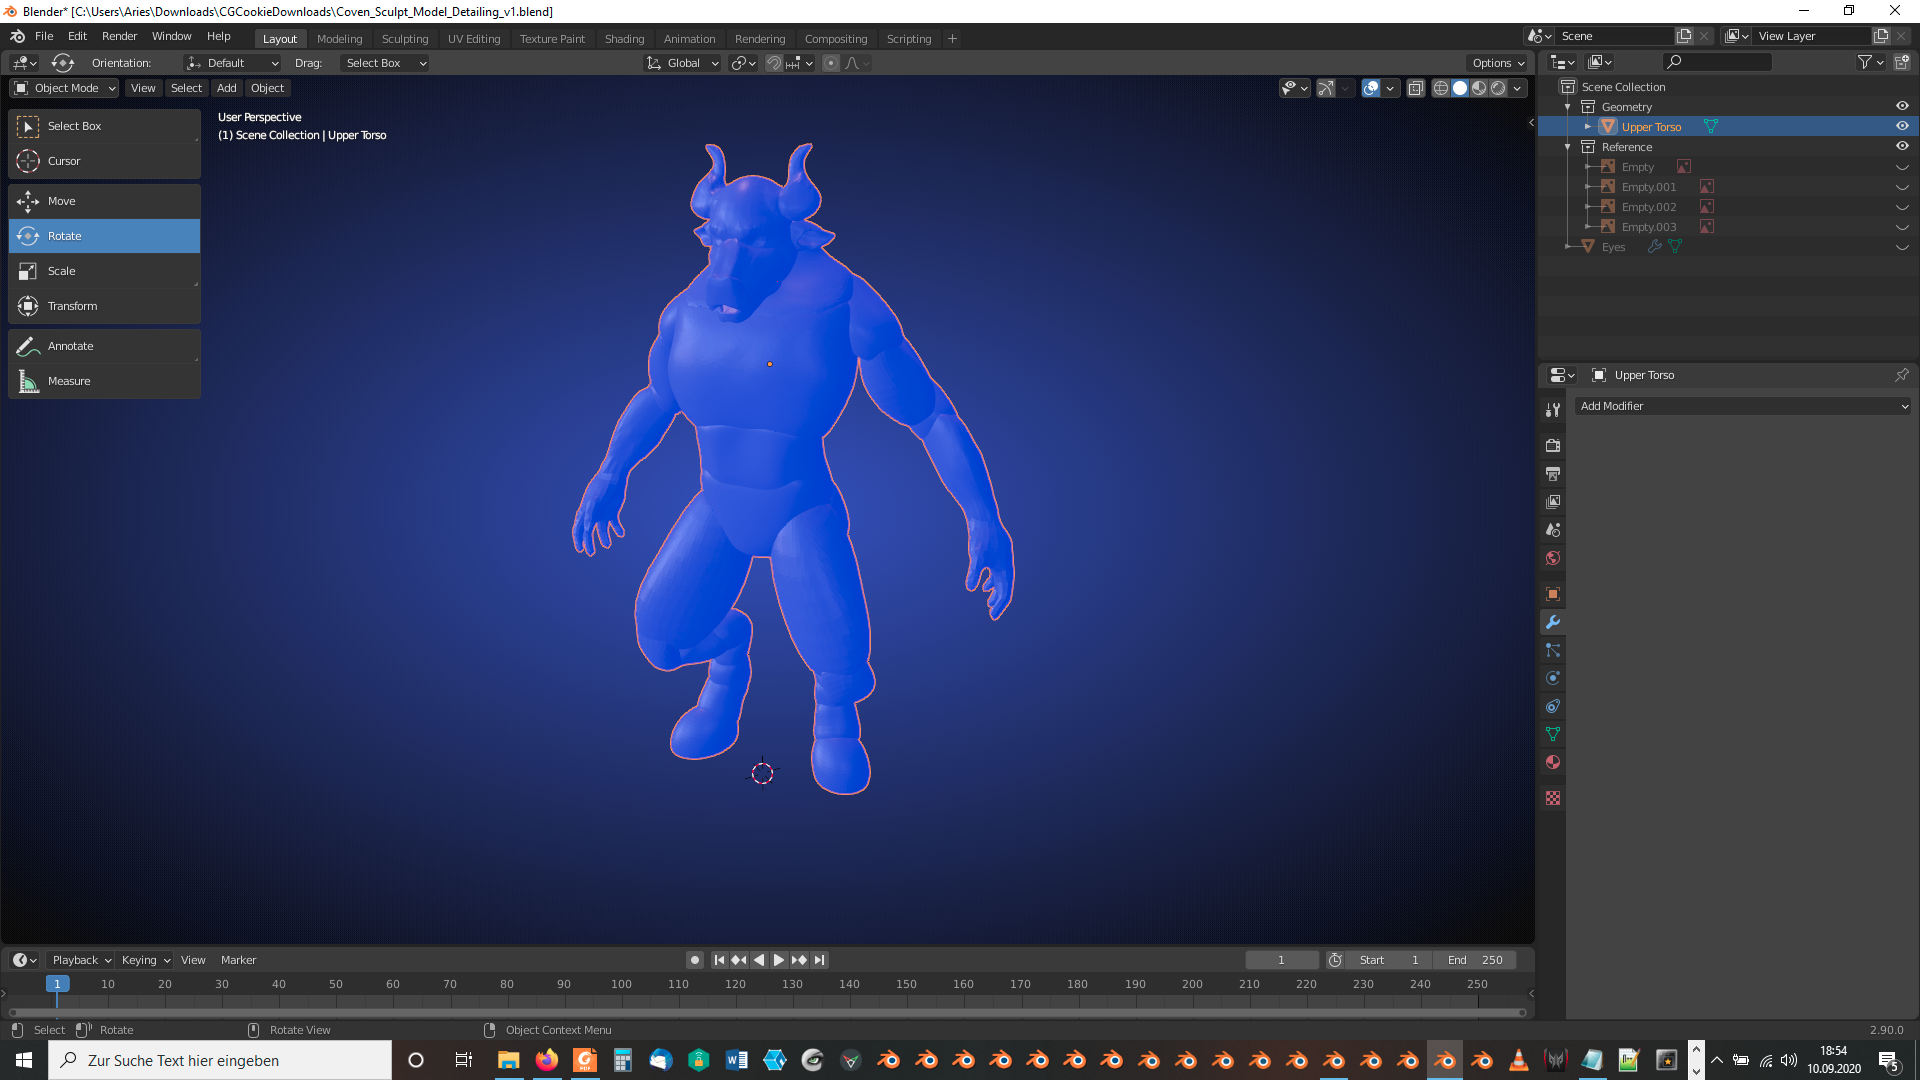
Tab into "Edit Mode", select everything and recalculate the normals outside with SHIFT + N so that it looks in "Object Mode" with "Face Orientation" overlay like this:
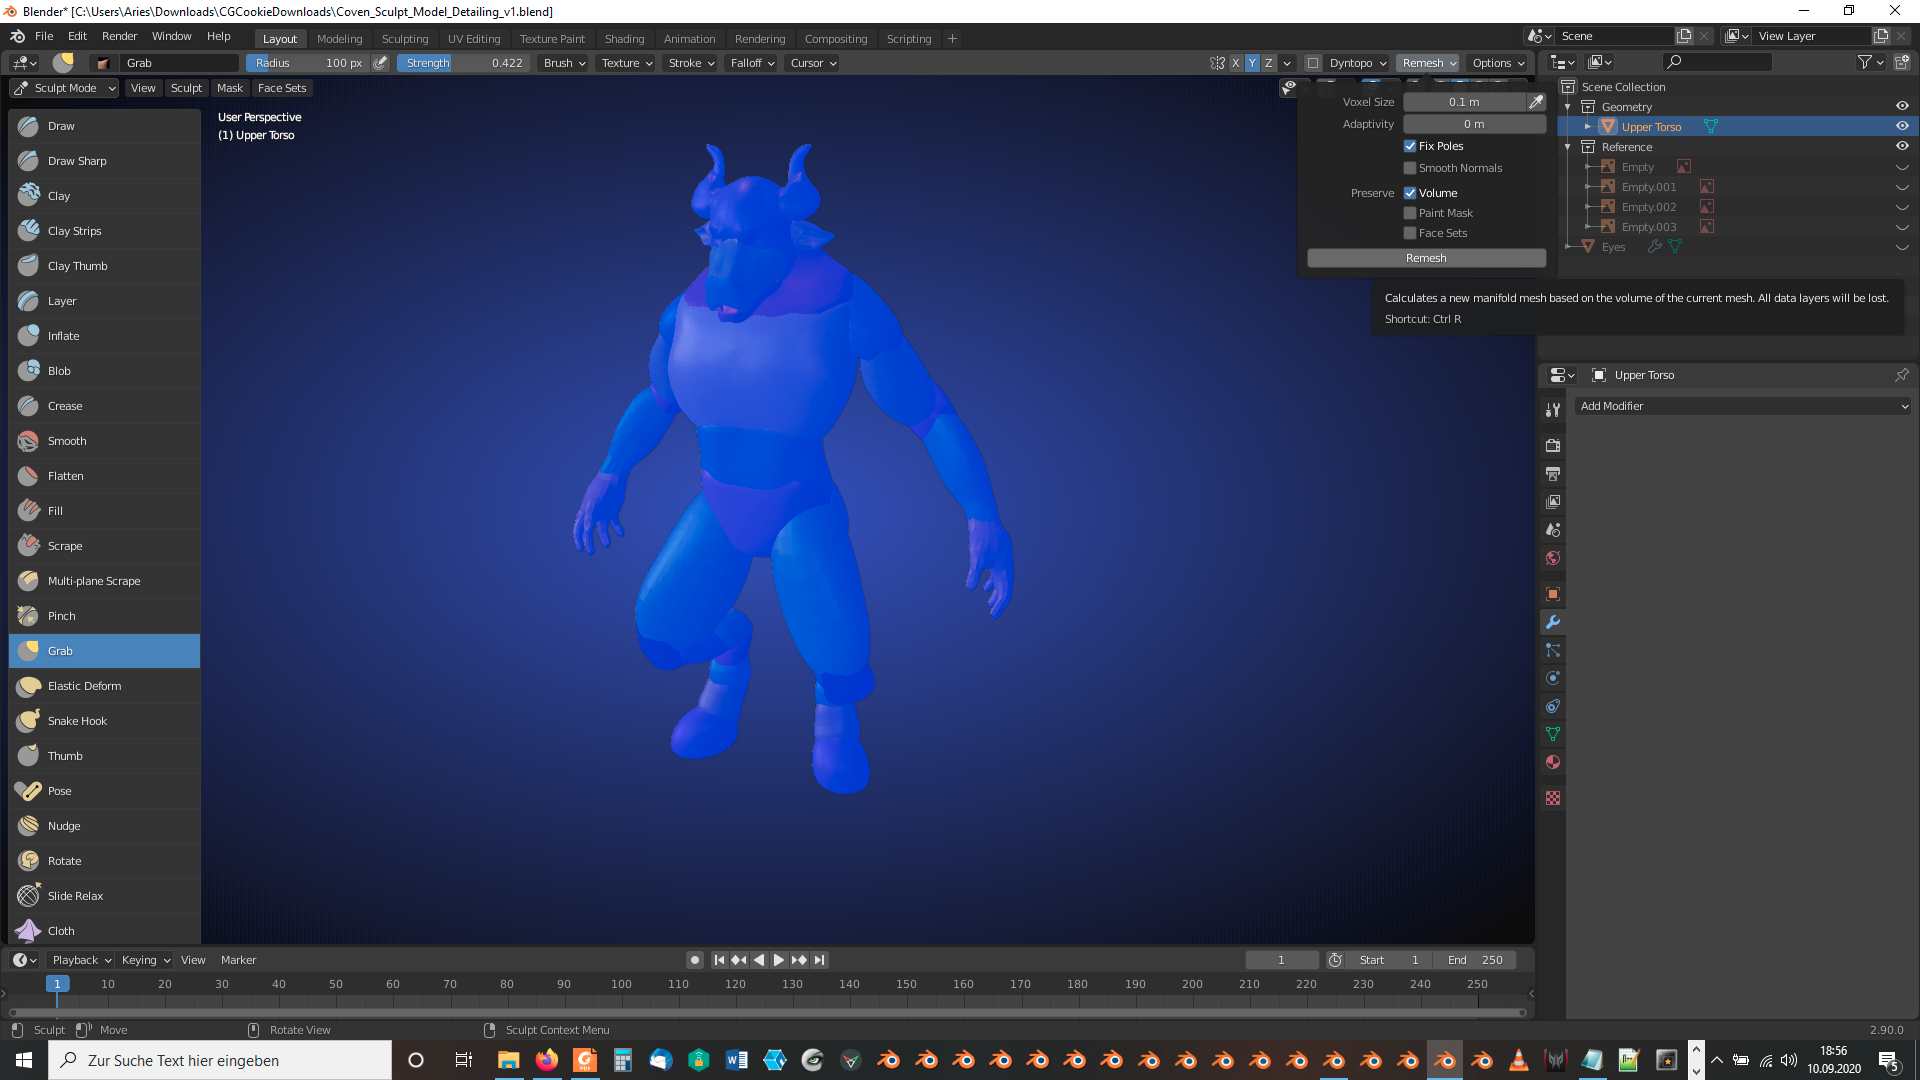
In "Sculpt Mode" (after saving your current version) press the "Remesh" button in the "Remesh" dropdown menu:
If the newly created mesh is too coarse for you, repeat the same with a smaller "Voxel Size" using your saved version from the previous step or after undoing the remeshing. The mesh with the default settings should now look like this:
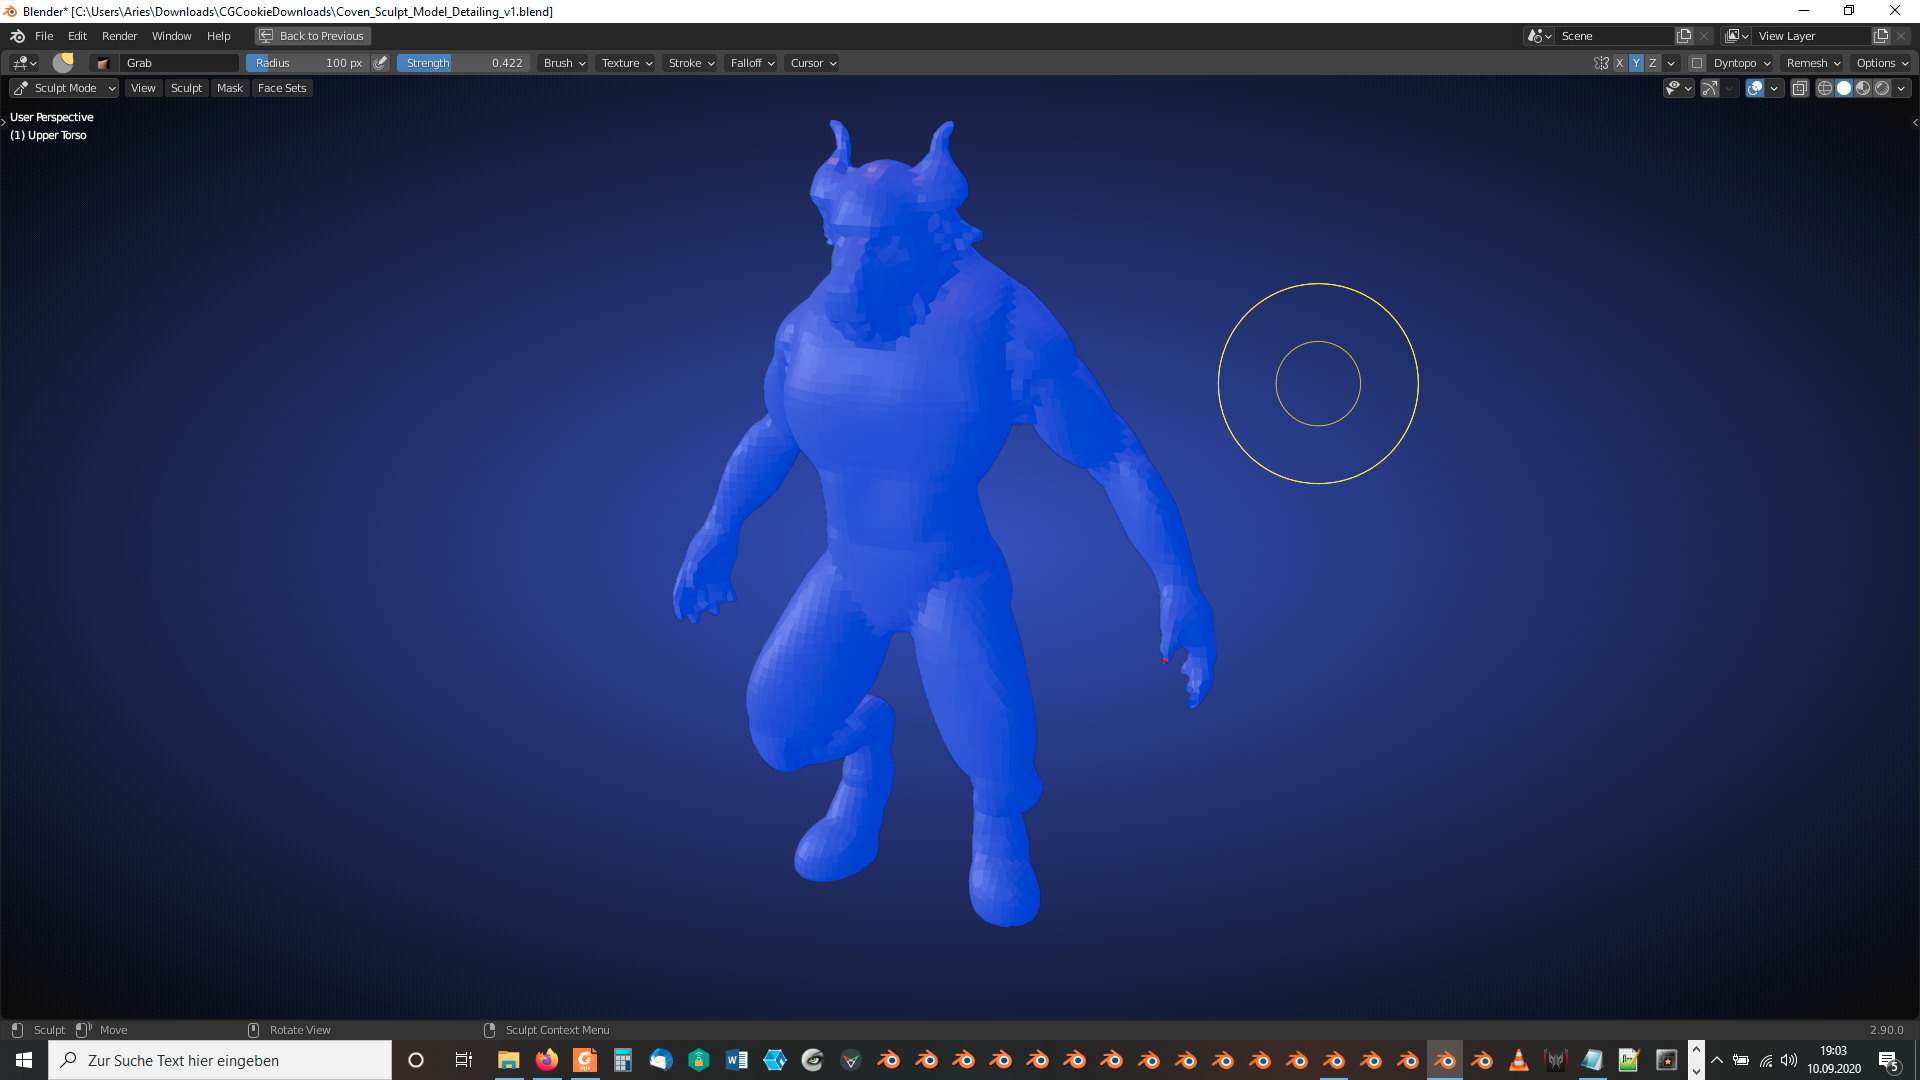
A voxel size of 0.025m should provide enough detail without risking extremely long calculations: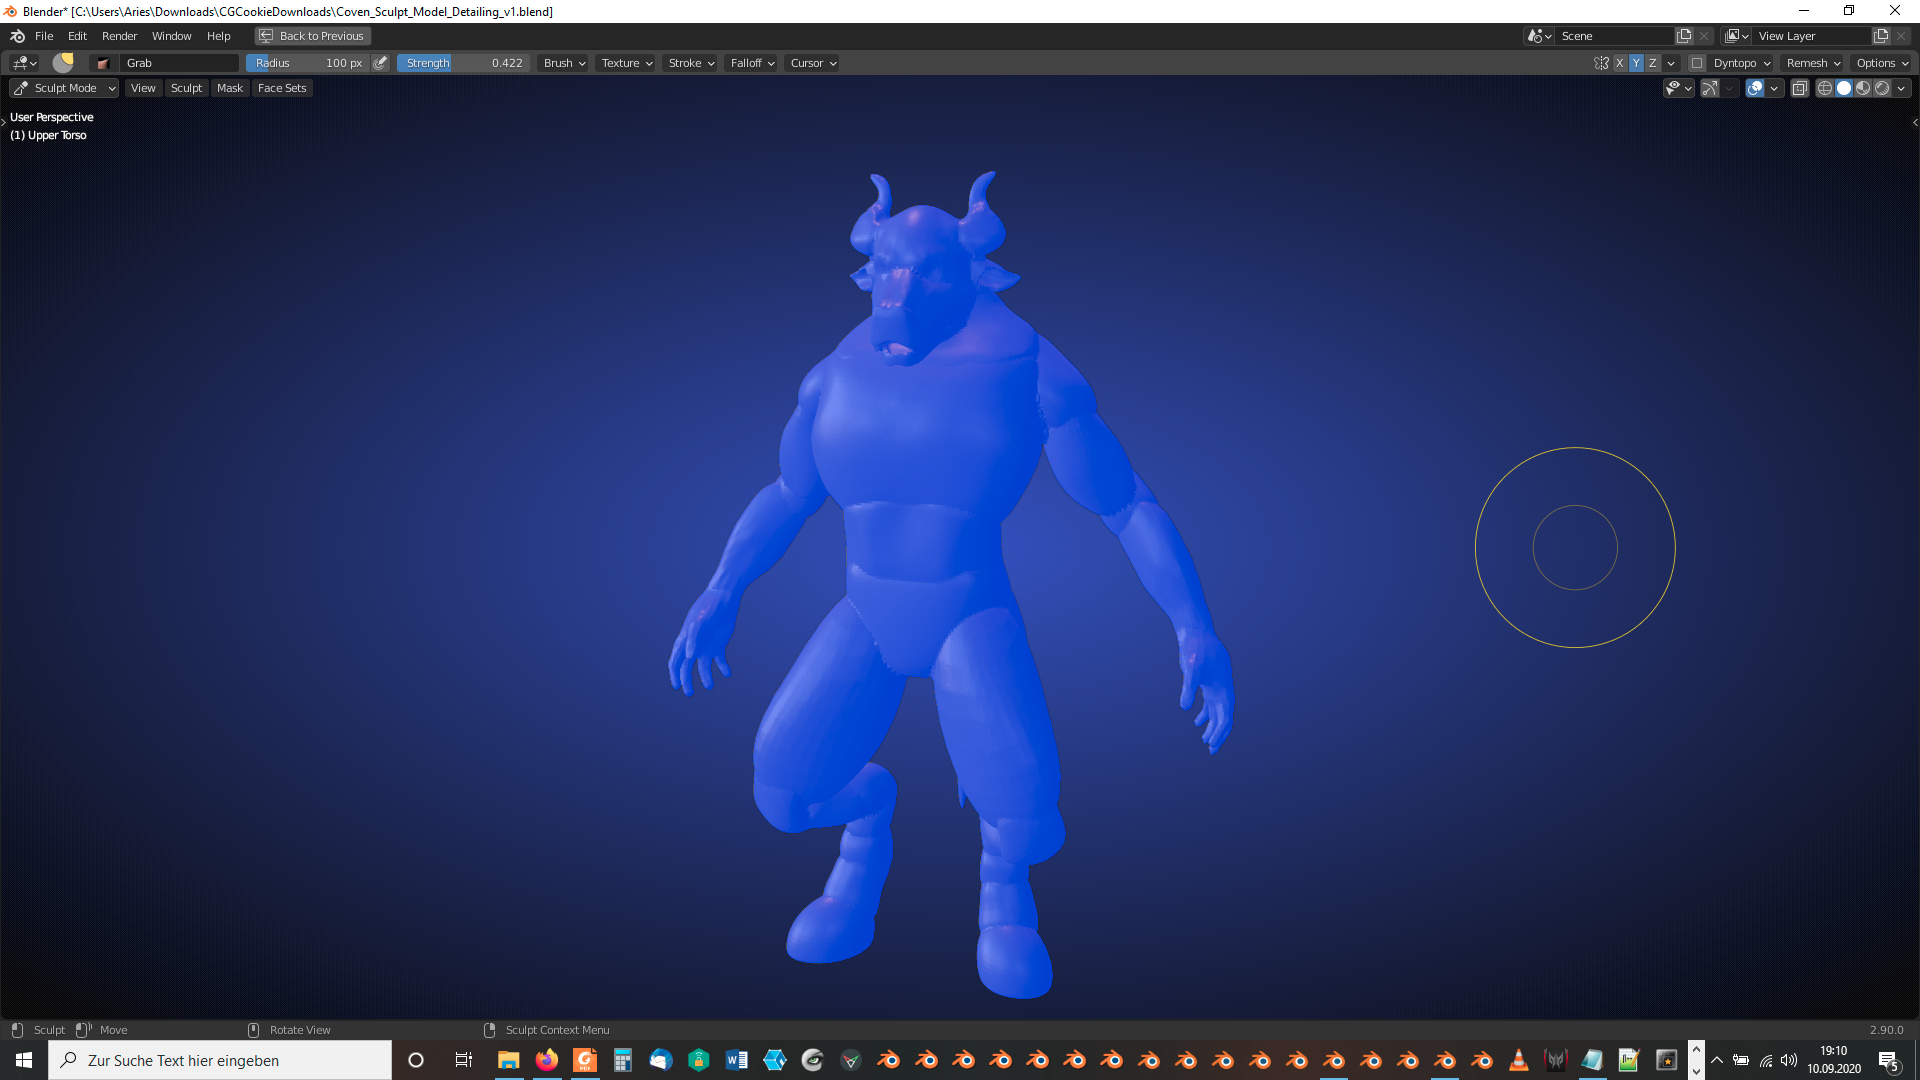
ccjolson The remesher also joins multiple objects together super easy but you may lose topology detail (you can adjust remeshed resolution though. You can join all objects together with Ctrl + J and then go to the Object Data Properties and you have the remesh menu to make use of:
This is a remesh with 0.1m voxel size. Looks pretty dang close (granted the topology is going to need some retopo if you plan on using a UV map)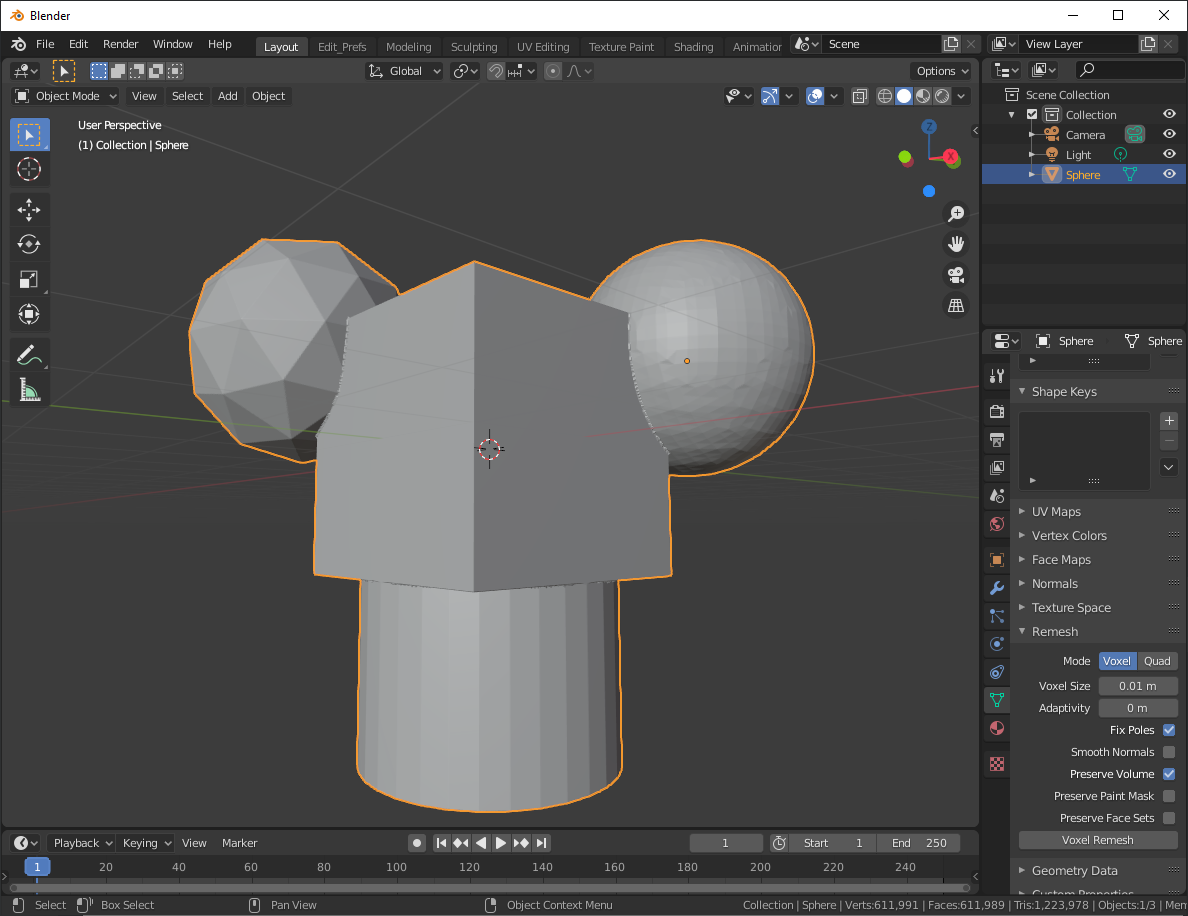
I'm looking forward to see your finished model 😀. It already looks great 👍!
The "Voxel Mode" of the "Remesher" in "Object Mode" seems to offer the same functionality as the "Remesh" menu in "Sculpt Mode" with respect to the identical value input fields and checkboxes. But what about the "Quad" mode? ![]() blanchsb Is there a recommendation when to use which mode?
blanchsb Is there a recommendation when to use which mode?
![]() duerer Yeah so I remember there being a post here on CGCookie about Quad remeshing. I believe quad remeshing is getting better with every release and will be the sought after remesher when it gets some more TLC.
duerer Yeah so I remember there being a post here on CGCookie about Quad remeshing. I believe quad remeshing is getting better with every release and will be the sought after remesher when it gets some more TLC.
Here's a decent article recently posted comparing zbrush to blender and they touch on the new quad remesher. I think it still has a ways to go though.
https://cgcookie.com/articles/using-blender-as-a-zbrush-alternative-a-quick-guide
I don't have enough experience with either to state when one to use over the other but this guy obviously knows more than I do.
https://www.blendernation.com/2019/10/18/quad-remesher-auto-retopologizer-for-blender-unofficial-faq/
![]() metinseven does the built in Quad remesher in the Object Data properties do similar things to your previous post article on blendernation? Can you explain how well the Quad remesher works and when to use it over the voxel remesher?
metinseven does the built in Quad remesher in the Object Data properties do similar things to your previous post article on blendernation? Can you explain how well the Quad remesher works and when to use it over the voxel remesher?