Hi All,
First post and newbie.
I've been trying for hours to create a simple crown moulding, incorporating straight lines from extrusions and curves, but outset and inset. I tried 20 different things and to no avail. My final try attached was to try and build the primary shape from a series of planes then to extrude that... mostly good EXCEPT:
1. I could never get the INTERIOR curve to dissect in boolean (I assume because the other shapes aren't all actually merged?)
2. I wish someone could tell me how to get these shapes to merge
3. I know there's a much easier solution, I'm just not finding it.
Thanks in advance,
Hi (j0)²,
I do not quite understand what you were doing or what exactly you want to achieve, but:
2. to merge different Objects into one: press CTRL+J. (In Object Mode with all Objects that you want to merge selected. Make sure one of them is Active (orange outline)).
3. There are many ways to make a crown. For instance:
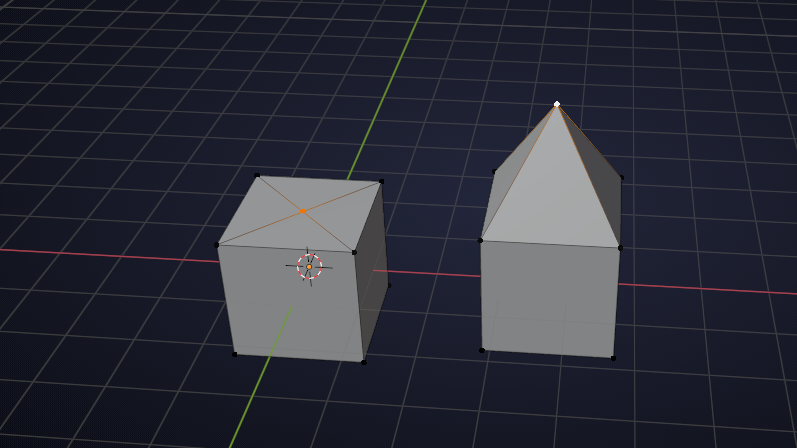
Do not delete the Default Cube! In Edit Mode select the top face and search for Poke Faces:

select the middle vertex and, with G, Z (or any other method you prefer) move it up:
select all vertices and move them away from the center (along X-, or Y- axis, I assume Y from here on) and delete the two side faces like this:
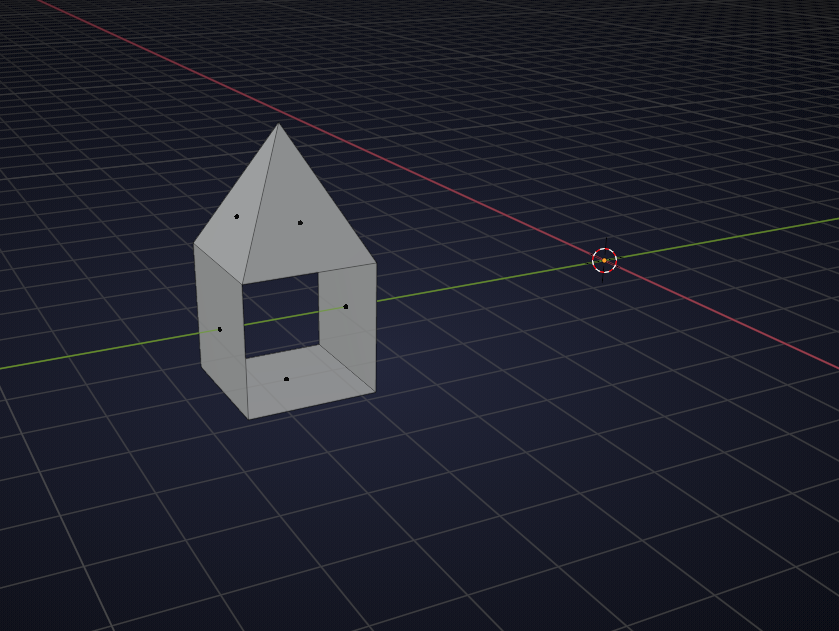
scale in Y:

add an Array Modifier, set it to a number you like (you can still change this later...) and enable Merge:

add a Simple Deform Modifier, set it to Bend, 360° Angle and using Z-Axis: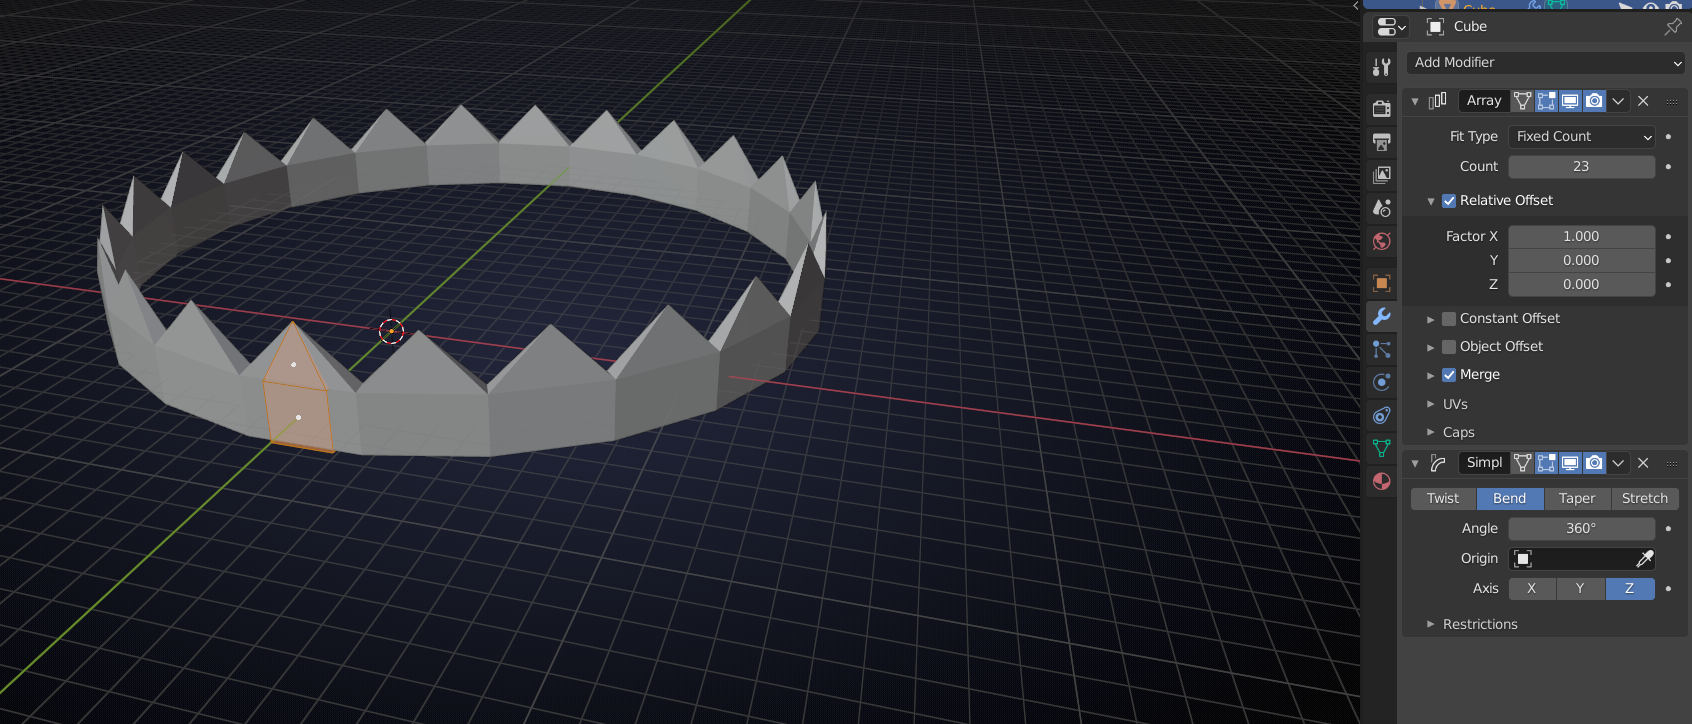
you can change the number in the Array Modifier and change the radius by moving everything in Y:

add a Weld Modifier, Shade Smooth, and give it a nice material:
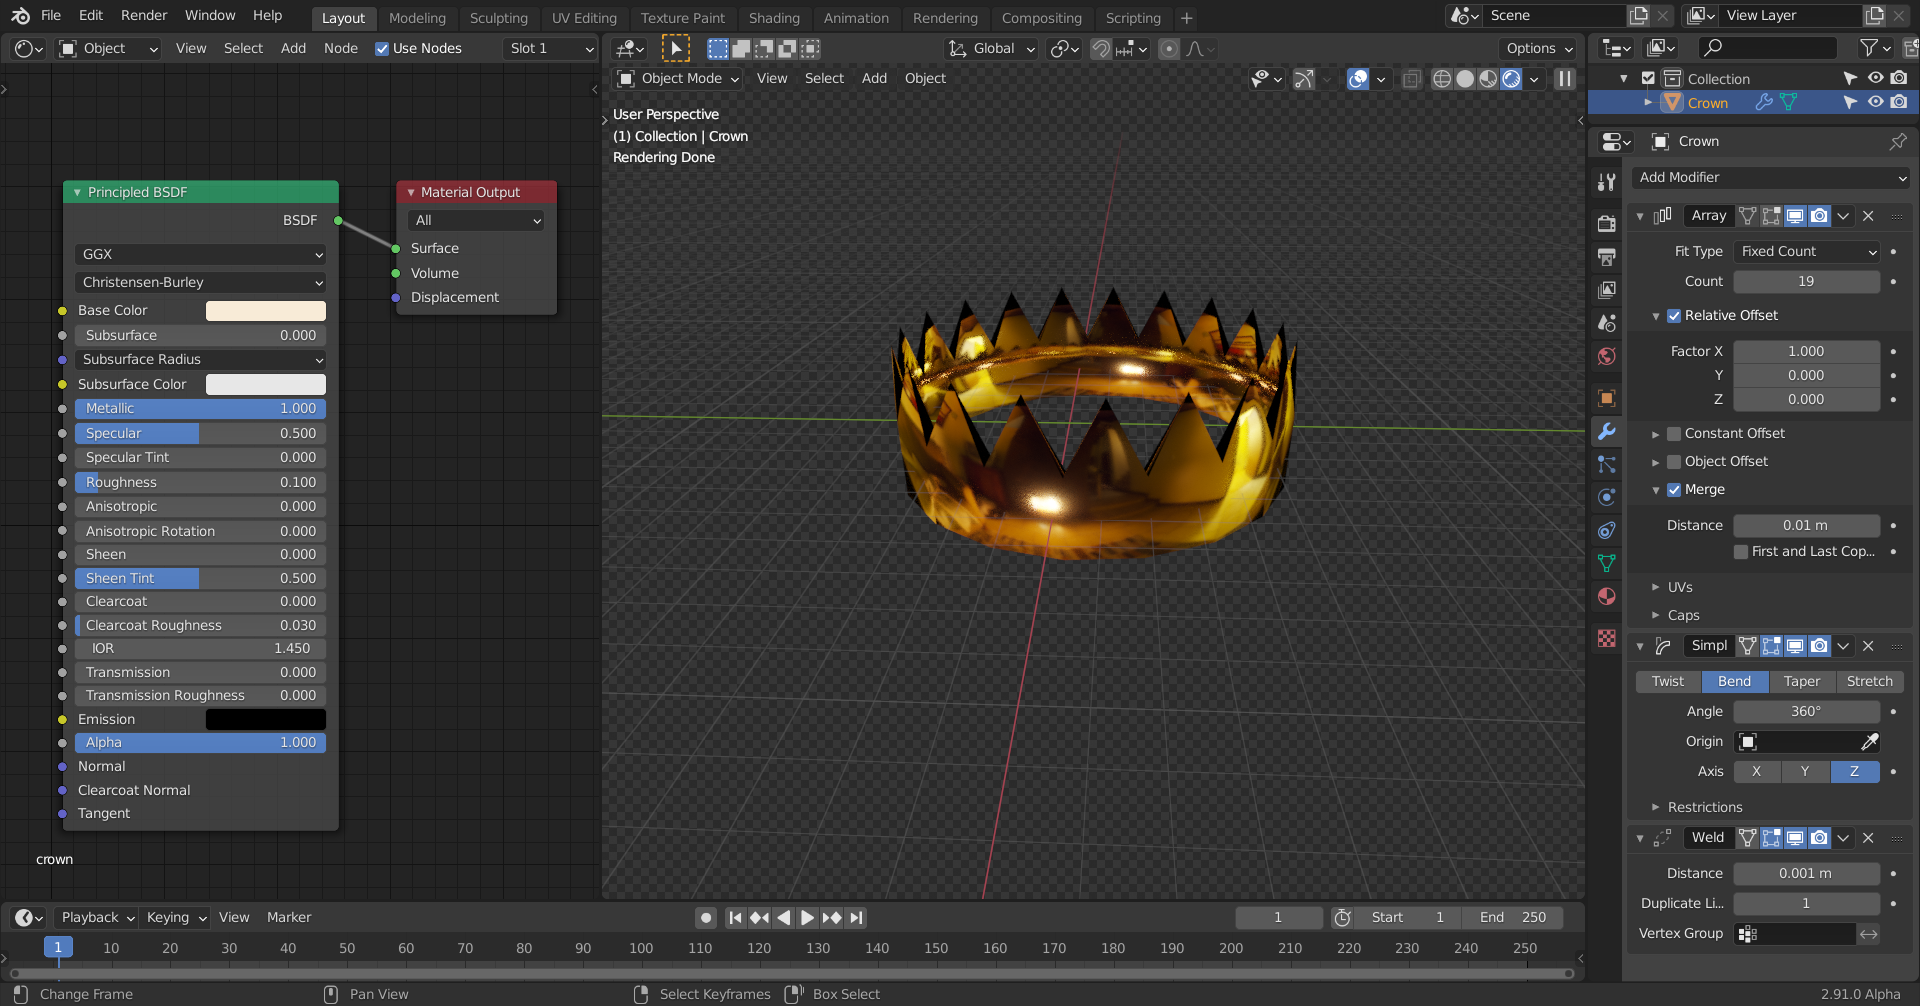
Many things can be done now, for instance:
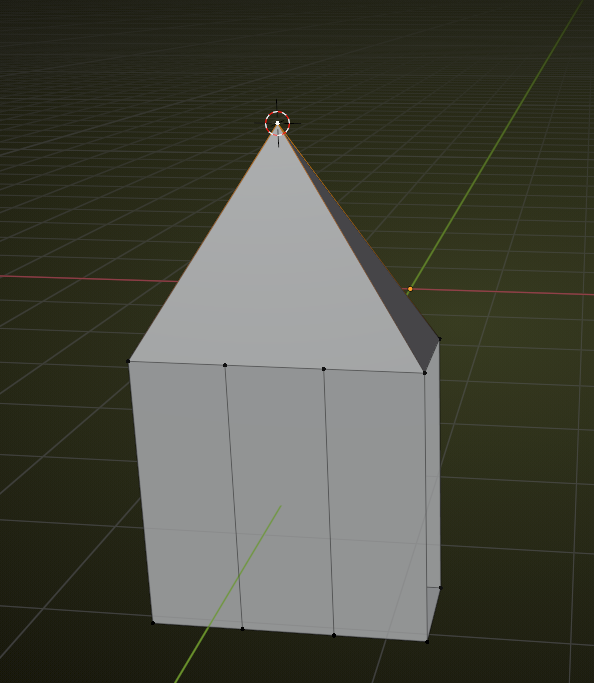
add two edge loops at the bottom part and select the top vertex, SHIFT+S > Cursor to selected:
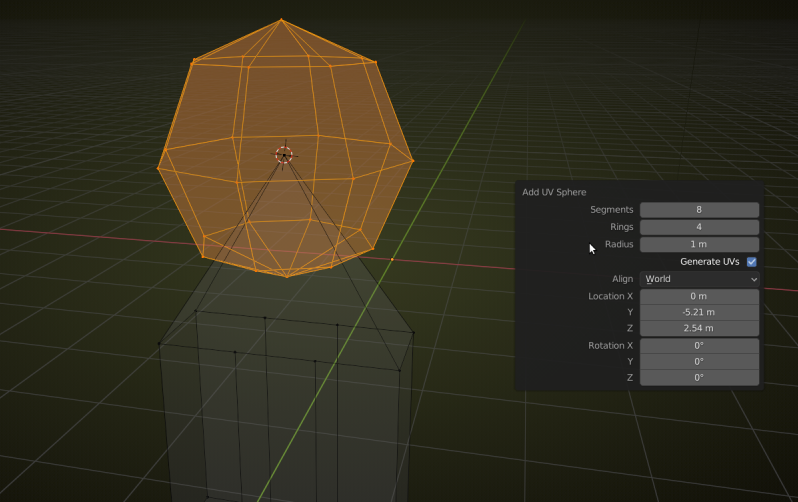
add a UV Sphere and set the Segments to 8 and Rings to 4 (if you want a higher resolution Sphere, you would need to make more edge loops in the previous phase, do the math):
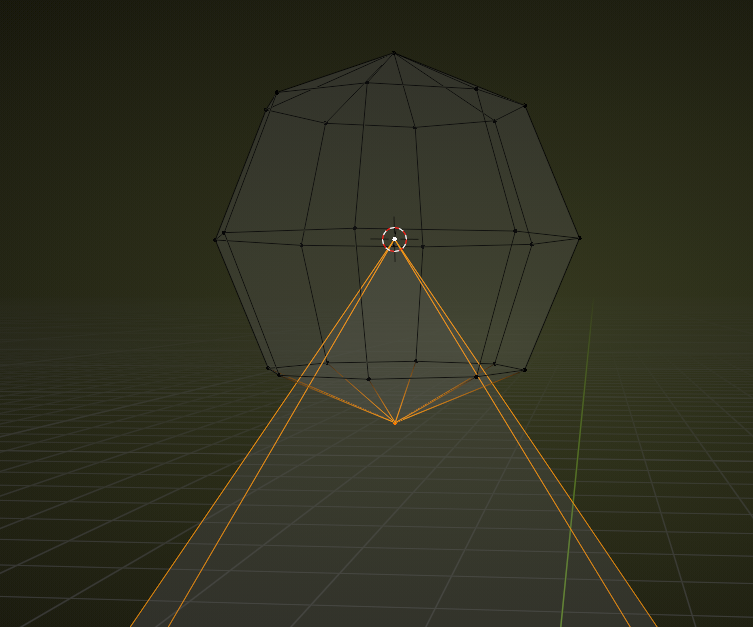
now select these two verts and delete them:
select the bottom vertices of the top and the top vertices of the bottom like so:
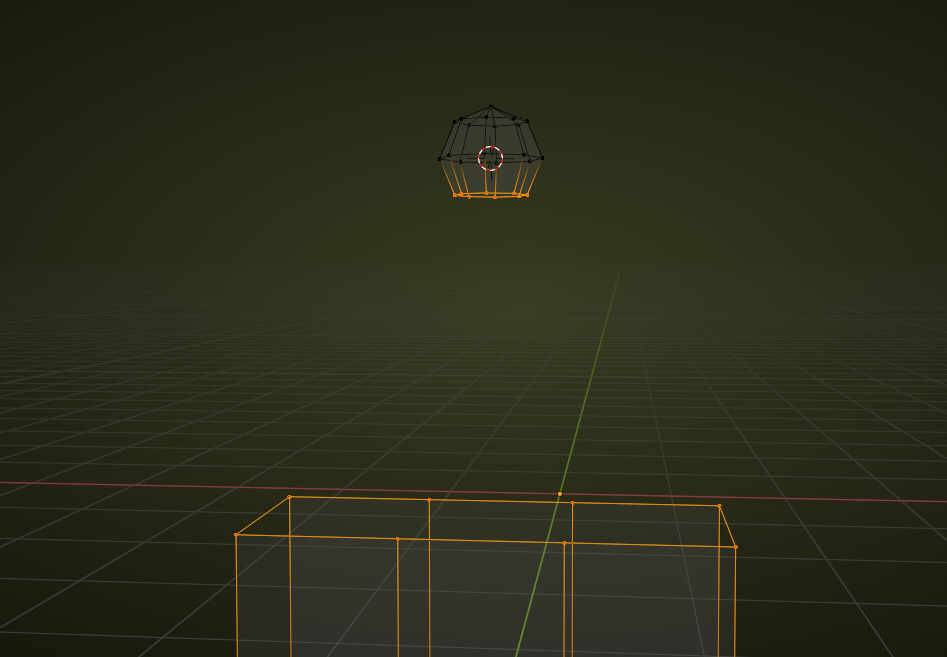
Context Menu > Bridge Edge Loops, may need to rotate the top ball around the Z- axis to align the verts:
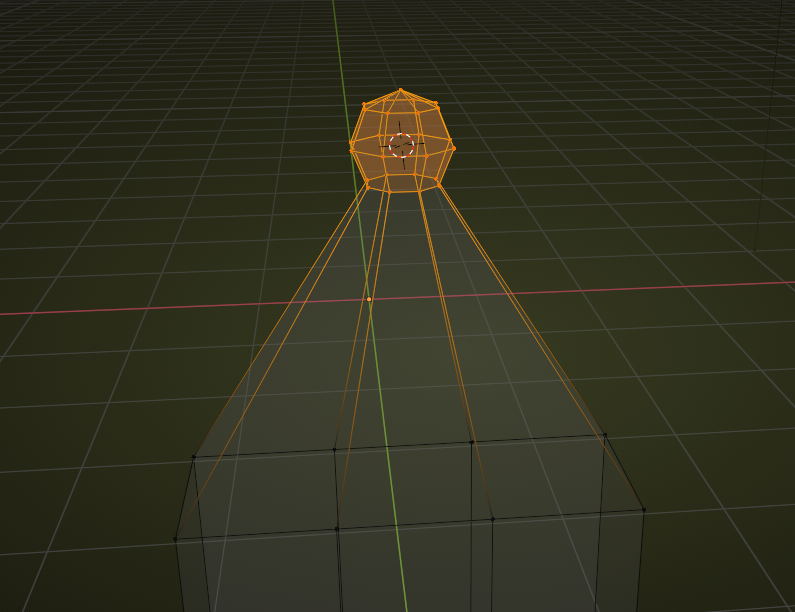
the rest you already know:
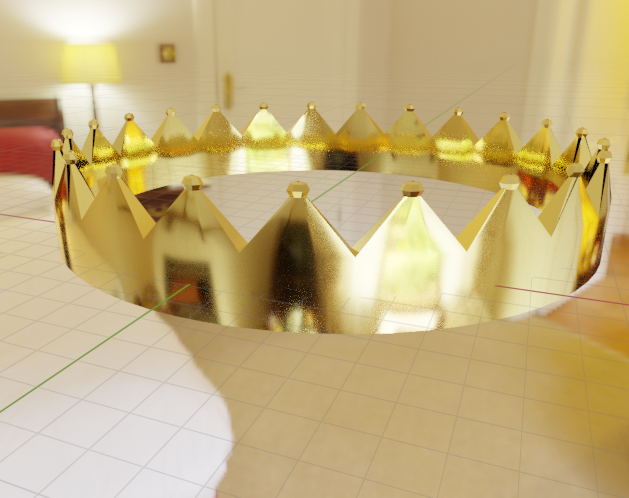
Of course there are many other ways of making a crown!
Have fun Modelling!
Oops, sorry. But that is even simpler!
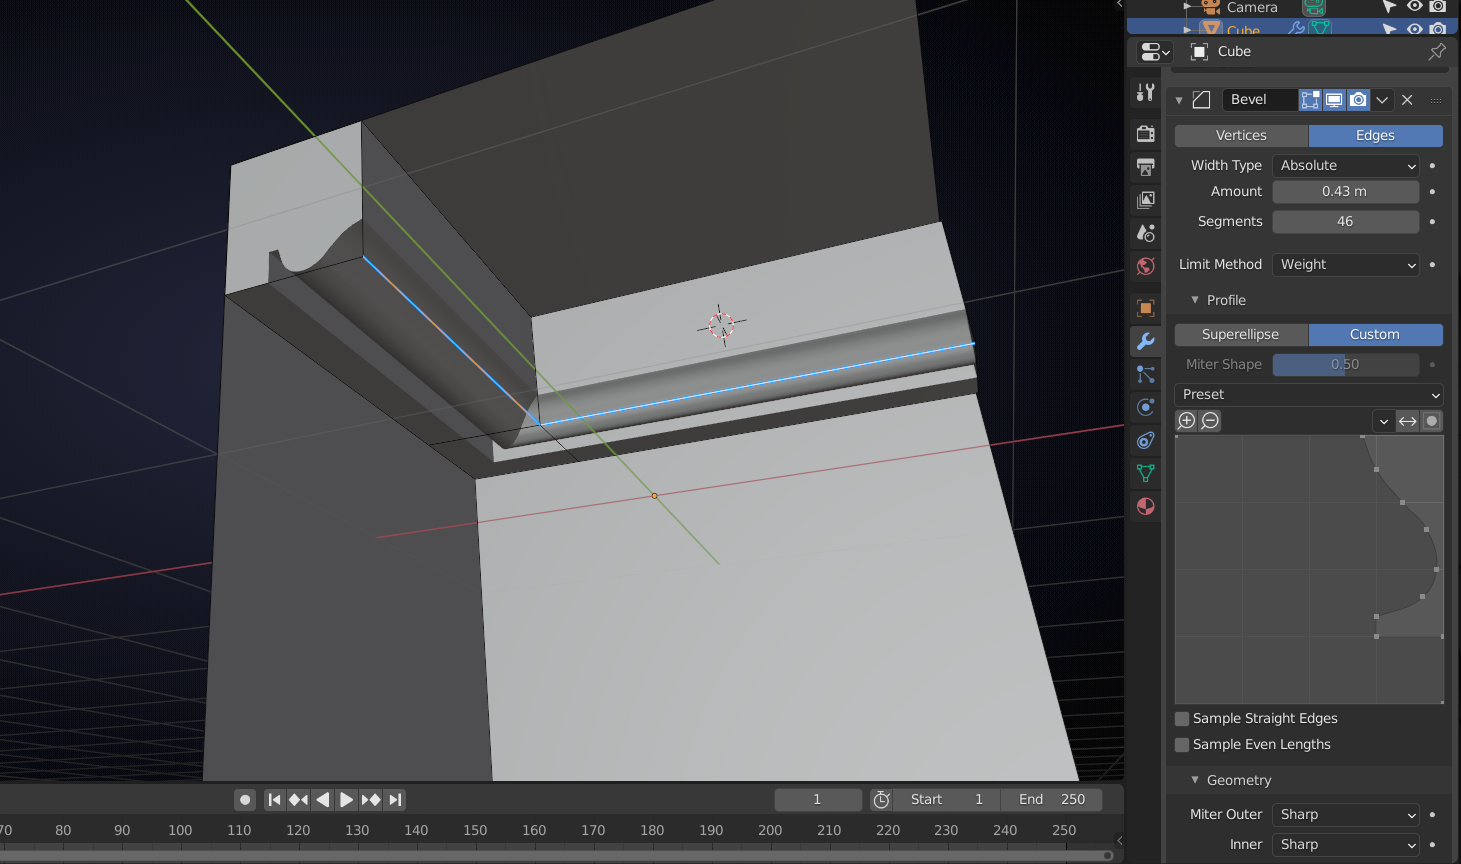
You'll have to adjust the custom profile of course:)
If you select the edges you want bevelled, you can CTRL+E > Edge Bevel Weight, set that to 1. (They will turn blue, as can be seen in my screenshot.) Then set the Limit Method to Weight.
Don't worry about my UI looking different, that is not an addon, just Blender 2.91, but you have all the settings that you need.
Don't know any specific tutorials, but this one: https://www.creativeshrimp.com/variable-radius-bevel.html
is a recommendation as it comes to some lesser known bevelling tricks..,.