This thread is about the creation of materials in Eevee and the setups needed in order to render them out properly.
Can anybody here say what is meant with the "Jitter Threshold" in Eevee's Subsurface Scattering?
The Blender 2.83 manual writes:
Samples
Number of samples to compute the scattering effect.
Jitter Threshold
For the effect to be efficient, samples need to be coherent and not random. This can lead to a cross shaped pattern when the scattering radius is high. Increasing the Jitter Threshold will rotate the samples below this radius percentage in a random pattern in order to hide the visible pattern. This affects the performance if the scattering radius is large.
This sounds very cryptic to me.
Could anybody tell me what is the Alpha Blend Mode "Additive" ("Settings" panel in the "Material" tab) and what happened to it since I can't find it in Blender 2.83.11..
This is old 2.80 stuff!
In the description it said: "Blend Mode for Transparent Faces: Render surface and blend the result with additive blending"
It has been removed because of its dangerously high level of vagueness.
Seriously, I haven't got a clue, but I know that I will not miss it...
|For the effect to be efficient, samples need to be coherent and not random.
This I can understand, I think; subsurface scattering IRL is random per photon, but because of the amount of photons, that becomes a coherent effect. Think of throwing a dice, then the outcome is random, but when you throw it many times (like a googol (10 to the power of 100) times or so, then you will see a coherent result: about as many sixes as ones as threes and so on.
But in CG you can only calculate a limited number of samples, so in order to simulate life, they need to be not random.
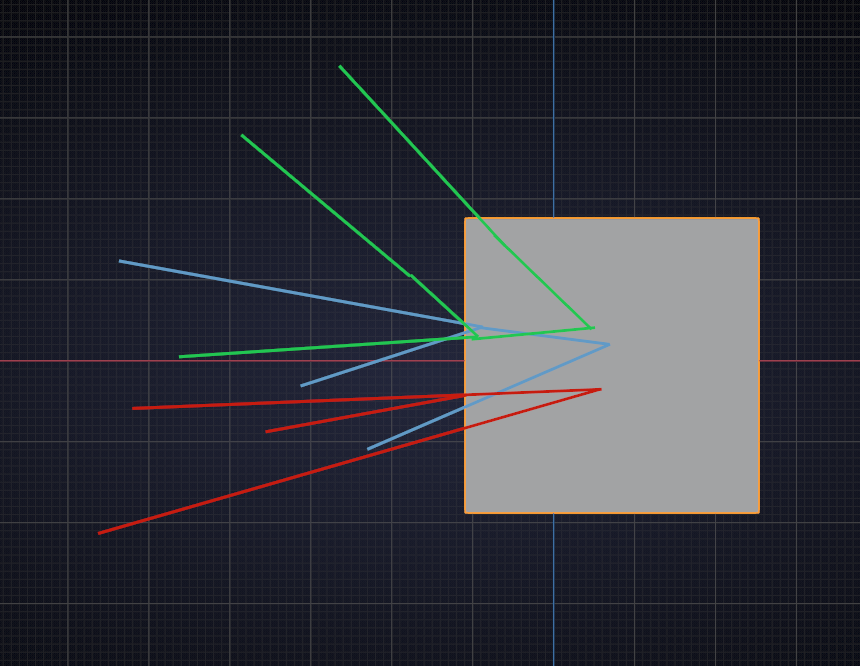
Why this can lead to a cross shaped pattern I do not understand, but I can grasp how a pattern can be 'amplified' by a larger radius (how deep the photons penetrate before they get scattered (this is probably my worst drawing ever):

The rest is actually quite obvious, I think.
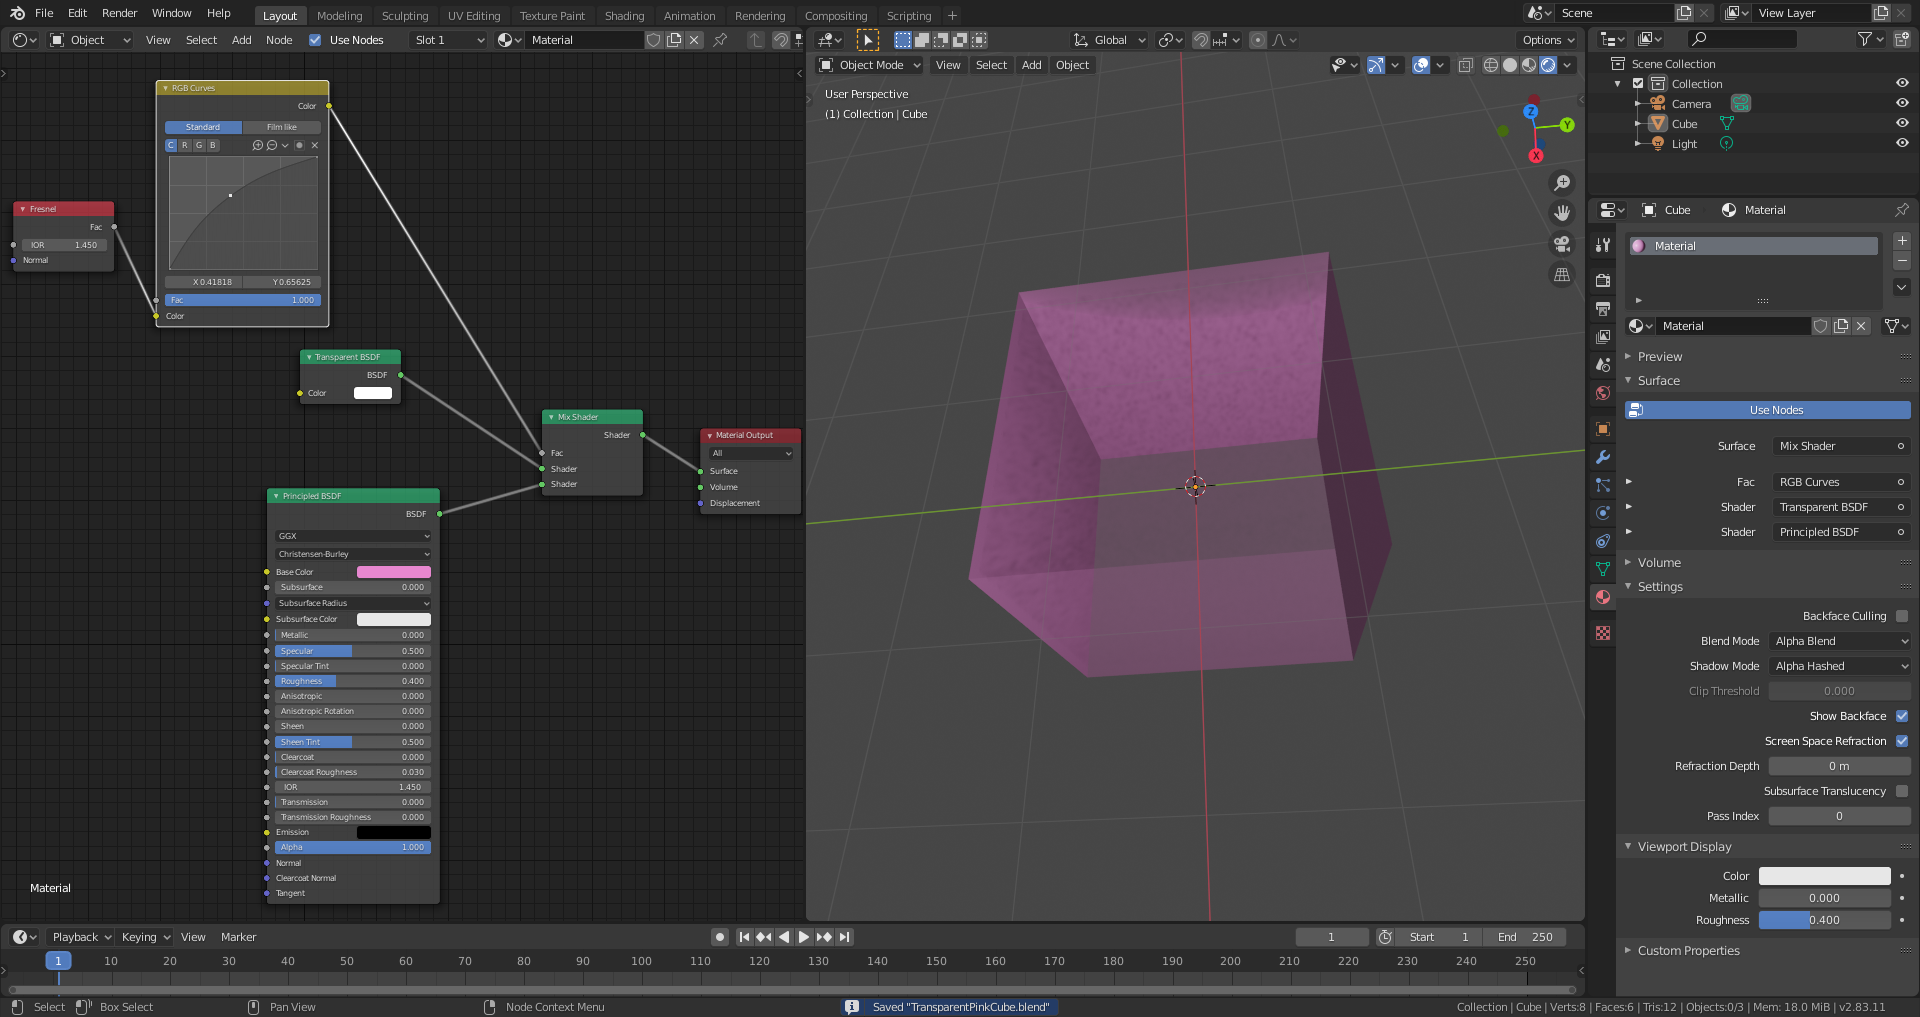
I've chosen "Alpha Blend" instead for creating a transparen cube. It seems for me to be a good choice:

PS: I had to smile a little bit when reading that Blender 2.80 is already "old 2.80 stuff " 😊. Time is running very fast.
Maybe when Frederik Steinmetz and Gottfried Hofmann have finished updating the 'Cycles Encyclopedia' they can start an 'Eevee Encyclopedia'
This is where I wish that the programmers would add one or more illustrations to the Blender online manual to make it better understandable. They know best what they thought when programming it. I'll try my luck and write them for a more in-depth- explanation
Sounds like how it is calculating the effects of light scatter after hitting a surface, but yeah this would be a good question for @jlampel
![]() spikeyxxx you're absolutely right with your hint but it would be helpfull, if the programmers could write down a few sentences on how things are intended to work and on the technical background which is for me as a Blender programming non-professional a book of seven seals.
spikeyxxx you're absolutely right with your hint but it would be helpfull, if the programmers could write down a few sentences on how things are intended to work and on the technical background which is for me as a Blender programming non-professional a book of seven seals.
In Eevee, everything is rendered in layers from back to front. If there's a transparent material, the background is rendered and then the object is drawn on top of that. In what used to be the additive blend mode, that transparent layer was added to the background (think the add blending mode in photoshop or the add mode in the rgb mix node).
Example: background is RGB [0.1, 0.1, 0.1] (10% red, 10% green, 10% blue) and the transparent object in front is RGB [0.4, 0.4, 0.4] at 50% opacity. In Alpha Blend, 50% of the second color is averaged with the first, giving that pixel a result of
( [0.1, 0.1, 0.1] + 0.5( [0.4, 0.4, 0.4] ) ) /2 = [0.15, 0.15, 0.15]
With Add, you just add the two without averaging and that pixel would instead be
[0.1, 0.1, 0.1] + 0.5( [0.4, 0.4, 0.4] ) = [0.3, 0.3, 0.3]
Blend modes are pretty universal to most software, so you can find Add mode in just about every software that has to do with placing one image or video on top of another.