Hey everyone, I've got another question. I've followed the tutorial closely several times now, and have followed along every step (to my knowledge, seems I missed a few things), and have finally made a render. But it's not quite 'finished' to my taste, anyway. Here are some photos for reference:

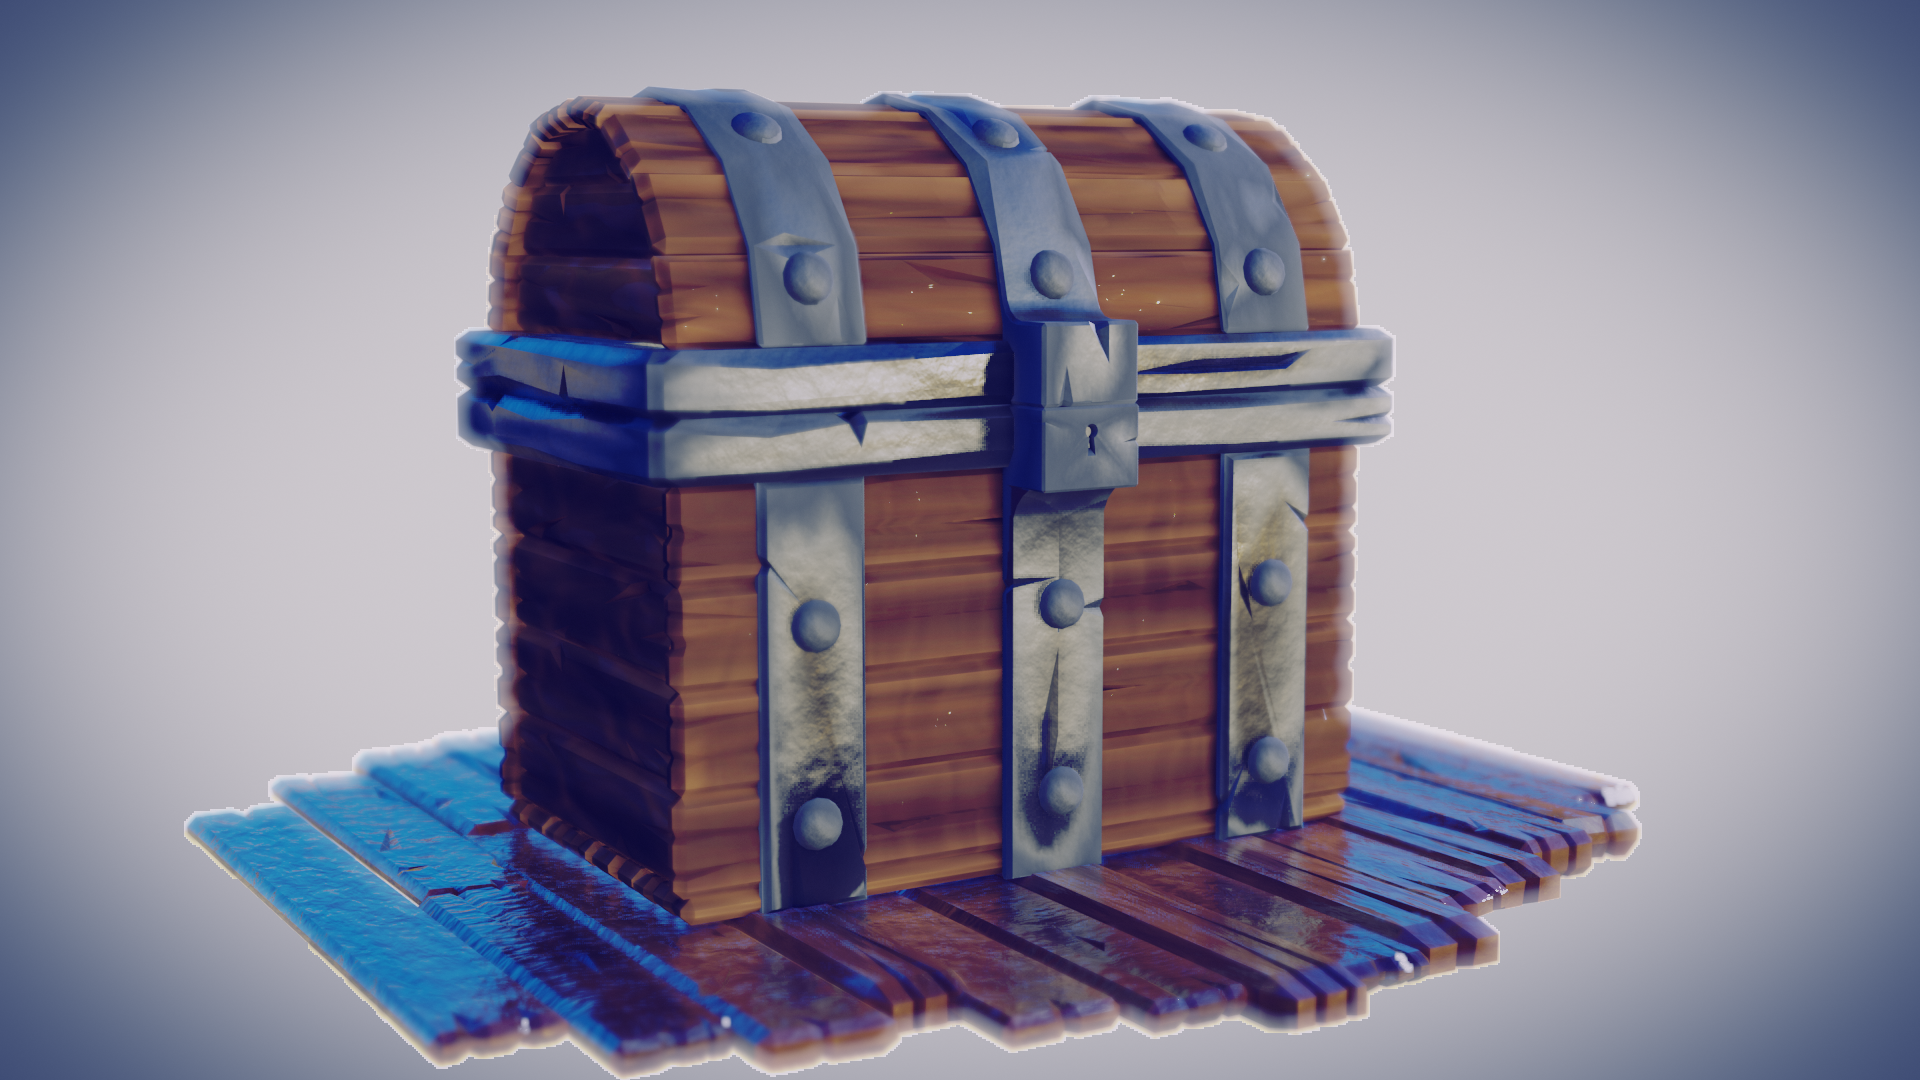
I want the chest to look like this in the final render.
However, it always looks like the following:

I'm not displeased with it; I think it's a good execution of the tutorial, except for two things, besides the aforementioned stuff.
The wood will NOT reflect the chest no matter what I do. I've tried changing the values on the color ramp from their default 0 a 1 between .1 and .9, dragging them around, and nothing happens. Seems the shadow cast from the light is missing, too. The second thing is the bloom - turned it on and off and there was no change in light. Turned every setting all the way to max and saw no difference. Is there a setting I'm missing or something? I really want to be done with this so I can continue learning with other projects.
Drive and save for reference:
Thanks to everyone.
Good work Joe!
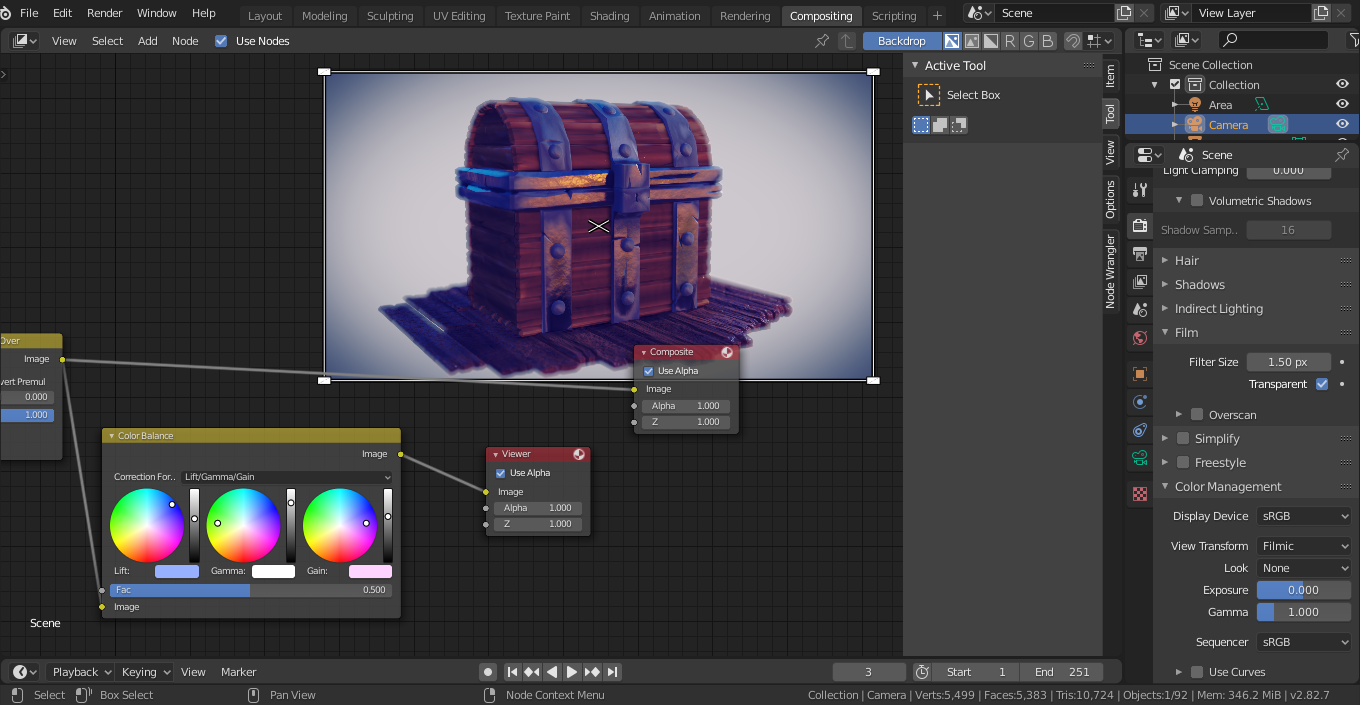
First, you forgot to connect the output of the Color Balance Node to the Composite node:

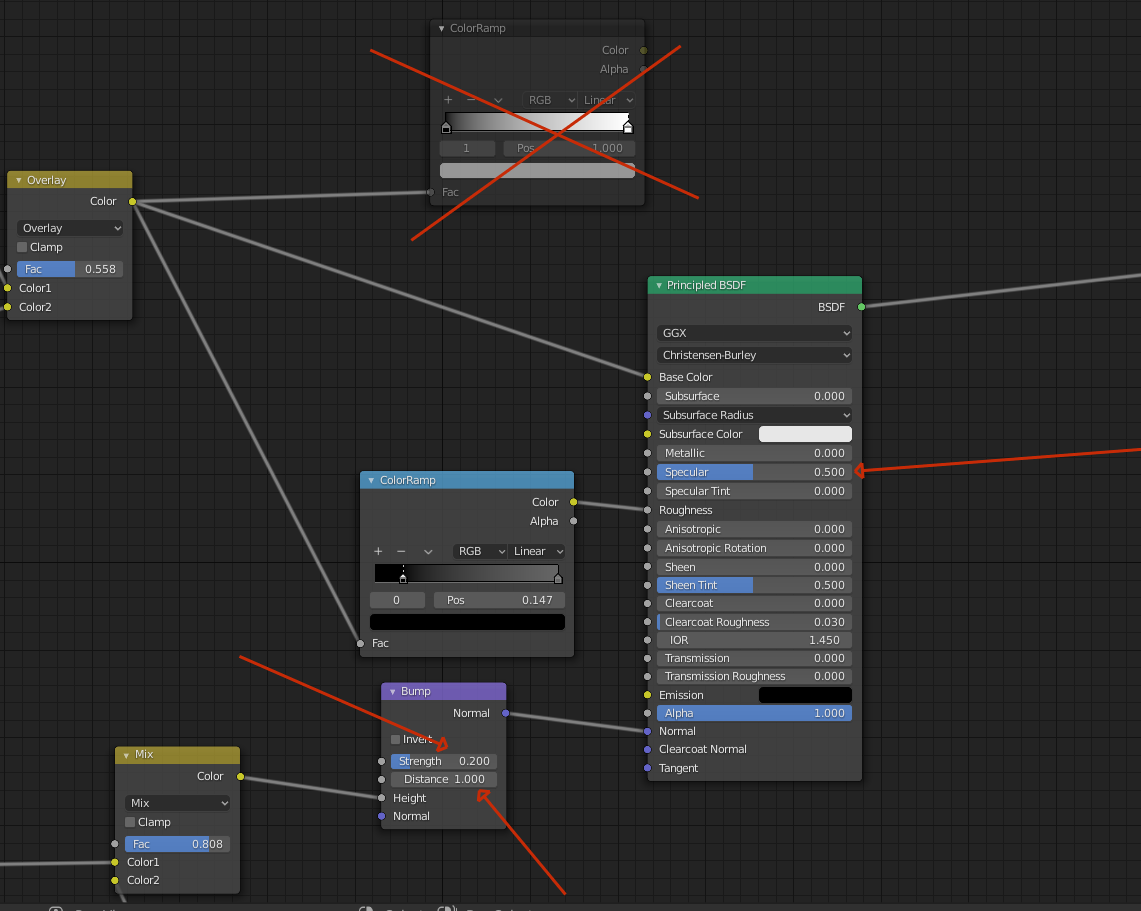
The wood doesn't reflect the chest, because you feed a very dark map into the Specular input of the Principled Shader.
The Specular Value depends on the IOR of the material and for a lot of materials that is an IOR of 1.45 and a Specular of 0.5.
You can of course change that value and even feed in a greyscale image, but know that that is not realistic.
So I removed that connection and brought back some Roughness and also reduced the Bump a bit.

I reduced the Treshold of the Bloom, because the higher you set that, the brighter a pixel needs to be to get some bloom effect and this is the result I got with those tweaks:

Play around a bit with your settings, but overall a great result!
I'd say you learned a lot from this course;)