I have several barrels floating in a scene like this :
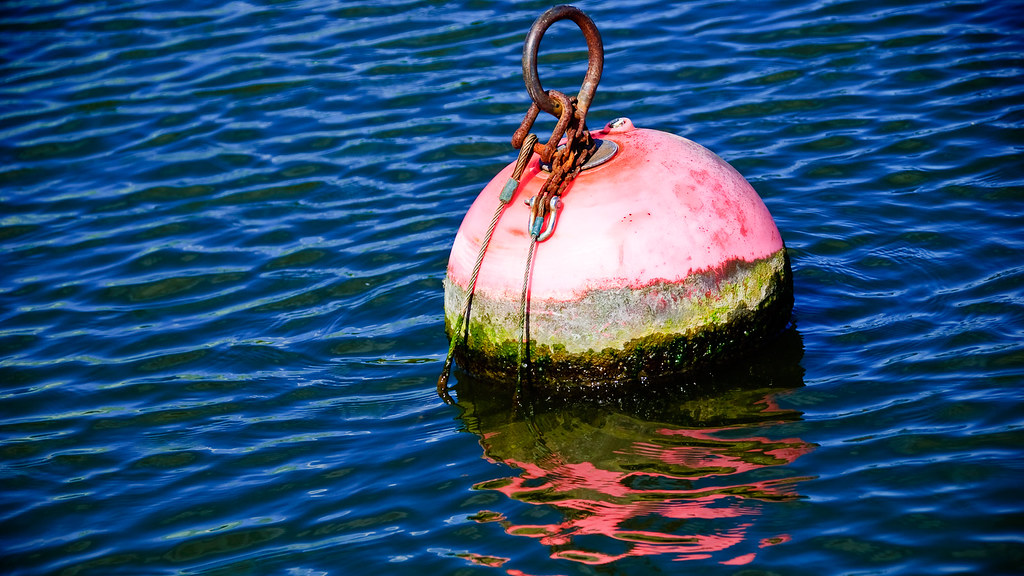
I want to make it look as if it has been there for many years so I want to add wetness and grime along the water line similar to what you see on this buoy :

Is there a way to achieve this procedurally? I have seen shaders set up with gradients and other tricks that will respect the x y or z value of an object and I was thinking I could do something similar. The barrels are all identical but have been rotated in different ways to look different so any setup would need to work with global Z to work sucesfully.
Can anybody please reccomend a node setup to achive this?
It will be very tricky to paint a UV map as it is almost impossible to calculate where the water line is on each barrel so I would rather use a procedural technique if one exists.
Thanks in advance!
I remember learning the procedural snow in the shader forge that made use of the z or normal direction. It looked very similar to what you are trying to achieve ![]() frikkr
frikkr
Brilliant @jlampel and ![]() blanchsb , I will give your ideas a try. Thankyou!
blanchsb , I will give your ideas a try. Thankyou!
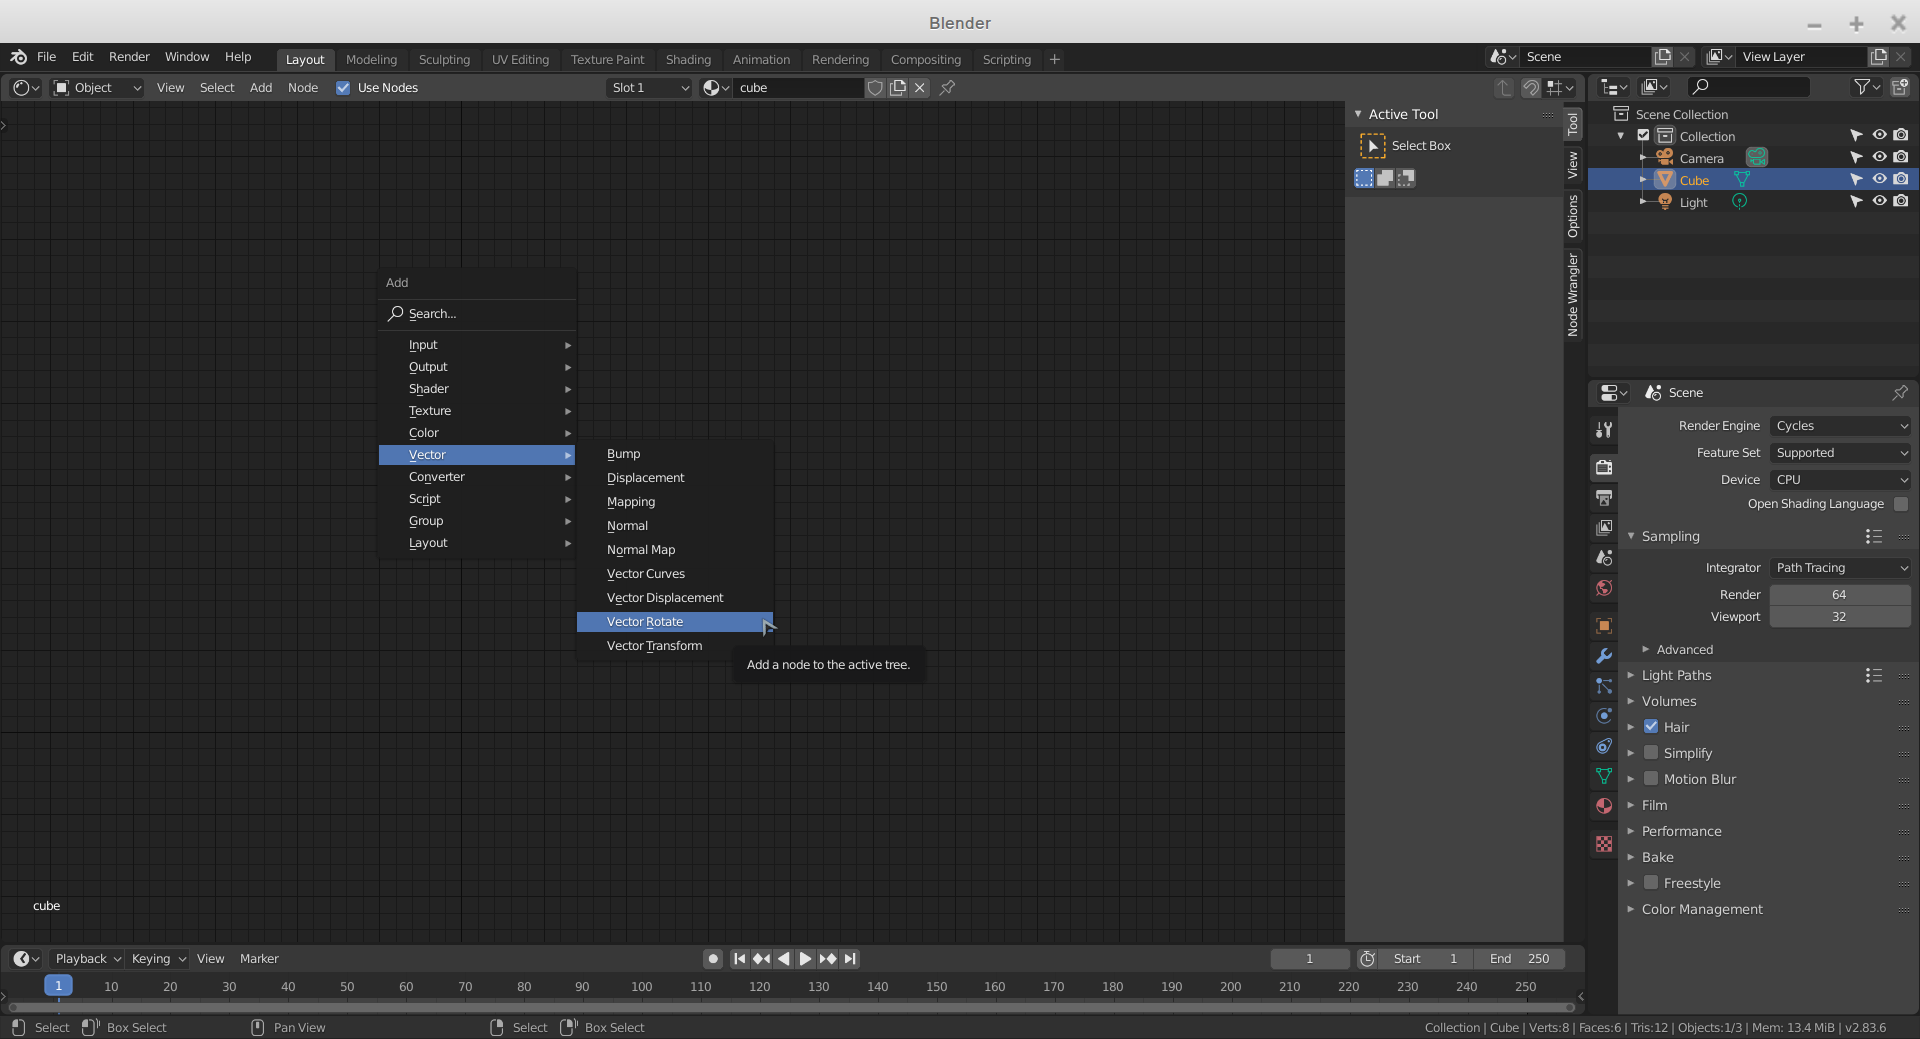
Hi @jlampel , can I ask where you find the "vector rotate" node that you have in your example?
Hi Matthew, that's in 2.83;)

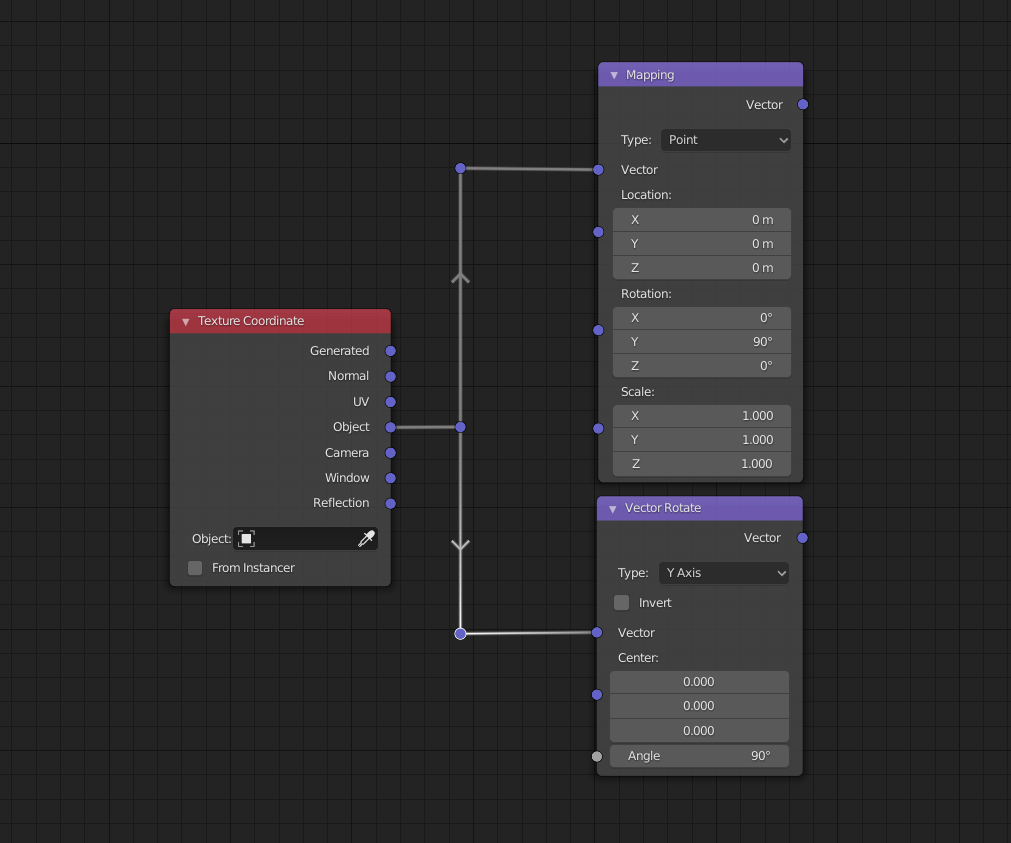
But I think in this case you could also just use a Mapping Node and set the rotation there.
You live in the present, we live in the future...
And to be clear, these two do indeed the same thing here:

Ok I am in over my head here , could do with some help please , I managed to get a decent effect on the barrels here :
But when I apply the same node setup to the rocks that surround the water , it lies below the water line and I have no idea how to bring it up.... here is the view from under the water :
I added a colour ramp node with the barrels to try to give me some control of the gradient but it is probably wrong. The problem is that I have no idea what the nodes are doing so I am just playing about with values blindly. I have a decent grasp of shading but when it comes to technical stuff like this I am lost.
Could somebody look at my node maps below and explain if I am on the right track , and how I can control the gradient falloff and also how high it sits on the object so I can move it up and down based on where the waterline is? Thanks :)
I am using the technique twice as shown below , the above adding a darkness to it , and the other adding a glossiness to simulate wetness (From looking at refs , things seem to get darker as they get wetter so this was what I was going for)
Also , here is a closeup of the setup that is adding a wetness :
Pretty sure I have done it all wrong , the general effect I want is a wet line from the barrel bobbing up and down in the water that is also darker ,and also I want to add a grime texture that runs along the water line but how do I do that also?
Hard to tell from the screenshots, but at least: do not add the two Principled Shaders. Use only one Principled Shader !
Mix the two Roughnesses (I don't know if you need to Multiply, or Add, or... them) and use something to decide on the Metalness factor (again, don't know what exactly you want to use there...)
I know it's vague, but I hope it helps;)
I added a colour ramp node with the barrels to try to give me some control of the gradient but it is probably wrong.
That's not wrong! It's a great solution.
it lies below the water line and I have no idea how to bring it up
The object texture coordinate is based on the origin point of the water object, so first make sure the surface of the water is roughly at the same height as its origin. If that's not it, try changing the vector mapping node to Point instead of Vector so that you can adjust the location and bring it up along the Z axis.
do not add the two Principled Shaders. Use only one Principled Shader !
Yes! Good catch Spikey. It's not obvious why that's important though, so here's an explanation:
A BSDF is what tells the render engine what to do with the light that hits the object - reflect it, refract it, scatter it, etc. When you add two BSDFs, you're bouncing back twice the amount of light that hit the object in the first place. That's impossible! So the Add shader is meant for things like emission, transparency, or certain volume effects.
The problem is that I have no idea what the nodes are doing so I am just playing about with values blindly. I have a decent grasp of shading but when it comes to technical stuff like this I am lost.
I know what that feels like! Keep at it and believe me that it will make more sense as you go along. If you need a rundown on what a specific node does, just ask. You got this 💪
Thanks @jlampel , I really appreciate the help.
A BSDF is what tells the render engine what to do with the light that hits the object - reflect it, refract it, scatter it, etc. When you add two BSDFs, you're bouncing back twice the amount of light that hit the object in the first place. That's impossible! So the Add shader is meant for things like emission, transparency, or certain volume effects.
Can you recommend any courses that focus on the more technical aspects of shading ? My knowledge is limited as I only pickup bits here and there through generalised tutorials but I understand how much control you can have with the node editor when you know what you are doing. But I've never seen a course that just works its way through each node and explains what they do. For example with blend types - add , multiply , subtract , overlay .... I just try these out to see what looks best but it would be great to fully understand what I am doing , the same goes for so many other technical parts of shading.
![]() frikkr I would love to see this level of detailed explanation for blender specifically but I found this explanation on youtube extremely helpful a while back.
frikkr I would love to see this level of detailed explanation for blender specifically but I found this explanation on youtube extremely helpful a while back.
The blend modes explained here transfer to other programs like Blender and Affinity Designer/Photo (my “go-to” Photoshop replacement apps) and helped give me a better understanding in general which I think is something you may need to start with if you are even unsure about the general behavior of blend modes:
I don't know anything that goes over every node except the Cycles Encyclopedia, which you might find useful. If you haven't already, going through the Shader Forge course should explain a lot as well.